Assembling a Ford 9" Third Member for a 1973 Chevy Caprice - part 1 of 2
2023, November 14
part 1 - part 2Hello,
I'm posting this because most of the Ford galaxie's/LTD's/etc came with a variant of the 9". Of course the exception is for 1967 and newer Fords that are unfortunate to have one of those Salisbury WER axles in their ride. This third member is going into a 9" housing that was made for my early 1970s Caprice Classic, but it doesn't matter if it's for a galaxie or a housing going into a Panther chassis. It's interchangeable.
So this is how I did it, of course as usual there are seven ways to Sunday to do something.
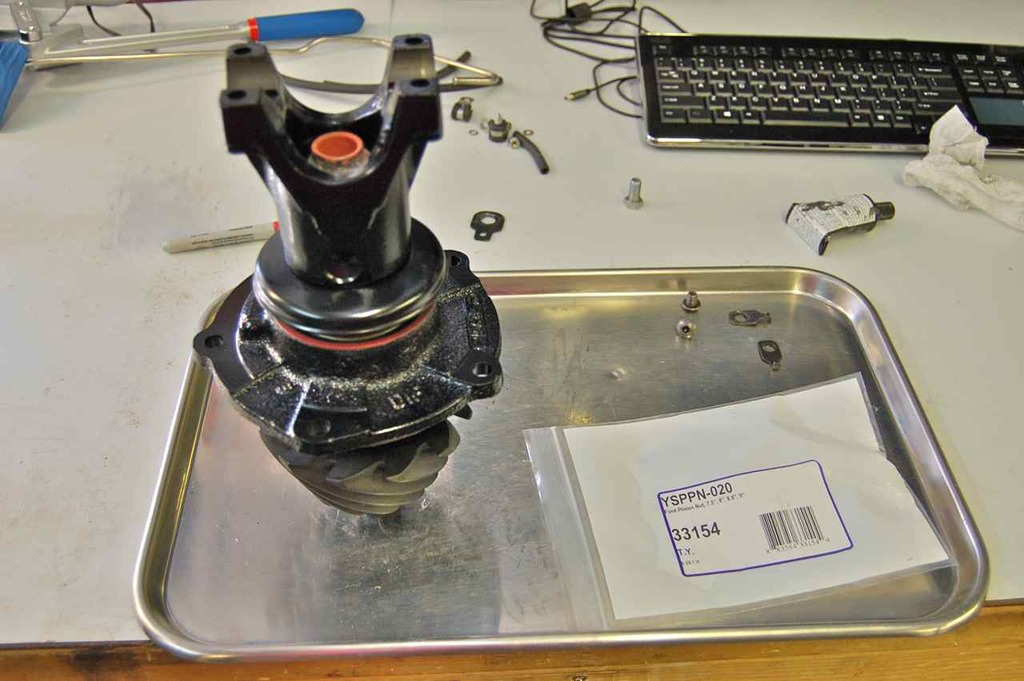
First I bought everything new except for the pinion support and yoke. They were donated by our 1966 galaxie 500 parts car. I bought the heavy duty third member case from Summit, along with the Eaton True Trac differential and gear set.
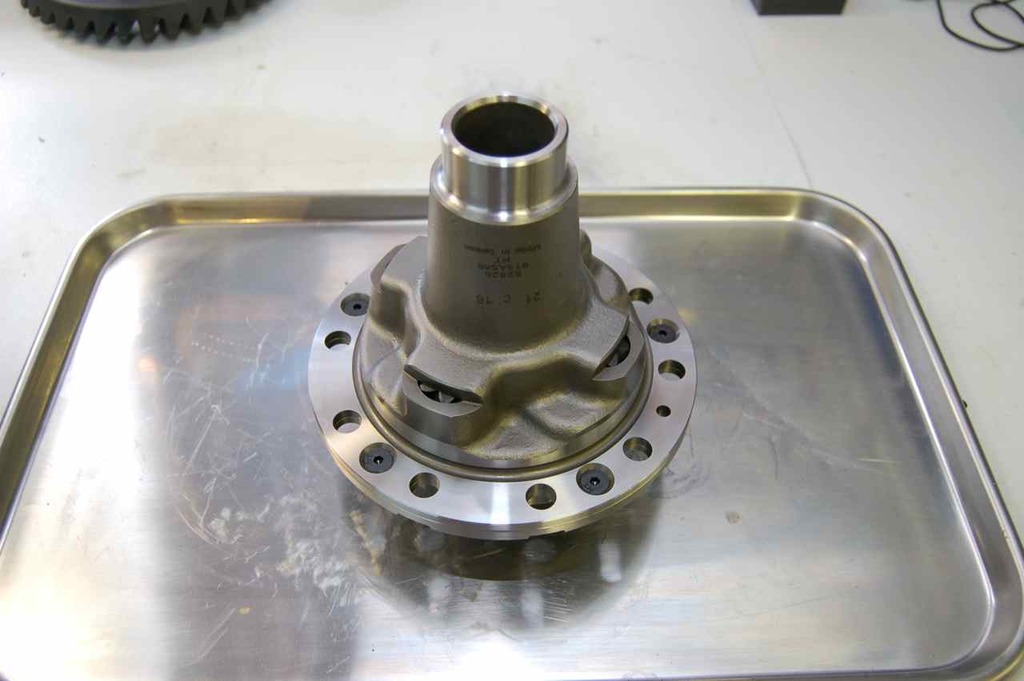
This is the Eaton True Trac differential, it's been cleaned.
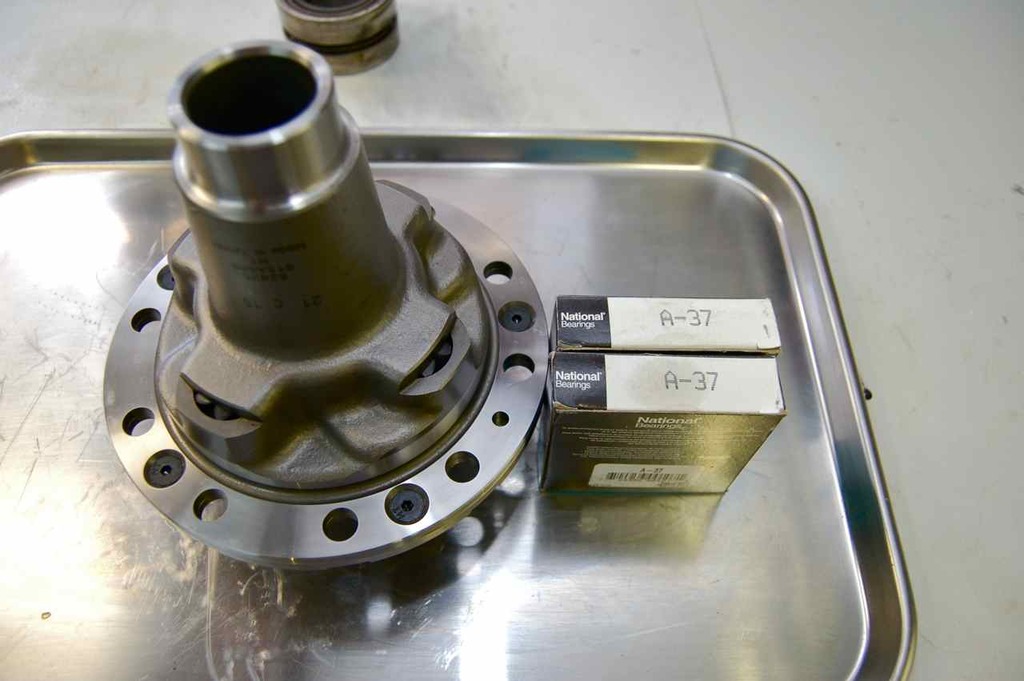
New carrier bearings. There are different size bearings both ID (inner diameter) and OD (outer diameter) for carriers in the 9". Make sure you measure and get the right ones. This is a 31 spline differential carrier and typically uses the larger bearings.
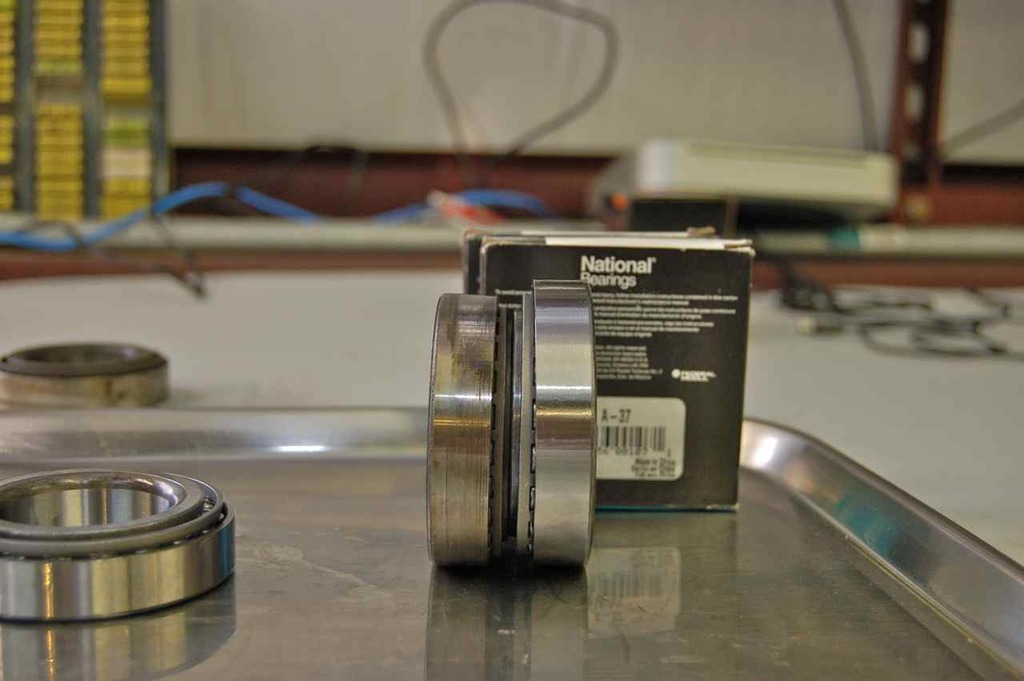
Here you can see the subtle difference. The bearing on the left is what's typically in a 28 spline galaxie rear axle.
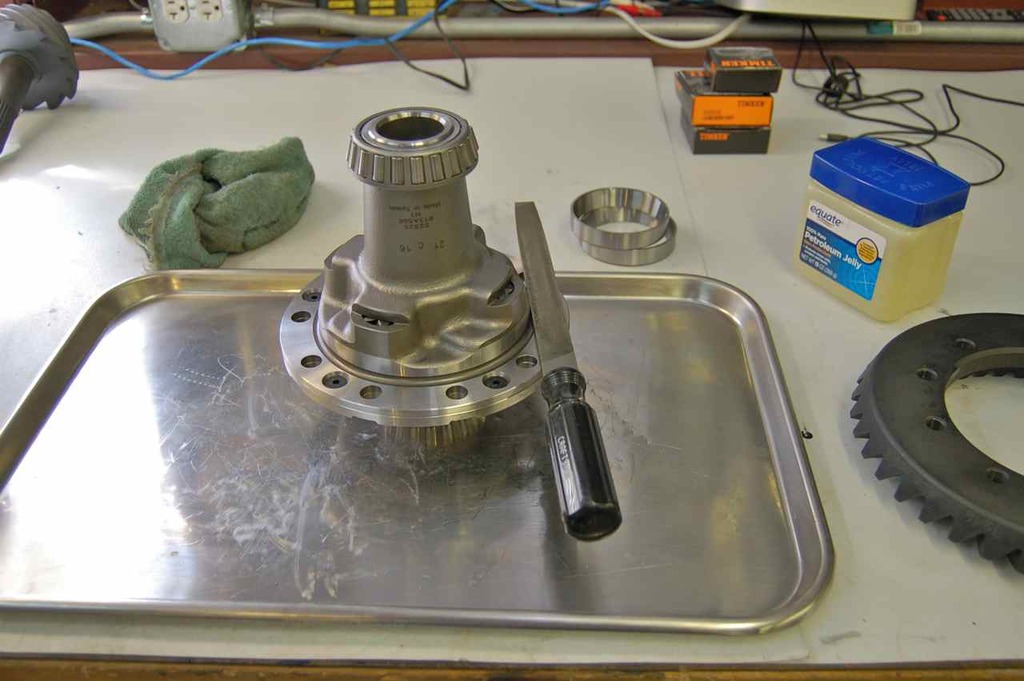
After pressing on the new bearing cones, take a flat file and go over the gear mating surface to make sure there are no burrs either from manufacturing or shipping mishandling.
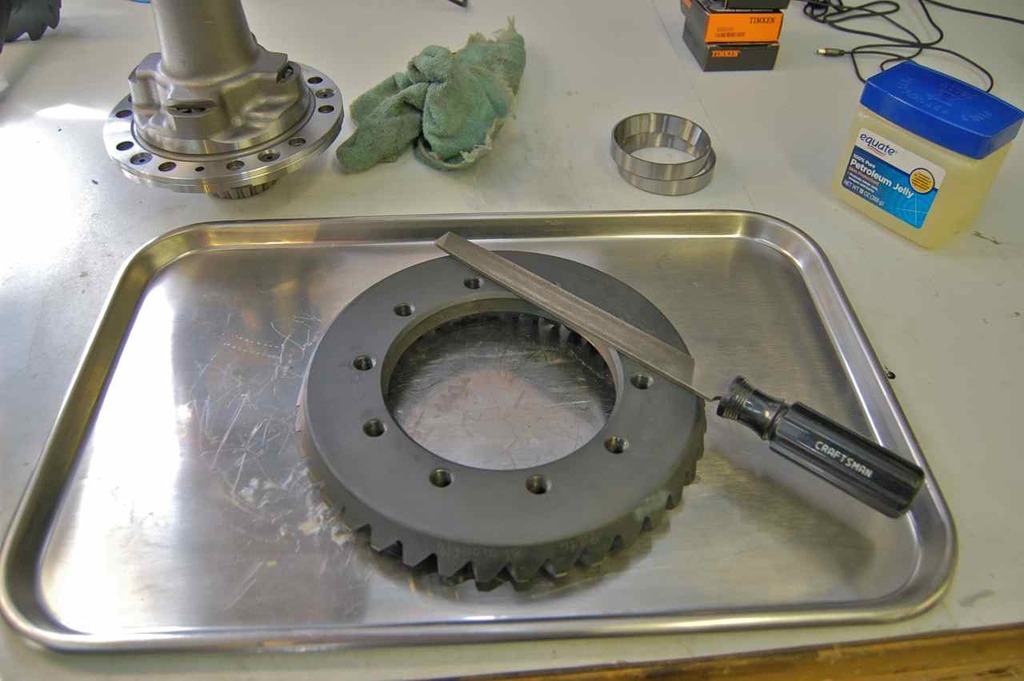
Do the same with the ring gear. Also while working on the ring gears, especially new ones, they can warp in heat treatment so, if bottom is not perfectly flat, take a piece of glass and line it with a high grit wet/dry sandpaper and lap it flat. This one was fine.
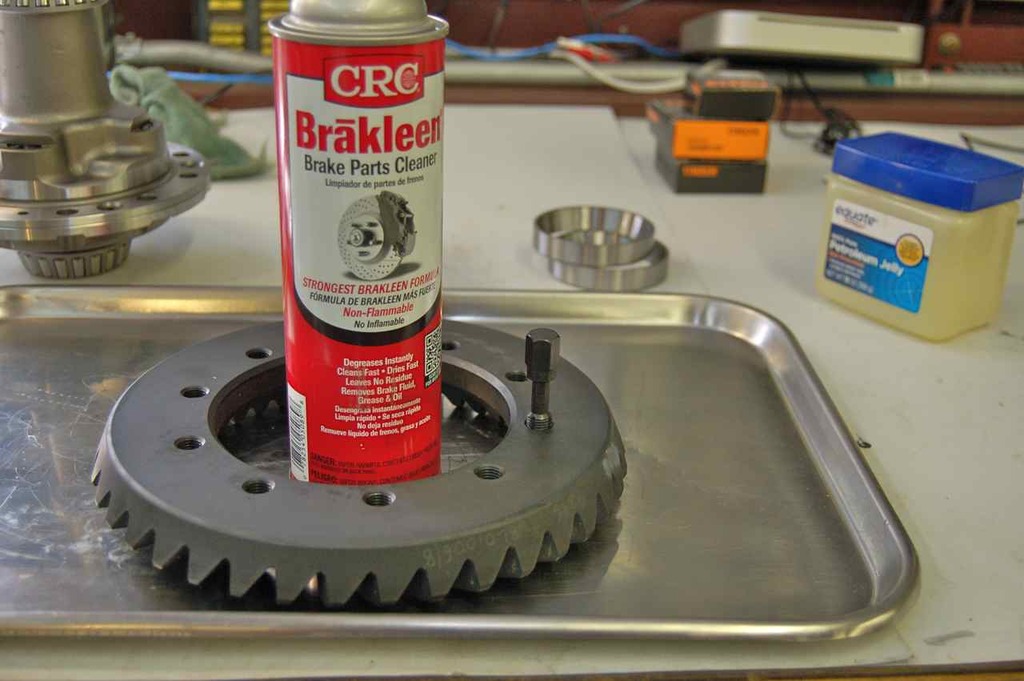
Clean and chase the threads in the ring gear.
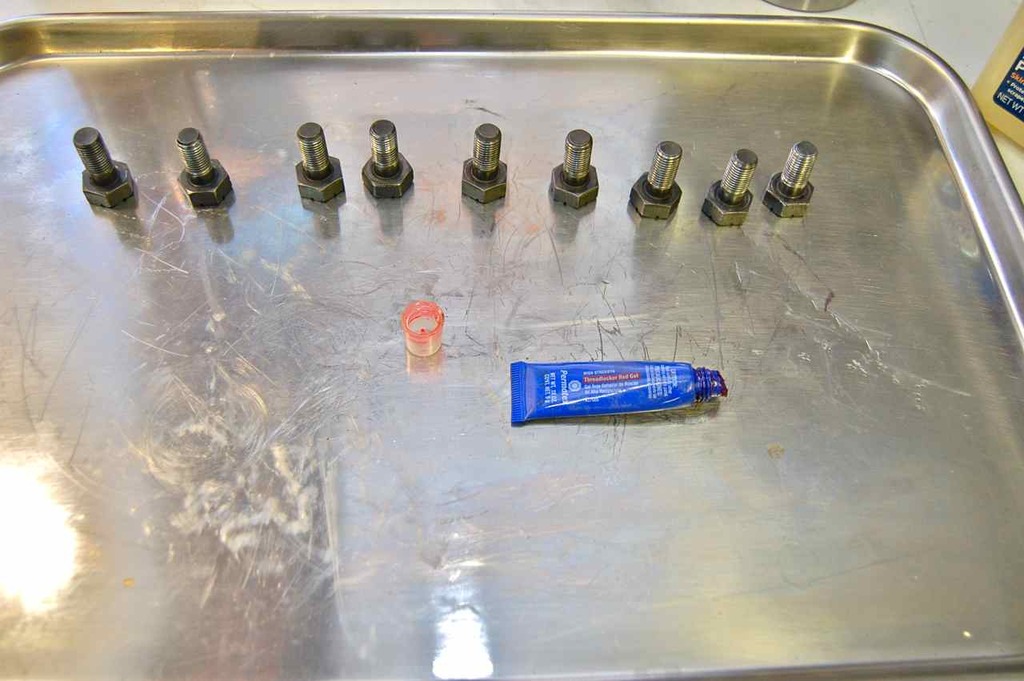
Clean the threads on the bolts and Loctite them in. Draw up the ring gear onto the carrier equally until seated and then torque in stages until final torque value is achieved.
Here's a new pinion pilot bearing. Again, being an aftermarket third member case there can be a couple of different sizes. Typically they are the 9" bearing and one for the 9-3/8" housing. This project uses the standard bearing size for the 9".
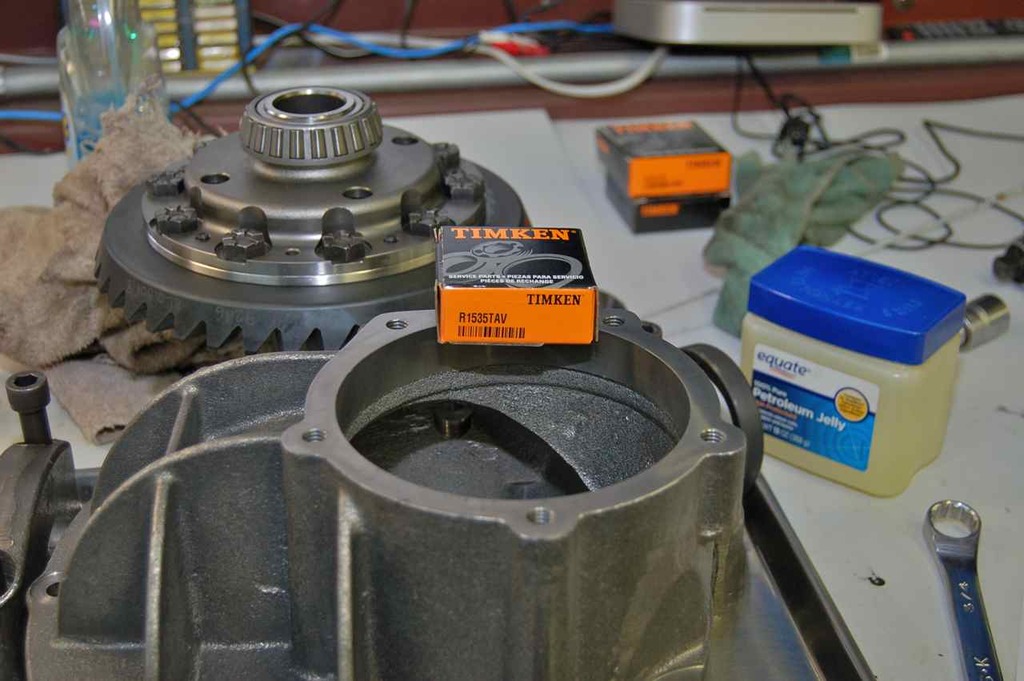
Install
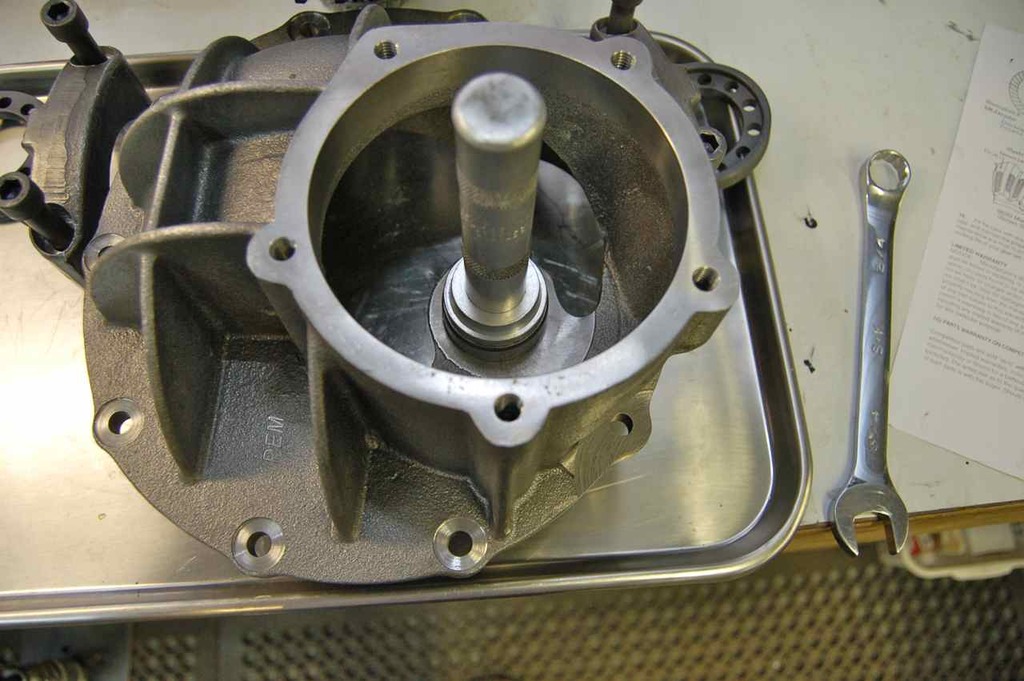
This case has a nice internal ring retainer instead of that press-in Ford one.
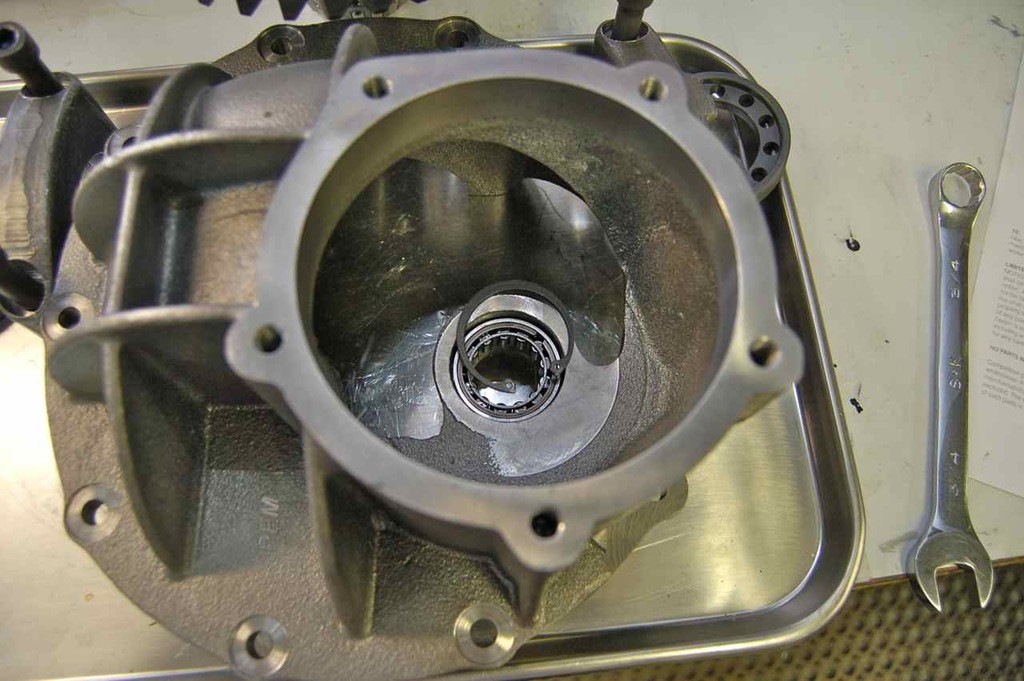
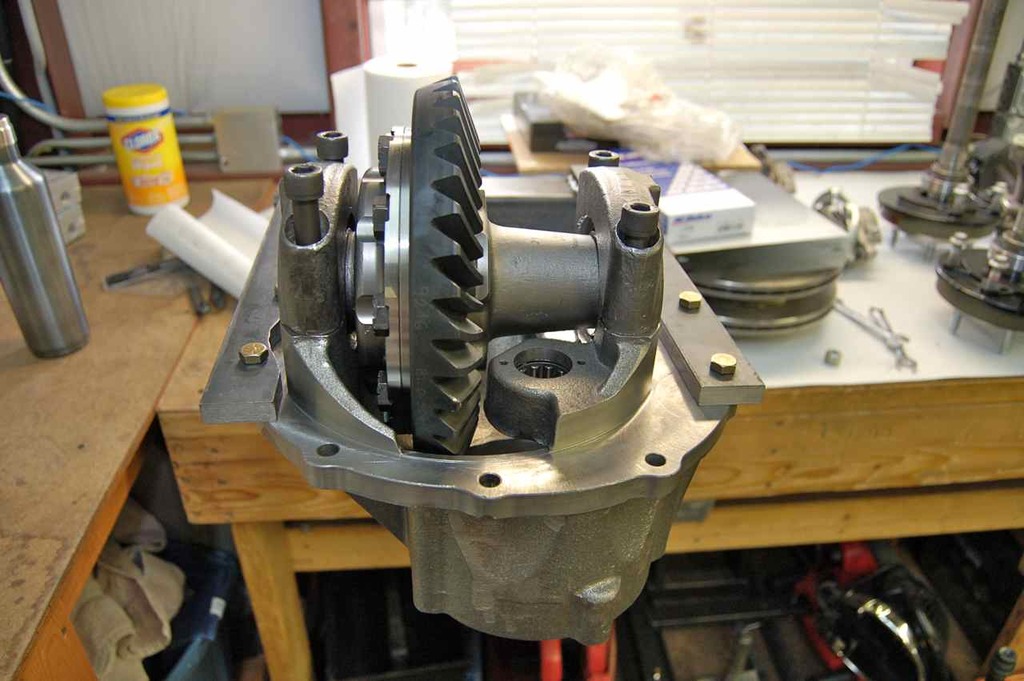
I made a cheesy little jig to hold this. It's not particularly brilliant but it works. Once the carrier is in, give it a spin and check to make sure everything spins perfectly true.
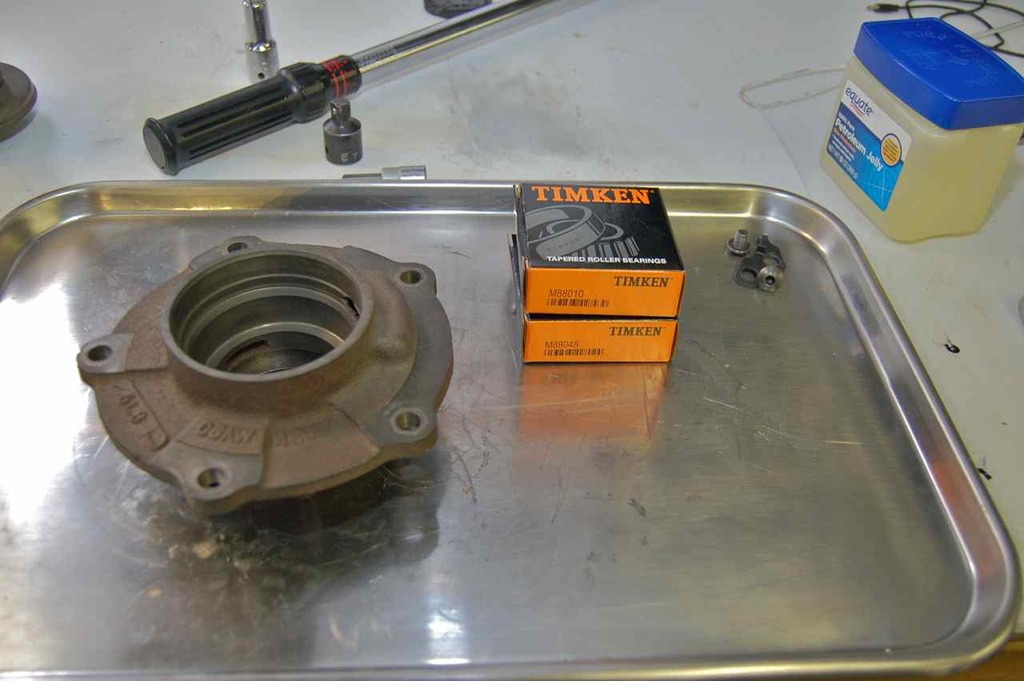
New bearings and races for the pinion support. Again aftermarket pinion supports are typically Daytona style ones; this is the standard support and uses standard size 9" bearings. Again this was donated from a 1966 galaxie 500.
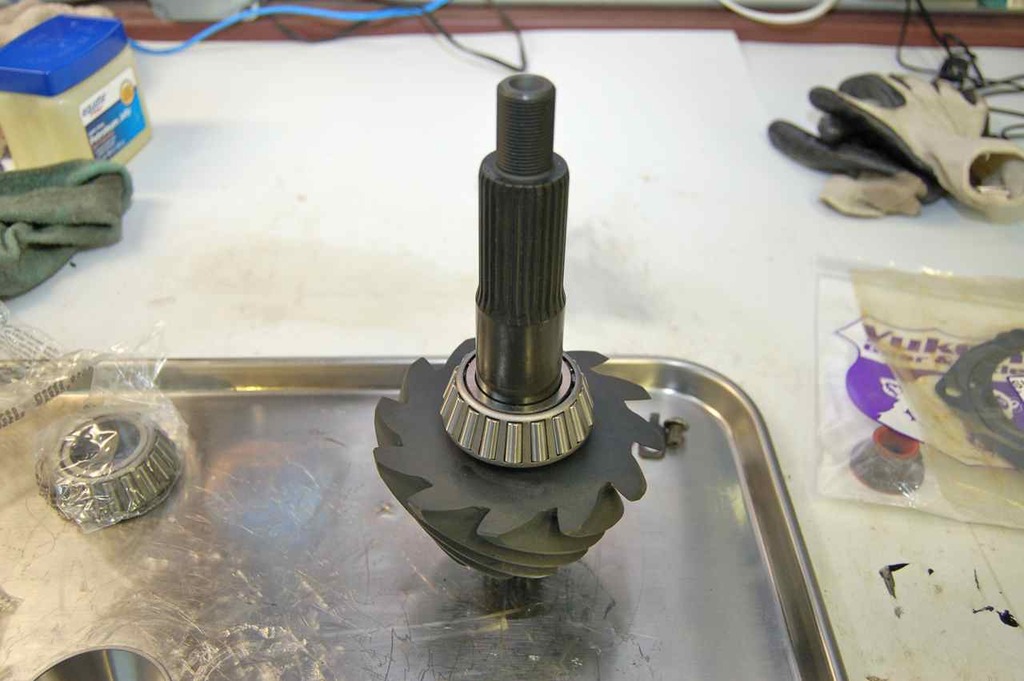
Press on the bearing.
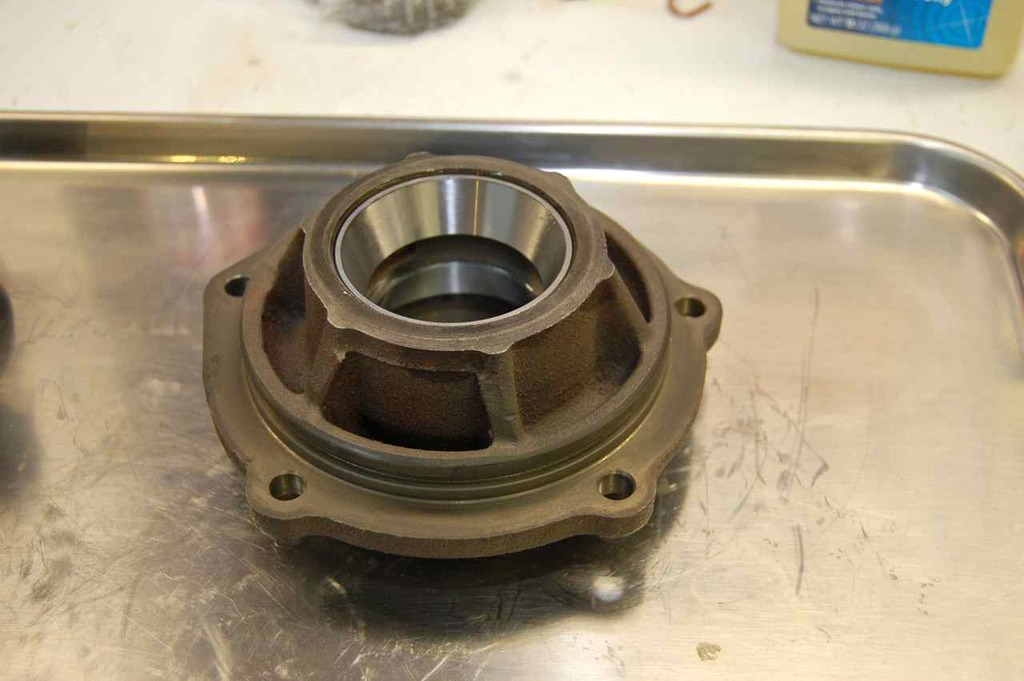
Press in the races.
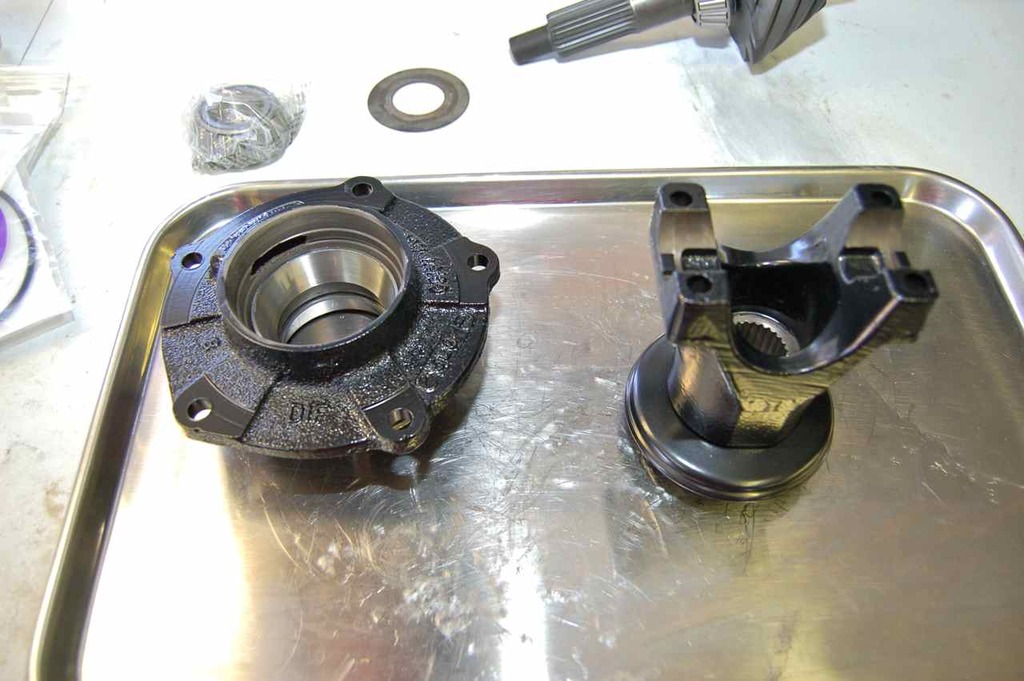
I powder coated these guys. I'll paint the rest of the third member and housing.
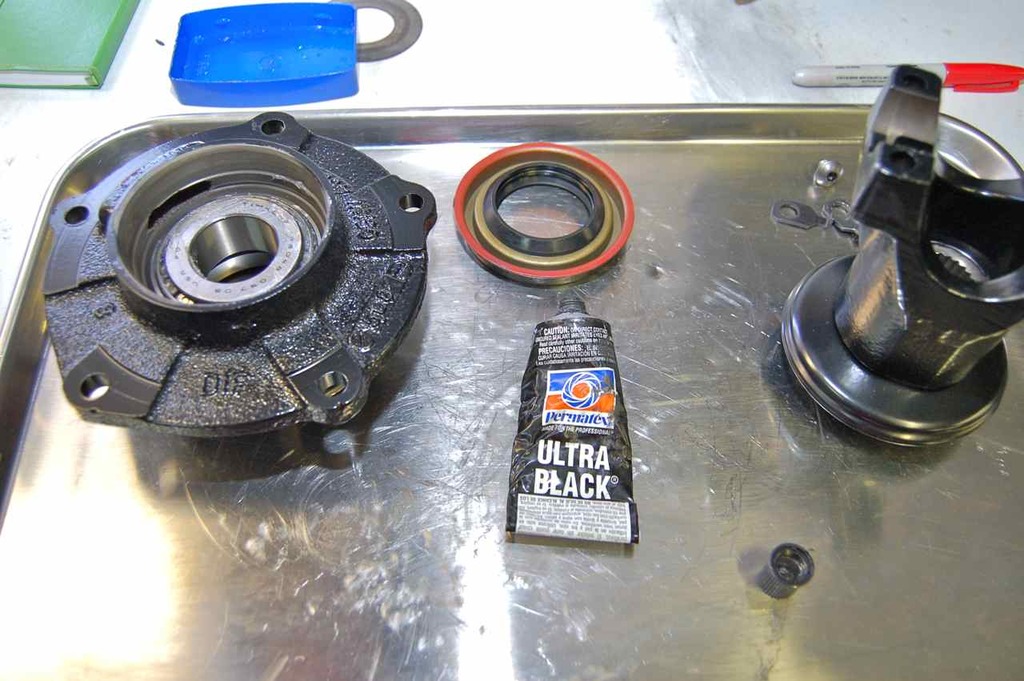
When installing the new seal, I use RTV lightly applied to the red sealant — even on the new seal anyway. Yes am paranoid against leaks.
Crush sleeve
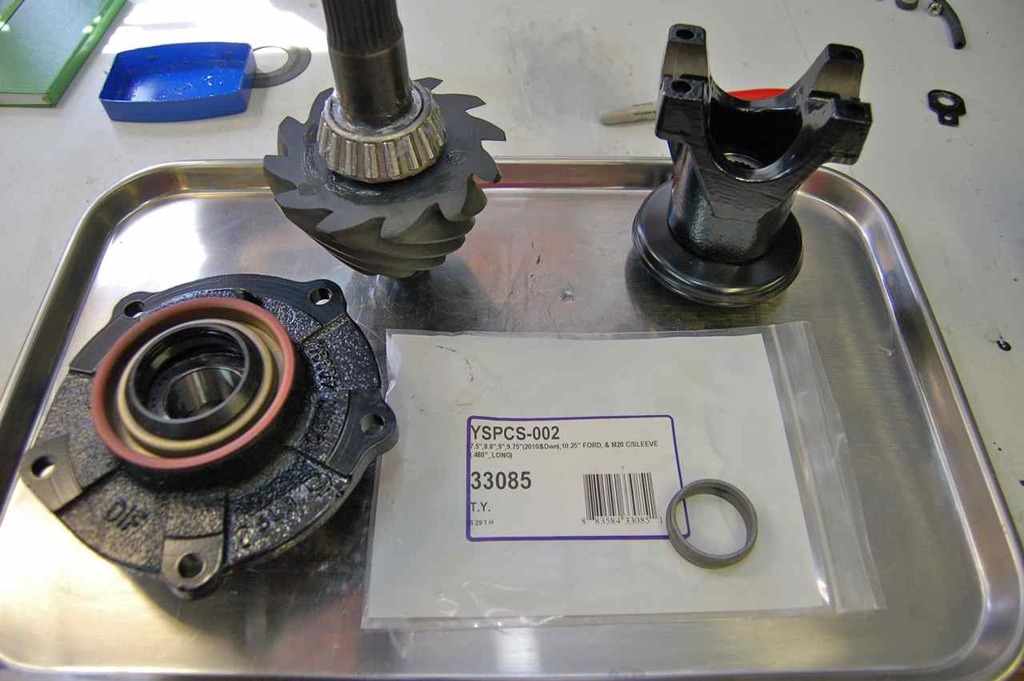
Crush sleeve on. I forgot to mention, don't forget to put the bearing in the support piece BEFORE you put on the seal. I've done that before. Rats.
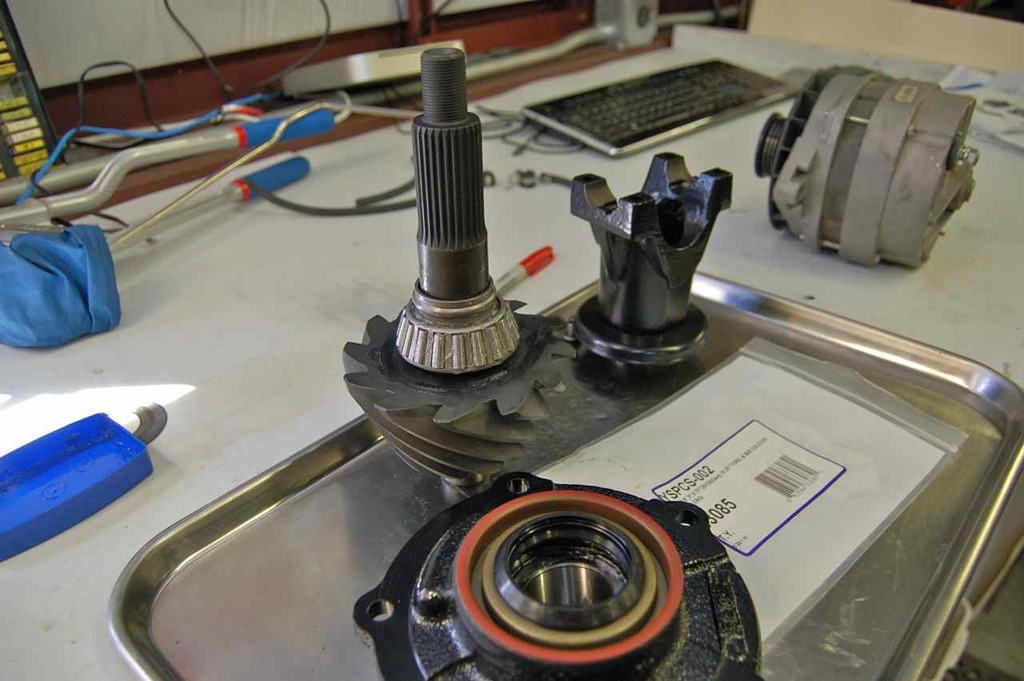
New pinion nut and apply some RTV to prevent leaks. Then torque down.
