1968 Ford LTD Rear Door Window and Latch Repair - part 2 of 3
2023, November 14
part 1 - part 2 - part 3Assembly time.
So I gutted pretty much the entire door, the door latch, handles and lock were all really stiff. So I removed all of this and cleaned it best I could.
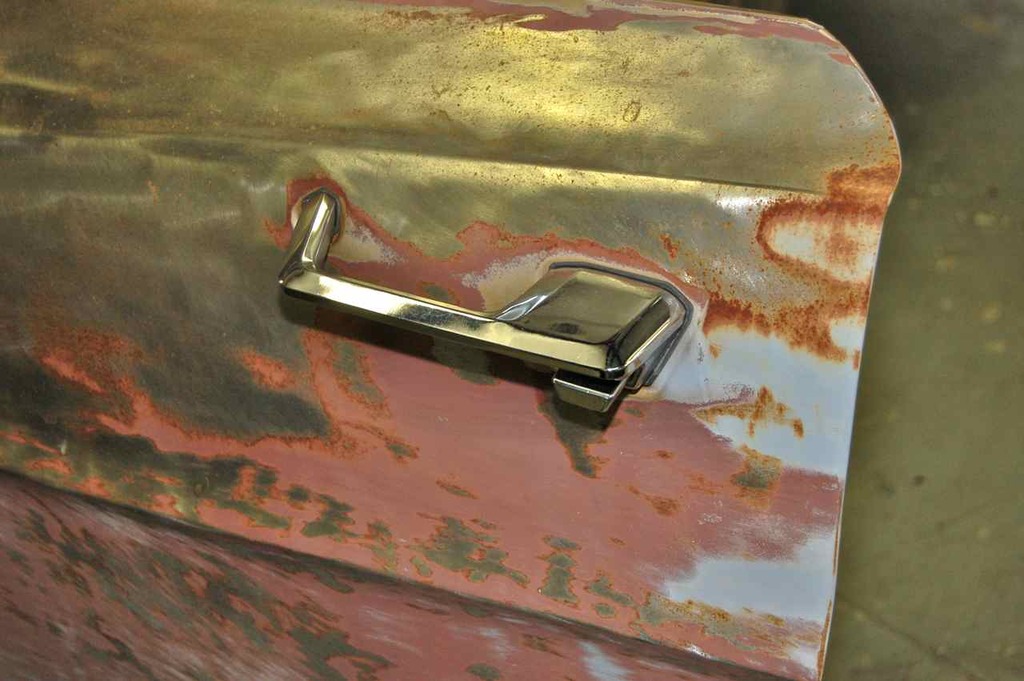
I gave the exterior handle quick round on the buffer. The car is pretty well beat so this is the best it can get without replating.

Cleaned and lubricated button assembly. Cleaned the studs and used Locktite to secure them into the handle.
I'm not going to spend money on the weatherstrip or gaskets until we are granted the title, so I'll reuse the handle gaskets.

Now that's way too nice for the door
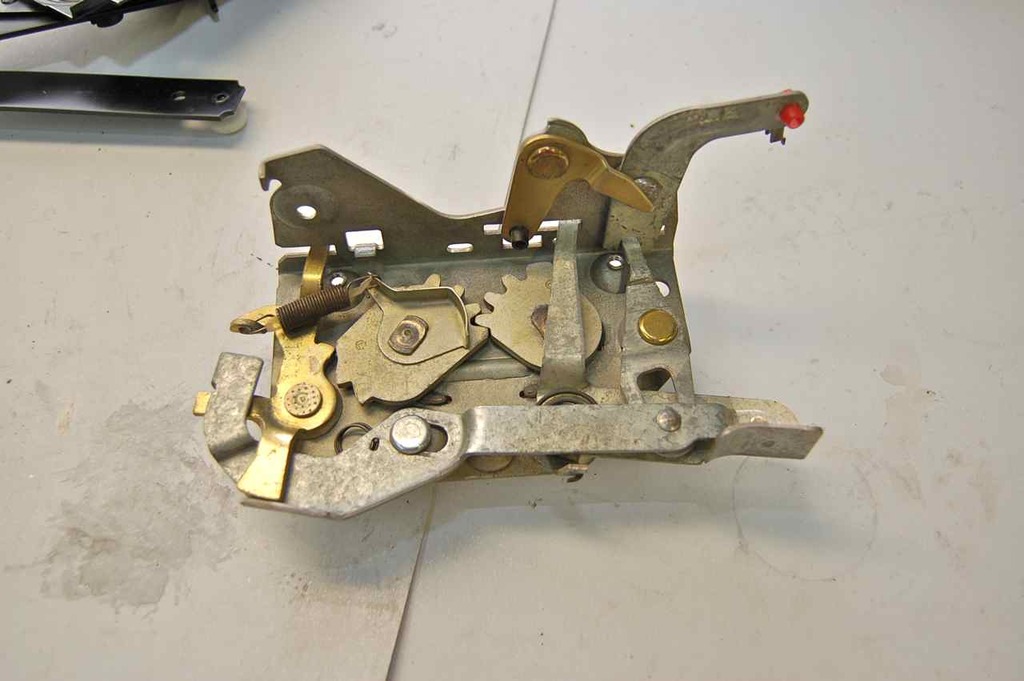
The latch came out rather well, just soaked in the degreaser tank then used walnut shells to clean without removing plating.
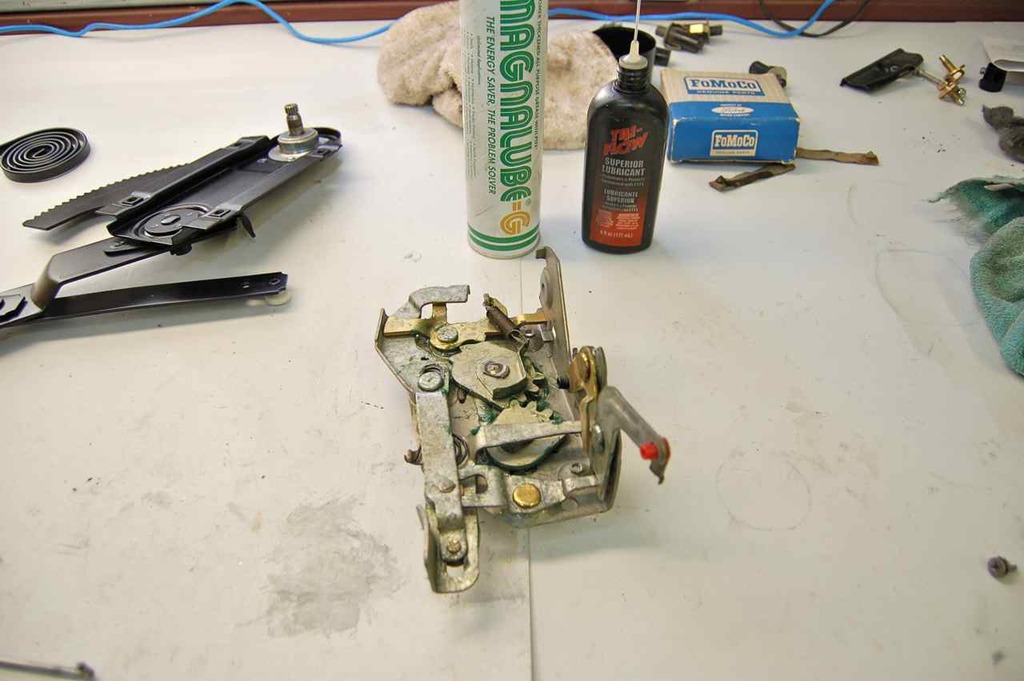
Lubed up the door latch and installed.
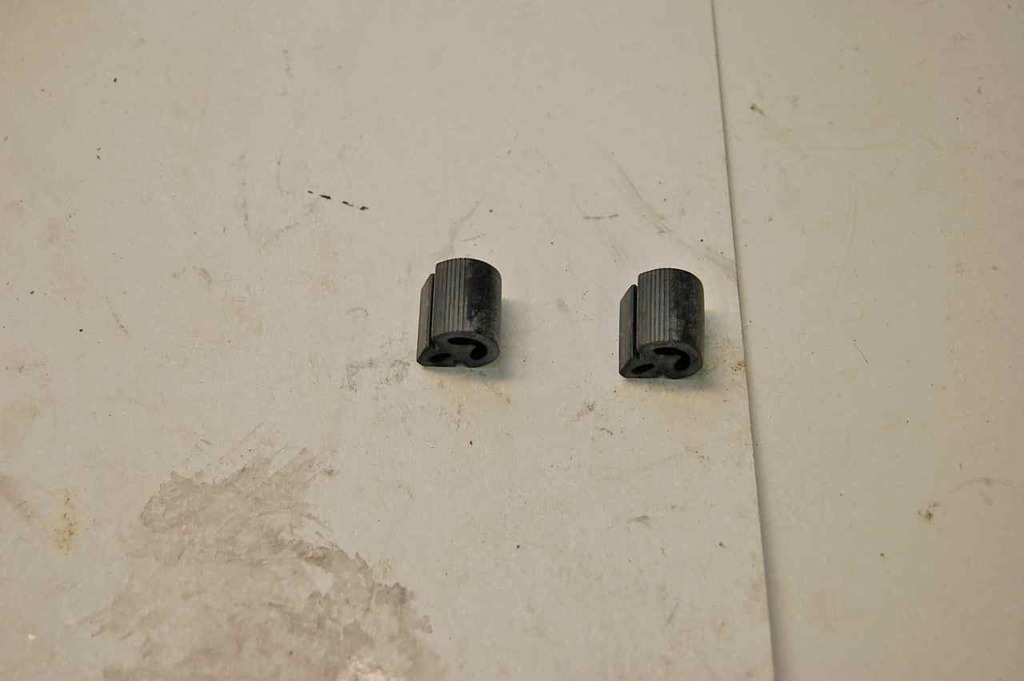
I did buy new door bumpers because it was missing one and the other was hard as a rock.
Then installed the door latch and rod to door latch.

Next, installed lock rod. I polished the rod to make it slide easier inside the cloth sheath.

Loaded the spring on the regulator and installed this next in the door.

The regulator can be tightened in.
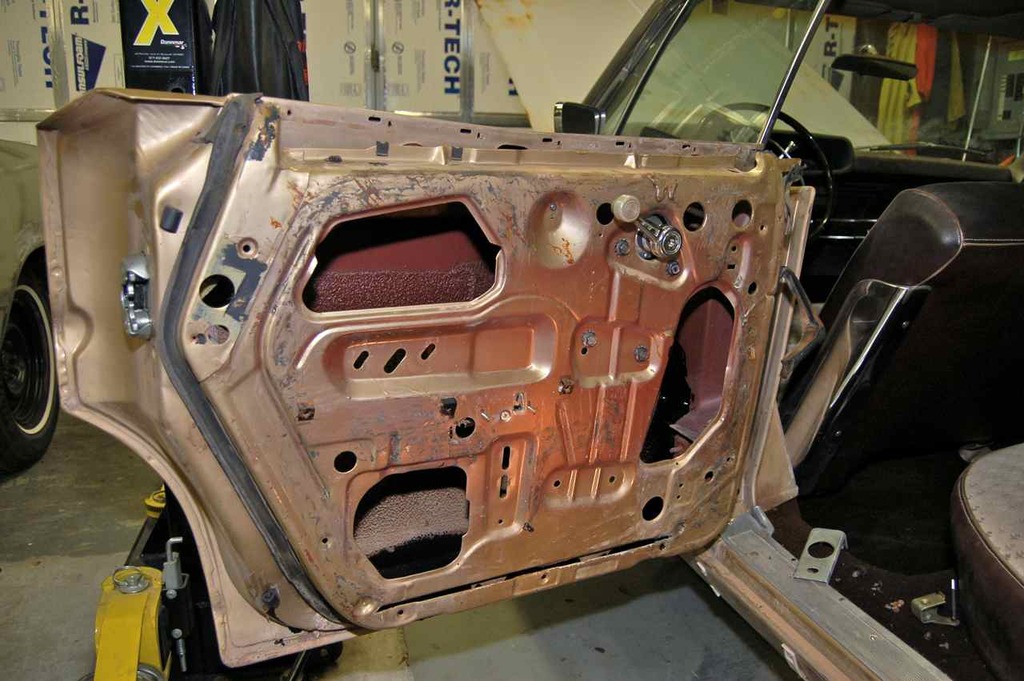
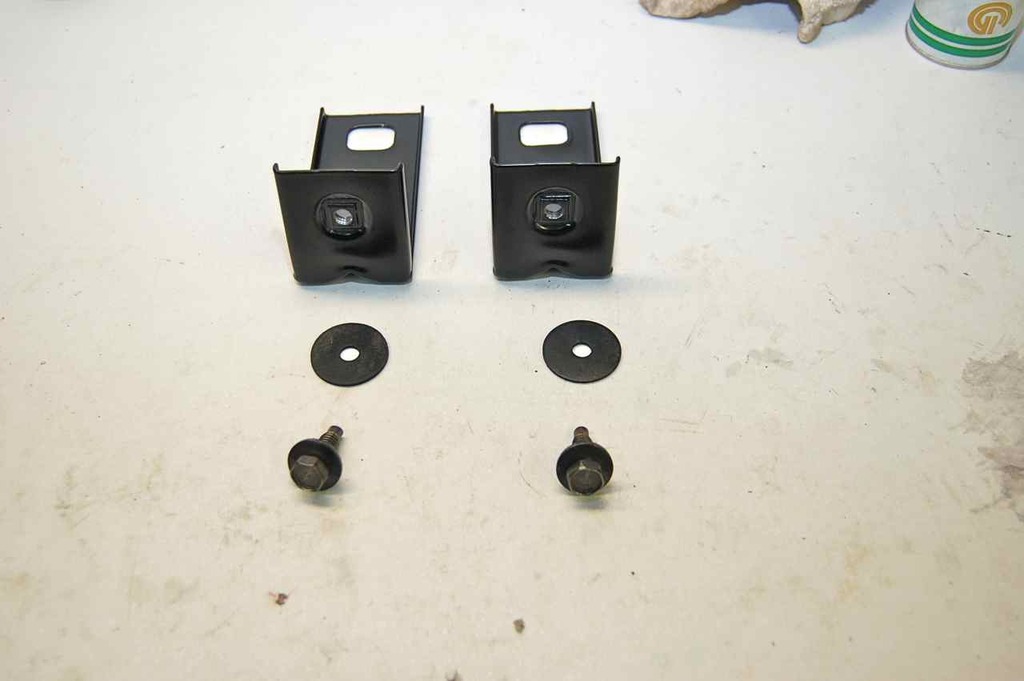
Next these brackets are installed in the bottom of the door. These hold the train track guide plate at the bottom. Leave these a bit loose.
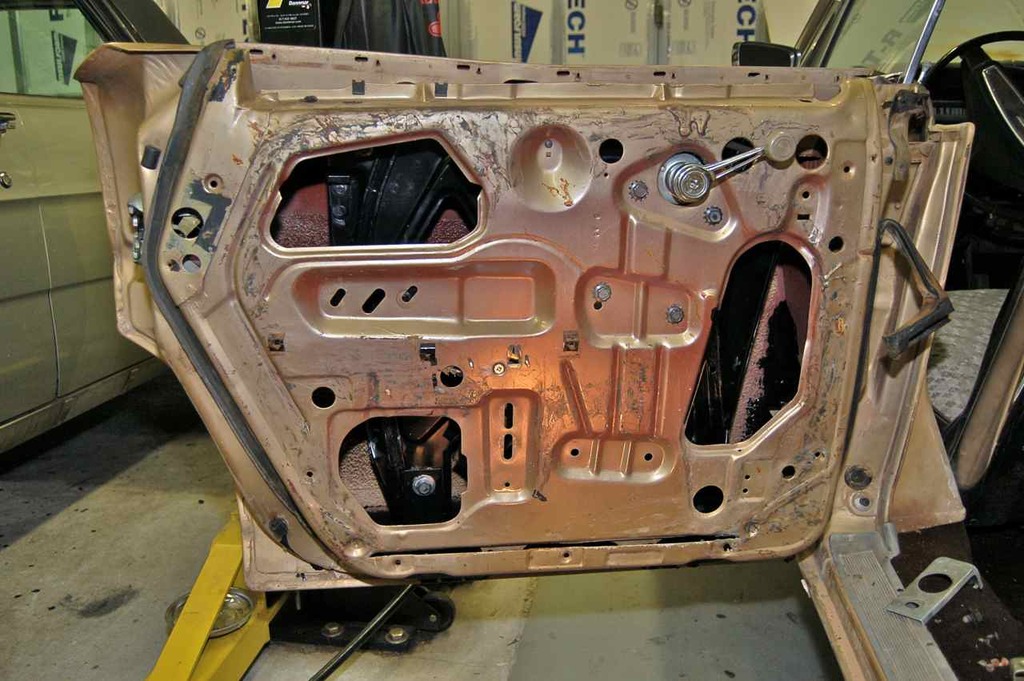
Install the train track guide next, also leave loose, especially at the top.

Remove the guide track from the window and the window slides into the track assembly plate. Put the regulator in the down position first. Also I don't show from here on out, but everything gets lubed.
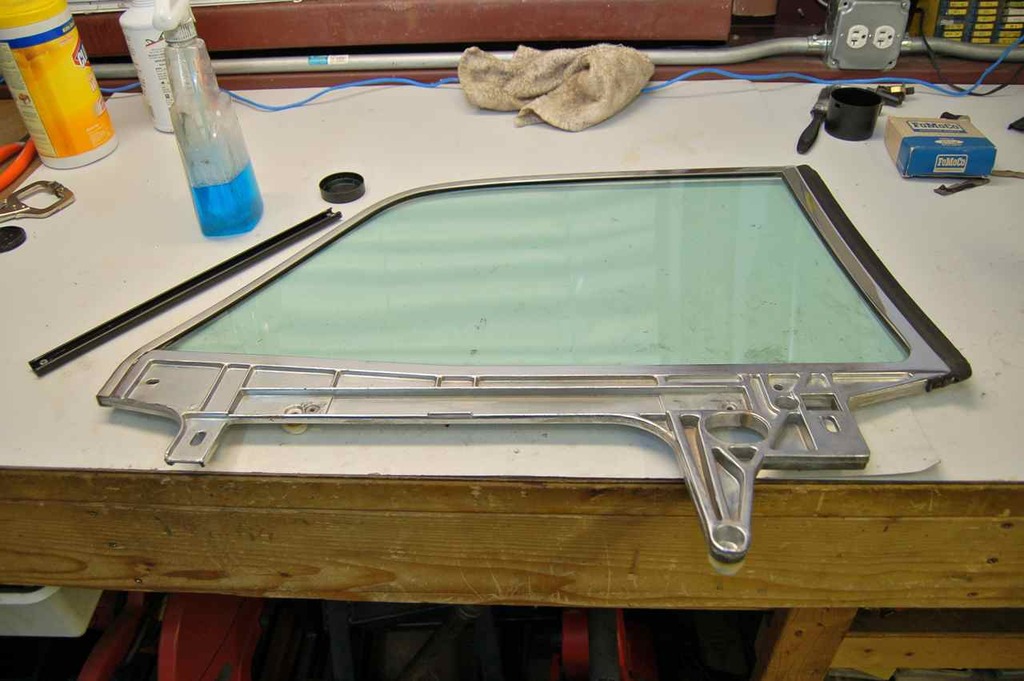
I used glass suction cups (Harbor Freight) to keep the glass from going all the way to the bottom.
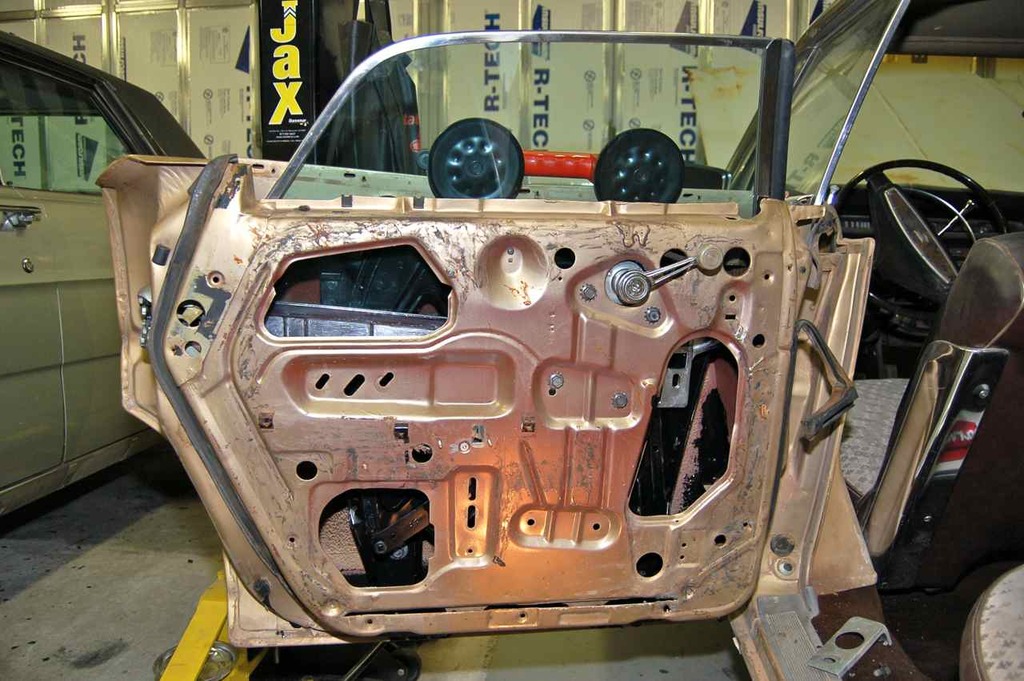
Next wiggle in the guide plate that gets screwed into the window. Insert the rollers into the guide plate and roll up the regulator and hold glass up to screw into window frame.

Next install the mini guide plate that controls the tilt (to a degree) of the glass.
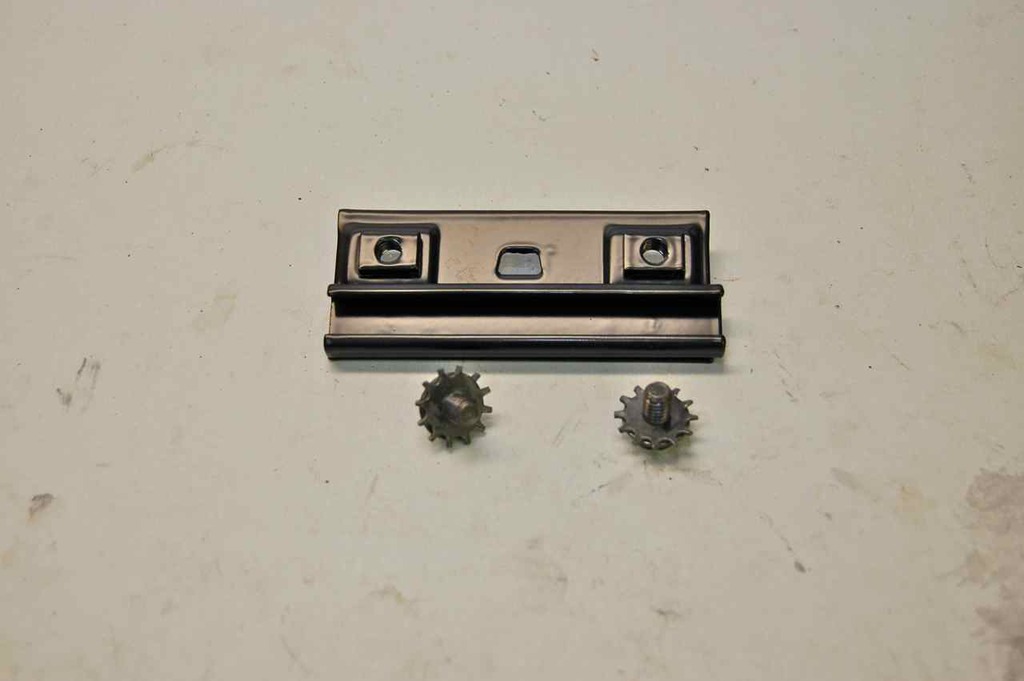
Now the regulator is securing the glass in place.
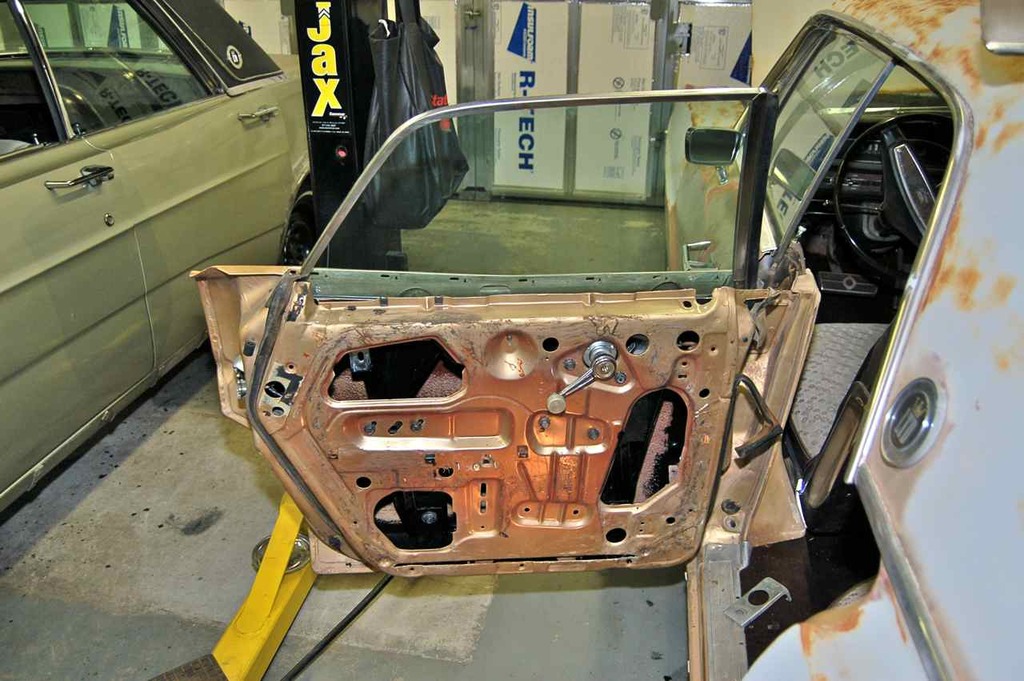
Next roll the window down far enough to gain access to the screw holes for the exterior brightwork/antirattle strip holder.
