1994 Mercury Grand Marquis, Fixing Up a Used Panther : part 2 HVAC Plenum & Blower
2023, November 14
part 1 - part 2 - part 3 - part 4 - part 5 - part 6 - part 7 - part 8Hello Again,
I gave this escapade some thought last night and thought well I should do a better job at pictures and being less facetious ( I said less, not totally eliminating it ) about Ford's lack of detail and quality in the 90's in this case.
This could give someone a good idea of what they're getting into if they decide to tackle a project like this with their Panther. So the new plan is to go over the key steps in assembly and anyone can read this in reverse for disassembly.
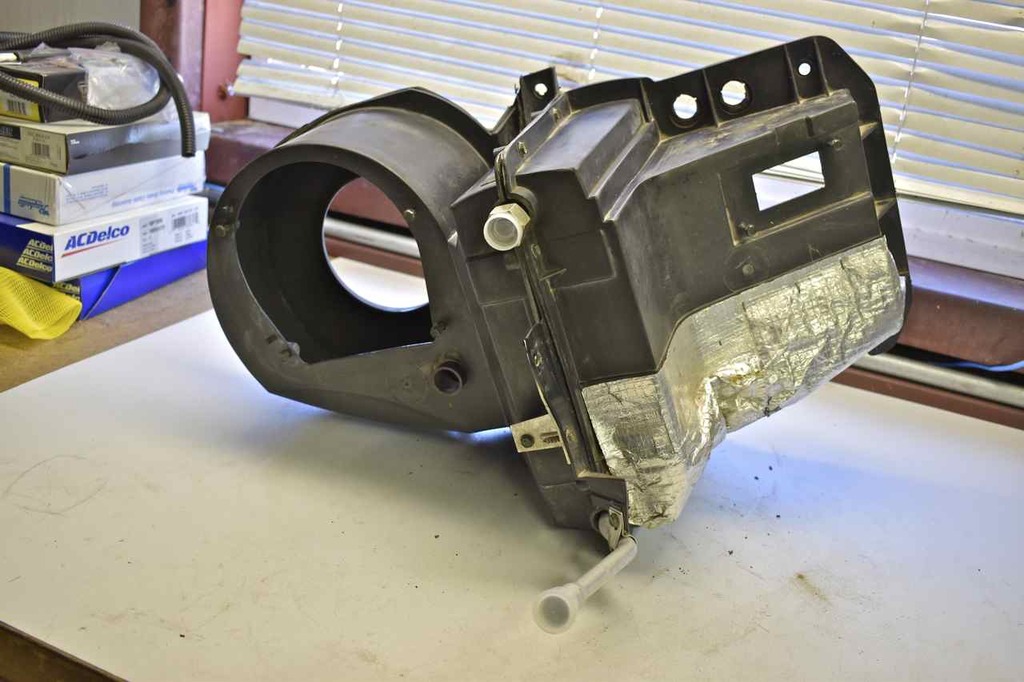
So enough talk and more action. Here's the HVAC plenum containing the evaporator.

The problem is there is one contiguous gasket connecting both halves together. This, due to age will rip if you try to unstick it off one side.
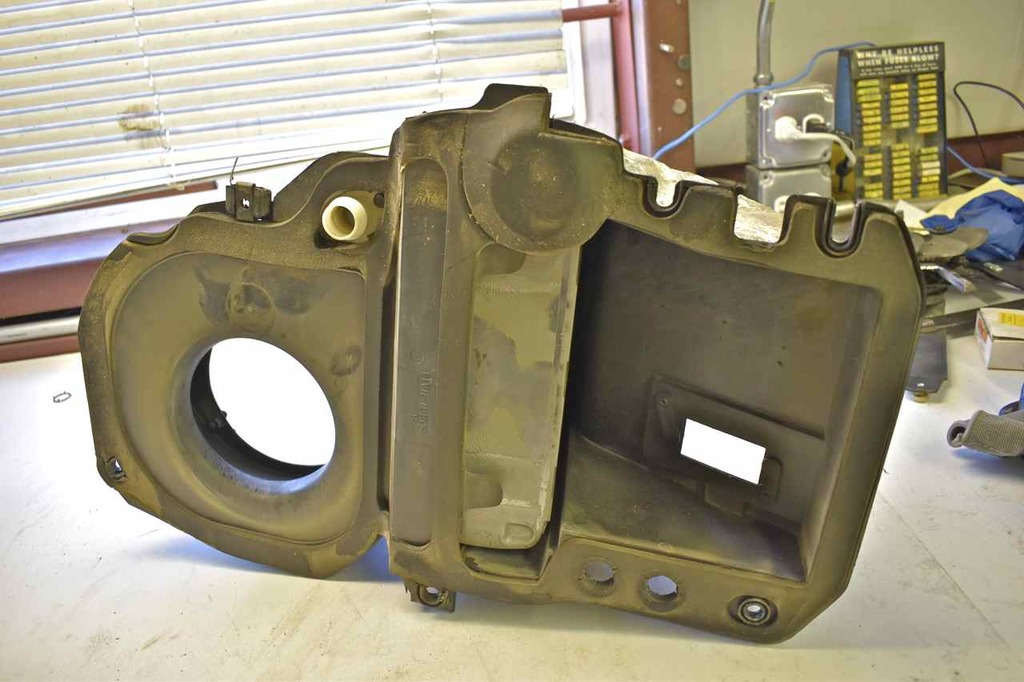
split the case and hinge it on that gasket....carefully. Use a putty knife to work around the seal on the halves.

transfer the plastic retainer and line clamp to the new core.
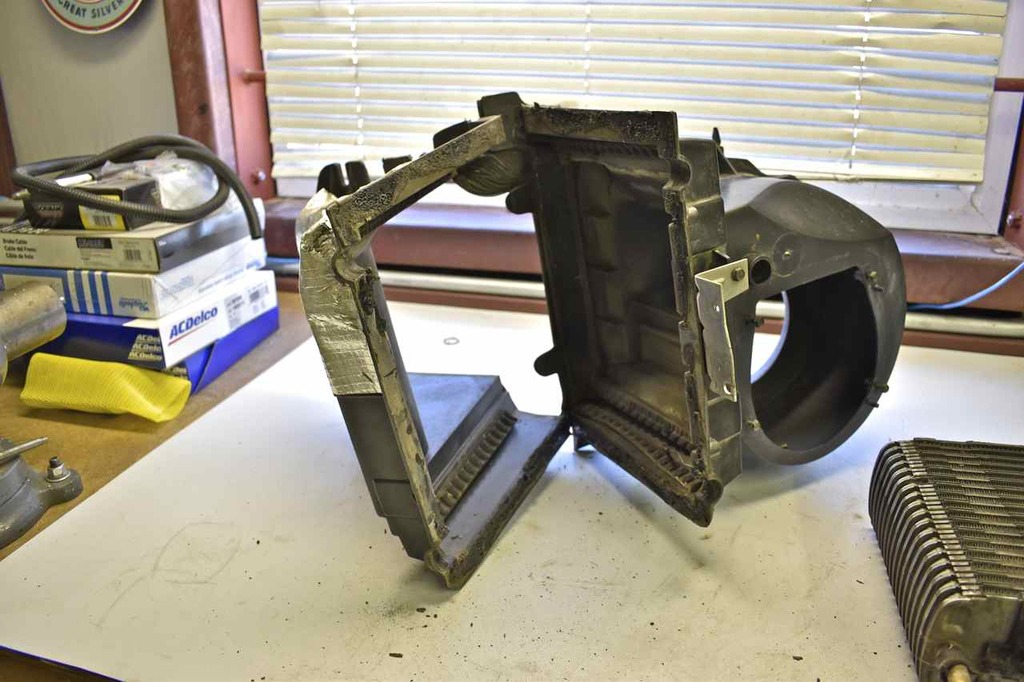
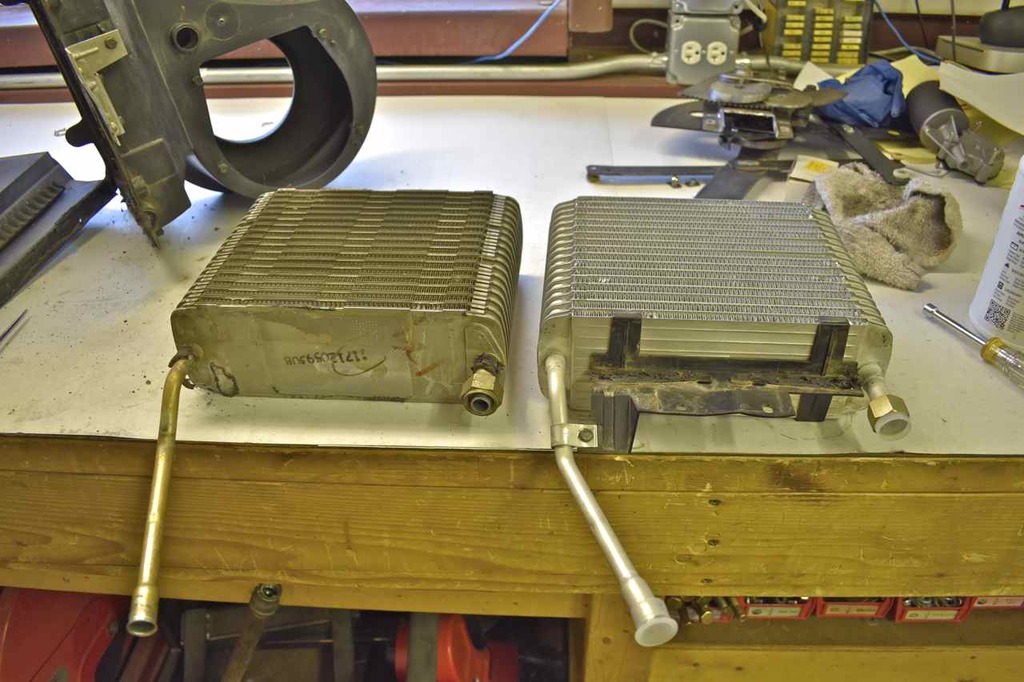
Before tightening the screws on the case make sure the plastic retainer on the core lines up with the screw holes on the front part............ Otherwise you'll be doing that twice
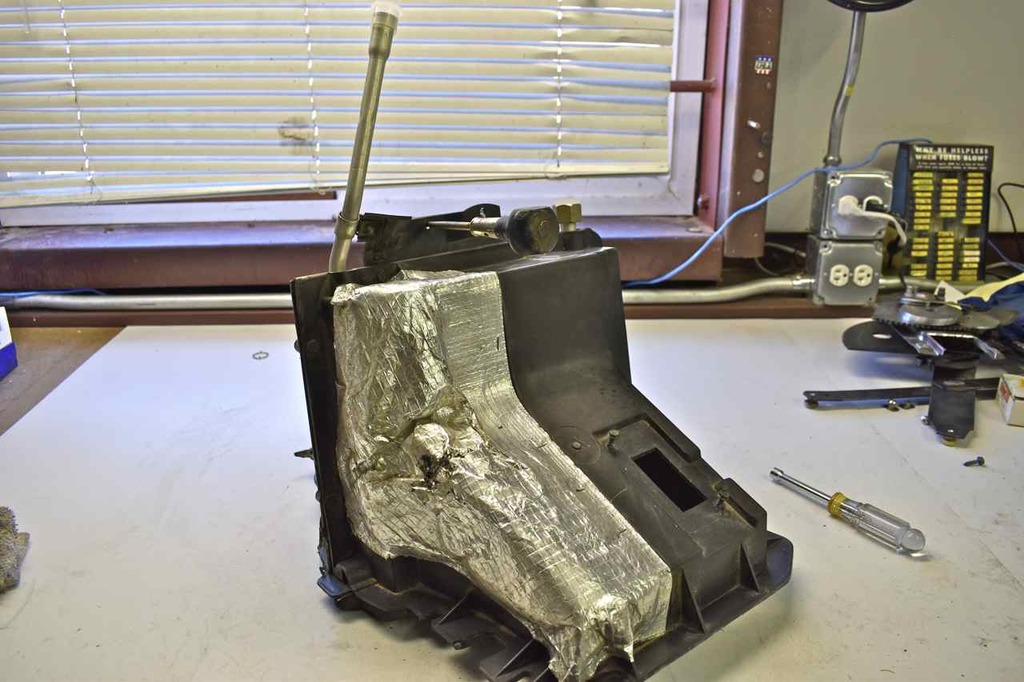
New core installed in case
I swear Ford wanted to see how many different fasteners they could use to hold the plenum to the firewall. There's two sheet metal screws (different thread pitches) that go atop the plenum. The self tapping sheet screw goes on the right hand side and the regulator sheet metal screw on the upper left.
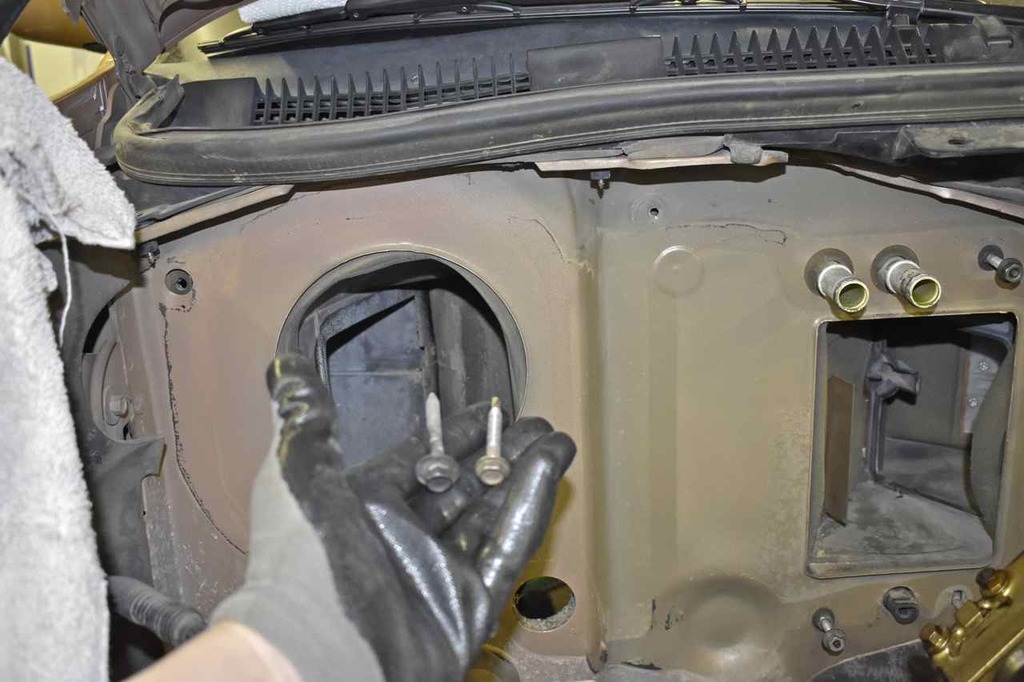
There's 3 studs with nuts. 1 on top and 2 on the bottom.

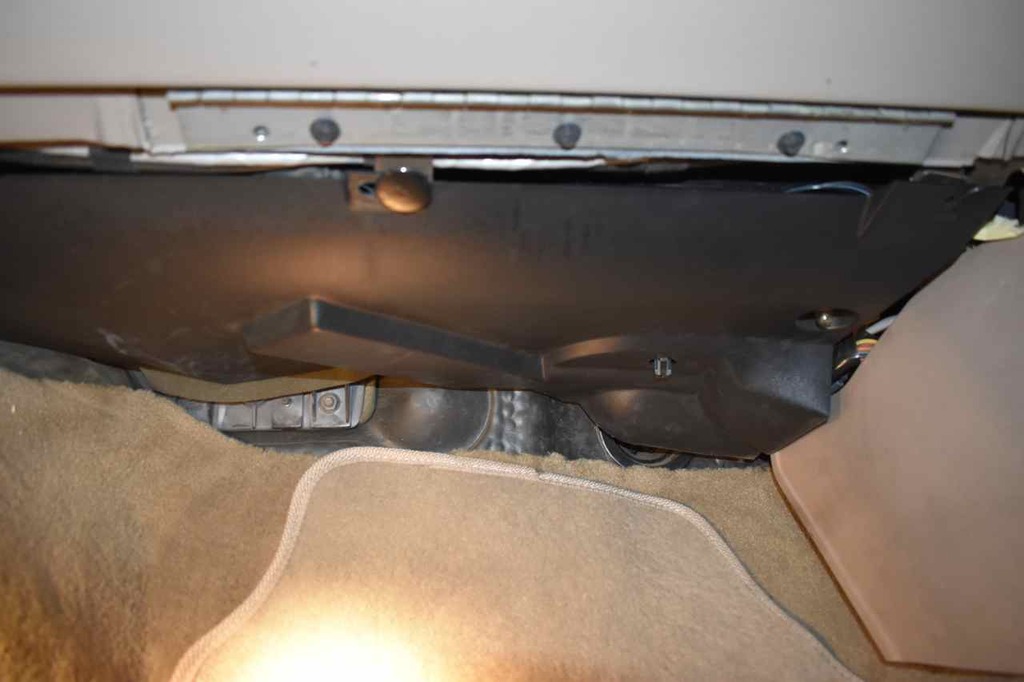
Once the plenum is on and those screws are in and the nuts tightened, there is one sheet metal screw that needs to be installed from the inside of the car under the dash. Yuppers Ford wanted to see how convoluted they could attach this thing.

Here's the other screw (pointing to it with the socket), once that's tightened, attached the cream coloured hose to the port on the left of that screw. You'll only have this hose and consequently port if you have automatic climate control, with a manual HVAC head these will not be present.

In case you're wondering where that hose ends up, it snakes around the instrument cluster and comes out above the clock and this is the suction to the blower motor. Right behind that opening is a thermistor sampling cabin air temperature. As this is suction it pulls in cabin air and gets a temp reading for the auto-climate control system.

To remove the lower dash plastic valence to get to that screw and hose (if so equipped) these will come in handy so you don't have to molest the plastic pieces in removing it.

The good news is this is all that's needed inside the car. The bad news is there is still a crap load of parts to put back together in the engine bay.
On the blower, good grief it's so cheaply made it's even glued together! But now is a good time to have a peek at the brushes (life left) and blow all that old brush ground down brush dust out.
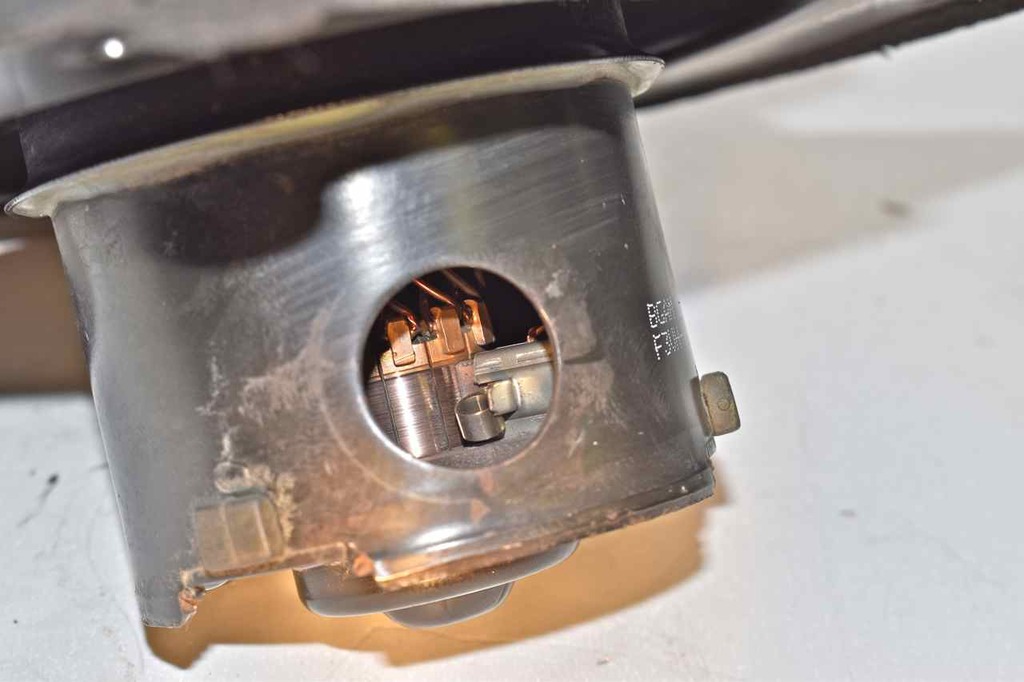
The brushes still have plenty of life left, however if the armature is hard to turn or binds or the bearings squeal/k then just pitch it and you'll need another one.
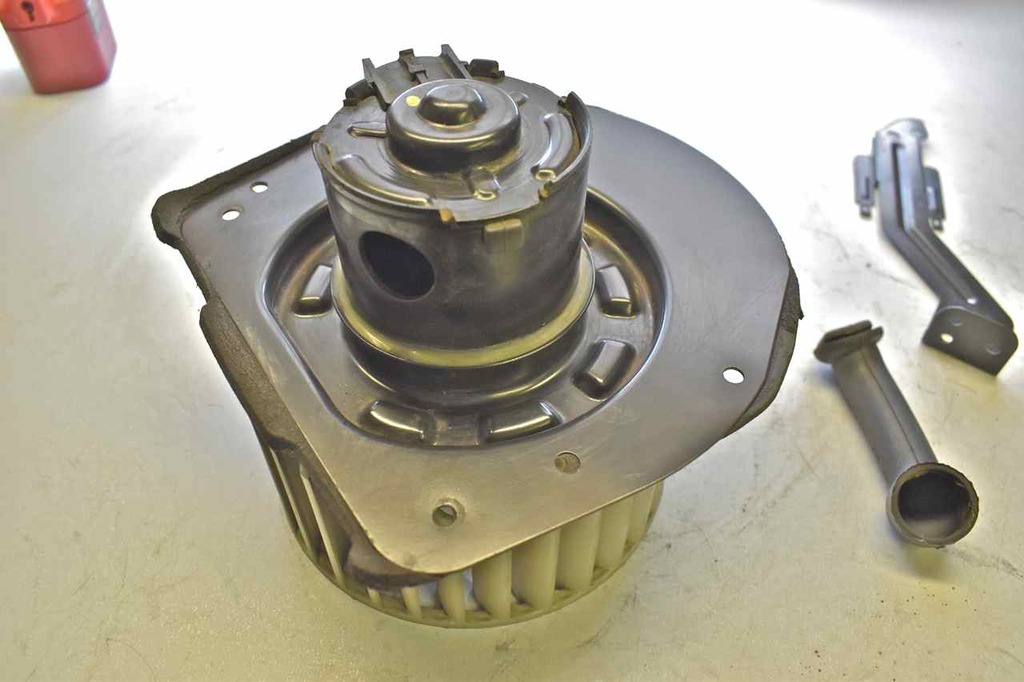
Can install it now.

Clean off the mating surface on the head for the new rocker cover gasket. You'll notice it's still a tight fit getting that HVAC plenum on and off. You'll be brushing up head and control arm taking it off and on, but nothing detrimental to the parts.

New parts.
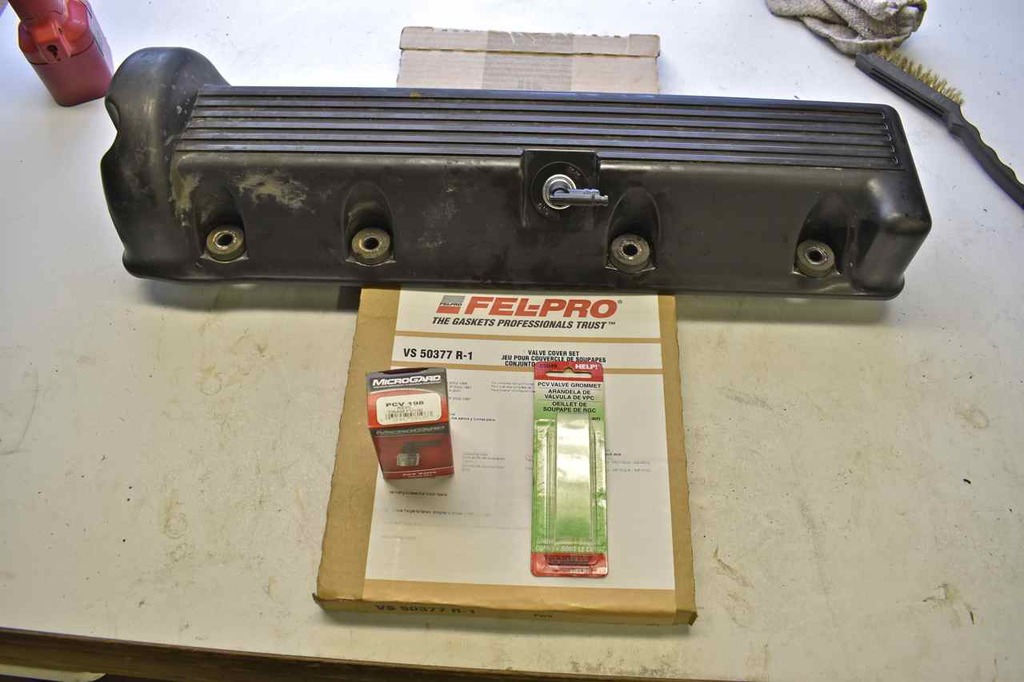
Installed that rocker cover, geeze that silicone gasket is a pain in the arse. It doesn't stay in on its own, needs sealant, which kind of defeats of the whole purpose of using silicone gaskets in the first place . Ford could tear a page out of GM's 90's book on small block and rocker cover gaskets that use silicone reusable gaskets. Much easier!
