1994 Mercury Grand Marquis, Fixing Up a Used Panther : part 7 Radiator and HVAC
2023, November 14
part 1 - part 2 - part 3 - part 4 - part 5 - part 6 - part 7 - part 8New radiator, installed the clips and the cooler line adapters.
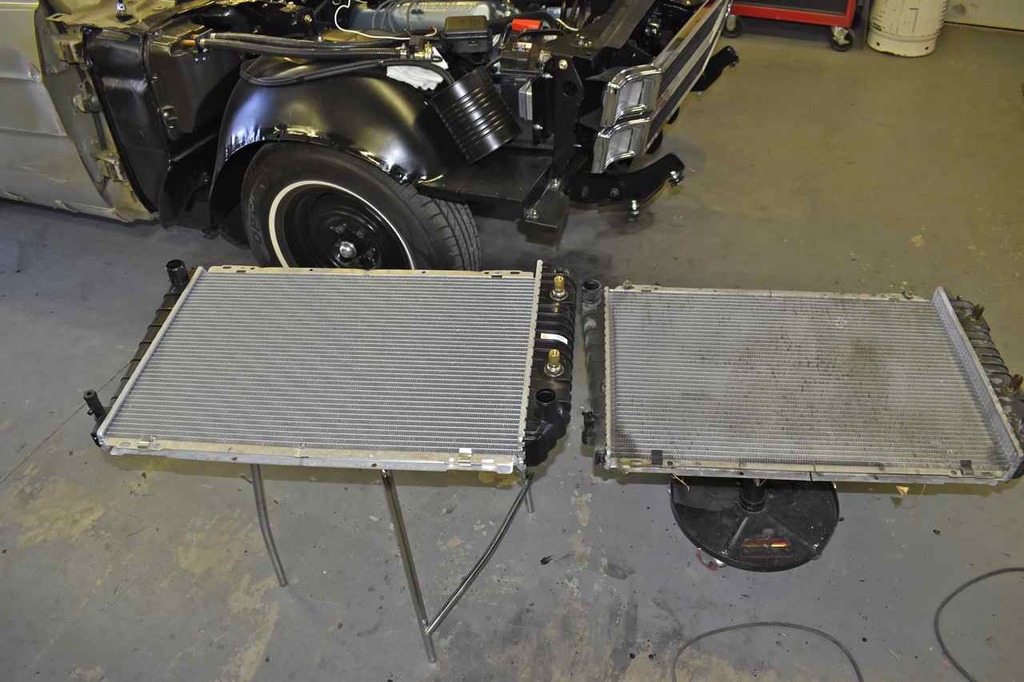
Can see the old core was weeping and it was getting tarred and feathered, it's quite fuzzy. It's not a radiator it's a Wookiee.
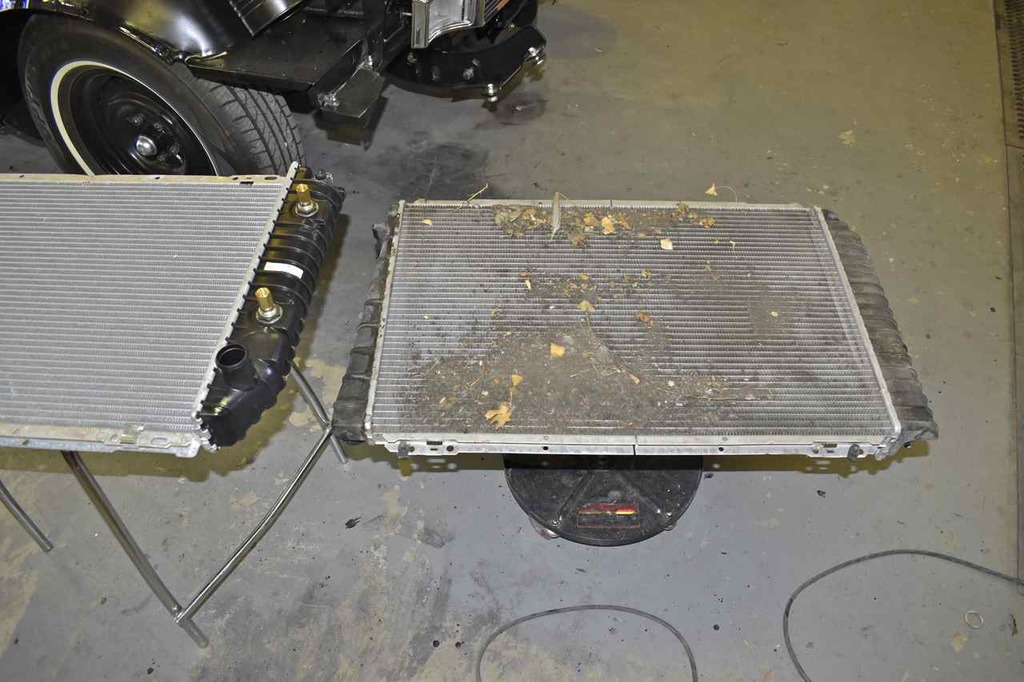
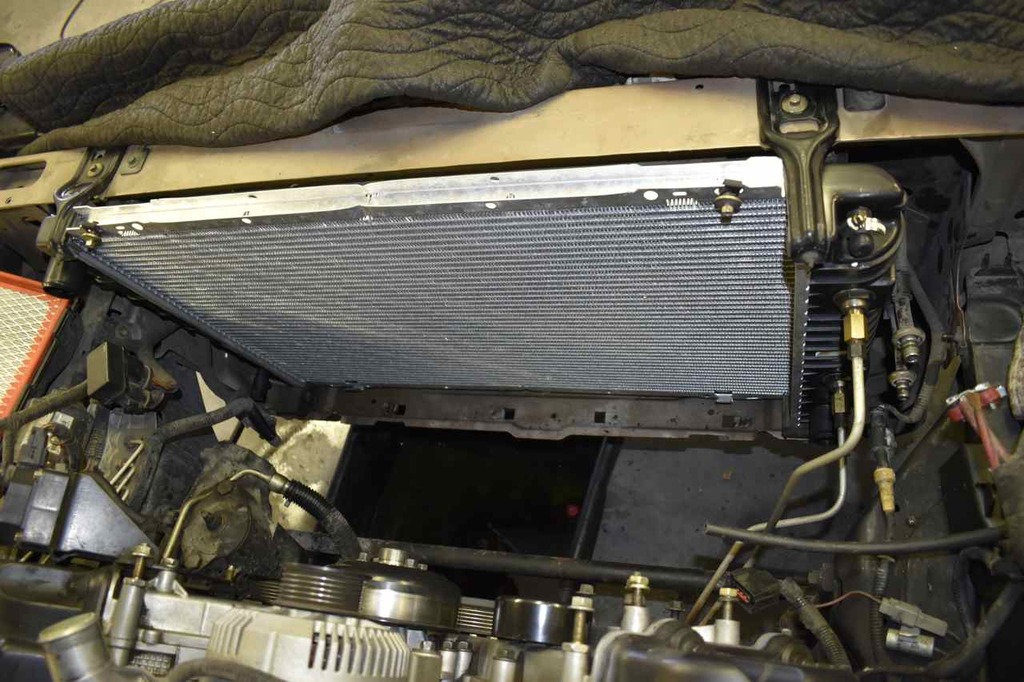
Installed
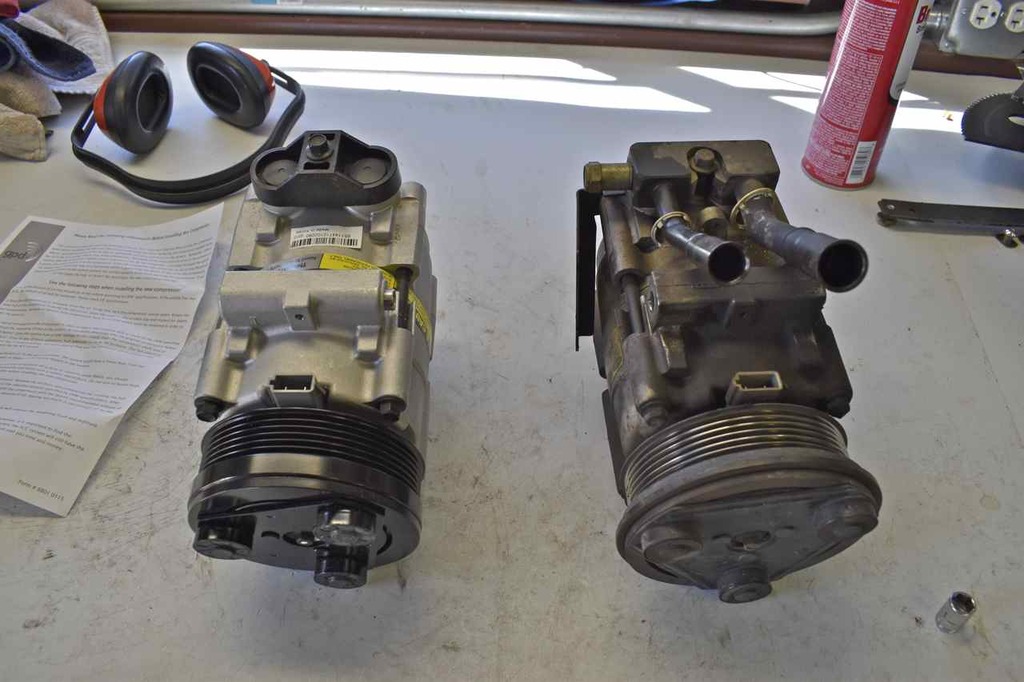
The new air con compressor. Needs the manifold and side bracket transferred. Also noting the new compressor already comes with 7 ounces of PAG oil which is the amount the car requires. I did flush out the condenser so the oil is already accounted for.
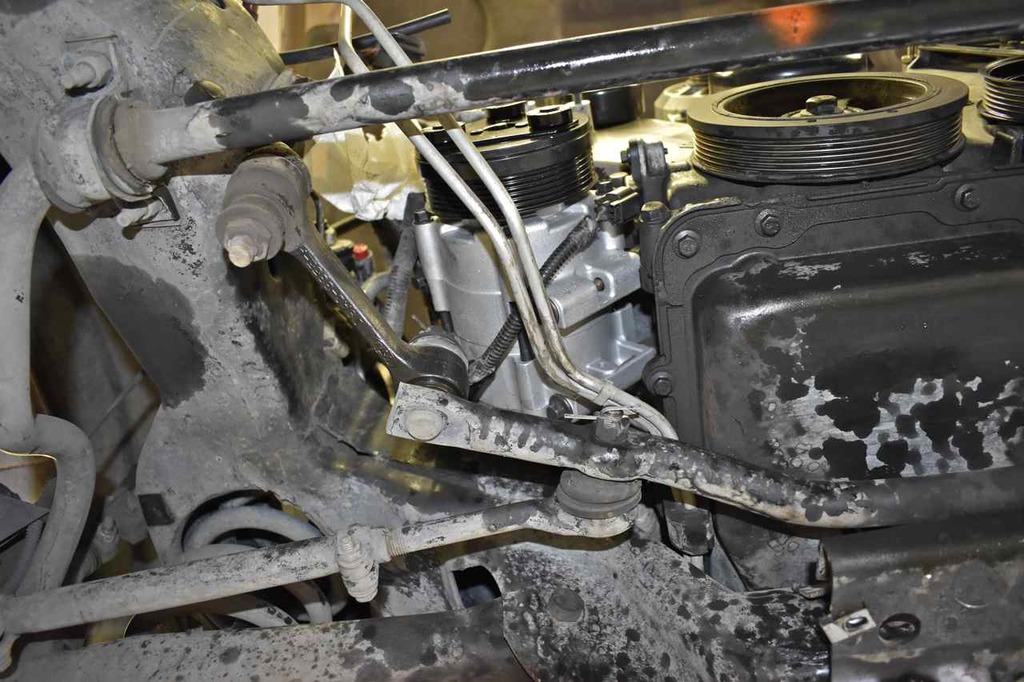
Installed and more of the wiring harness connected (clutch and crank sensor)
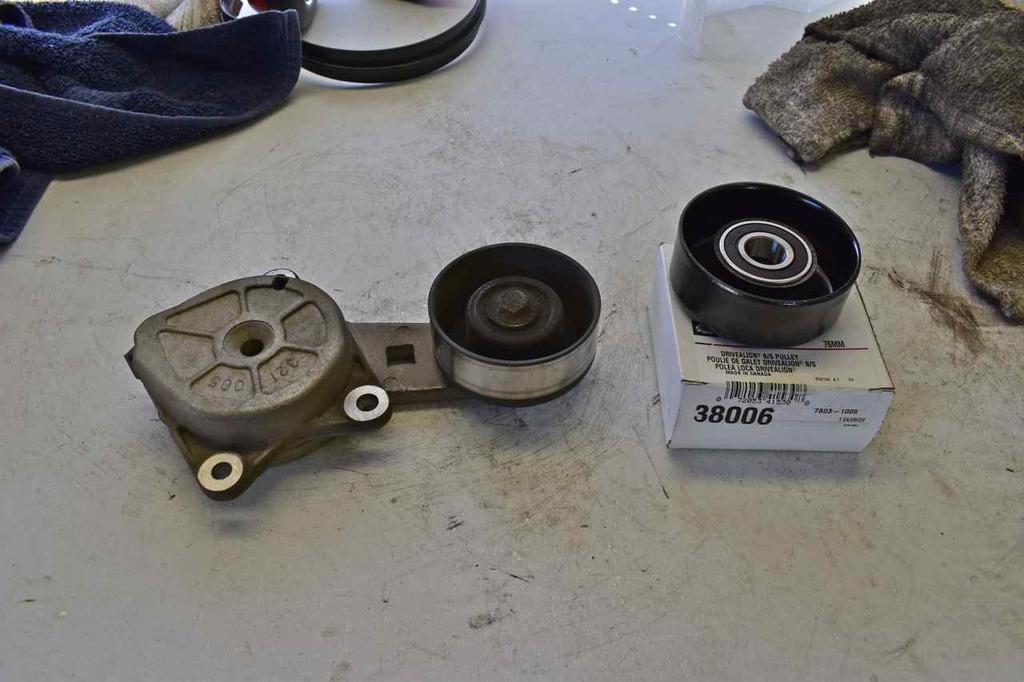
Replaced the pulley in the tensioner.
Installed that.
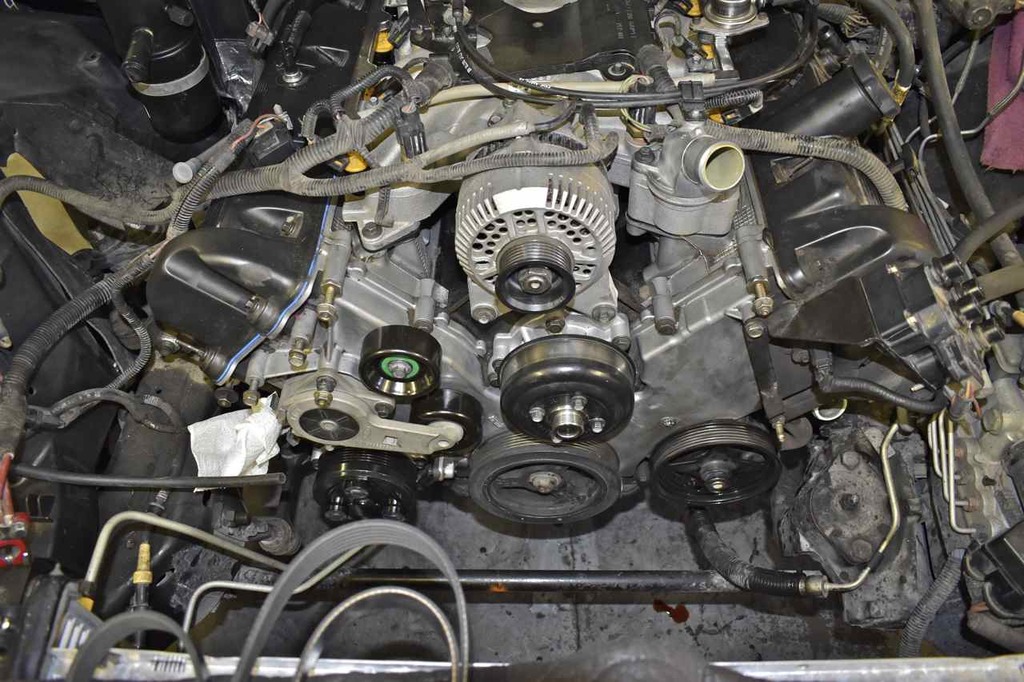
New belt.
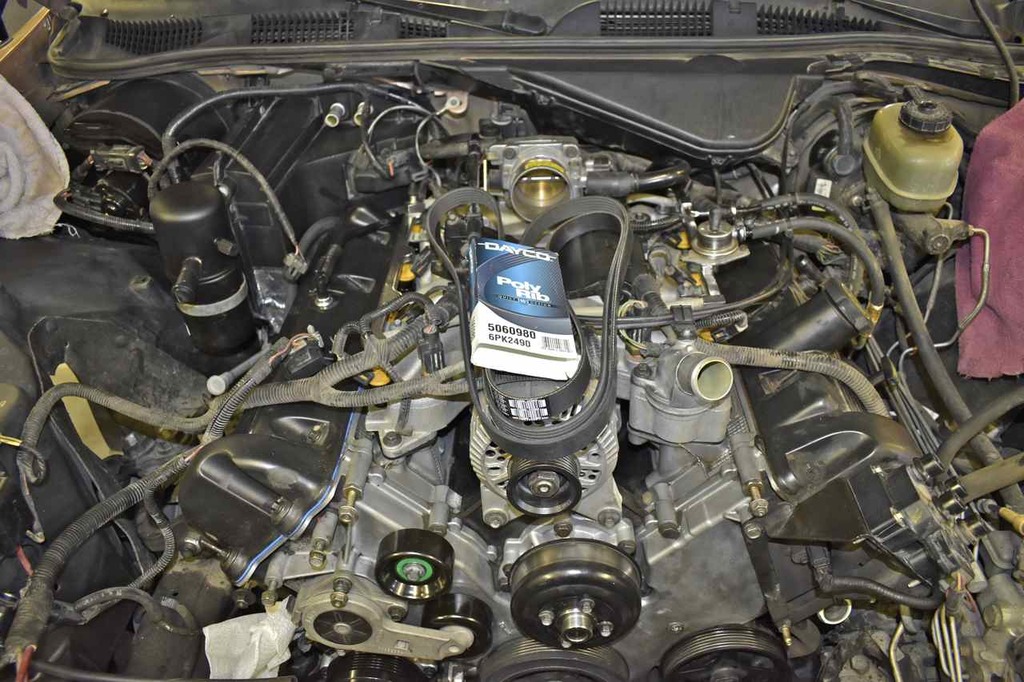
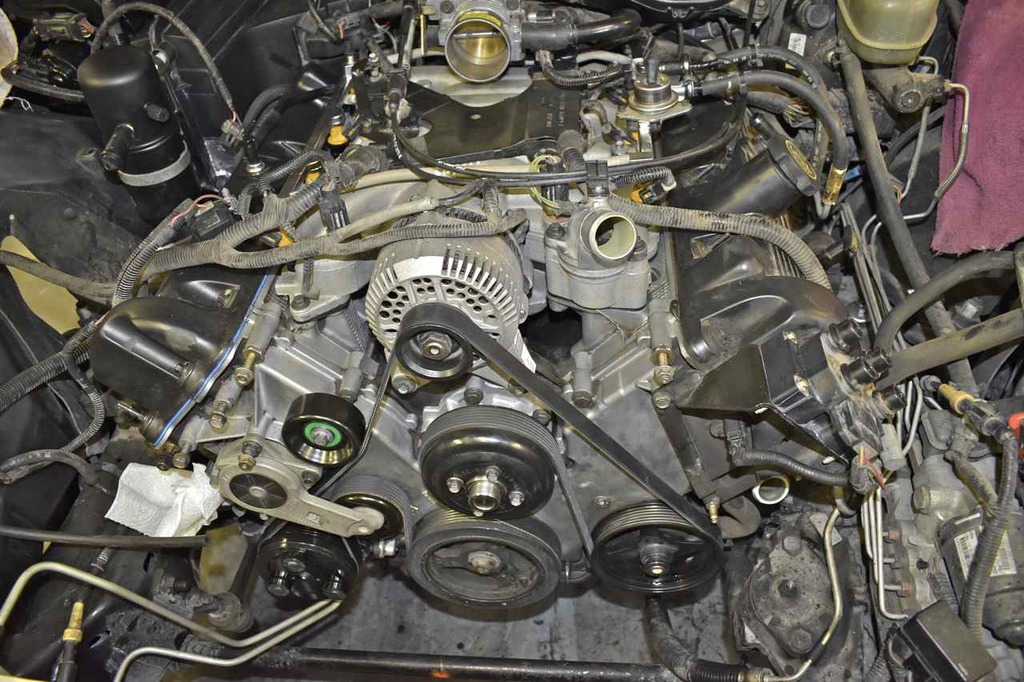
New high pressure refrigerant hose. The old one had the high pressure port damaged. Only thing needed here is to transfer the high pressure switch onto the new hose.
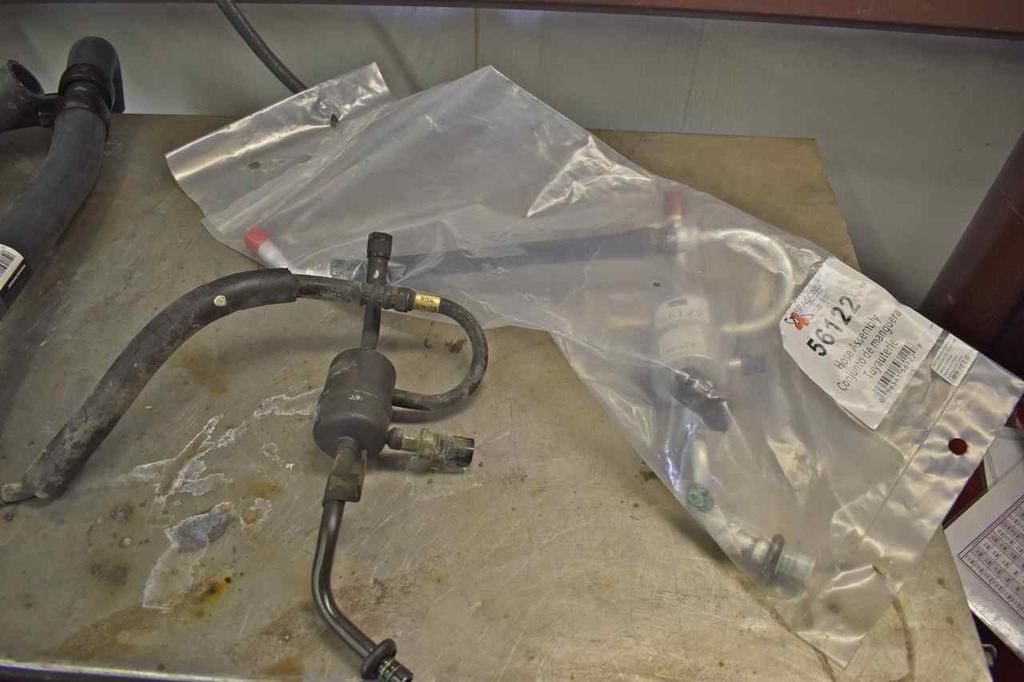
Installed and high pressure switch connected.
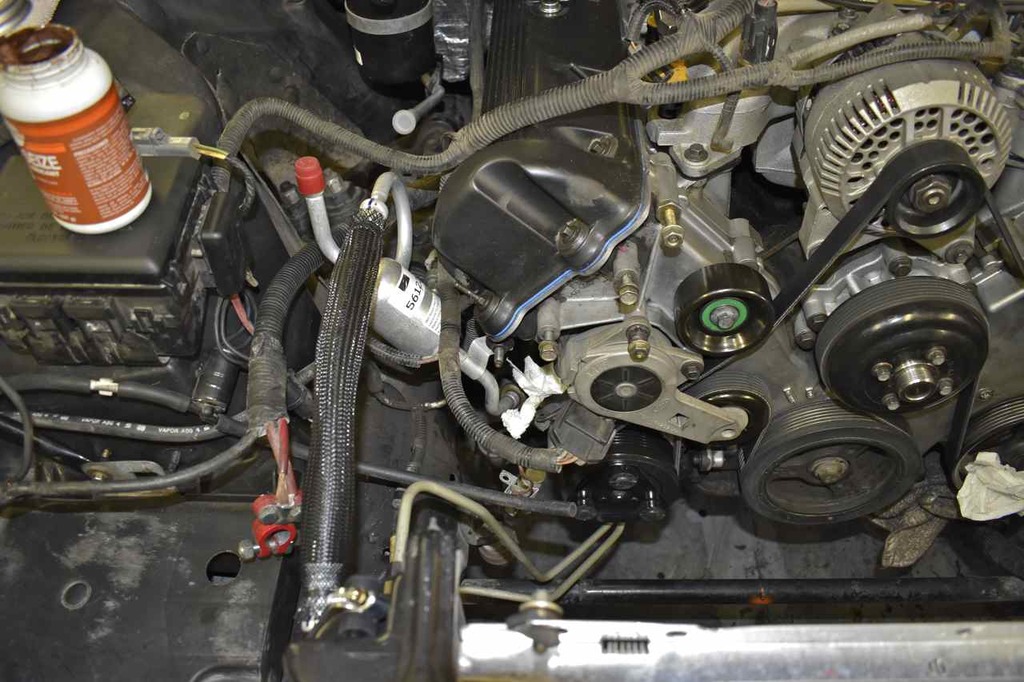
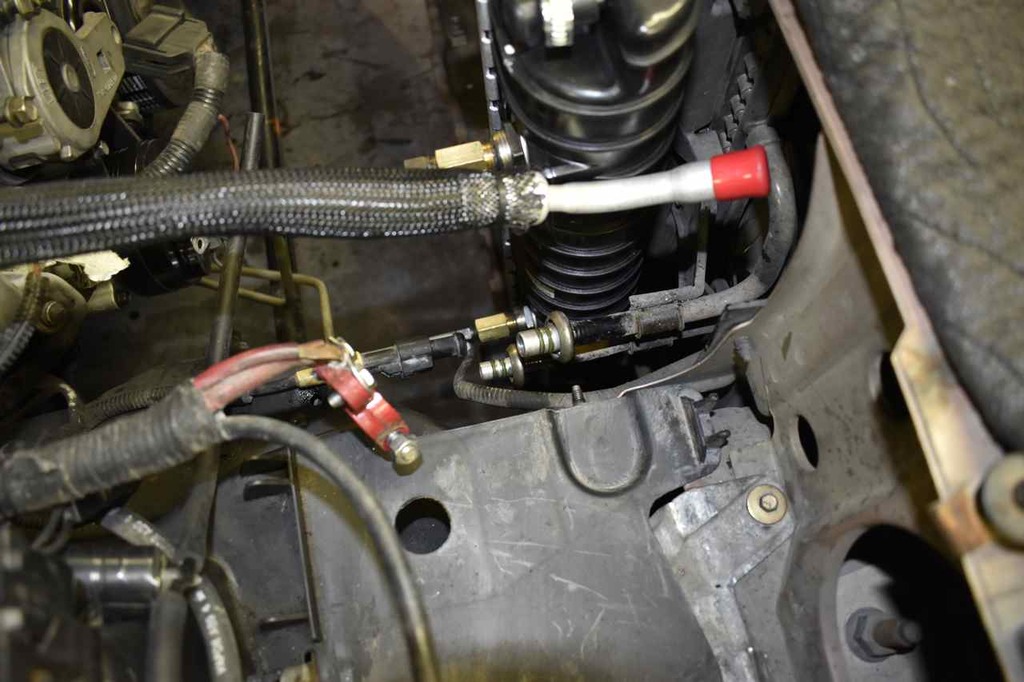
Do need to replace the O-rings on the condenser fittings.
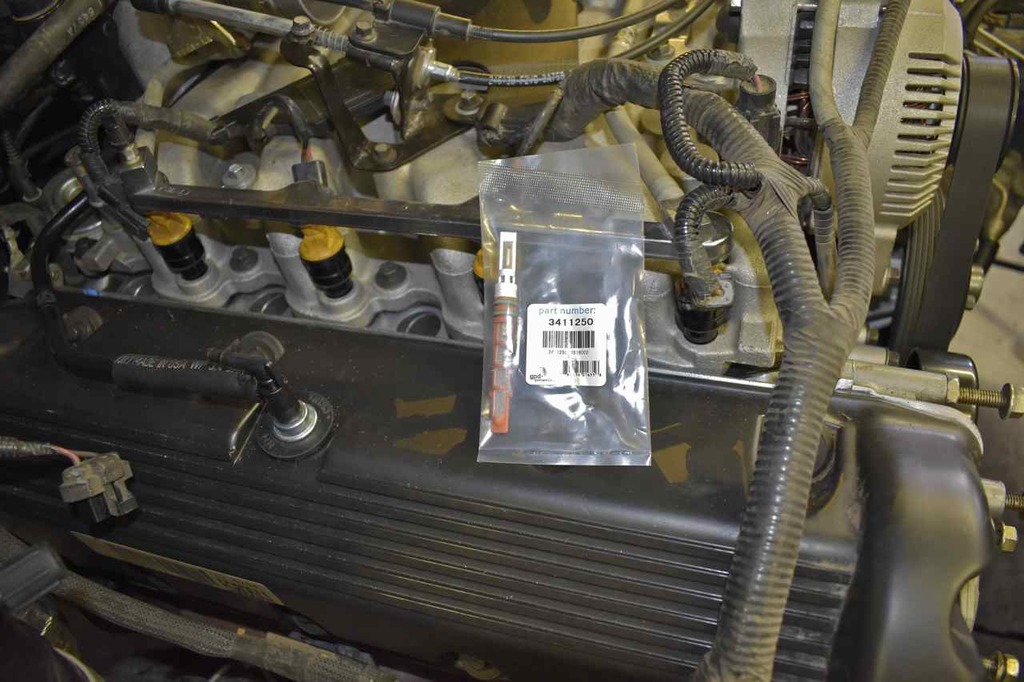
New orifice tube. First time I noticed different colours as options for a car. The different colour (orange in this case) represents different size orifices for different cooling rates. Be sure to check the old one first.
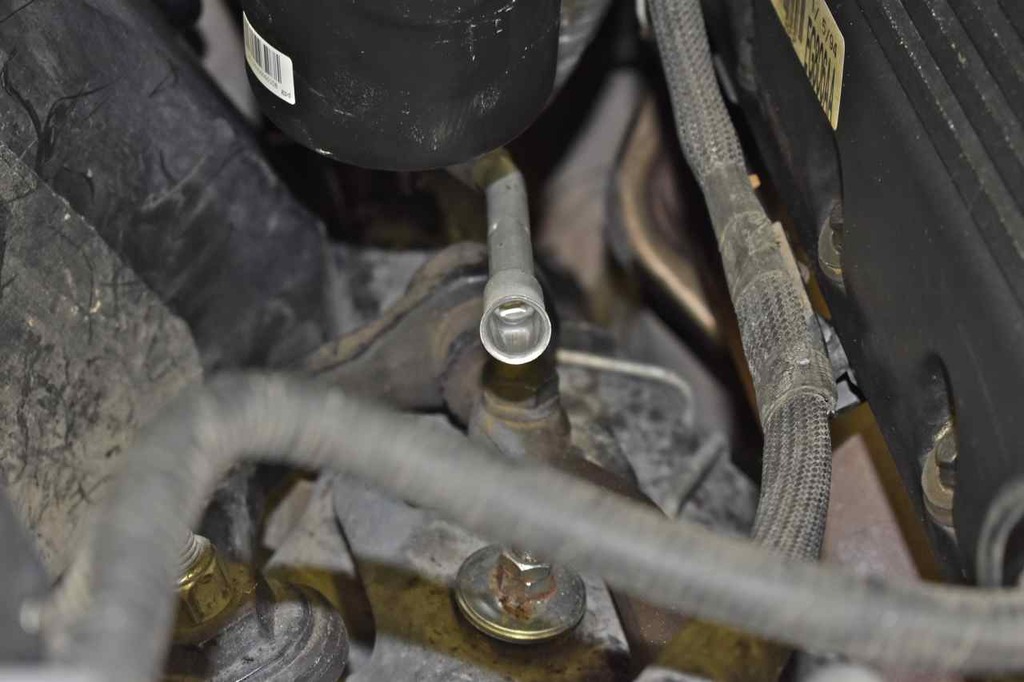
Lubricated in oil and inserted in the liquid line leading into the evaporator.
Installed liquid line next after replacing those O-Rings and lubing with PAG oil.
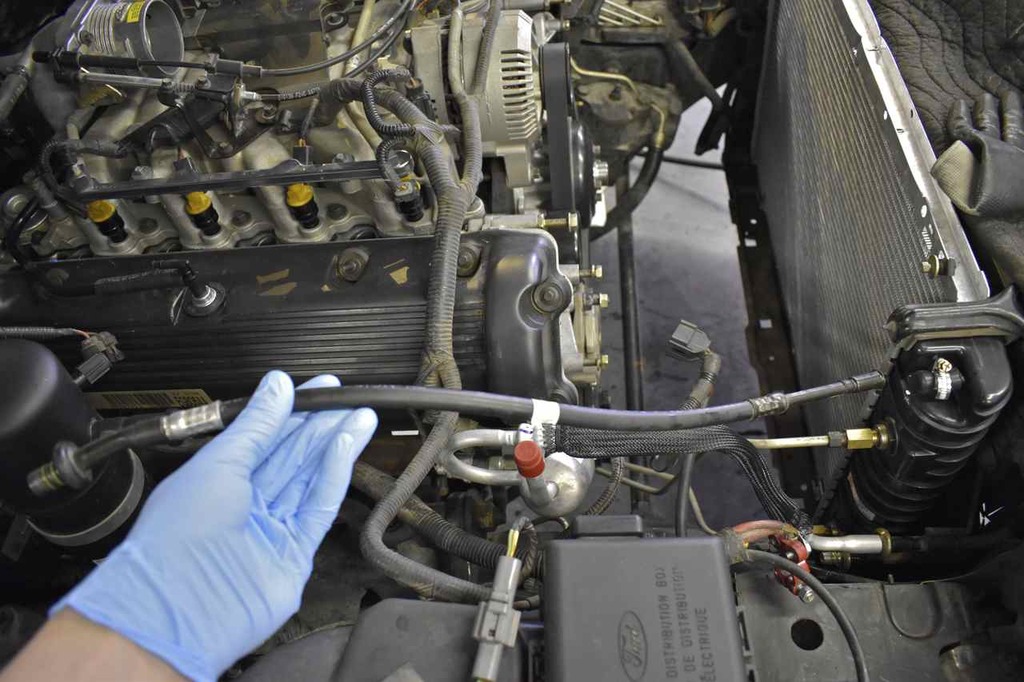
This was a tight fit with the aftermarket evaporator (the liquid hard line was a tad shorter).
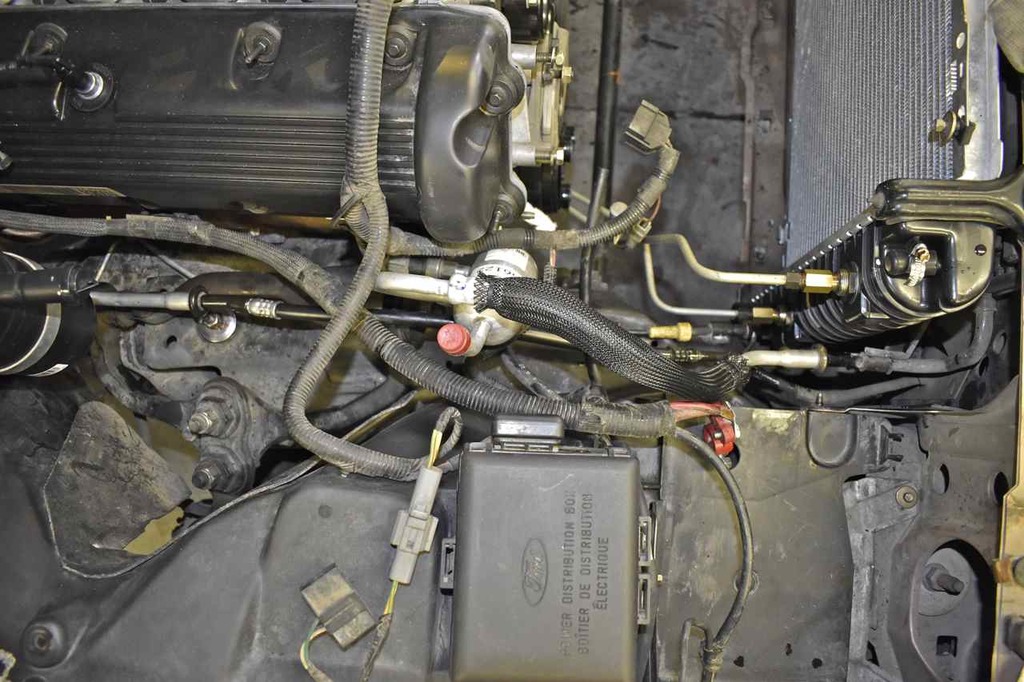
Next the suction line, again replace O-Rings and lube.
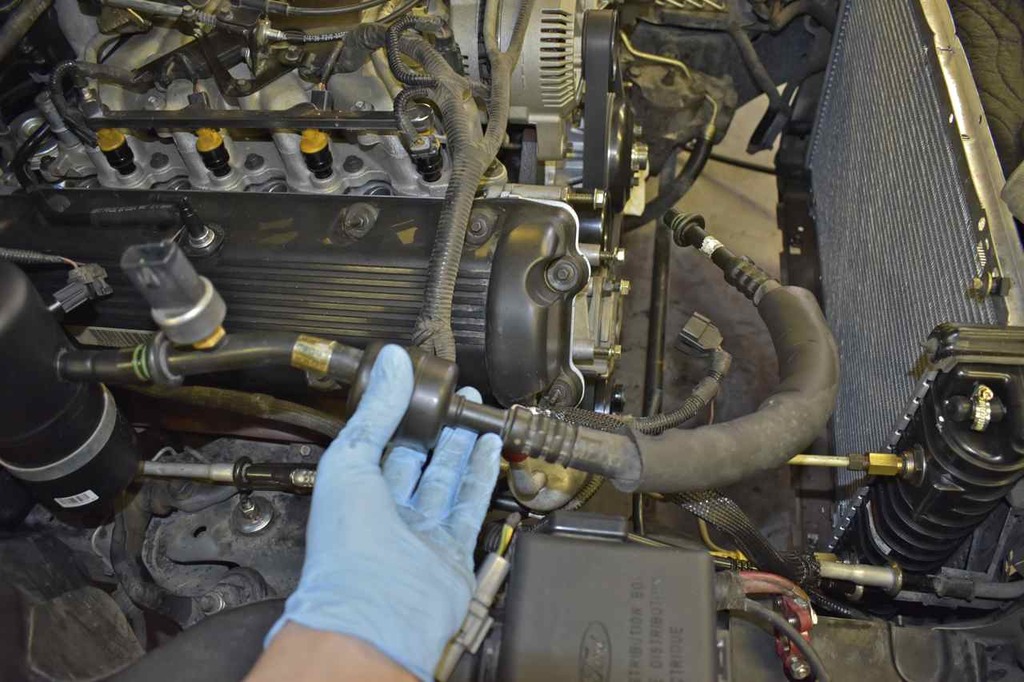
Installed.
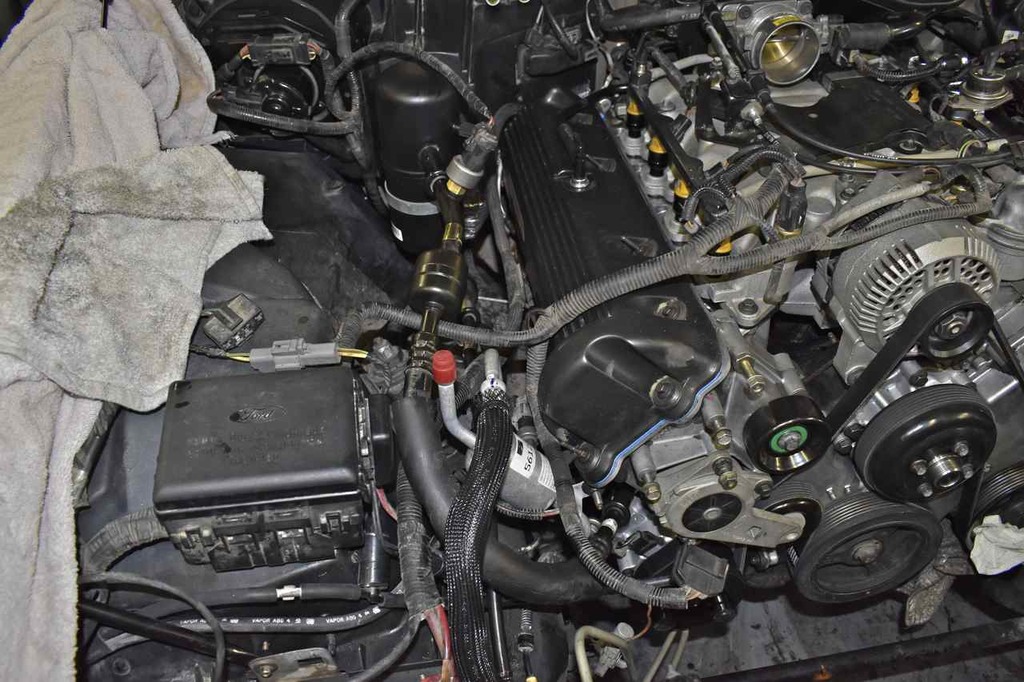
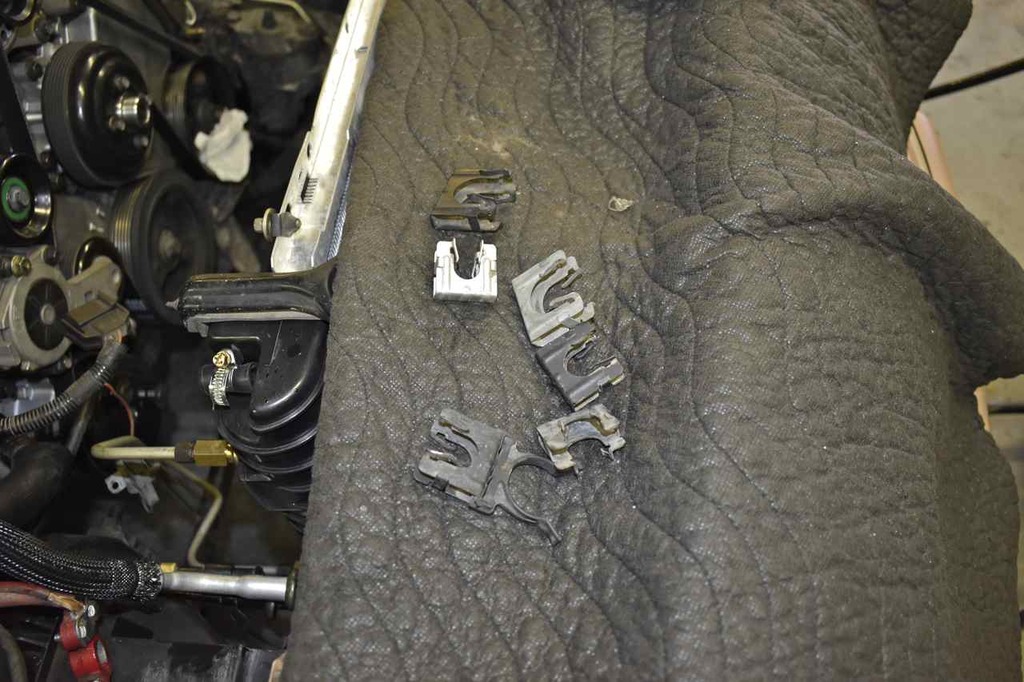
Installed the Spring Lock assurance clamps.
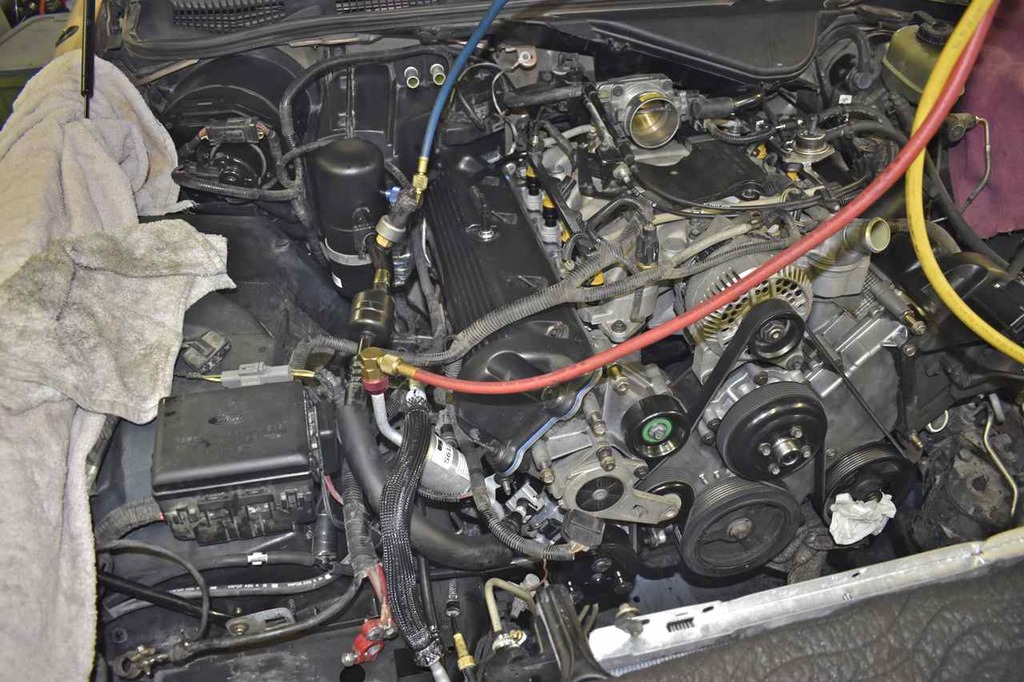
Started evacuating the system.
