1973 Caprice - Converting GM 12 Bolt Rear Axle to a Ford 9" Axle : part 7 Custom Lower Arms
2023, November 14
part 1 - part 2 - part 3 - part 4 - part 5 - part 6 - part 7 - part 8I wanted to paint the calipers to match the new colour the car will be. For 25 years I put up with the white and it's not my thing. I've always like the plum crazy purple that Dodge had, but I didn't want to be a copy cat. So I found a GM colour called Cadillac Chateau Mauve and had it darkened a bit and loaded with different metallic flakes of dark red, black, and green. It looks like a regular medium lavender in low to medium light but in the sun it explodes with depth.
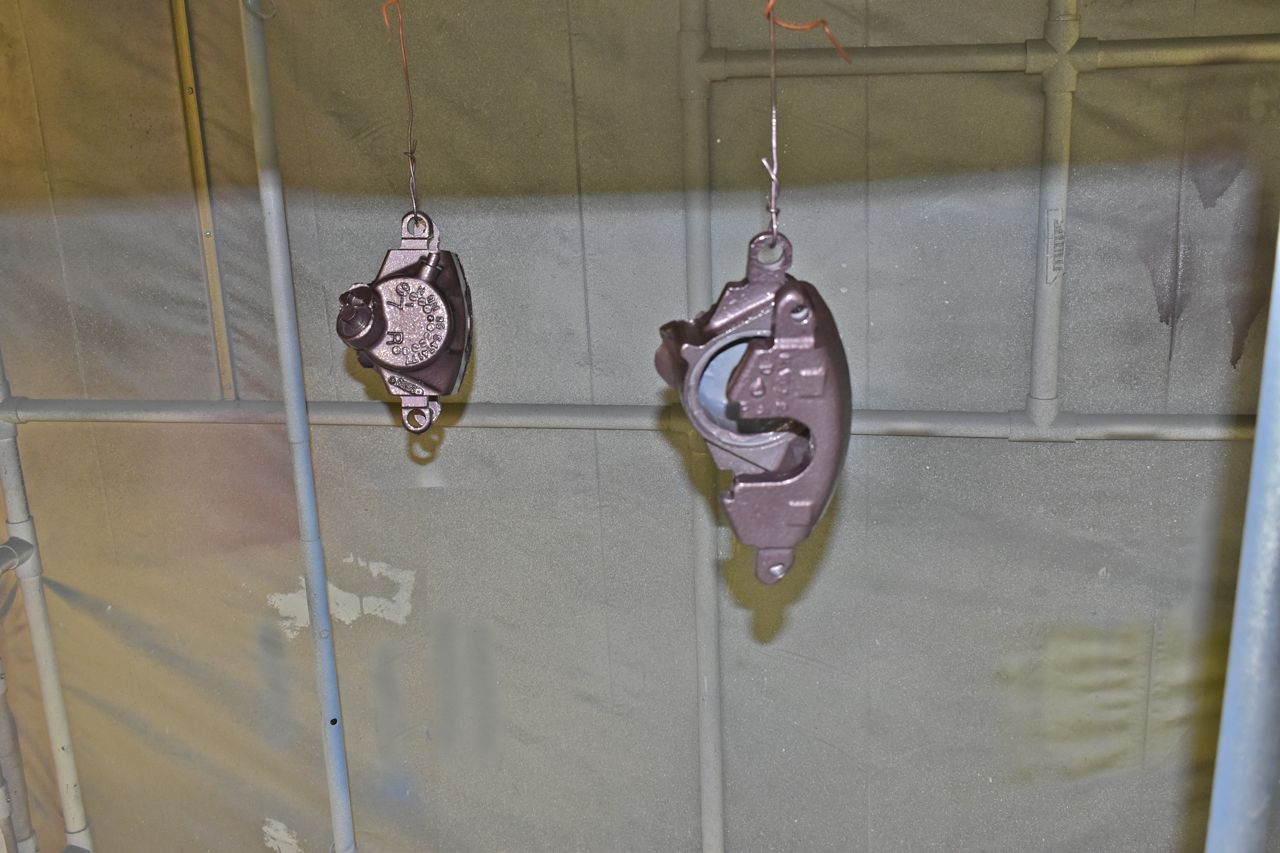
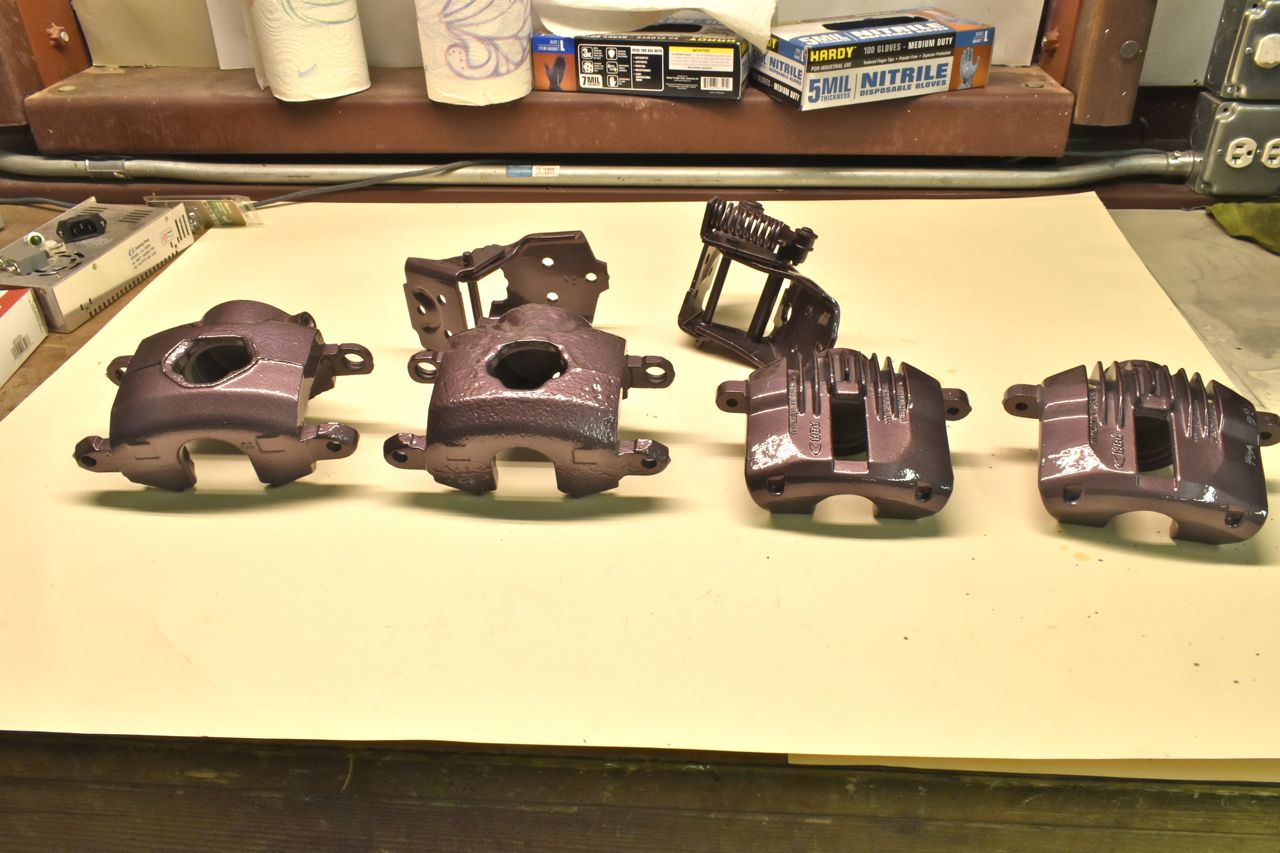
Every caliper received new seals, hardware and pads. Not less forgetting one new piston.

It's subtile but when the rest of the car is painted I think it will look nice. I have to replace the doors, make new rockers and replace the rear quarters.

Spoiler, here's the new drivers door.

I still have to install the lower factory trim. This colour looks so much nicer than OEM GM antique white (Code 11).


Here something I wanted to touch on. Old V belts. If you're are old but look ok, replace them anyway, that is if you do not like being stranded.

My old belts were close to 25 years old and from first glance look in really good condition. But like tyres, rubber degrades over time.

Bend that seemingly good shape old belt backwards and see what happens. These will eventually just snap when you are driving. Don't be a dork like me and wait so gosh darn long to replace them.

OK, making the final set of rear lower arms for the old girl.

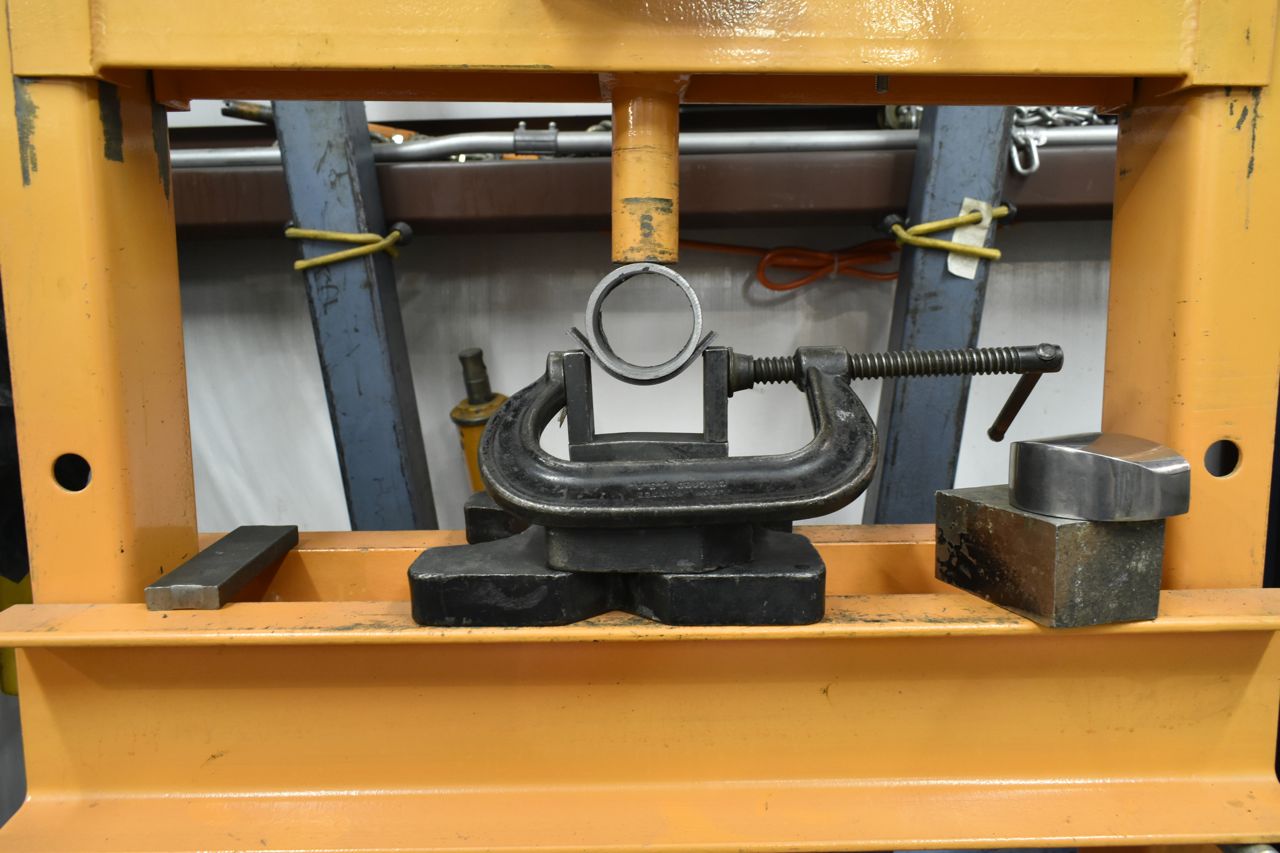
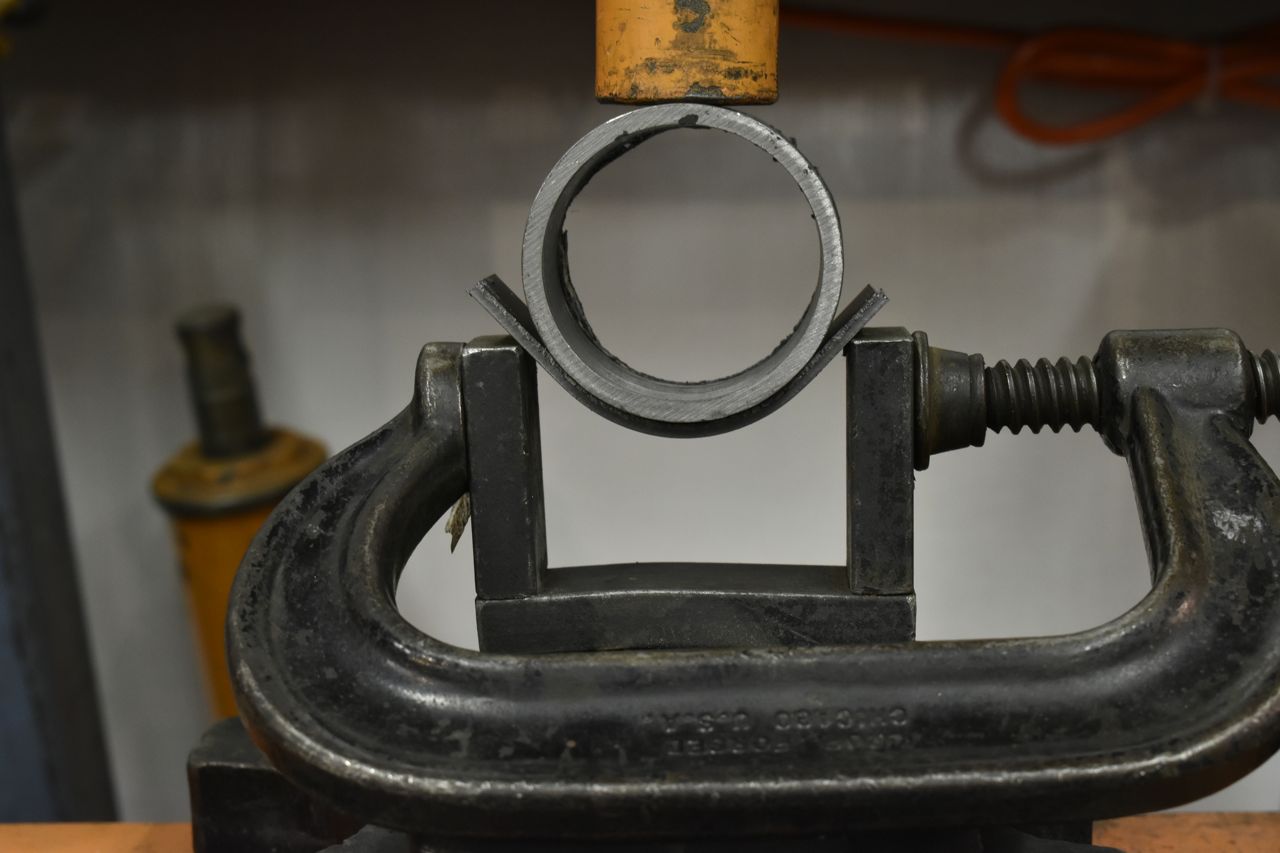
These pictures really bring across two things. First this is how I arched the ends of the control arms. And secondly this is a classic example of metallurgy and why it's so darn important to use the right metal in the right places.
The strip I'm trying to form is 1/8" thick 3/4 hard 4130 Chromoly, the whole rear control arms are made of this. That round pipe is also the same metal, just a bit thicker. The U shaped form is ordinary construction grade steel you get at Lowes, or a steel supplier. That stuff is around 50-55 KSI. Look at it surrender to the thin Chromoly. I was even sweating using an old USA made heavy duty C clamp as I could see it starting to splay as well.
This is the metal you want for your suspension and not cheap grade steel. Chromoly is also extremely resistant to cracking from flexing. The last thing you want is a crack on a control arm at high speeds leading to suspension failure.
I saw a set of adjustable rear control arms for this car. They were 260 dollars. Wow what a bargain until you do even the vaguest of math. I used 100 dollars alone in 4130 TIG welding rod for these control arms. The steel was another 250 dollars. Never mind the intense labour of making them. You see where I'm going with this.
Jigging up the control arms for tacking.

Everything all squared up.
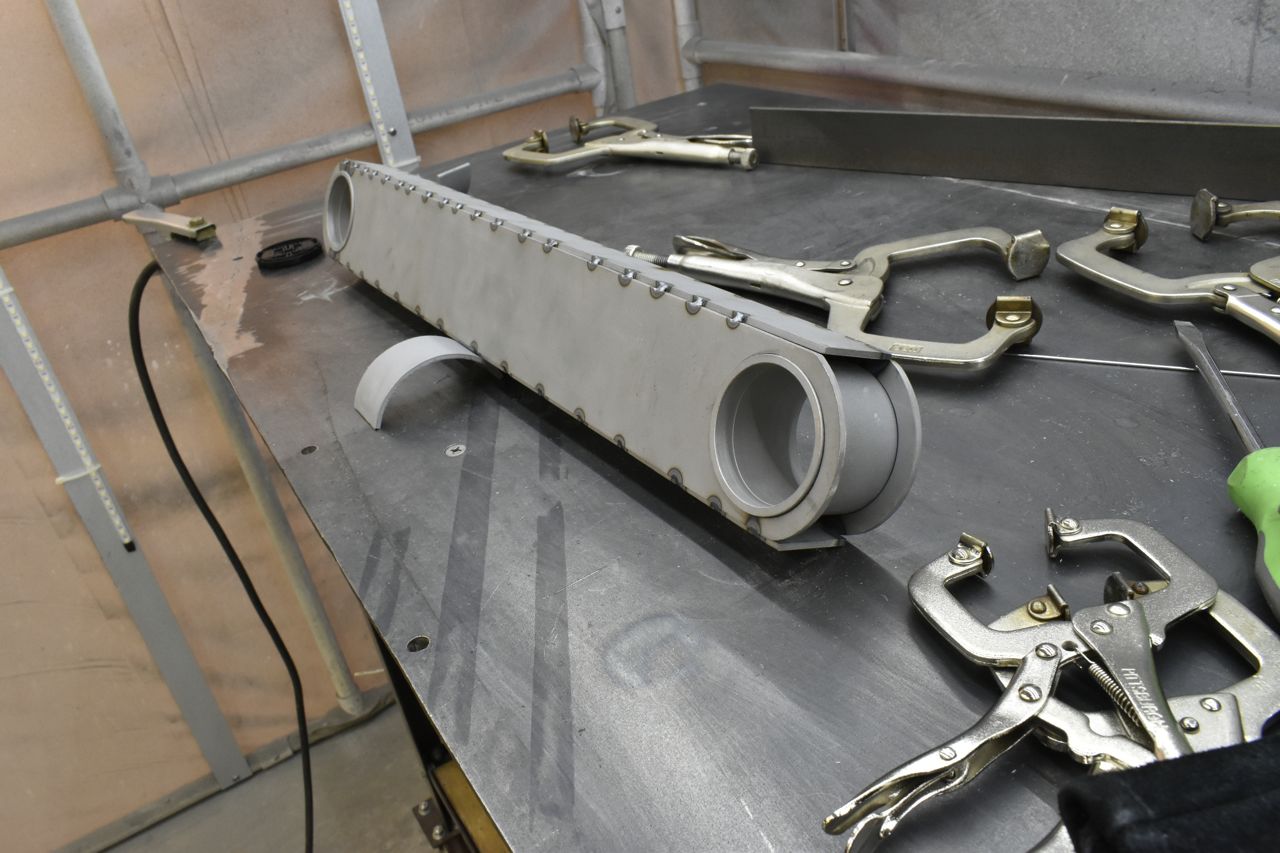
First round of welding.

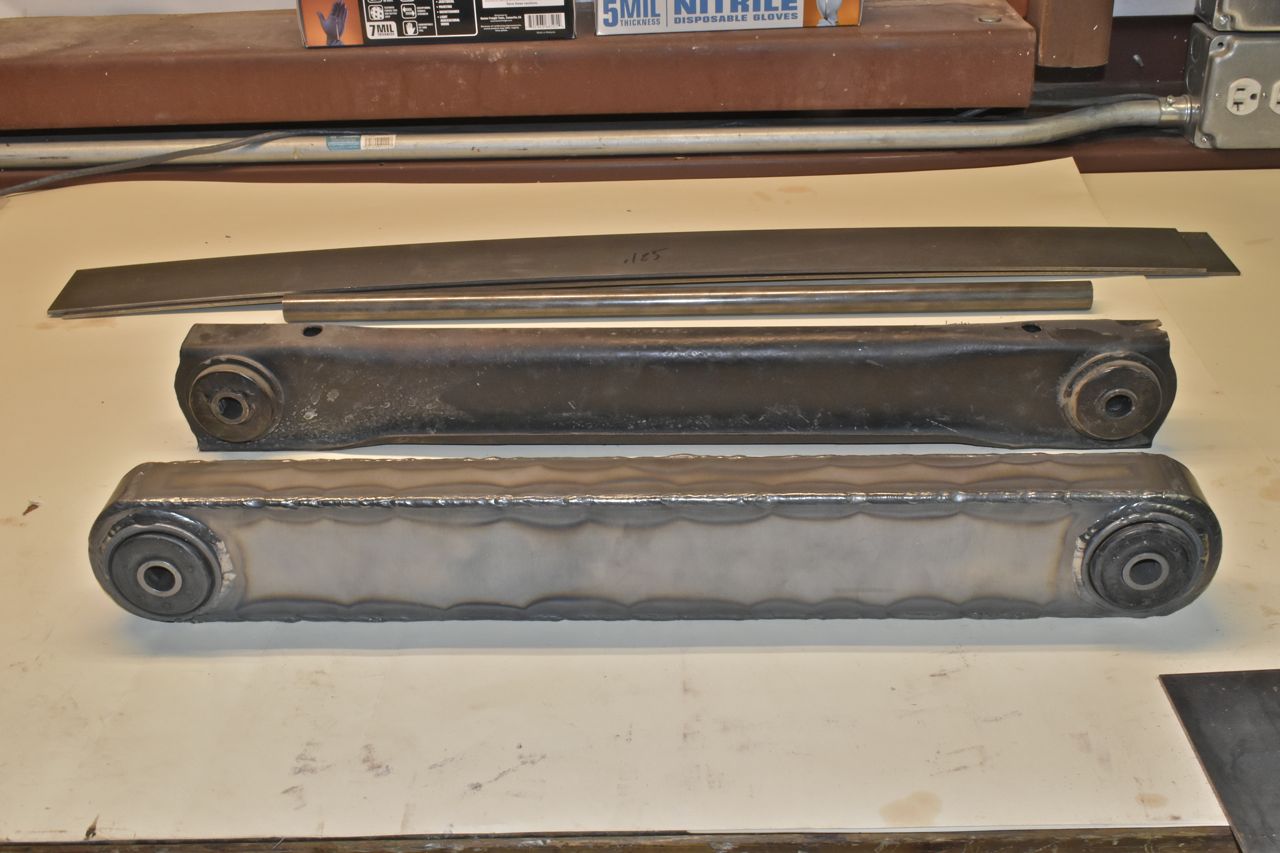
Keep the welding to small sections and let it cool to control warping although I must say, this Chromoly is pretty darn immune verses regular cheap steel I work with. Behind the new control arm is the original one off the car.
I wanted to use a sway bar. OK, here's another can of worms. There aren't too many options for '71-'76 GM B and C body cars. I kept the factory sway bar from my 1991 Caprice Classic I used to have as a daily driver. Even those are few and far between on the 91-96. I bought my '91 used, but the original owner ticked every option box on the build form as this was the most loaded Caprice Classic I have ever seen. It came with factory leather interior.... in a Caprice
Anyway it also had the towing package, hence the rear sway bar.
The problem became it was too narrow. The 71-76 Chevrolets were the largest passenger cars Chevy ever made. In 1977 GM downsized the B body which was basically taking the 71-76 chassis and sticking it on a copier and hitting reduce 10%. My better halfs 1996 Impala SS is just a slightly smaller version of this land yacht of mine.
So what I did was stretch the sway bar out past the spring portion to take permanent set. I only needed an inch, but still required a 10 ton ram to do that.
