1968 Ford XL Disc Brake System Overhaul : part 7 Installing GM Combo Valve & Custom Bracket
2023, November 14
part 1 - part 2 - part 3 - part 4 - part 5 - part 6 - part 7 - part 8Rear axle done.

Now for this nightmare. In no way am I using this. In fact this one was leaking fluid out the rear proportioning valve. Now I do have used one that I put together and whilst it's functional, there are special moulded seals in this and they are old, even in a functioning one. Unless you have a show car, it makes no sense to use a specialized part you can not get parts for. So I decided on using a very common reproduced GM combination valve in lieu of this unique Ford valving.
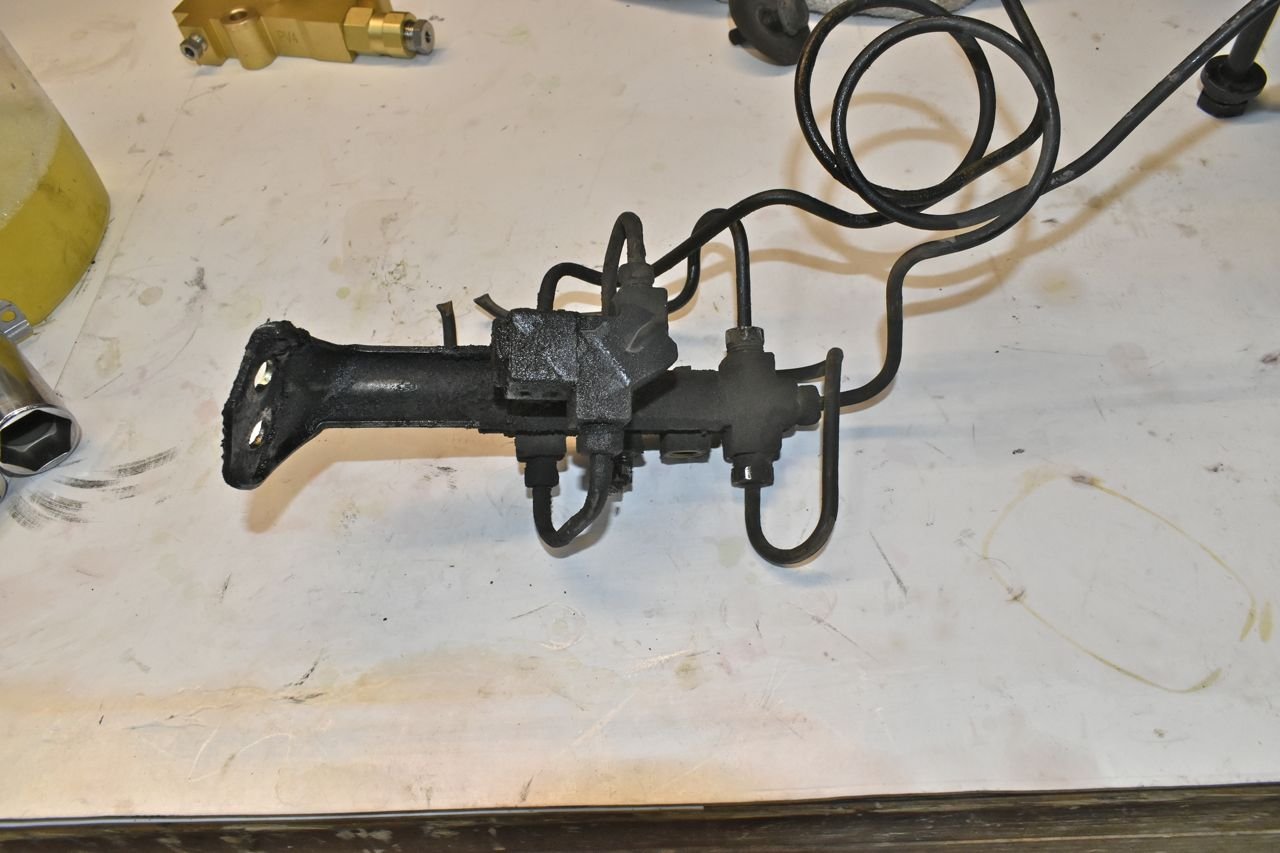
Here's my spare I redid a while back, but in retrospect it makes no sense to use it. So I stripped everything off the bracket of the one off the XL on the right.

This is the idea. This is a GM Disc/Disc combination valve. They do make a Disc/Drum reproduction as well, but you actually want to use the Disc/Disc in this case. The reason is that the GM Disc/Drum combination valve has a hold off valve for the front brakes to allow the rear drums to apply first. This is how GM handles the mismatch of disc and drum brakes. Ford uses an RPV to keep 10 or so PSI on the rear brakes at all times to sync apply off the disc and drum. With the RPV in the Ford master you do need nor want the hold off function in the GM valve. Therefore the Disc/Disc combination valve is the way to go.
I've used this Disc/Disc valve in our old Dodge Power Wagon and added an external RPV for the rear drum brake line. The reason I did this is the GM Disc/Drum combination valve has that hold off valve that protrudes through the valve in the front and to facilitate bleeding you are to pull and hold that valve out. On the Dodge that combo valve is located in a near impossible place to get a tool on it to help bleeding so I opted for the Ford approach of the RPV approach rather than the hold off function of the GM.

I've also used the GM Disc/Disc valve on this 1966 chassis. Now this 1966 chassis uses 1968 front disc brakes (same as the XL) and has rear Ford Explorer disc brakes.
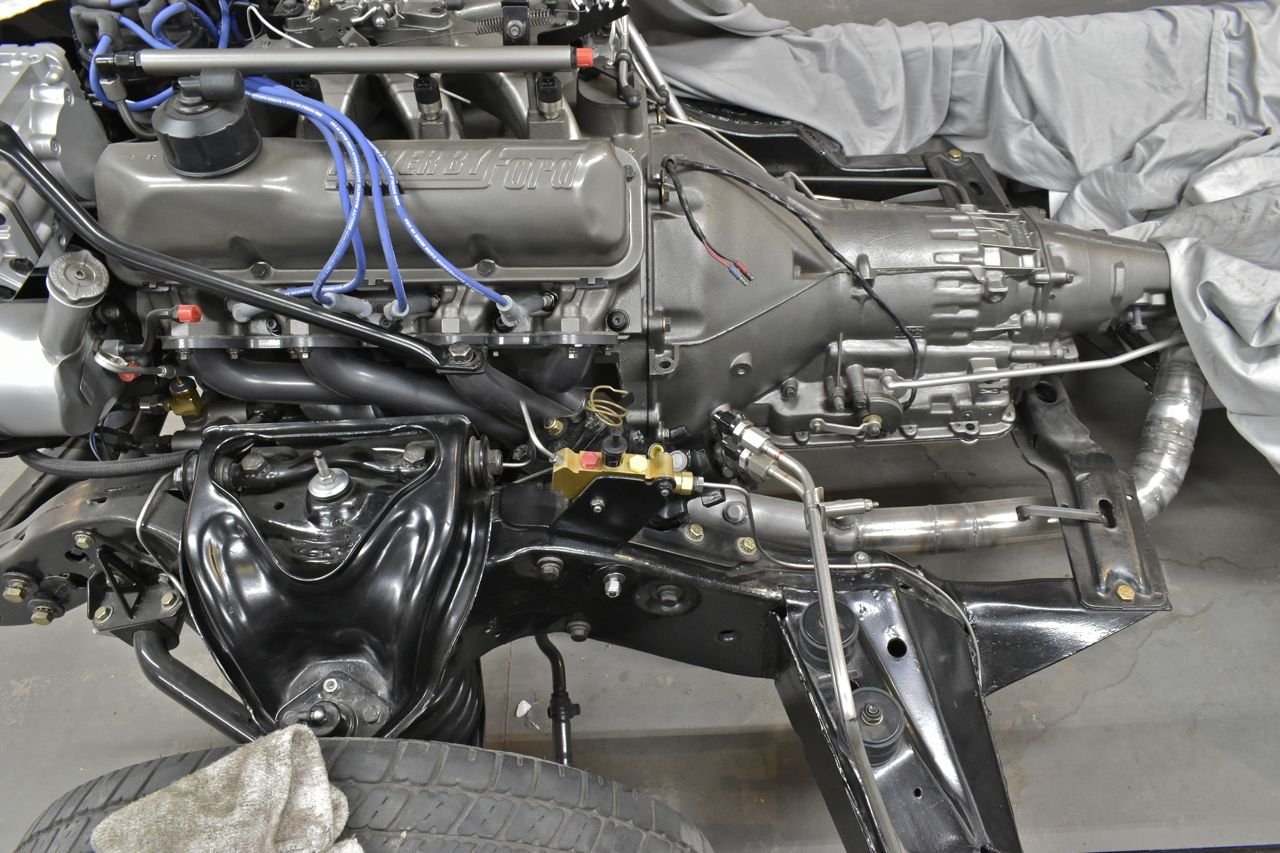
First step is to cut out a plate for the GM valve. Since this valve is heavy and will vibrate I want to use 4130 because it resists cracking due to vibration.

You can see from the stamping then vibration the original bracket has cracked. I have 4130 TIG rod I can bolster this with.

Something along these lines for a mounting bracket.

Done.

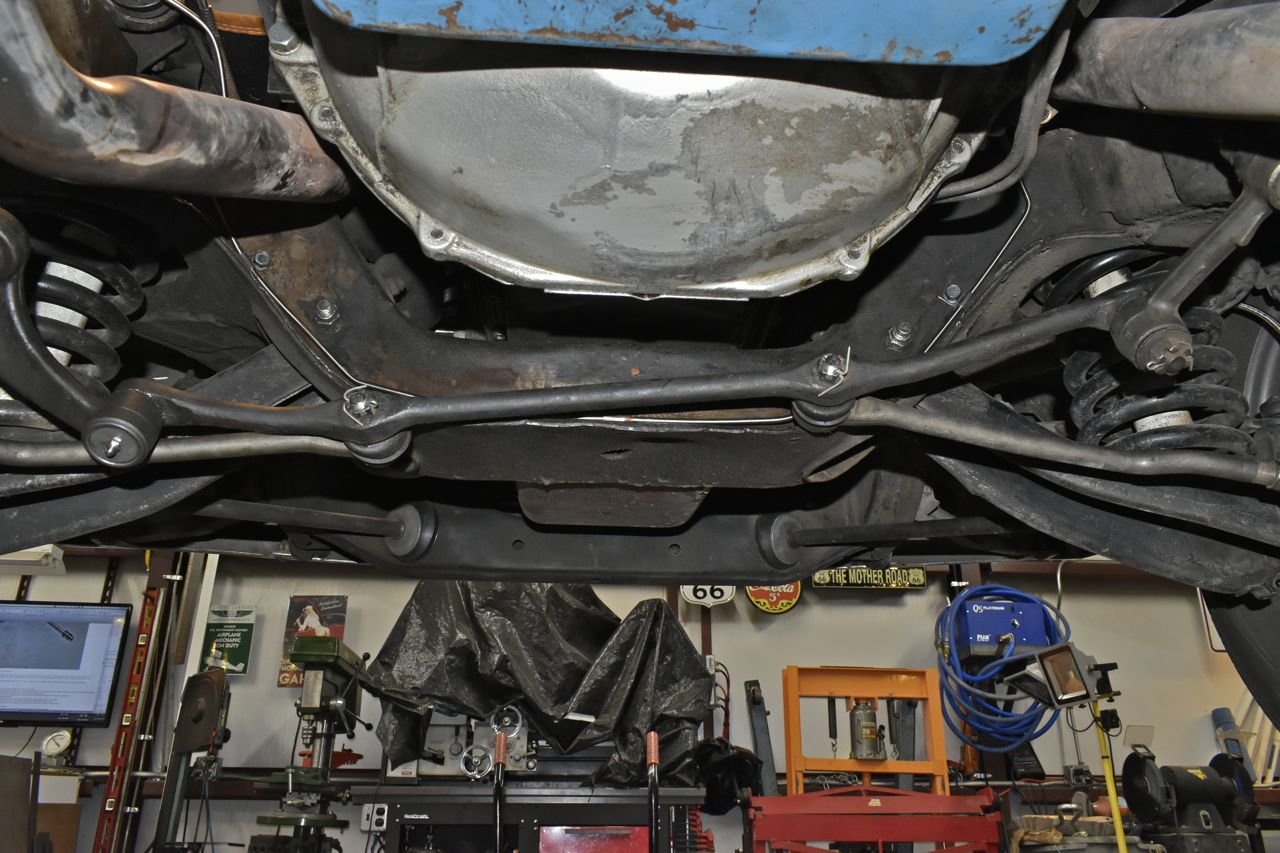
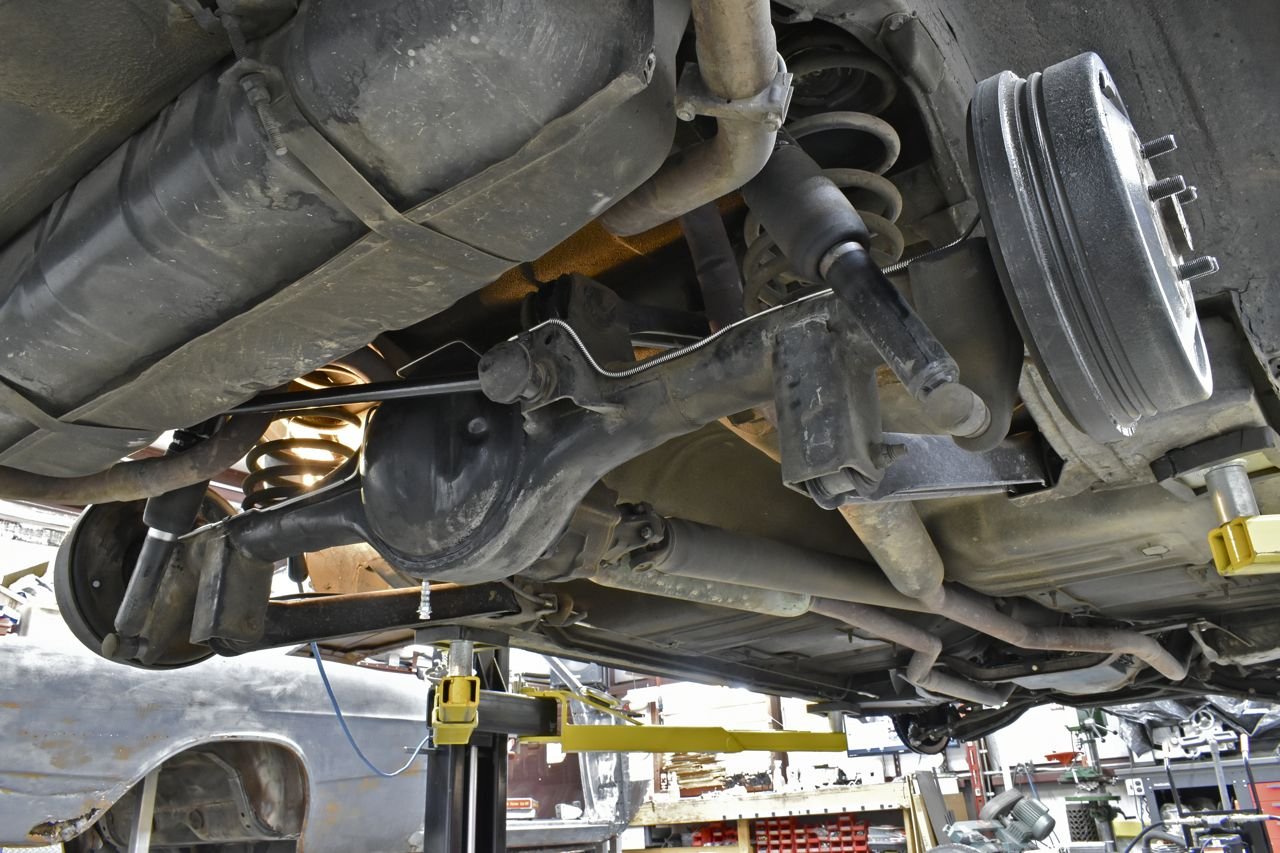
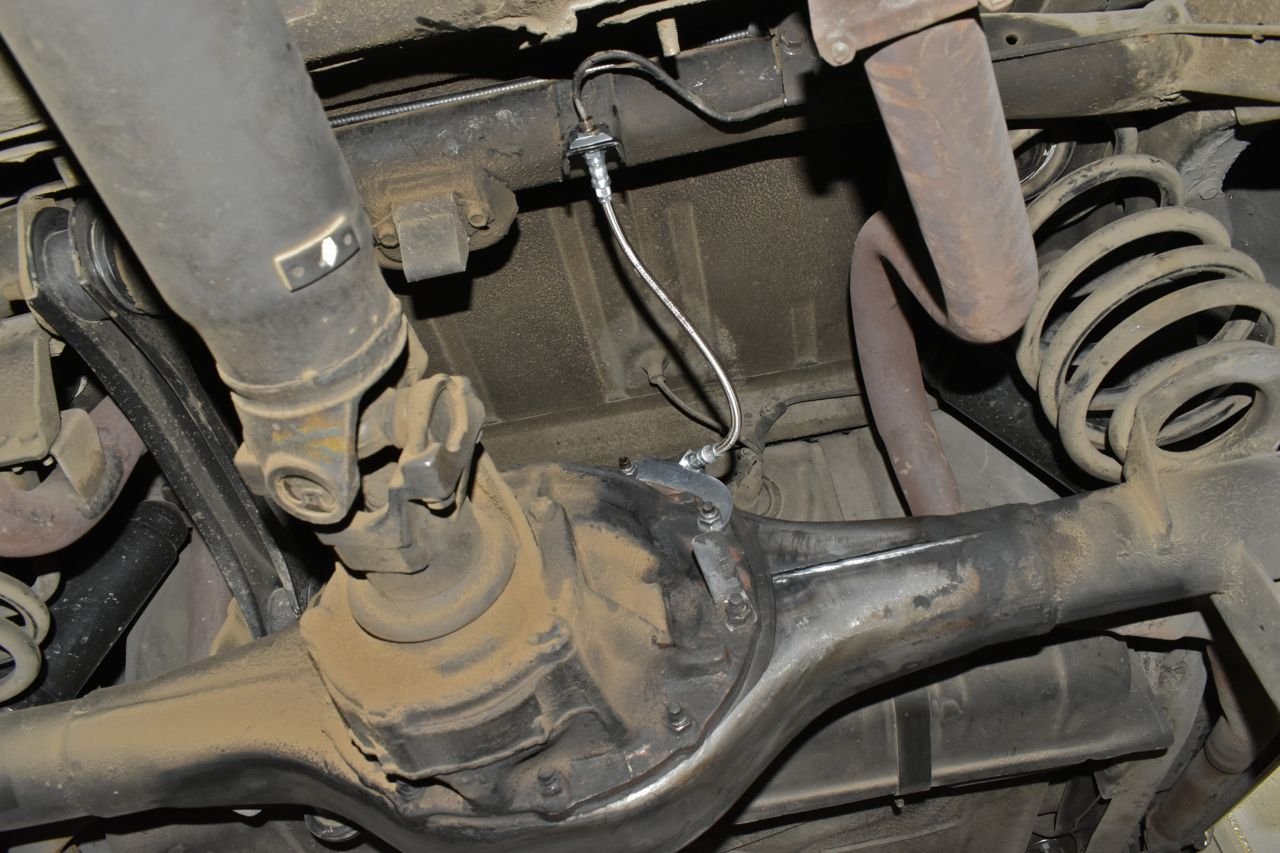
Now to deal with the cut off rear brake line. This line runs between the body and chassis and I'm not removing the body off the chassis to change this line. It will stay for now, just be flushed out.

The goofy line come up then wraps down and around the frame and comes up the other side. Added to this odd routing, it's double sheathed and I couldn't get the outer sheath off.

I had to cut it back and double flare it there with a tube nut. I'll have to add a small extension. What a pain to get up there and flare it in that tight space. After I did this I flushed out the line and good grief it was full of nasty stuff.

Once flushed out I reattached the rear line.
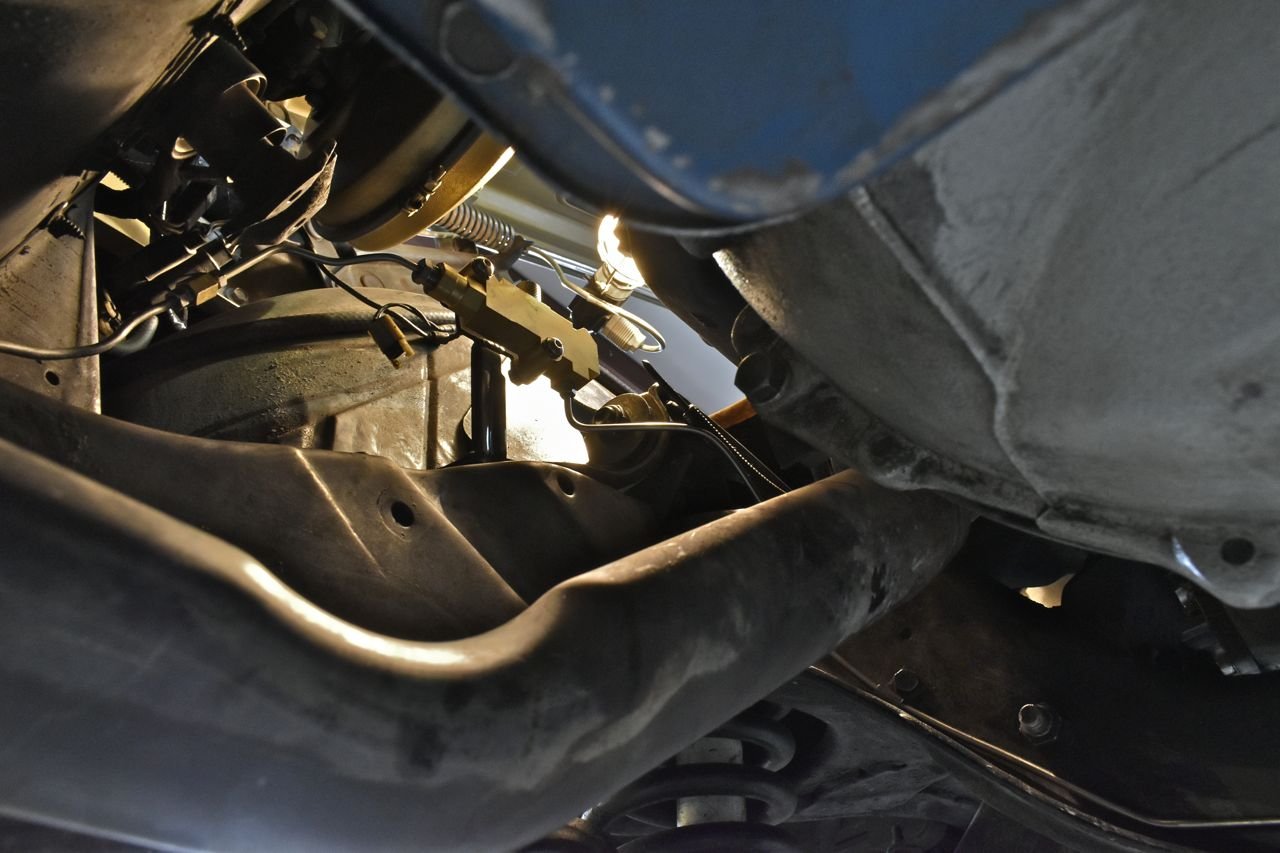
The new GM valve installed on the frame rail.

This is the short extension brake line to connect up to the short rear brake line.
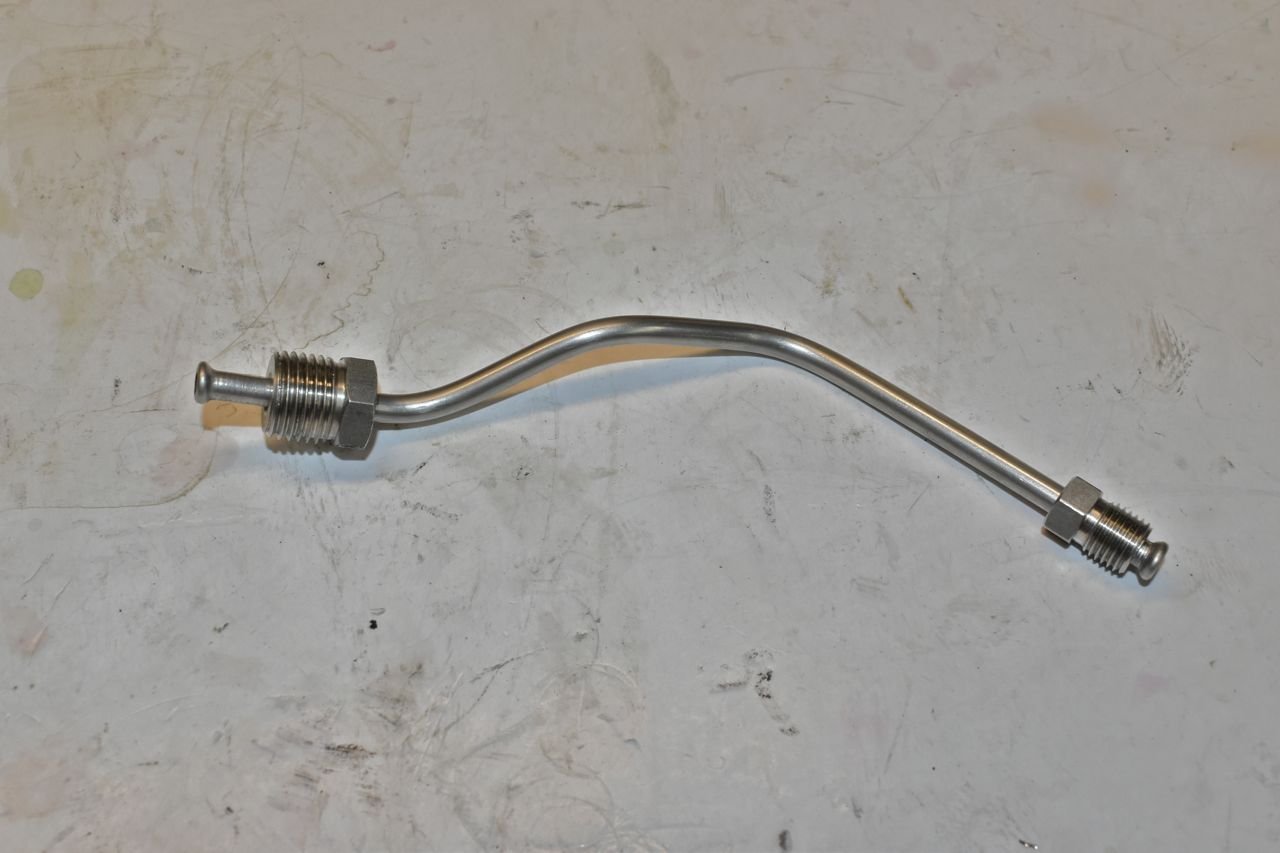
It is what it is. Now to make new front lines.
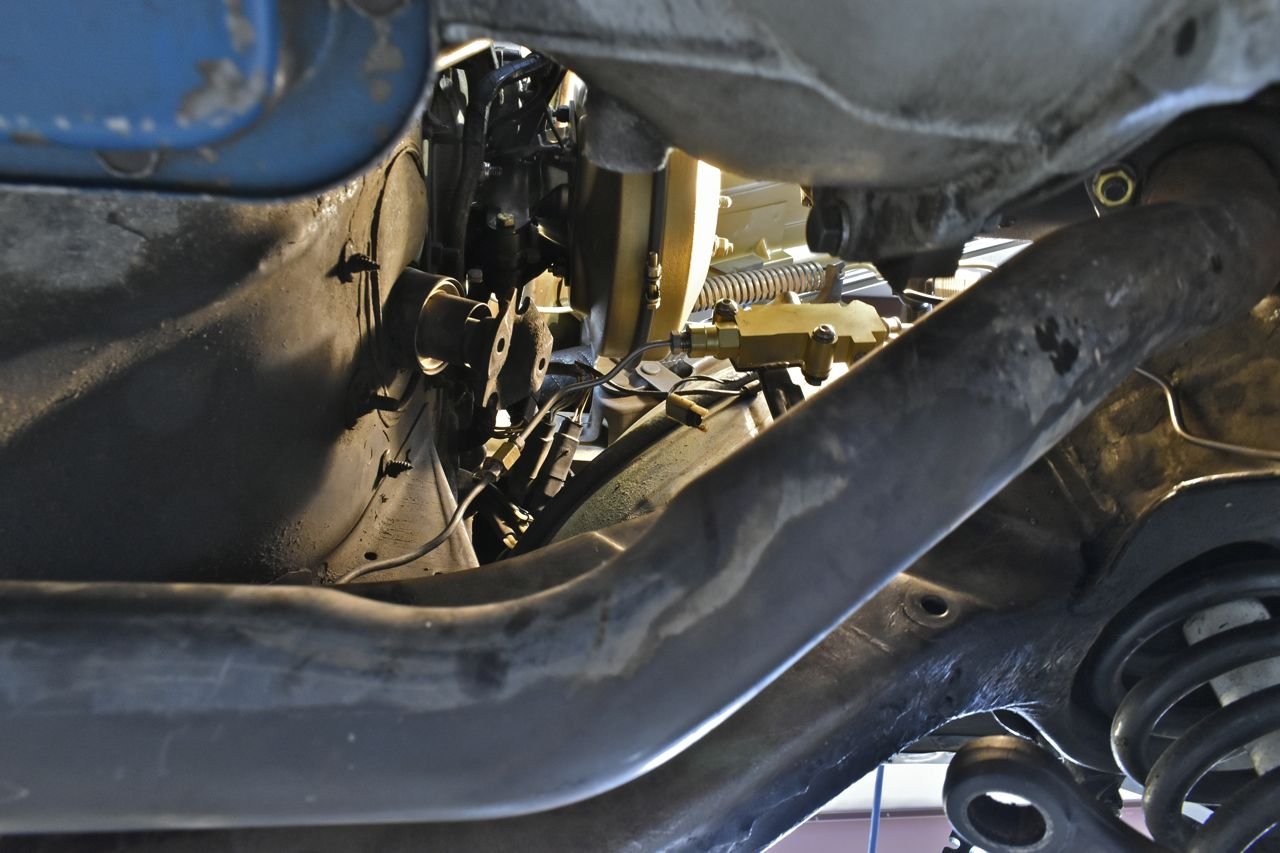
This is the passenger side front line. I can't believe it snaked out without bending it. That was truly stunning.

