1968 Ford LTD Rat Rod Resurrection : part 6 Proportioning Valve Overhaul
2023, November 14
part 1 - part 2 - part 3 - part 4 - part 5 - part 6 - part 7Now this is the rear section where the push rod was popped out. There is a metal retainer that is pressed on, again just carefully work it off. Then remove the felt air filters.
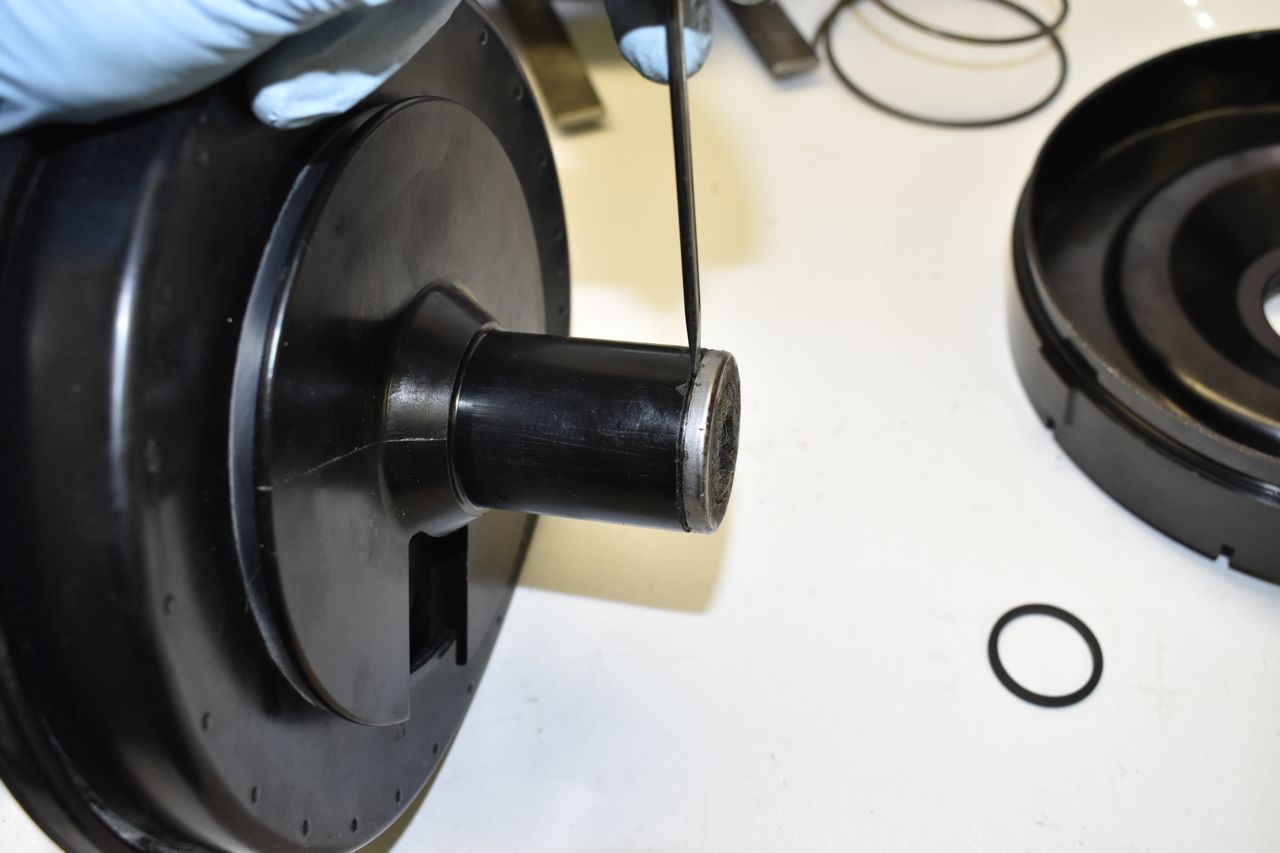
Nice....
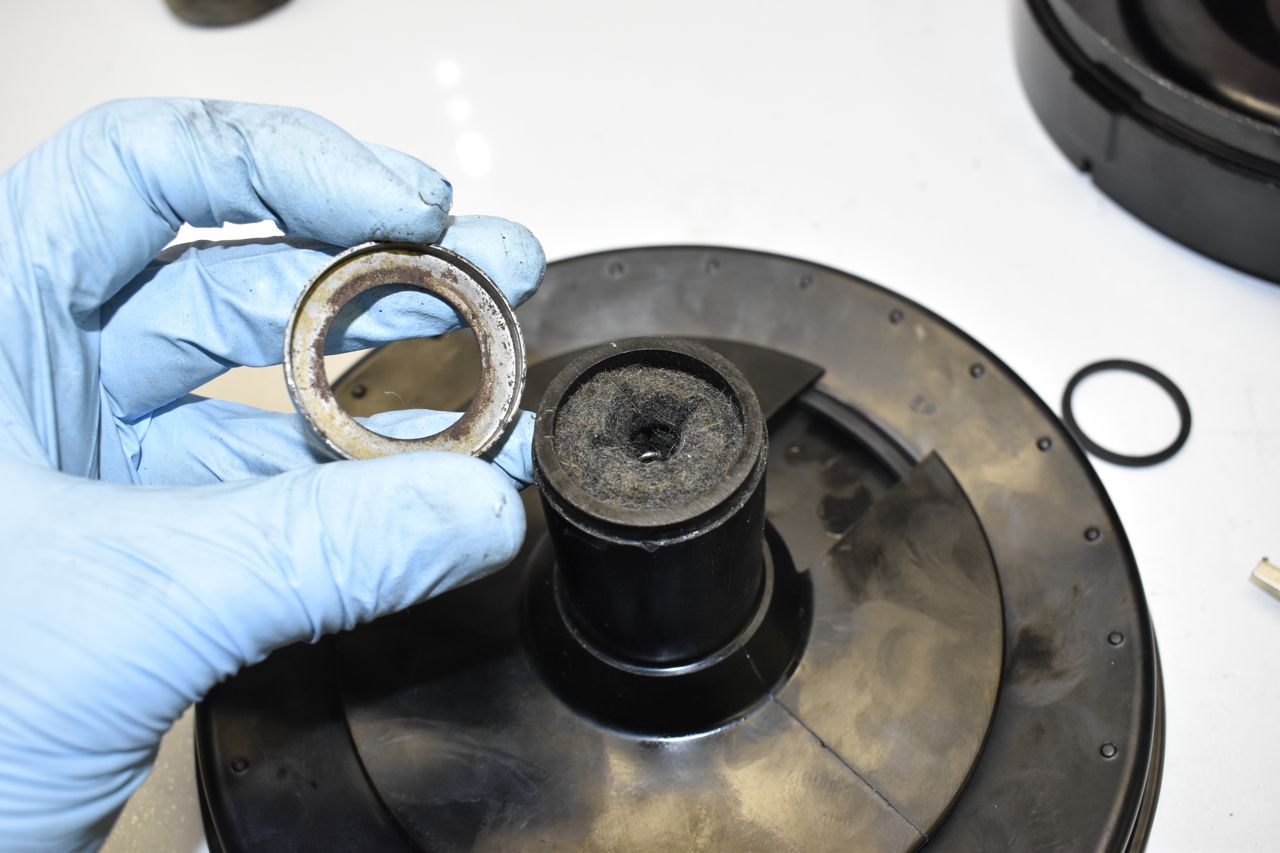
Remove the spring.

Push the remaining seal out from the inside of the rear end piece.

This is the last rubber rebuildable piece. If you were rebuilding this booster, these rubber bits I've been highlighting are the key pieces in the kit you would have to replace. Now to assemble just reverse the order. Load up that big goofy spring in the press, squeeze and twist.


Hope this helps anyone contemplating rebuilding their Bendix style booster.
On the 1968 disc brake option, there is a super kanutant 2000 valve assembly, haha. It's really not technically a combination valve as nothing is combined into one unit. It's just a shuttle (differential) valve and a proportioning valve for the rear drum brakes. Since this system was open to the elements for who knows how long, it needed cleaning and some O-rings and seals replaced.
I mentioned in the above posting that on the OE master there is a residual pressure valve located in the master, but unfortunately on the aftermarket ones this is an oversight and one must be added for the rear drum brakes.
Here's a snippet of the service manual for those wishing to see a little more detail of the operation.
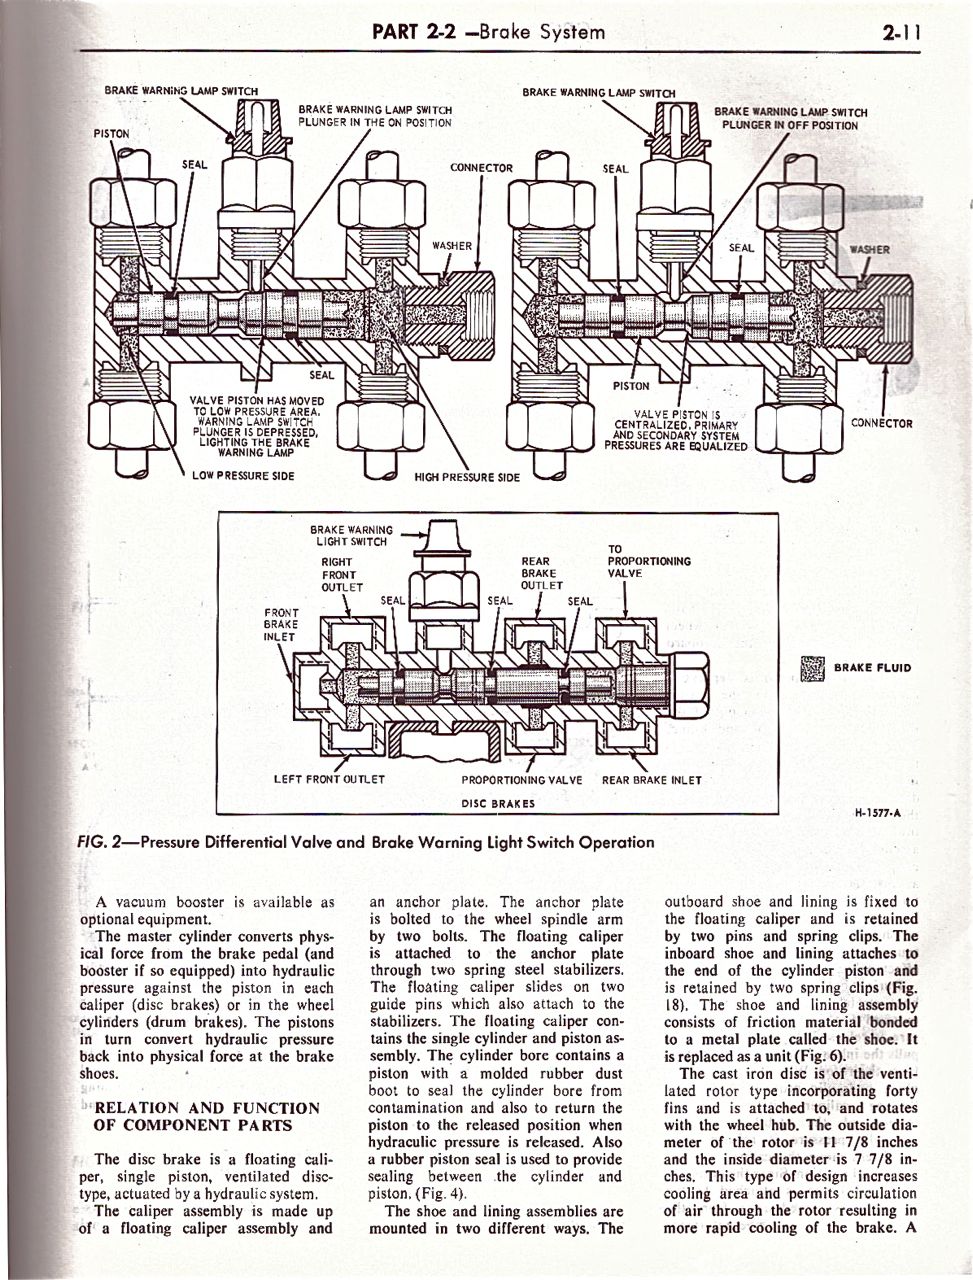


It's interesting Ford does not show how the proportioning valve works or even its internals. So we'll just have to take one apart to see.

The crusty valving assembly here to de-crustify.

As you can see there isn't much in the differential (shuttle) valve but it's an intriguing proportioning valve. It's quite involved on the theory of operation with these parts.

These are the two seals that are crucial to be in good condition. Fortunately these are. Otherwise your chances of finding these are slim to none.

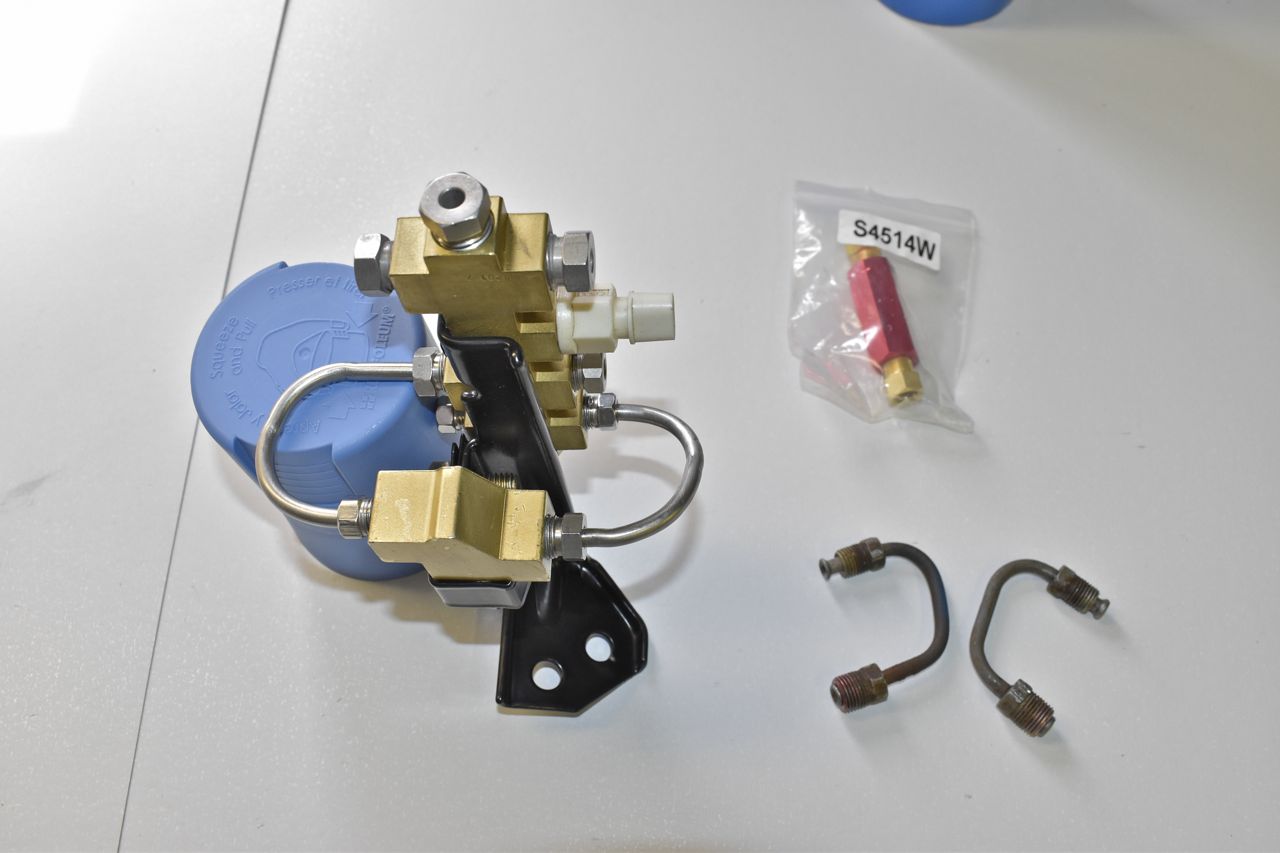
Little bit of work and it's looking better. Powder coated the brackets and cleared the brass.


Thought I'd try out one of those inexpensive tight quarters benders for 3/16" and 1/4". Kind of can't knock it till you try it.... Well now I can knock it. Don't bother it leaves dents and marks in the hard stainless. I should have stuck to traditional benders.
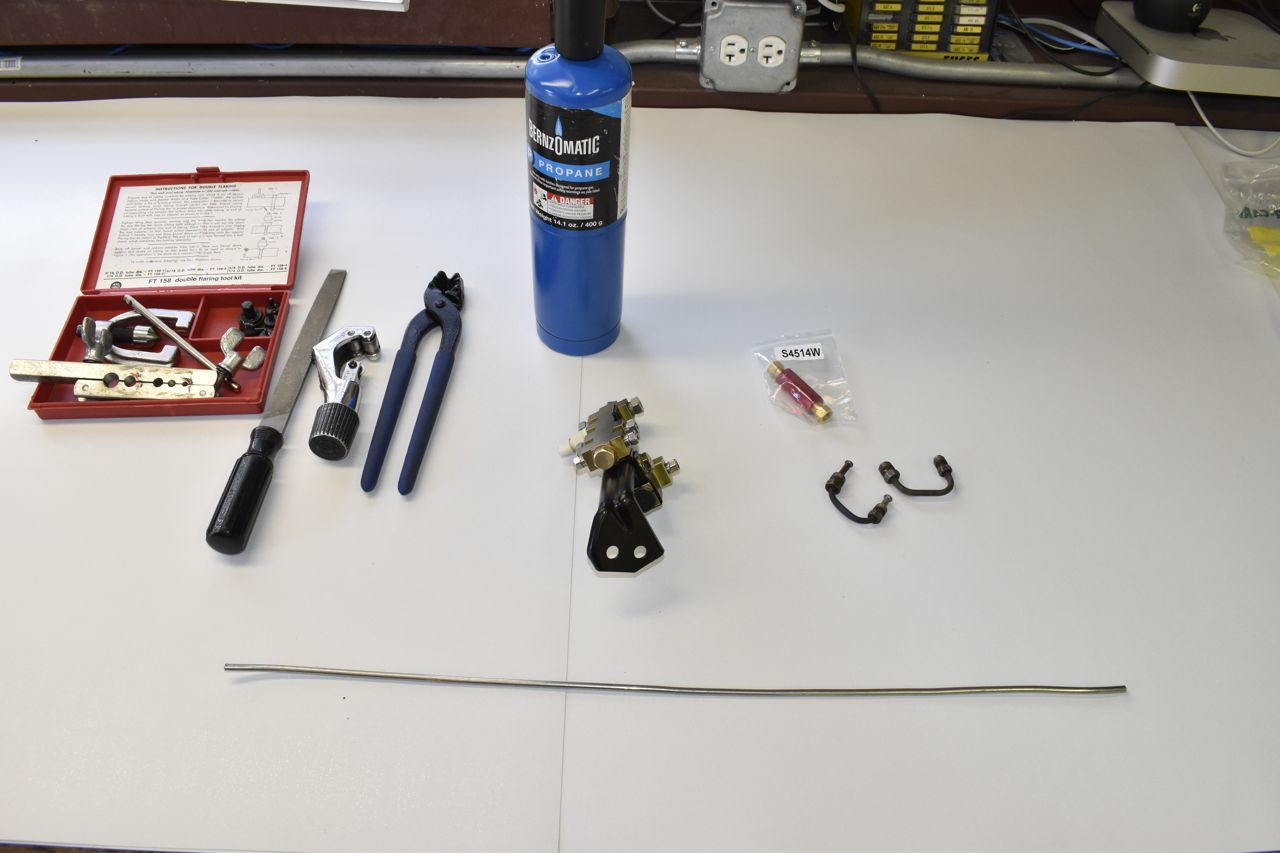
And there's the aforementioned RPV in bag that needs to be plumbed in between the master cylinder and this valve assembly.
