1968 Ford AM-FM Stereo Overhaul : 11 Repair - Wiring
2023, November 14
1 - 2 - 3 - 4 - 5 - 6 - 7 - 8 - 9 - 10 - 11 - 12 - 13 - 14 - 15 - 16 - 17 - 18Radio Overhaul - Repair page 8

That's all put back together and it's starting to look less hopeless and more like a radio.

All that's left is the volume/tone control assembly and audio amplifier sections.

But first, the old wire is, well, old, and needs to go. It just cracks if you bend it on a tight radius.

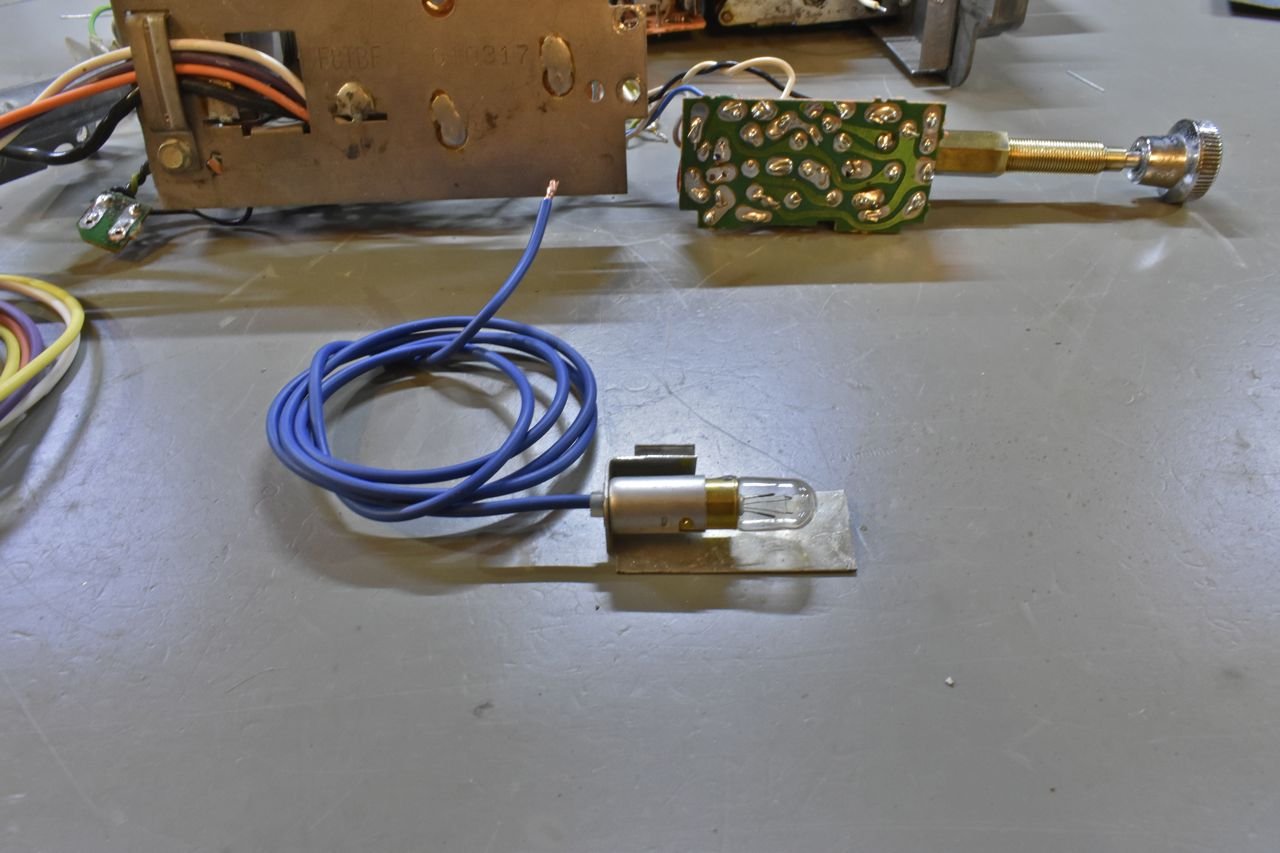
With that I added new GXL wire to the radio. Now I did add a remote wire as well for the other part of the sound system enhancements.

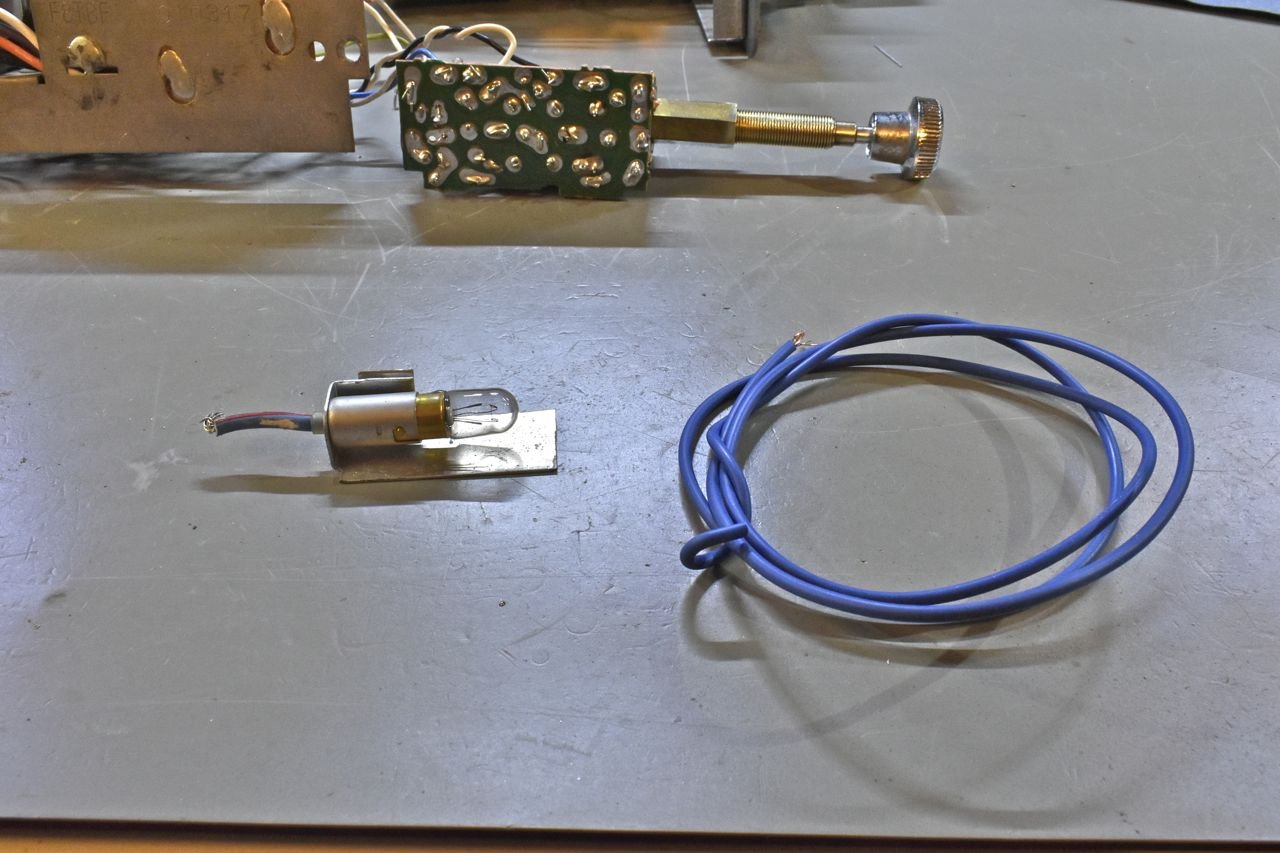
And for some reason the general illumination lamp wire was cut on this radio. Why on earth would someone cut that. I mean the wire is old and needs to be replaced, but I don't get why hack it.

Anyway they do sell the lamp terminal crimps like the factory for making your own new wire assemblies.

Much better. Now I do eventually use a soft white bright LED. So this incandescent doesn't hang around for too long.

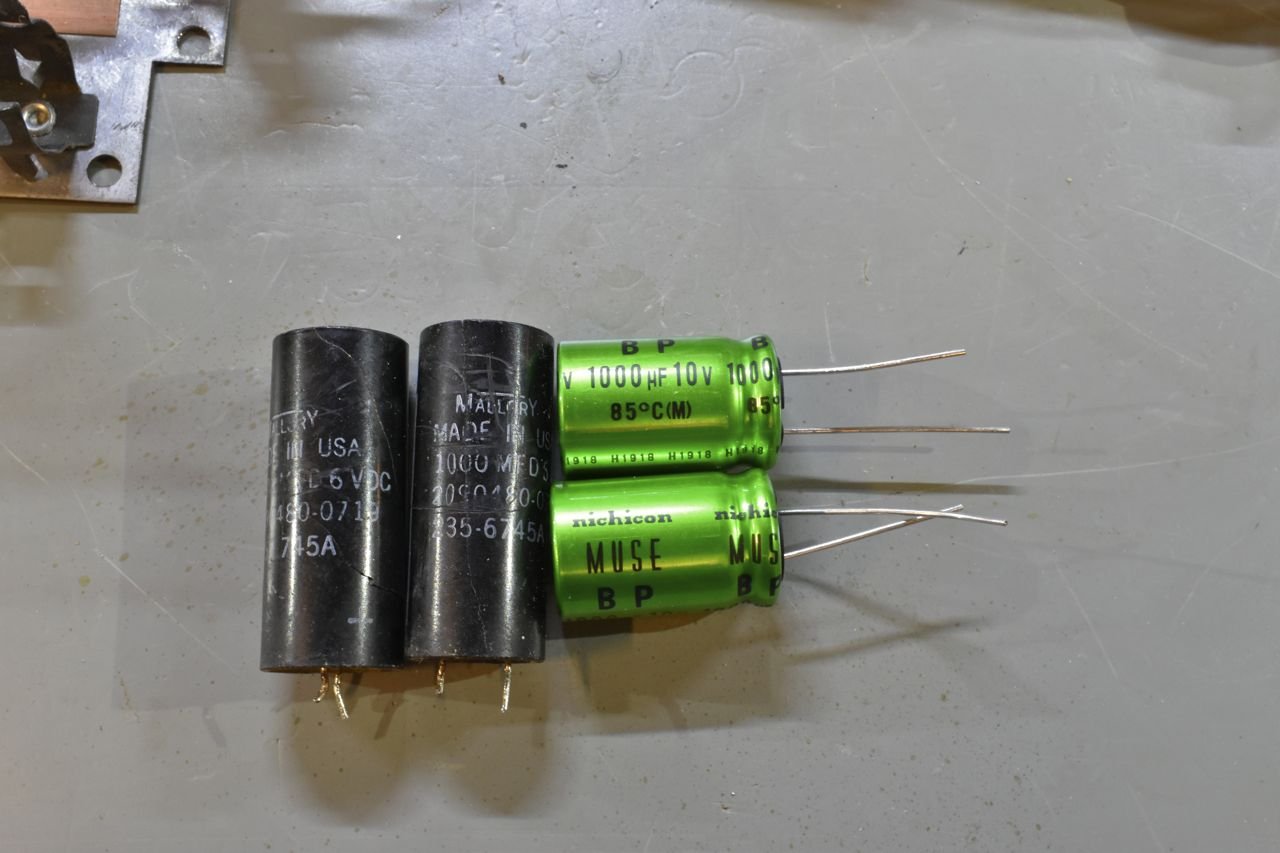
These were the last of the electrolytics to replace.

At this point you'll have to forgive me as I was so engrossed on reassembly I forgot about the camera. I do pick up again after realizing I'm SUPPOSED to take pictures.
Here's the events that transpired without pictures. I powered up the radio driving just 8 ohm monitor speakers and what an improvement. At just 1/4 volume it's really loud in the lab. AM is alive albeit not really sensitive as it should be, I'm counting on it just needing an alignment after I was poking around mending that IF transformer.
FM works well, the stereo lamp is bright on stations, so that's done. I hit all my initial problems and they are remedied.
However, 3 new problems were now evident.
1.) The right side channel is noticeably louder than the left. 2.) The sound is really flat, tone control works, but being just a tone control it doesn't address the noticeably flat spectrum. 3.) The left side speaker sometimes doesn't work and if I press on the output transistor is works. That's an easy one and we'll tackle that last as I'll have to replace the output transistors.
Click here to continue to part 12