1968 Ford XL Repairing Whilst Keeping It Roadworthy : 17 Carburetor
2023, November 14
1 - 2 - 3 - 4 - 5 - 6 - 7 - 8 - 9 - 10 - 11 - 12 - 13 - 14 - 15 - 16 - 17 - 18 - 19 - 20 - 21 - 22 - 23 - 24 - 25 - 26 - 27 - 28 - 29 - 30 - 31 - 32 - 33 - 34 - 35 - 36 - 37 - 38 - 39 - 40 - 41 - 42 - 43 - 44 - 45 - 46 - 47 - 48 - 49 - 50 - 51 - 52 - 53 - 54 - 55 - 56 - 57 - 58 - 59 - 60 - 61 - 62 - 63 - 64 - 65 - 66 - 67 - 68 - 69 - 70 - 71 - 72 - 73 - 74No gasket.
The rest will have to wait till the parts arrive.
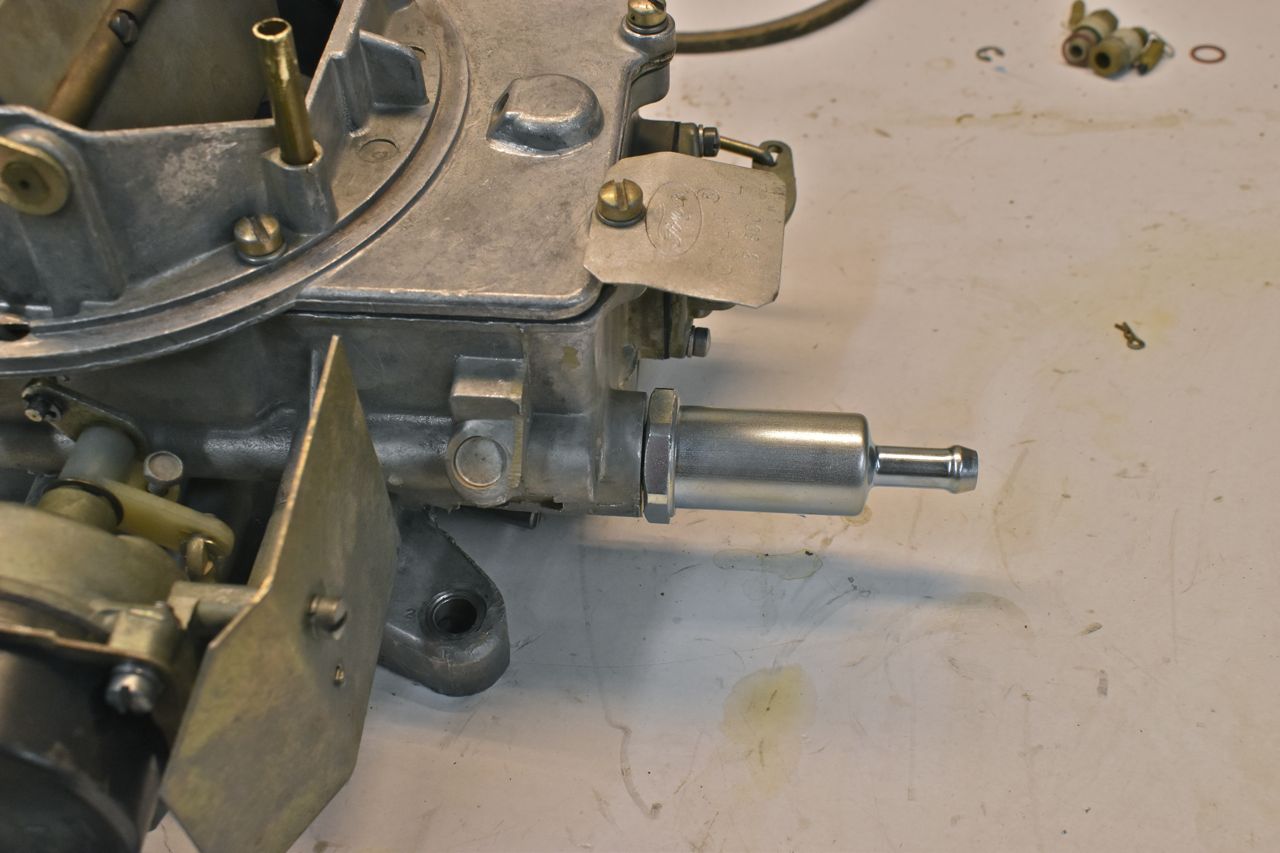
I will need to connect the choke pull off air inlet into the nipple leading to the air horn clean air port.

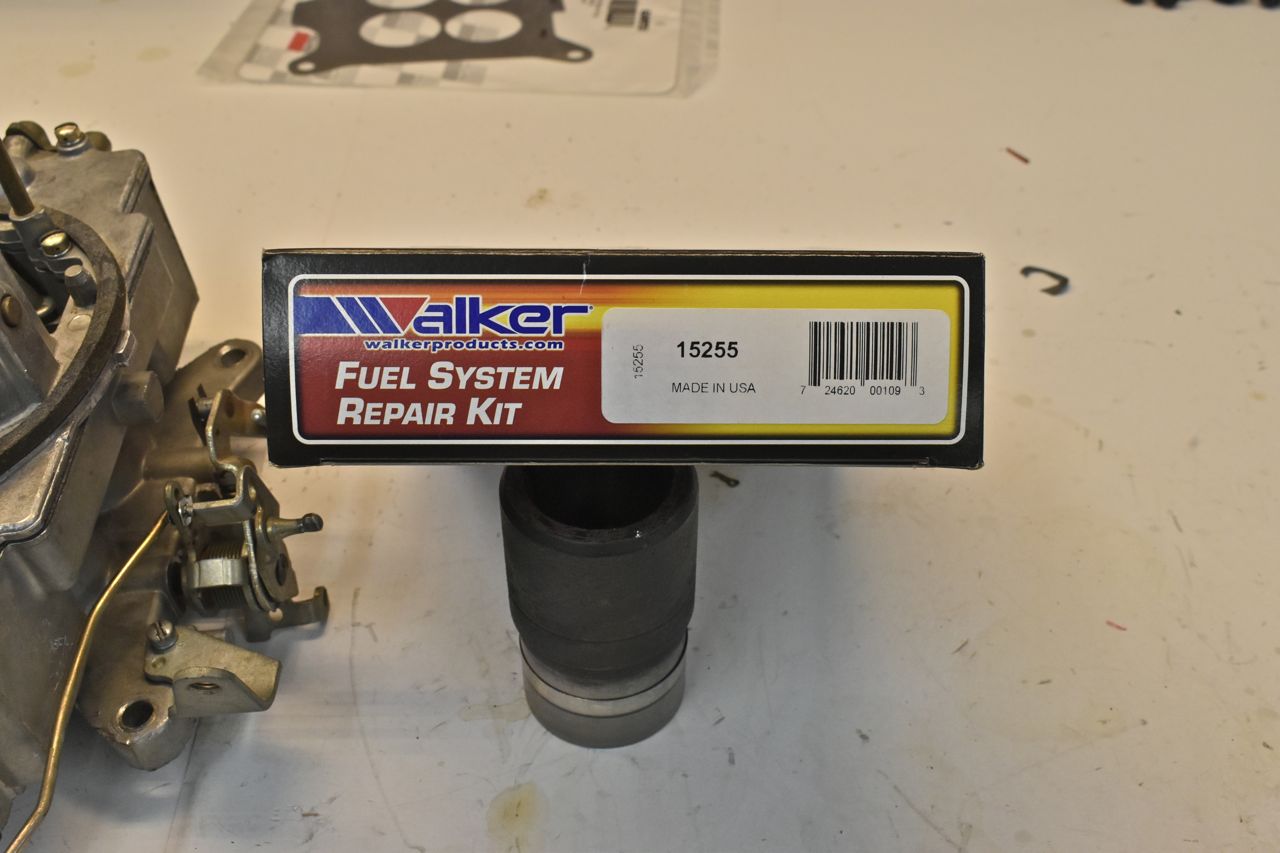
The carb kit used.
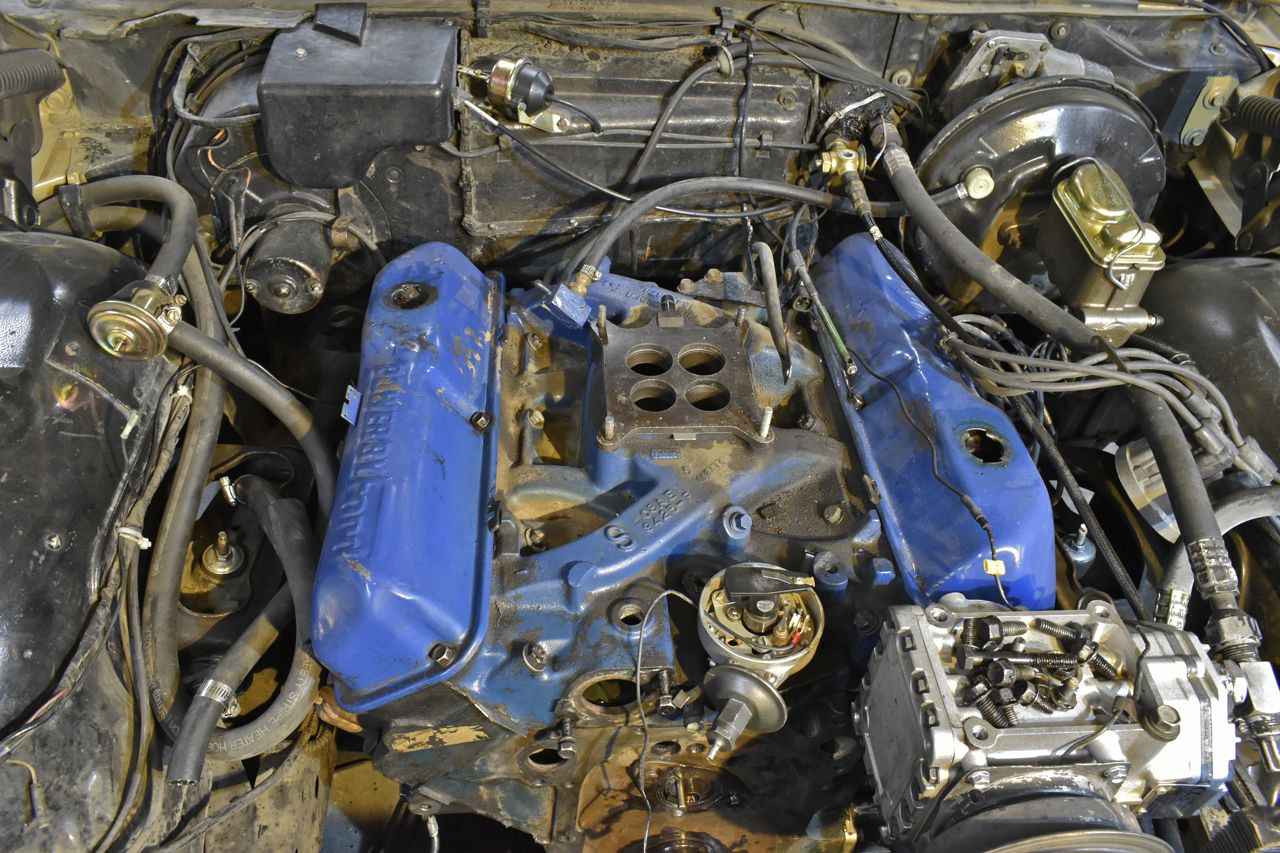
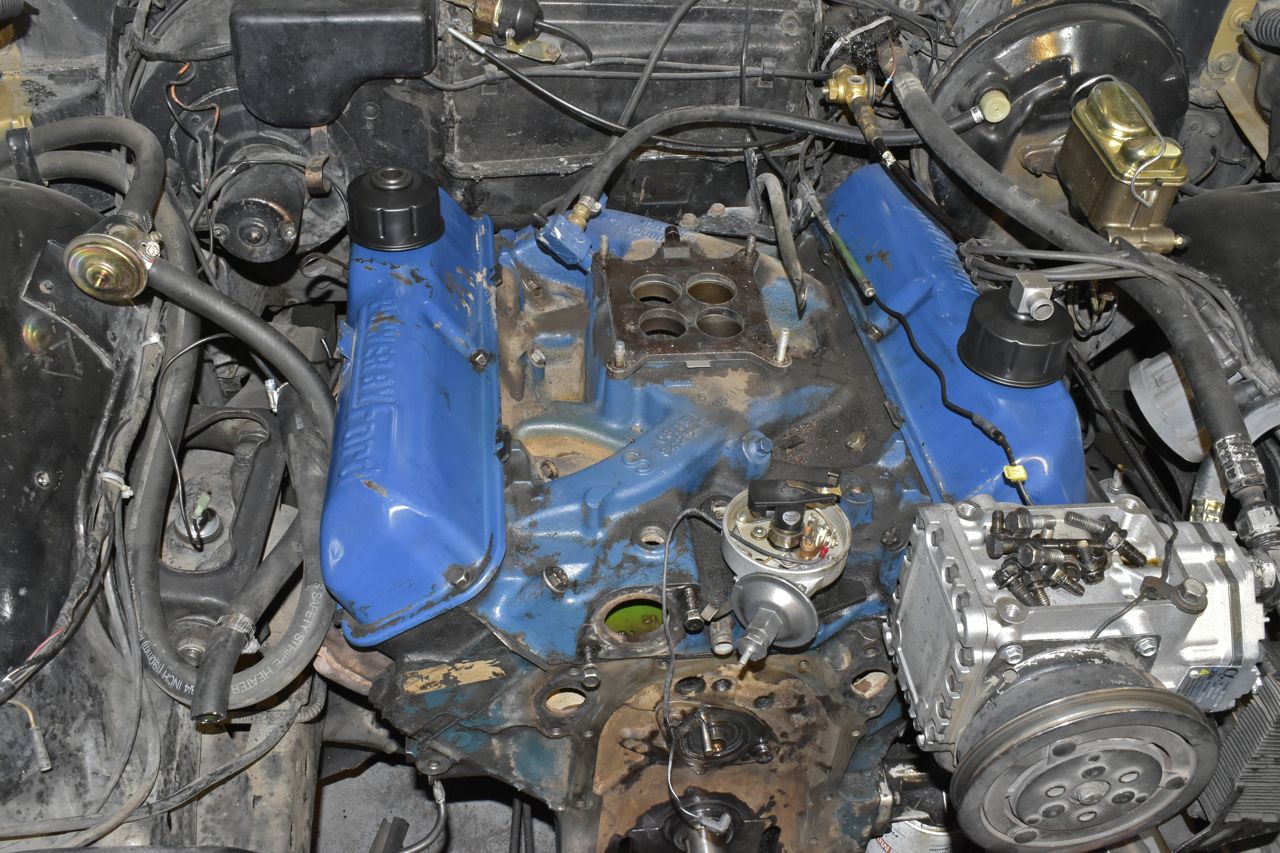
The PCV base plate and gasket. This was from the donor car.

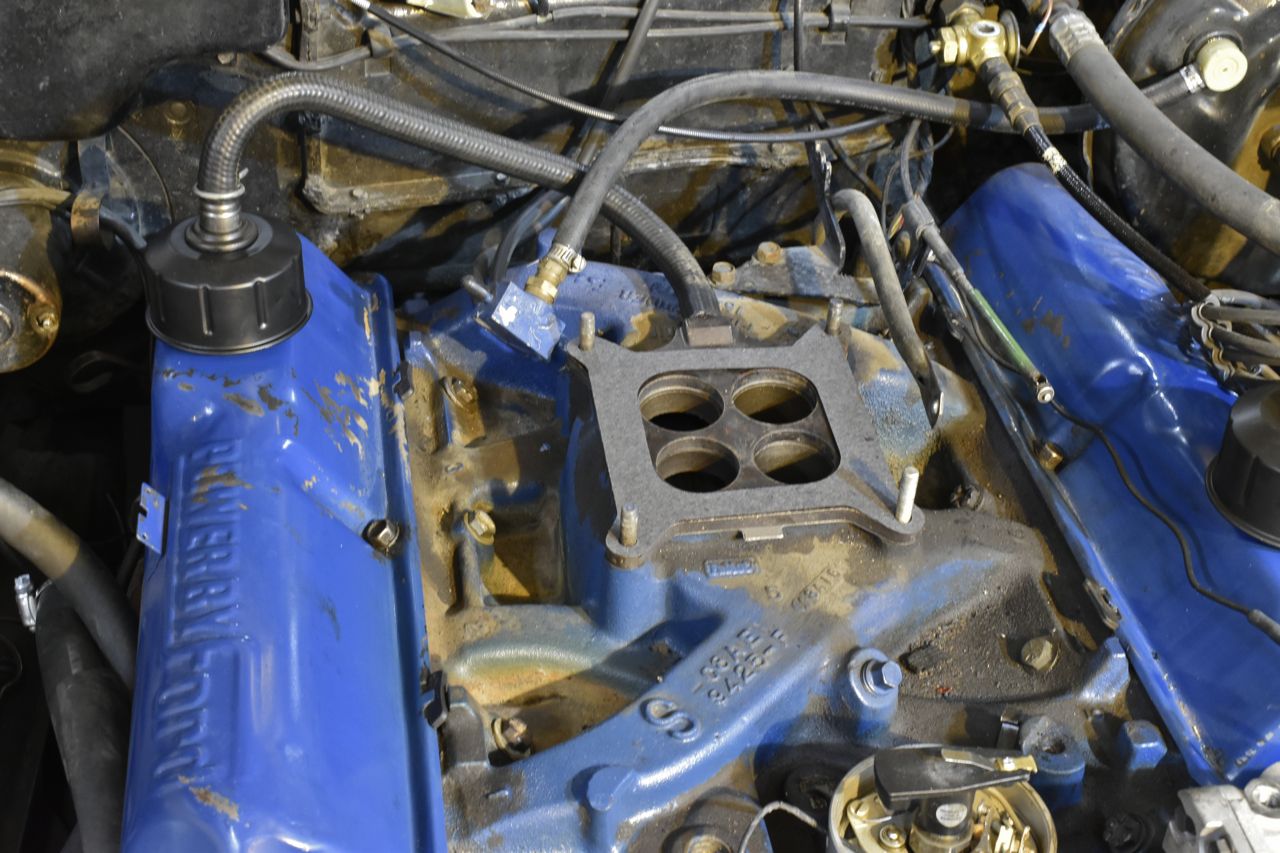
You can see the distribution ports.
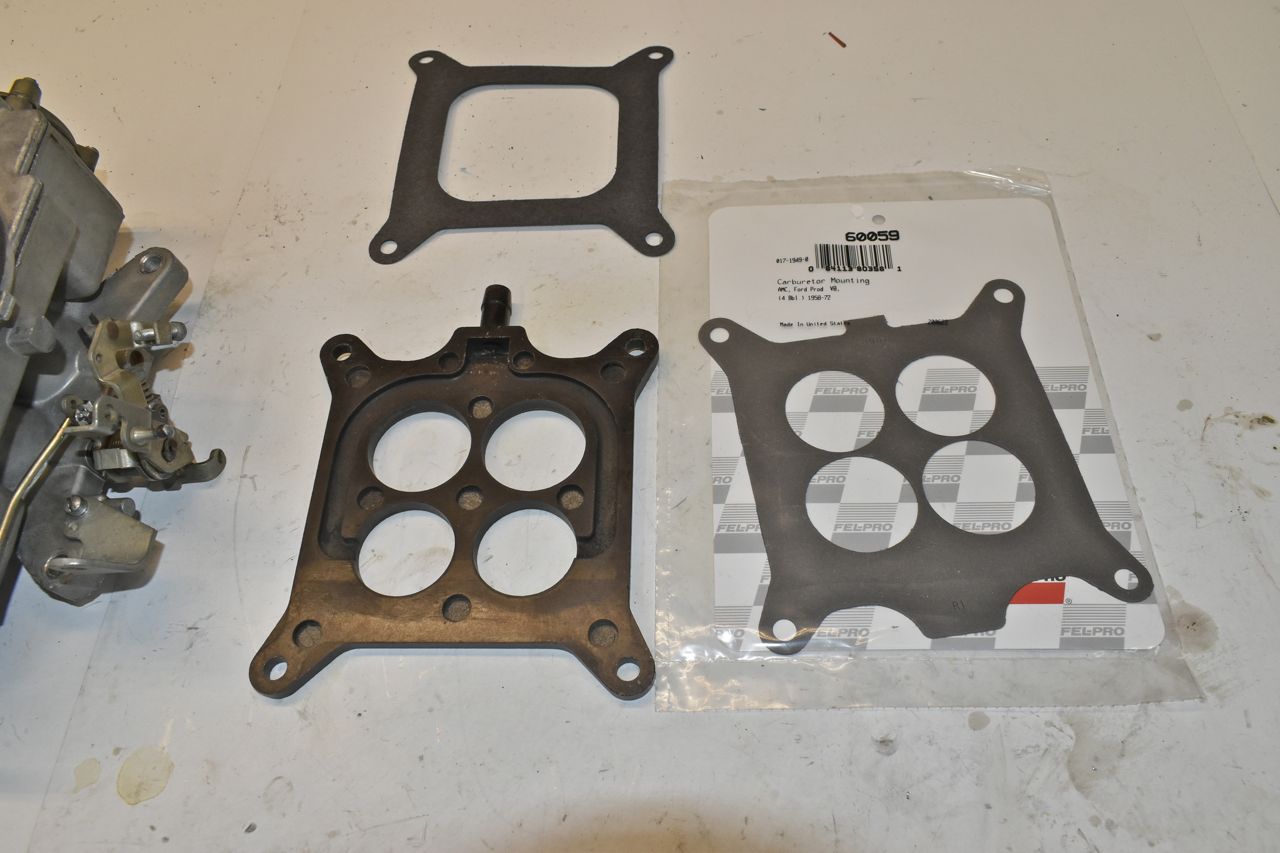
This intake was supposed to have that long tube that connects from the rear of the intake to the front (pipe plug) where the PCV normally attaches but that is missing, so this base plate will work just as well. More than one way to skin a cat.
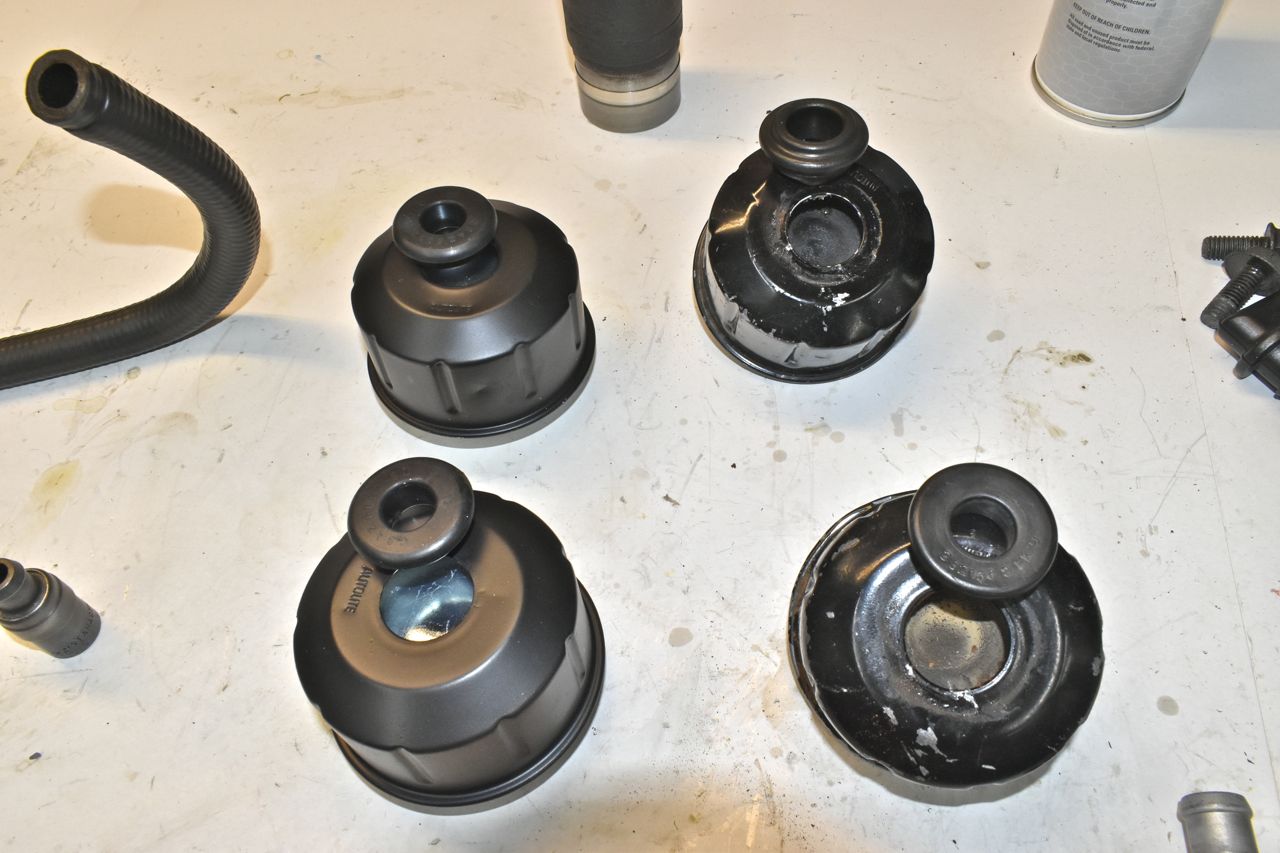
The original oil-air separators are full of junk and disintegrating.
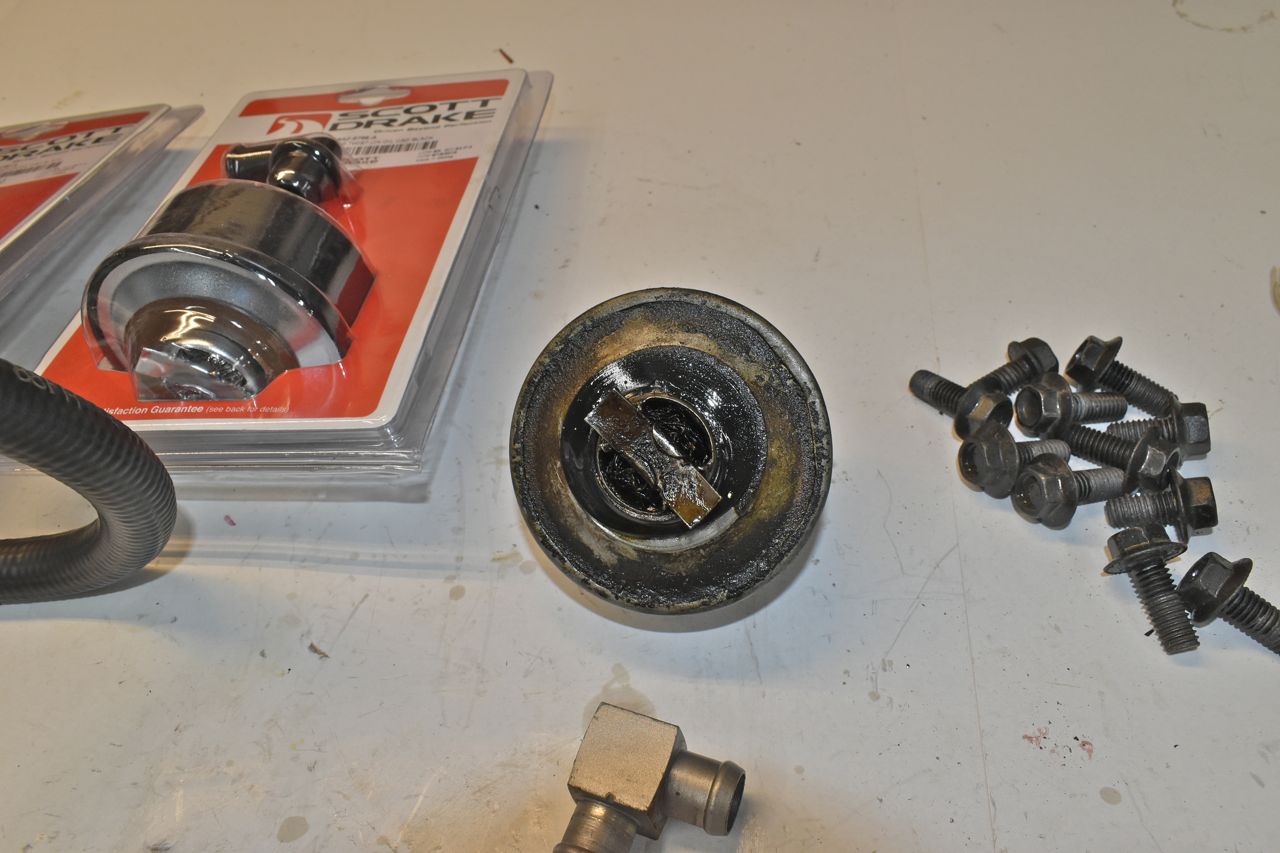
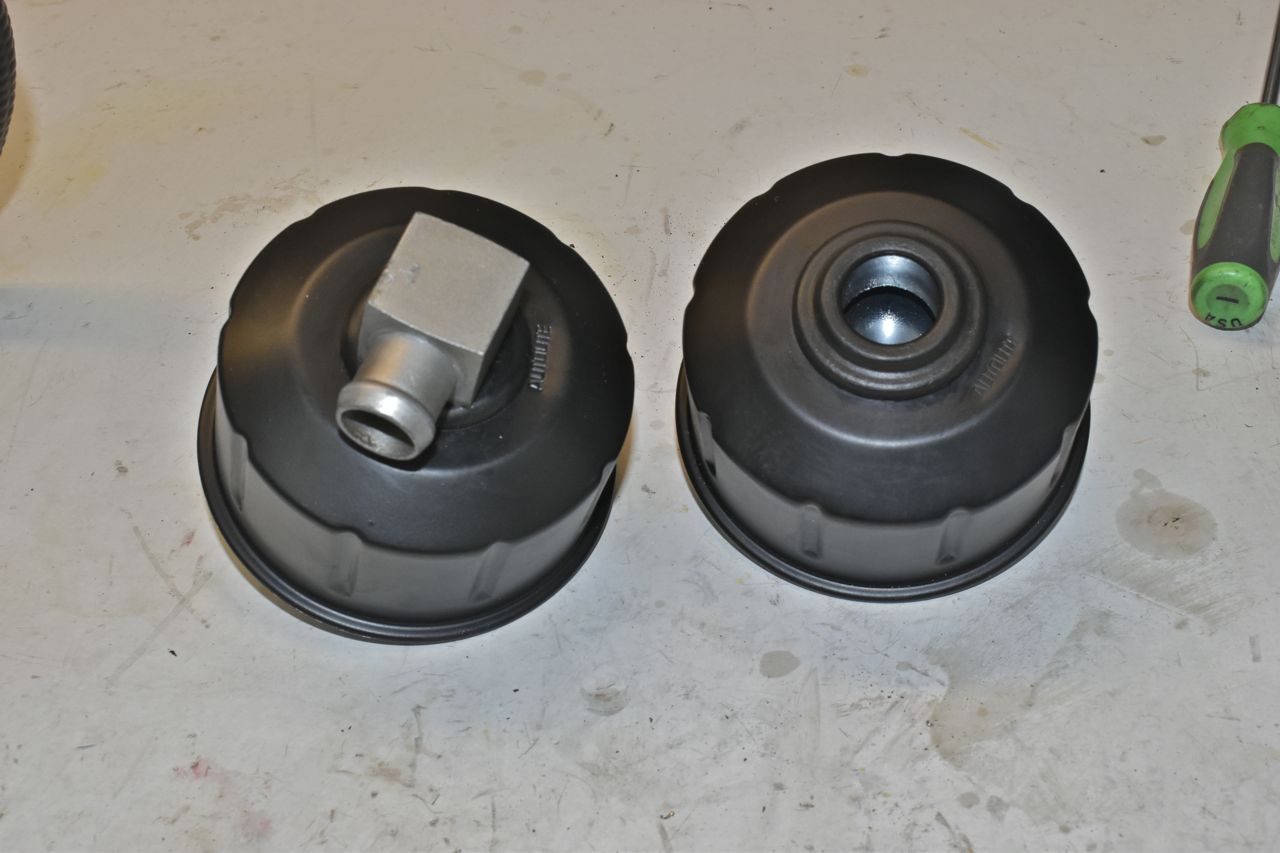
Whilst you can very carefully pry the old separators apart, clean and repack them with stainless mesh wire and re-crimp, you can also buy them reproduced.
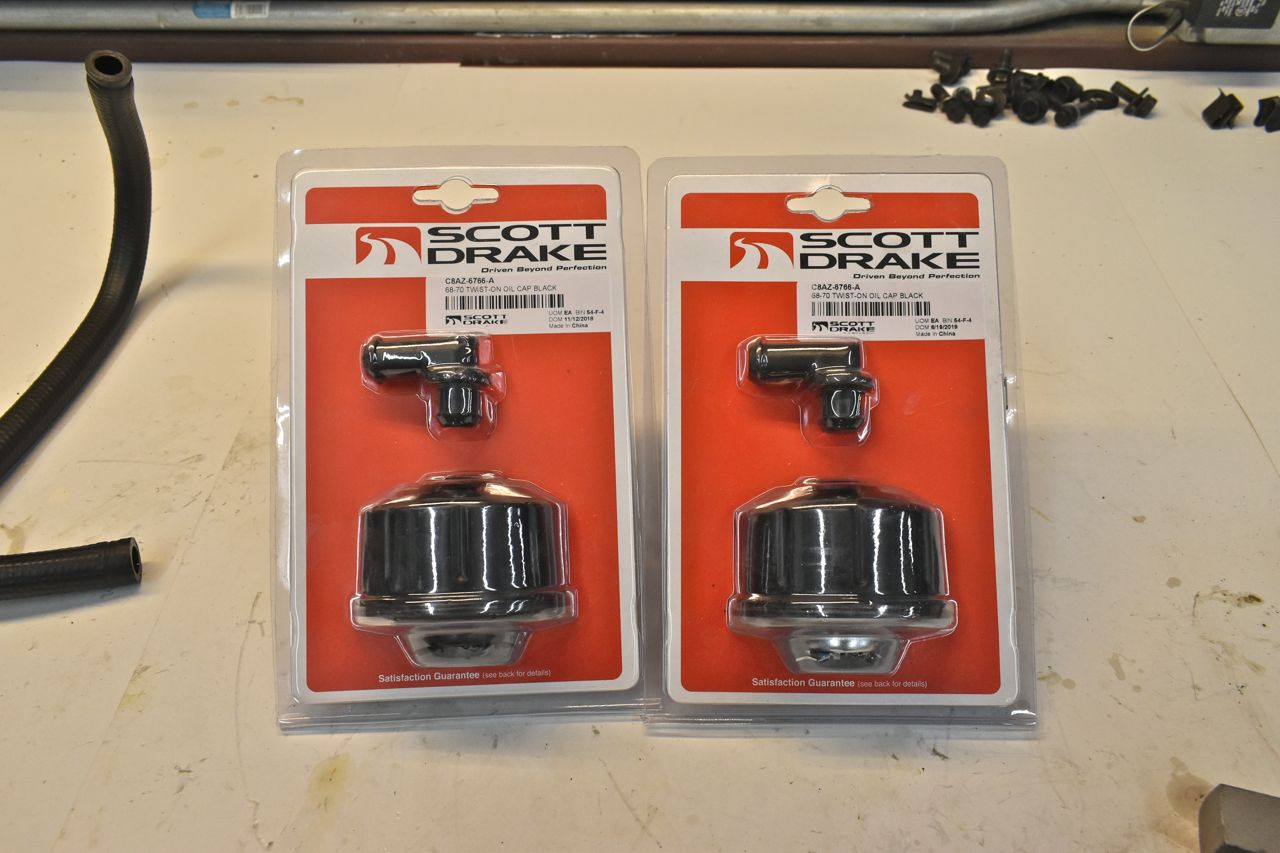
Nice metal elbow and practically a billet PCV valve that is cleaned.
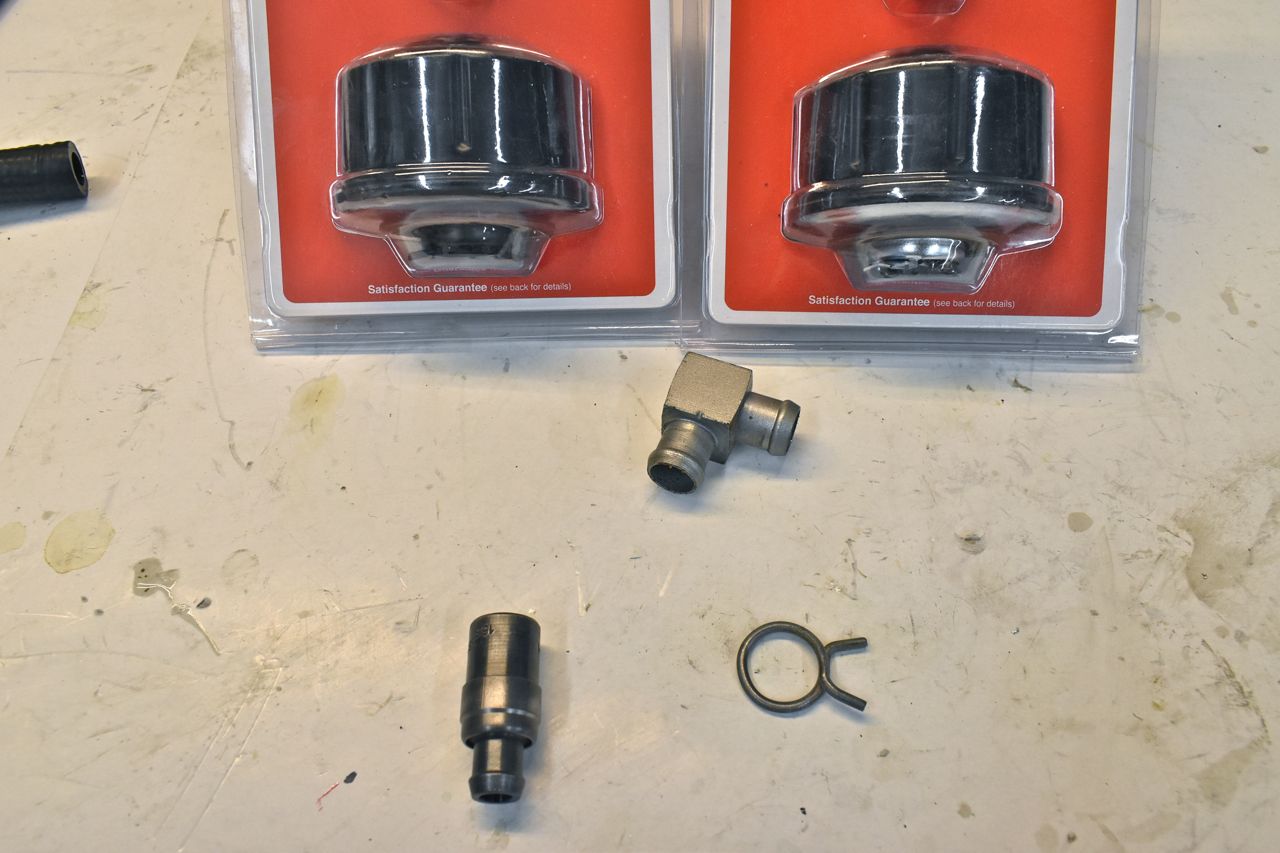
misc bits needed.

Had to play Chinese fire drill with the grommets.
Much better, now it will have a functioning PCV system.
Installed the carb and the C6 kick down linkage. It was missing the white bushing in the end, so donor car to the rescue, once nicely fitting I adjust the kick down so the carb had full throttle at 95% of full kick down movement.
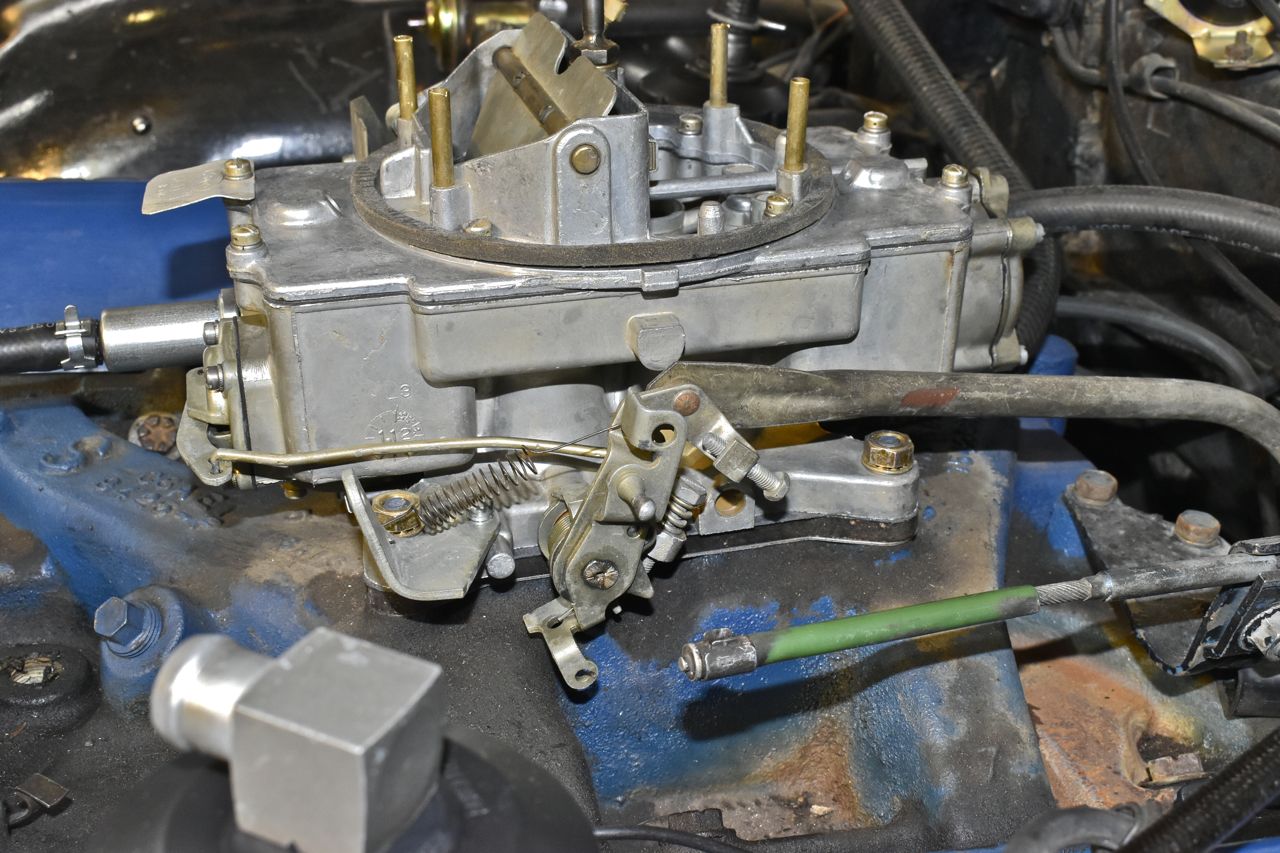
Then I attached the throttle cable and adjust that so I have full throttle and low idle cable throw.
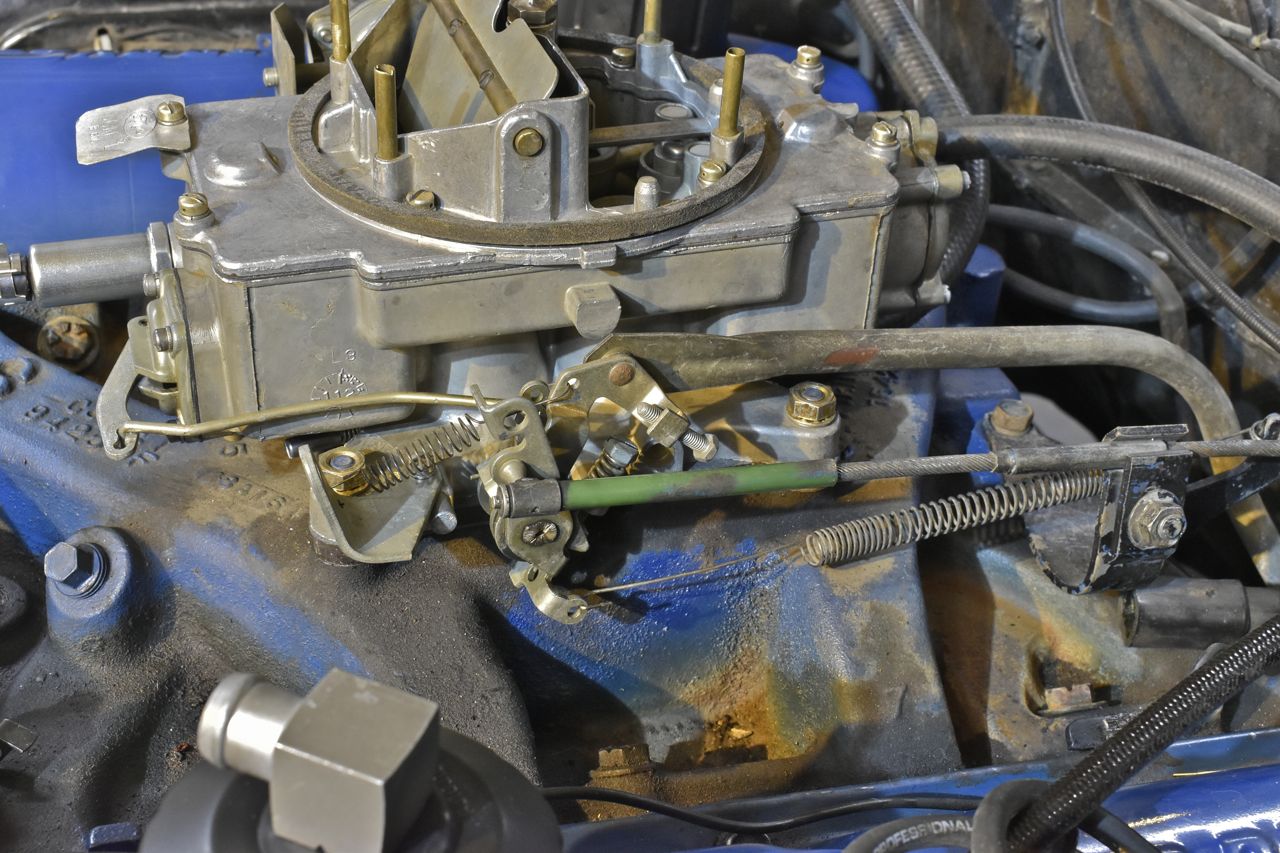
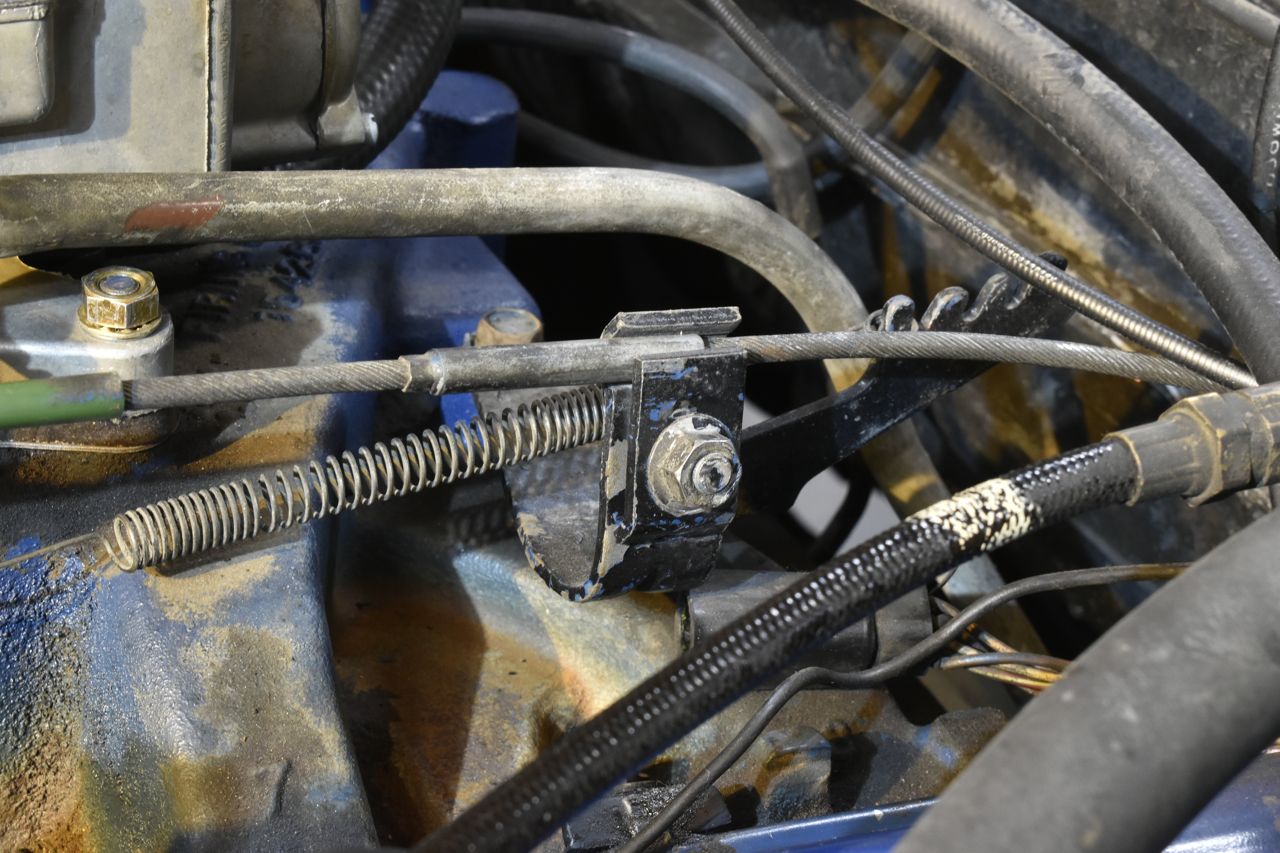
This is still the 2 jet throttle cable as only half is in the clamp, but it's a whole lot better than with the Edelbrock carb.
Linkages done and adjusted.
