1968 Ford XL Repairing Whilst Keeping It Roadworthy : 20 Alternator
2023, November 14
1 - 2 - 3 - 4 - 5 - 6 - 7 - 8 - 9 - 10 - 11 - 12 - 13 - 14 - 15 - 16 - 17 - 18 - 19 - 20 - 21 - 22 - 23 - 24 - 25 - 26 - 27 - 28 - 29 - 30 - 31 - 32 - 33 - 34 - 35 - 36 - 37 - 38 - 39 - 40 - 41 - 42 - 43 - 44 - 45 - 46 - 47 - 48 - 49 - 50 - 51 - 52 - 53 - 54 - 55 - 56 - 57 - 58 - 59 - 60 - 61 - 62 - 63 - 64 - 65 - 66 - 67 - 68 - 69 - 70 - 71 - 72 - 73 - 74I rebuilt this alternator several years ago and it's been on that parts car sitting outside as it used to run, but is now getting parted out and going away soon. One less eyesore.
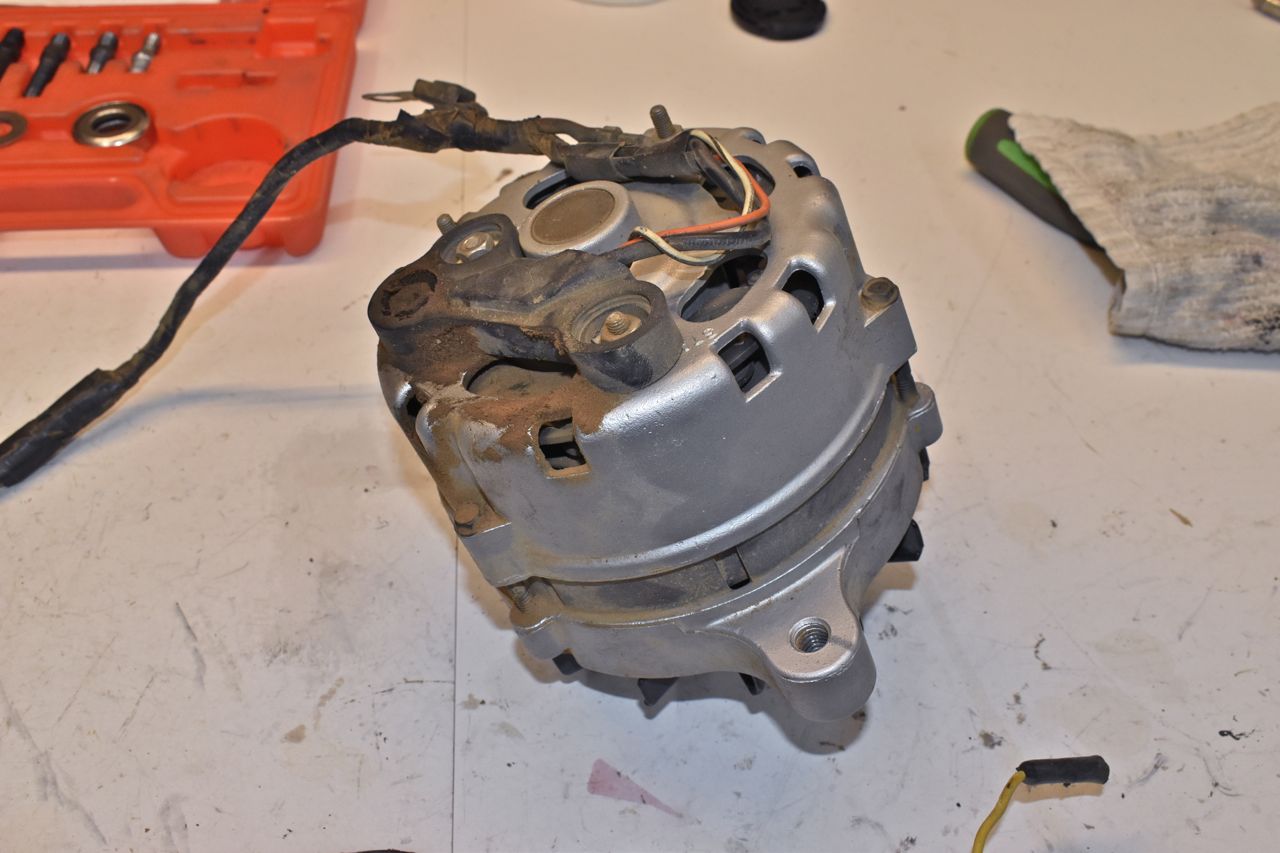
This works seemingly well in the parts car, even at a low chugging 500 RPM it would hold battery voltage at 14.5 volts. But I want to go through it even though the bearings feel like brand new.
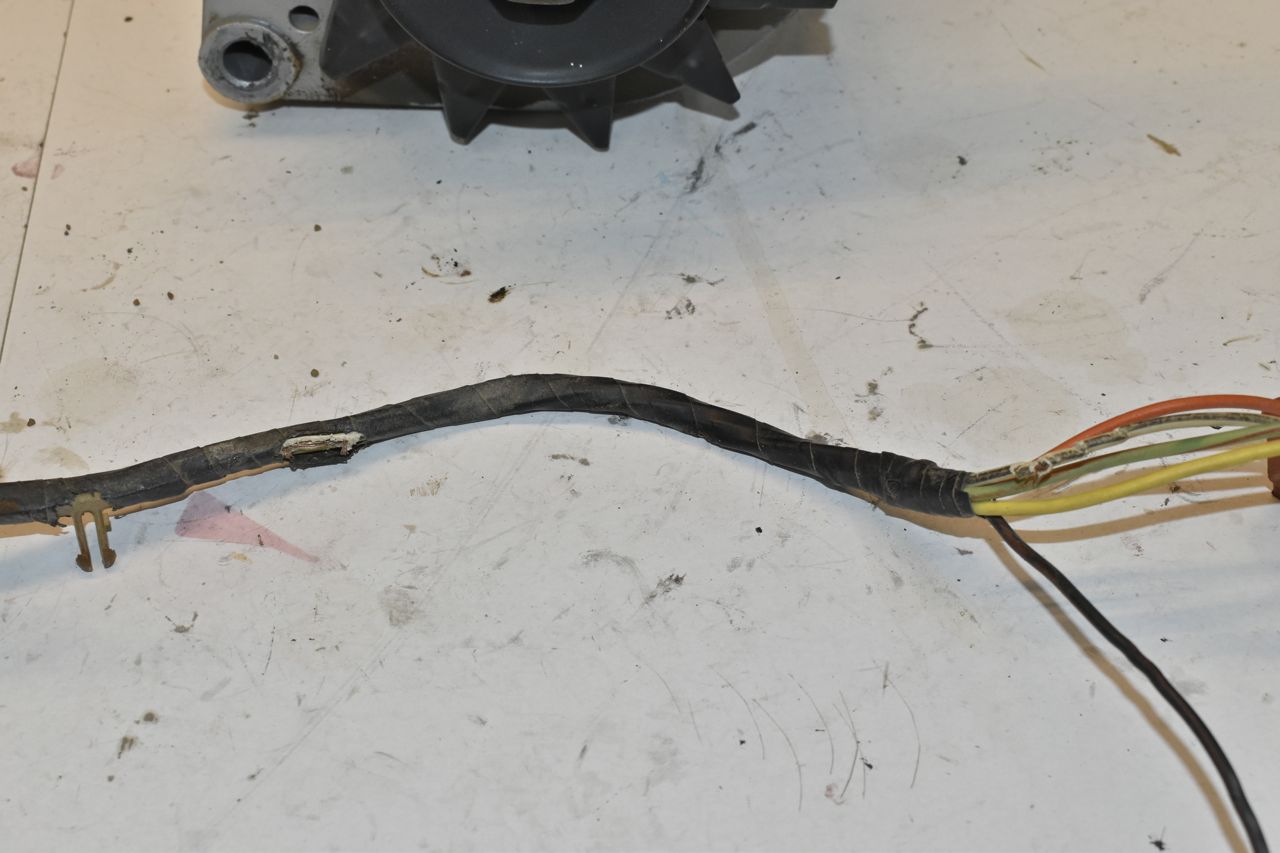
I was going to use the entire harness but rodents attacked it, so I'll make a new harness for the XL.
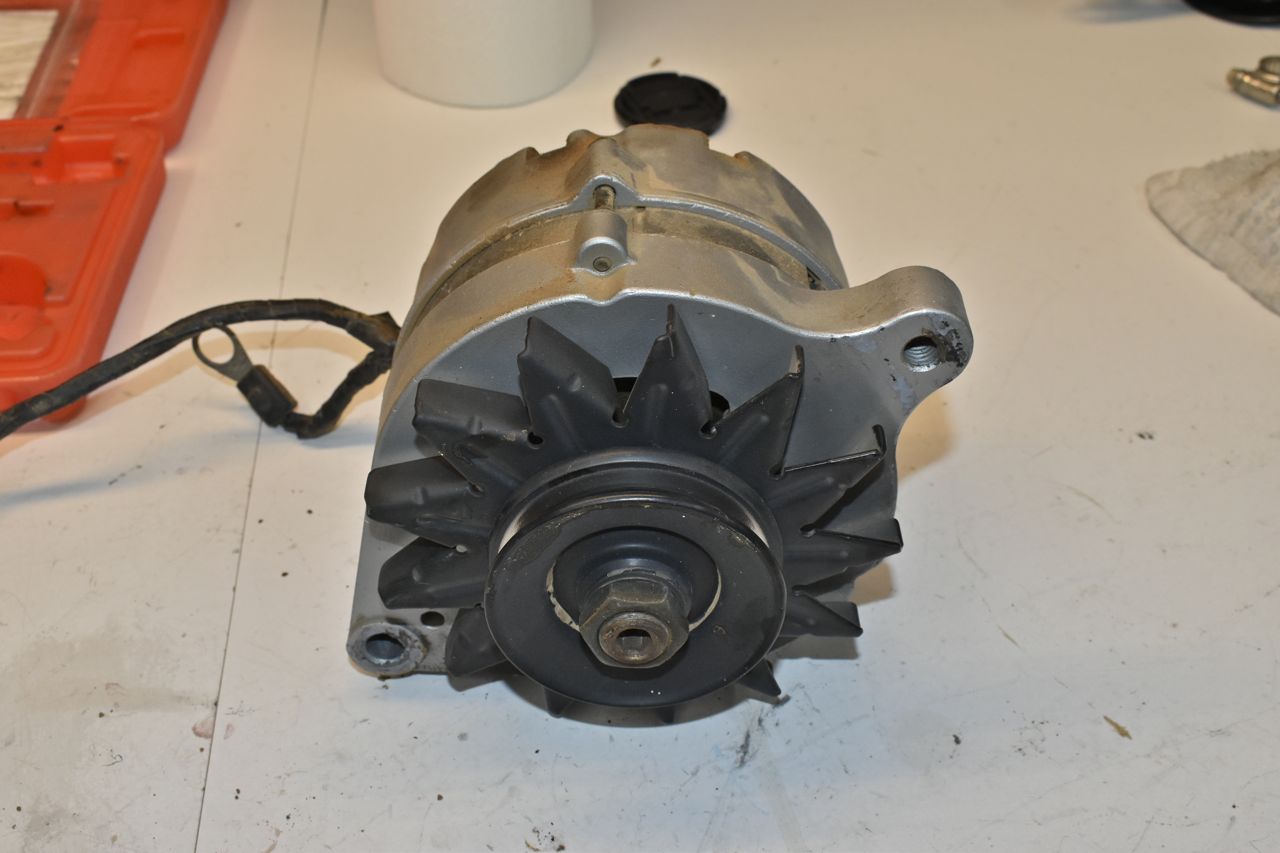
The XL's and parts car both taken apart for inspection.
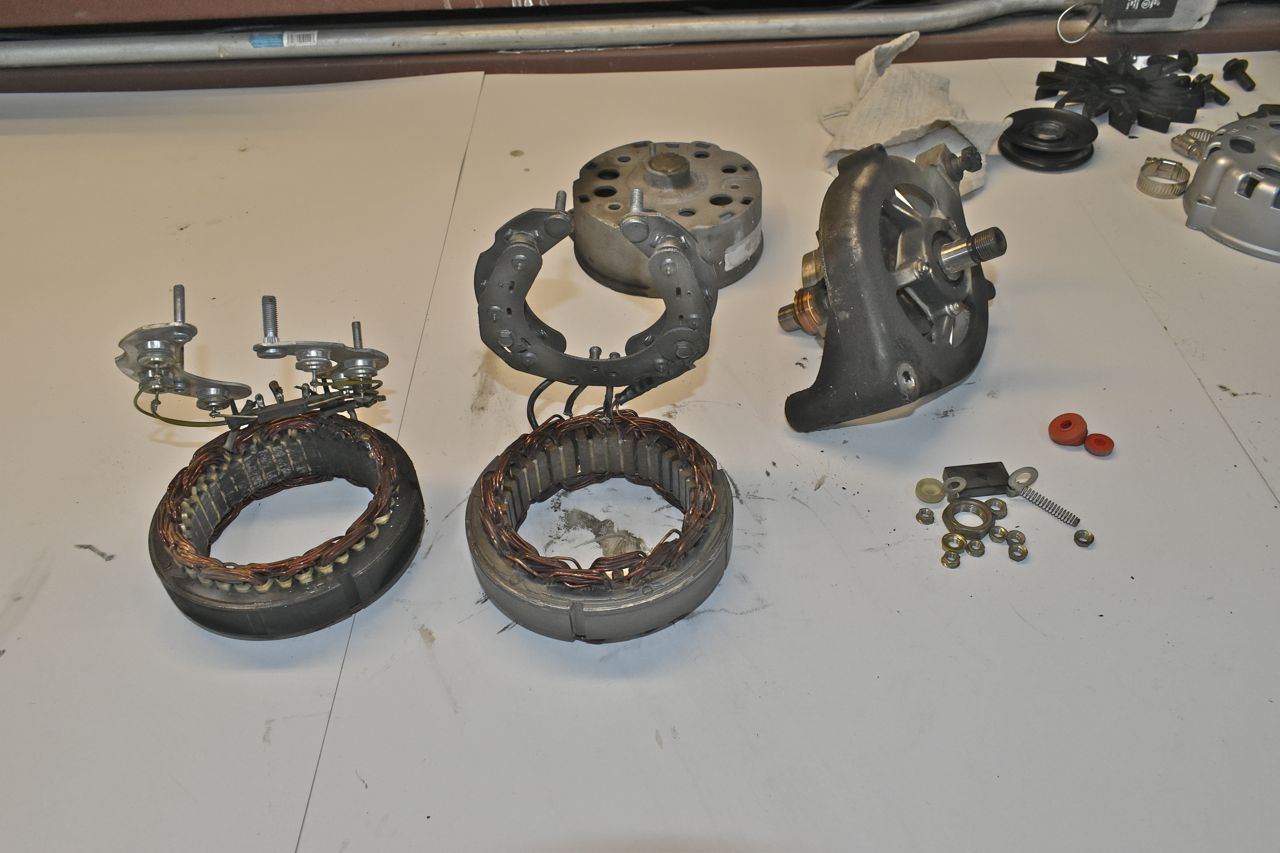
The one I rebuilt still used the '66 stator and there isn't much insulation used originally, the stator in the XL's is a better stator. However the rest of the XL's alternator was not so good, the bearings were dry and galled, the plastic insulator just shattered like glass and the rotors slip ring is heavily gouged. The only other good part is the radio frequency interference capacitor was good.
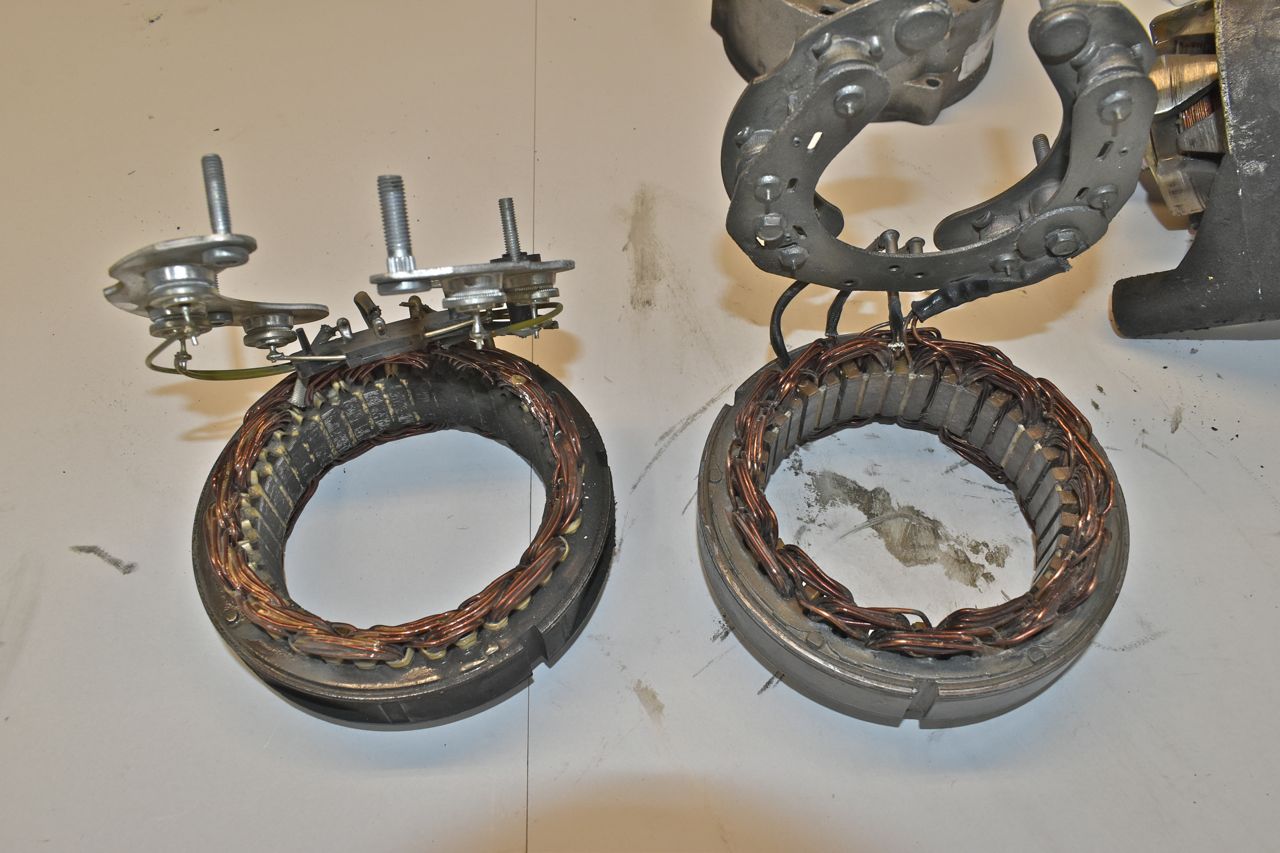
Original '66 stator.
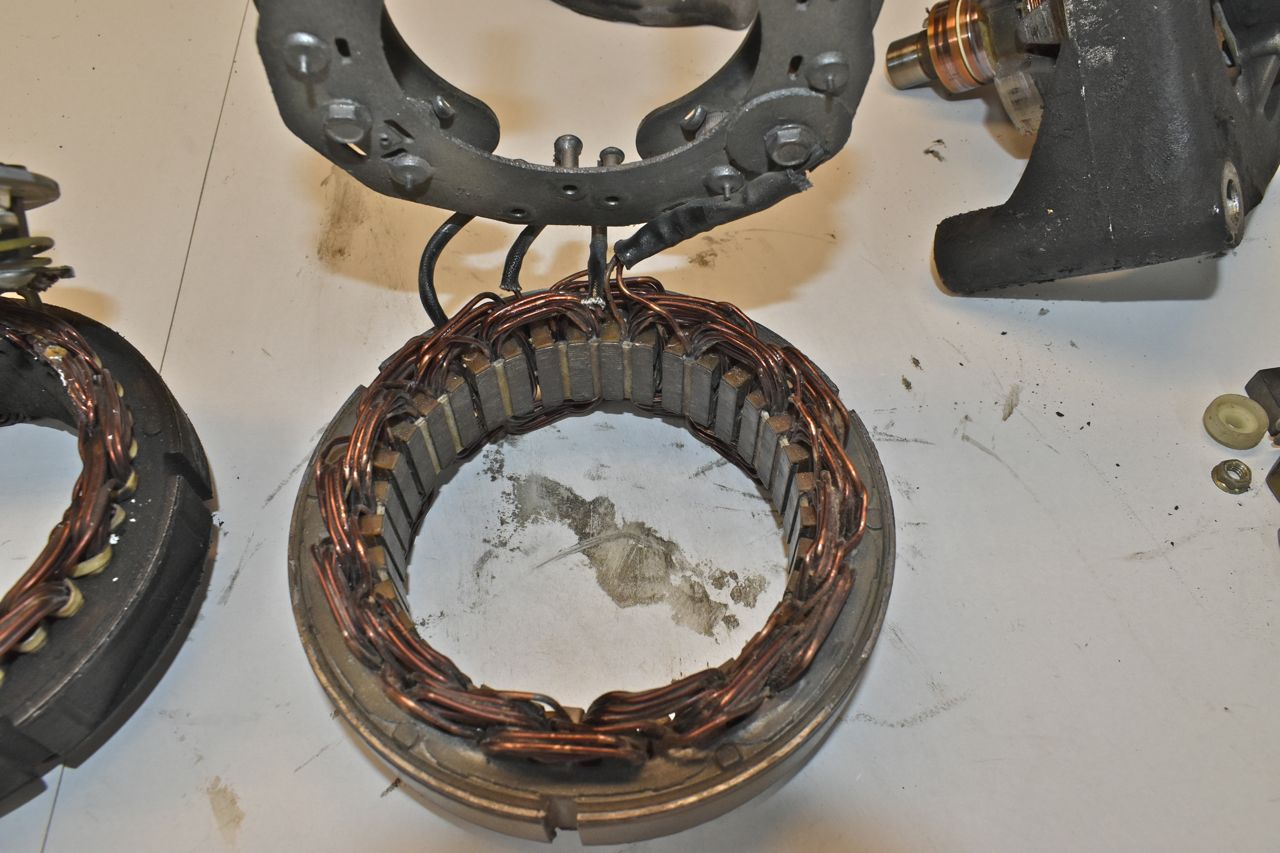
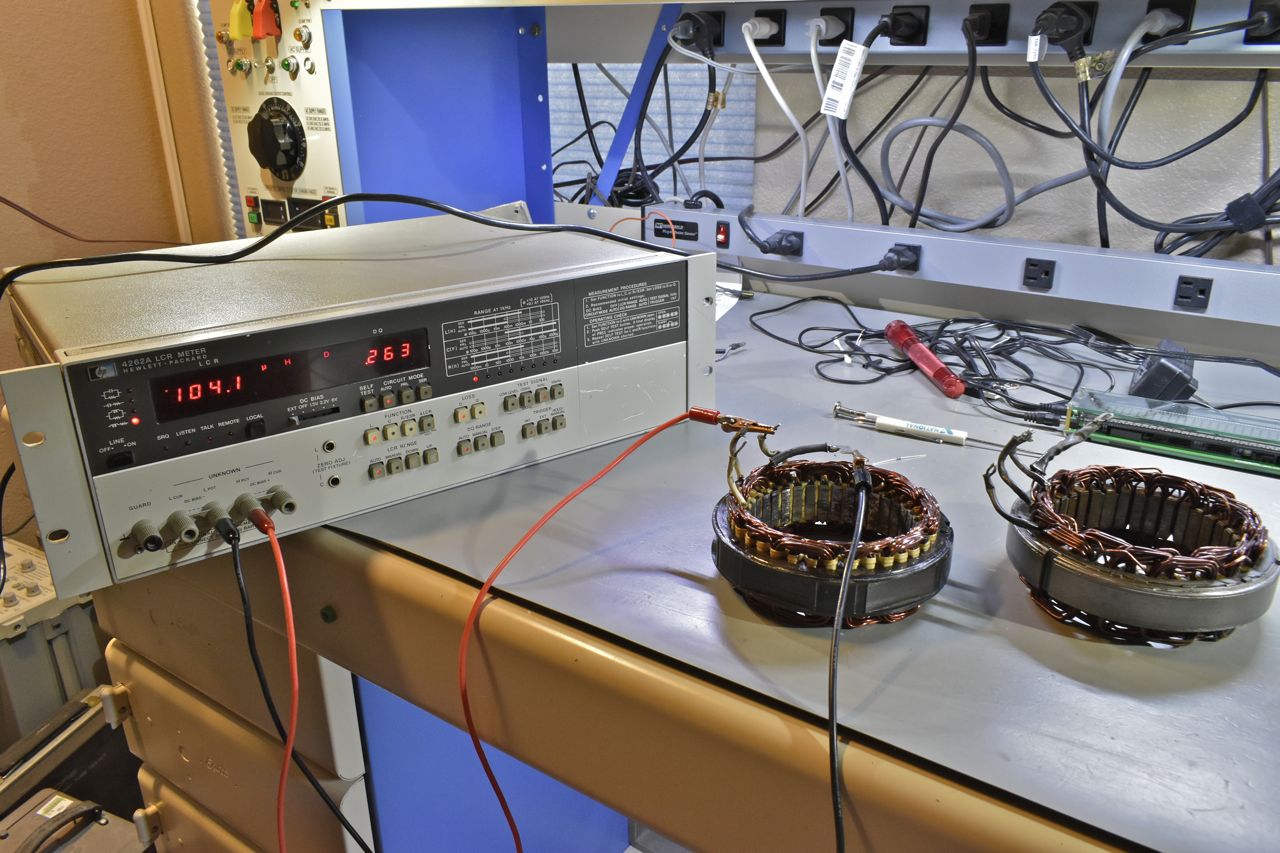
The newer stator from the XL has better insulation and I will use this along as it passes the short and inductance tests.
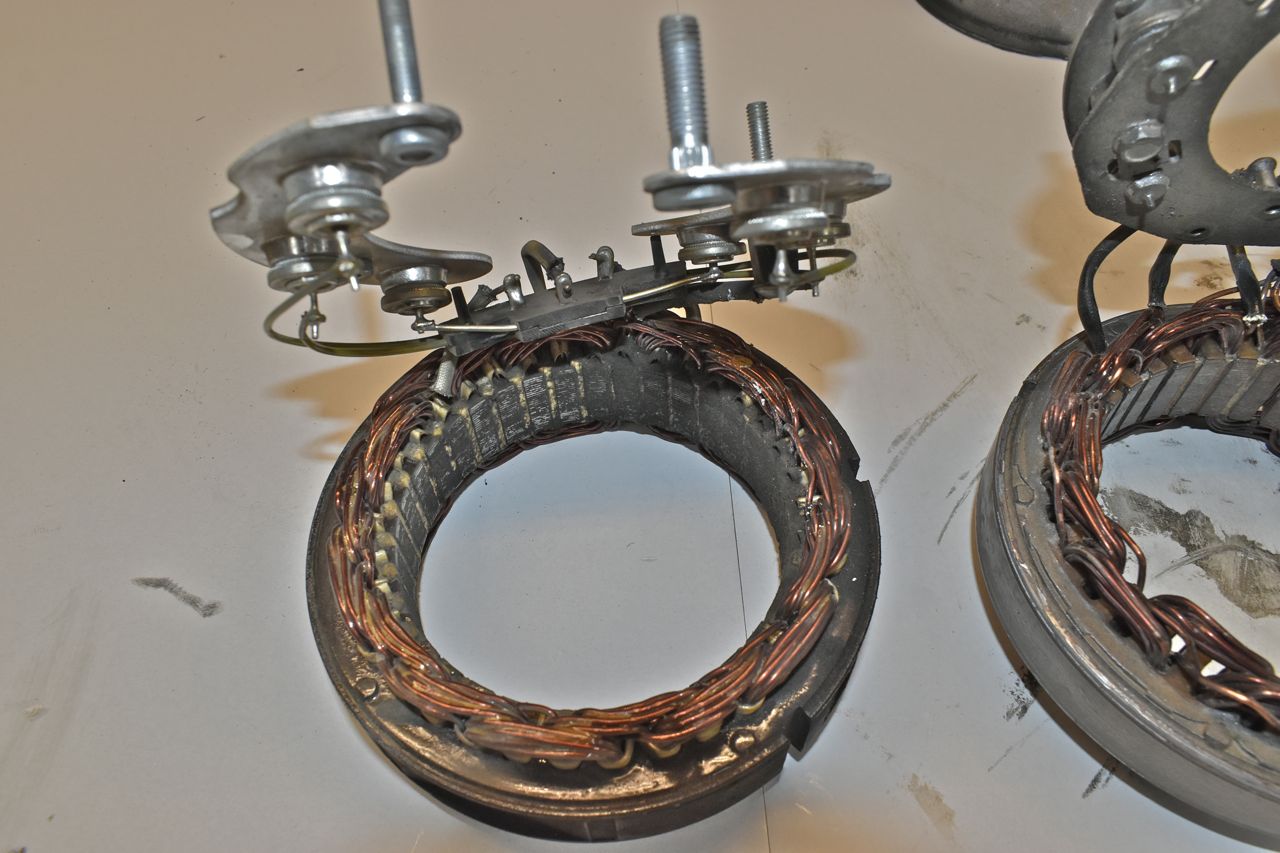
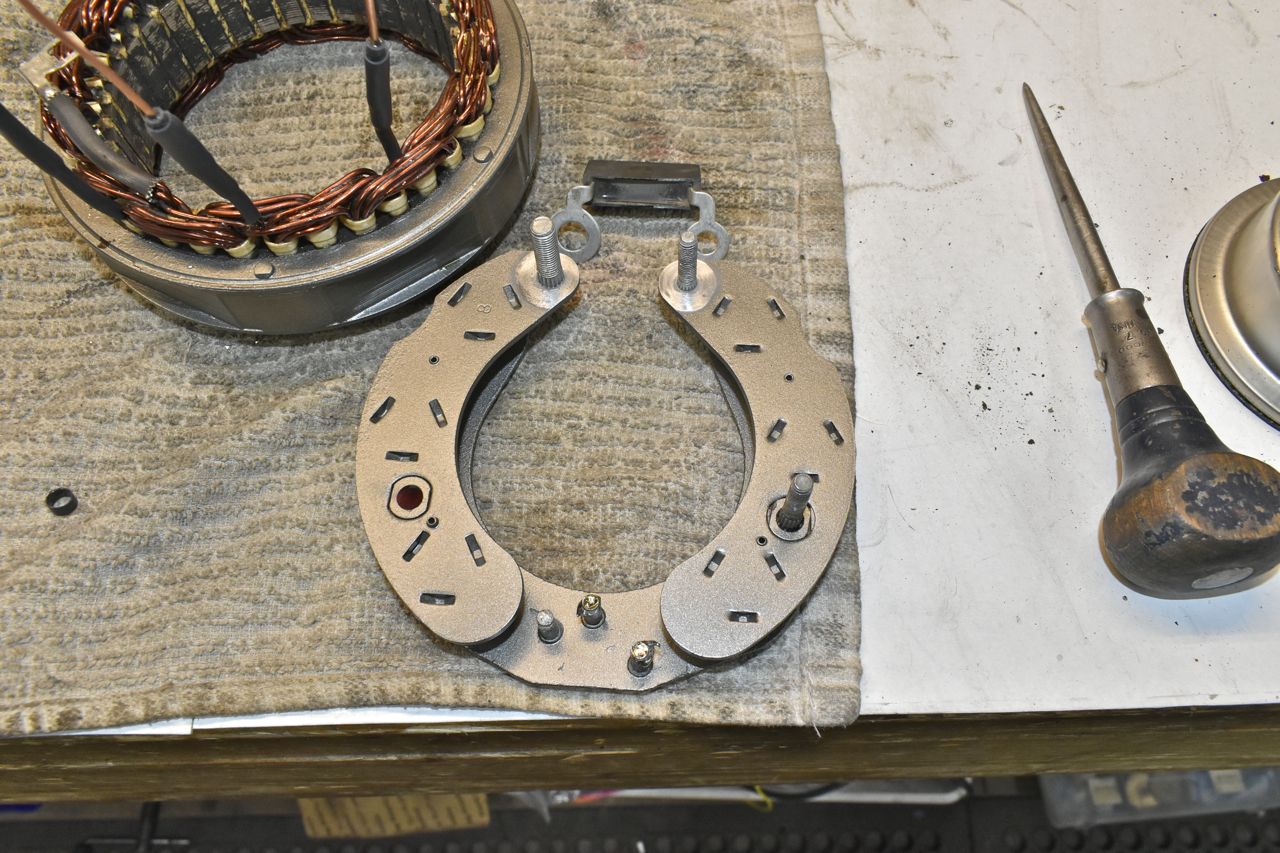
I'm going to use the main bridge rectifier from the one I rebuilt as the XL's insulators just broke apart on its. However I feel the need to enhance the copper traces for higher current by applying and building up solder on them.

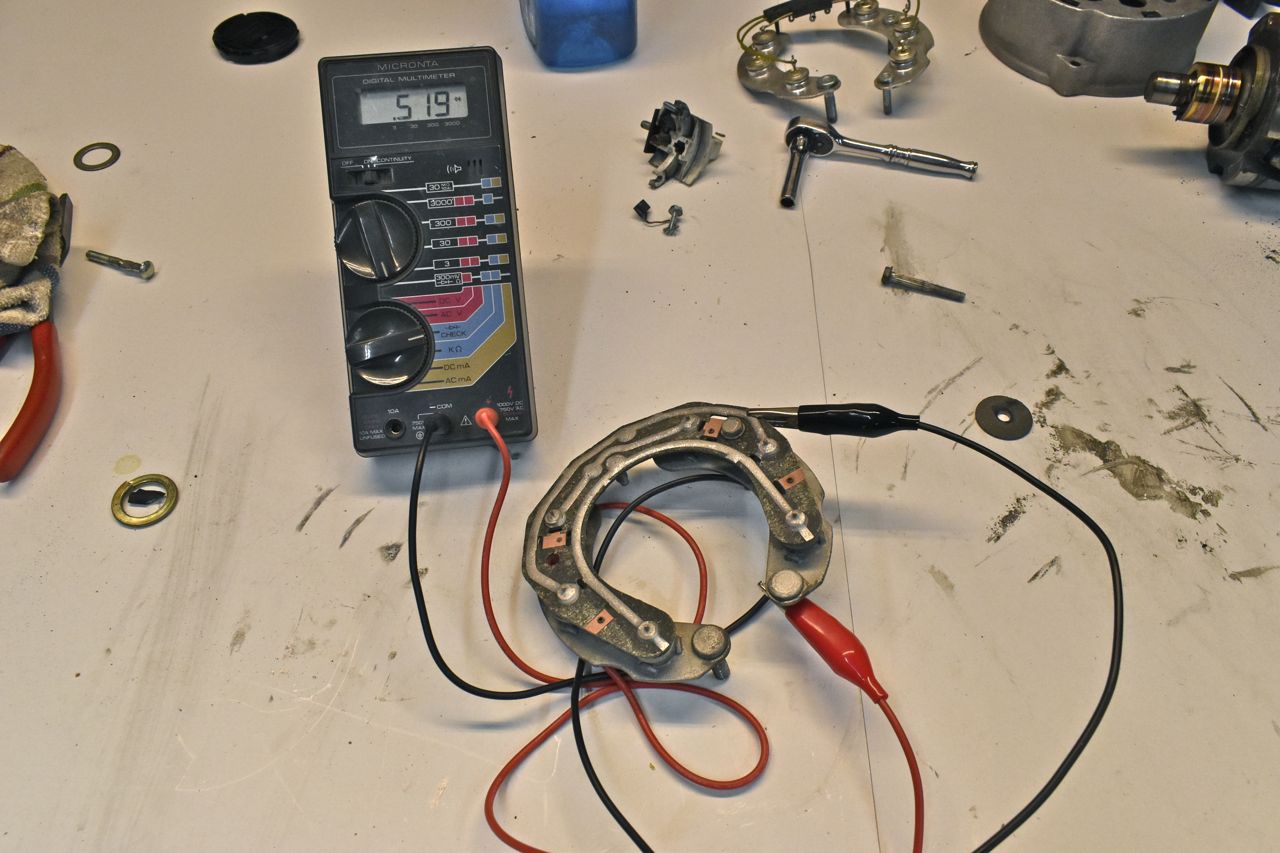
After the solder fest I checked the diodes one last time. All is well.
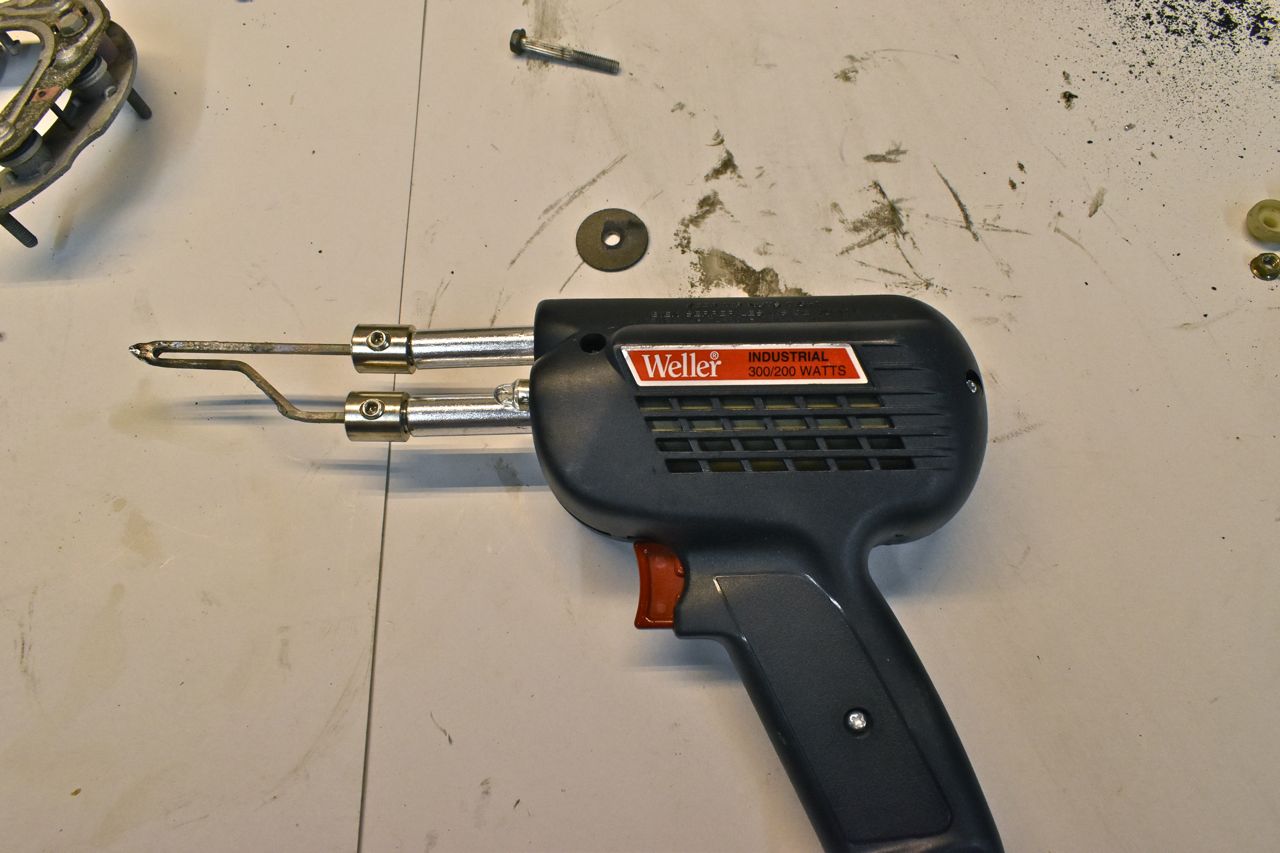
To desolder/solder the stator wires onto the bridge, you need a high wattage gun.
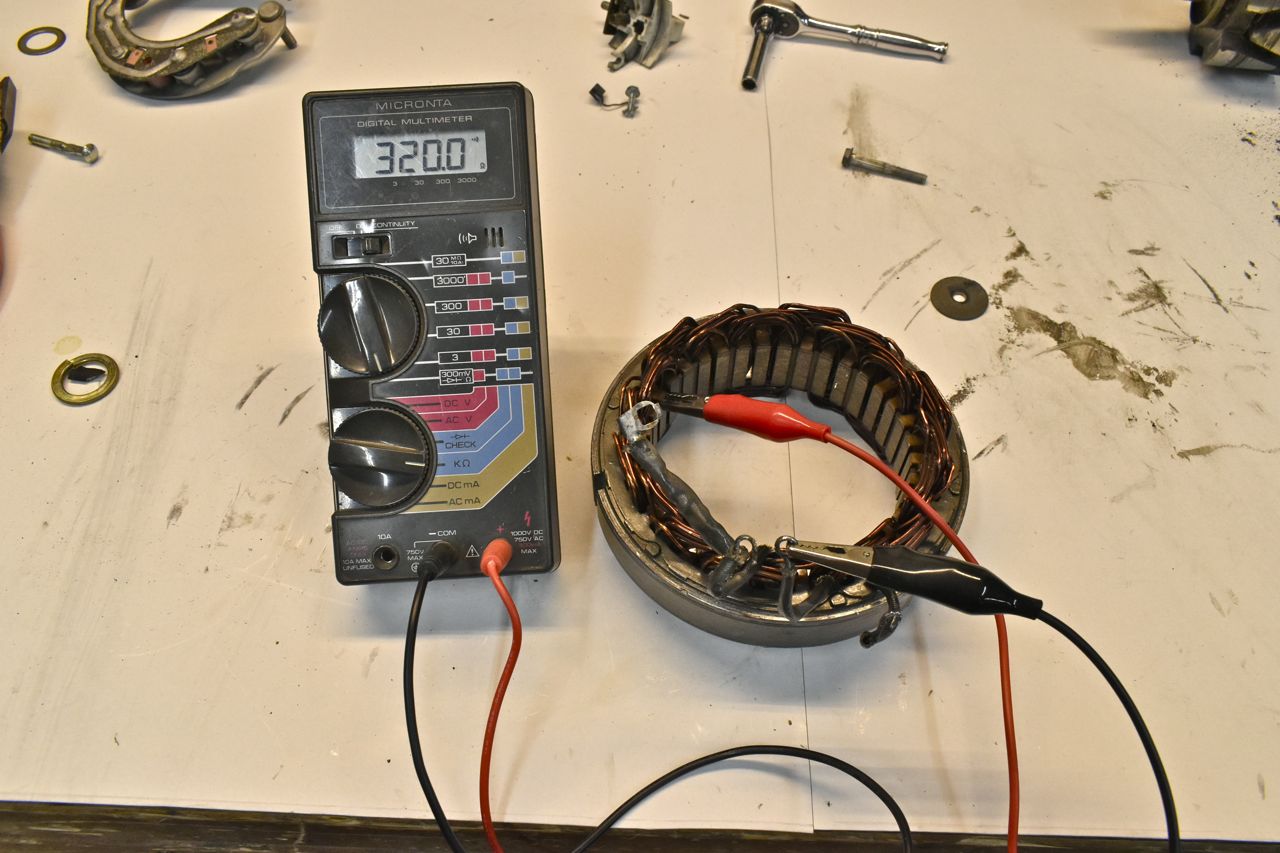
Checking the stator for shorts to the lamination's.
To check for winding to winding short, you can use a growler (old school) or an inductance meter and check between phases.
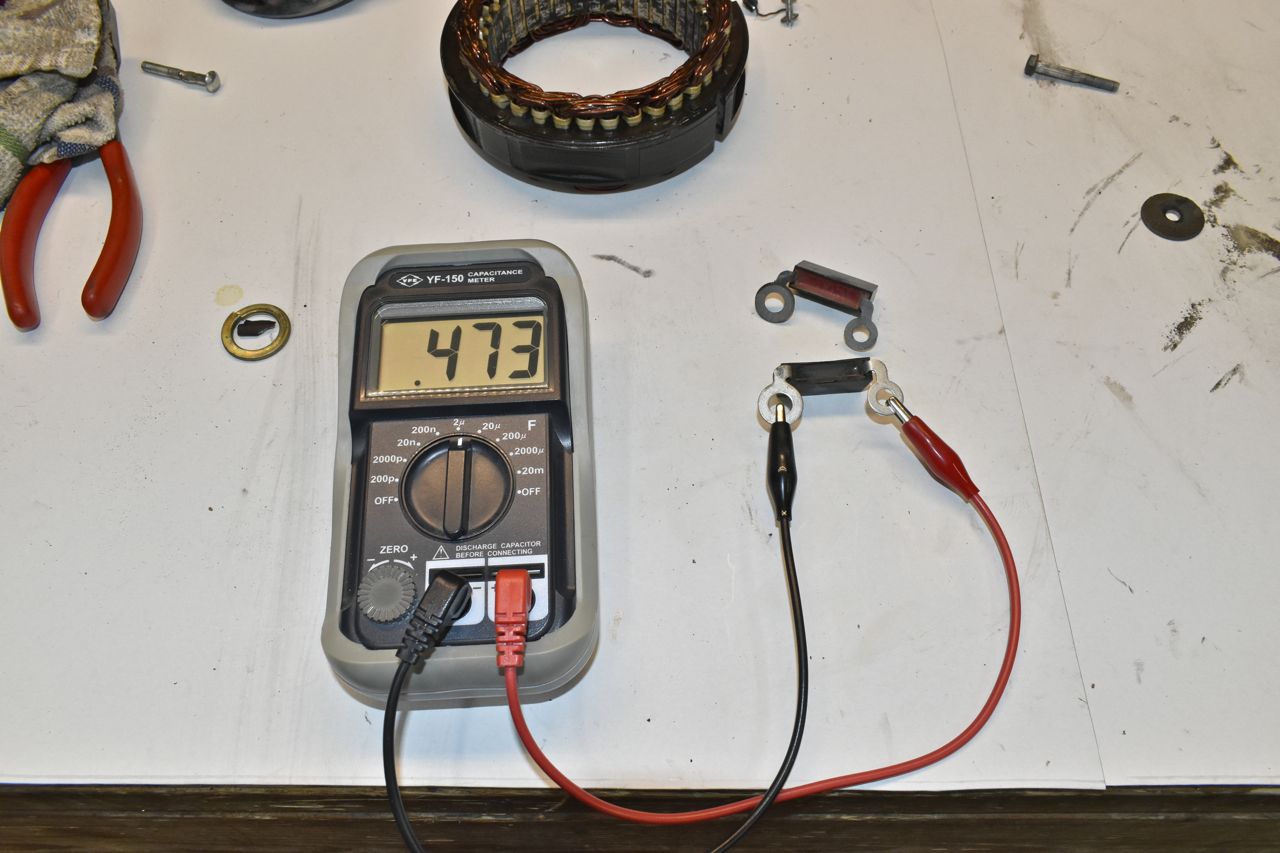
This RFI capacitor is good.
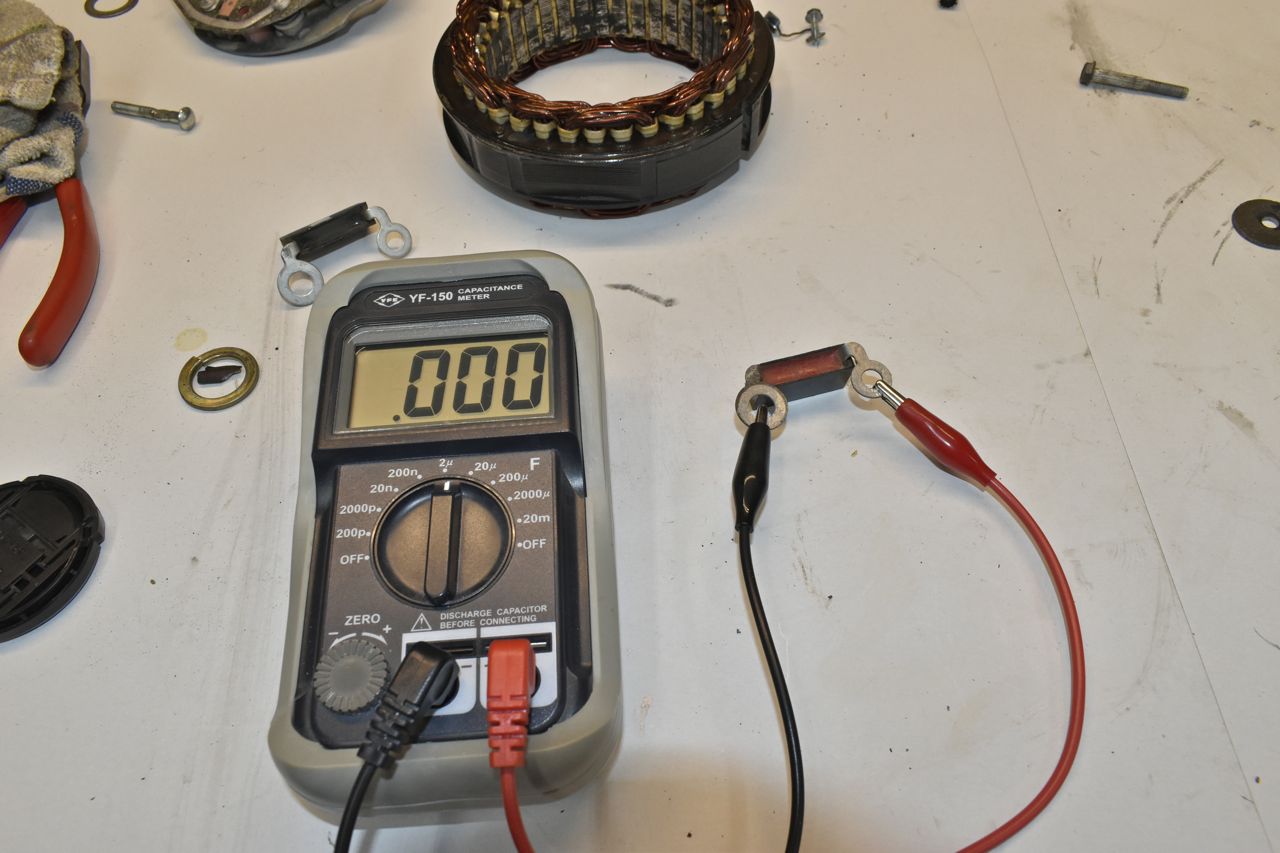
This one is totally dead.
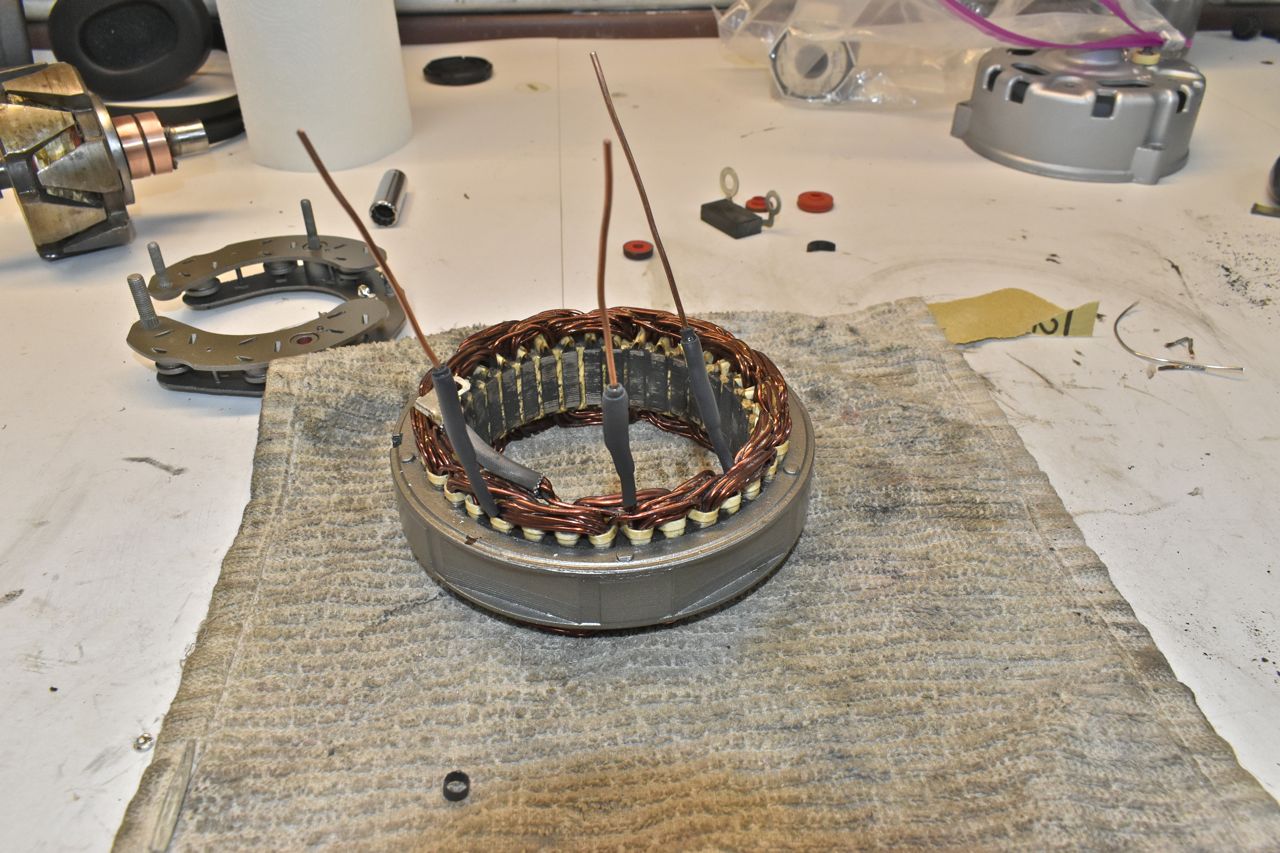
The newer stator didn't have long enough leads to reach the other bridge rectifier so I had to extend them.
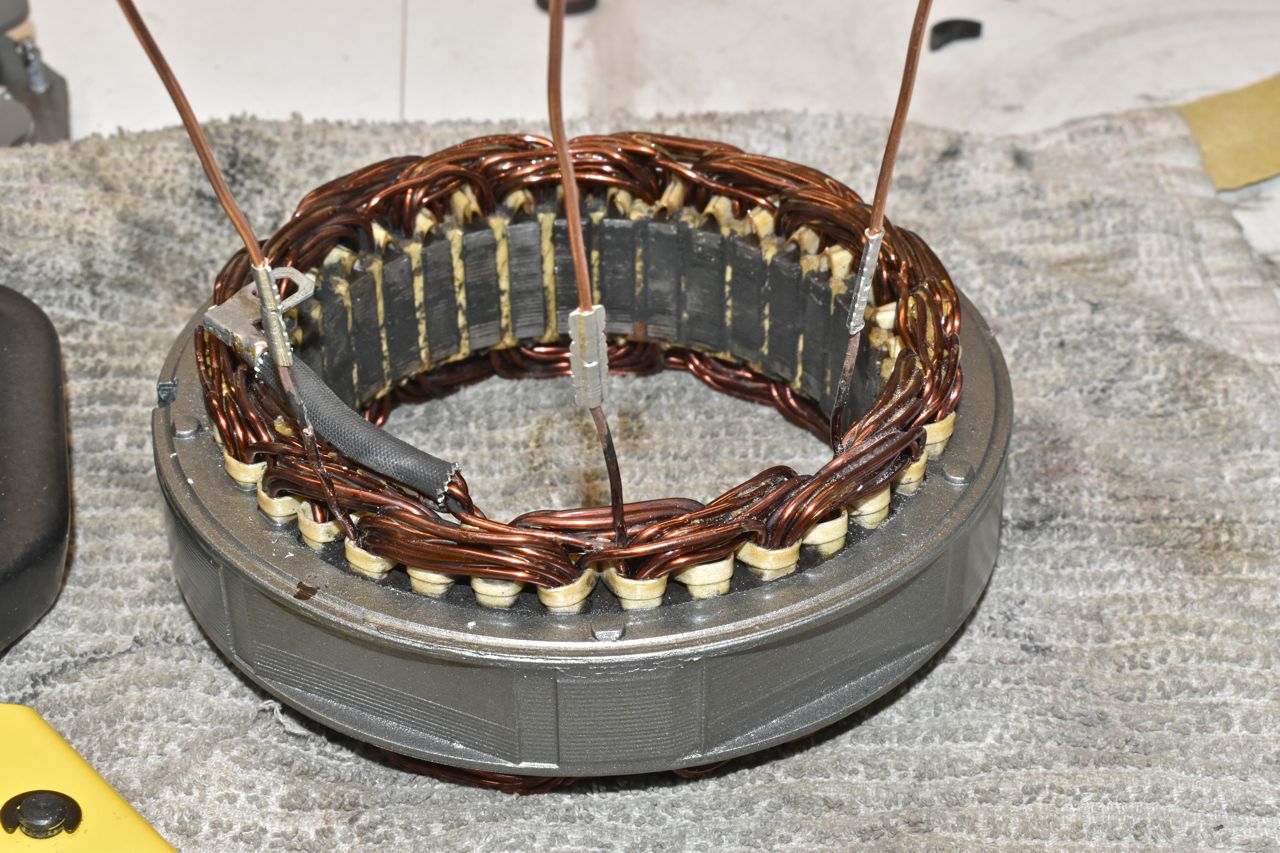
First, strip off the varnish, then make a good mechanical crimp, then solder.
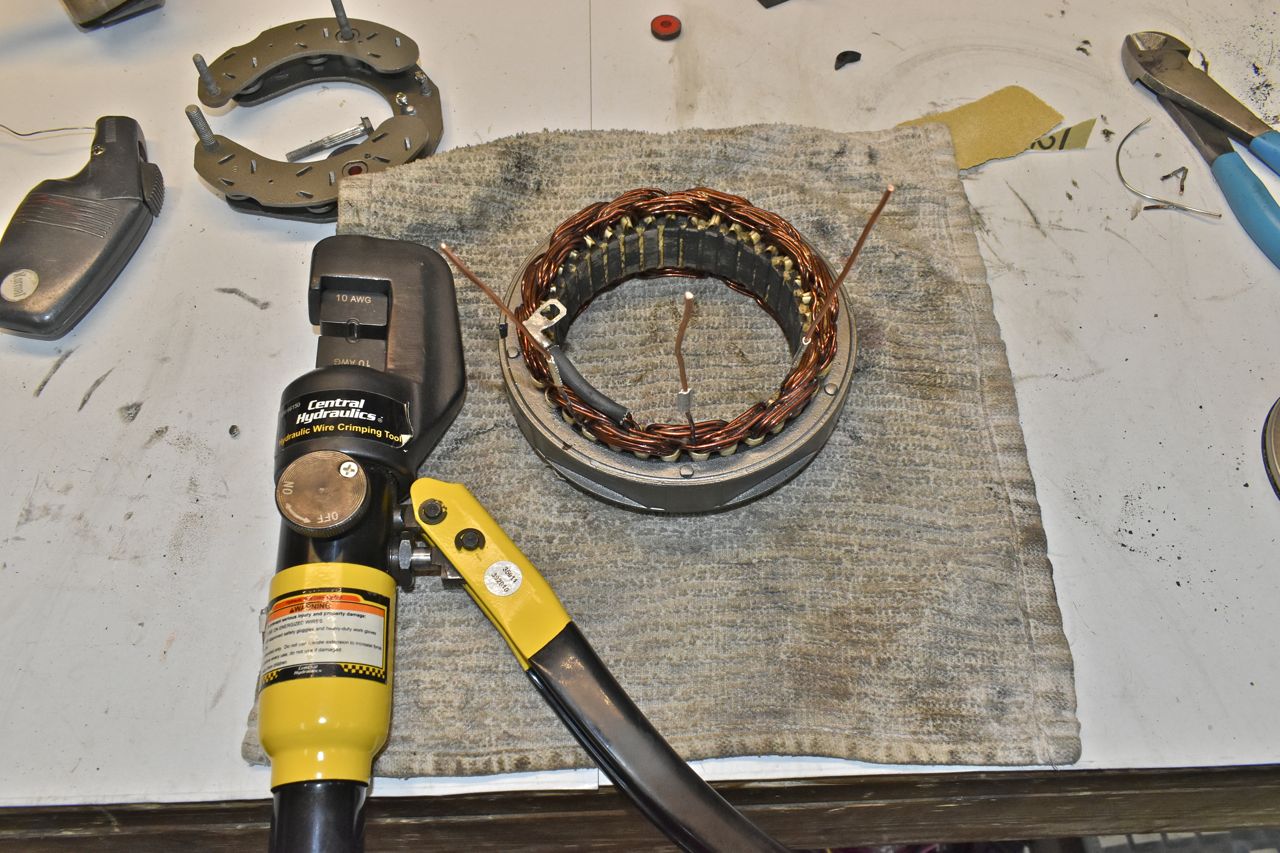
Insulate.
The bridge is prepped.
