1968 Ford XL Repairing Whilst Keeping It Roadworthy : 23 Vacuum Can
2023, November 14
1 - 2 - 3 - 4 - 5 - 6 - 7 - 8 - 9 - 10 - 11 - 12 - 13 - 14 - 15 - 16 - 17 - 18 - 19 - 20 - 21 - 22 - 23 - 24 - 25 - 26 - 27 - 28 - 29 - 30 - 31 - 32 - 33 - 34 - 35 - 36 - 37 - 38 - 39 - 40 - 41 - 42 - 43 - 44 - 45 - 46 - 47 - 48 - 49 - 50 - 51 - 52 - 53 - 54 - 55 - 56 - 57 - 58 - 59 - 60 - 61 - 62 - 63 - 64 - 65 - 66 - 67 - 68 - 69 - 70 - 71 - 72 - 73 - 74Next I tackled the vacuum portion of the HVAC system as that is a royal mess.
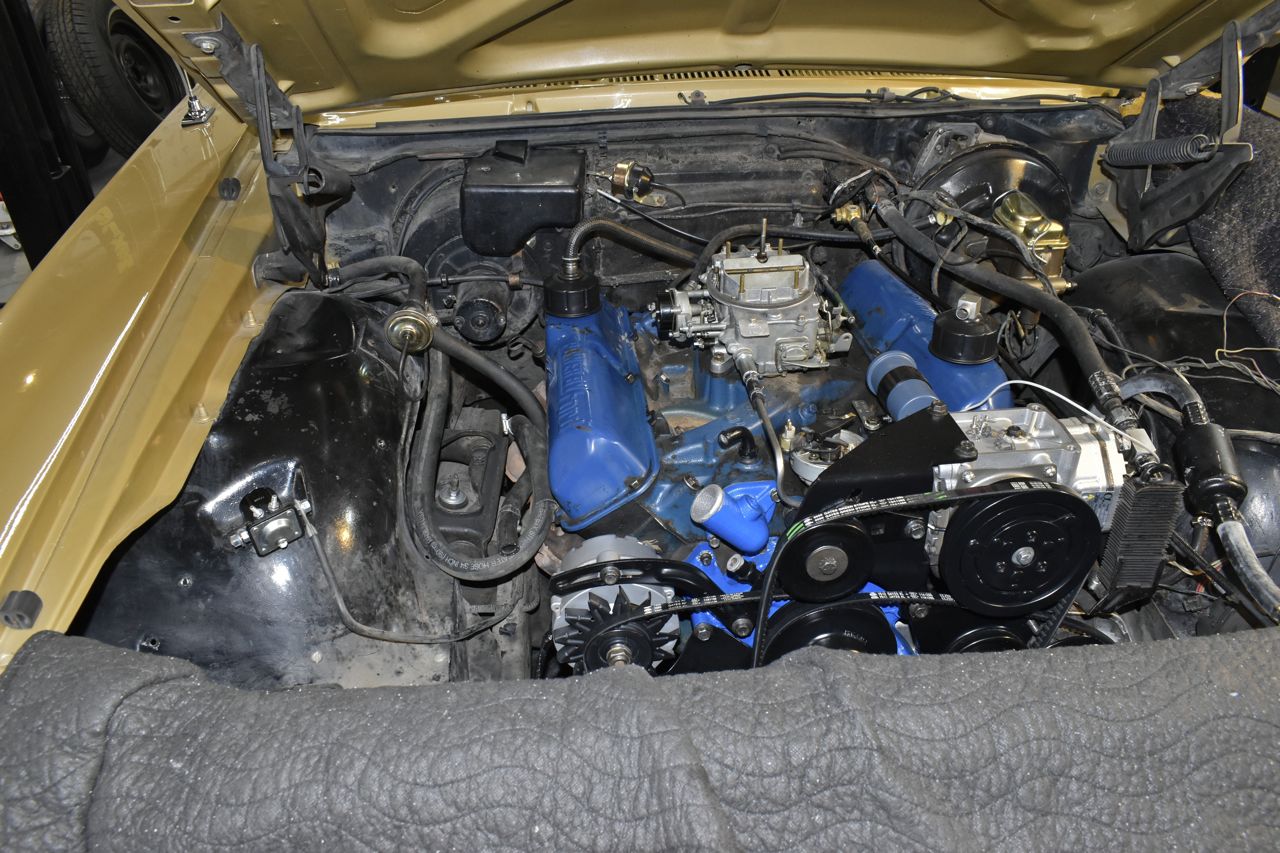
Just a recap but they, whoever they were, didn't use the original vacuum can and installed another smaller one. Good grief. How about we fix the original one and ditch the dodgy add-ons cluttering up this engine bay. After all it's a can there isn't too much that can go wrong.
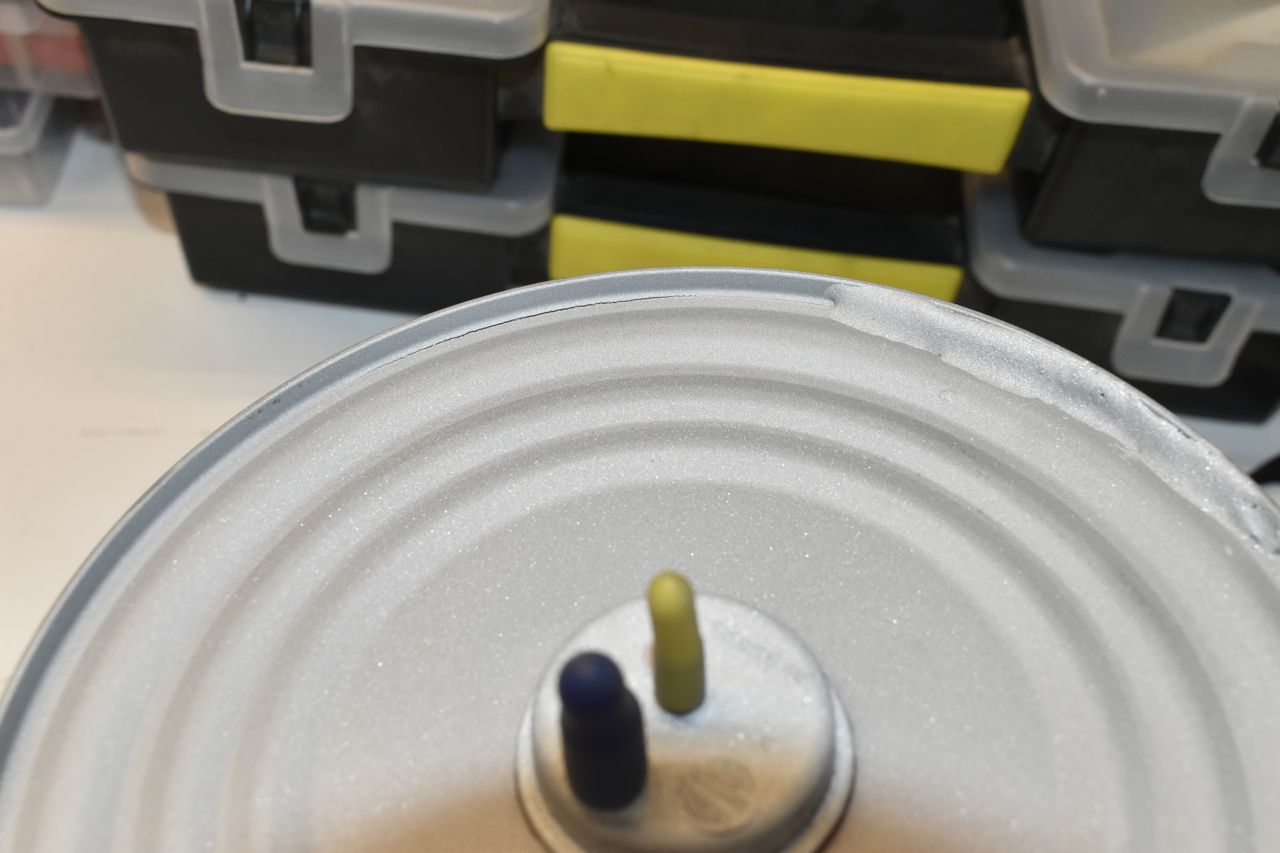
Usually this leaks around the centre nipple cap. But this can was blowing bubbles around the top and bottom with a few PSI of air injected into it and sprayed with Windex. Here's the crack on the top side and it looks like someone already soldered another crack sometime in the past.
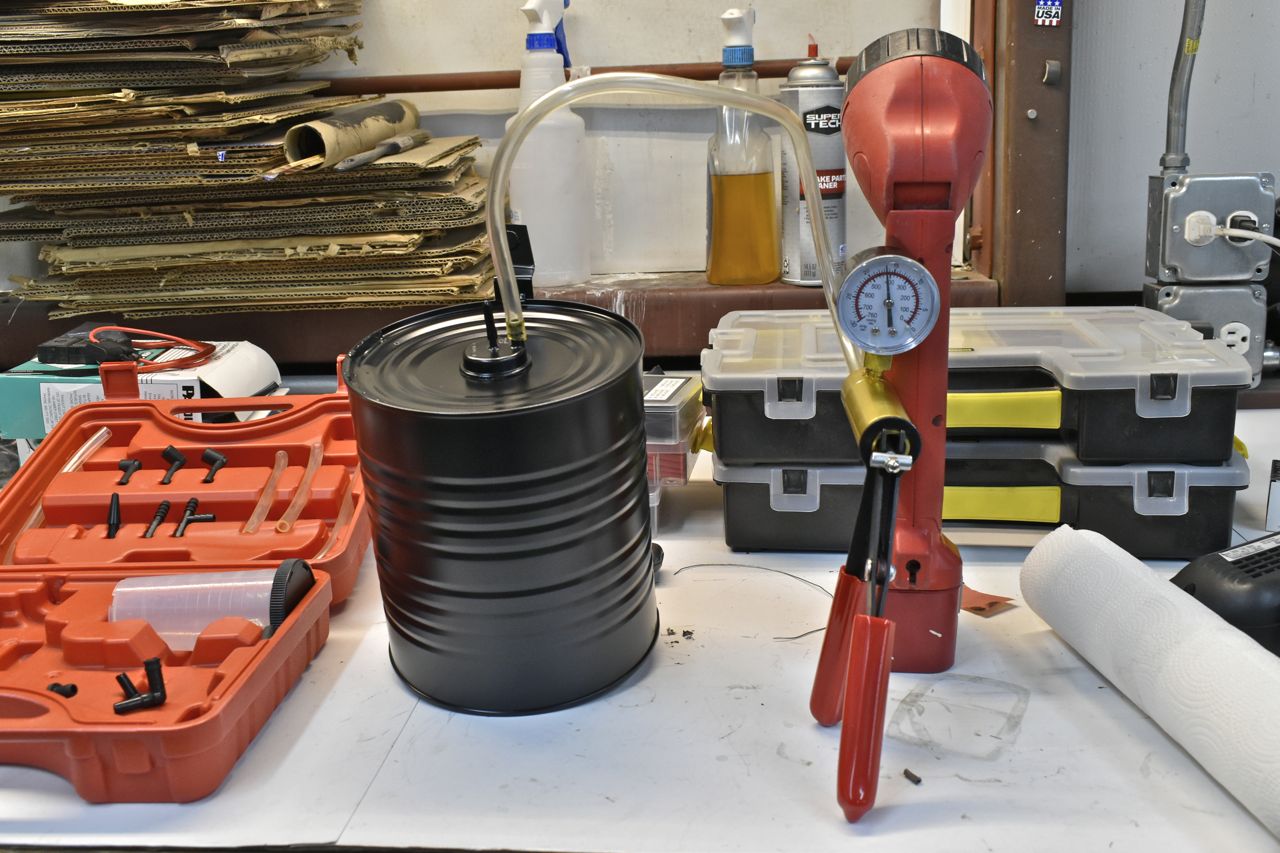
Since all my soldering stuff was still on the bench it seemed rather fortuitous. Now since I sandblasted the steel I used regular stay clean PCB flux and solder. That will only work on really clean steel. Wire brushing will not clean it well enough. For a lesser clean prep you would have to use acid core solder.

Did the bottom and sandblasted again the whole thing to prep for paint.

The can held this vacuum for 5 minutes. I'd say Mr. Coffee can is fixed and ready for use.
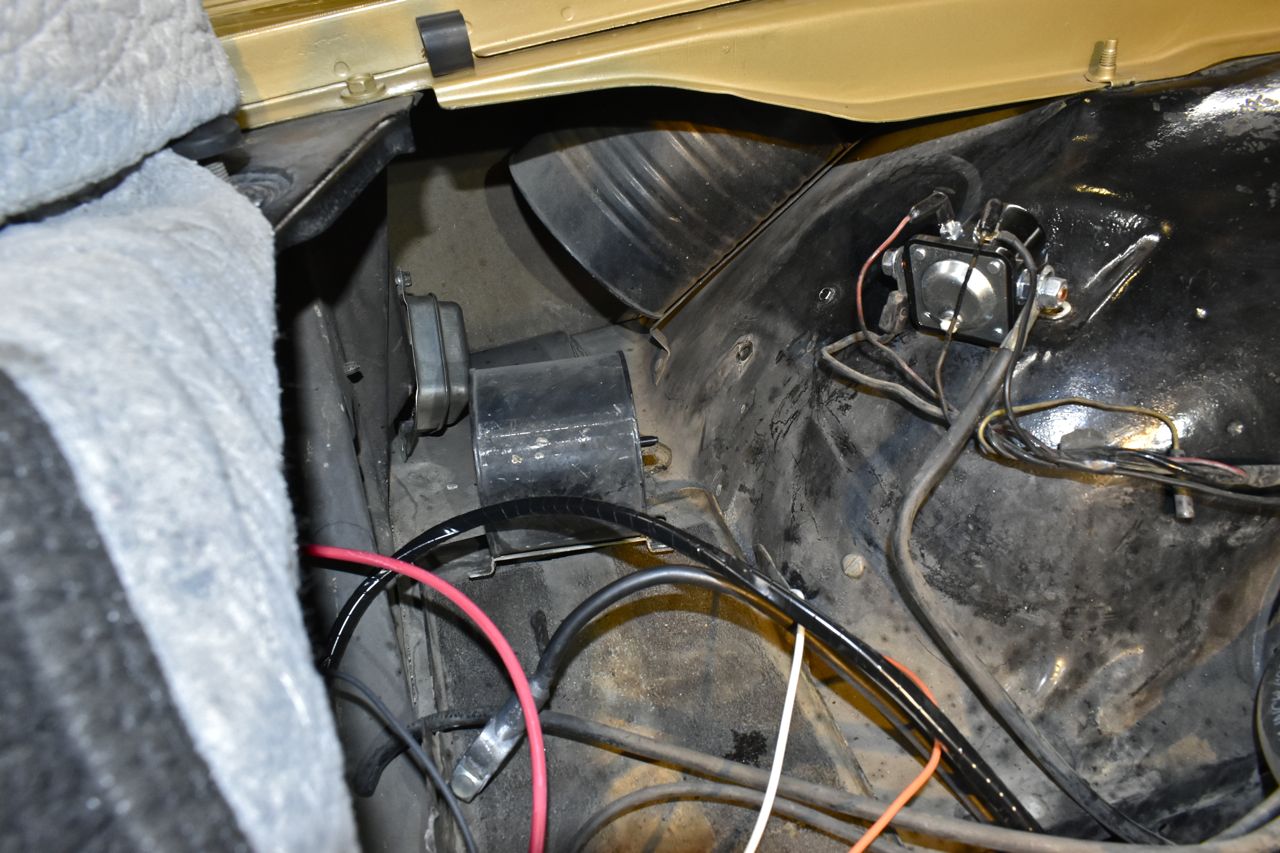
So they ran the vacuum lines with the wiring harness and zip tied it to the holes reserved for the apron splash shields that are missing. I will route the vacuum lines between the outer wing and inner apron and get them out of sight. But first I need to fix the rest of the HVAC vacuum system. There are two noticeable vacuum leaks under the dash and vents do not switch fully when selecting a heat function as it blows out on the floor and dash registers.
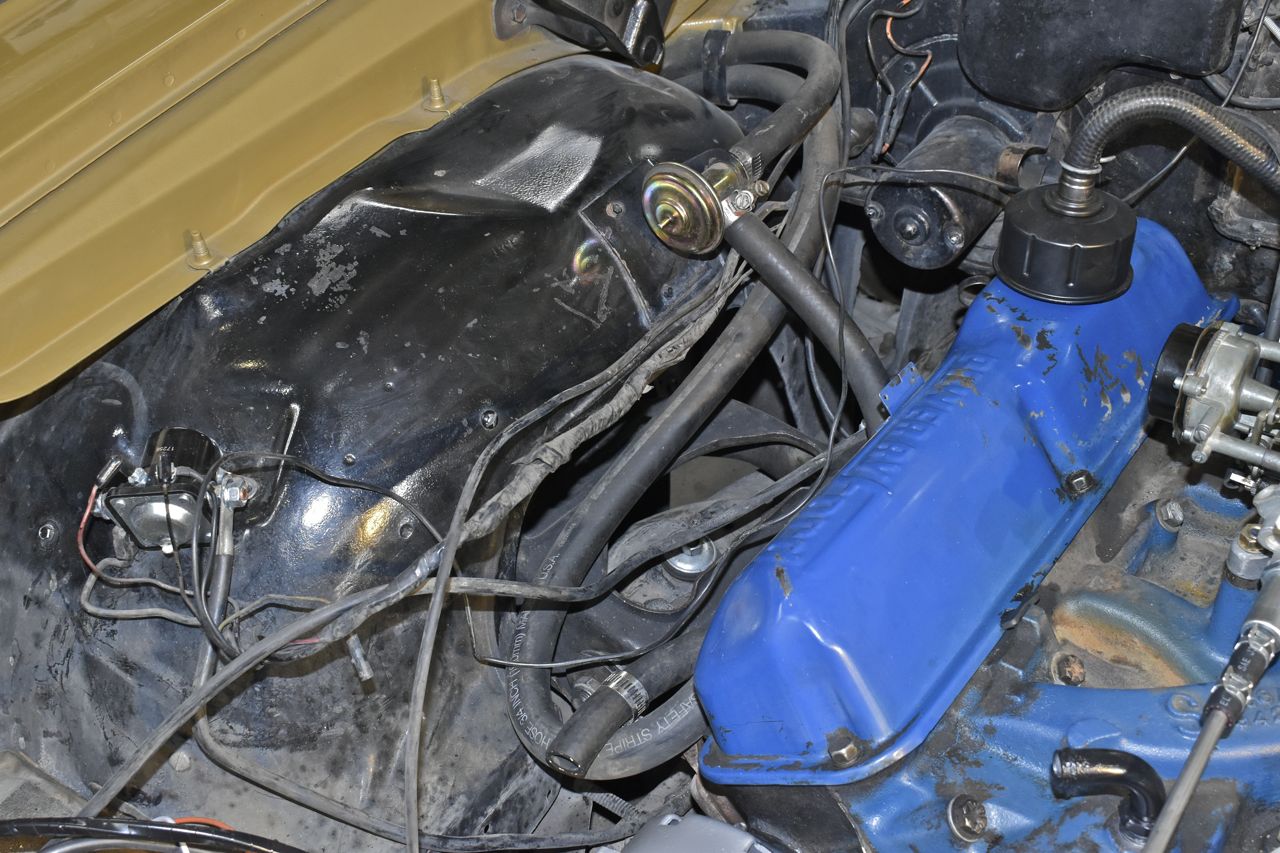
Since the engine is not ready for running, I attached my refrigerant vacuum pump to the HVAC supply line and let it run. Now before I used the electric pump I did use the hand pump and checked the coolant valve, it held vacuum so that's good, I checked the new looking vacuum servo on the mode door and that pulled in and held vacuum. I then tested the heating thermostat and it looked new. Well it's pretty obvious it's an NOS part as it works perfectly and these are always leaky on a used one as they need to be carefully taken apart and cleaned. So I was pleasantly surprised that all that is in good order. Now onto and into the dash area.

There are three vacuum servos on the inside. I removed the glove box liner for access to the top two. The one on the left selects in heat mode only between the floor or defrost vents. Spring loaded default is floor. The one on the right works in conjunction with the one out of picture to select between fresh air and recirculate.

The other one is here. These two servos are connected together and default spring loaded is recirc mode.

Here's a better view. So I tested all three with the hand pump and this one leaks past 5-7" vacuum. This is one hissing sound I'm hearing.

As a tangent this cracks me up, modern cars have between 2-3 dozen fuses. These 3rd gens have 5, just 5. Granted there are two circuit breakers in the headlamp switch but still....
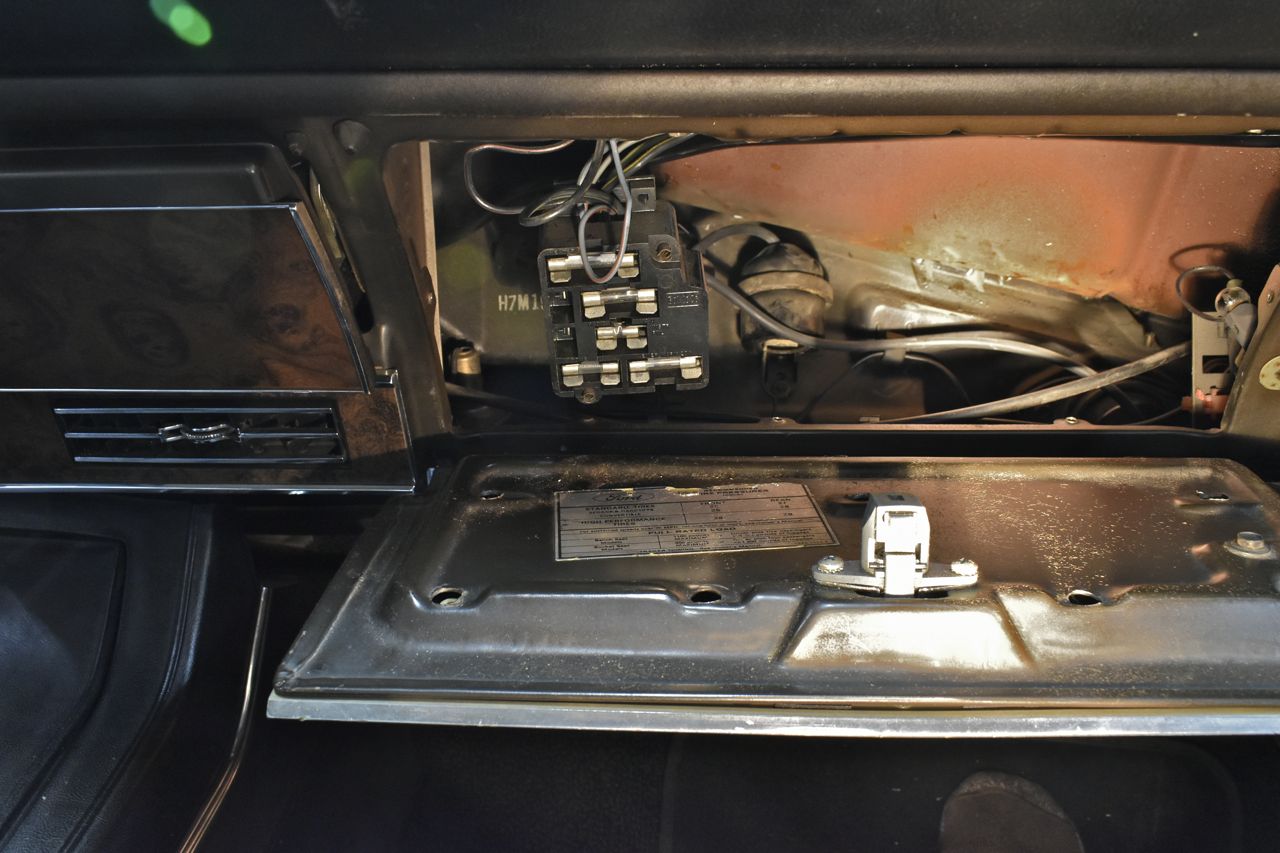
Back to the matter at hand
Since the interior vacuum servos are not reproduced, going to have to raid my stash of 3rd gen factory A/C parts.
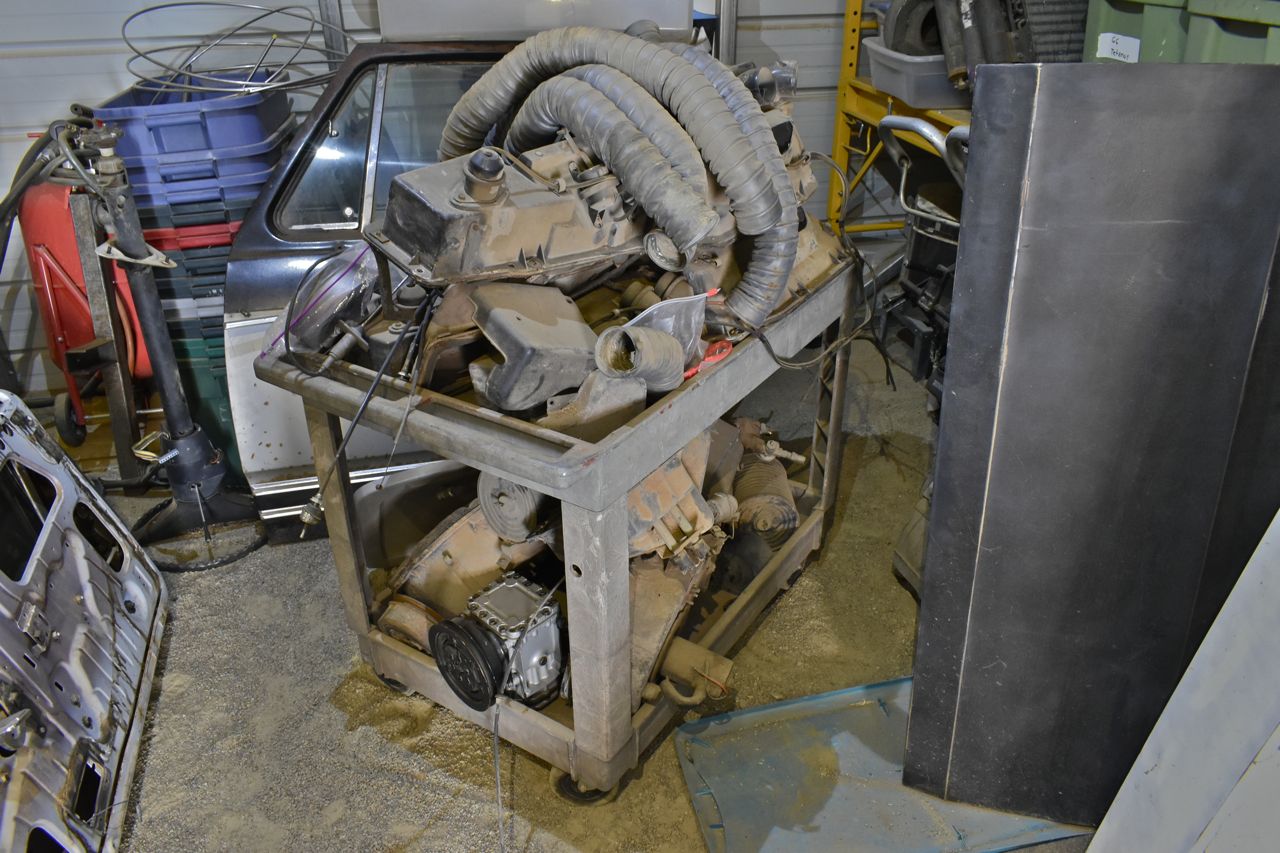
All spares.

First one I pillaged works a treat, holds vacuum.
So I replaced that and turned on the vacuum, now it's quiet on heat but on defrost I hear another leak right under the dash selector.

The hose is just hard so I replaced it.
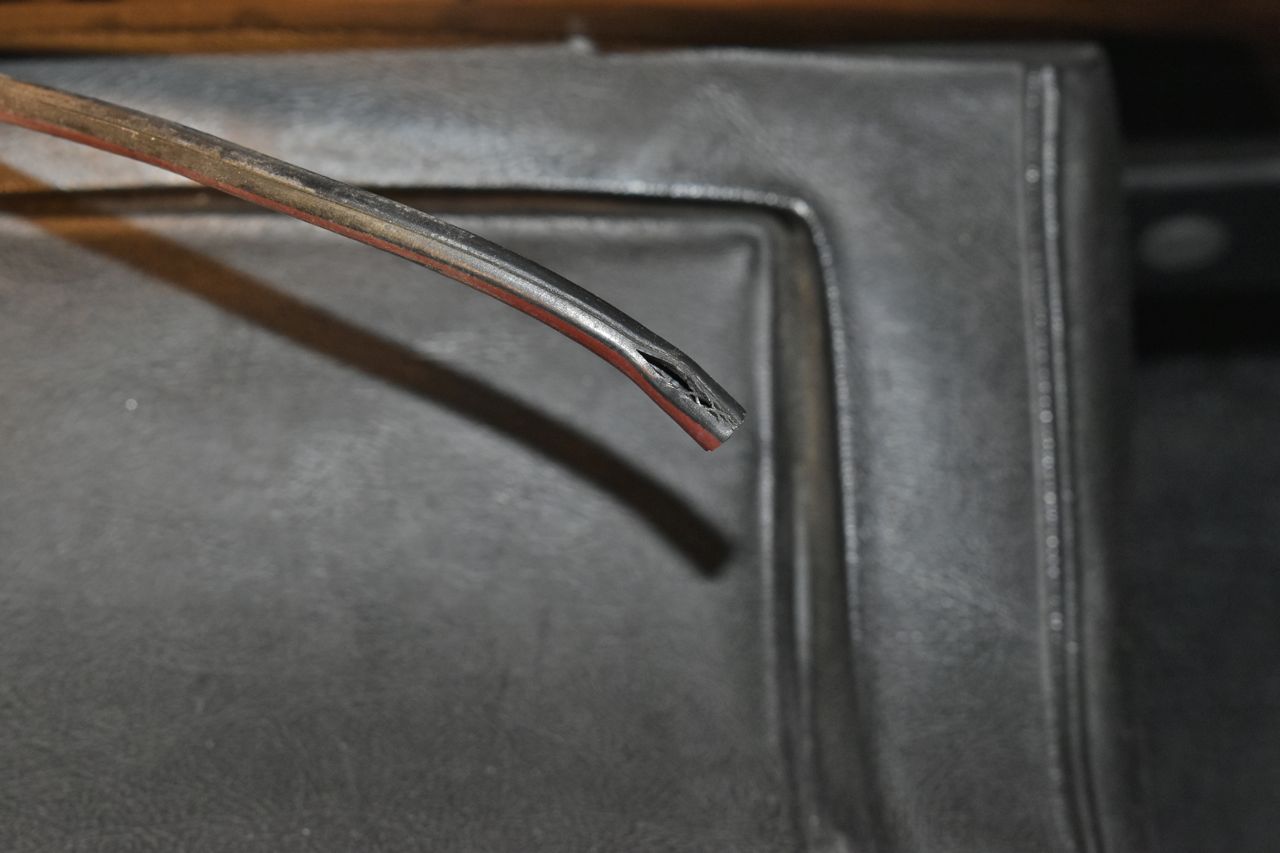
Even though the selector wasn't leaking I smeared Red Rubber Grease around it and worked it with the vacuum full on. Any minute leaks will pull the grease in and help lube the selector and the Rubber Grease will not hurt rubber parts. Then wipe the excess off.
Now all the vents work as they should and no vacuum leaks. The coolant valve has full vacuum when selected full hot.

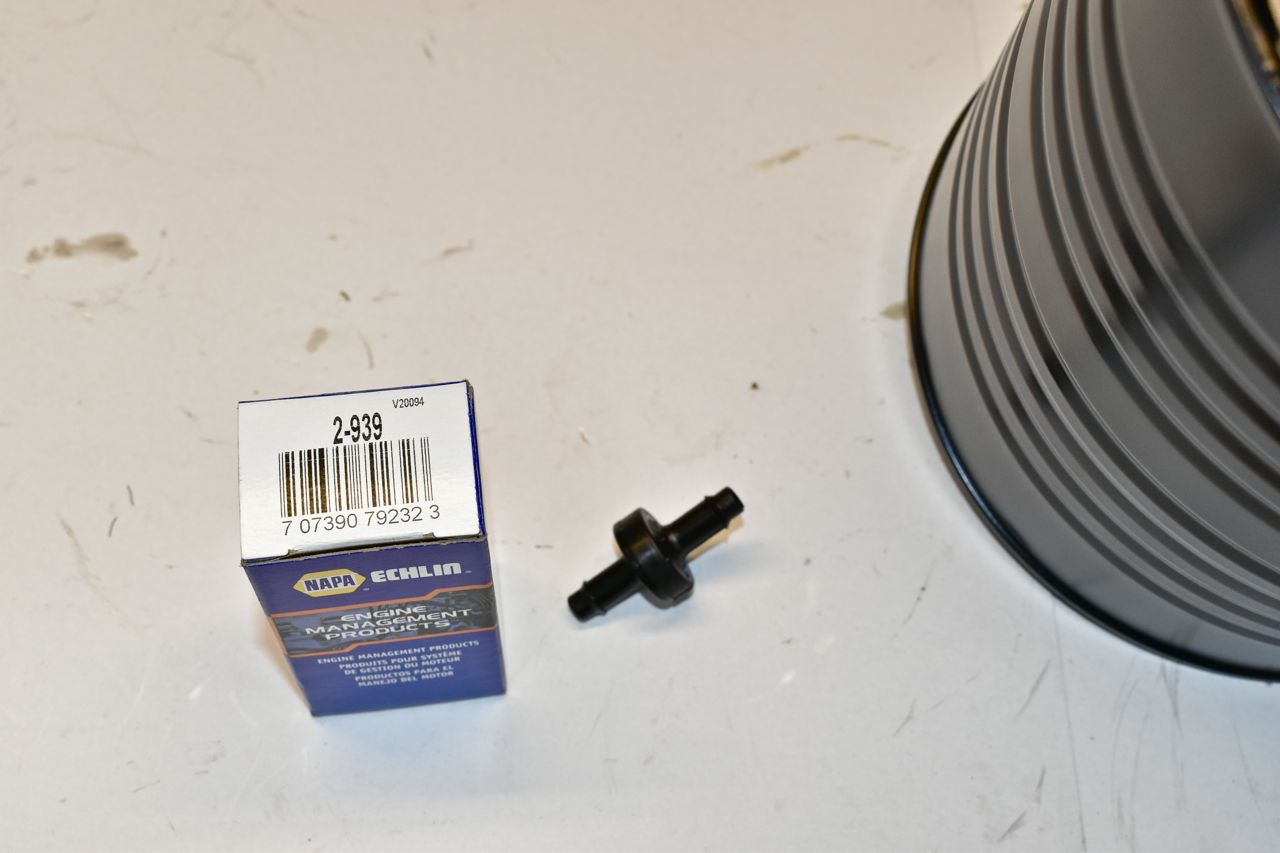
The check valve in this can is MIA so I added a large capacity in line one.
The can and hoses are installed and connected.
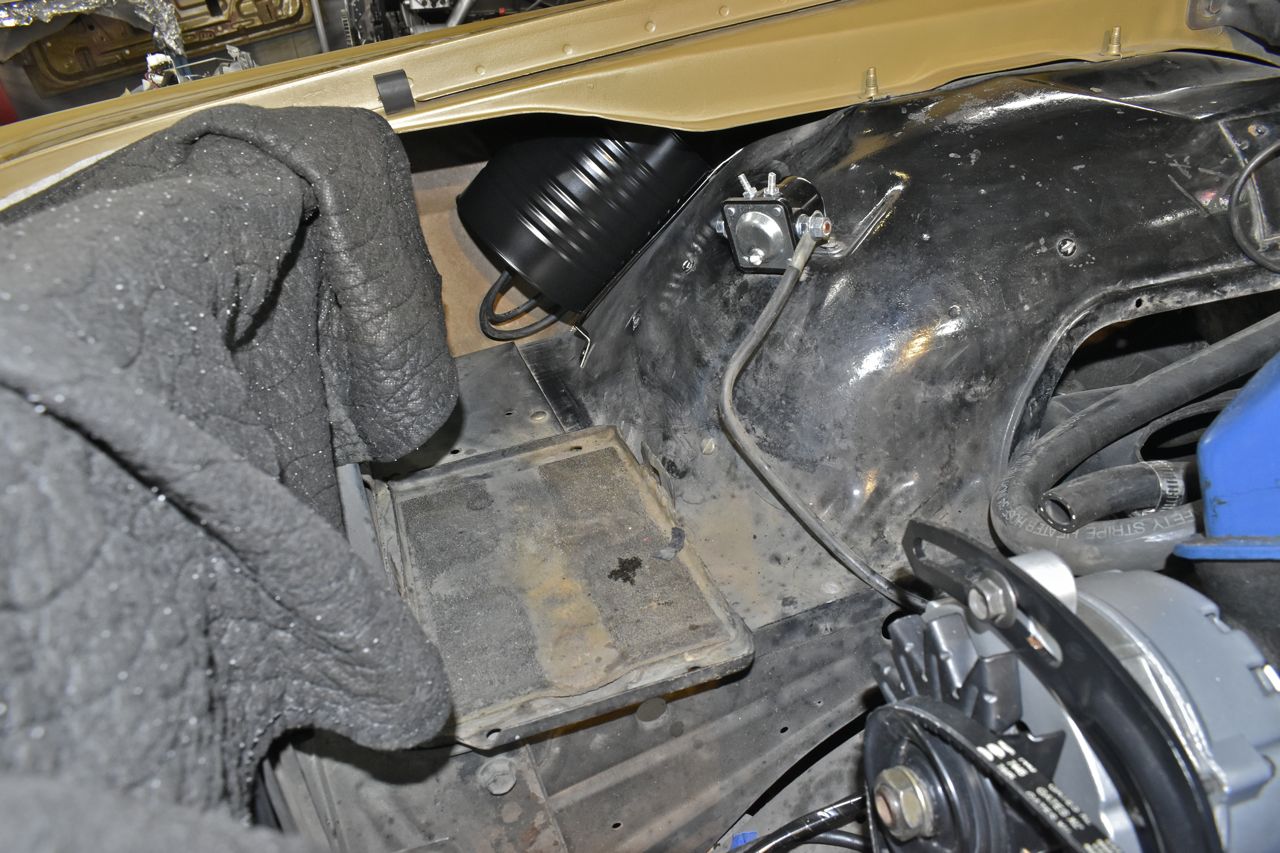
Now I peeled the wiring back but HVAC lines are all connected and it looks much neater.
