1968 Ford XL Repairing Whilst Keeping It Roadworthy : 21 Alternator
2023, November 14
1 - 2 - 3 - 4 - 5 - 6 - 7 - 8 - 9 - 10 - 11 - 12 - 13 - 14 - 15 - 16 - 17 - 18 - 19 - 20 - 21 - 22 - 23 - 24 - 25 - 26 - 27 - 28 - 29 - 30 - 31 - 32 - 33 - 34 - 35 - 36 - 37 - 38 - 39 - 40 - 41 - 42 - 43 - 44 - 45 - 46 - 47 - 48 - 49 - 50 - 51 - 52 - 53 - 54 - 55 - 56 - 57 - 58 - 59 - 60 - 61 - 62 - 63 - 64 - 65 - 66 - 67 - 68 - 69 - 70 - 71 - 72 - 73 - 74Soldered to stator.
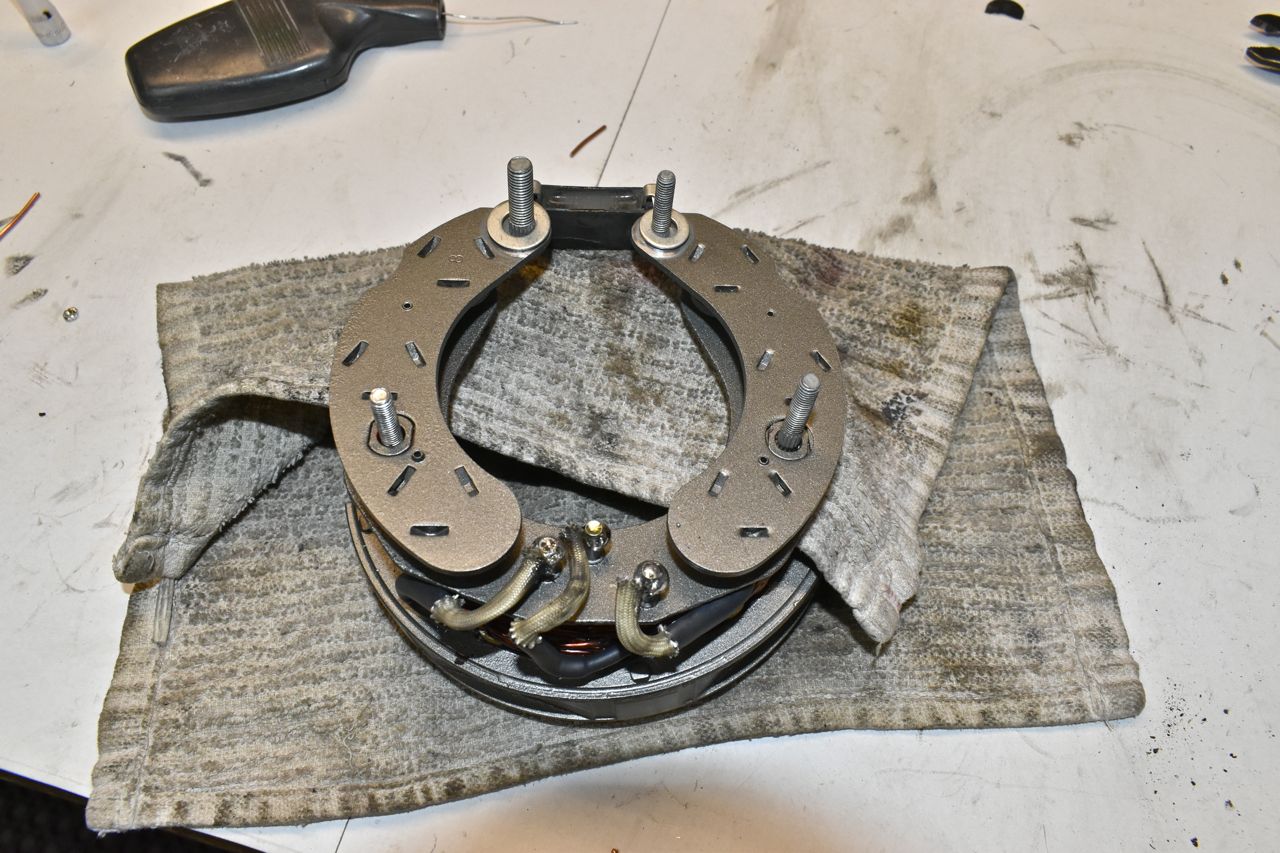
Brushes are loaded and the stator-with-bridge is installed.

A little fresh bearing grease in the rear bearing.
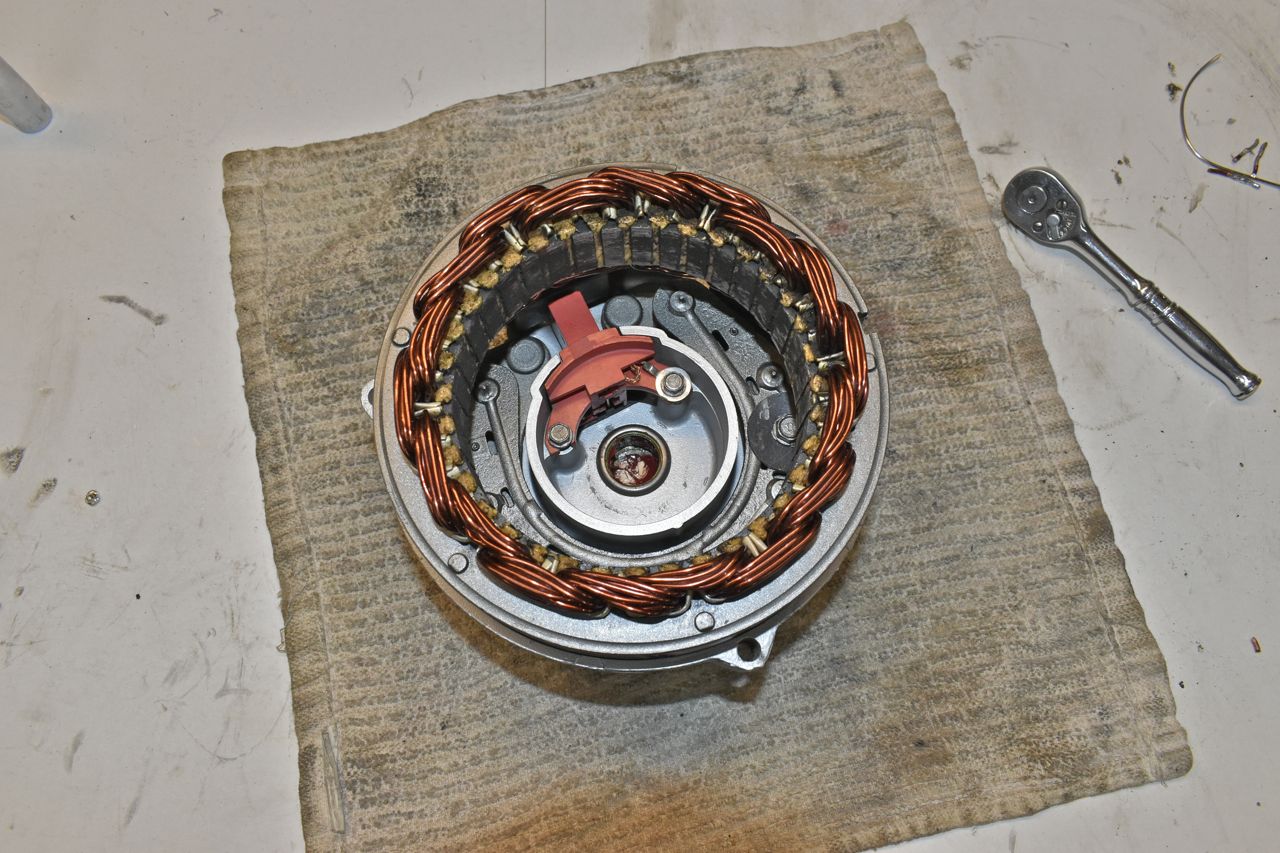
Assembled.
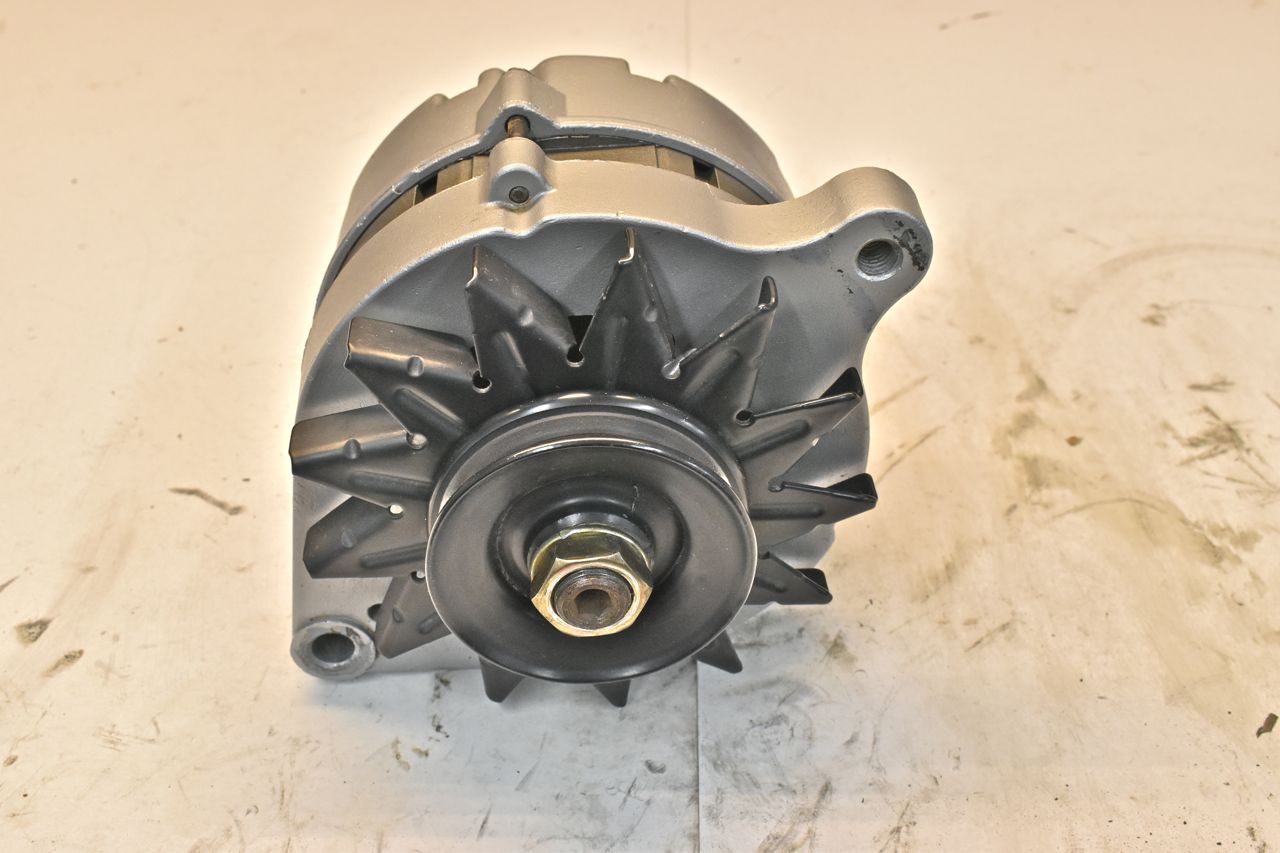
There's one good alternator from two of them and it's the 60 amp version in the early and appropriate 1G case style.
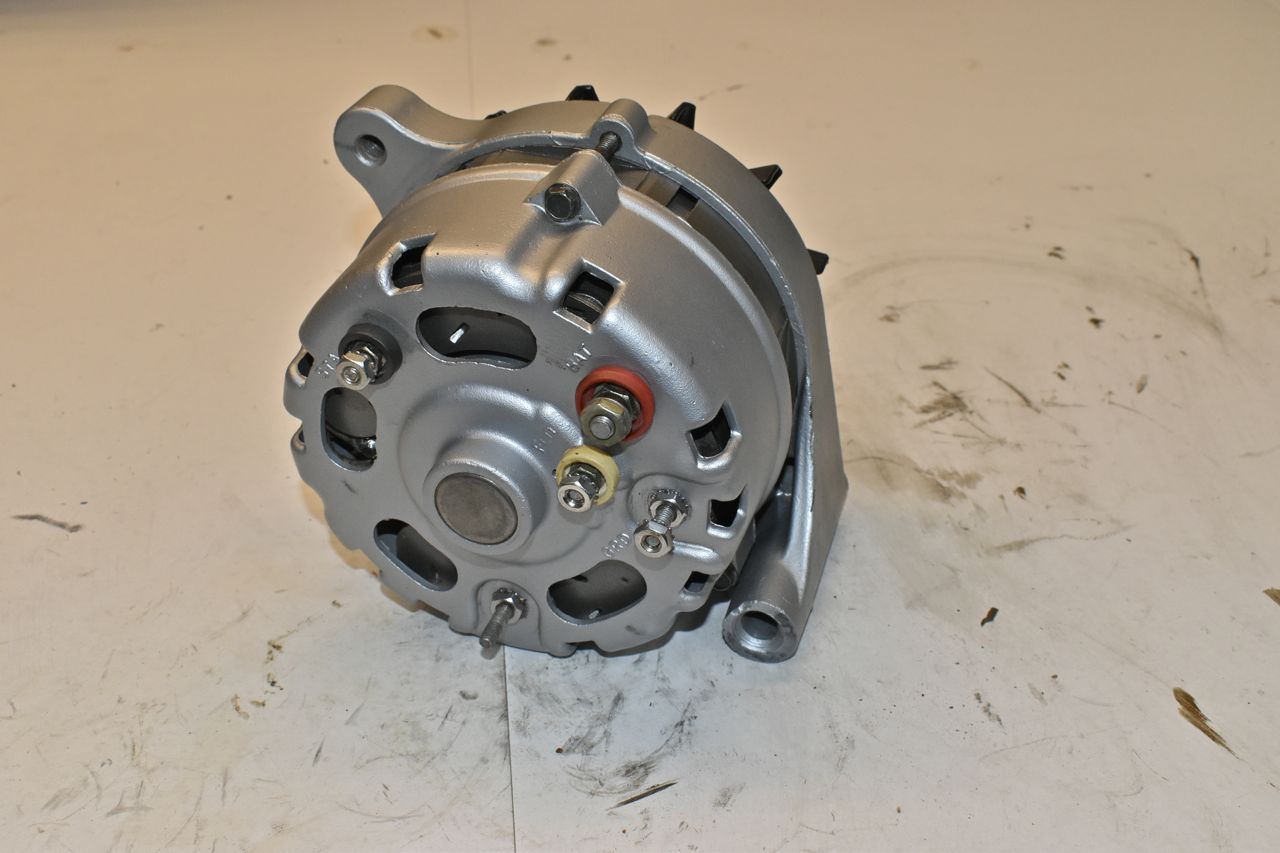
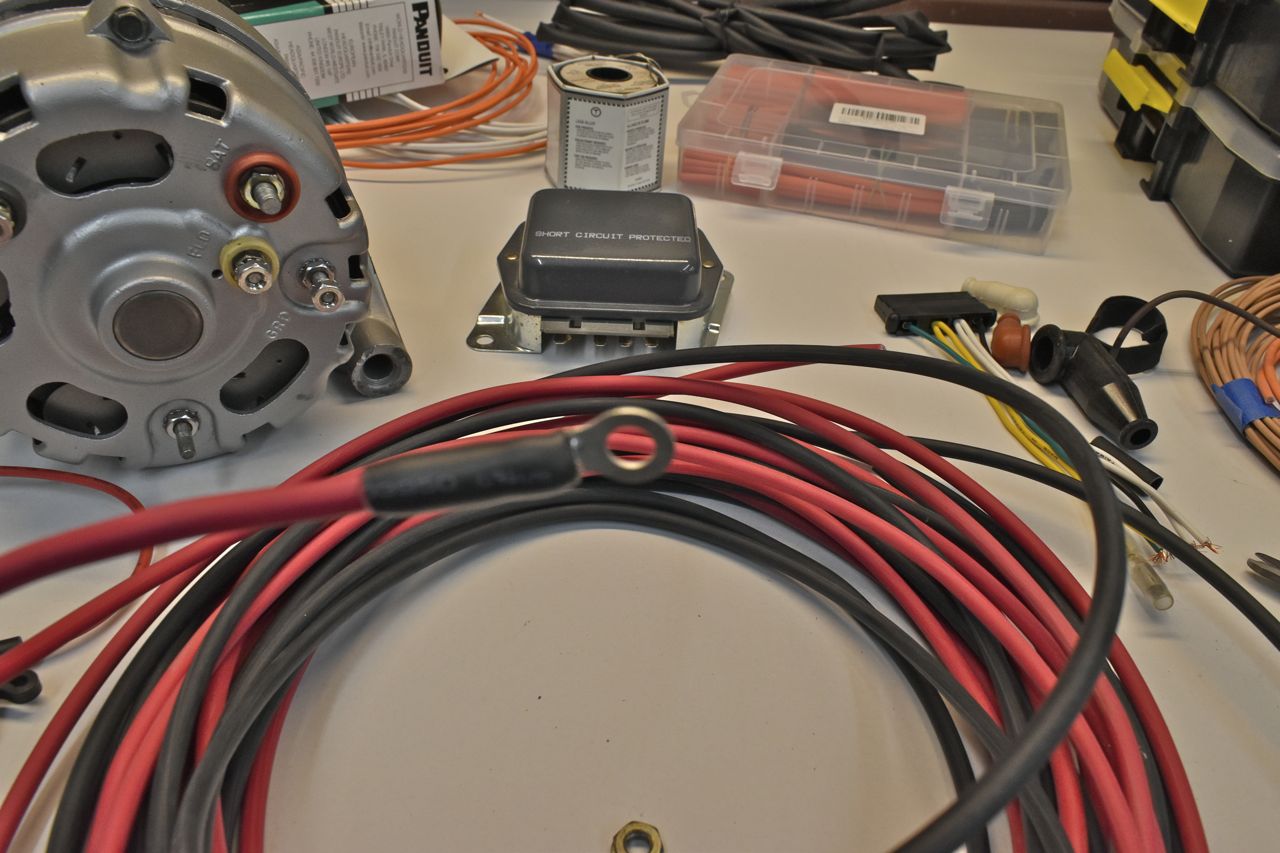
To make a new harness, this is what I have. I do have a plan for the entire electrical system that would include fuses for the charging system as I don't care for fusible links, but that's a bit off into the future and for now I will use two inline fuses. One 80 amp for the main charge B+ lead and a 7.5 amp for the field and voltage regulator feed.

This is all GXL wire and I shall make the harness tomorrow. This is where I left off.

Making the harness for the alternator. The ends are crimped and soldered.
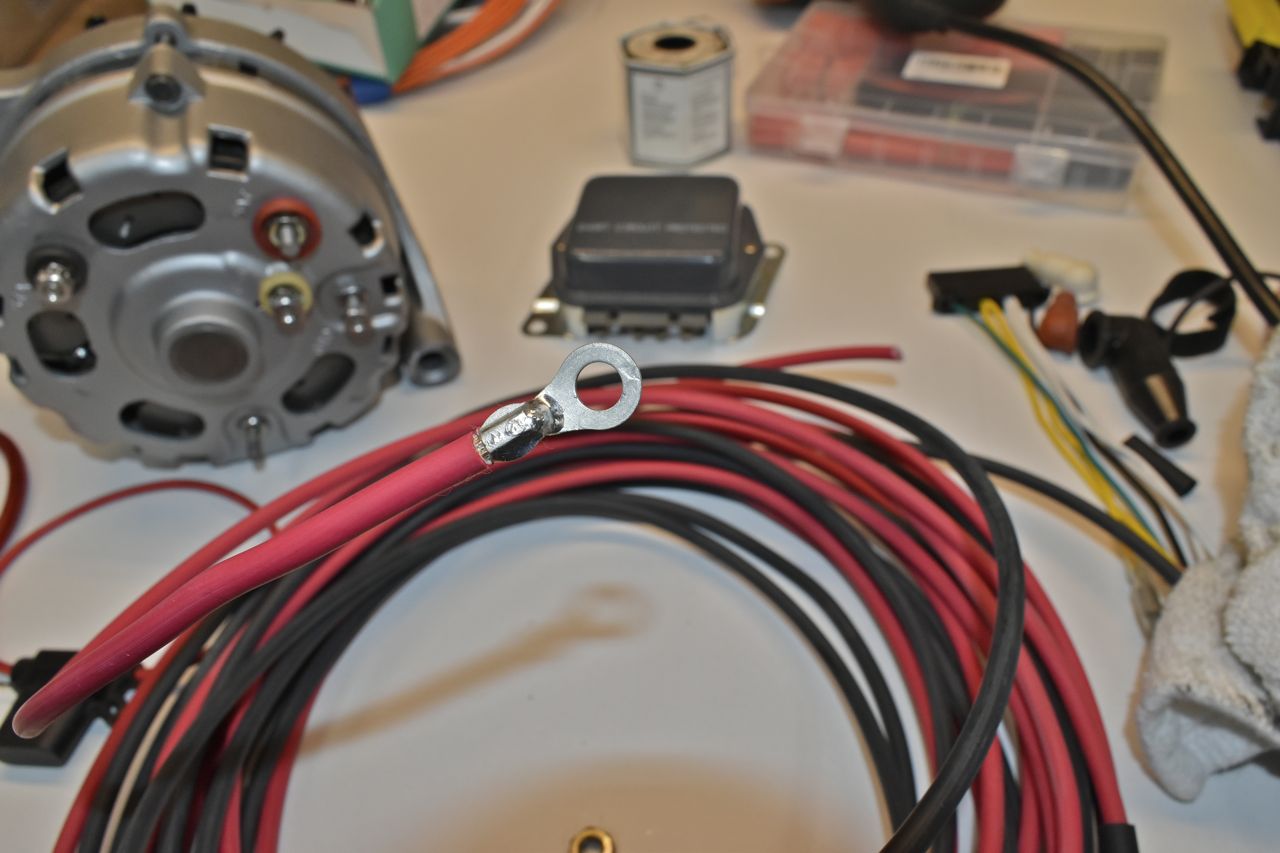
Then heat shrink is used. The first layer is polyolefin with inner melt (internal glue that seals the connection). The second layer of heat shrink is again polyolefin or PVC if I have it in that size. PVC is a tough abrasion resistant heat shrink. My apologies for the blurry picture camera focused on the wire bundle instead.
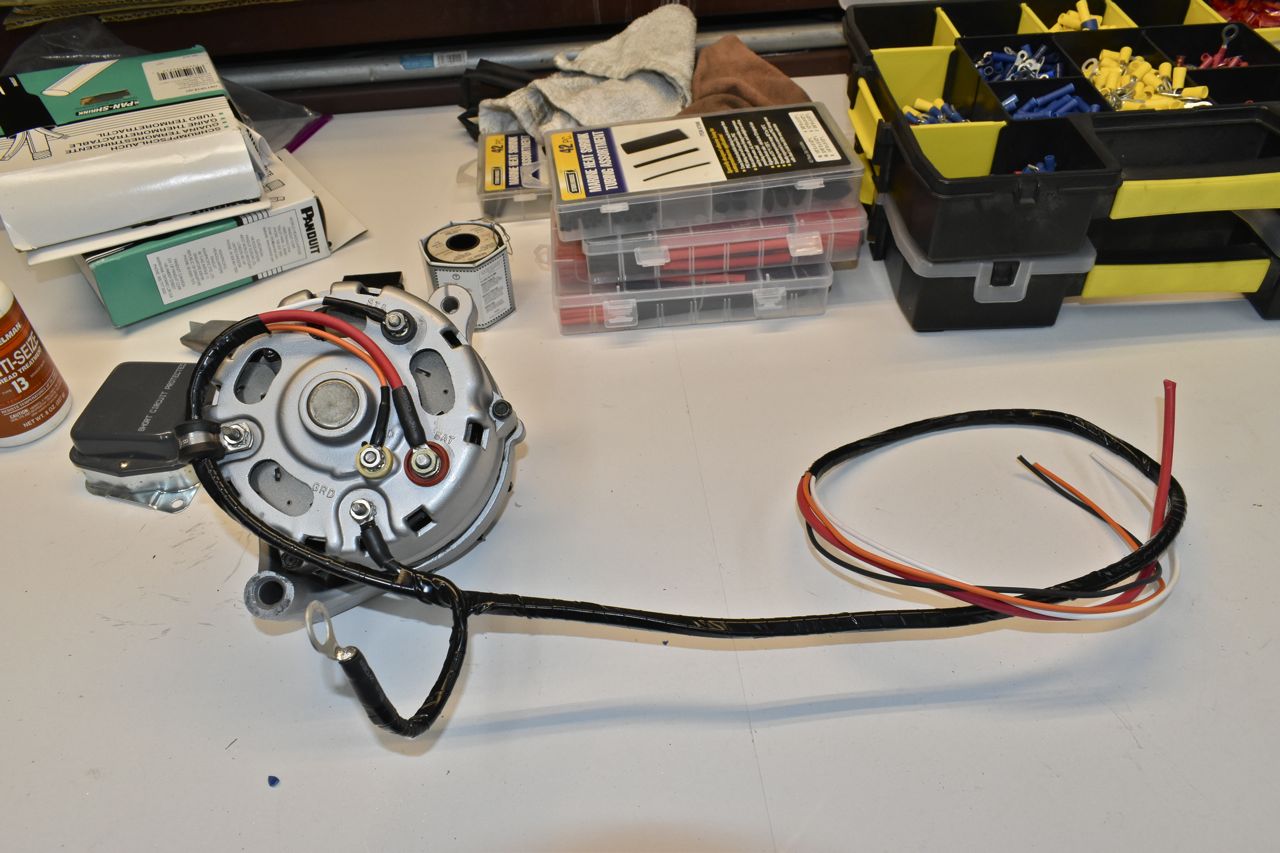
Coming together. I decided against the boots as they were either side ways or somewhat up-side-down. This could trap water and hold it against the terminal, so best to leave it open to air.

The ground wire mimics the original. In this case I used 8 gauge for the eyelet on the alternator and that goes to the big eyelet where another 14 gauge black wire joins up and that back tracks to the regulator with the rest of the wires.
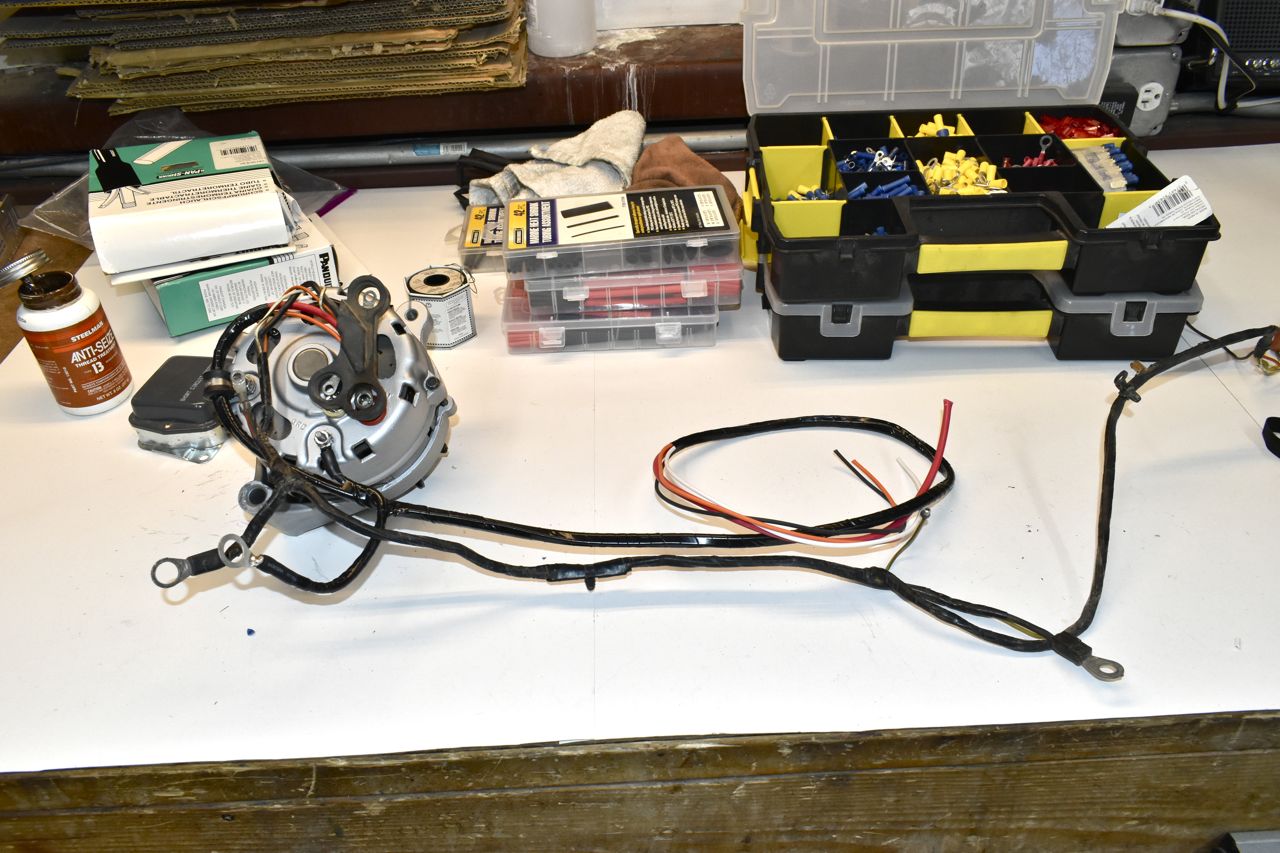
I made mine in the spirit of the original '68 charging harness.
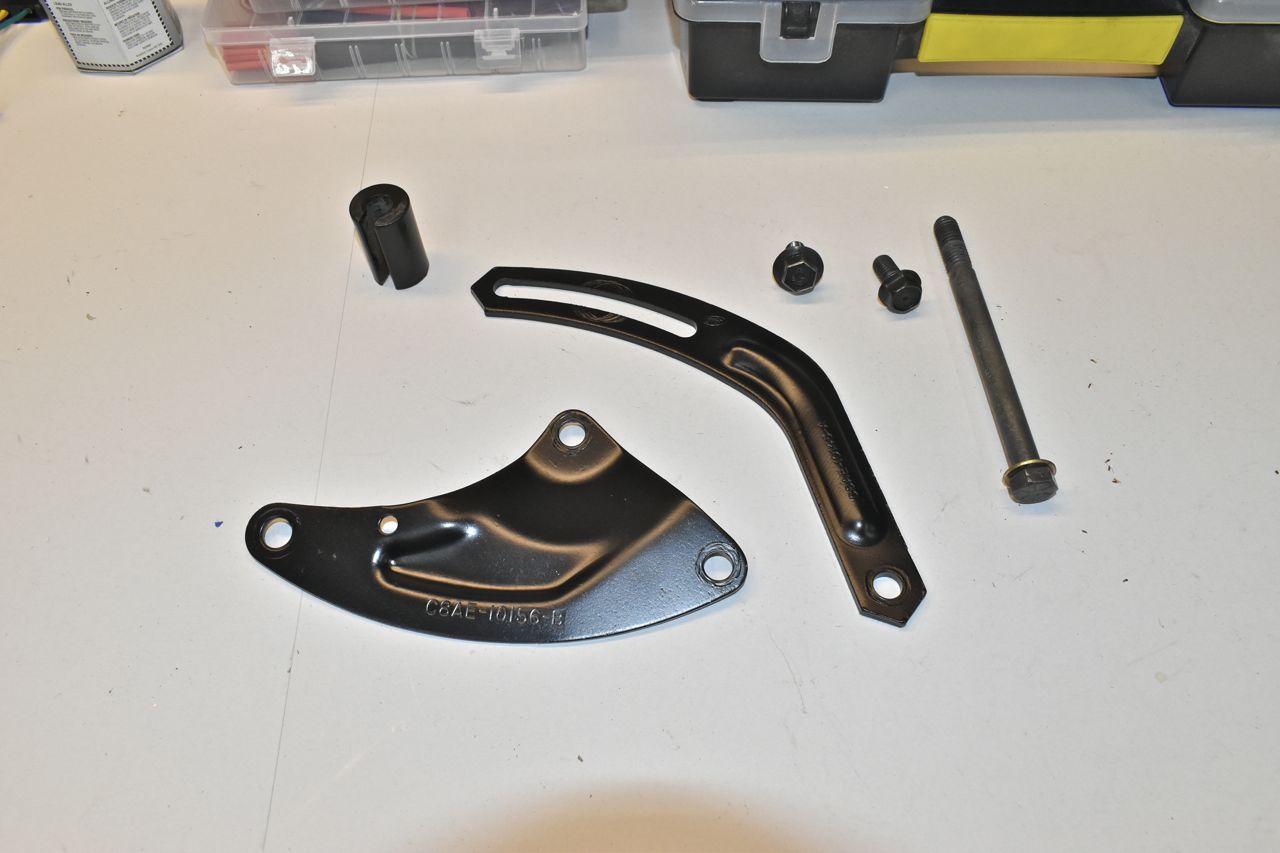
Alternator mounting brackets and hardware.
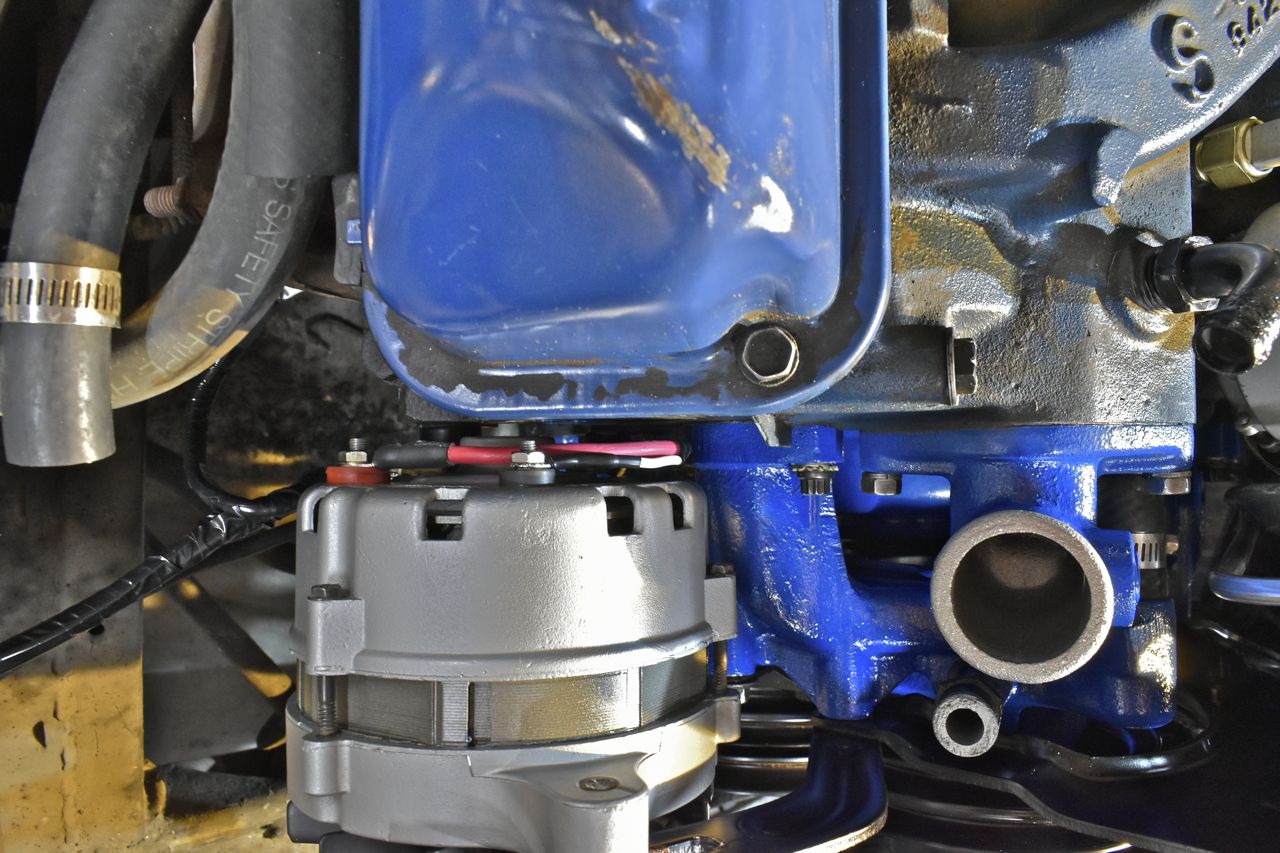
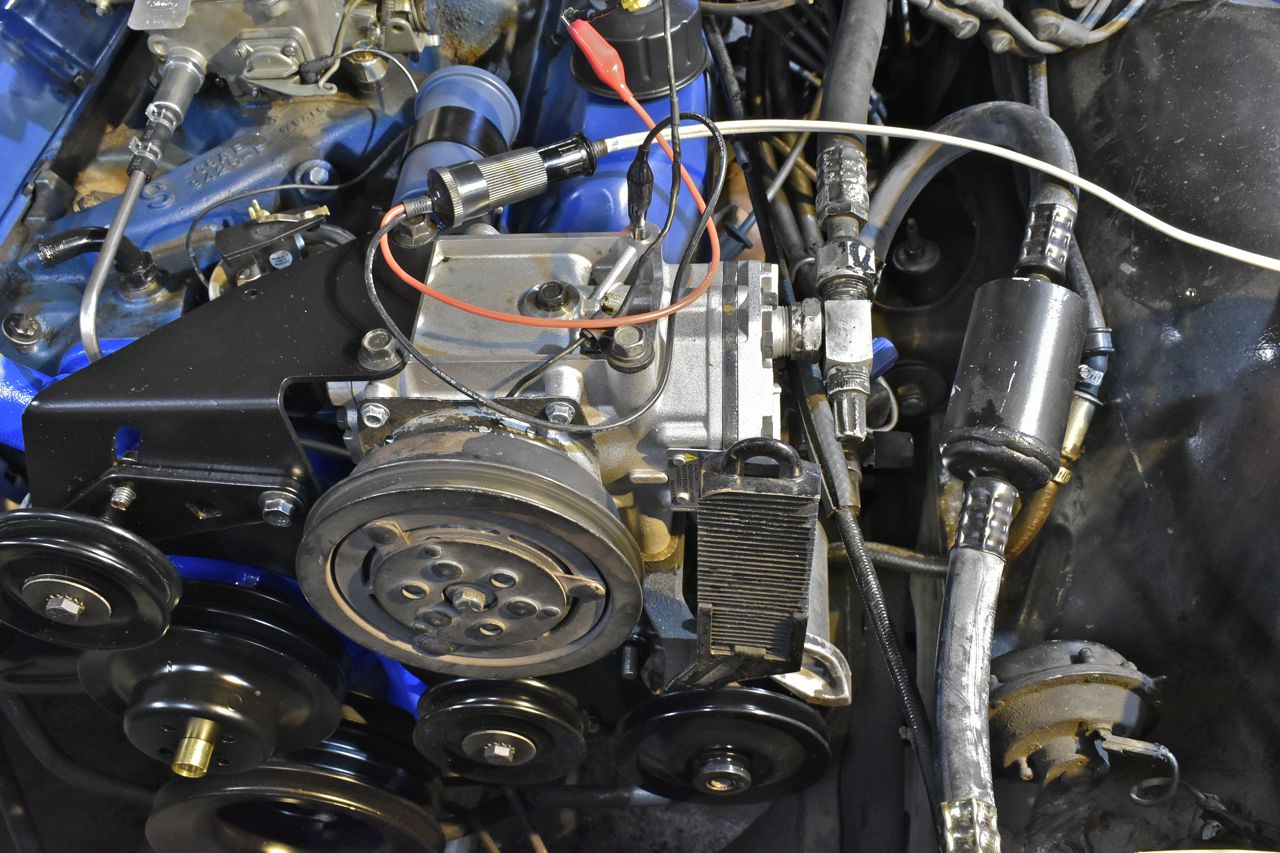
Here it is mounted and the wires are away from the block and can't abrade on it.
I'll finish up the other end of the harness later as there are other things that need to be mended first.
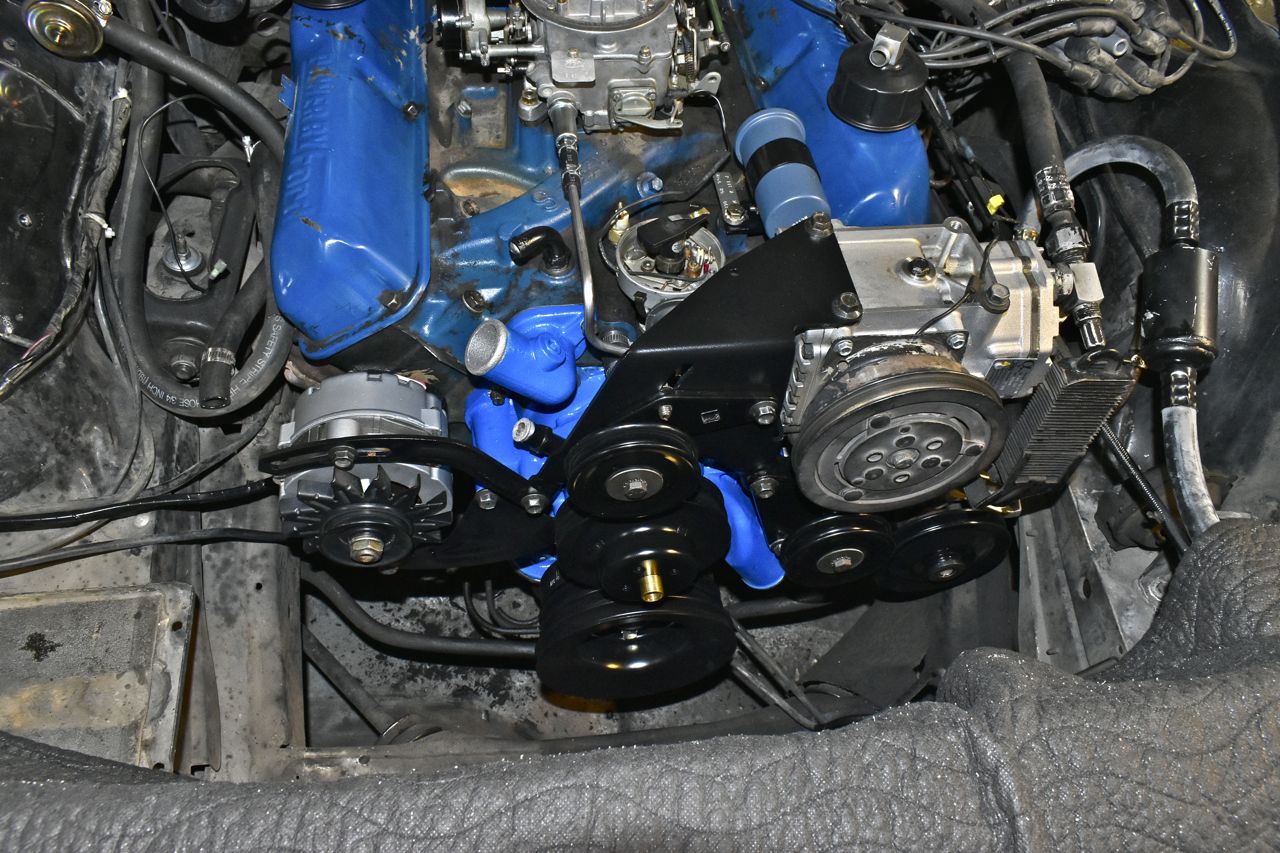
The front dress is complete once more. I will say this '68 FE front dress is hokey. It's cumbersome and overly complicated and a bit on the cheap side. The '65/'66 FE front dress is so much nicer.
Click here to continue to part 22