1968 Ford XL Repairing Whilst Keeping It Roadworthy : 42 FE Engine Shortblock - Camshaft
2023, November 14
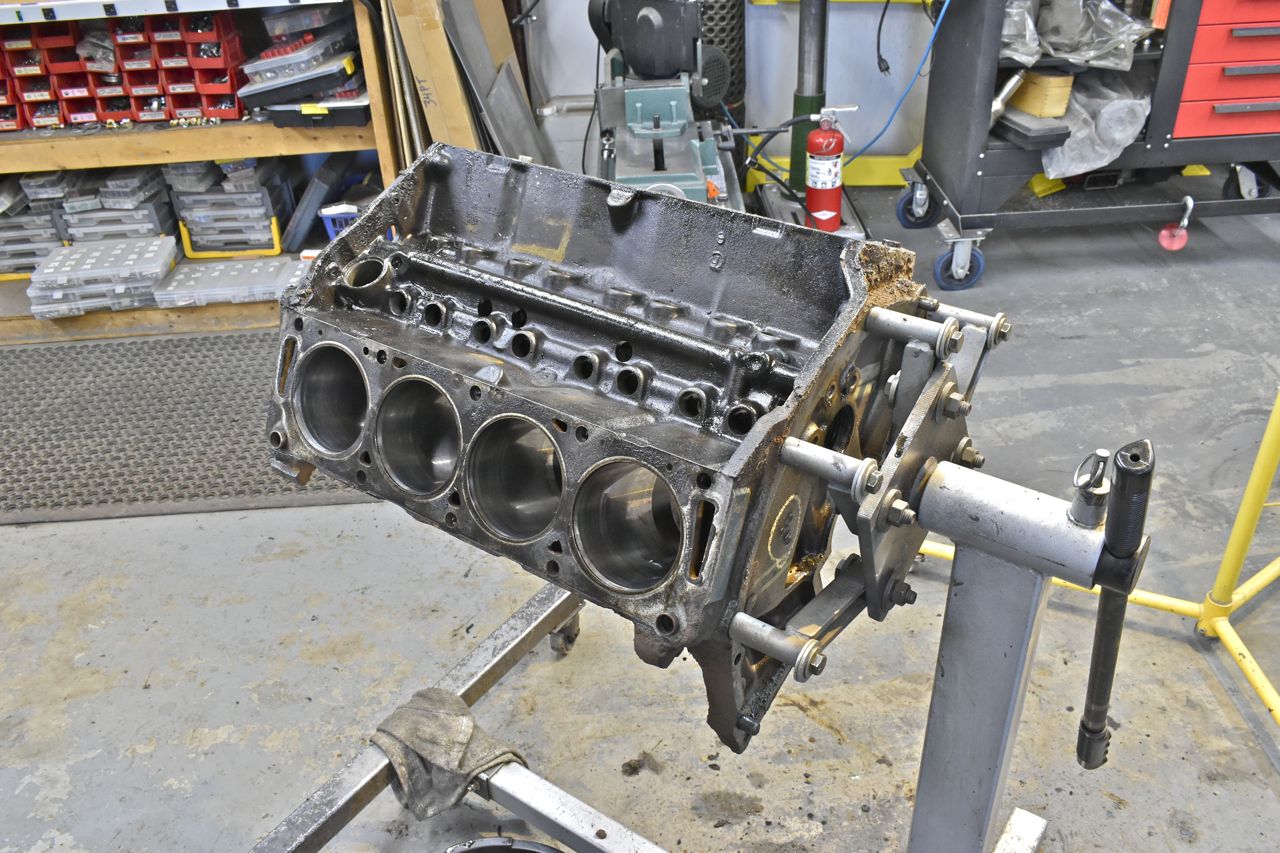
1 - 2 - 3 - 4 - 5 - 6 - 7 - 8 - 9 - 10 - 11 - 12 - 13 - 14 - 15 - 16 - 17 - 18 - 19 - 20 - 21 - 22 - 23 - 24 - 25 - 26 - 27 - 28 - 29 - 30 - 31 - 32 - 33 - 34 - 35 - 36 - 37 - 38 - 39 - 40 - 41 - 42 - 43 - 44 - 45 - 46 - 47 - 48 - 49 - 50 - 51 - 52 - 53 - 54 - 55 - 56 - 57 - 58 - 59 - 60 - 61 - 62 - 63 - 64 - 65 - 66 - 67 - 68 - 69 - 70 - 71 - 72 - 73 - 74Back to the Z390 engine. This was the before.
It came out pretty good for "DIY home services"
The sheer amount of crap in the cooling jackets was something to behold. Now the core plugs were rusted and one was leaking badly for years but fortunately I kept adding actual antifreeze and not just water, especially tap water, granted it was getting ridiculous adding a gallon every time I needed to move it but that kept the cast iron internals from rusting. It looks really clean on the inside with hardly any rust.
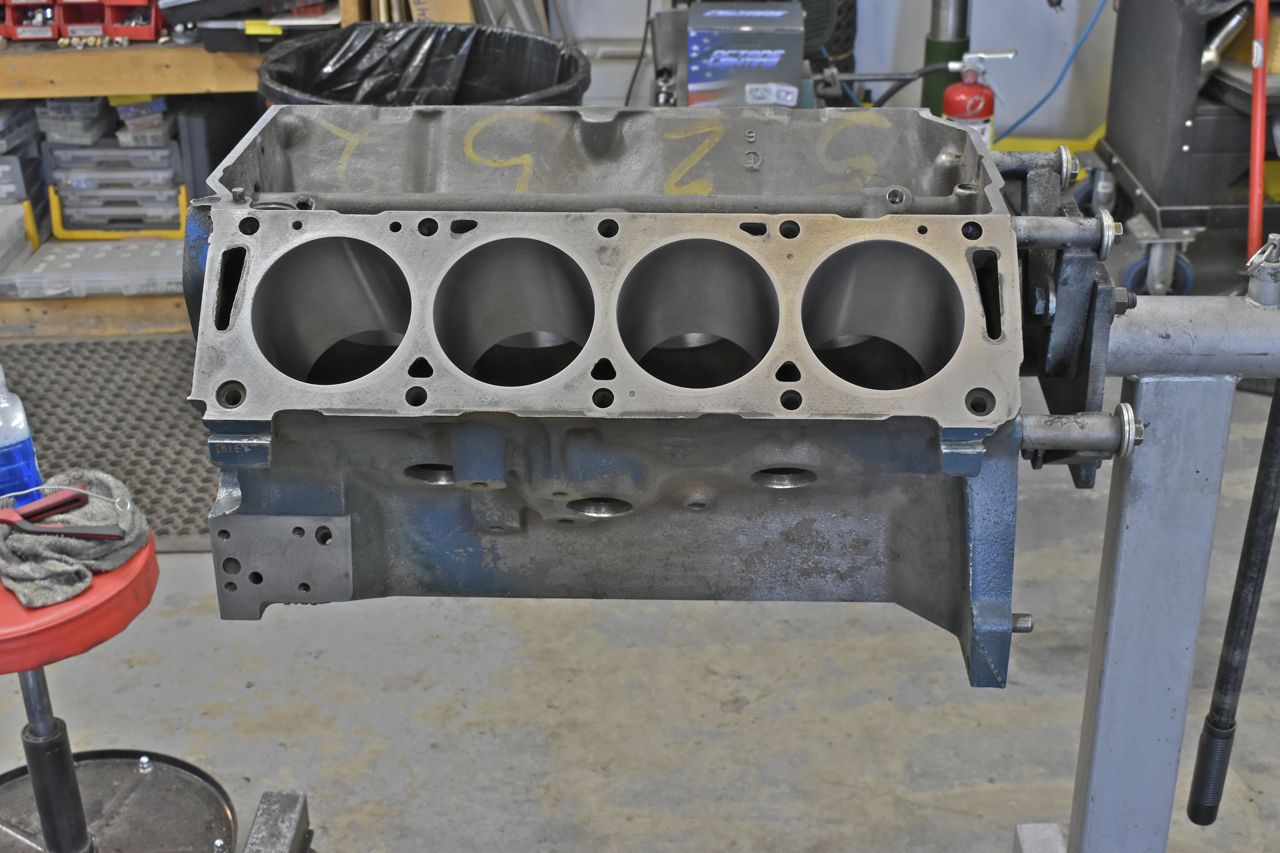
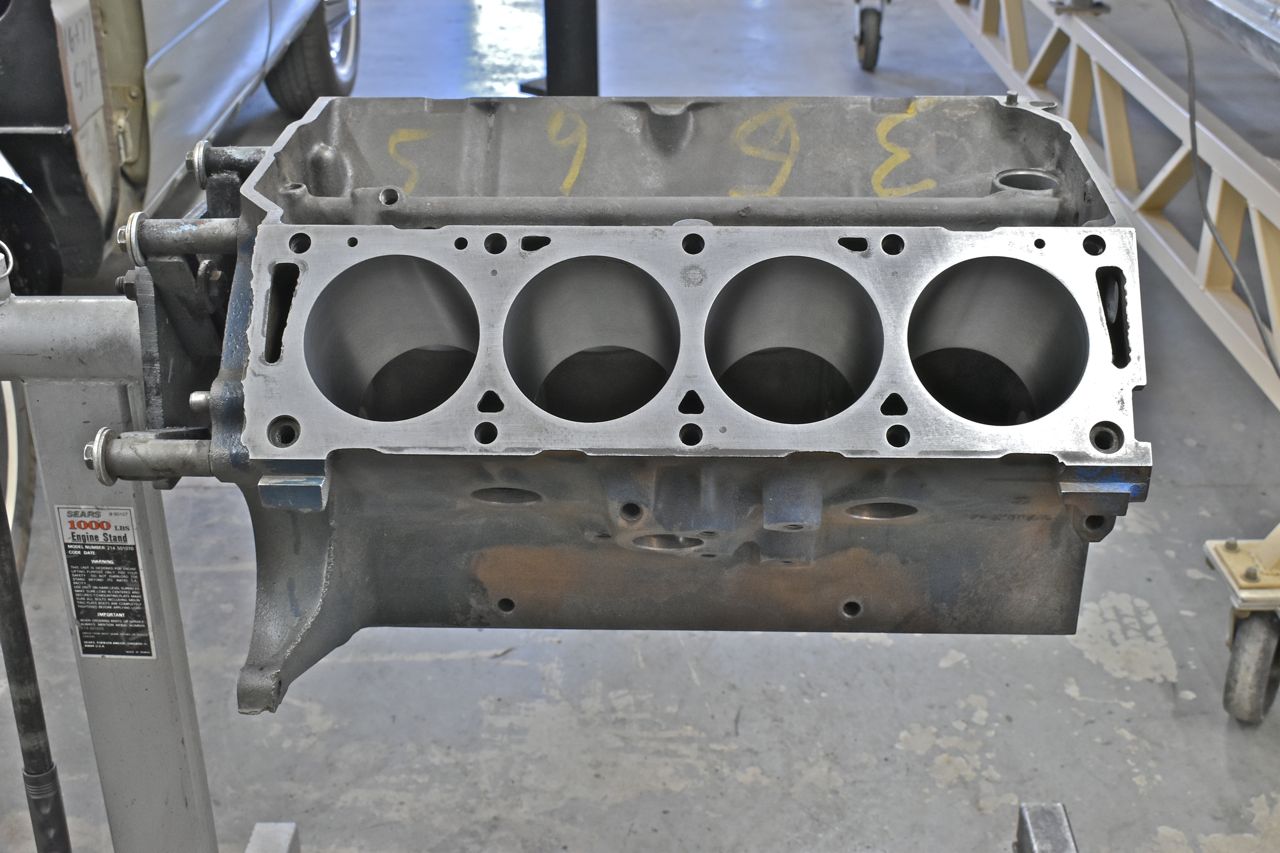
I finished drilling and tapping the oil galleys and just have to give it one more good cleaning and it's ready for assembly.
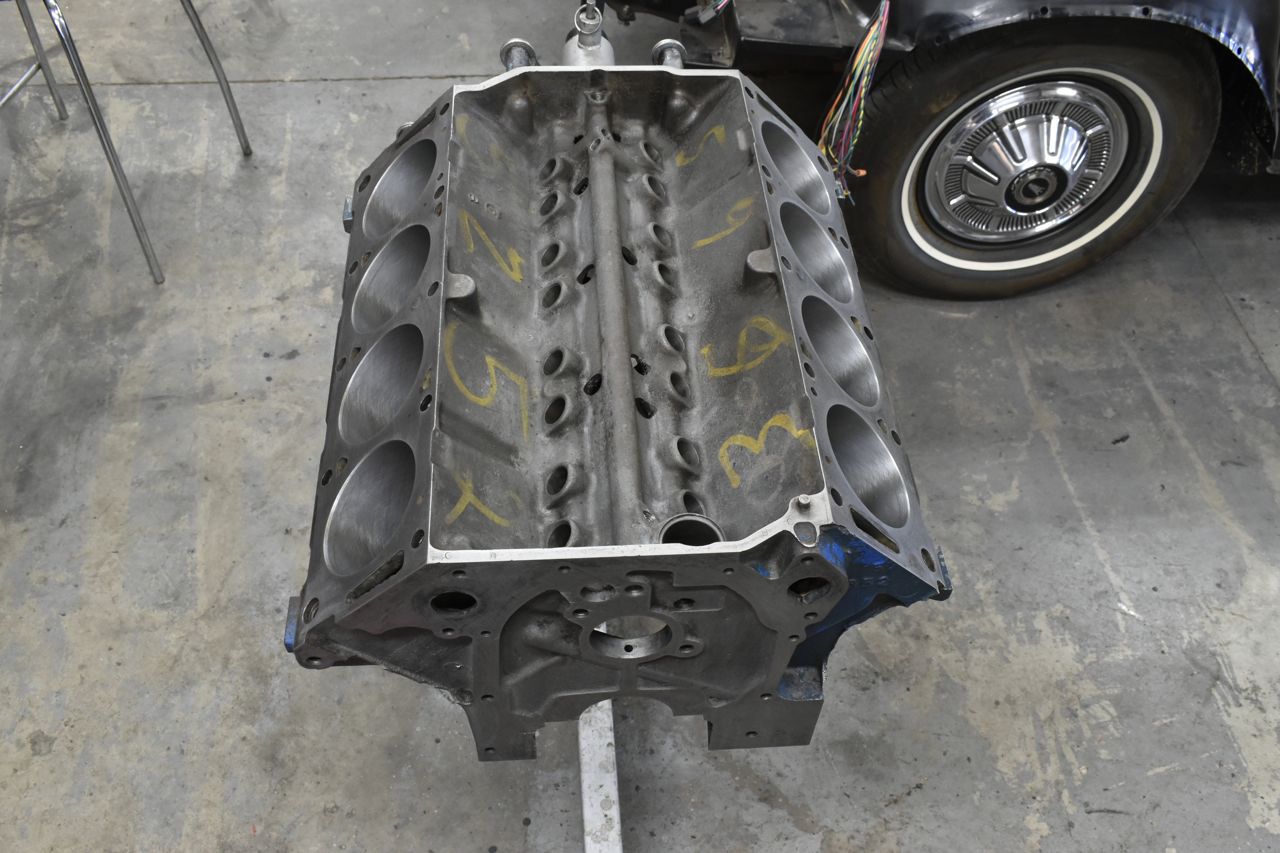
A little more progress on the DIY refresh Z390 engine. At this point the block has been cleaned out and is ready for parts.
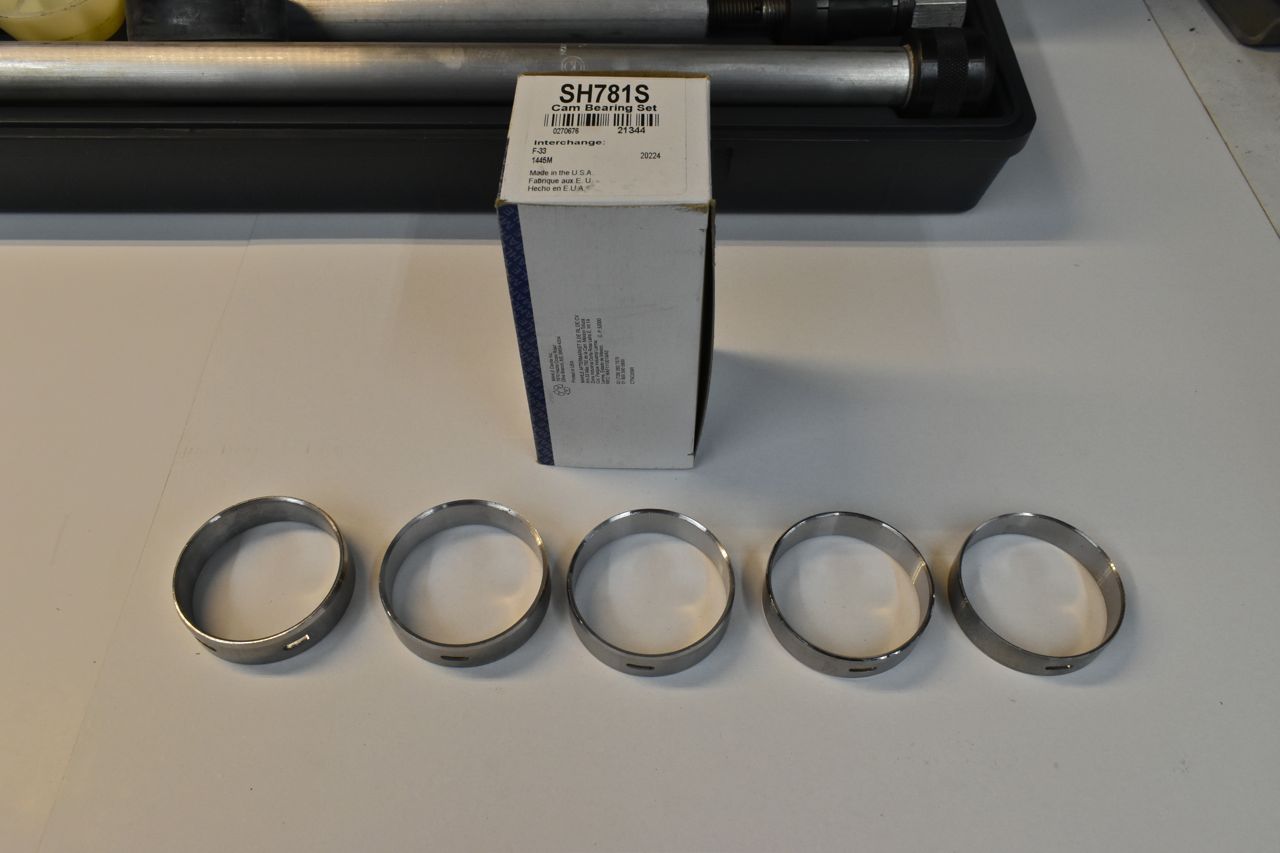
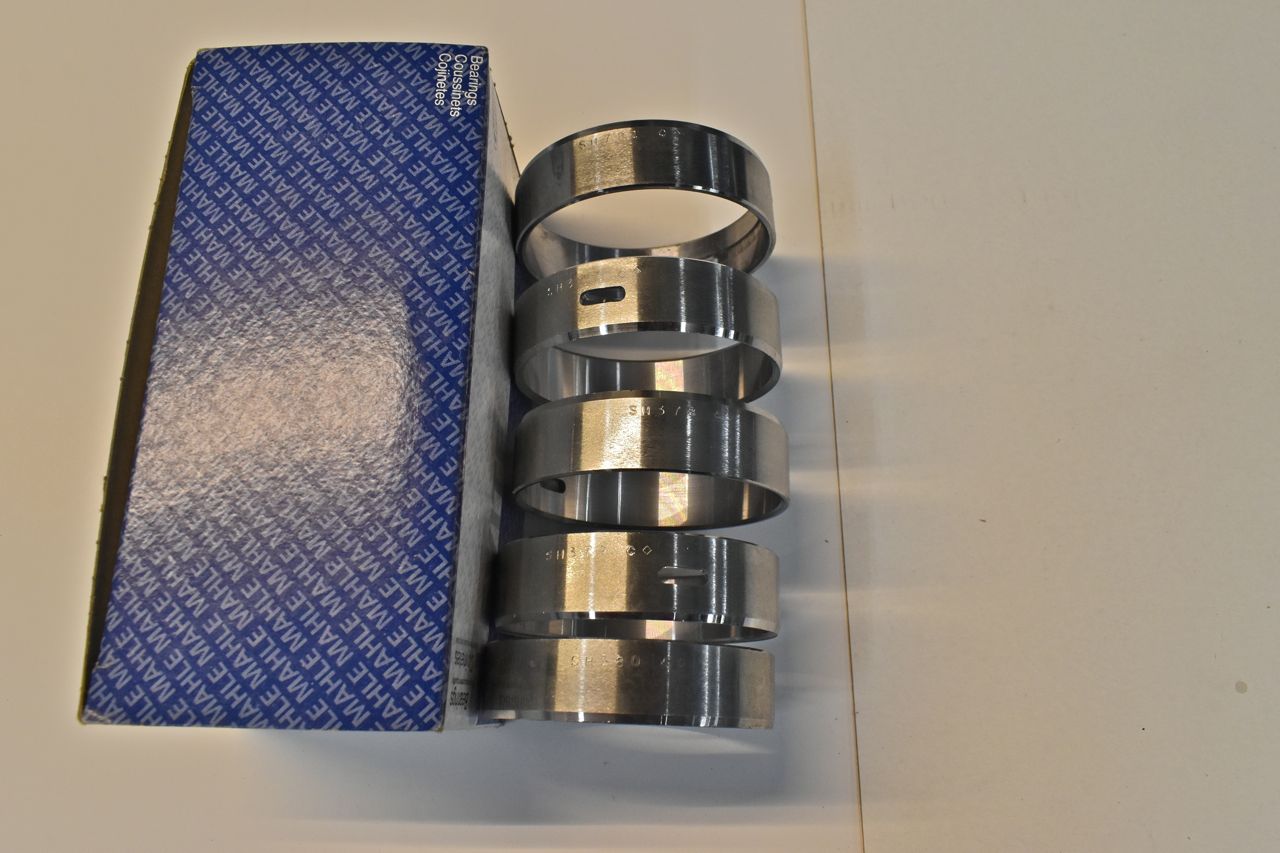
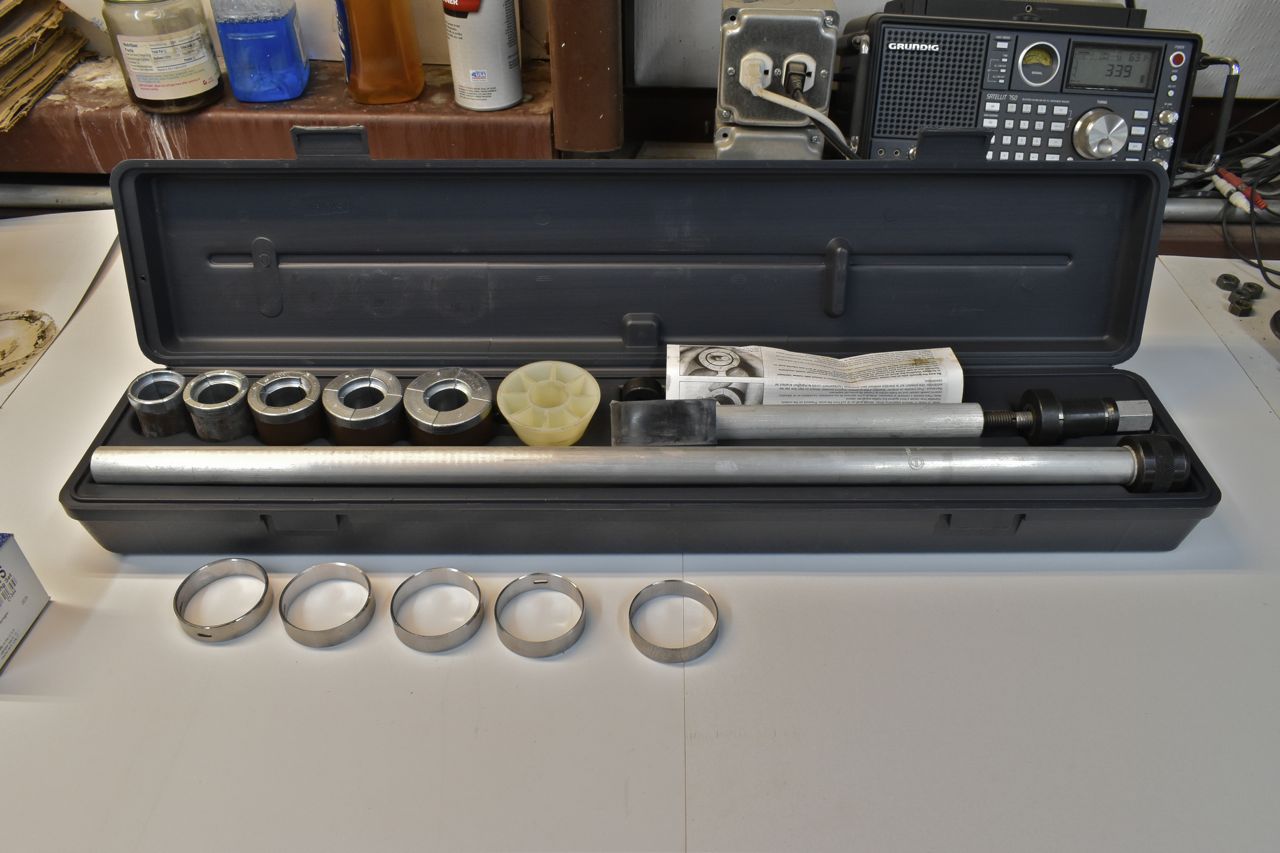
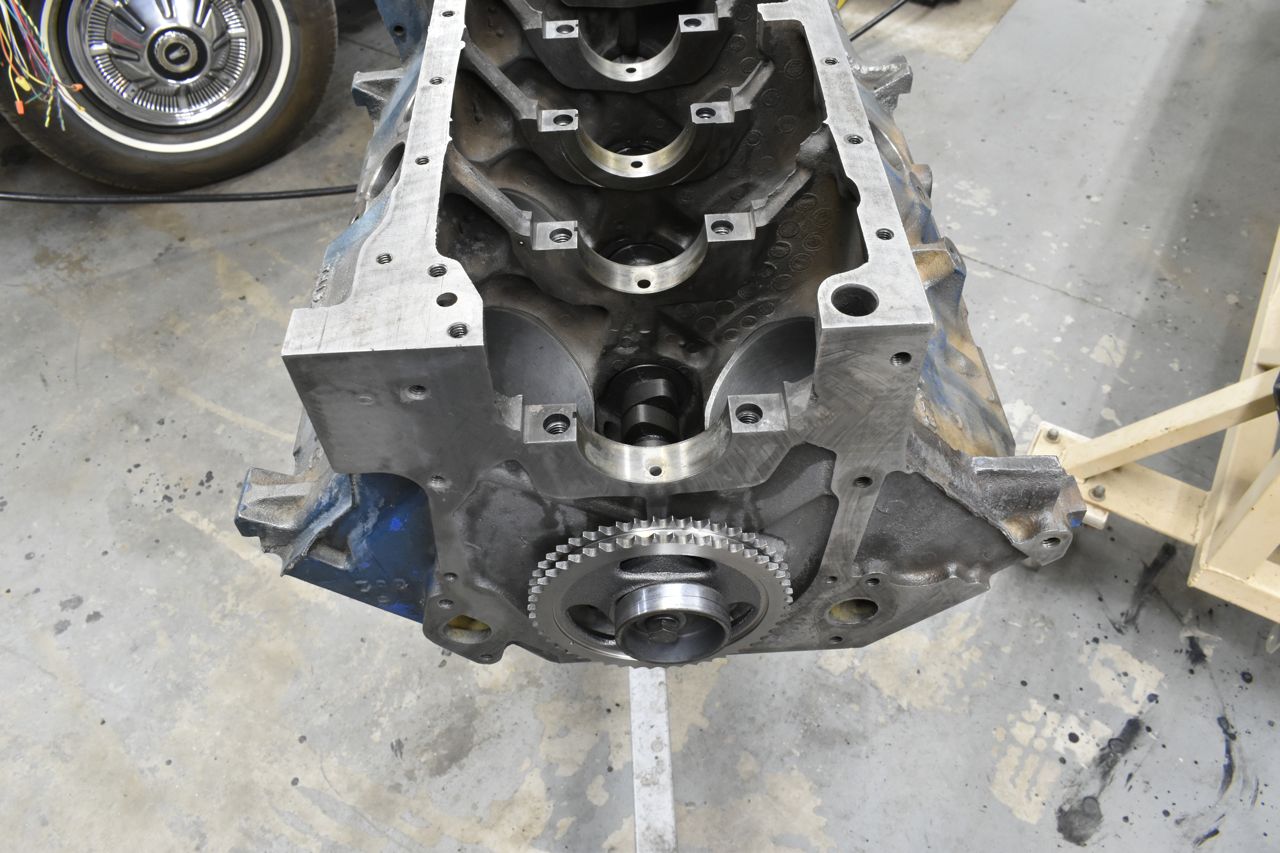
Here are the new cam bearings. For those not familiar, each cam bearing is a different size allowing the smallest to go in first as it populates from the rear to the front.
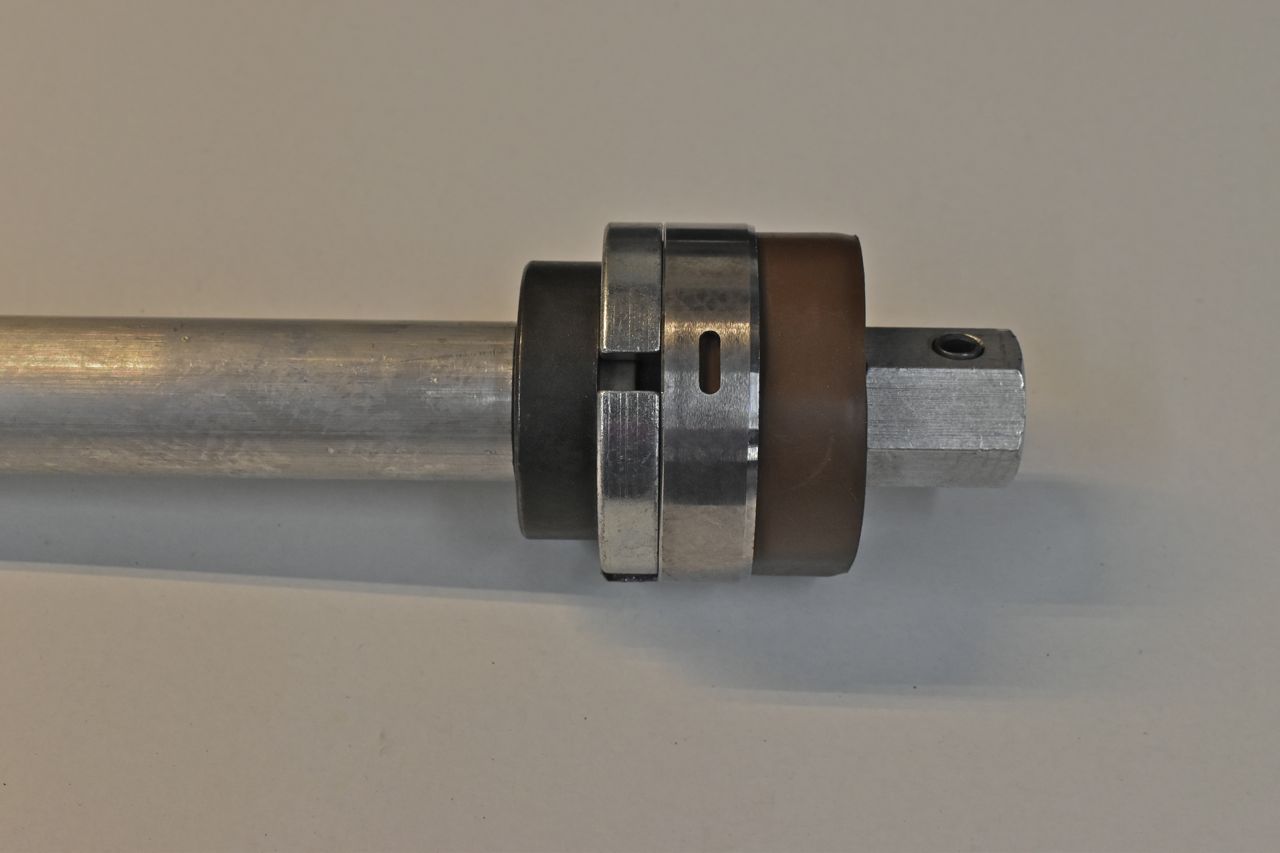
The front cam bearing for the FE is easy to spot as it has two oil through holes. It's important to install this one or clock it properly to allow lube oil for the distributor shaft otherwise it could seize in the block.
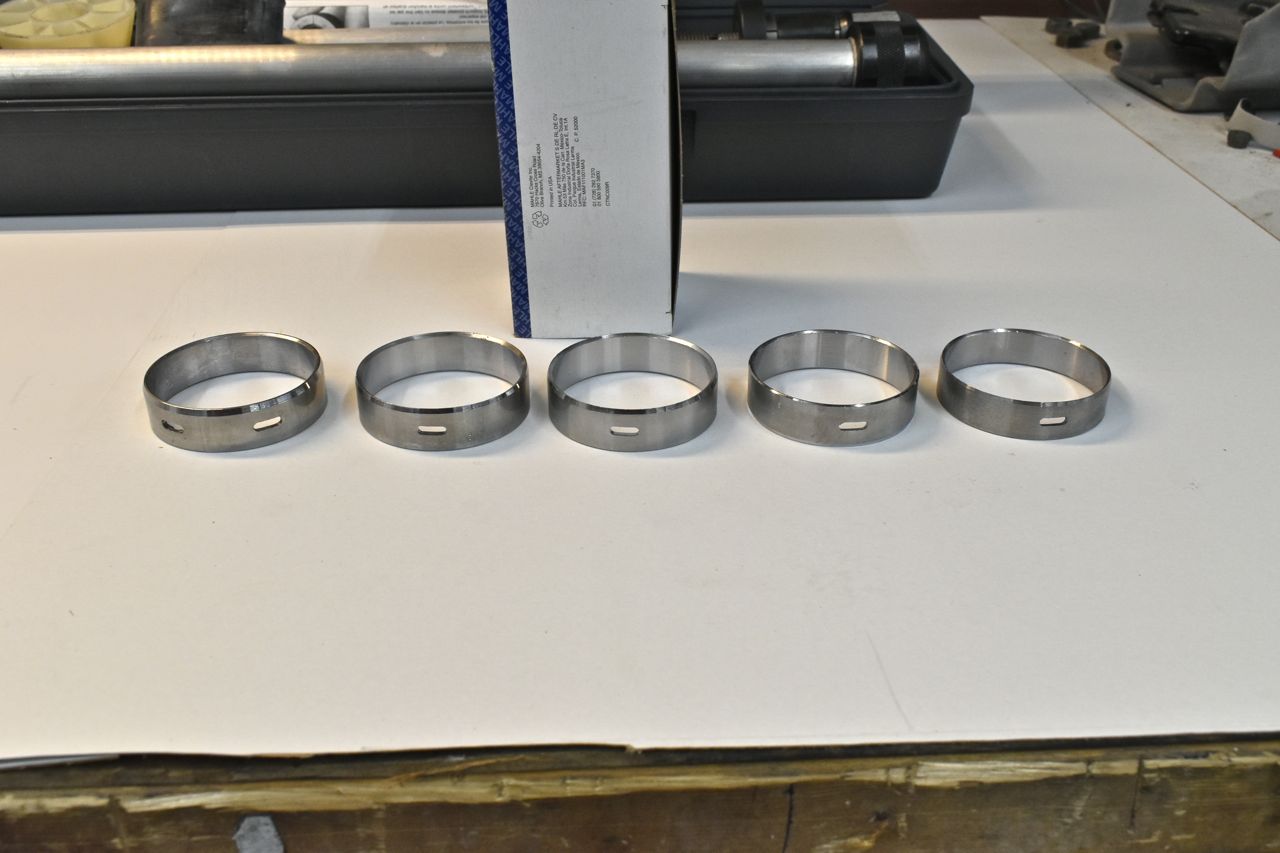
The new bearing set has different part numbers for the different locations, the original ones are stamped; 1,2,3, etc
I am using Clevite tri-metal bearings.
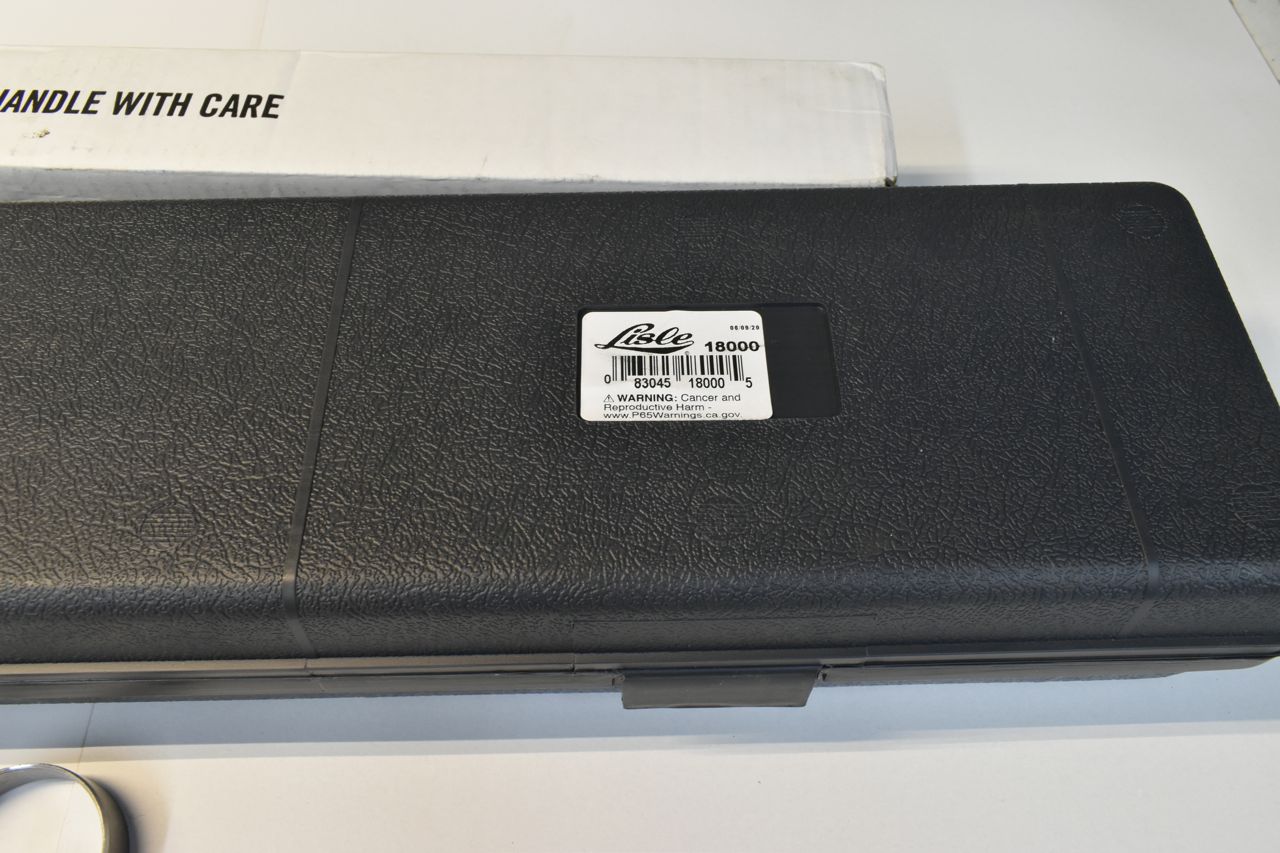
You really need the correct installer tool to reduce the risk of bearing damage. This is the Lisle version.
The tapered side of the bearing goes points towards the rear of the block. Now for clocking these. Ford puts the oil hole at 3 O'Clock. Every original FE I've dismantled are at 3 so far. It shouldn't matter on the 4 rearward bearings where the hole is at, but I had a think about why 3 O'Clock position. Here's what I came up with, assume the cam bearing surfaces are really ridiculous worn for better illustration purposes. The valve train will push the cam straight down when the camshaft isn't turning, this is from the valve springs and seems logical. However with the engine running since the crankshaft spins clockwise and withcidentally so the camshaft, the worn camshaft will want to walk up the right side of the cam bearing from the friction of the oil and cam bearing surfaces. The faster it spins the more it will walk up. And what's on the right side, the oil hole.
Keep in mind the crankshaft mains and rods get their lube oil from around the cam bearings. If the cam bearings are hemorrhaging oil from worn bearings and or camshaft, that lowers the available pressure at the crankshaft and the lower end suffers.
To keep track where the cam bearing oil hole I use a mark on the installer tool.

It's easy to overshoot installing the bearings so little taps and check progress. It's a pain the butt to push them back the other way.
For the front cam bearings I use the generic installation tool since it's right in front.
Make sure sure the openings in the bearing align with the oil feed holes in the block. If not Mr. Distributor suffers.
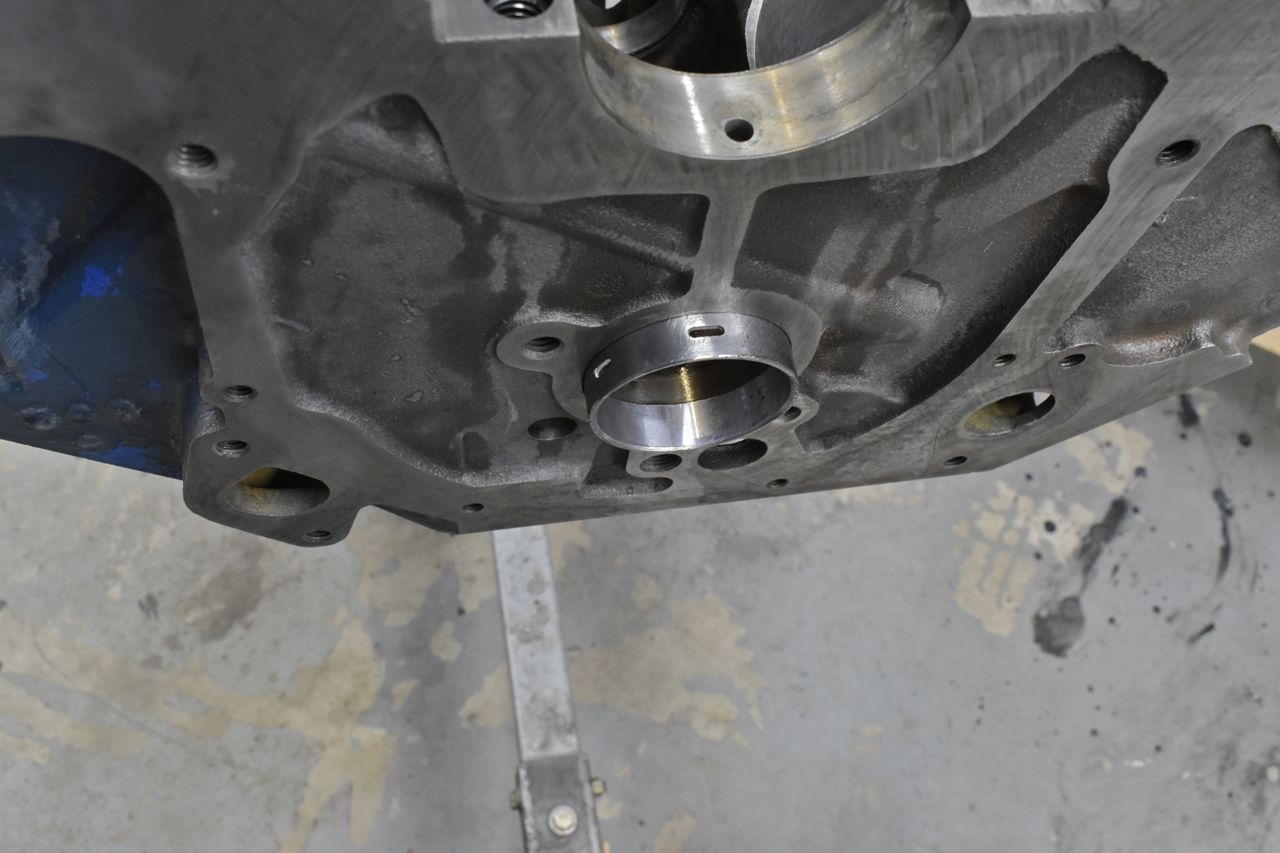
You want the front cam bearing recessed a bit to alleviate any possibility of interference with the cam retainer plate.

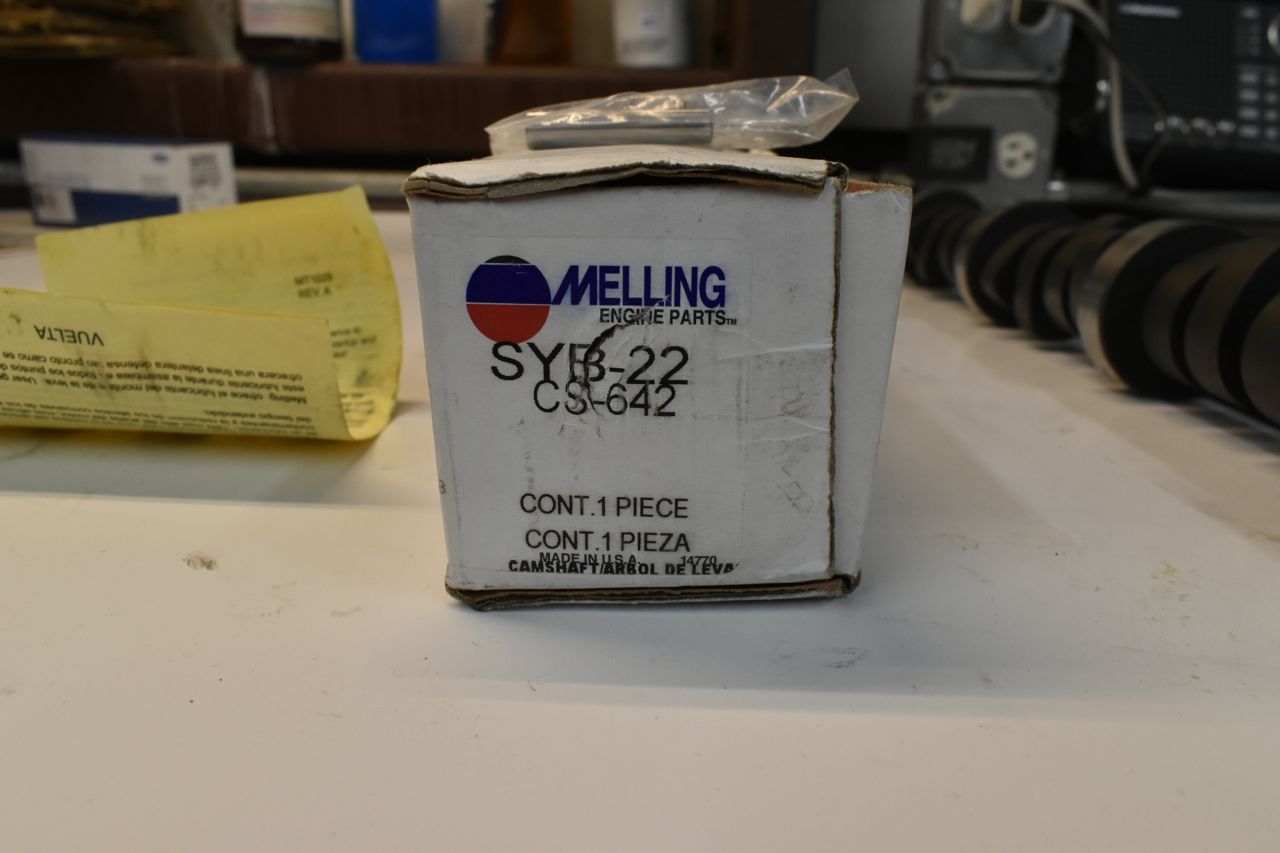
No frills camshaft, just a stock Z390 flat tappet model.
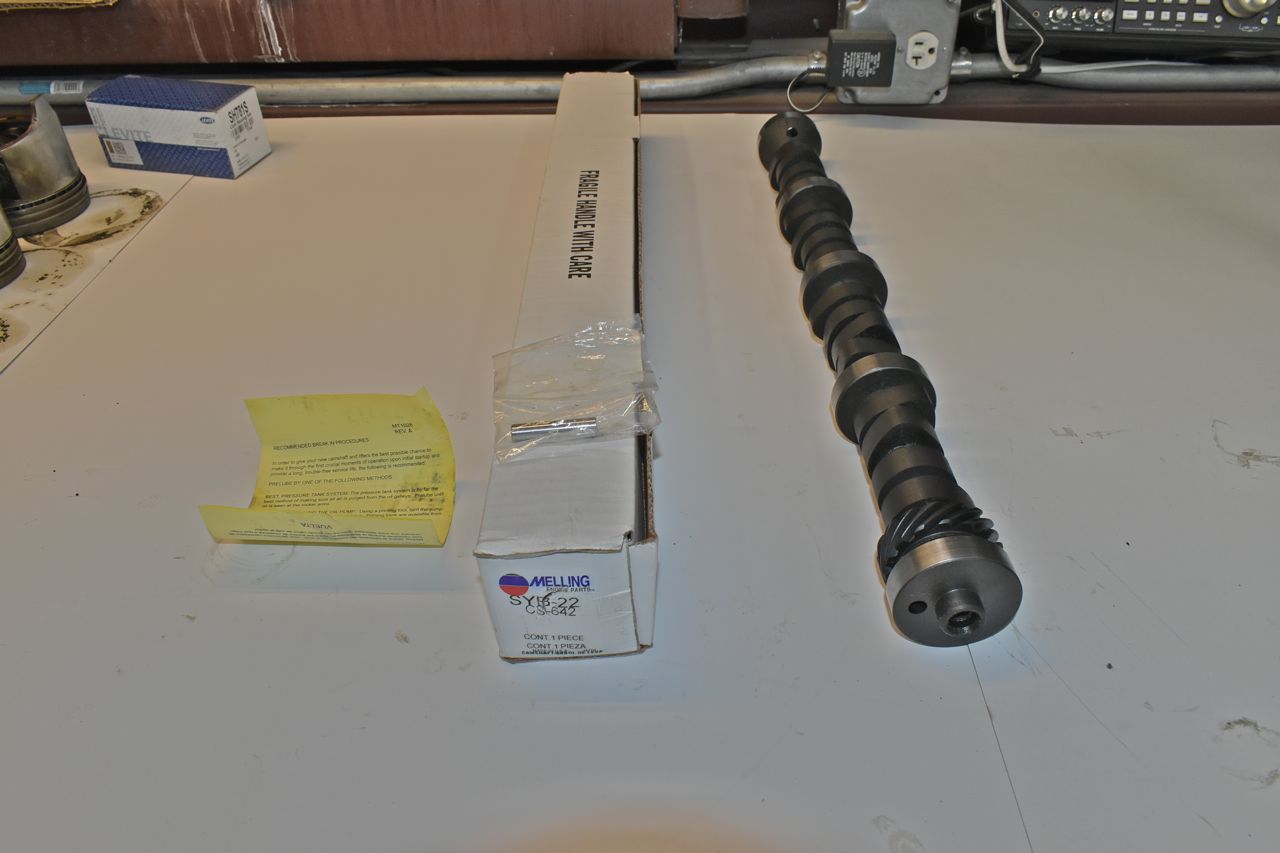
Huh, made in the U.S.A. I'm surprised..... Must be old stock
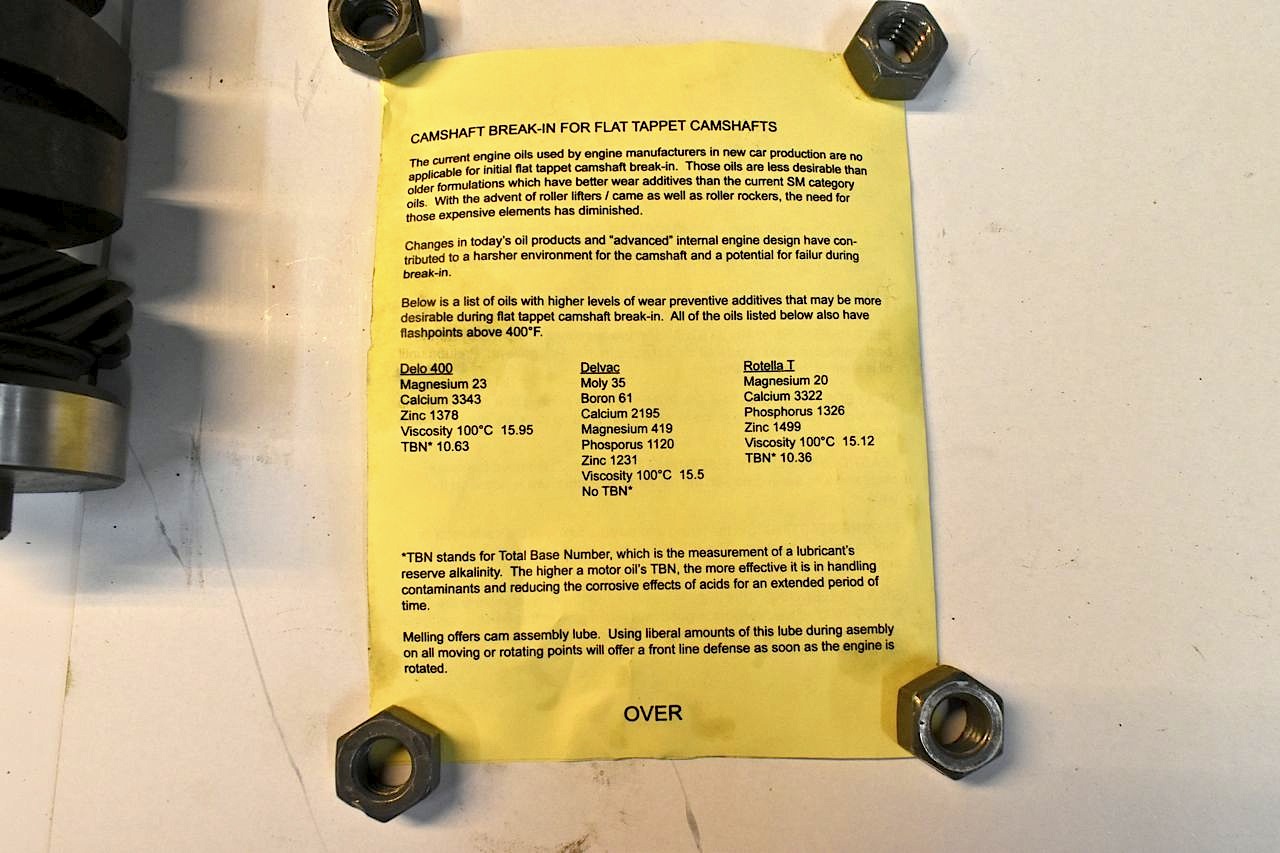
The usual instructions for breaking in a camshaft, nothing new on this page, but......
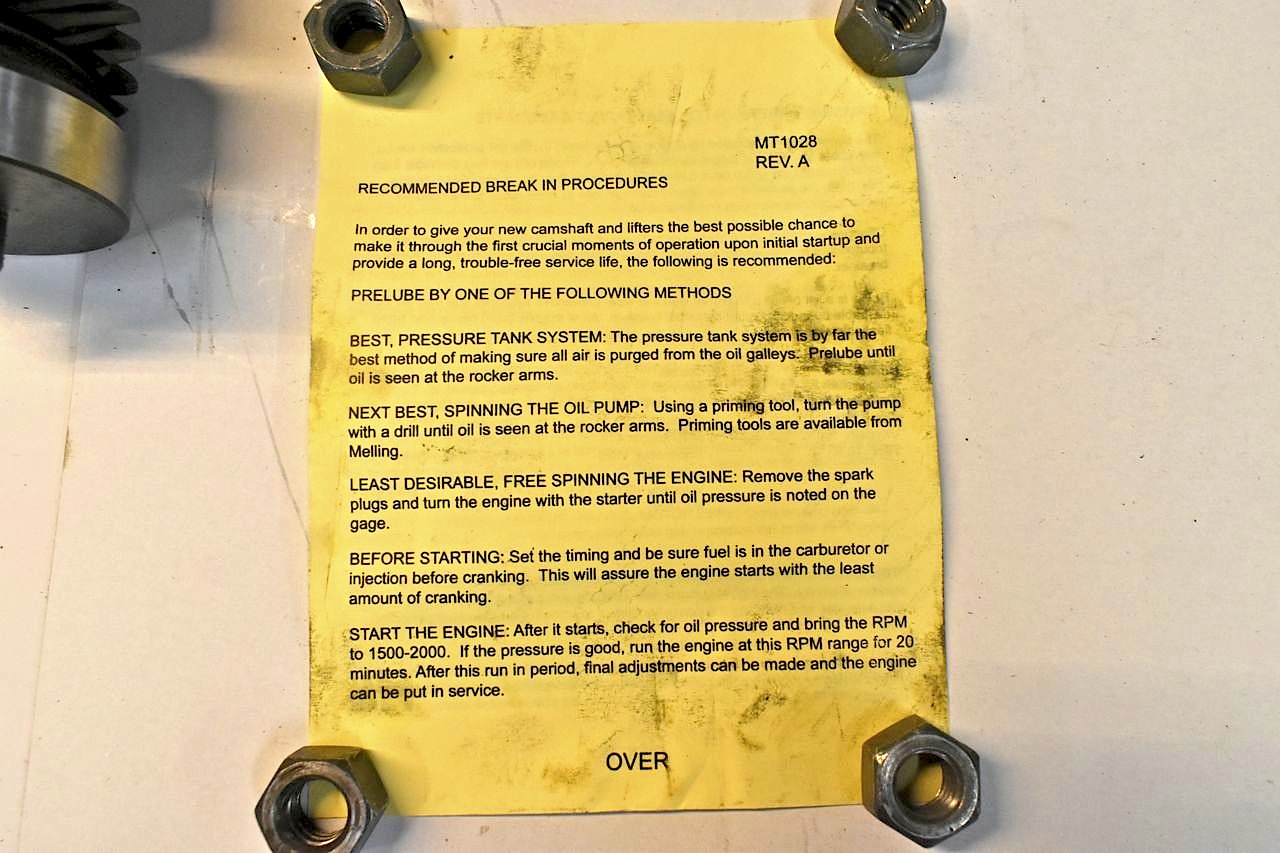
Some of you guys still running flat tappet cams might find this interesting. It's a study of common 3 oils and the levels of additives necessary for flat tappet cam survival.
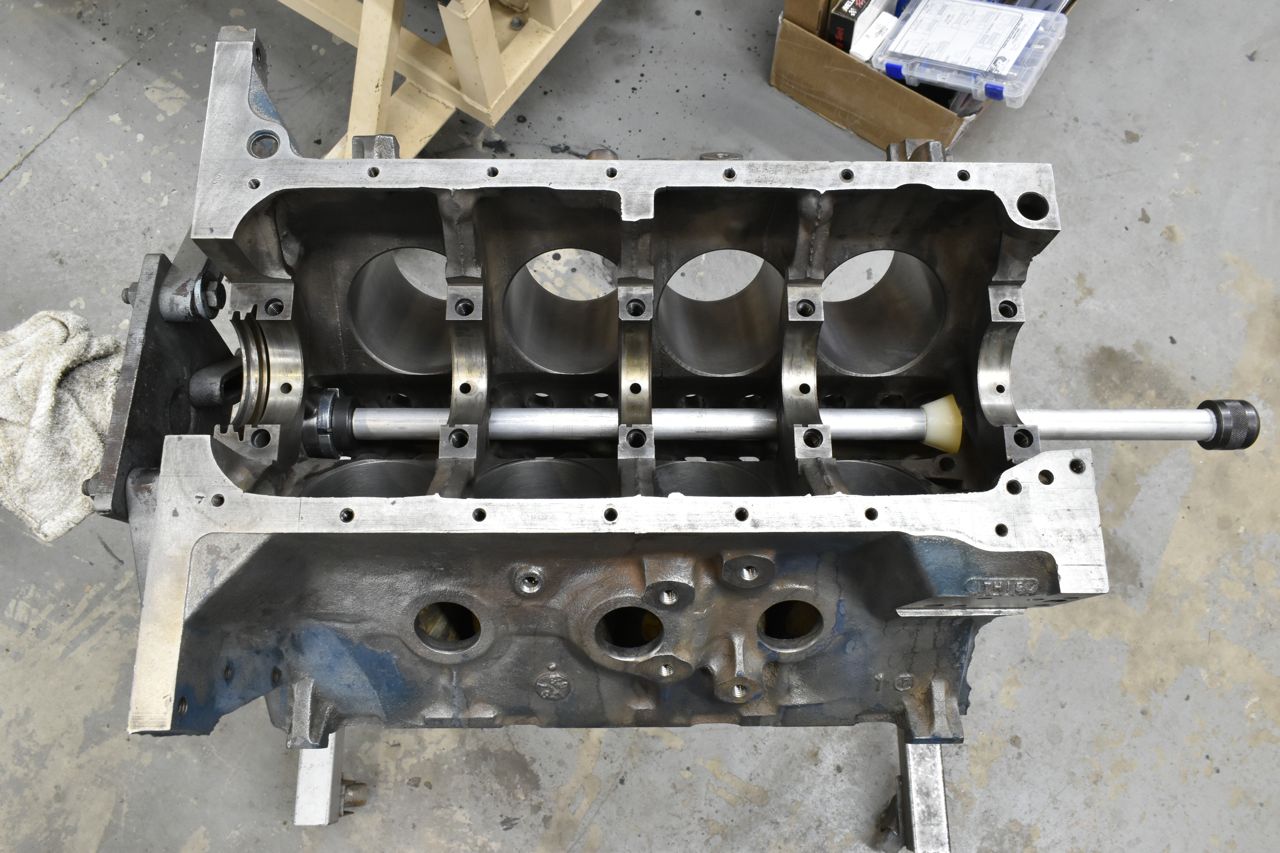
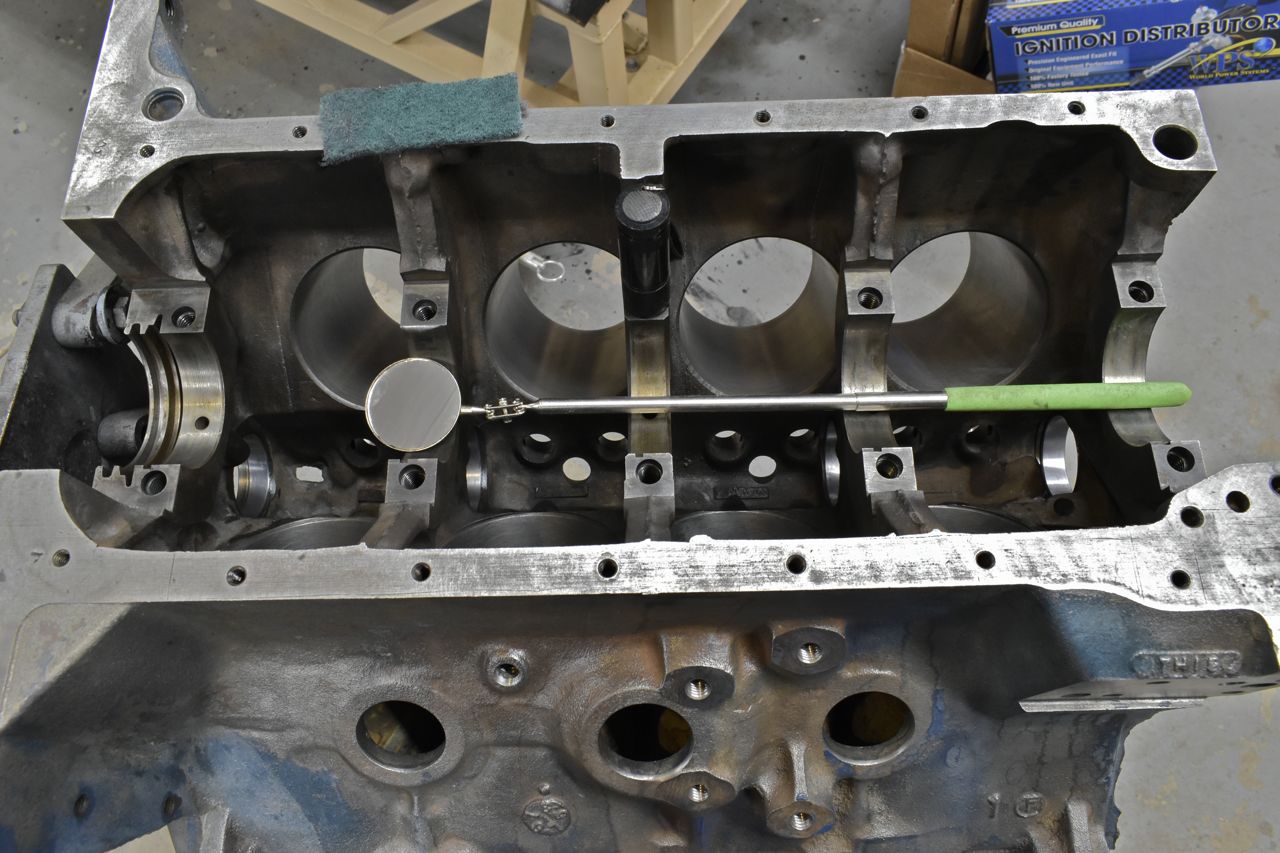
Next is fitting the camshaft to the bearings. It's lightly lubed and inserted for an initial impression of fitment. This one fit really nicely from the start.
This is how I check for bearing high spots. I take a green Scotchbrite pad and lightly scuff the bearings, once all the bearings have a dull homogenous finish I'll reinsert the cam and spin it by hand, then remove it. Any intense shiny spots on the bearings are dressed down with more Scotchbrite action. Rinse and repeat till none are found. Only the rear two bearings had two small spots that needed dressing otherwise there is cam happiness so far.
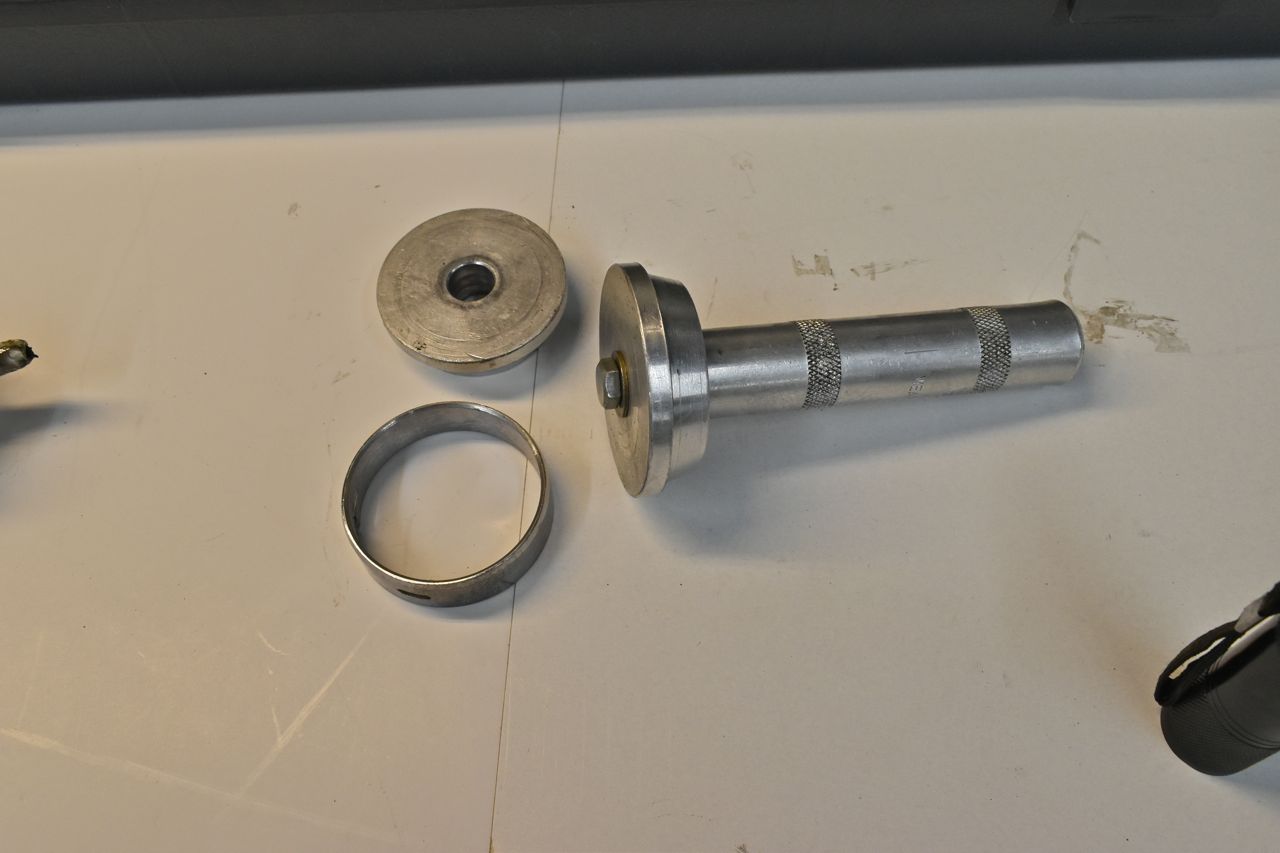
Now before the cam is installed for the last time, it's best to install the rear cam plug.
And here's where the aftermarket strikes again, aka more crap.
When I first took apart the engine and saw the amount of crud in the cooling jackets I feared the core plug bores would be pitted so I found a Melling FE deep plug kit thinking ok more surface area. However 1-3/4" is the wrong size core plug for the FE. It's 1-49/64's.
As much as I detest Dorman, they get it right on this (credit where credit is due).
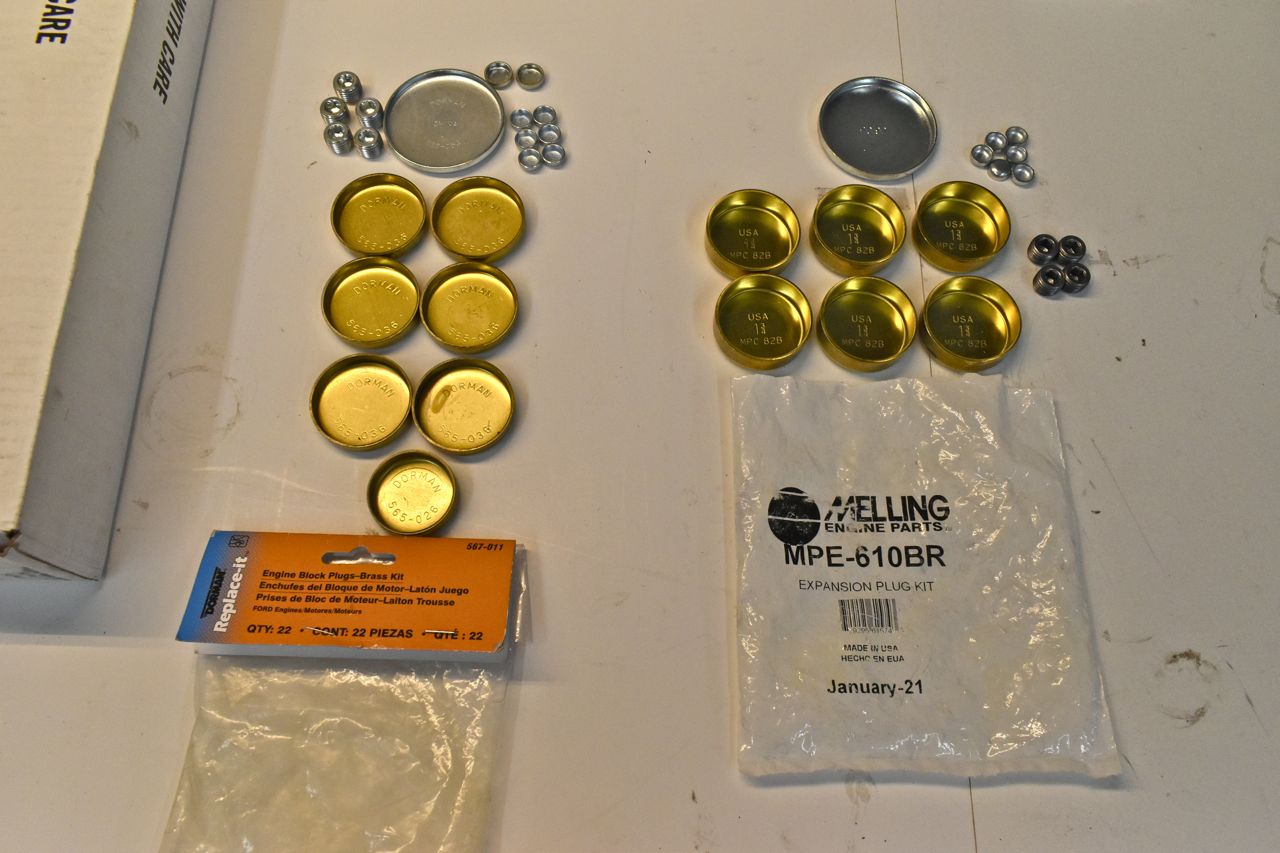
Melling plug
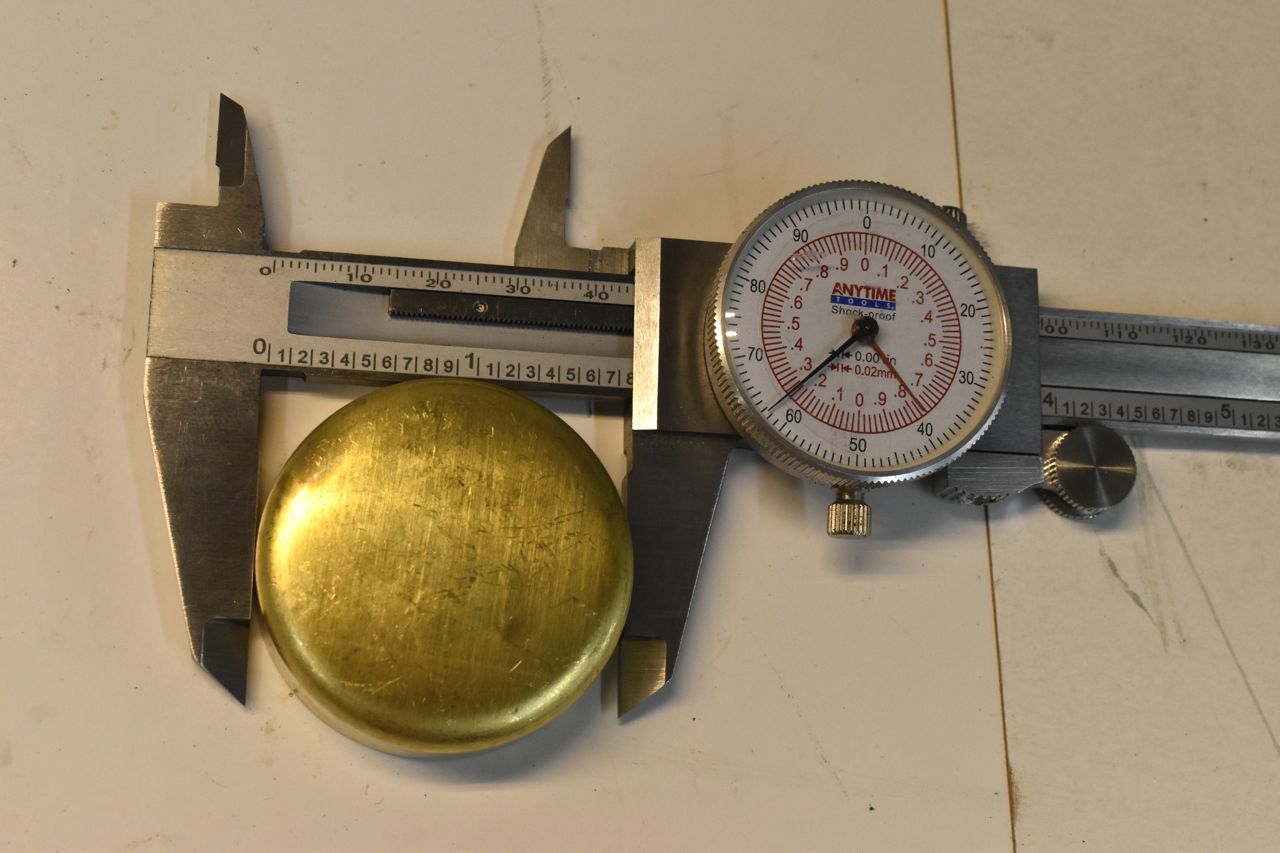
Dorman plug.
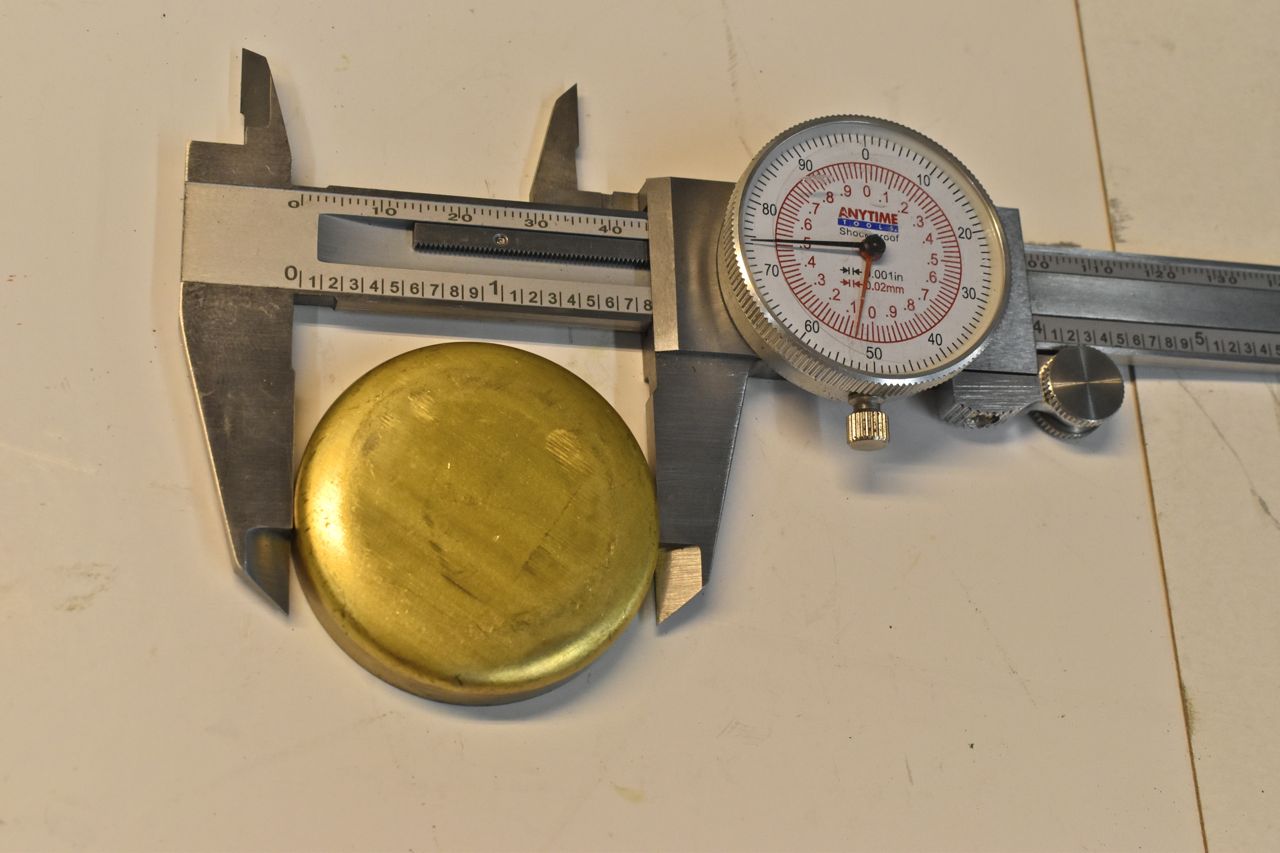
It isn't much, but it could very well be the difference between pulling the bloody engine out again because of a leaking core plug or one that just popped out. And anyone with a fully loaded car with an FE knows it's a pain in the butt.
Click here to continue to part 43