1968 Ford XL Repairing Whilst Keeping It Roadworthy : 48 FE Engine Shortblock - Intake
2023, November 14
1 - 2 - 3 - 4 - 5 - 6 - 7 - 8 - 9 - 10 - 11 - 12 - 13 - 14 - 15 - 16 - 17 - 18 - 19 - 20 - 21 - 22 - 23 - 24 - 25 - 26 - 27 - 28 - 29 - 30 - 31 - 32 - 33 - 34 - 35 - 36 - 37 - 38 - 39 - 40 - 41 - 42 - 43 - 44 - 45 - 46 - 47 - 48 - 49 - 50 - 51 - 52 - 53 - 54 - 55 - 56 - 57 - 58 - 59 - 60 - 61 - 62 - 63 - 64 - 65 - 66 - 67 - 68 - 69 - 70 - 71 - 72 - 73 - 74More Engine Assembly Continued
New plugs

On the plus side I assembled everything to make sure the pushrod length was still appropriate as it has new valves and slightly thinner head gaskets. Turns out everything still measures good. That made me happy. I grabbed a breaker bar and tried turning it over. Nothing out of the ordinary, tis hard to turn over on the compression strokes that's for sure. If the cam breaks in normally this should run pretty well, even with worn cylinders.

This is where I stopped for now. I have to deal with this boat anchor and just looking at it makes my back hurt.

Just a little more progress.
I finally have this intake cleaned enough to use. What a nightmare, especially for my back. It spent time in the general degreaser tank and under all that black carbon was just a sea of gray lead. What a toxic mess. After that it was rinsed in some carb spray, then in the electrolysis it went overnight, then into the walnut blaster more rinses with air and carb spray and here we are.
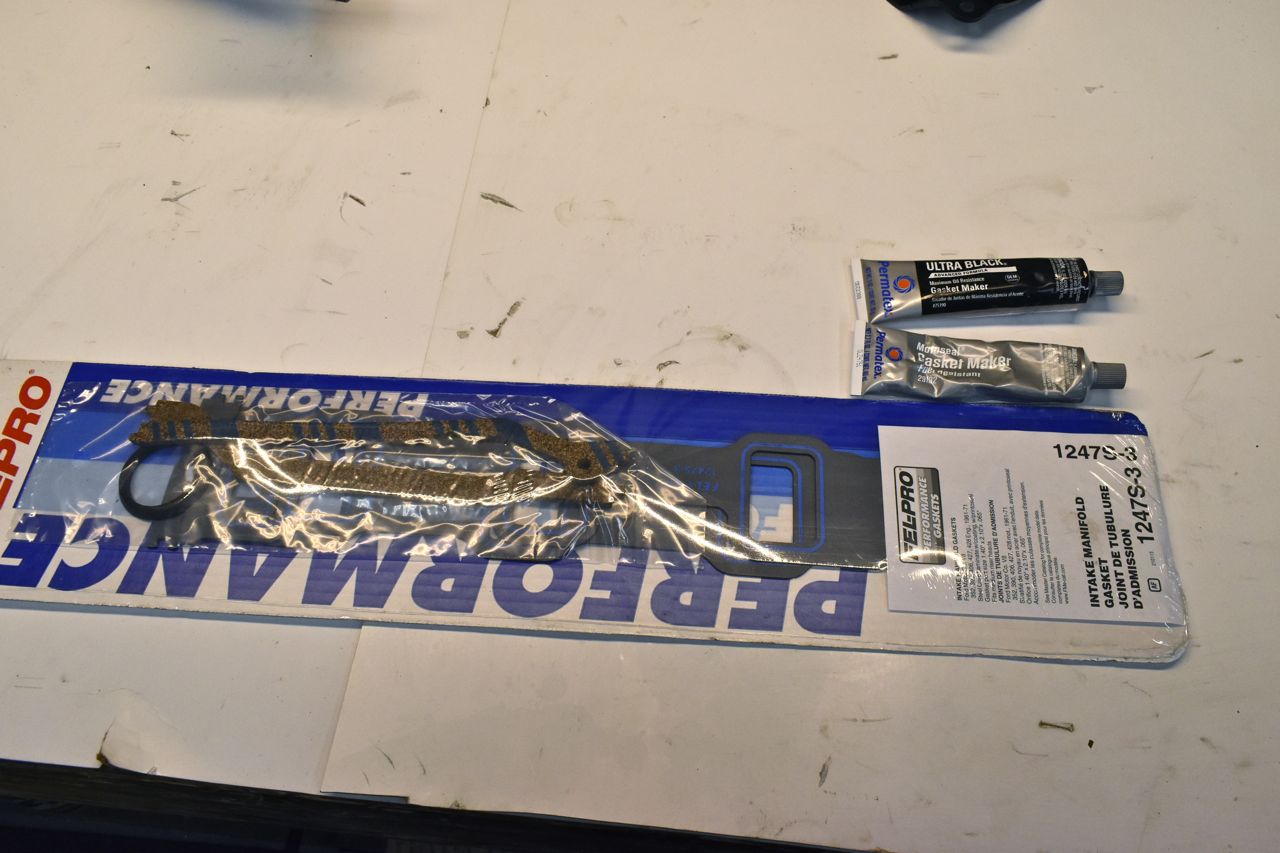
Then dealing with those rivets holding the heat shield on. I wasn't sure what intake gaskets would work the best as one set is the std MS90145 that allows the exhaust gas crossover or the 1247S-3 which blocks it. I thought it best to reinstall the heat shield either way.

Those rivets just put up a fight, I dunno if they installed the rivets red hot or the heat treat on them was all the place as some parts of the rivets were hard or harder than tool steel as you'd be drilling and then it instantly stops and dulls the drill bit.
I had to use a carbide drill bit and drilled one through but on the other one the bit snapped. Now I had a stuck carbide bit in there. There's only one thing to do and that is melt it out without hurting the heat treat on the cast iron. With that I had to do my best to use the plasma cutter with surgical precision. It worked, an EDM machine would have been better but I didn't have one. Once the broken carbide drill bit was out I used a carbide file bit in the die grinder to finish grinding out the hardened parts of the rivets till it was just cast iron. Then I could finish drilling and tap for 3/8" bolt.
Installed with Locktite.

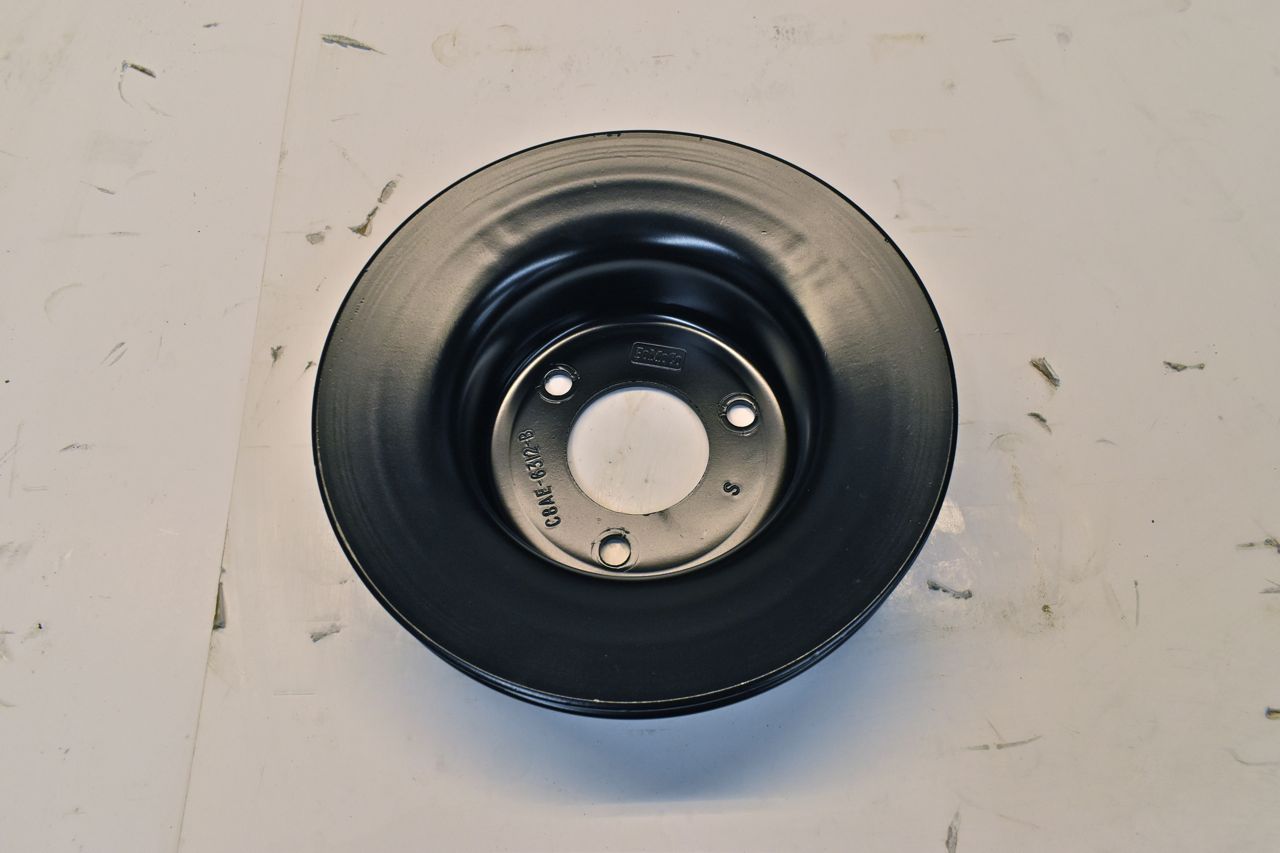
Prepped another '68 crank pulley.

I also highlighted the timing scale on the damper. The trick is to paint (epoxy paint) the damper and let it cure for a couple days then use a white paint pen and dab it on. Then take a clean piece of paper towel folded flat (not bunched up) and wet in IPA to lightly wipe the excess off.
This will make setting the timing very easy with the light.

I used the stainless bolts in the Roguebolt kit.

Top half of the intake painted.

After some thought and checking the fit of both gasket possibilities I settled on these gaskets as the port match is much better and it does block off the cross port as I don't need any more heat under the carb in the summer here. For winter I don't mind if the engine takes longer to warm up before the fuel is vaporized enough.
I also used Ultra Black RTV for the end seals and a light smear around the water jackets. I used the gray fuel resistant sealant for a wipe around each port since I don't trust the print o seal on old pitted cast iron.

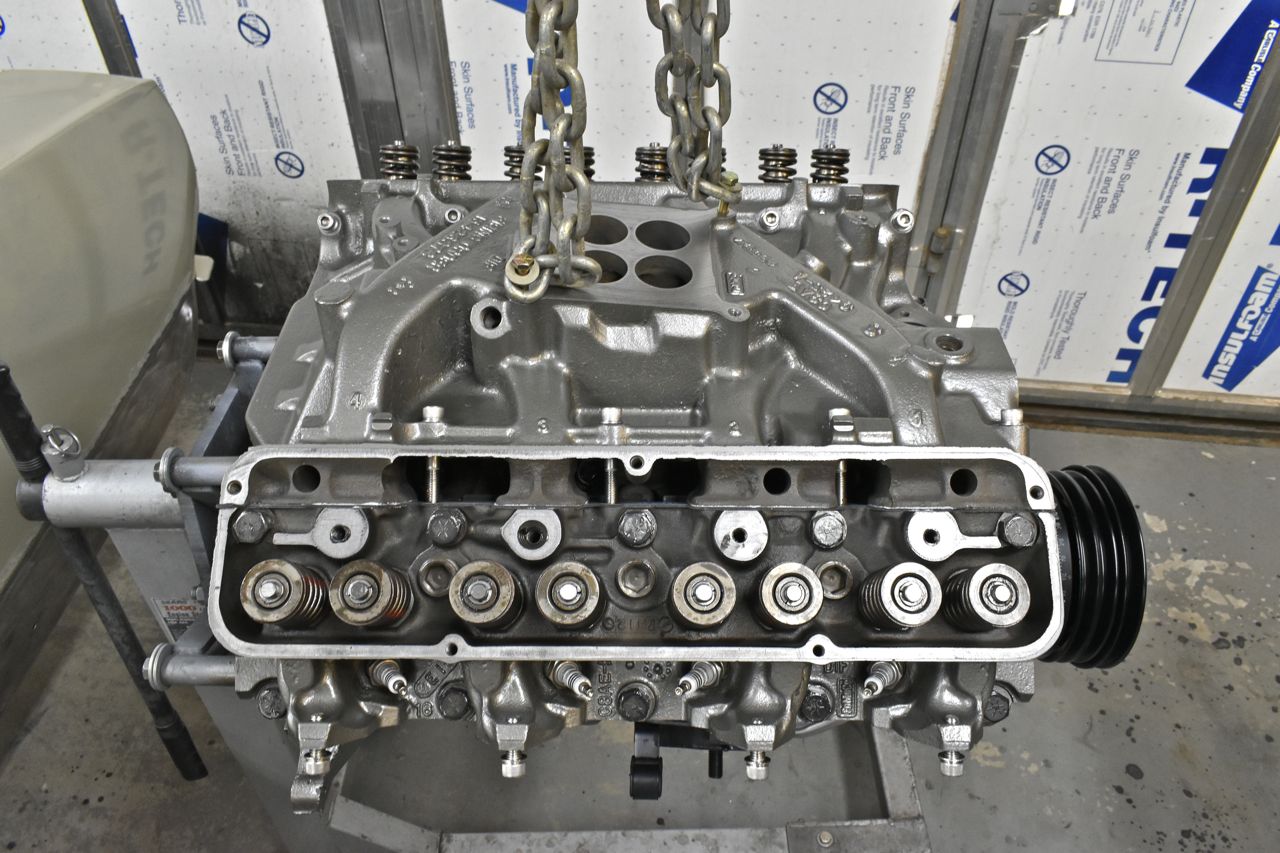
I used the ceiling winch as the bloody cast iron intake weighs an insane amount.

I used the stainless bolts in the kit and smeared a light coating of Ultra Black RTV around the washers to keep engine oil from creeping up onto the intake.

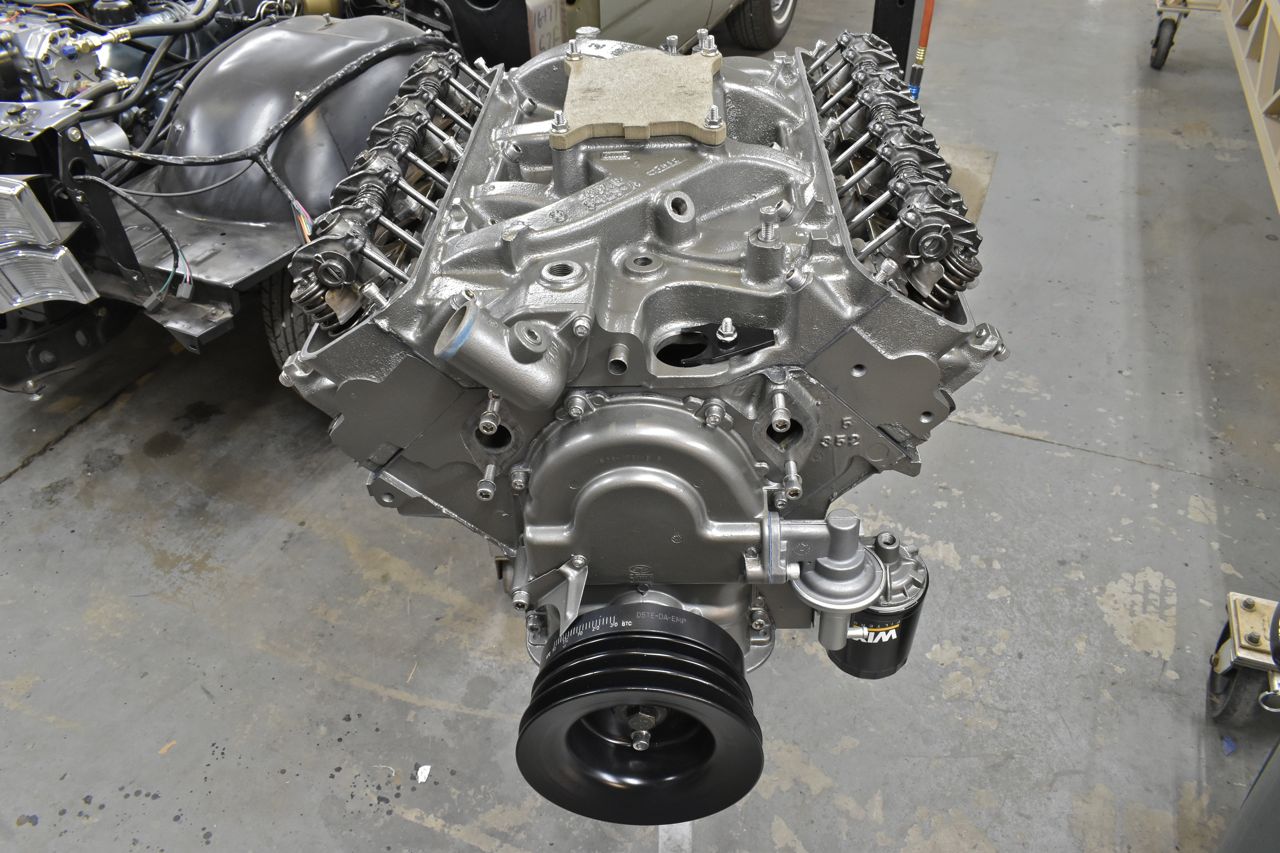
I just put both carb spacer and carb gaskets on under my poor mans induction cap for now. At least I know where they are when I need them.

I used Locktite on the studs in the intake.

Thermostat and distributor hold down painted and ready for installation.

Heater hose nipple and throttle cable bracket.


That's it for now, the oil pan is bubbling away in the tank and hopefully today I can finish that up and install that then transfer the engine to a different stand for more assembly (starter locating plate and flexplate).
