1968 Ford XL Repairing Whilst Keeping It Roadworthy : 71 Large Bearing Ford 9-inch Overhaul - Brakes Install
2023, November 14
1 - 2 - 3 - 4 - 5 - 6 - 7 - 8 - 9 - 10 - 11 - 12 - 13 - 14 - 15 - 16 - 17 - 18 - 19 - 20 - 21 - 22 - 23 - 24 - 25 - 26 - 27 - 28 - 29 - 30 - 31 - 32 - 33 - 34 - 35 - 36 - 37 - 38 - 39 - 40 - 41 - 42 - 43 - 44 - 45 - 46 - 47 - 48 - 49 - 50 - 51 - 52 - 53 - 54 - 55 - 56 - 57 - 58 - 59 - 60 - 61 - 62 - 63 - 64 - 65 - 66 - 67 - 68 - 69 - 70 - 71 - 72 - 73 - 74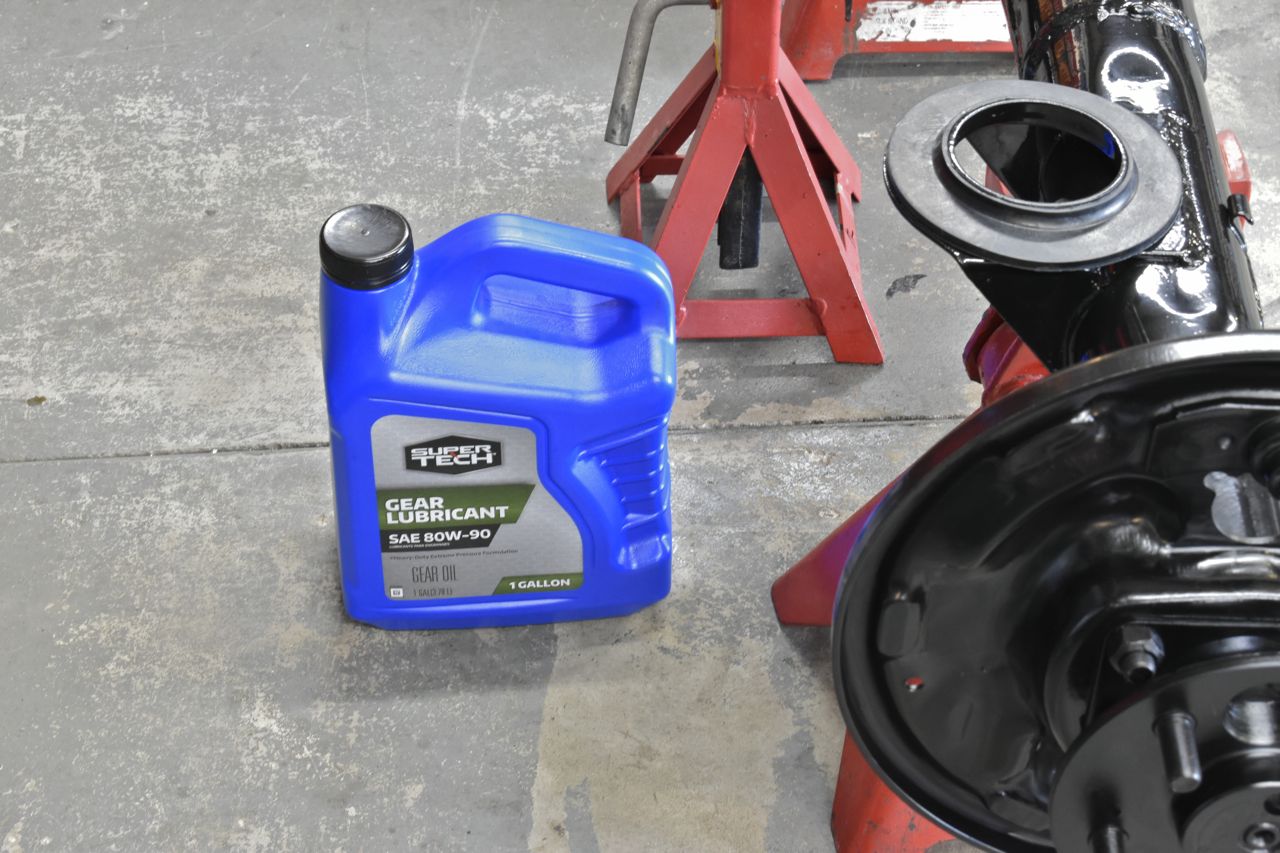
Filled her up with fresh 80W-90.
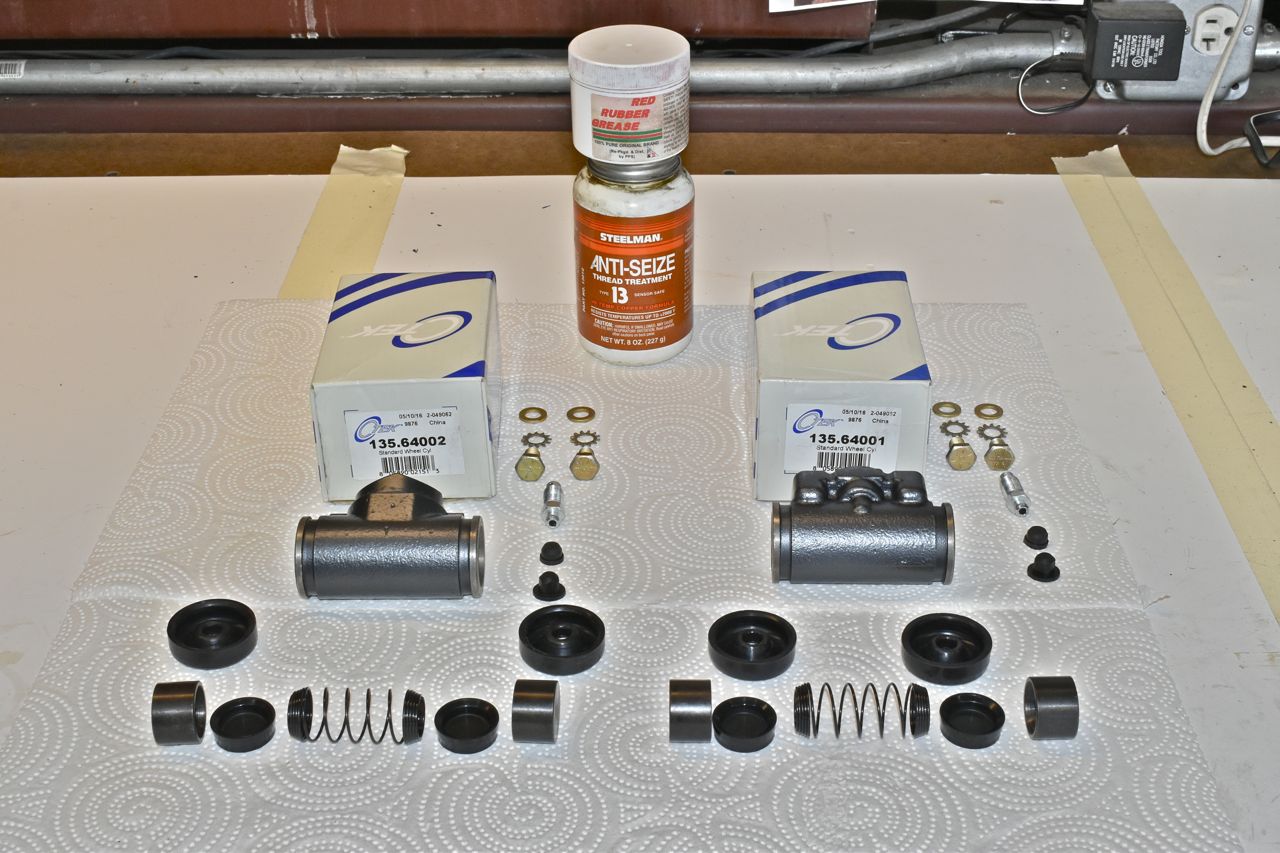
Next up is installing the brakes. I might as well test fit everything and assemble them even though the parking brake cables will be used later upon axle installation. I disassembled and cleaned the wheel cylinders as well as powder coated them for corrosion protection.
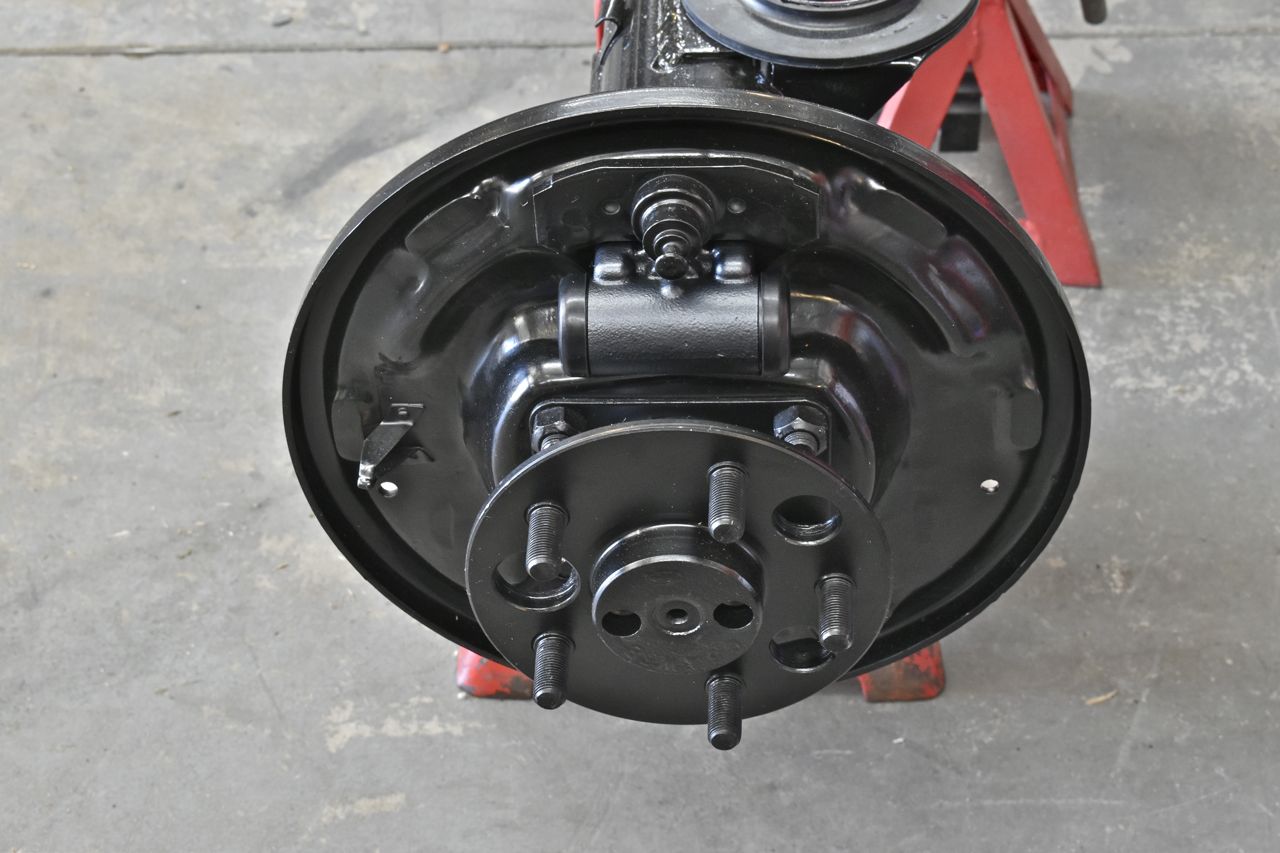
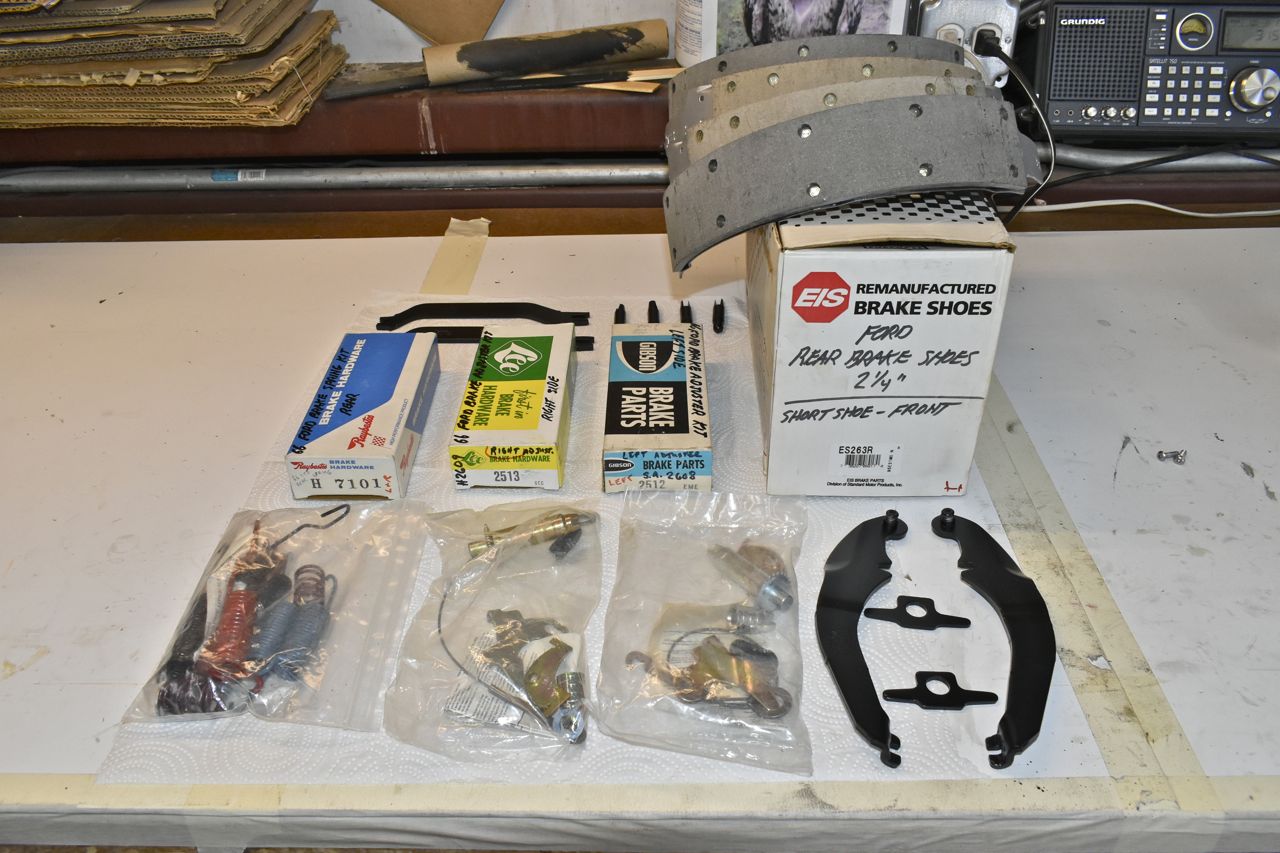
You have to dig NOS parts. Some of those boxes are pretty old judging from the graphics and fonts. I will always look for NOS parts rather than the new parts as I find "generally" the quality is much better with the older parts. However sometimes this is not possible. I also dug through my collection of spare brake parts and sand blasted all the non-wear steel items and painted them black.
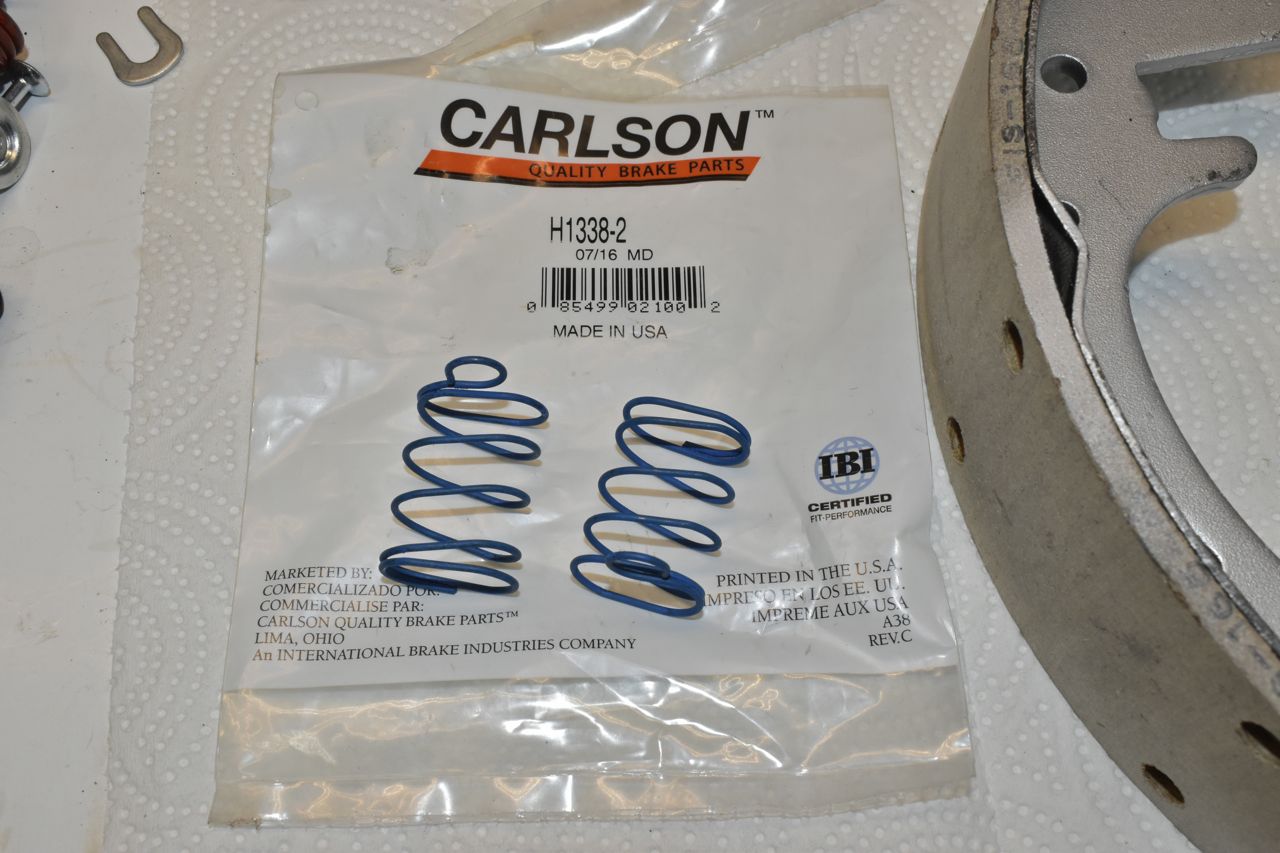
Forgot to include new anti-rattle springs.

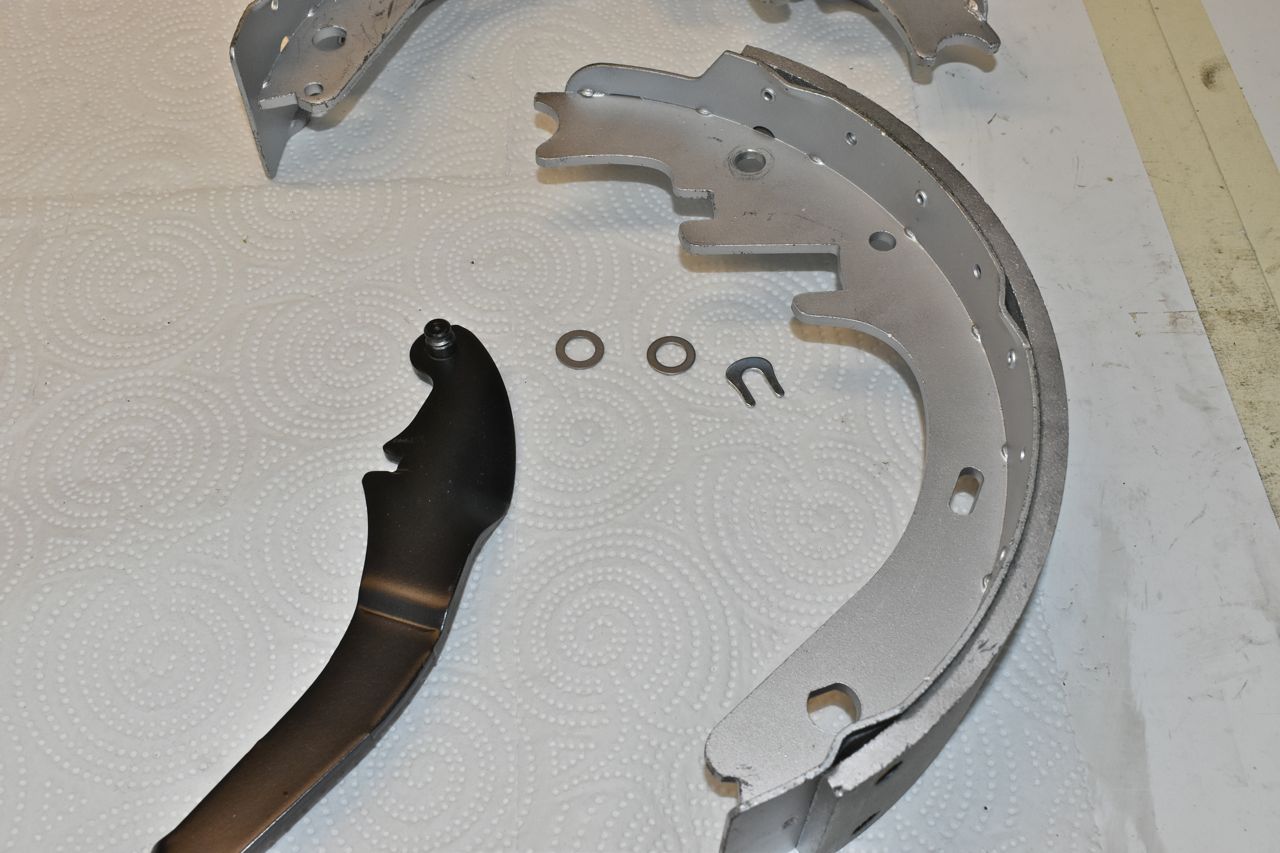
Even old NOS parts are not immune to mistakes. Whomever relined these shoes mixed up the primary metal arch and the secondary lining and mated them. The result, whilst subtile, is that the parking brake lever will not fit into the required hole as they purposely made the holes smaller so you do not mix up the primary and secondary shoe location. The metal support will need to be drilled for 3/8"
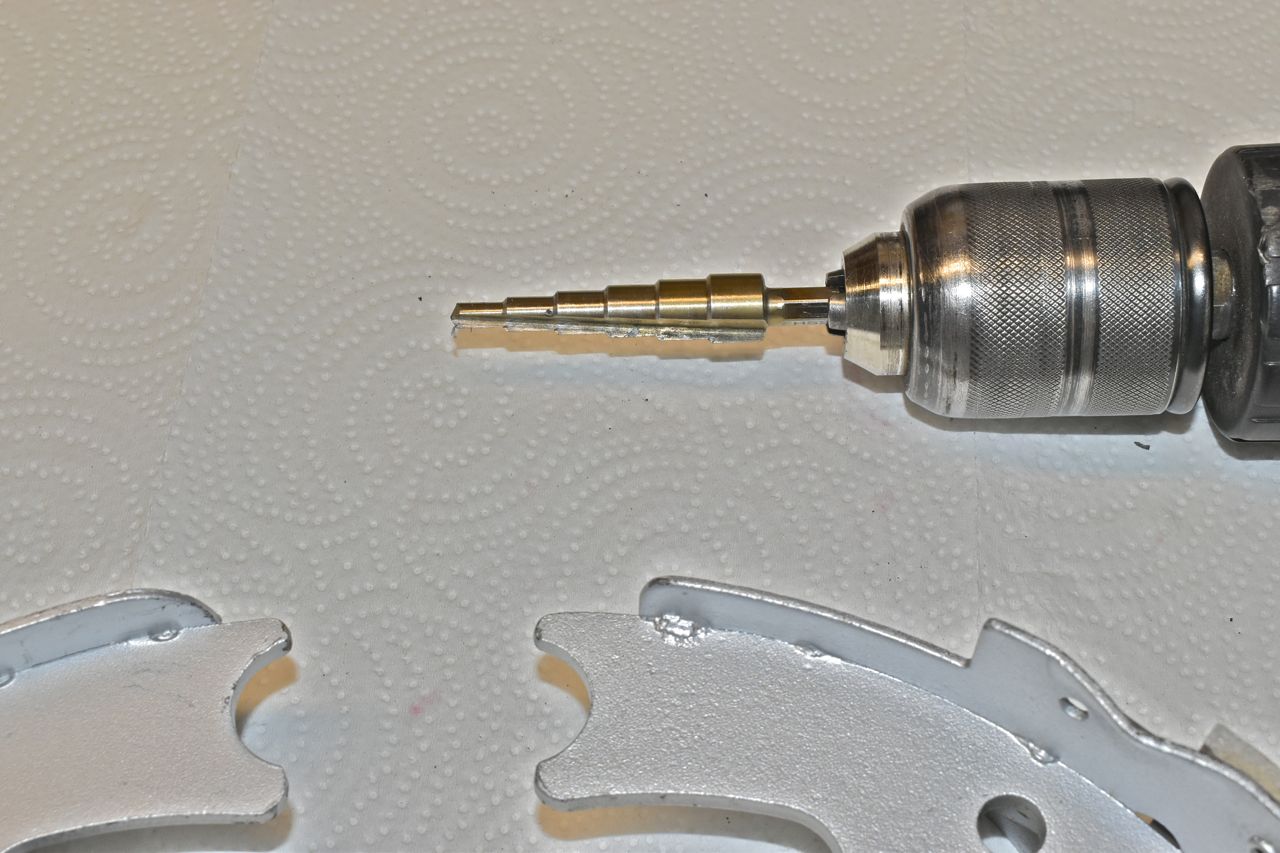
A step drill is perfect for this.
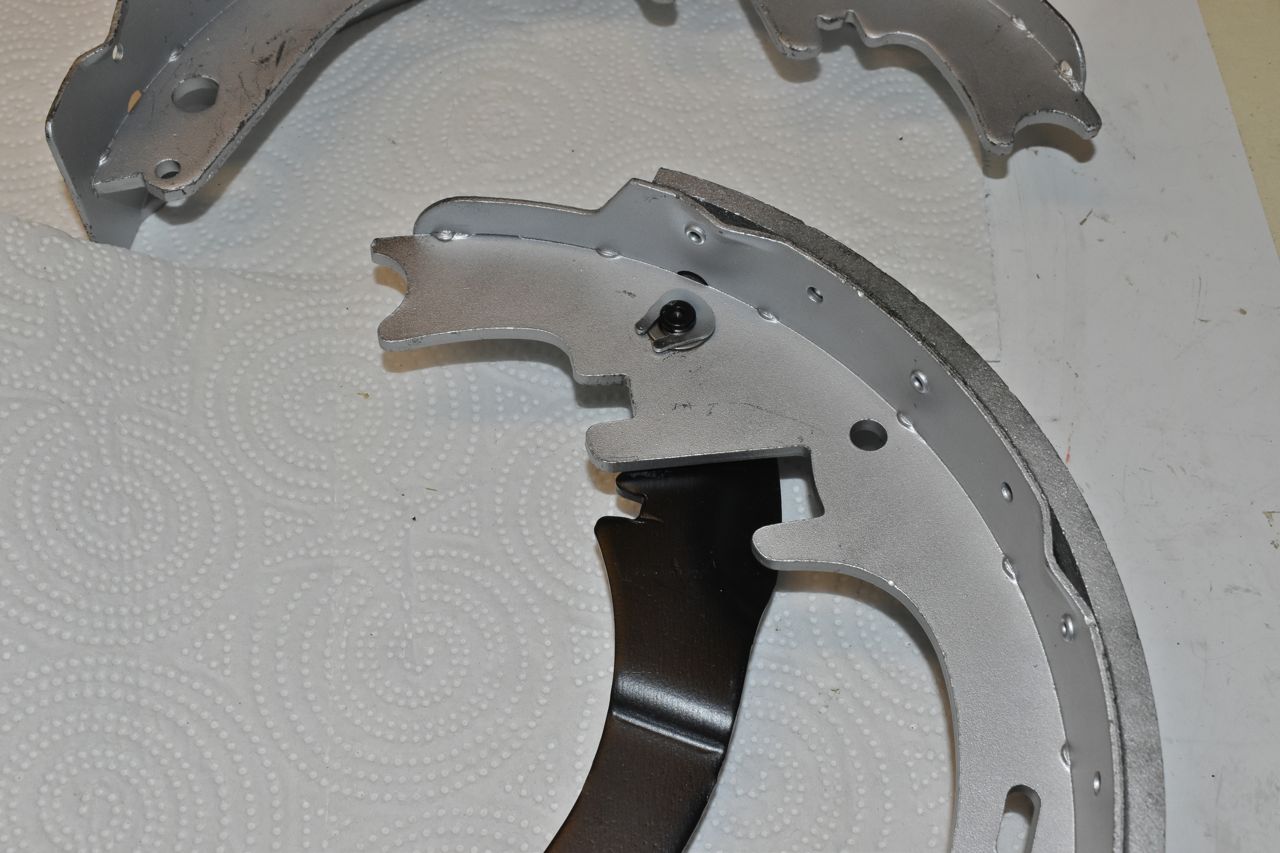
Now it fits as it should.
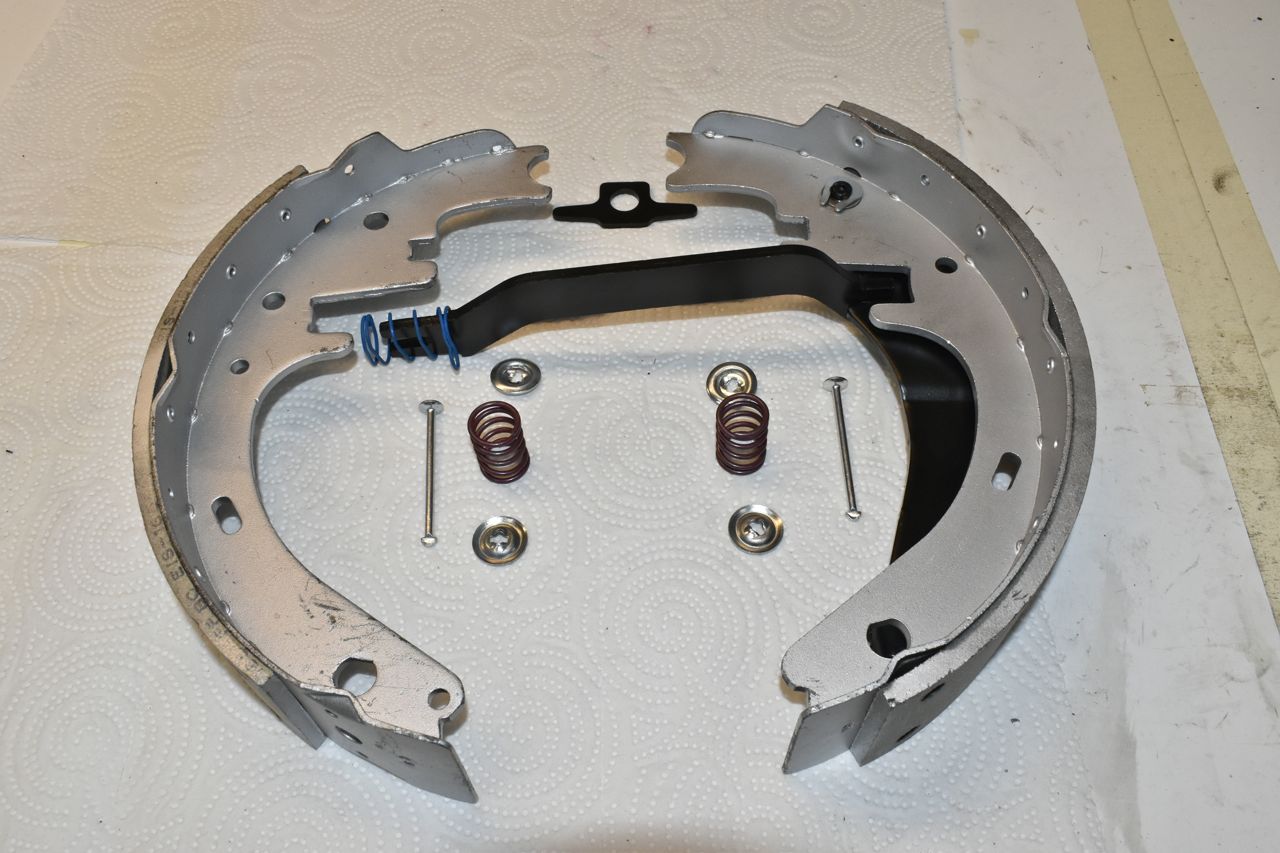
First batch of parts to be installed.
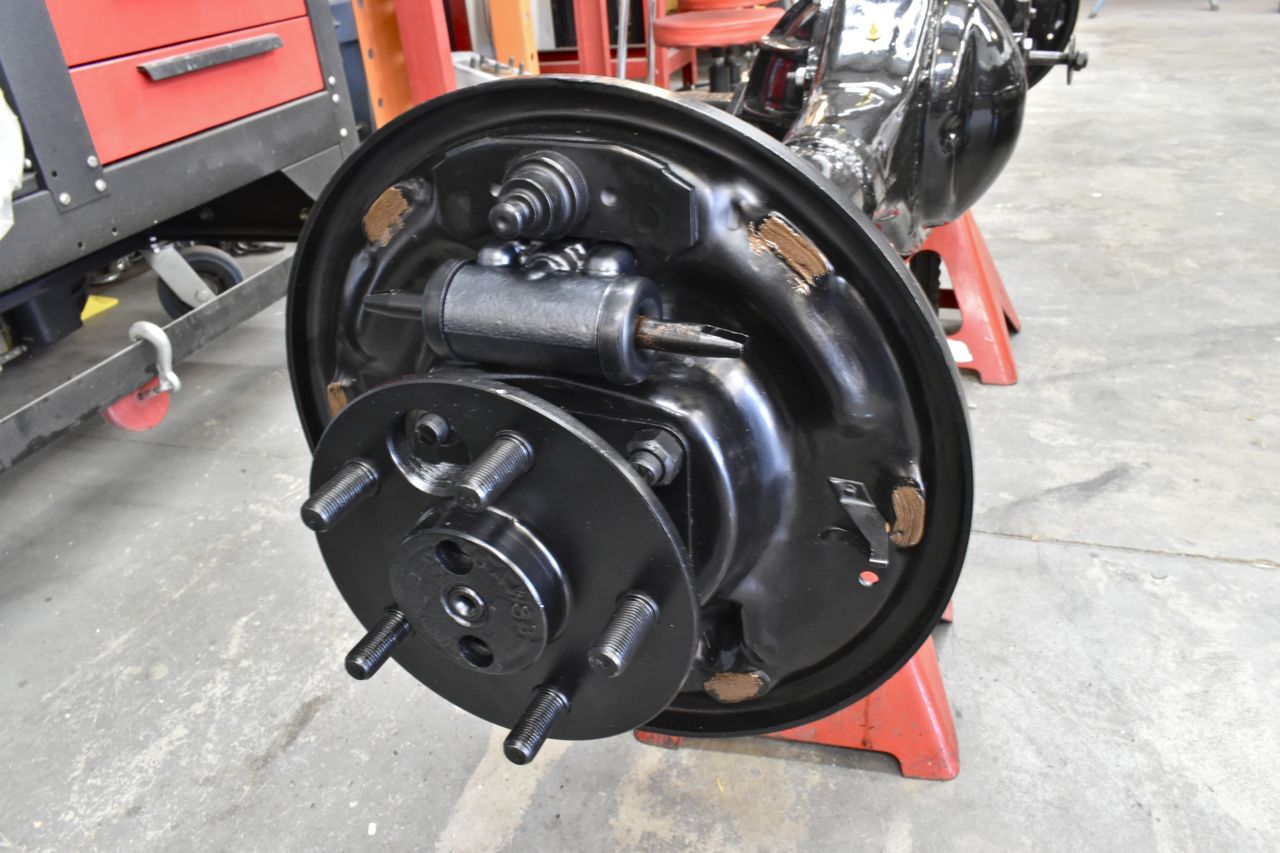
The shoe pads are lubed and the wheel cylinder push rods lubed and installed.

 Bit of a juggling act, however the rest is easy peasy now.
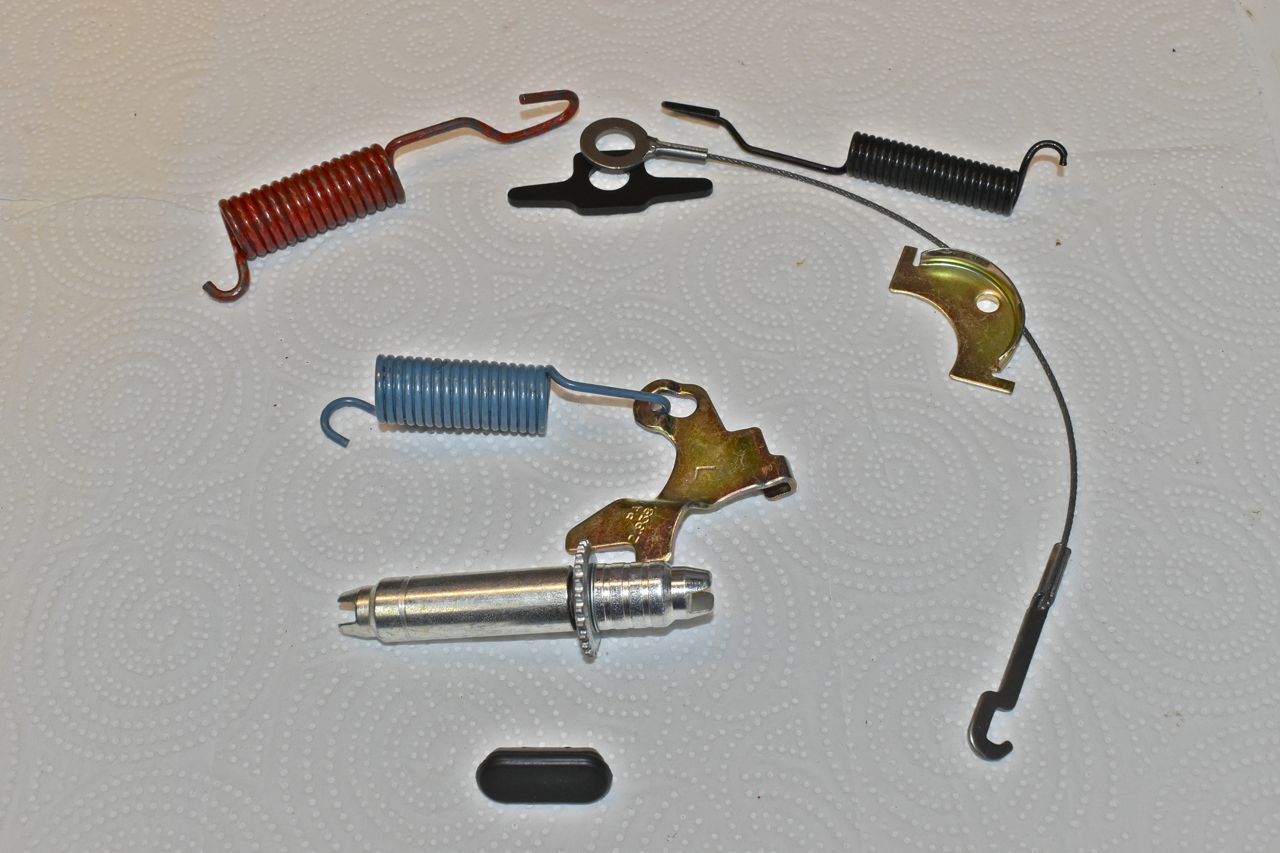
Next round of parts to go on.
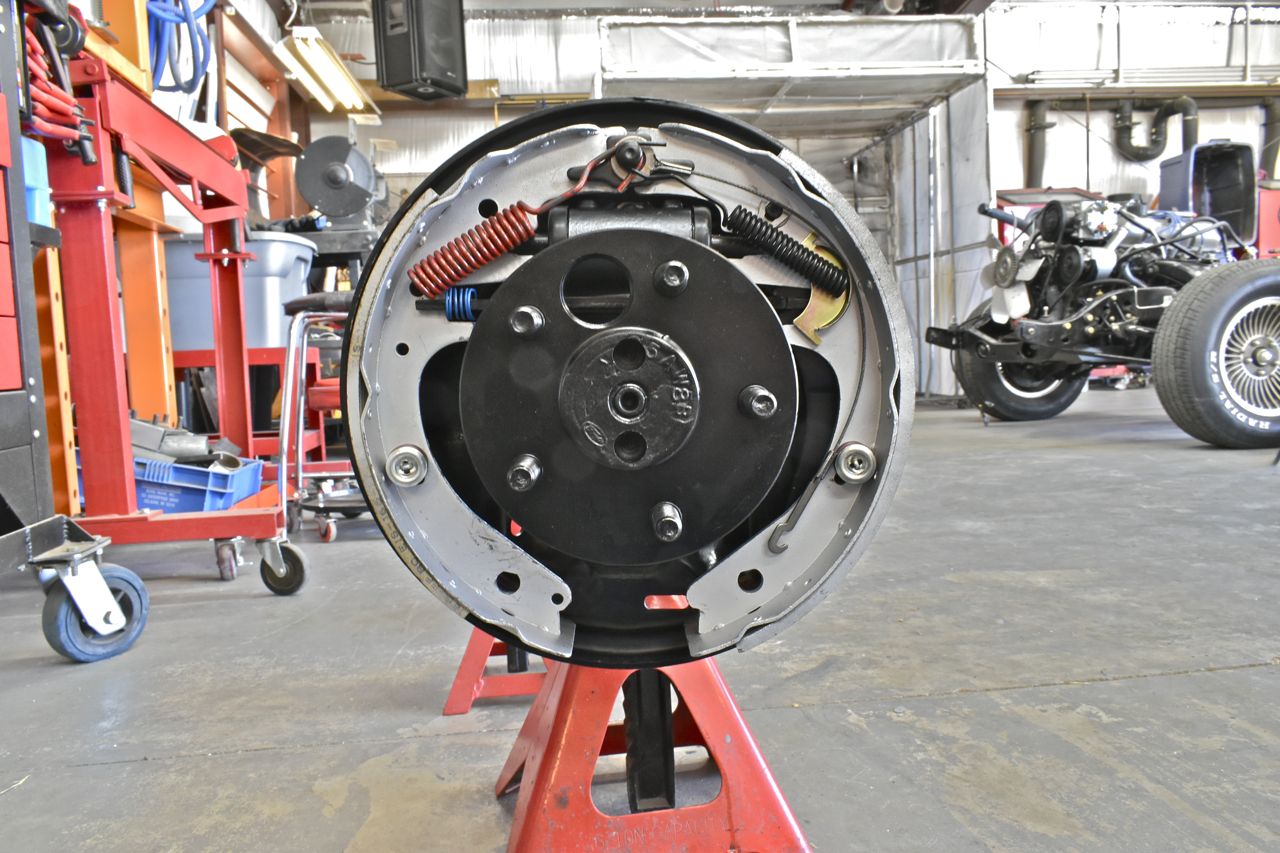
All that's left is to install the self adjuster.
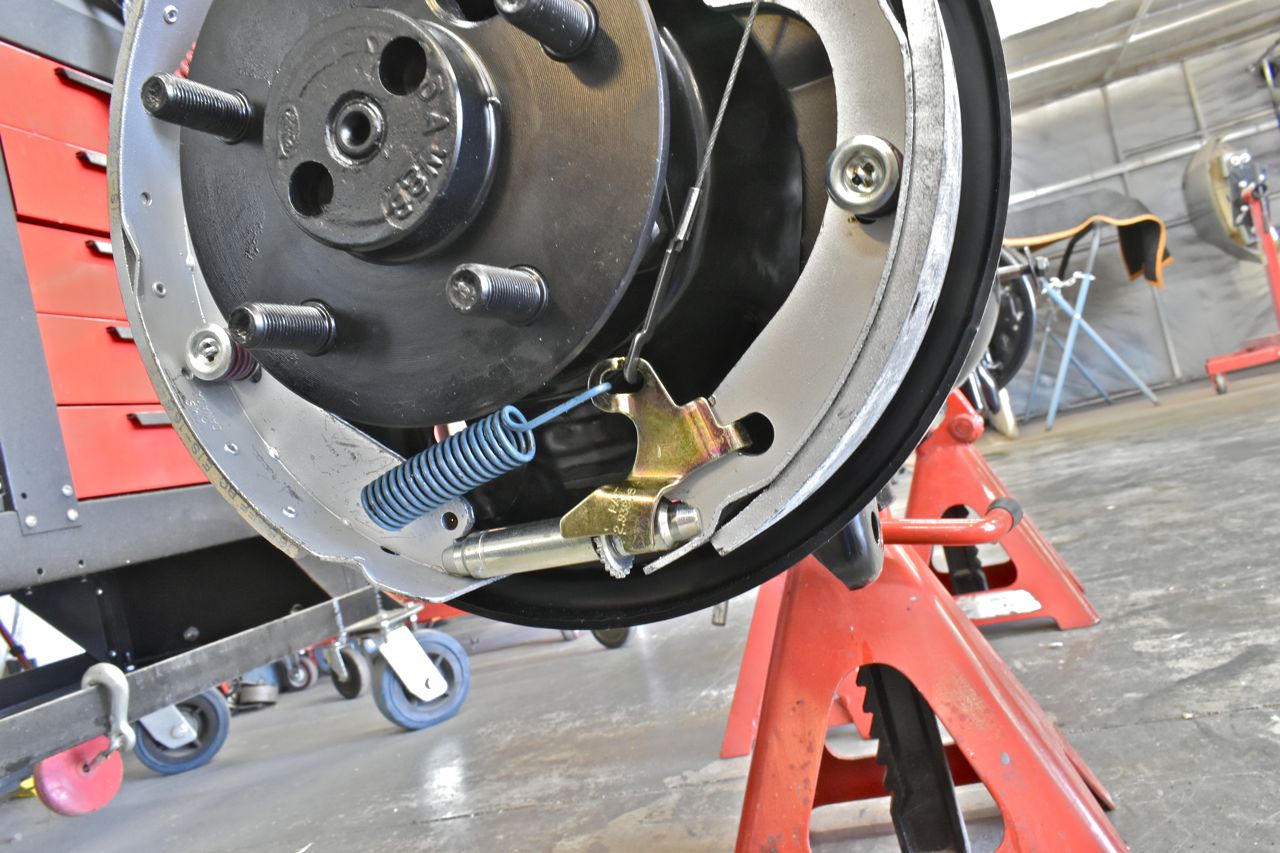
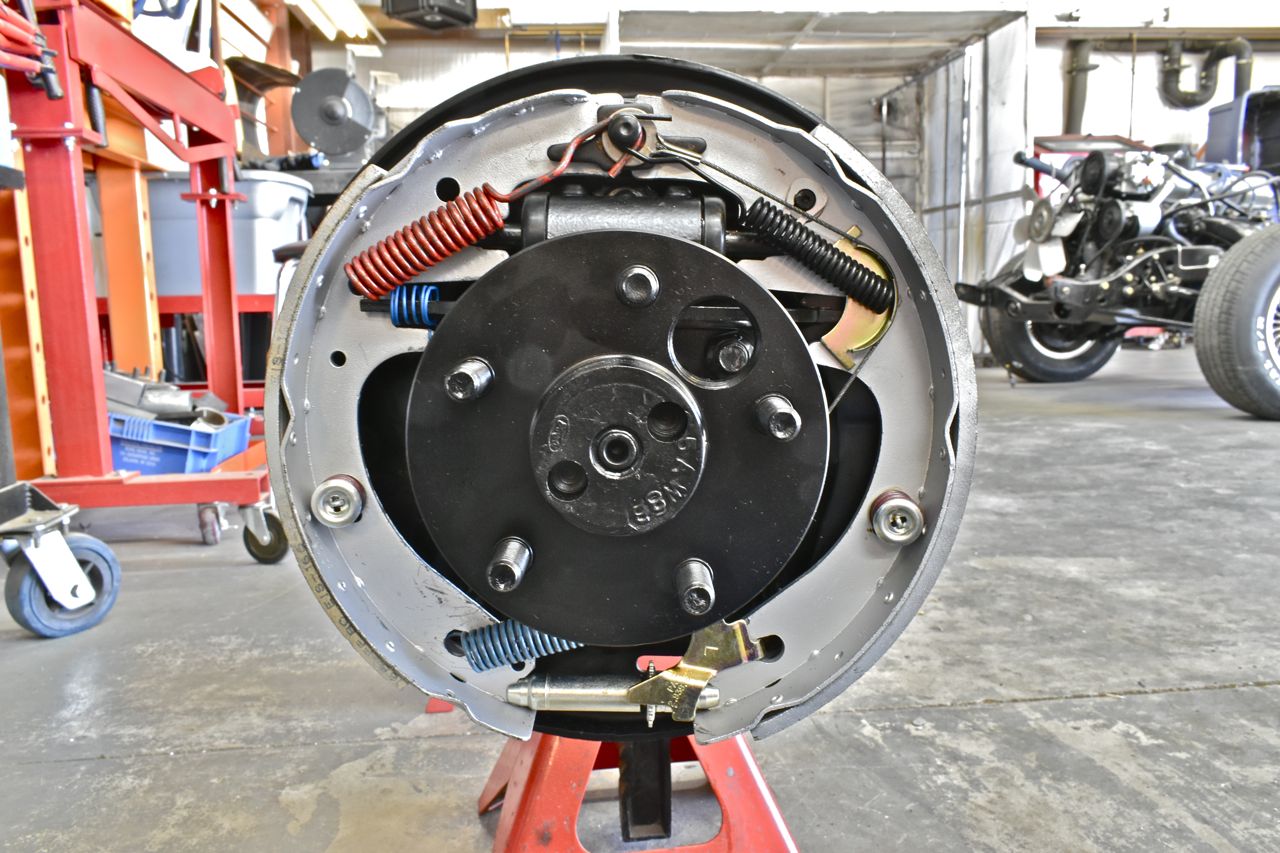
This side is done and everything looks good. The drum brakes look nice.
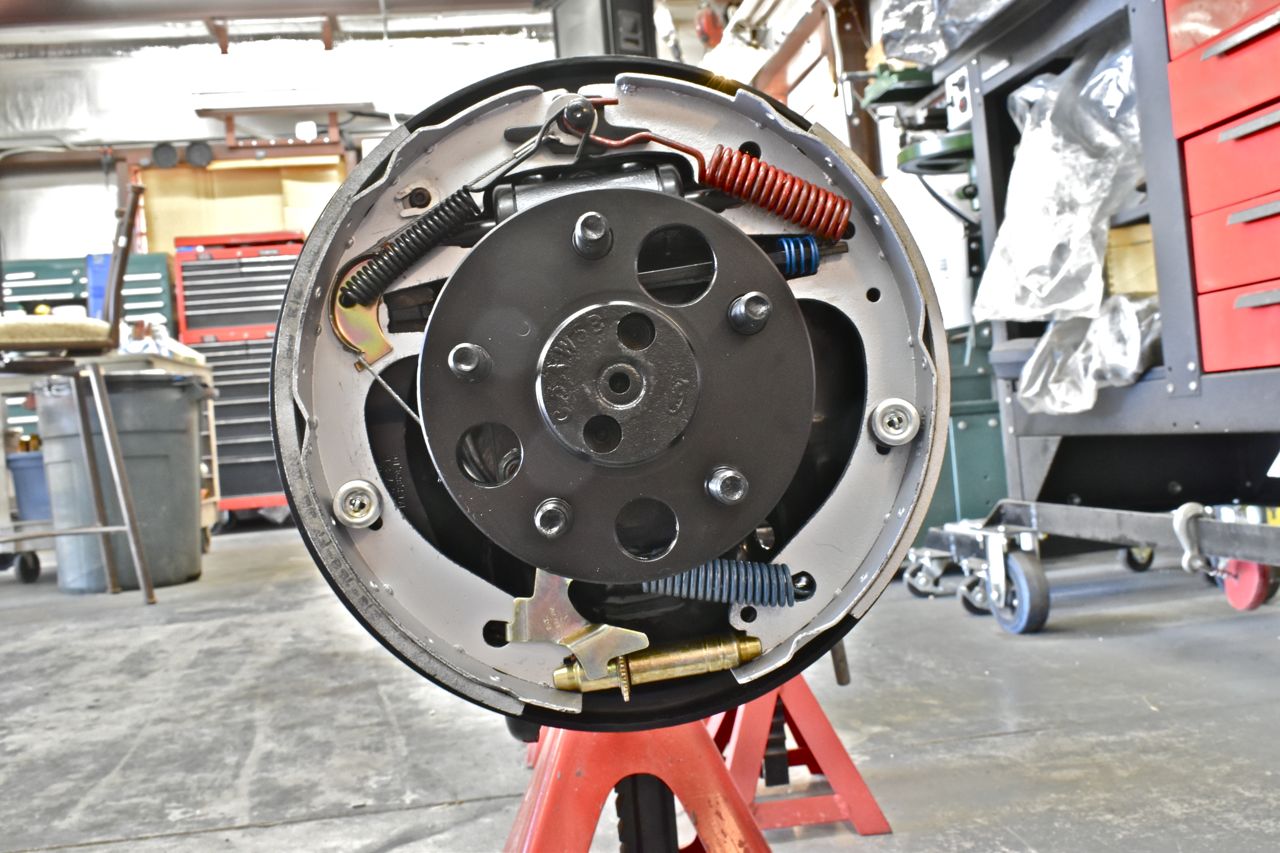
Rinse and repeat for this side.
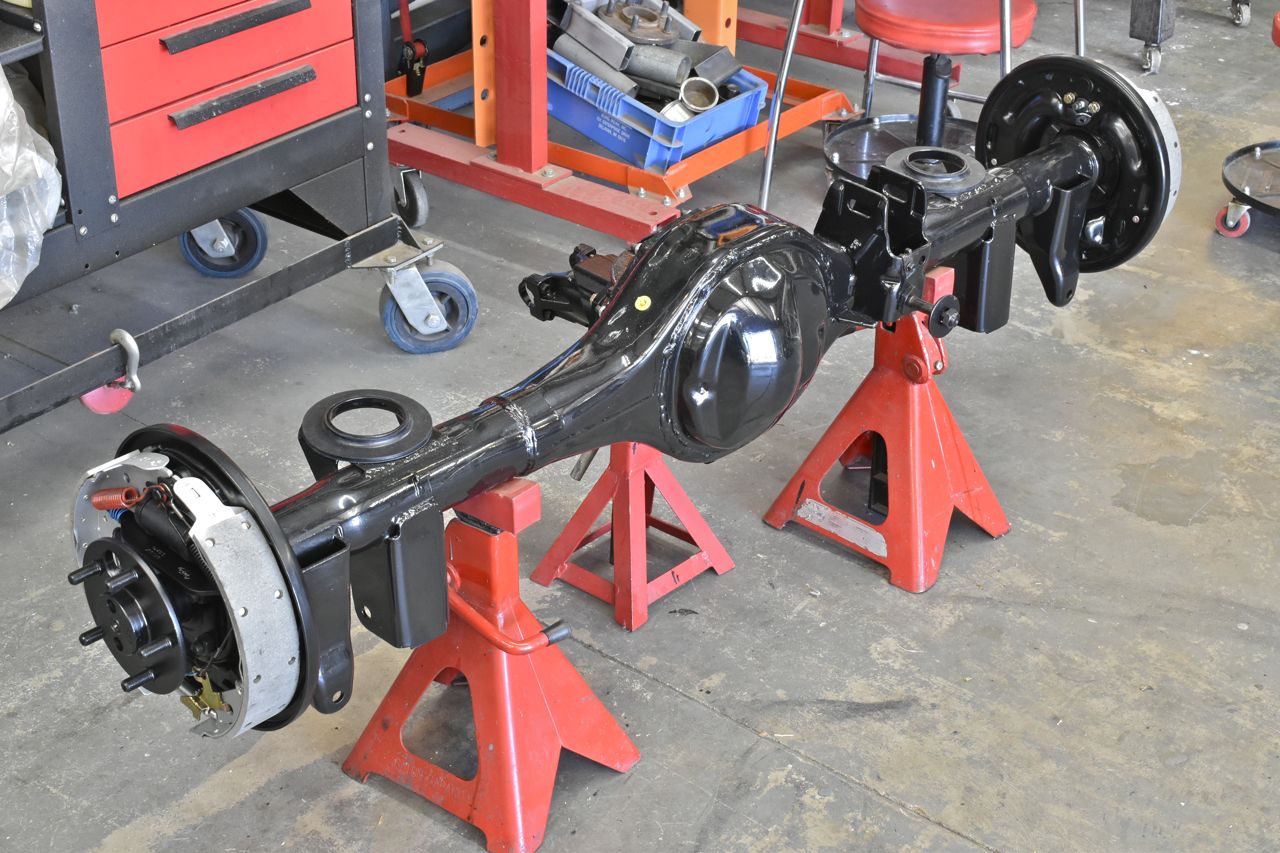
All that's left to do is install the vent line.
Click here to continue to part 72