1968 Ford XL Repairing Whilst Keeping It Roadworthy : 52 AC System
2023, November 14
1 - 2 - 3 - 4 - 5 - 6 - 7 - 8 - 9 - 10 - 11 - 12 - 13 - 14 - 15 - 16 - 17 - 18 - 19 - 20 - 21 - 22 - 23 - 24 - 25 - 26 - 27 - 28 - 29 - 30 - 31 - 32 - 33 - 34 - 35 - 36 - 37 - 38 - 39 - 40 - 41 - 42 - 43 - 44 - 45 - 46 - 47 - 48 - 49 - 50 - 51 - 52 - 53 - 54 - 55 - 56 - 57 - 58 - 59 - 60 - 61 - 62 - 63 - 64 - 65 - 66 - 67 - 68 - 69 - 70 - 71 - 72 - 73 - 74Practically Done, well with the engine anyway. (continued)
I didn't have another engine stand, since the Z390 was on that, an old tyre with no rim makes a really good temporary stand.

Thus starts the long tedious process of putting the rest back together.
I don't have a picture, but I bought a brand new ATP flexplate for this engine, and it turns out the crank pilot hole was made too large and even with the 6 crank bolts in it you could position this flexplate a good 0.030" in any quadrant. Good grief, can you say engine vibration.
More bad brand new parts. I ended up using the original Ford one as it located darn near perfectly.

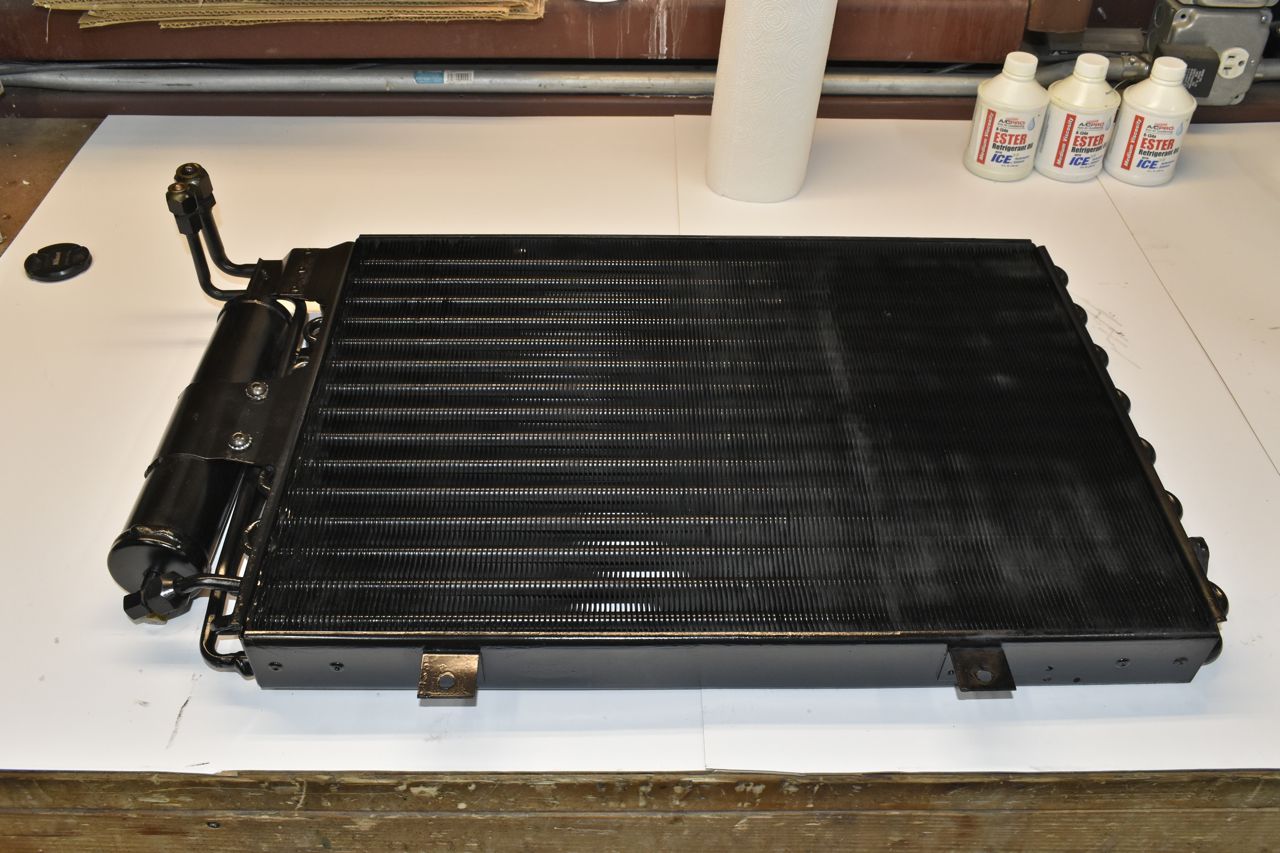
So onto the air conditioning system. As I mentioned earlier, the air con worked when I bought it, but sitting for a couple of months with the dunce cap on in the corner and it no longer worked and was just about empty on refrigerant. Well the drivers side lower corner of the condenser was loaded with baked on nasty oil.
So guess what I found...
(laughing manically) someone....... tried sealing the oil drain plug on the receiever drier with generic 2 part clear epoxy. Ummmmmmmmmmmmmmmmmmmmmmmmmmmmm that doesn't work against hot high pressure liquid. I'm almost at a loss for words, the words I can think of are not appropriate here.

Brand new receiever drier for 3rd generation full size. The desiccant is rate for R134a or R12.

It took me hours to scrub that baked on tar like oil off the condenser. I used acetone, brake clean, IPA and a propane torch to clean this thing. I did flush out both circuits internally with acetone and pressurized air till both circuits were clean.

For the best chance of success with old 45˚ flare vehicle refrigerant fittings use these copper 45˚ sealing washers in the joint. Then lightly coat the washer and threads with Nylog Blue.

The receiver drier from Old Air Products is built really nice. Tis expensive, but worth every penny and then some.

Still requires a bit of a wrestling match as the receiver is integrated between two lines in the condenser.


Brand new York 210 compressor. This one is for a Freightliner truck. (class 8, semi). These come with POE oil which is compatible with mineral oil should there be any left in the system.

I've said this before, but since I deem this important I'll say it again. Parts destined for class 8 trucks are originally designed for a life of 10 years 1 million miles. That's right 1 million miles. The York 210 debuted in 1958 and other than since adding two additional ports on the back is exactly the same as it was in 1958. Heck it still has Imperial-English bolts/threads as was never converted to SI Metric. If modern class 8 trucks specified this compressor for their builds you know this is one durable long lasting compressor, unlike the modern cheap disposable rubbish on newer cars (Sanden I'm looking at YOU).
I have to chuckle when I see posts of people buying the Sanden conversion kits to get rid of the York. I laugh because they are trading long term reliability for unreliability and paying more to do that. There's zero logic in that.
At this point enough was together to do cam break in. I had trouble with the ignition system and I'll get into that later and also the carburetor, but worked around that for the break in. All went well. I kept the engine close to 2500 RPM for 20 minutes, then changed the oil and filter. I found a really neat 1980's red LED digital tach/dwell meter on Fleece-Bay for a reasonable sum and bought it. It worked very well. It's hanging off the passenger side bonnet hinge.

I had 20 PSI oil pressure at hot idle and 50 PSI hot at 2500 RPM's. That's more than fine for this Z390.

Back to air con hoses and things. Since the 3rd gen full size use an expansion valve that has the 'X' fitting for the liquid line check valve, there's no replacement fittings for these and thus no way to replace that hose. So the work around is use the '67-'68 Mustang expansion valve that has flare fittings on both sides of the valve.

Even though the new compressor came with POE, I took apart the compressor, inspected and detailed it, so I just filled it up with Ester oil.

The Mustang expansion valve installed. Now the full size expansion valve also has the sight glass built in it and the Mustang one does not. So I need to add in a sight glass.

Here I have all the key fixtures and fittings on and getting ready to cut the hose to fit. You can see the sight glass I added at the condenser. If anything it's really easy to see in position.


I just buy barrier hose by the foot.

Test fitting the hoses before crimping.

The crimper I use.

And the upper body workout ensues.

Hoses done.

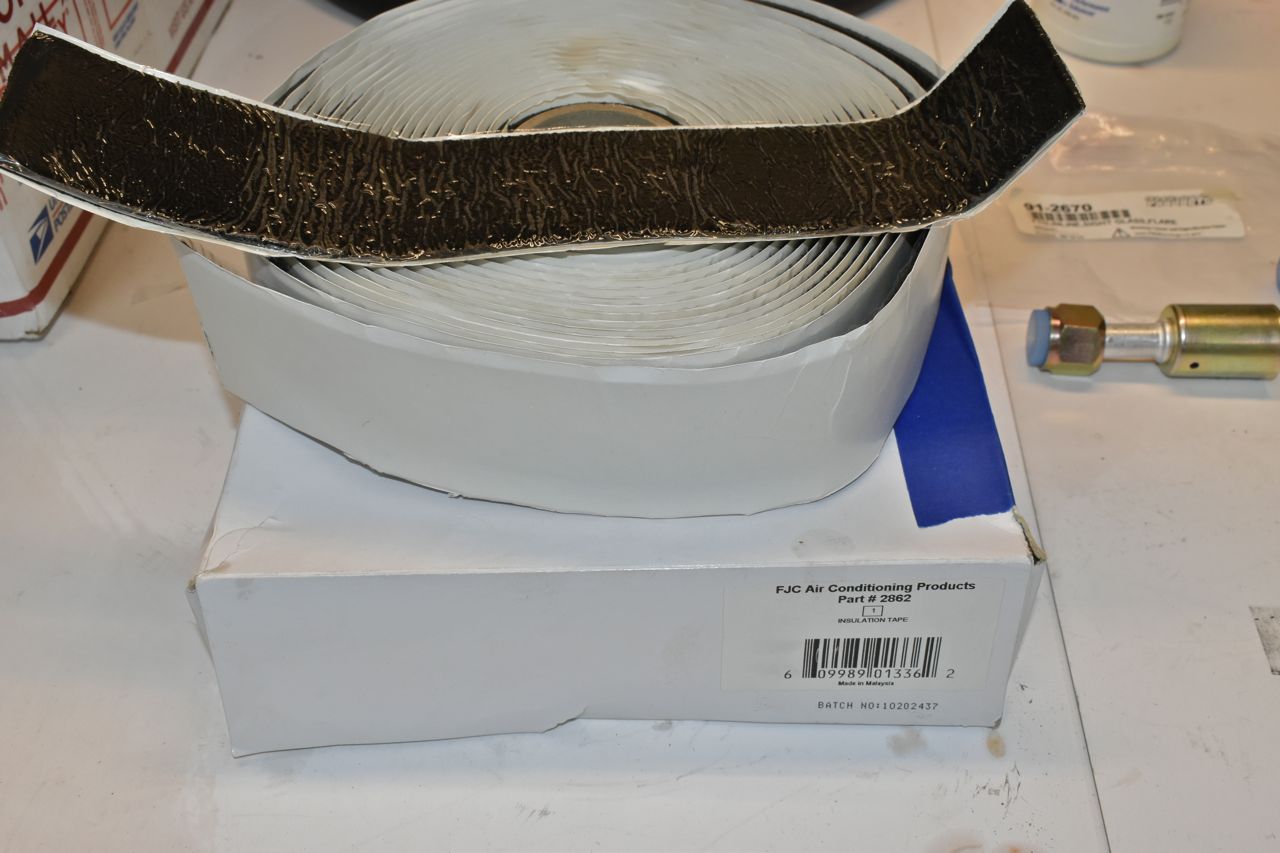
Now instead of using that nasty tar to insulate the sensing bulb on the expansion valve I use this specific tape for this purpose. It's not correct looking but it's more civilized than nasty sticky gooey tar.

I finished this Saturday night and pulled it in a vacuum. I left the gauges on over night and Sunday morning it was in the same level of vacuum. So no leaks. Gotta love those carbon-ceramic front seals of the Yorks and A6's.

So my hoses and fittings are all original, but I like to think it looks nicer than previous renditions. Here's the before picture again.

I do think the superheat in this expansion valve is set a bit higher than I'd like. I only get 40 degrees out of the vents at idle. I got 37 out of the green '66 LTD's vents. But I can live with that. I used the formula for R134a conversions of: R134a(oz) = R12 (oz) x 0.9 - 0.25. As I was charging with the system on I got to about 90% of calculated value and the sight glass cleared so it seems pretty accurate in this instance.
Click here to continue to part 53