1968 Ford XL Repairing Whilst Keeping It Roadworthy : 68 Large Bearing Ford 9-inch Overhaul - Pinion Completed
2023, November 14
1 - 2 - 3 - 4 - 5 - 6 - 7 - 8 - 9 - 10 - 11 - 12 - 13 - 14 - 15 - 16 - 17 - 18 - 19 - 20 - 21 - 22 - 23 - 24 - 25 - 26 - 27 - 28 - 29 - 30 - 31 - 32 - 33 - 34 - 35 - 36 - 37 - 38 - 39 - 40 - 41 - 42 - 43 - 44 - 45 - 46 - 47 - 48 - 49 - 50 - 51 - 52 - 53 - 54 - 55 - 56 - 57 - 58 - 59 - 60 - 61 - 62 - 63 - 64 - 65 - 66 - 67 - 68 - 69 - 70 - 71 - 72 - 73 - 74
I use anti-seize on the splines and lubed the seal and mating area.

I use the old pinion nut to draw down the yoke lightly.
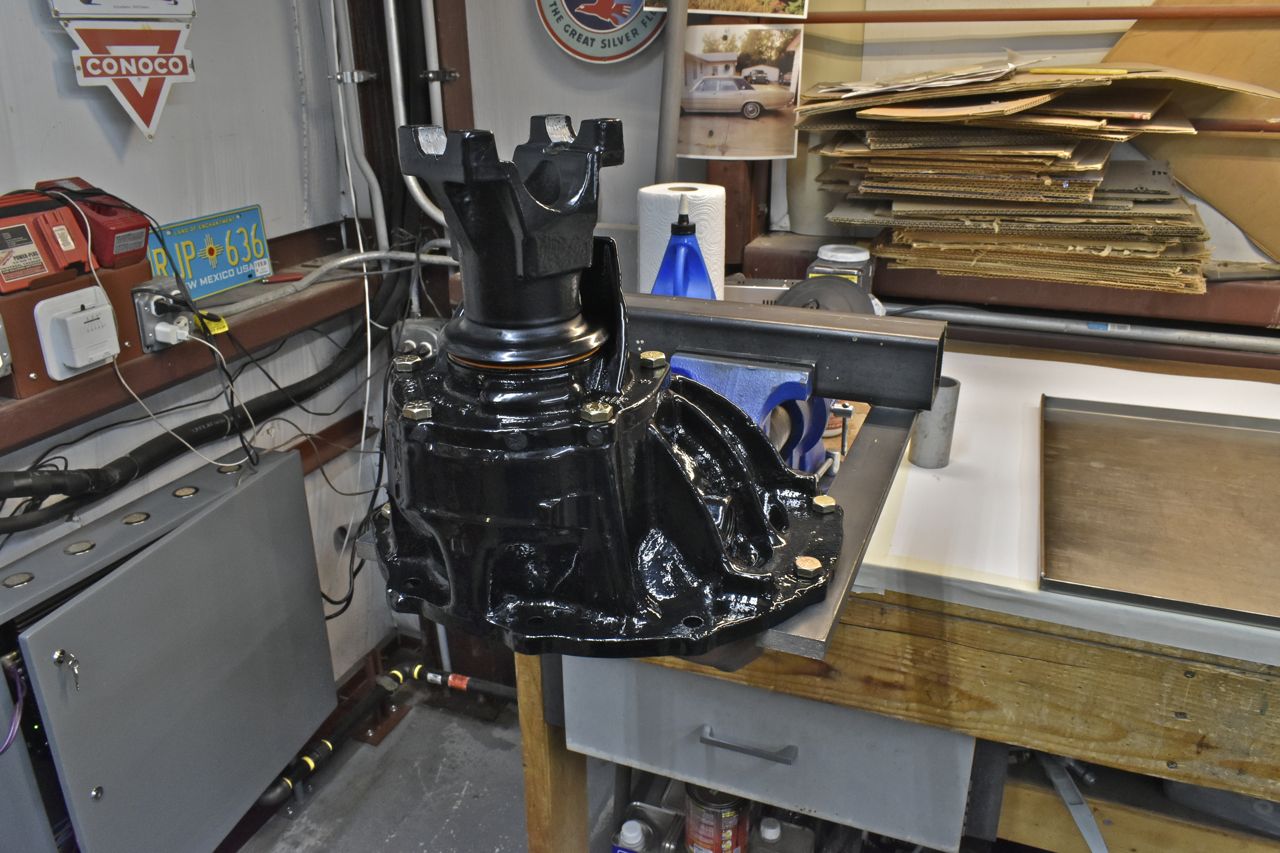
The pinion support gets bolted into the third member to hold it as a fixture.
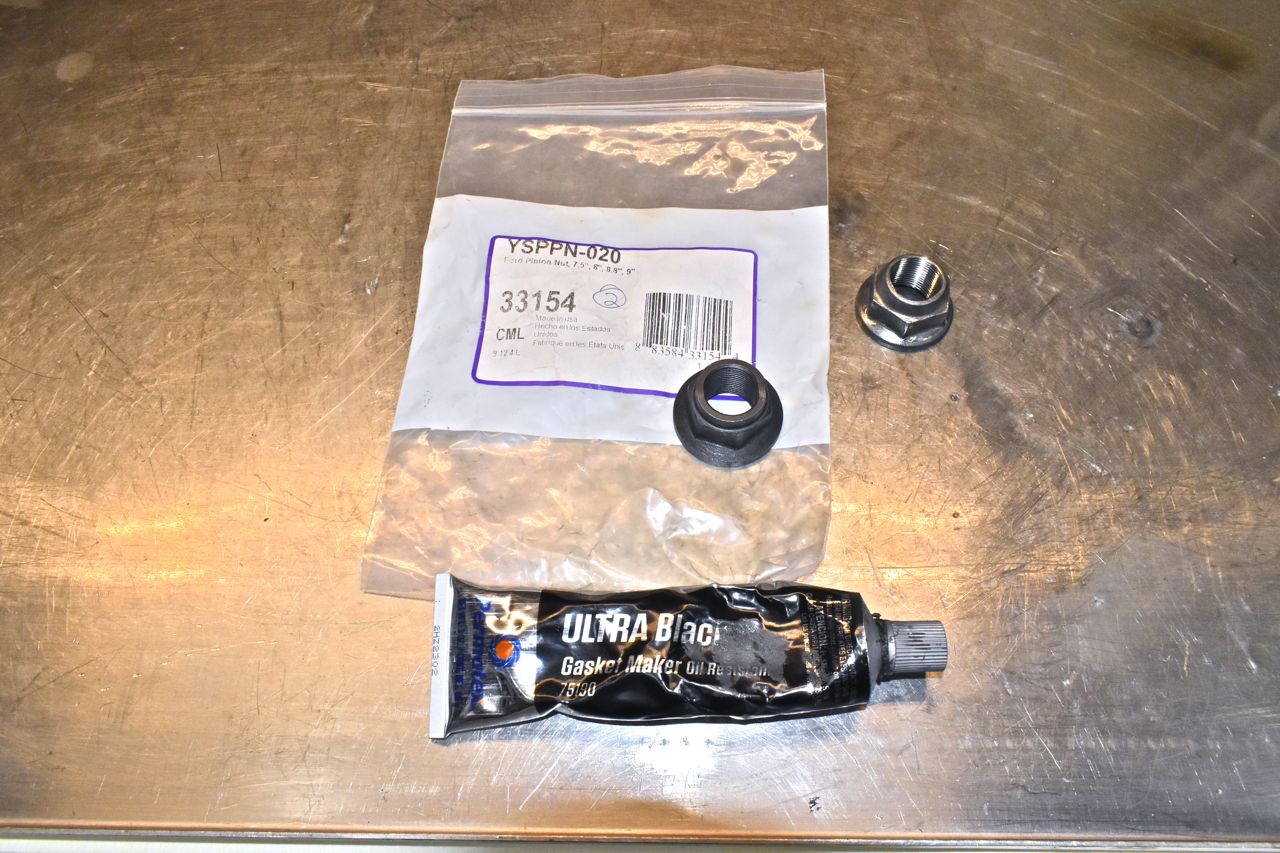
At this point I remove the old nut and use a new pinion nut and give the nut a light smear of Ultra Black RTV around the nut threads and the flange to keep the gear oil from seeping out the threads.

The initial minimum torque for the pinion nut is 175 ft lbs. The pinion preload is checked by measuring the break-a-way torque of the pinion. If the pinion preload is too low, the pinion nut is tightened in small increments until preload is in specification.

I made a yoke holder out of pipe and flat stock.

The initial torque of 175 ft lbs was reached. Then the preload the checked.

Preload check with the small torque wrench.
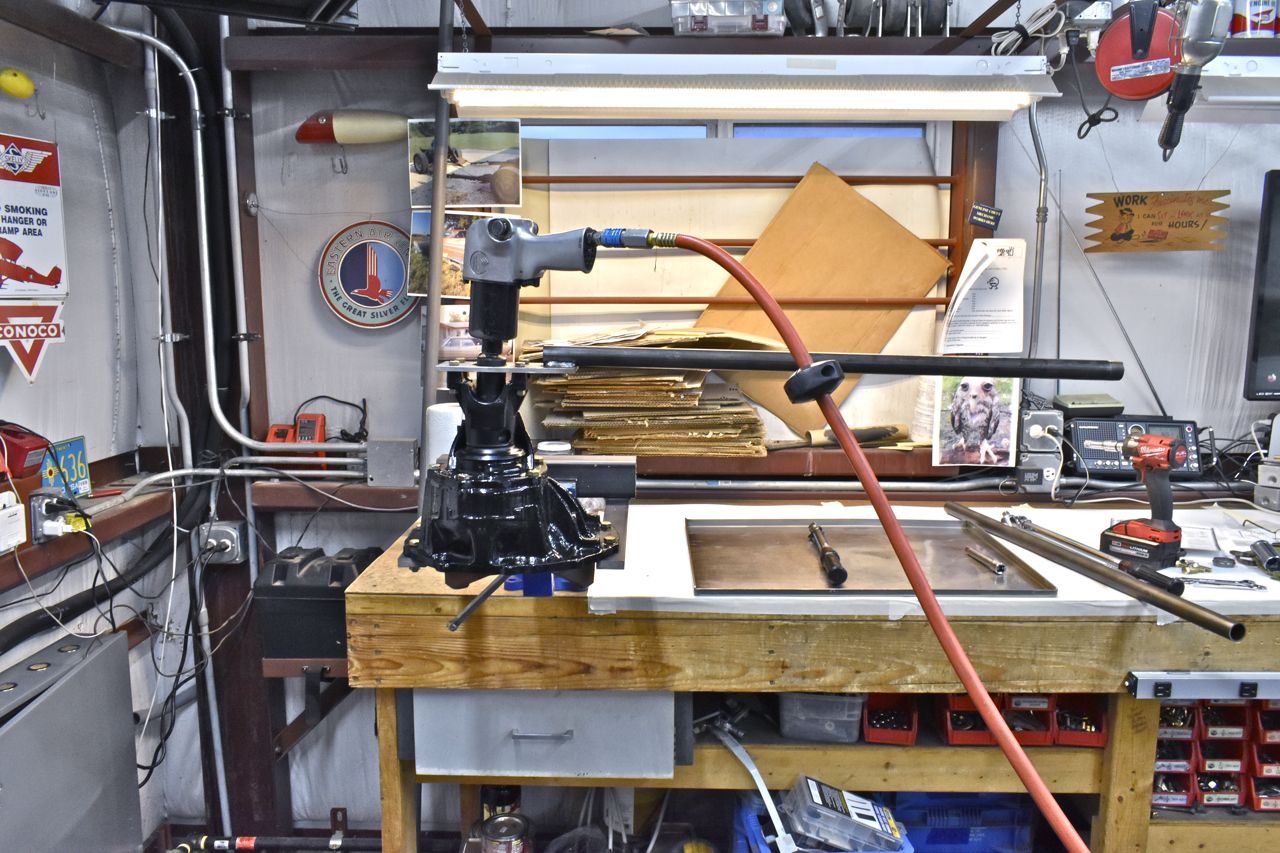
I cheated and used the impact to slow turn the pinion nut until I had the proper preload on the pinion bearings.
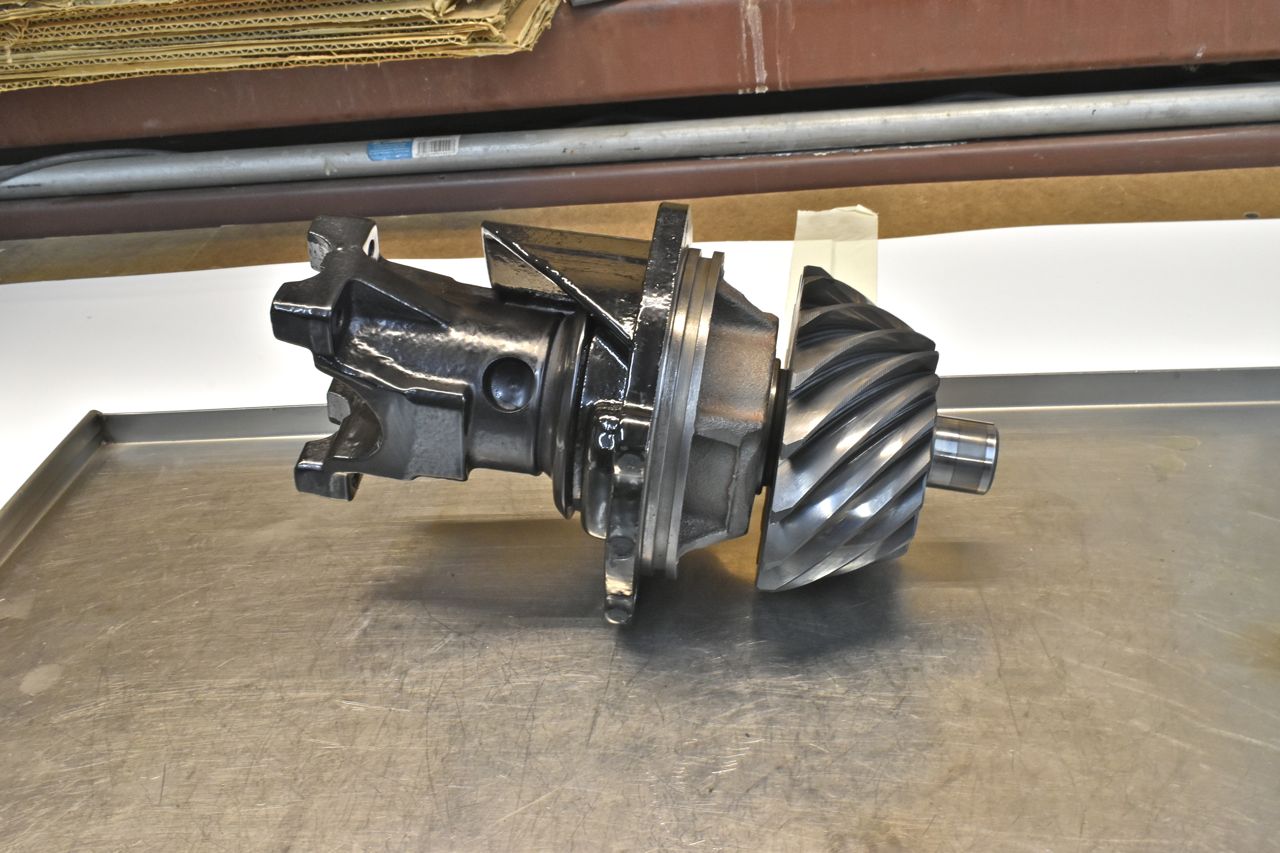
The pinion portion is completed.

Next is to install the pilot bearing and retainer.

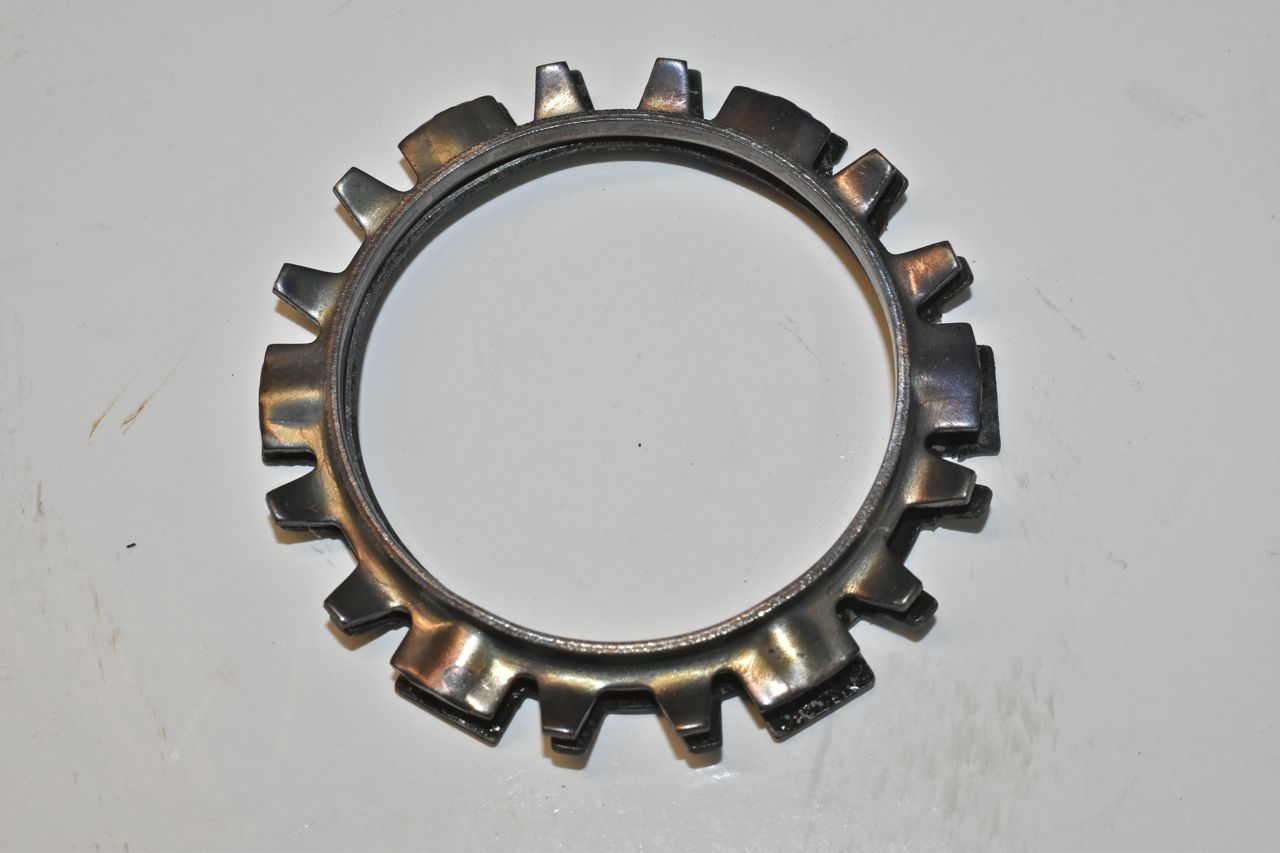
However the new retainer is just too darn big.
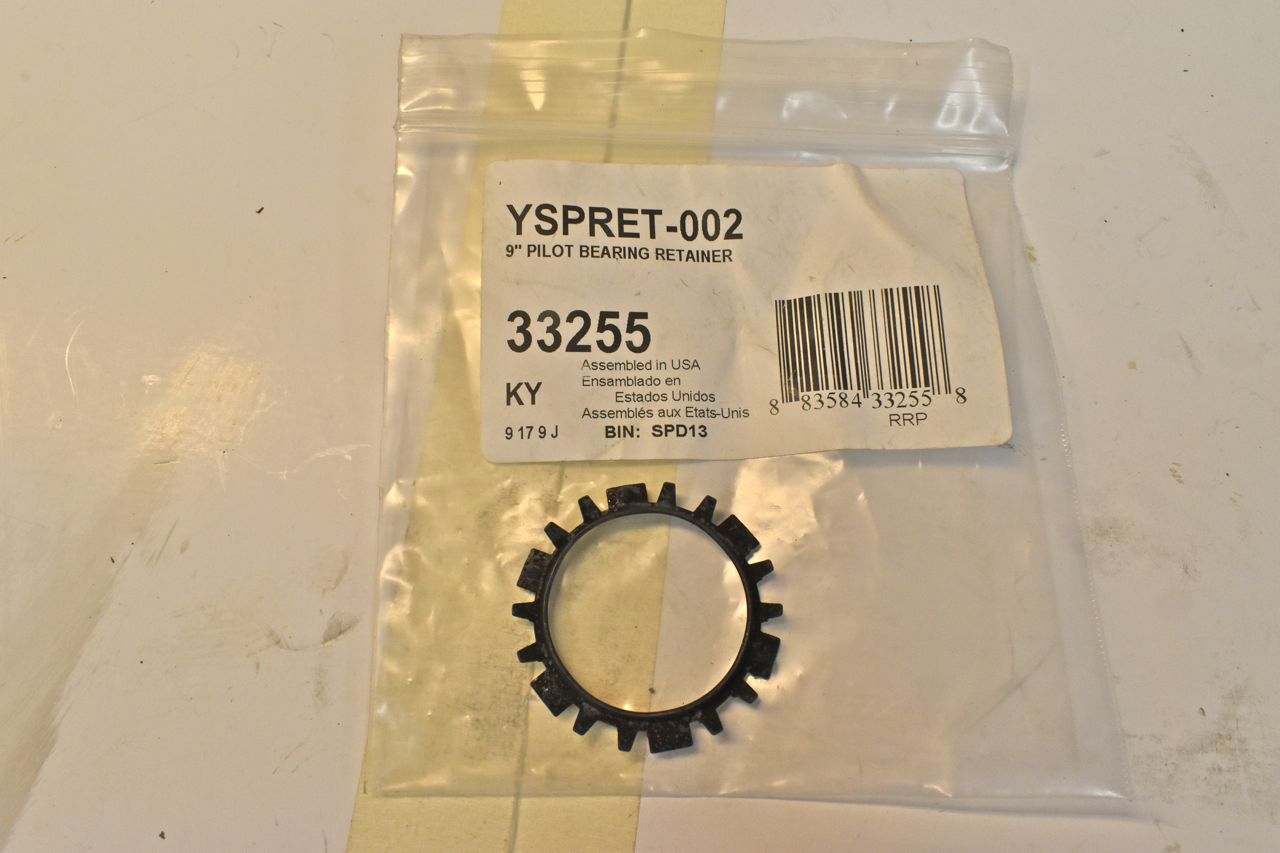
So the new bearing retainer will not work and I ended up using the old one. Another example of bad new parts.

Installed the old retainer.


Ready for the pinion support to be installed.
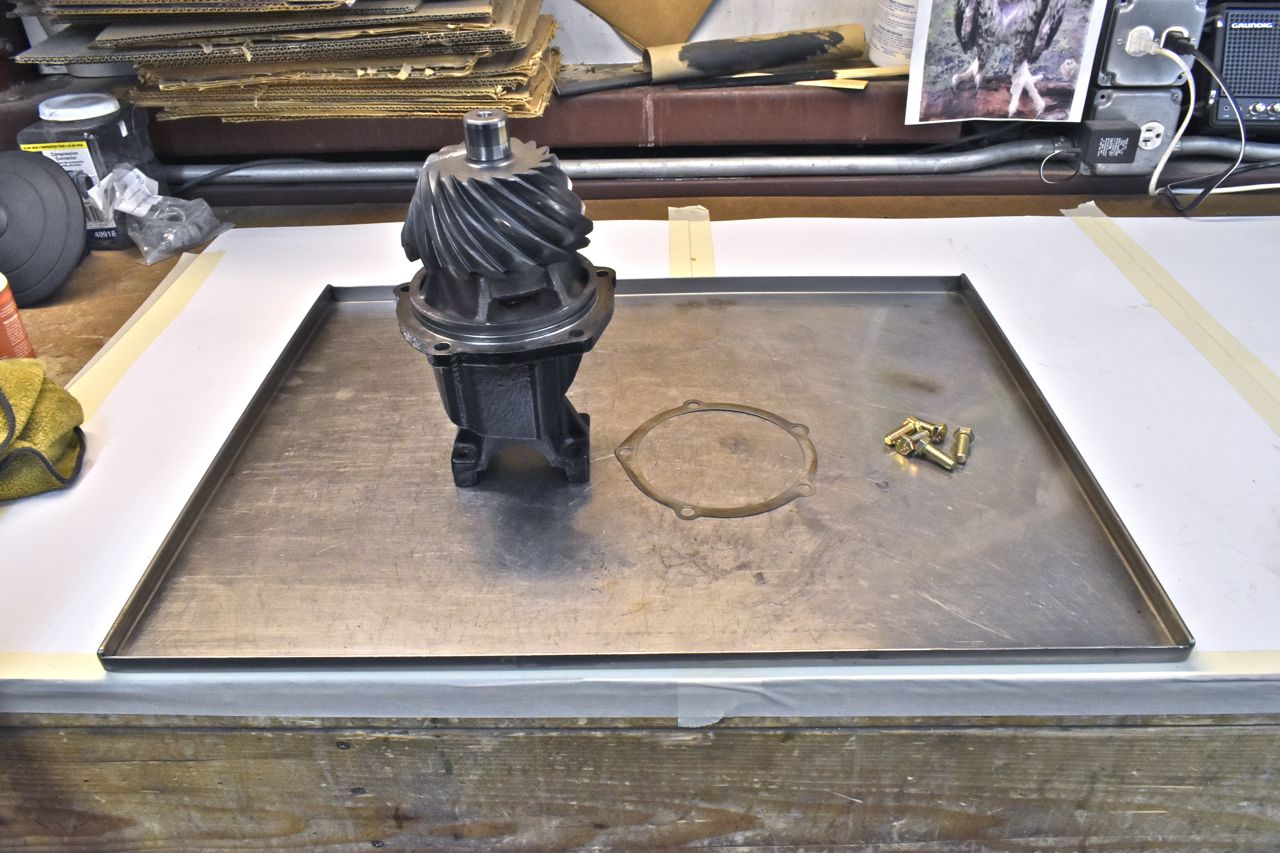
I will use the old shim to start with when reinstalling this.


Next up, installing the carrier assembly.
Click here to continue to part 69