1968 Ford XL Repairing Whilst Keeping It Roadworthy : 44 FE Engine Shortblock - Crankshaft
2023, November 14
1 - 2 - 3 - 4 - 5 - 6 - 7 - 8 - 9 - 10 - 11 - 12 - 13 - 14 - 15 - 16 - 17 - 18 - 19 - 20 - 21 - 22 - 23 - 24 - 25 - 26 - 27 - 28 - 29 - 30 - 31 - 32 - 33 - 34 - 35 - 36 - 37 - 38 - 39 - 40 - 41 - 42 - 43 - 44 - 45 - 46 - 47 - 48 - 49 - 50 - 51 - 52 - 53 - 54 - 55 - 56 - 57 - 58 - 59 - 60 - 61 - 62 - 63 - 64 - 65 - 66 - 67 - 68 - 69 - 70 - 71 - 72 - 73 - 74Short Block Assembly Continued
I broke all the high tech tools for this.
You can use a flat shoelace as well, but I just cut the hem out of towel and used that and then a terry cloth. I used 600, 1500 and then some metal polish. Now this is overkill, but I'm playing devils advocate polishing at home. Since there is scoring on the crank, there is a possibility that as the valley was carved in the cranked it also pushed up a ridge. All I want to use is to remove any obtrusive high spots and bring a more uniform finish and remove any lateral scratches if possible by removing the least amount of metal from the crankshaft. Light concentric grooves are ok.
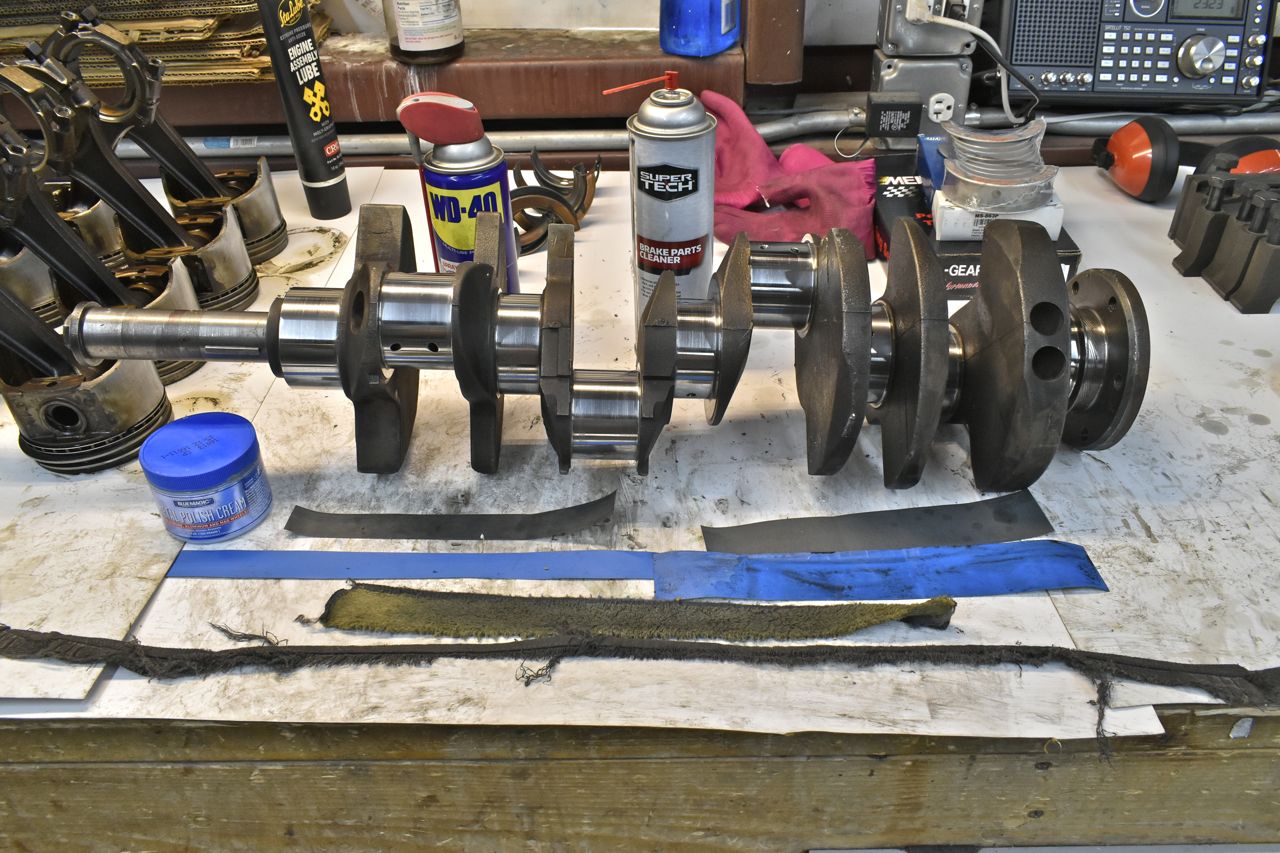
I've included the Clevite crank polishing guidelines for those who like to read more in depth details. Clevite only requires a minimum of 15 micro inches of Ra for regular engines and 10 for more high output engines.
Click here to download the Clevite Crank Grind Polish PDF
A rough conversion to sand paper grit:

So really a minimum of 240 grit wet sanded journals are needed. However that's pretty aggressive and I would prefer to remove the least amount of metal. I chose the 600 to start with then 1500 then metal polish. Why polish? I like shiny things, no other reason
I used WD40 as the lube for wet sanding the journals and brake cleaner to clean the sand paper periodically.
For what this is, it turned out half way decent.
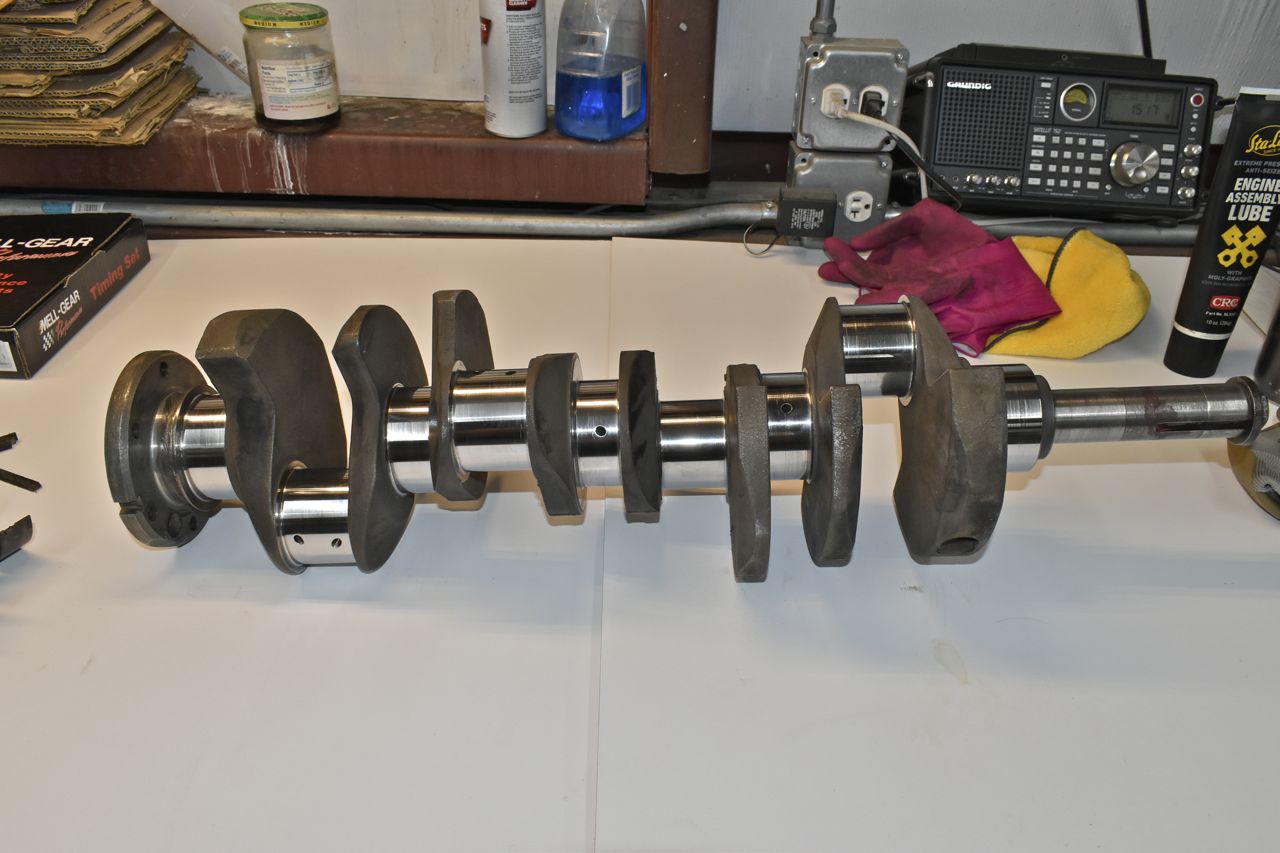
New bearings as the old ones were just hammered from detonation and so were the pistons for that fact.

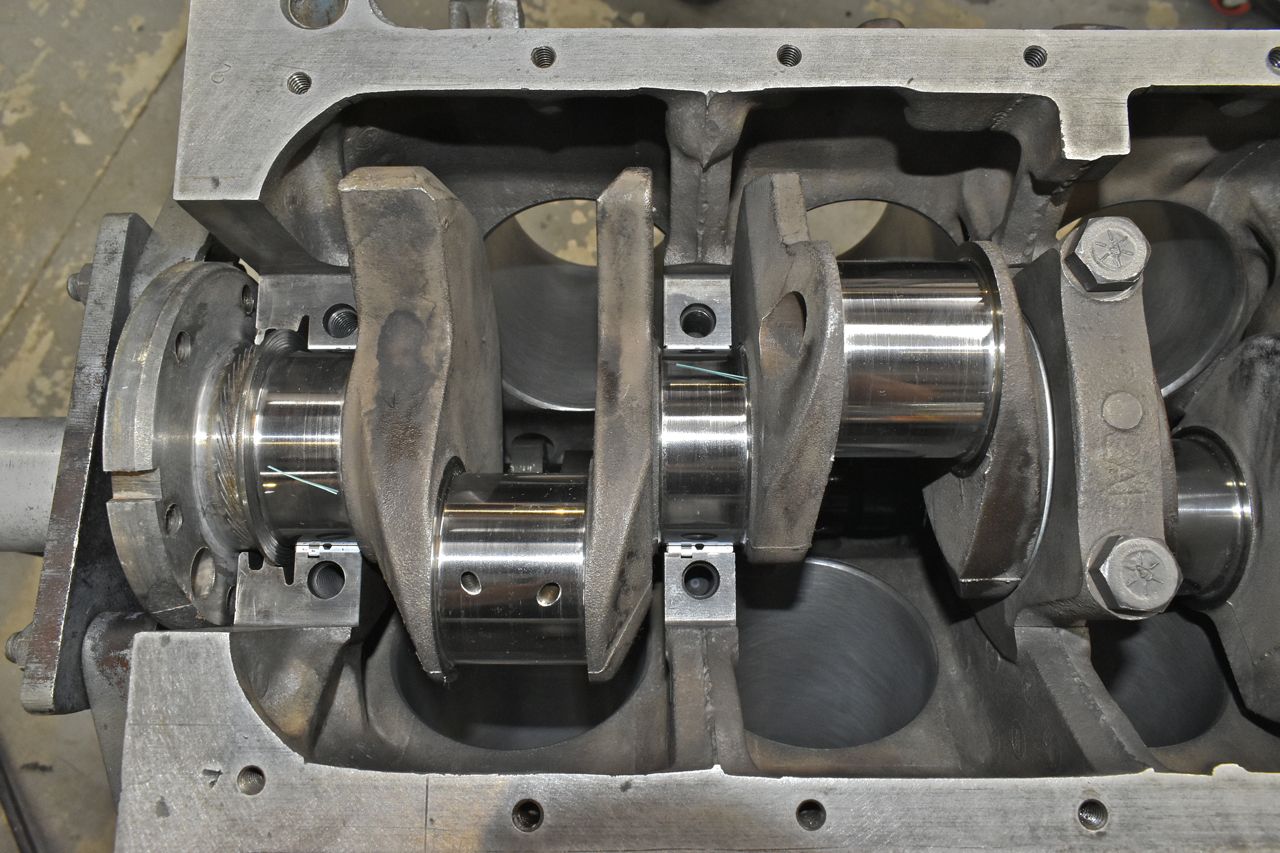
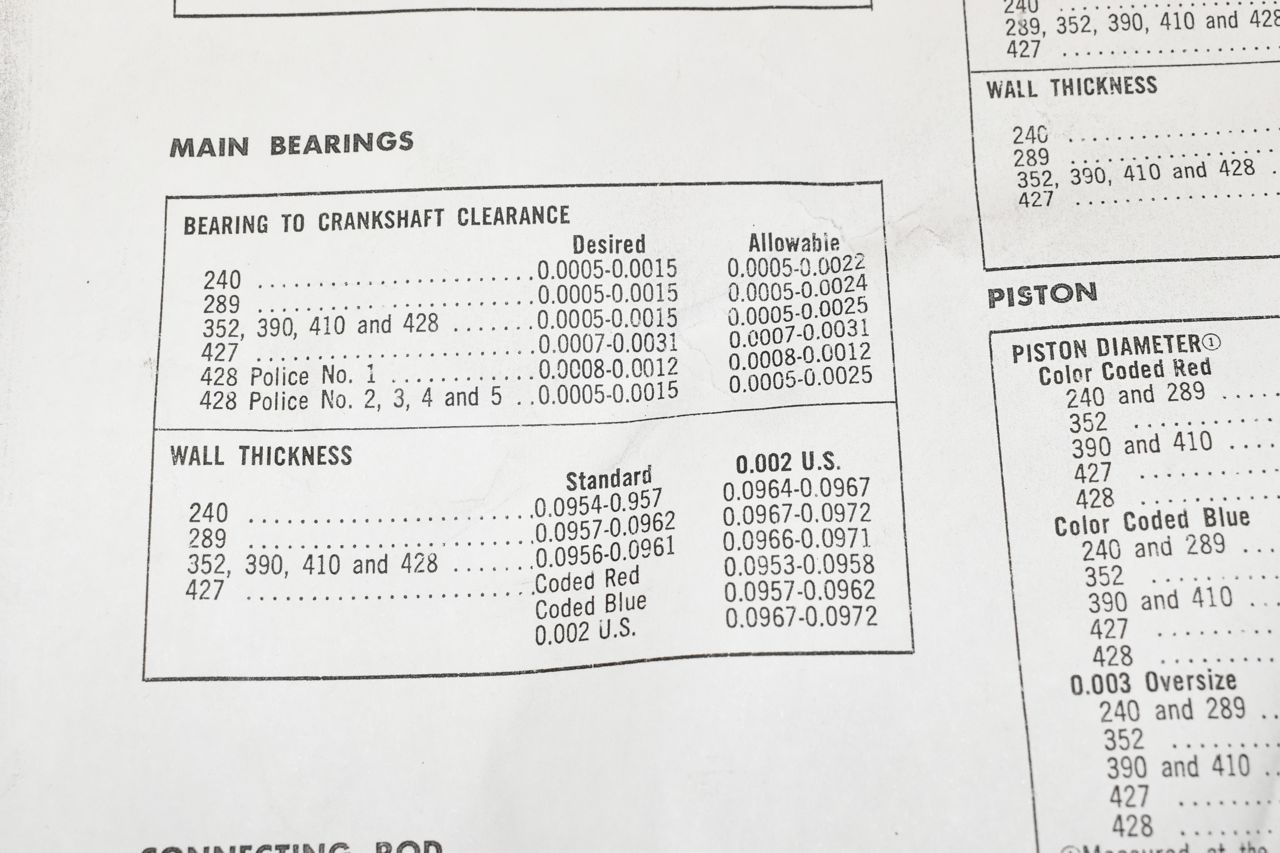
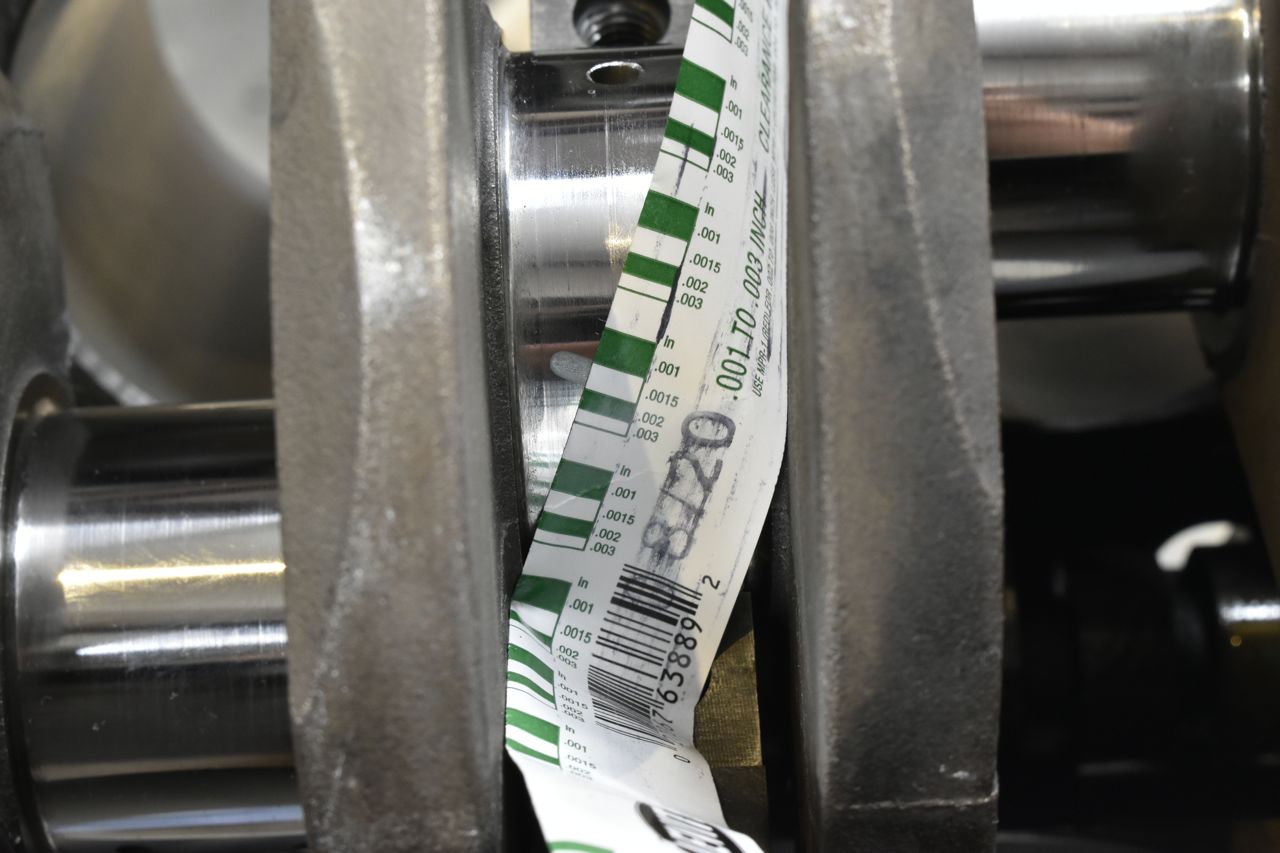
The usual plastigauge test.
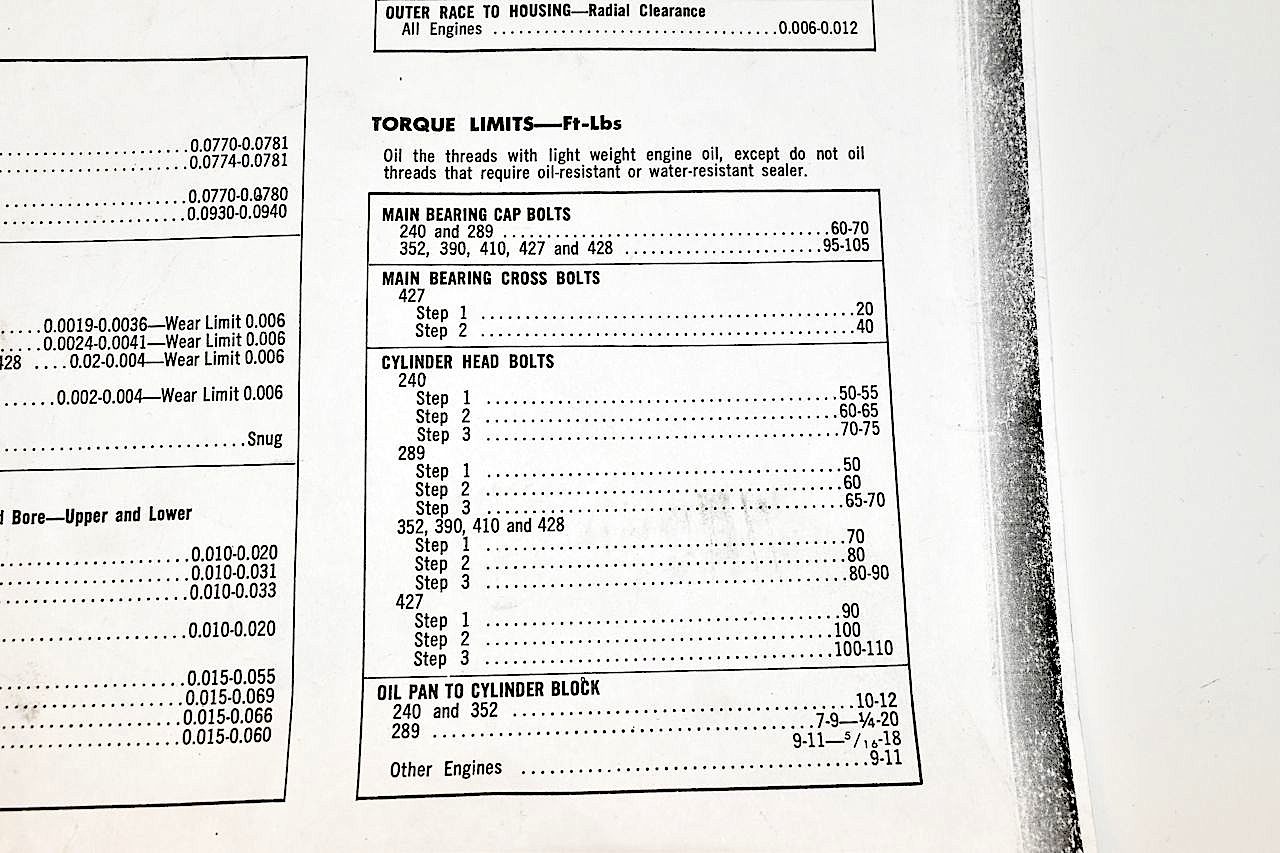
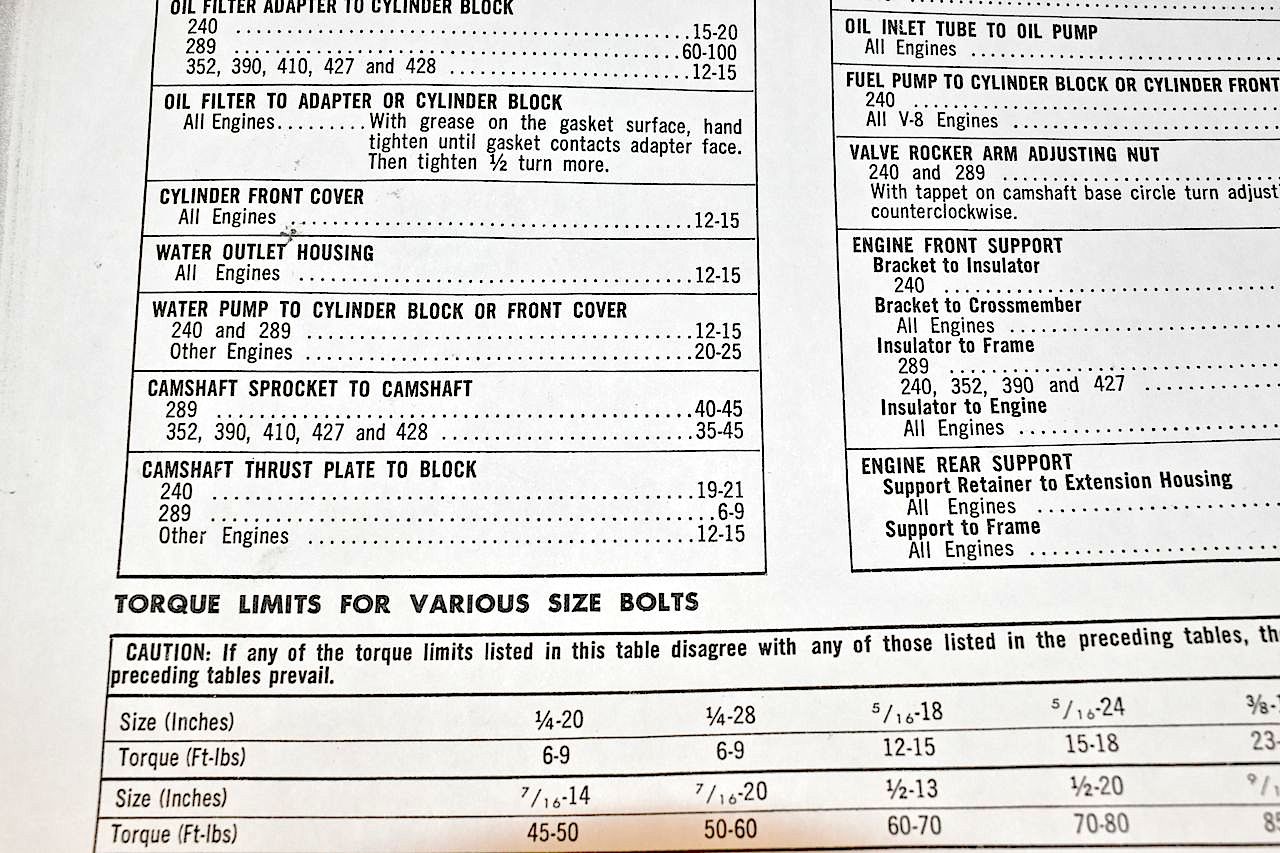
I copy the service manual for easy access to torque data and if I get it dirty I just toss it.
Mains clearance.
This and the next picture are the extrema of measurements of the mains.
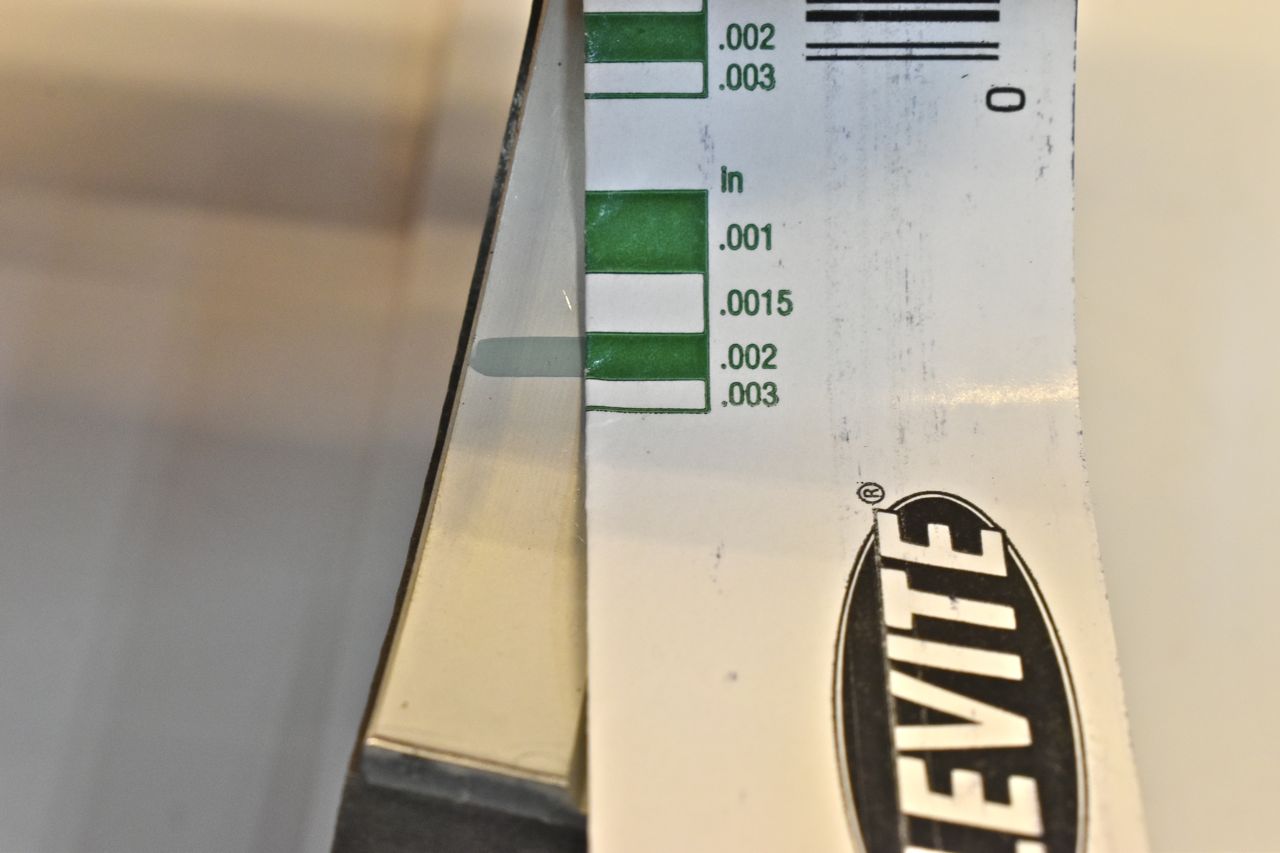
They are all in tolerance.
Aftermarket headache part 2.
I've used these Fel Pro FE rear main kits before and never had a problem. Well till now.
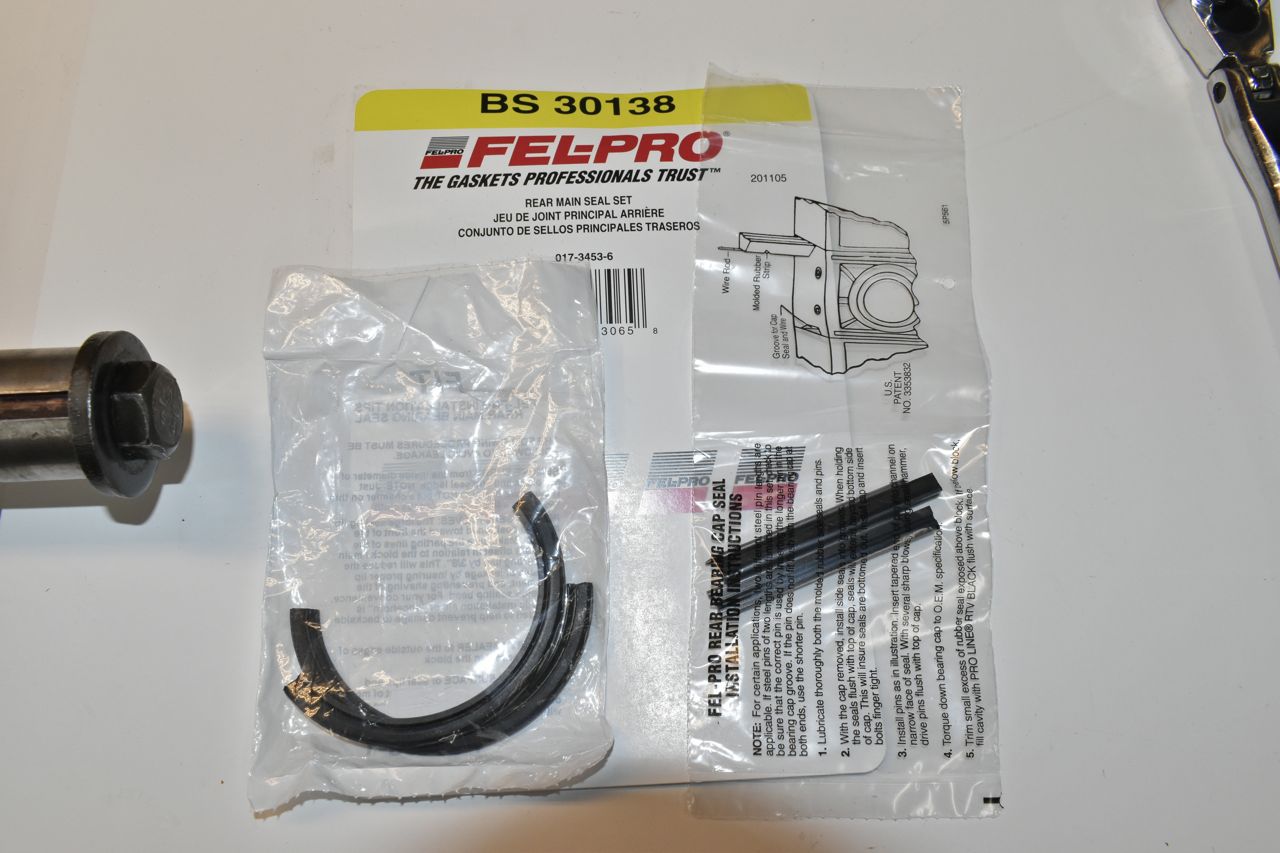
The old seals were rope and fiber side seals.
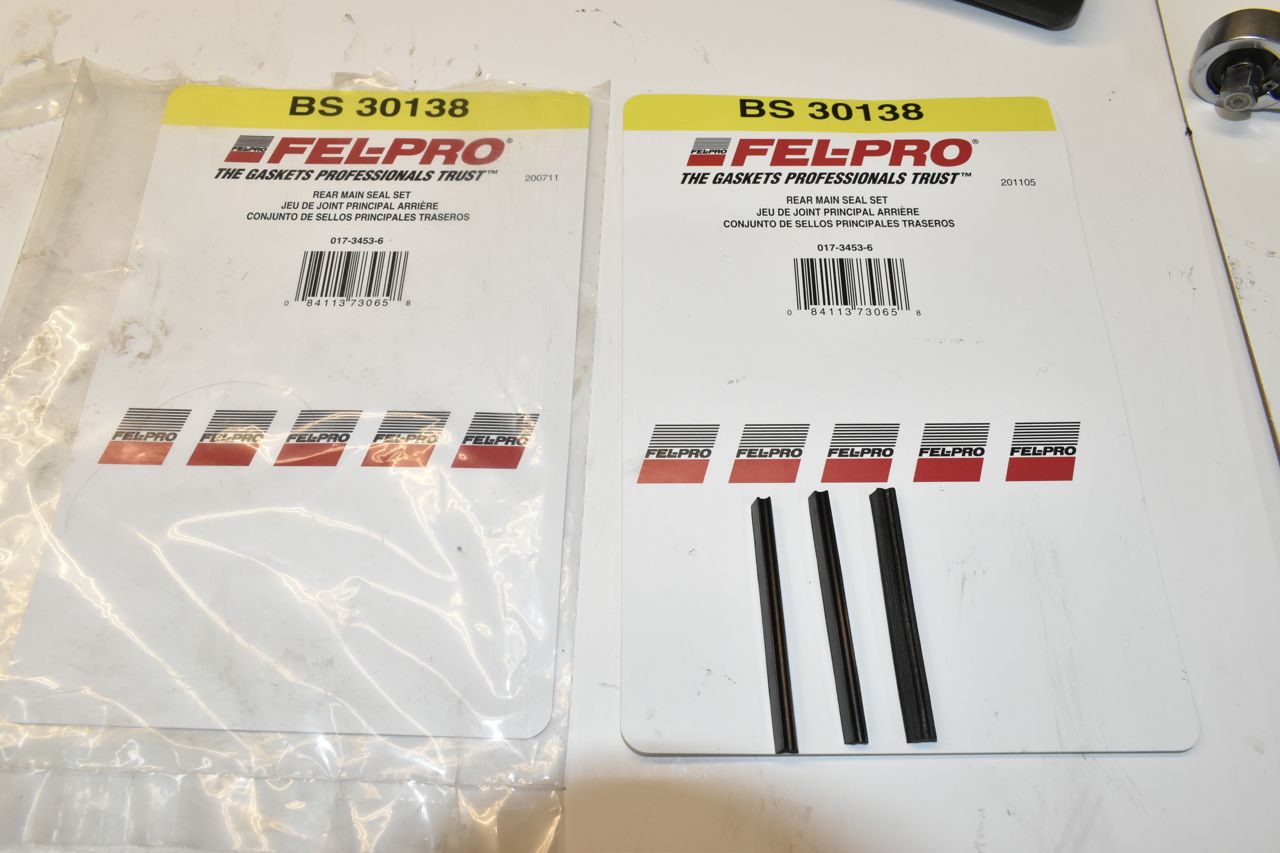
Now the Fel Pro kit crank rubber seals were correct, but I couldn't get the side seals in to save my life. This drove me nuts, it's like the side seals were 20% too big. Ever have one of those moments where you beat yourself up thinking what on earth am I doing wrong?!?!?
I even pulled out another bare block Y390 with the rear main cap and looked thinking maybe this Z390 is different for some insane reason, but no, it's not. The Fel Pro kit is.
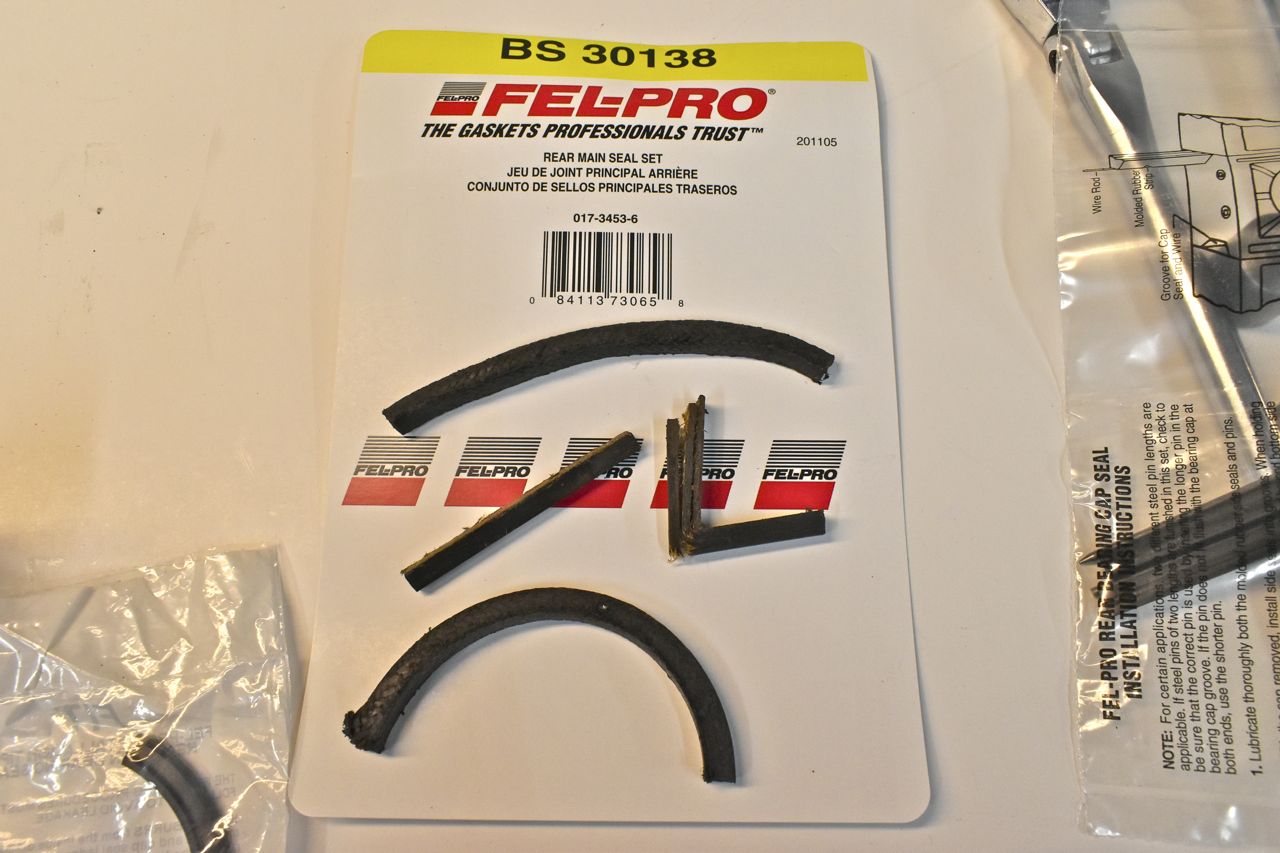
I get another identical kit and looky looky the side seals are about 20% smaller and correct. I just about lost my mind on this one.
I think BS prefix stands for Bull Shit.
2 hours later.
Spins nice and smooth.
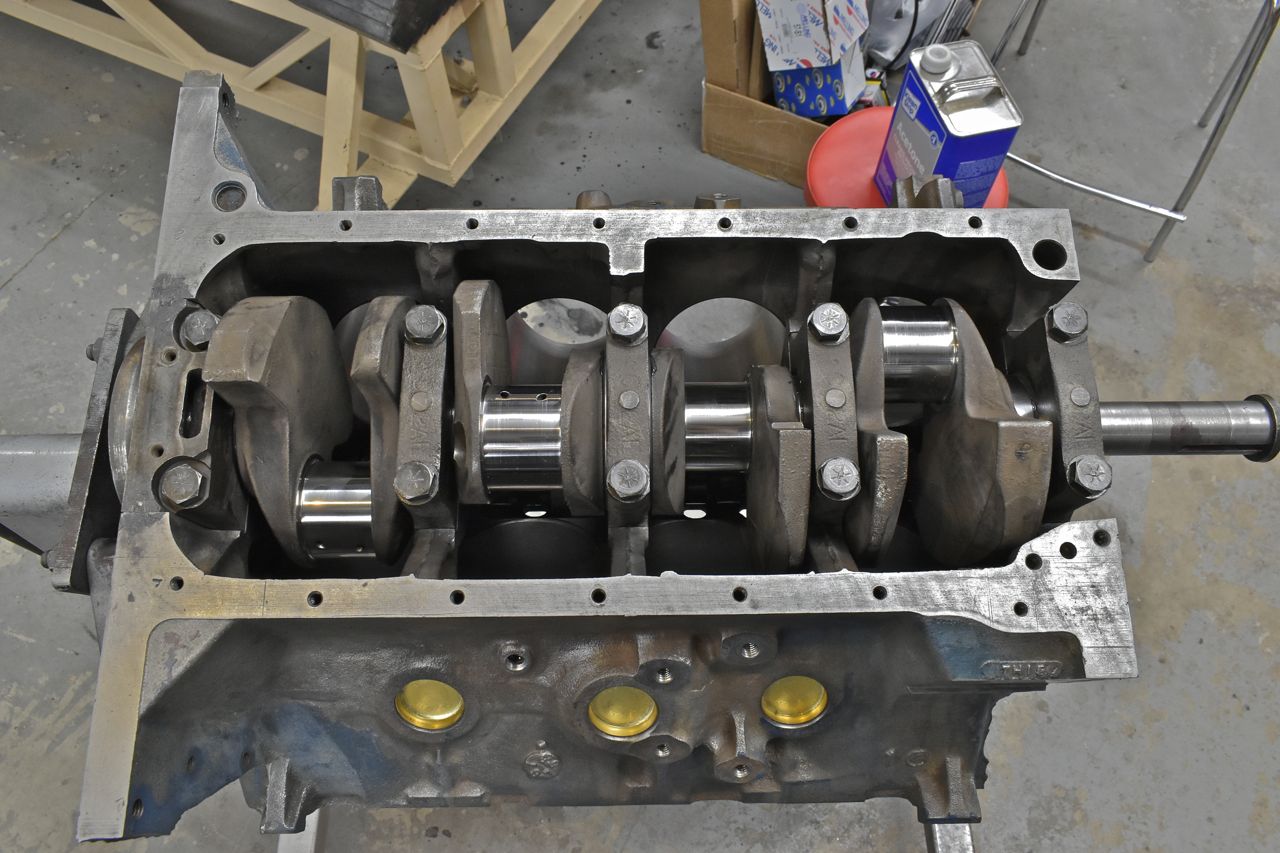
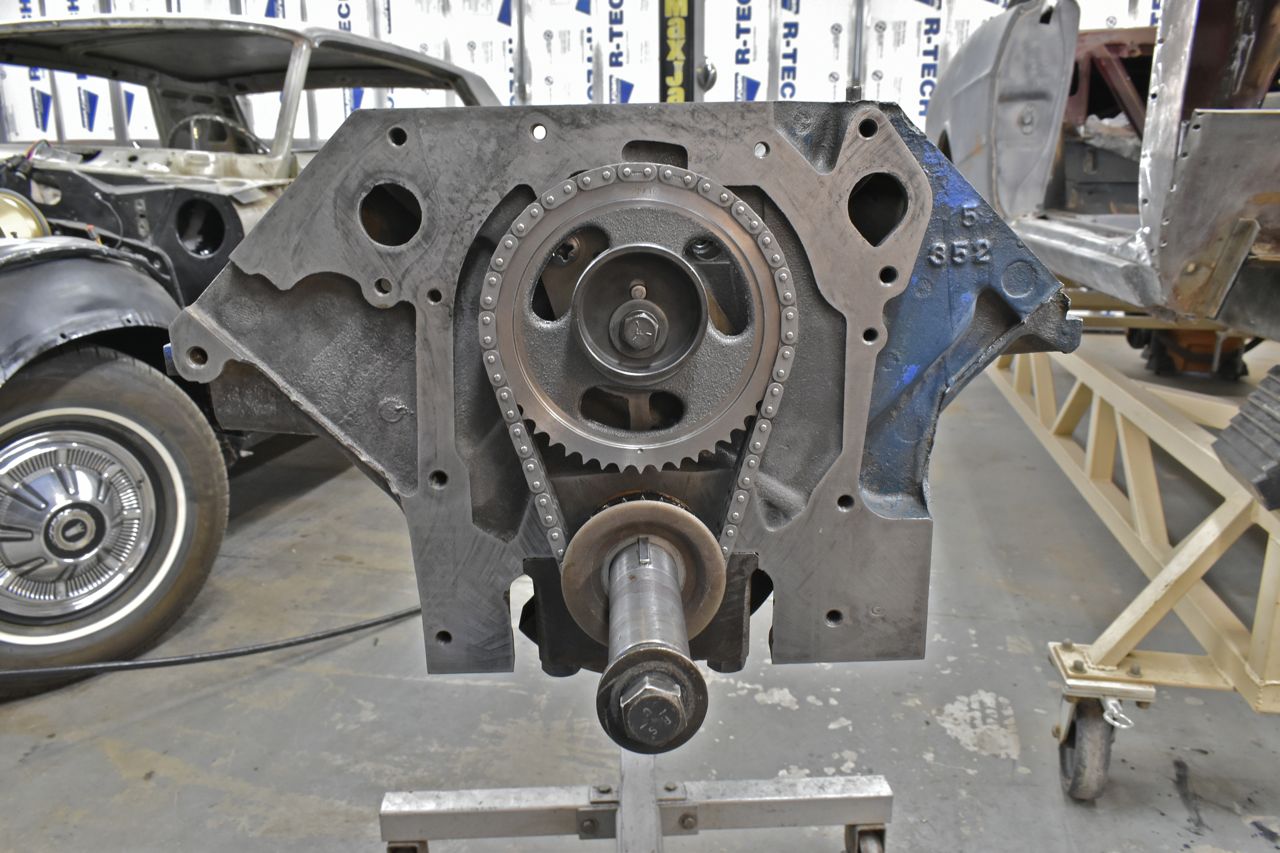
Installed the timing set and used locktite on the cam bolt. Now this timing set has a tight chain. I used the same set on the Y390 in the XL a short while back and there was still slack in the chain. Seeing this I am willing to bet the cam and or cam bearings are so worn the cam is sitting lower in the block. I think it's situations like this Ford clocks the oil holes in the cam bearings at 3 O'Clock.
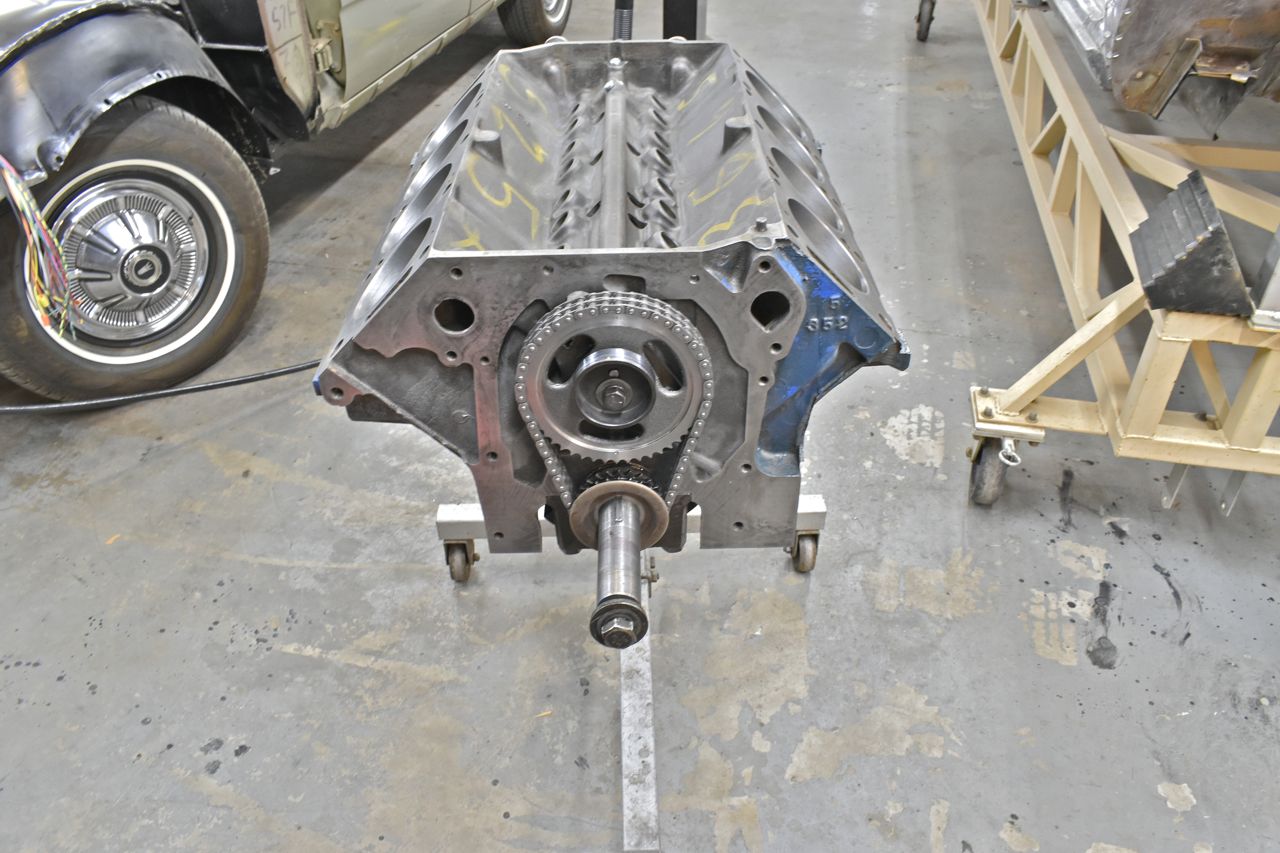
Spins very nicely. So far so good.
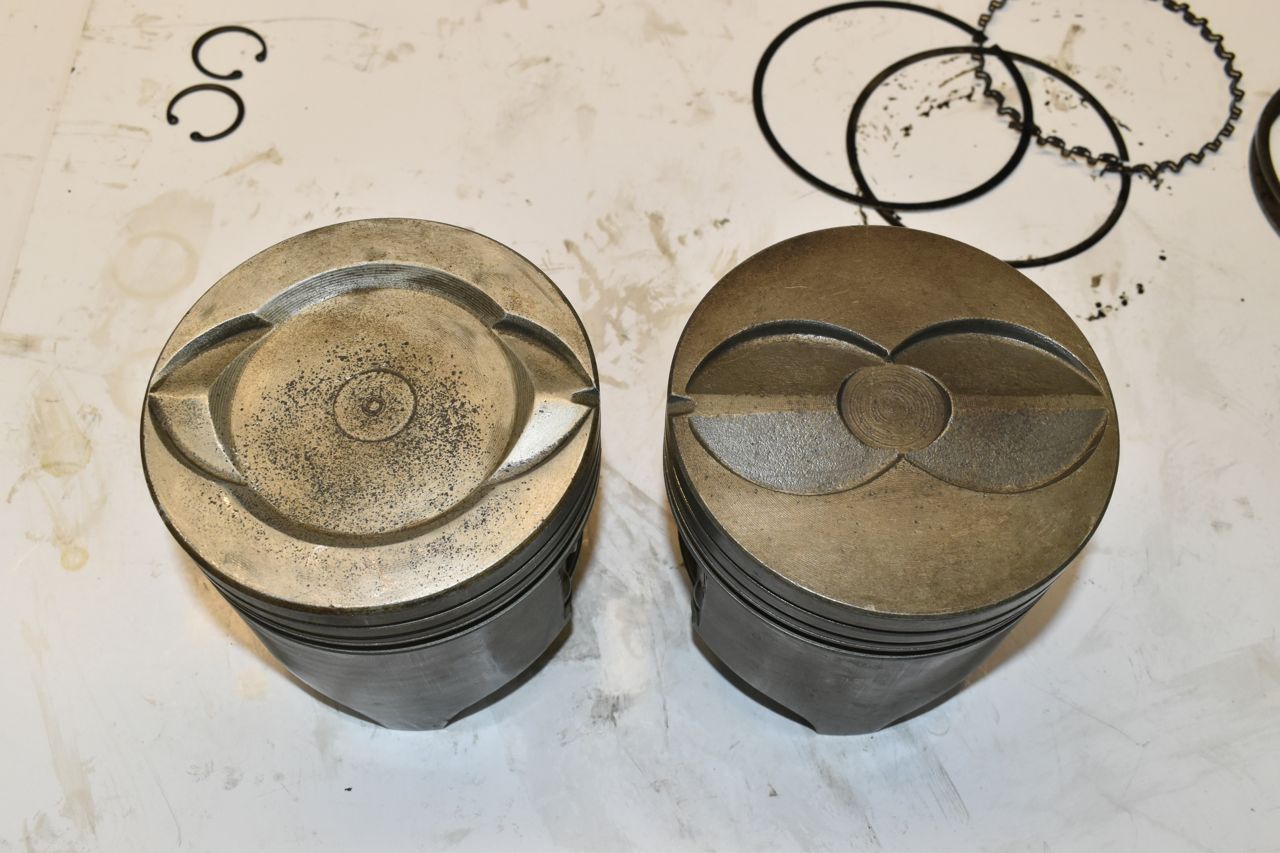
Time to deal with 8 of these nasty pieces. Now these are Z390 pistons and can be indentified with 390 and 4V casted into the side of the piston.
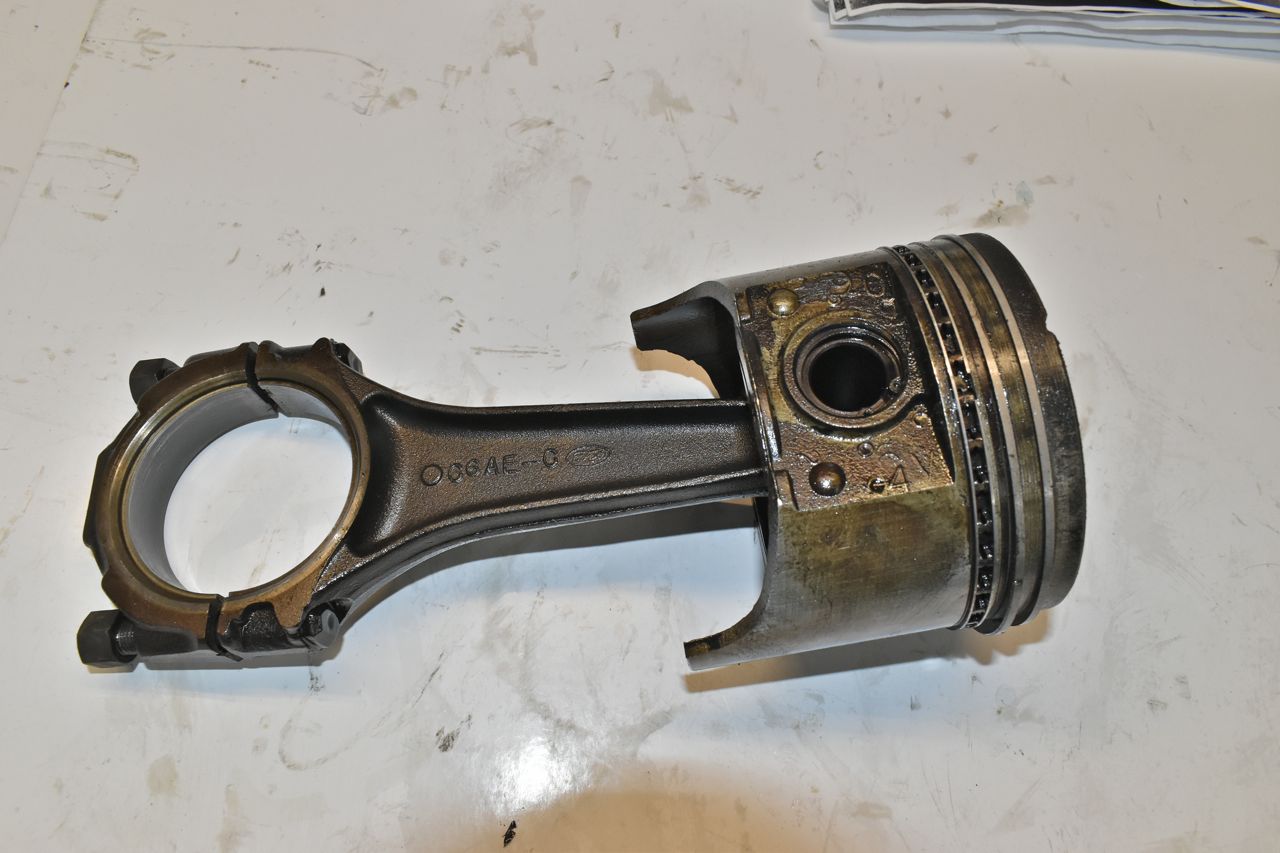
The Y390 has 390 and 2V casted into it (left side). OK so what's the difference.
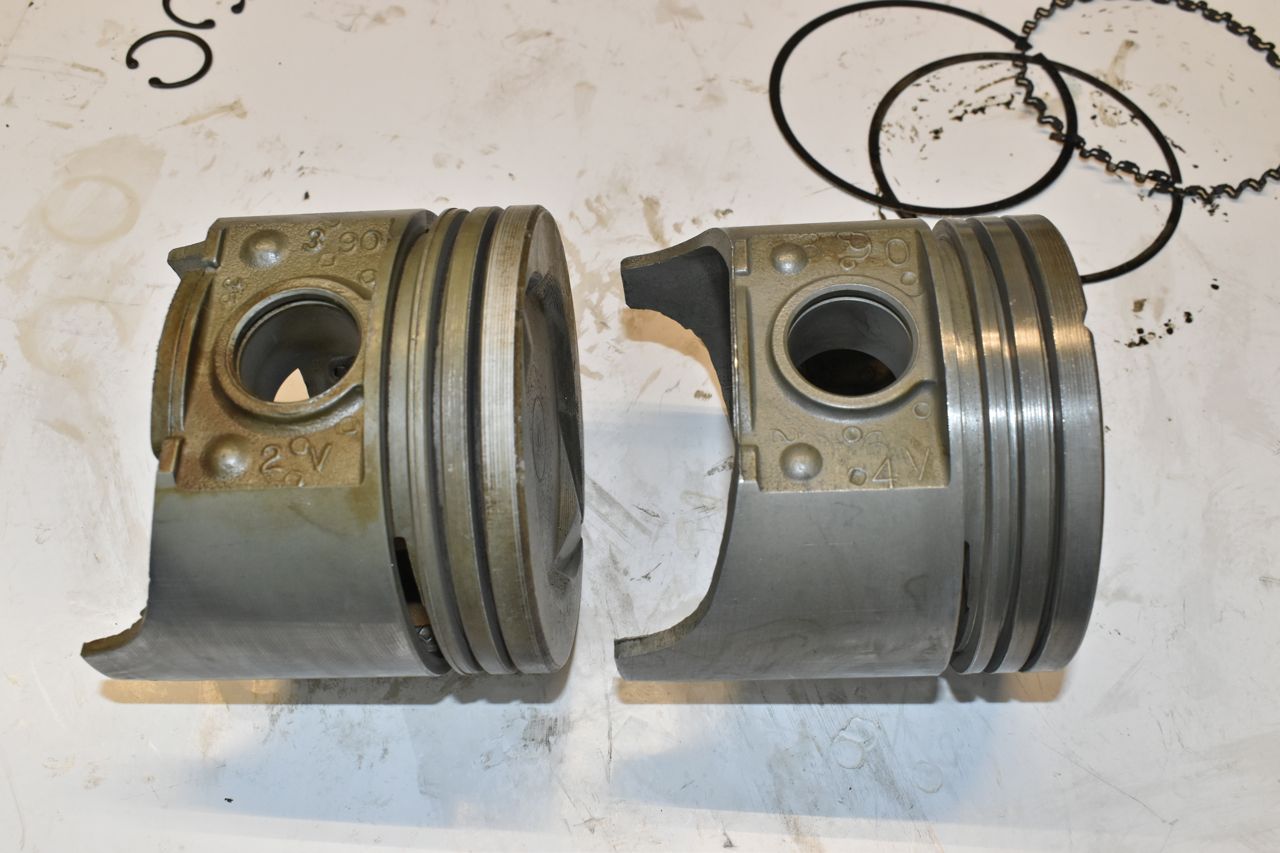
The Y390 has a small guppy pond in the middle of it for lower compression and lower expectations.
