1968 Ford XL Repairing Whilst Keeping It Roadworthy : 26 HVAC Blower & Harness
2023, November 14
1 - 2 - 3 - 4 - 5 - 6 - 7 - 8 - 9 - 10 - 11 - 12 - 13 - 14 - 15 - 16 - 17 - 18 - 19 - 20 - 21 - 22 - 23 - 24 - 25 - 26 - 27 - 28 - 29 - 30 - 31 - 32 - 33 - 34 - 35 - 36 - 37 - 38 - 39 - 40 - 41 - 42 - 43 - 44 - 45 - 46 - 47 - 48 - 49 - 50 - 51 - 52 - 53 - 54 - 55 - 56 - 57 - 58 - 59 - 60 - 61 - 62 - 63 - 64 - 65 - 66 - 67 - 68 - 69 - 70 - 71 - 72 - 73 - 74Since now the starter, main feed, and charging system were all connected time to move onto another harness that needs attention. That is the HVAC harness.
Whilst it should seem pretty straight forward to cut the bad wiring back to a less bad section, splice in new wiring and add connectors. It's not that simple because.......................

All this was in one of the centre console compartments. Now this means the previous owner had a fetish about factory air con blower switches or the car was going through them at an alarming rate. I say it was the latter.
I know 3rd gens don't use a high speed blower relay like even some other old cars do. But I doubt it's a switch problem. What are the odds the blower is over current but not by a whole lot to blow the fuse? I'd wager a lot. It does work, albeit noisily.

With that I decided to remove all the trouble makers to inspect. And yes that blower wheel is a bit hard to turn.

That's a lot of lint on the blower resistor. You can see where it was just burning the stuff to close to it. Nice.....

I didn't remove the cooling thermostat as I dare not risk rupturing the capillary tube as they are usually filled with refrigerant and once ruptured they need to be replaced. But I did check it and it is closed. Still doesn't mean it will regulate temperature correctly but it's a start.

I walnut blasted the blower resistor. What a difference. Next to it is the clutch A/C mode switch. It opens the switch to shut off the compressor clutch in heat mode (floor or defrost).

These really aren't sealed all that well and the contact can get grungy. Also the contacts on the wafer board can loosen to the terminals.

I soldered the loose rivets so the clutch doesn't get intermittent.

I walnut blasted the guts with the exception of the wafer board with contacts. That I sand blasted.

Assembly.

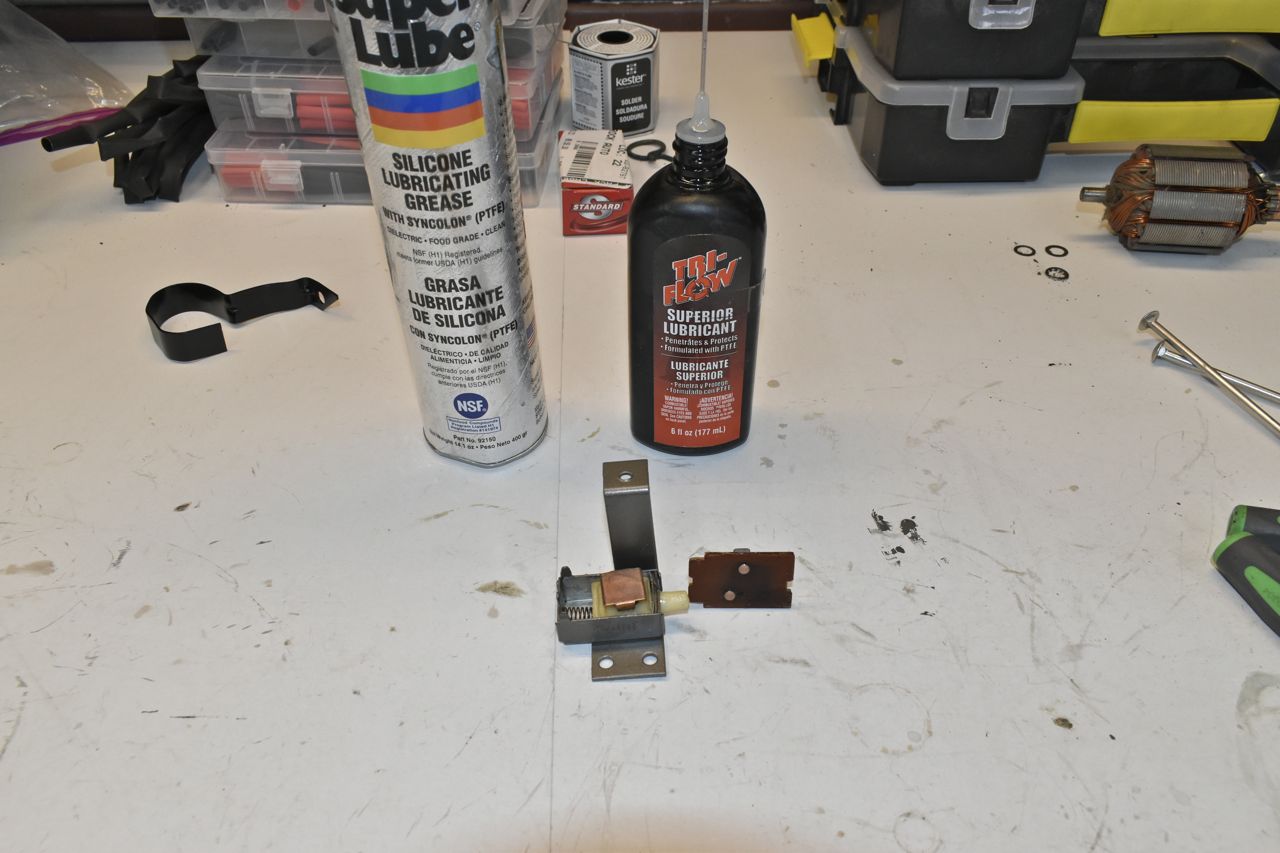
I used synthetic grease and if the viscosity gets too thick I used a little Tri-Flow to thin it out.


Released and the switch is open.

For my hands free picture taking fixture, when depressed the switch is closed.

Now onto the blower motor. Yuppers the blower motor is full of lint and the bushings have no lubricity left in them.

Interestingly the commutator is really worn but the brushes have virtually no wear. They are semi-metallic brushes but they are way too hard for this application.
