1968 Ford XL Repairing Whilst Keeping It Roadworthy : 72 Large Bearing Ford 9-inch Overhaul - Vent Line
2023, November 14
1 - 2 - 3 - 4 - 5 - 6 - 7 - 8 - 9 - 10 - 11 - 12 - 13 - 14 - 15 - 16 - 17 - 18 - 19 - 20 - 21 - 22 - 23 - 24 - 25 - 26 - 27 - 28 - 29 - 30 - 31 - 32 - 33 - 34 - 35 - 36 - 37 - 38 - 39 - 40 - 41 - 42 - 43 - 44 - 45 - 46 - 47 - 48 - 49 - 50 - 51 - 52 - 53 - 54 - 55 - 56 - 57 - 58 - 59 - 60 - 61 - 62 - 63 - 64 - 65 - 66 - 67 - 68 - 69 - 70 - 71 - 72 - 73 - 74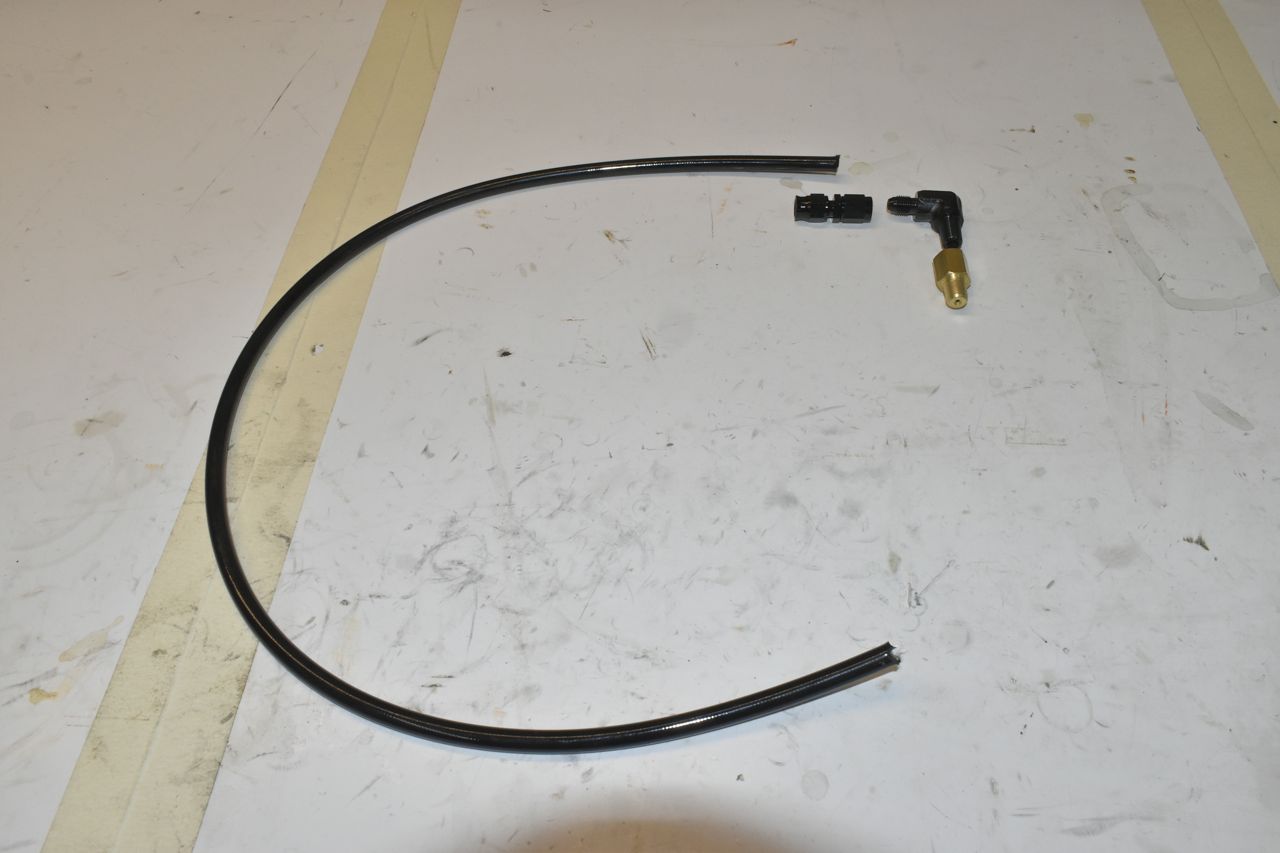
The parts arrived. Now I'm trying a little different hose than I did on the '66 galaxy 500 XL rear axle. The hose above is generic PTFE automotive grade AN hose, along with the generic automotive grade AN fittings. I like this hose as it has a solid vinyl covering and is easy to wipe and clean being in the rear of the car. Also it was about 30 dollars cheaper than the actual FAA certified aerospace fittings and hose I used on the '66 gal 500 XL rear axle.
Just a few words on AN fittings and hoses. The automotive grade AN fittings and hoses come in all kinds of quality, some good and some are rubbish. The FAA certified AN items are all good. Due to this current federal administration policies drastically increasing inflation, the prices have radically skyrocketed. When I was working on the '66 gal 500 XL chassis that FAA AN hose and fittings cost around 25 dollars under the Trump administration. Now under the Biden administration it's 80 dollars for the same items. I nearly fell over. Sad times.
To recap the next two pictures are from the '66 gal 500 XL chassis.

This is the genuine aerospace AN hose and fitting I used last time.

This is the '66 gal 500 XL chassis and note the rear axle vent line. I intend to replicate this style on the '68 XL.

For an orifice restrictor I use the generic oil restrictor 1/8" NPT for oiling turbos, it's about 9 dollars. Going the cheaper automotive grade AN parts saved about 30 dollars. However this still was about 50 dollars shopping and finding the deals online.

The PTFE AN automotive grade hose takes an olive/ferrule to secure the hose on properly. Now obviously this is high pressure line and well and truly overkill for a vent line. However I wanted to see how well the hose exterior holds up to under car exposure. Remember this is daily driver and not a car that is Sunday's only. It will see service like a new/er vehicle and must hold up like one.

To attach the hose, first slide the collar onto the hose a bit. This is not easy.

You'll want to cut the outer vinyl layer off that surrounds the olive/ferrule, then splay the braid back a little and slide the ferrule up into the PTFE until it seats on the PTFE end.
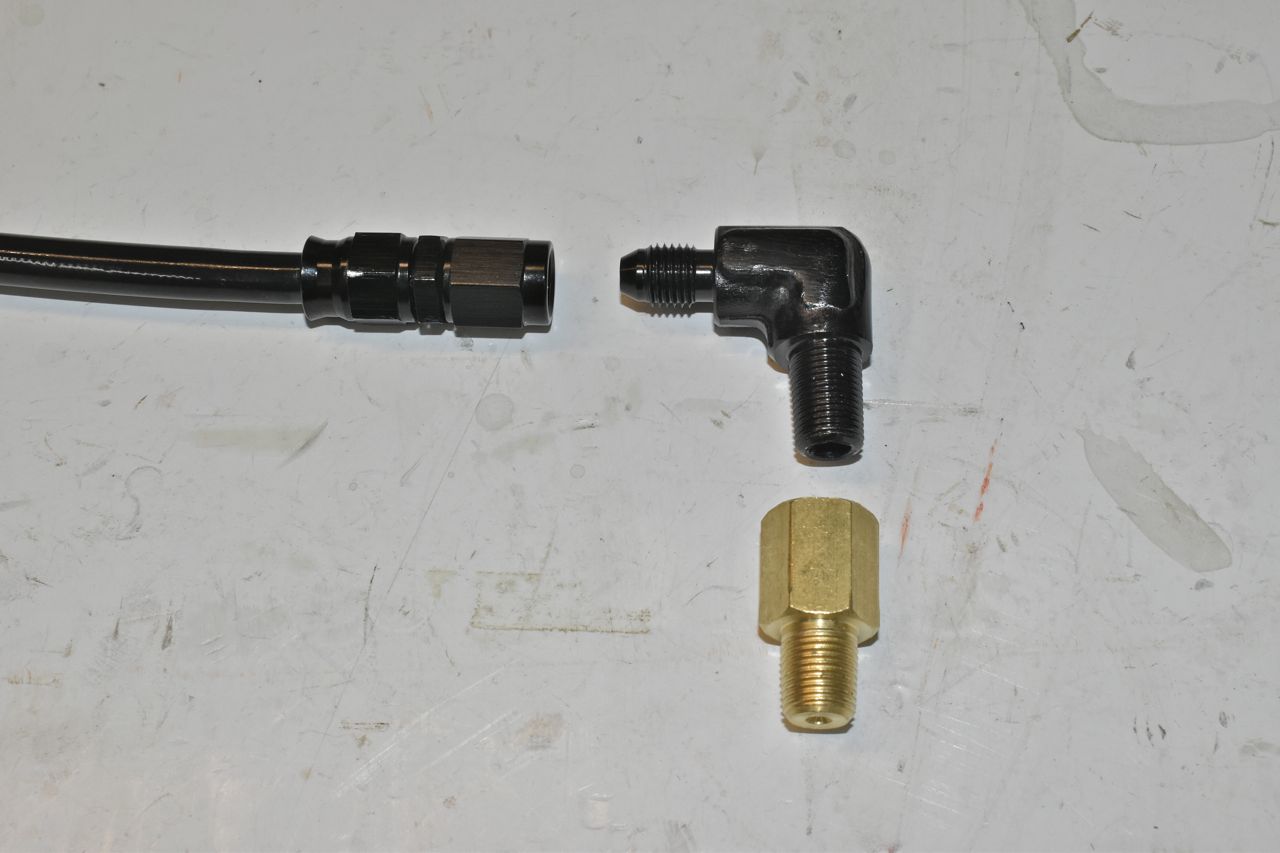
Slide up the fitting into the PTFE liner and bring down the nut and screw together until there is about 1 mm between the nut and fitting. You can make these hoses up for custom brake line fittings. However I don't think I would. I would use the FAA hose and fittings for your own brake lines as these items are extensively tested, unlike the automotive grade AN hardware.
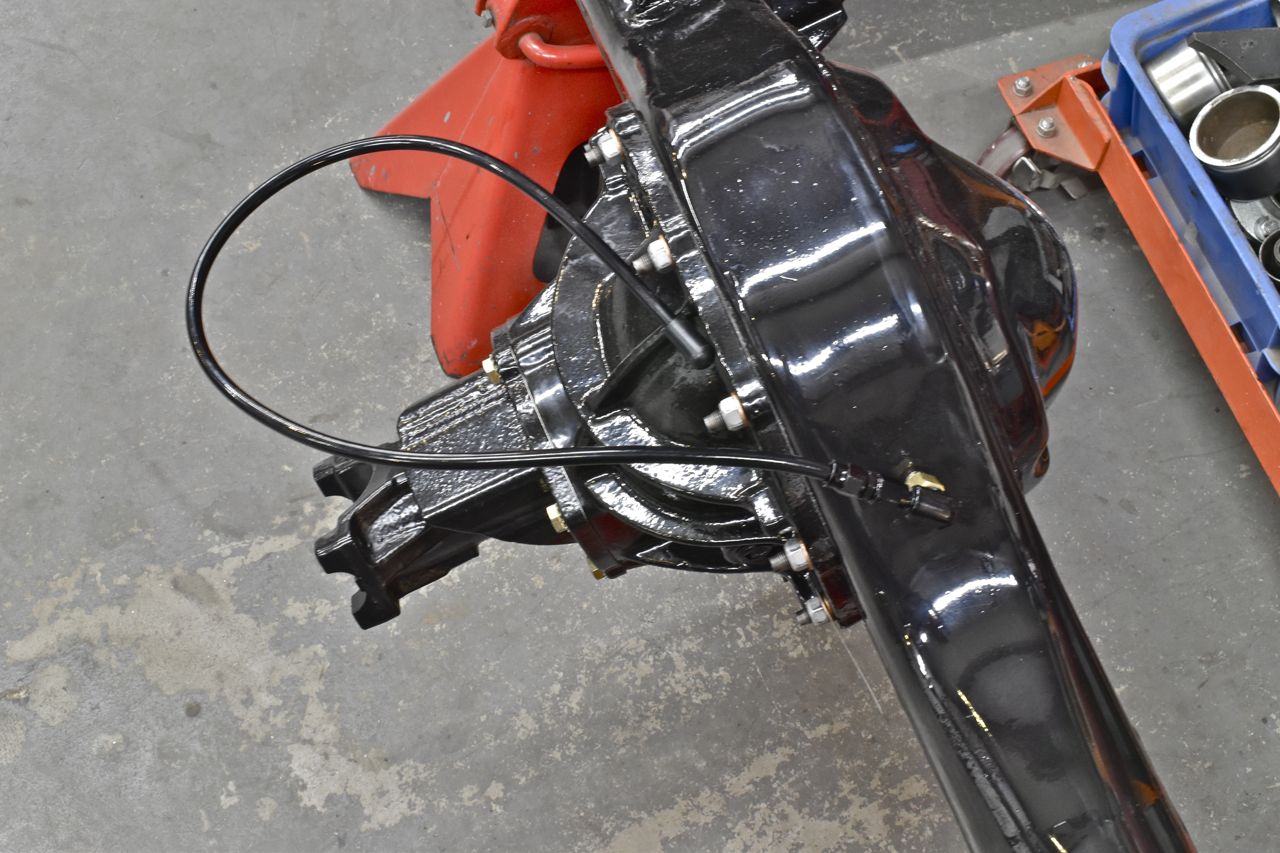
Installed on the axle. I added an EPDM rubber cap with a tiny drilled through it as well for one more layer of protection of keeping foreign matter out of the axle since there is no effective oil filter inside the axle and it's imperative to keep all foreign matter out. Plus where I live we have very fine silt dirt with a high ferrous content. Just leave a magnet outside in the wind and it will very fuzzy in a few days. This you do not want in the axle otherwise we'll have a repeat of what I originally found inside this axle in a short order.
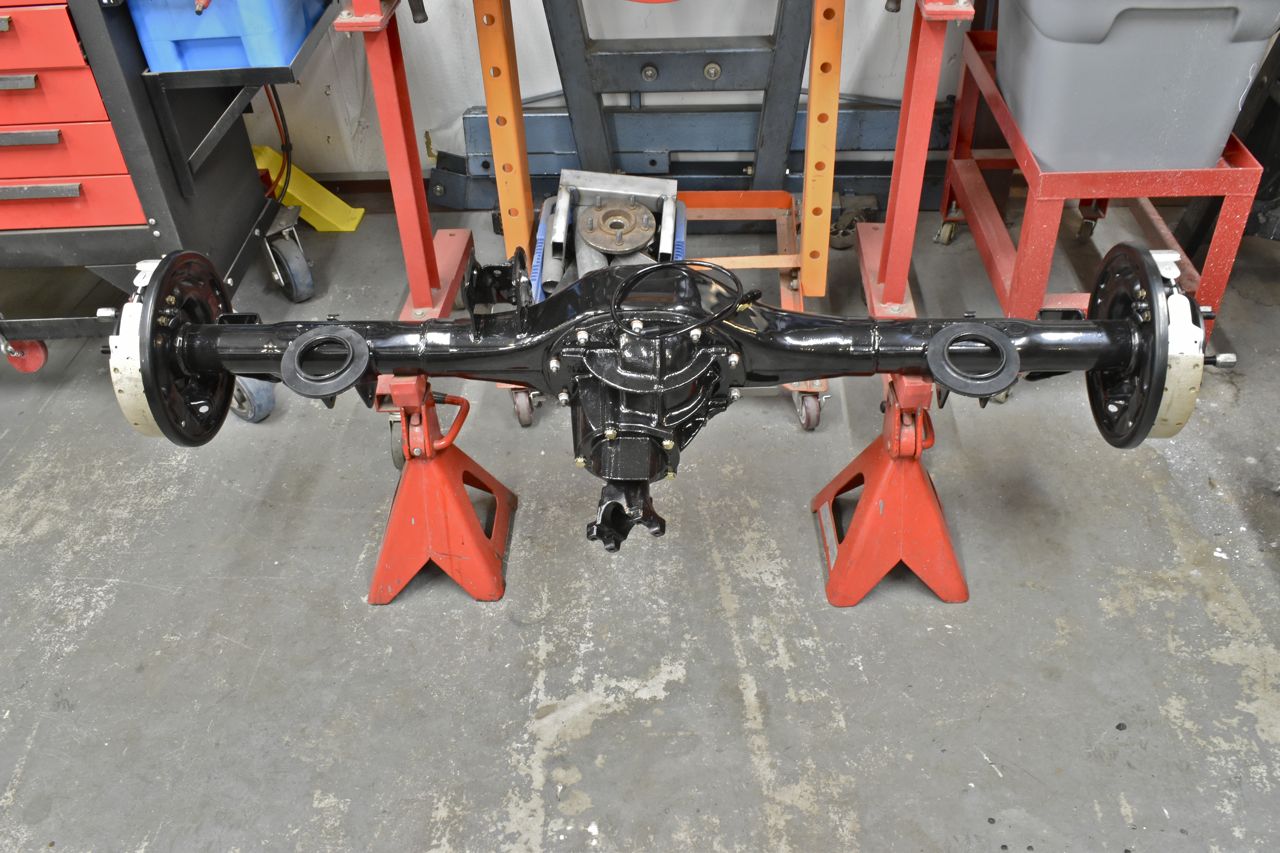
This axle is now complete to install in the car. I've already installed a new over the axle brake hose and new stainless lines on the old axle currently in the car. These will be removed from that axle and installed on this axle.
Here's some pictures of the axle replacement for amusement, if nothing else.

For those wondering, I used the transmission jack to lower the old axle from the car, then used the ceiling winch to lift it off the trans jack and onto the ground. That axle is heavy, let the tools do the work.

For the hydraulic rear brakes I disconnected the main line from the top cross member and used a union with a plug and capped it off so the master and foreword lines would not drain. It was pretty easy to bleed the replacement axle once installed.
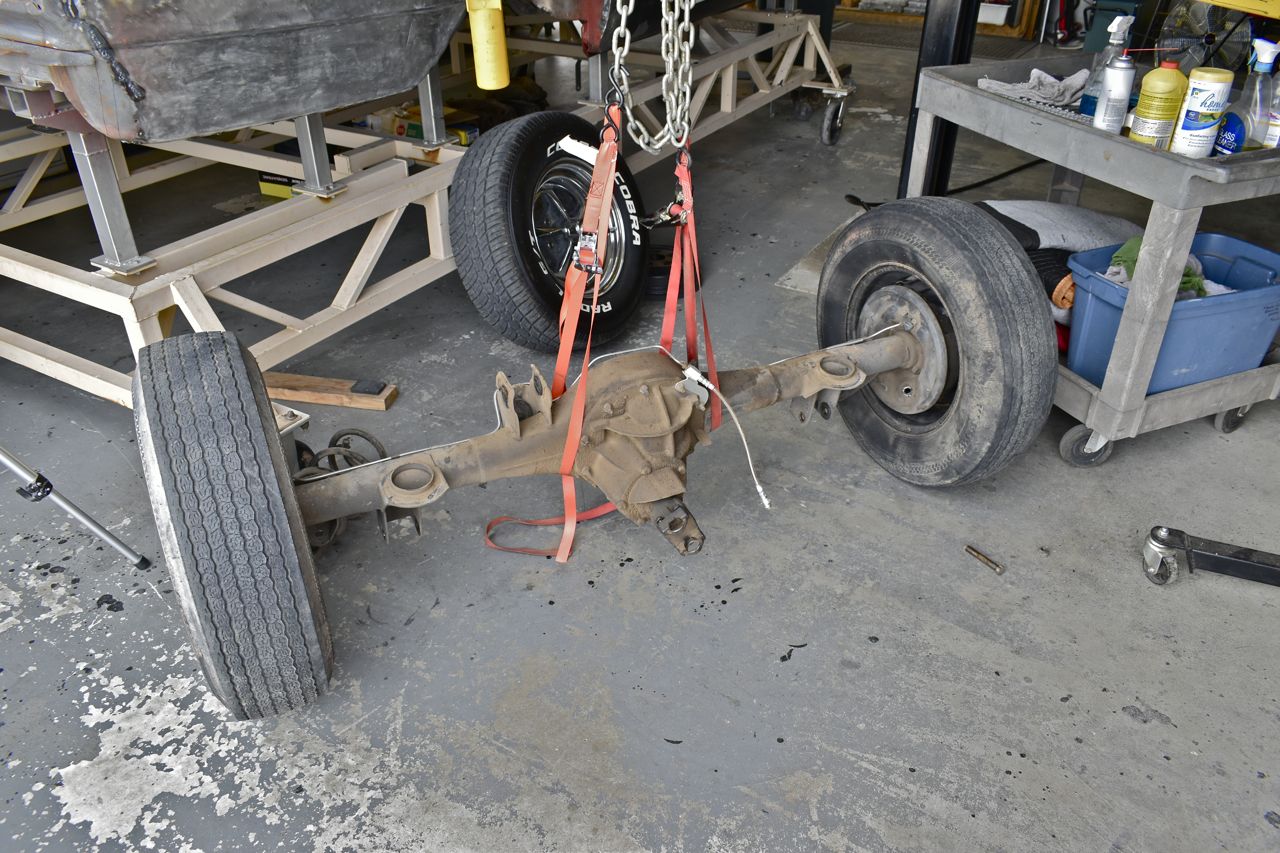
This old axle felt and sounded like a wood chipper when run up to speed on the lift with the tyres off.
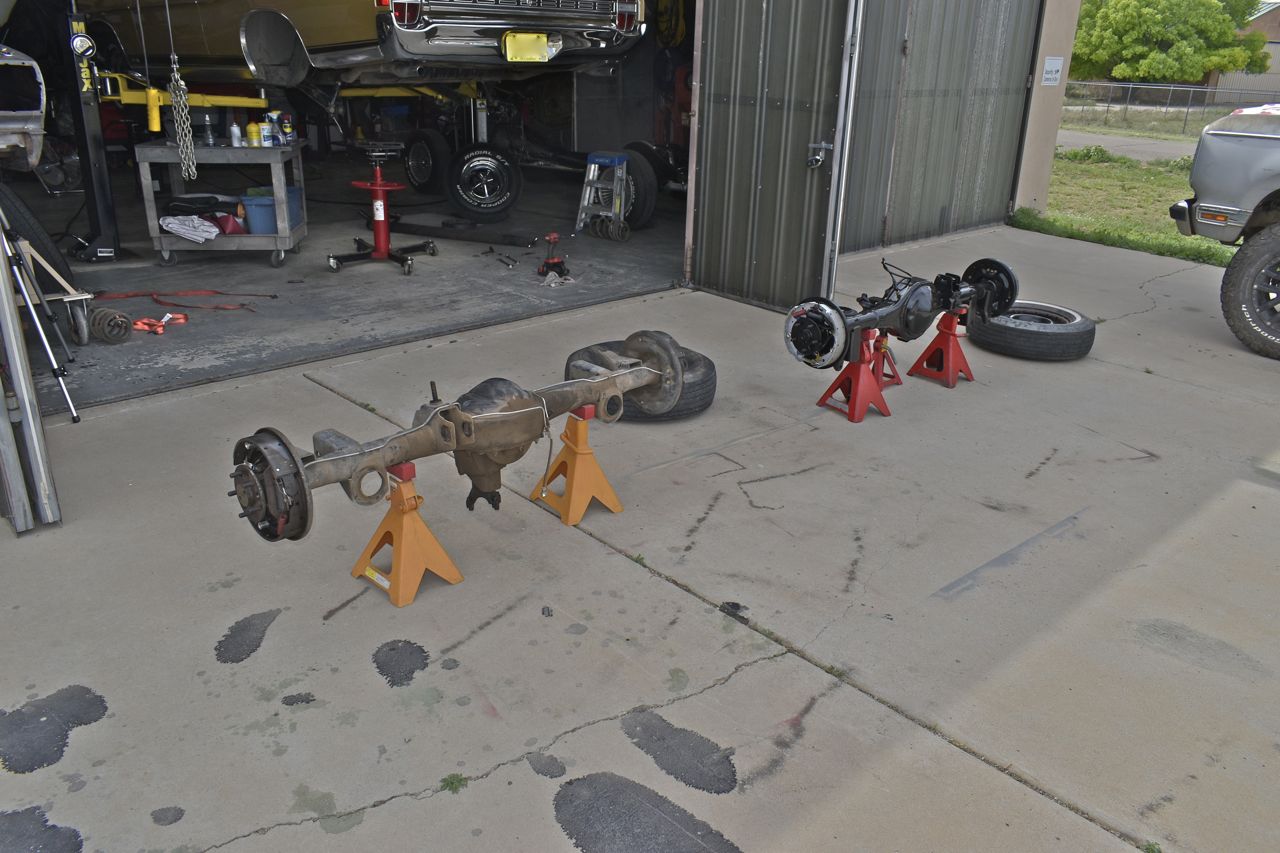
Spent and overhauled axle. Just had to transfer the new rear brake hose and stainless steel lines from the spent axle to the overhauled one.
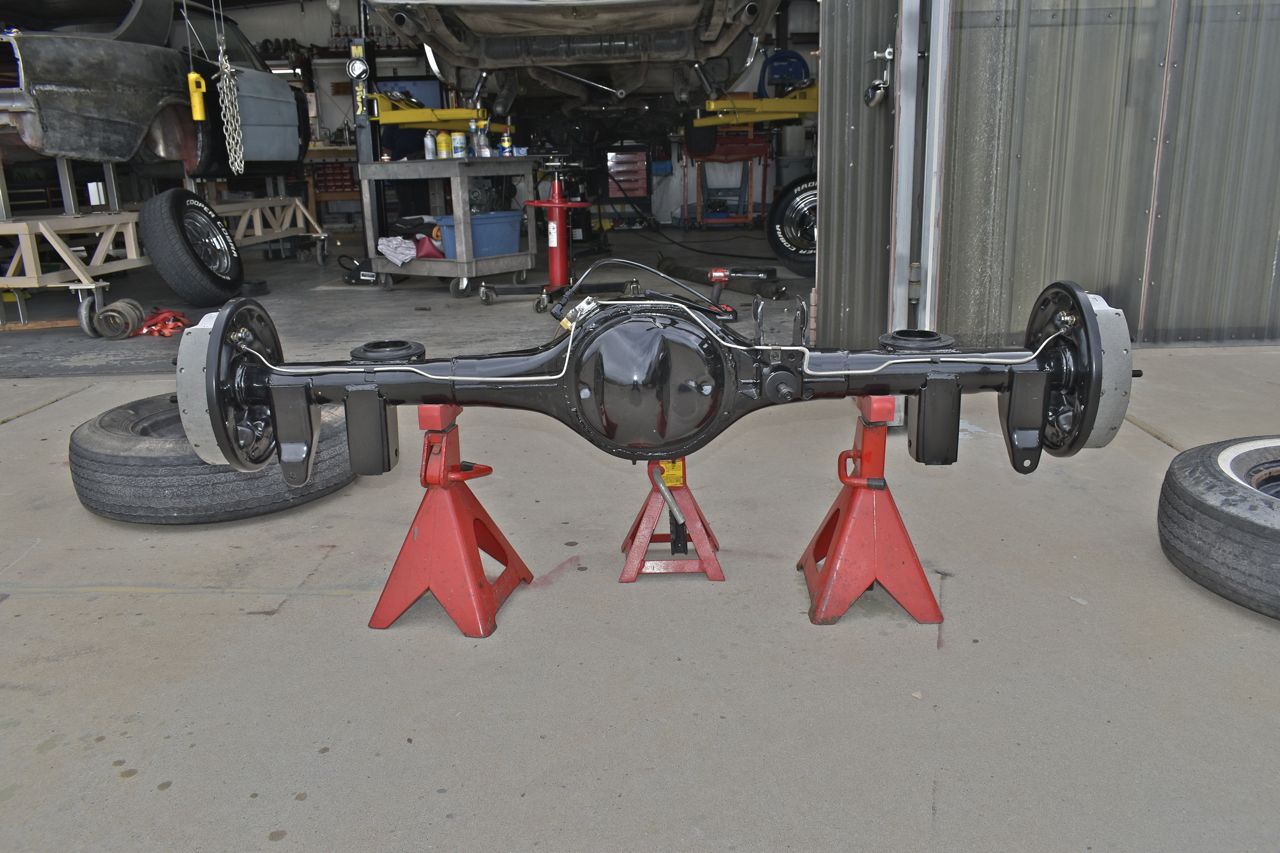
I was in a rush after this and didn't take anymore pictures. The one thing I wish I would have shown is how to set the pinion angle. I shall outline how easy it is.
1.) You'll need the suspension at the normal road height. If you're doing this on a lift, remove the coil springs and raise the axle to the normal road height with a jack.
2.) With the propshaft removed place an inclinometer on the machined tail shaft protruding from the tail shaft housing of the transmission. Just make sure the tail shaft is more or less centre'd in the seal.
3.) Set the inclinometer to 0.00˚
4.) Place a flat piece of steel over the yoke of the axle with the yoke orientated vertically. Now place the inclinometer on the flat piece of steel and adjust the top upper control arm eccentric so the inclinometer also reads 0.00˚. Then lock down the upper control arm eccentric.
5.) Grab a beer, tis that easy.
Once the replacement axle was installed, I ran up the axle up to 75 MPH with the drums on, wheels off. The only problem I had was a drum that was cut out of round. It was running on an eccentric pattern and not running true. That was thee only vibration in the axle and it was silent. No more chipper sounds, other weird vibrations and light gear whine.
The car has a few hundred miles on it and it is still happy with no other problems. I had the drums cut when I did the brakes awhile back and the local auto-parts store probably didn't centre the drum when they cut and there's not enough legal material left to recut to true it out. So they basically ruined a 50 dollar drum. I'll just have to cut them at home from now on as I can't even trust them to do the simplest of services.
This concludes this major project.
‹ the end ›
Click here to continue to part 73