1966 Ford LTD Resto-Mod : 003 Engine Build Part 1
2023, November 14
1 - 2 - 3 - 4 - 5 - 6 - 7 - 8 - 9 - 10 - 11 - 12 - 13 - 14 - 15 - 16 - 17 - 18 - 19 - 20 - 21 - 22 - 23 - 24 - 25 - 26 - 27 - 28 - 29 - 30 - 31 - 32 - 33 - 34 - 35 - 36 - 37 - 38 - 39 - 40 - 41 - 42 - 43 - 44 - 45 - 46 - 47 - 48 - 49 - 50 - 51 - 52 - 53 - 54 - 55 - 56 - 57 - 58 - 59 - 60 - 61 - 62 - 63 - 64 - 65Engine Tear-down
Hello again,
Just to recap, the original engine is a low frills, bog standard 390. It's nothing special with low compression, small camshaft, restrictive manifolds (induction and exhaust) a 2 jet carb, points, etc. You get the idea, it's nothing to write home about.
I will say one thing I had this engine, after refreshing the carb, borrowing plugs, cap, rotor, wires points and condenser, running like a top. It idled really nice had smooth run up, no bogging or missing and no smoke out of the exhaust. Which I found rather amazing considering what I found inside the engine and the odometer was near enough 100,000 miles. Most staggering was that it had a broken piston ring on number 1 cylinder. Which just goes to show anything really old bought without a known history should really be disassembled and inspected.
Here's the tear down.

And it just gets nastier...

No doubt the original thermostat and it's stuck open. That explains why it never fully warmed up and the "COLD" lamp never turned off.


Looks like someone had a bad day on the assembly line and didn't tighten the torque converter nut fully. This flexplate will be replaced.

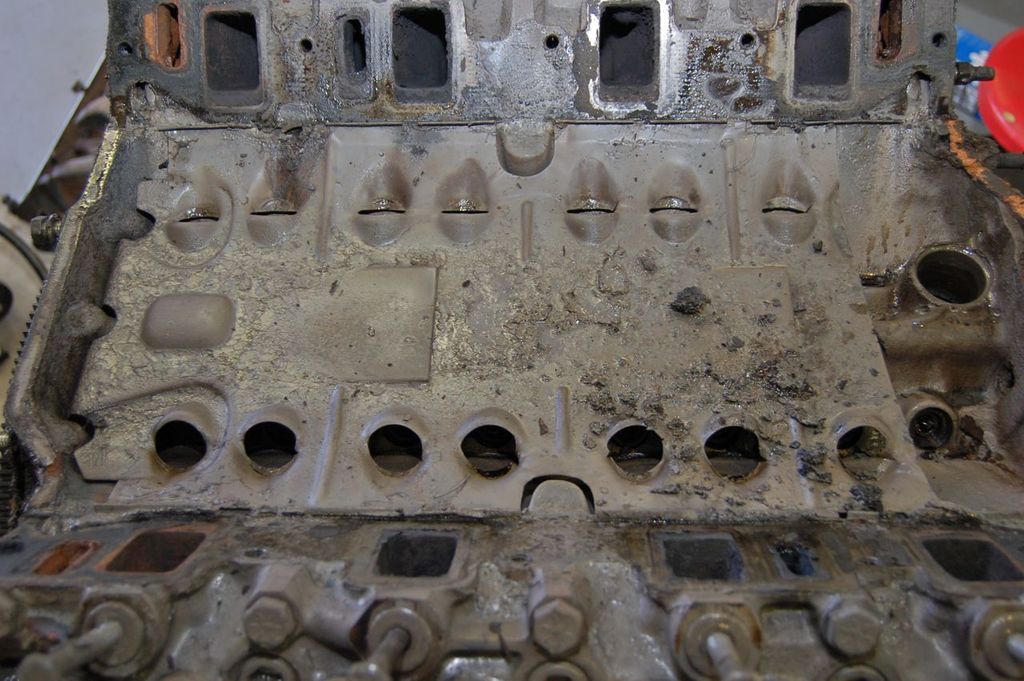
Wow, I've never seen the lower coolant passages so plugged. But it's what happens when an engine sits for long periods. Even if it didn't leak from every possible orifice, it would not be reliable if made into a driver.
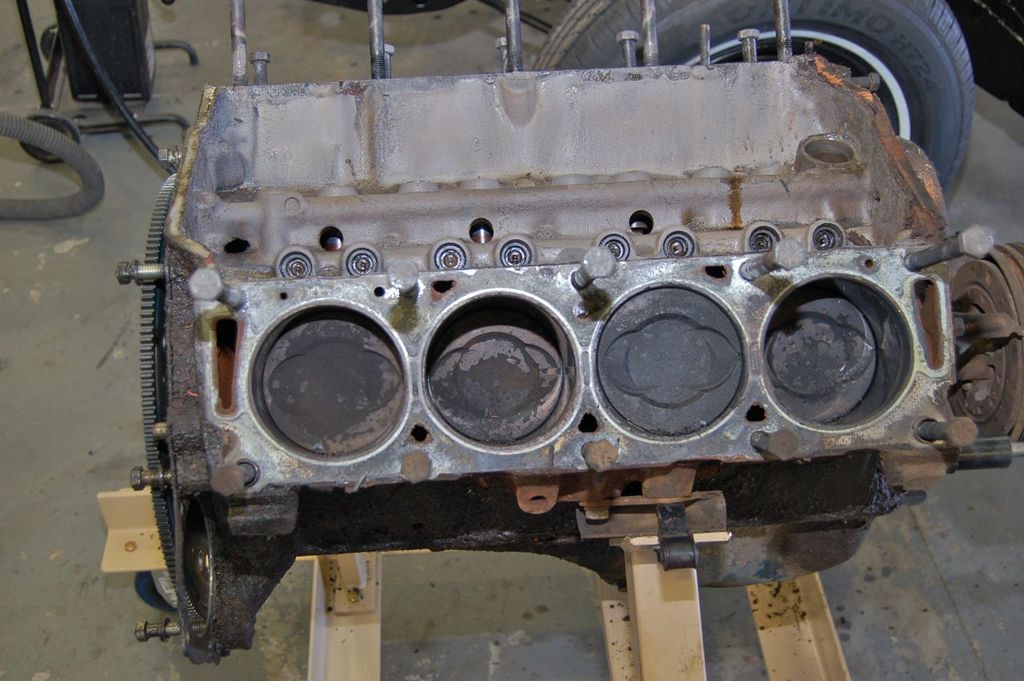


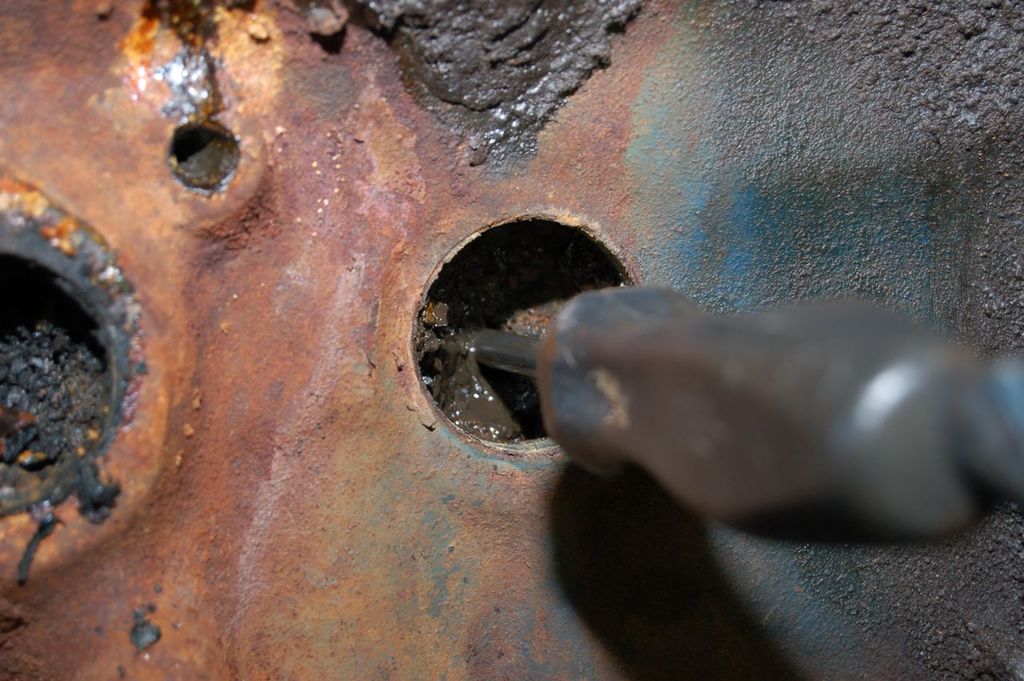
It's so thick inside it holds a screw driver in place.... That's just not right!
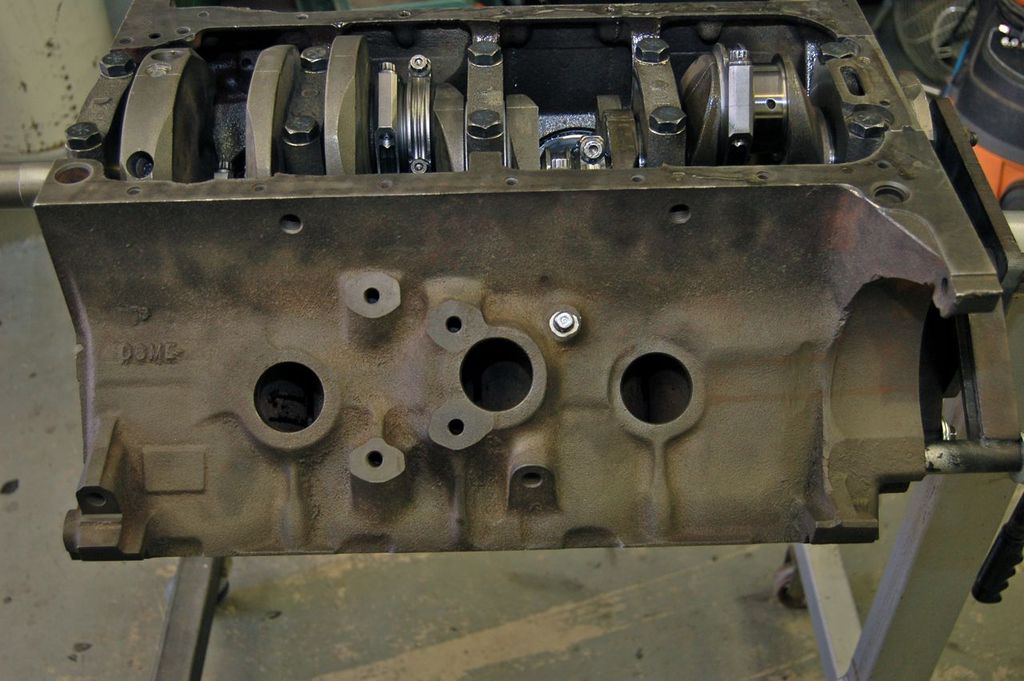
Needless to say I crated up the block and crankshaft and delivered them to the machine shop. The only parts I used out of the old engine were the block, crank, timing cover, crank spacer and front dress. Everything else was pitched in the bin or more important bits things like the heads were shelved.

Engine Build
I should mention before I packed everything up and sent it to the machine shop I did spend a couple of weeks designing what the new engine would be and what parts it needed. I spent many a day talking to companies like Total Seal, Diamond Racing, Crane, Competition Cams, Edelbrock, etc. Then spent loads of time on software simulations of different parts they offered or could make. My goal was 500 horse under 6000 RPM , N.A., whilst sticking close to 390 cid as possible. I also wanted good idle vacuum, and a smooth idle. Let me tell you it's not an easy task. It's easy if you don't mind a screaming, lumpy idle, little vacuum engine. But that's not what I wanted.
In the end, I found a combination of parts that would in theory work to meet my goal. But it was rather pricey. There's no way the low frills standard FE head could support that so Edelbrock heads were used, they feature large stainless valves, undercut stems, medium riser ports without the oil gallery protruding into the air stream and had the necessary flow rates.
For the valve train, there's no way a flat tappet cam was going to meet the goal, so a roller conversion was in order. With it's high open and close rates it would fit the bill. As for the lower end, new Eagle rods as it's not even worth reconditioning old rods. The pistons were a custom set of Diamond Racing Moly coated skirt forged pistons with a thinner metric ring pack (1.5mm, 1.5mm, 3.0 mm). The rings are Total Seal, with a gapless top ring and all moly coated. This combination greatly reduced frictional losses in the engine.
In the end on paper, err computer I met the 500 horse at around 5600 RPM.
So enough prattling and onto the pics...
Partial assembly of the lower end. The block ended up being baked and blasted to clean out all the goo. Because of the broken piston ring the cylinders needed to be bored 0.030" over and the crankshaft was balanced against the new rods and piston assemblies.
The new roller camshaft.

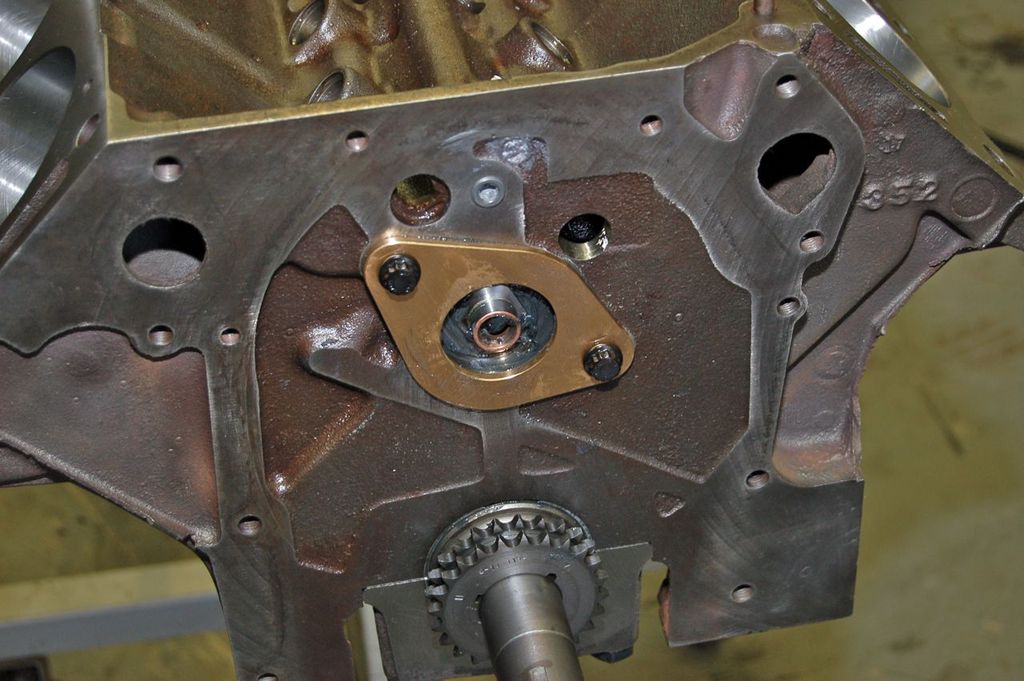
A brass plate must be used instead of the iron one.
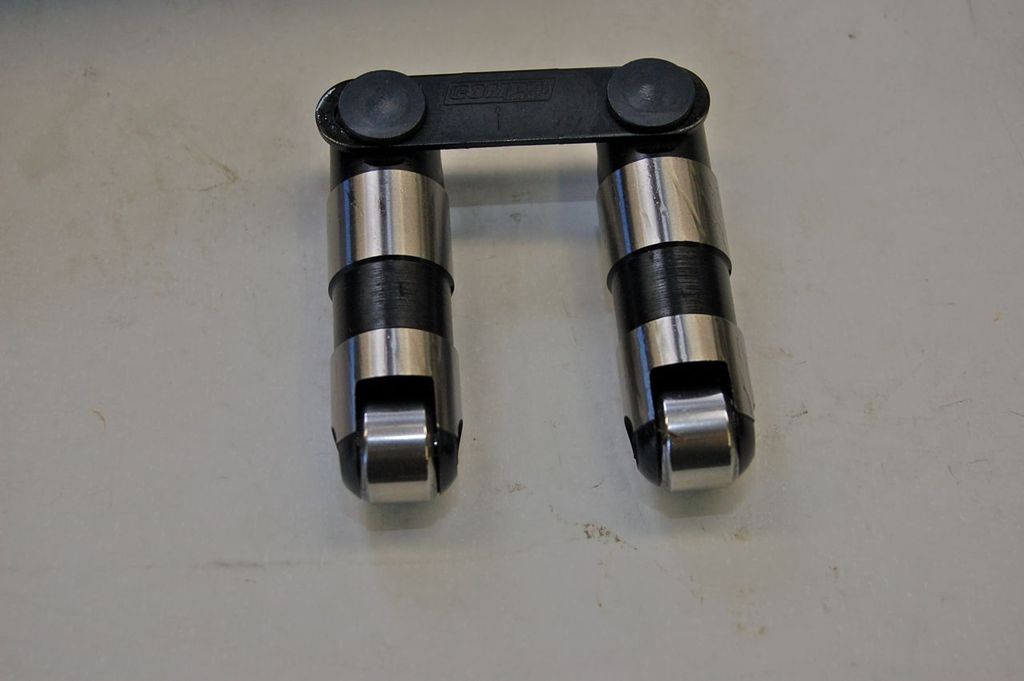
The new roller lifter.

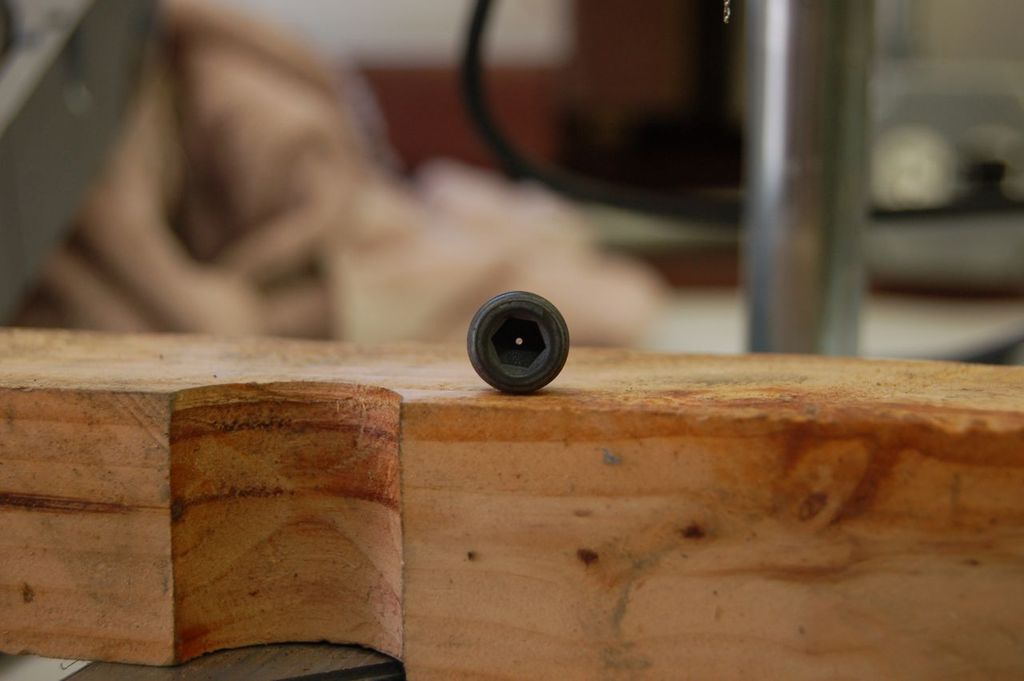
I drilled the plug for timing chain lube. I should mention I had the machine shop remove the oil gallery press in plugs and drill and tap for screw in ones.
Here's the piston assembly for one cylinder.

The intriguing gapless top ring lower portion.

These are both Cloyes timing sets, however the one on the left is a standard replacement for the FE, whilst the one on the right is a true double roller for the FE.

I was amazed that the cam degreed exactly as the cam card specified. I was so amazed I checked it twice in case I made a mistake. Everyone did their job spot on machining everything.

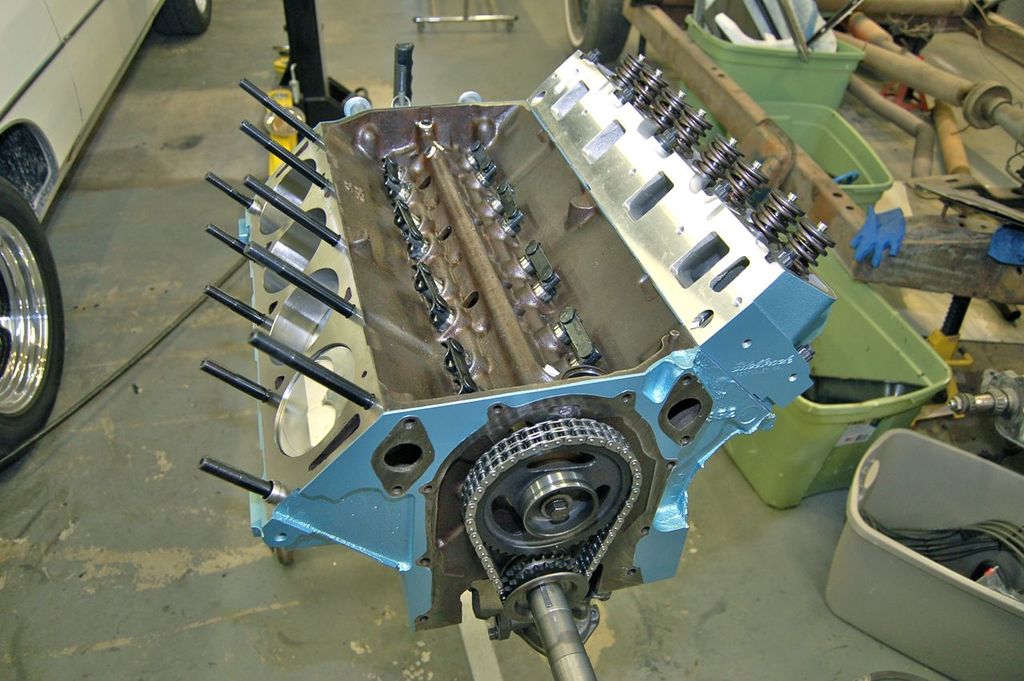
Block detailed and head studs installed.

New heads. I must make a note in that before I ordered the pistons I checked the volume of the combustion chambers and they were slightly out of spec as per what Edlebrock has listed. Glad I checked by CC'ing them first. The new value was used in conjunction with the new deck height (machined) desired squish, quench and head gasket thickness to determine the dome cc's and shape.

I did install oil restrictions in the heads.
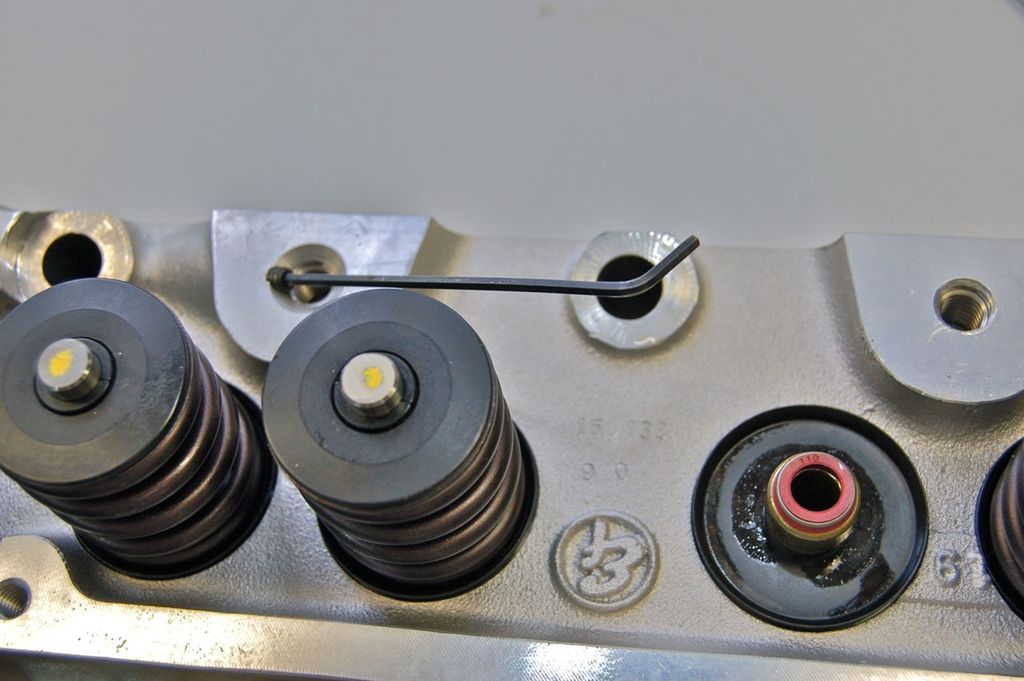
It's slowly starting to come together.
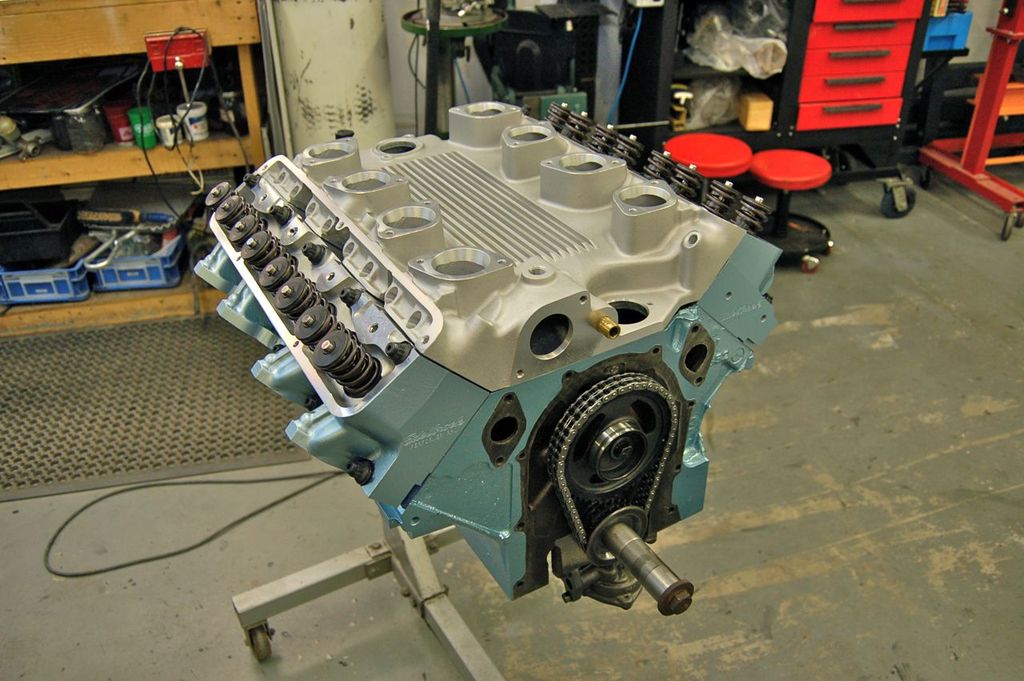
Eventually the engine will get a fuel injection system I'm working on utilizing the manifold on the left, but for now will get a new carburetor and manifold on the right.

That would have an interesting look when completed with fuel injection. It will not be an 8 stack injection like the old school rodders. But for my injection system I needed an intake with individual runners so this will work.
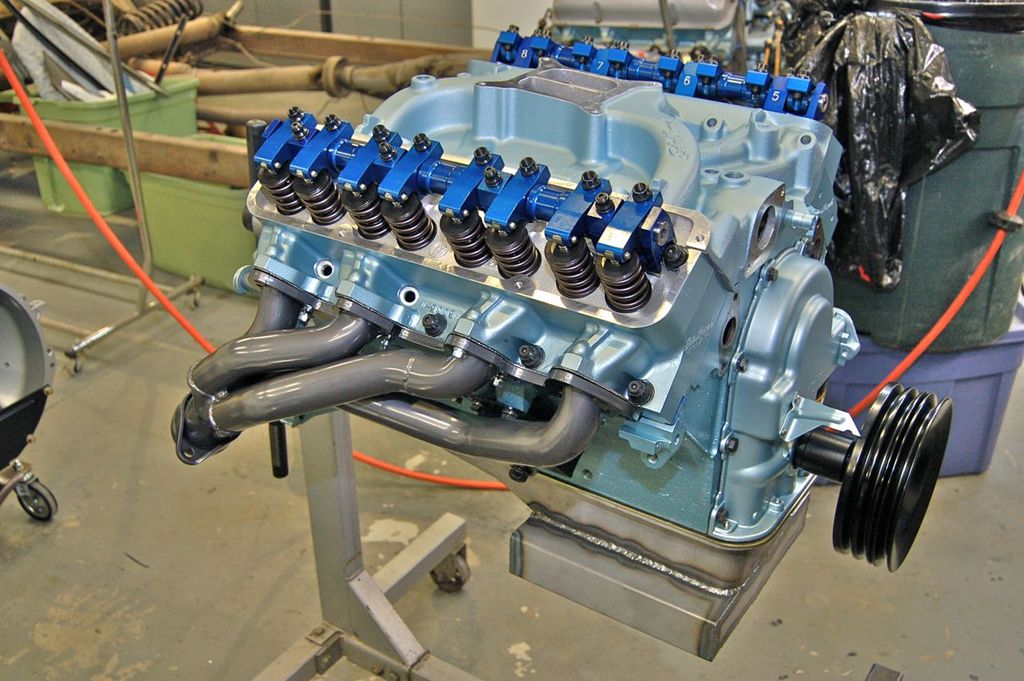
The high spring rates for the roller cam necessitated using all aftermarket rocker assemblies and I used the rocker stud kit for them.

Only thing amiss were the suggested length hardened push rods, Crane was super and exchanged the set for another. The rocker assemblies are from Precision Oil Pumps. It includes billet stands, supported shaft end stands, hardened shafts and adjustable roller rockers and billet spacers.

I really fancied an engine oil cooler so I bought the repop Cobra style oil filter adapter with oil take offs and viscosity bypass valve.

A set of FPA headers were purchased and installed and I must say, these are really well built.
Cheers.
Click here to continue to part 4