1966 Ford LTD Resto-Mod : 051 Body Damage Repair Part 4 - Front Passenger Door Shell Repair
2023, November 14
1 - 2 - 3 - 4 - 5 - 6 - 7 - 8 - 9 - 10 - 11 - 12 - 13 - 14 - 15 - 16 - 17 - 18 - 19 - 20 - 21 - 22 - 23 - 24 - 25 - 26 - 27 - 28 - 29 - 30 - 31 - 32 - 33 - 34 - 35 - 36 - 37 - 38 - 39 - 40 - 41 - 42 - 43 - 44 - 45 - 46 - 47 - 48 - 49 - 50 - 51 - 52 - 53 - 54 - 55 - 56 - 57 - 58 - 59 - 60 - 61 - 62 - 63 - 64 - 65Front Passenger Door - Body Damage Part IV
Hello again,
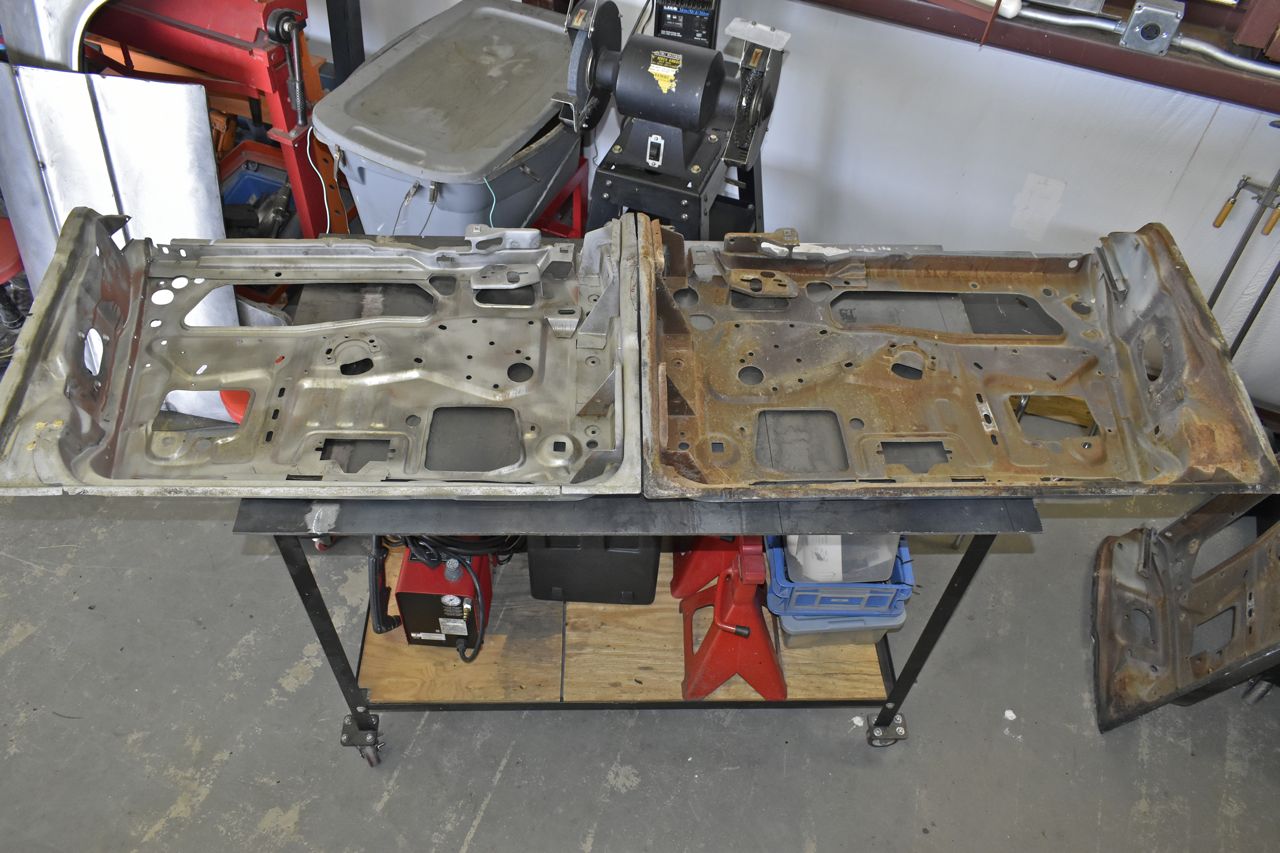
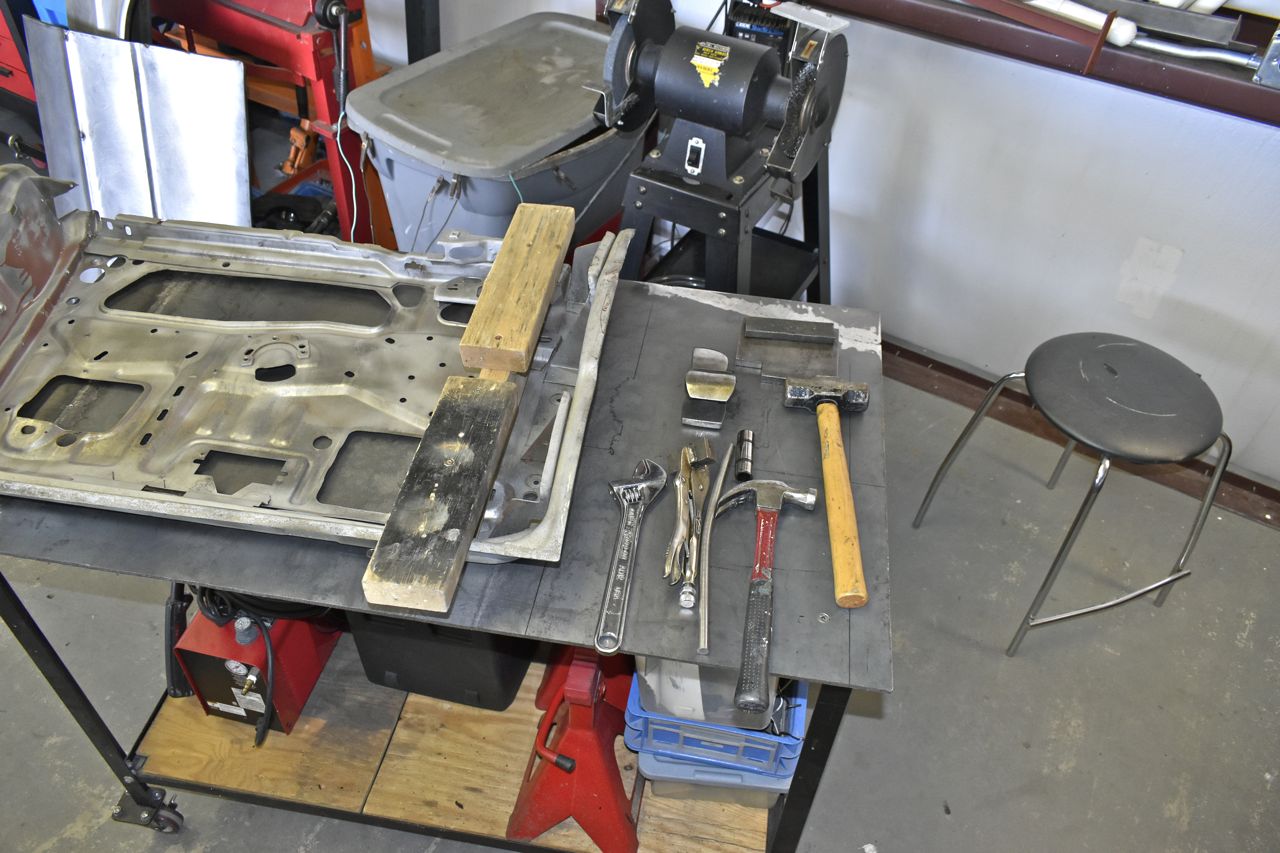
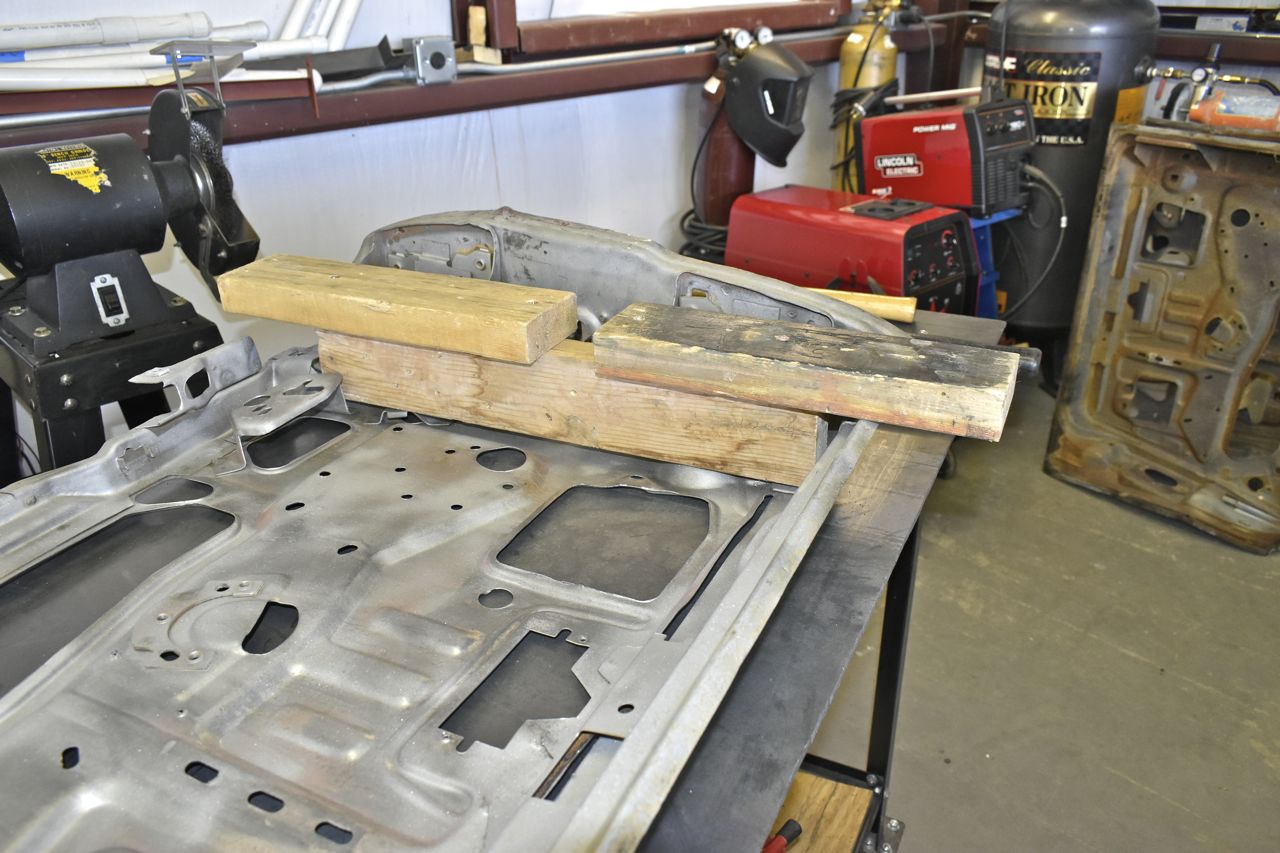
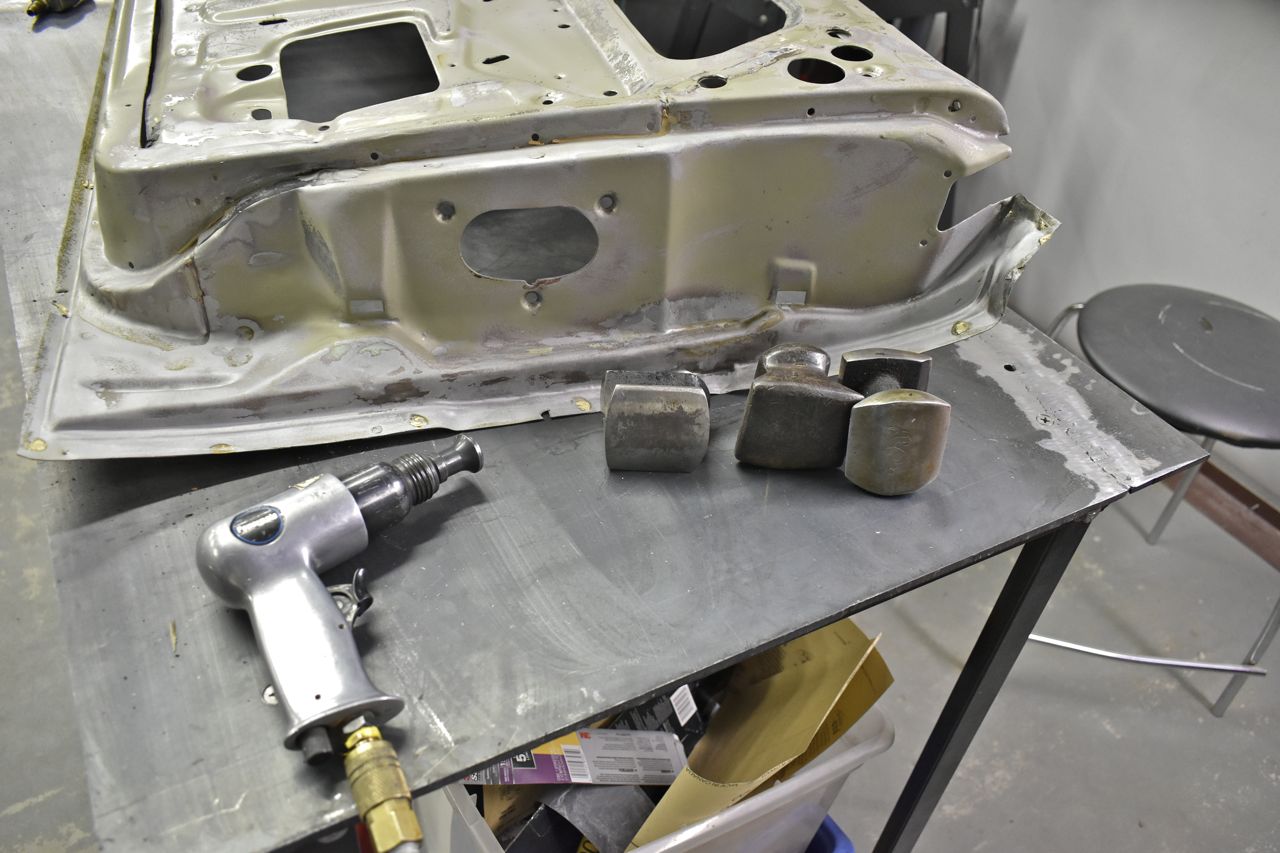
Back to it again on this. Since I needed a large sturdy flat surface to work on the shell, I needed a steel top table. A good friend donated some 1/4" steel plate in a trapezoid shape so after much cutting and splicing in 2 pieces I ended up with a nice rectangle very sturdy table top to work on the door, plus it works well as a welding table.

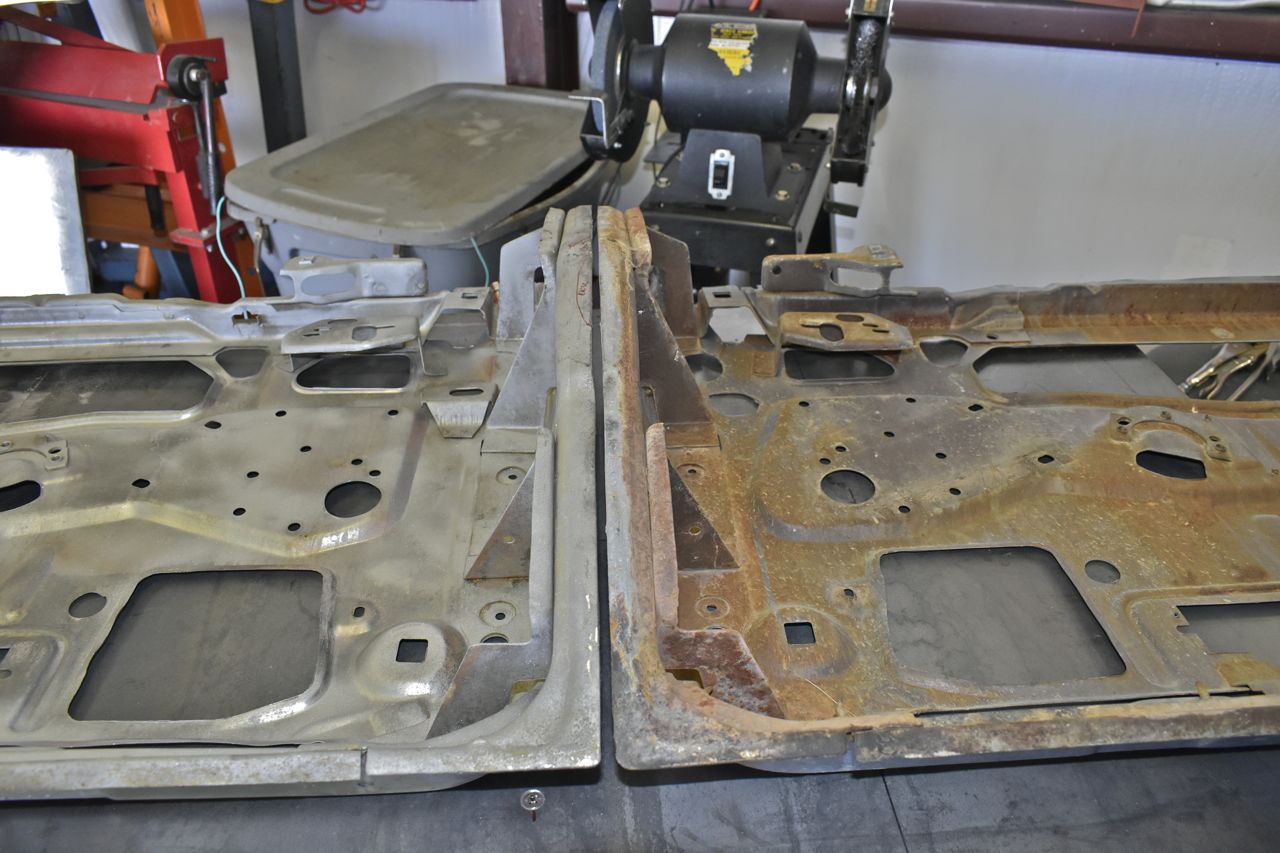
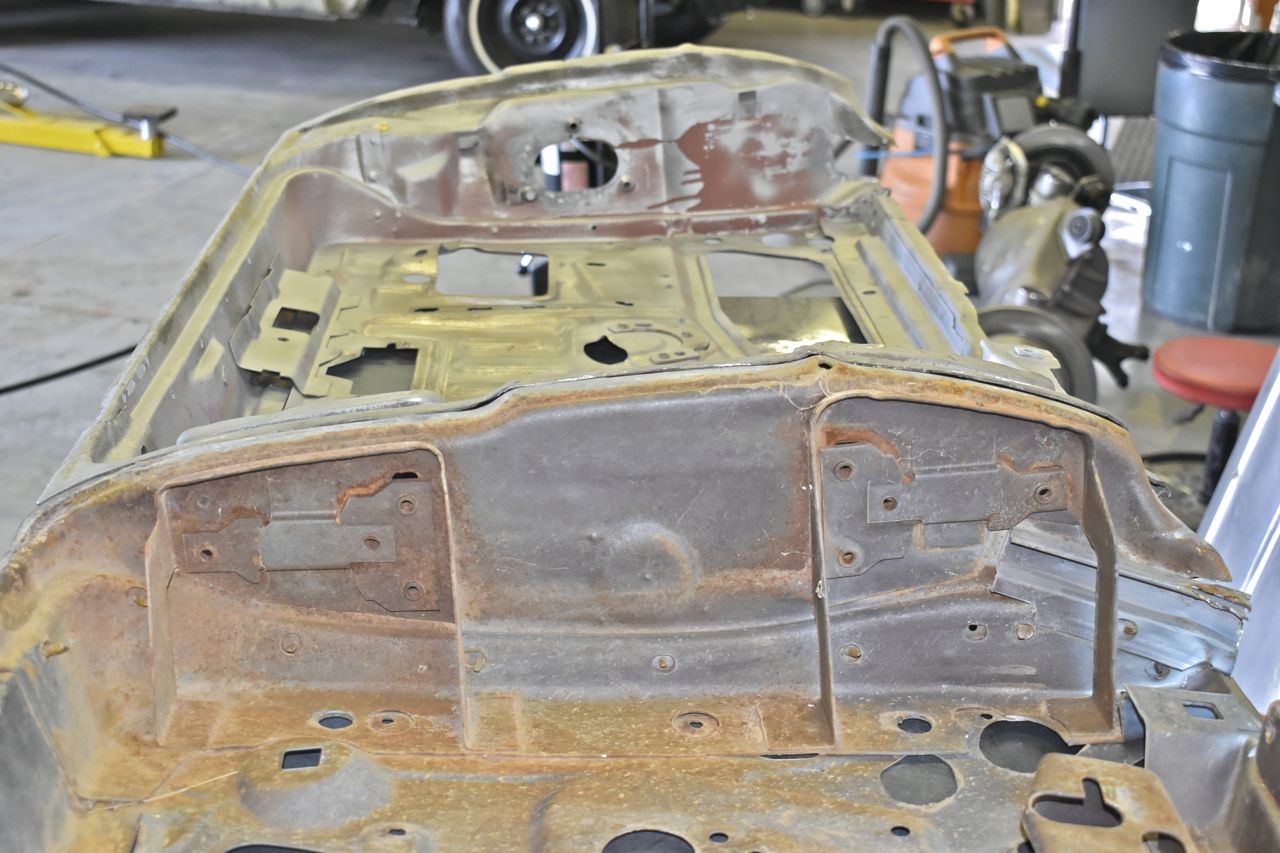
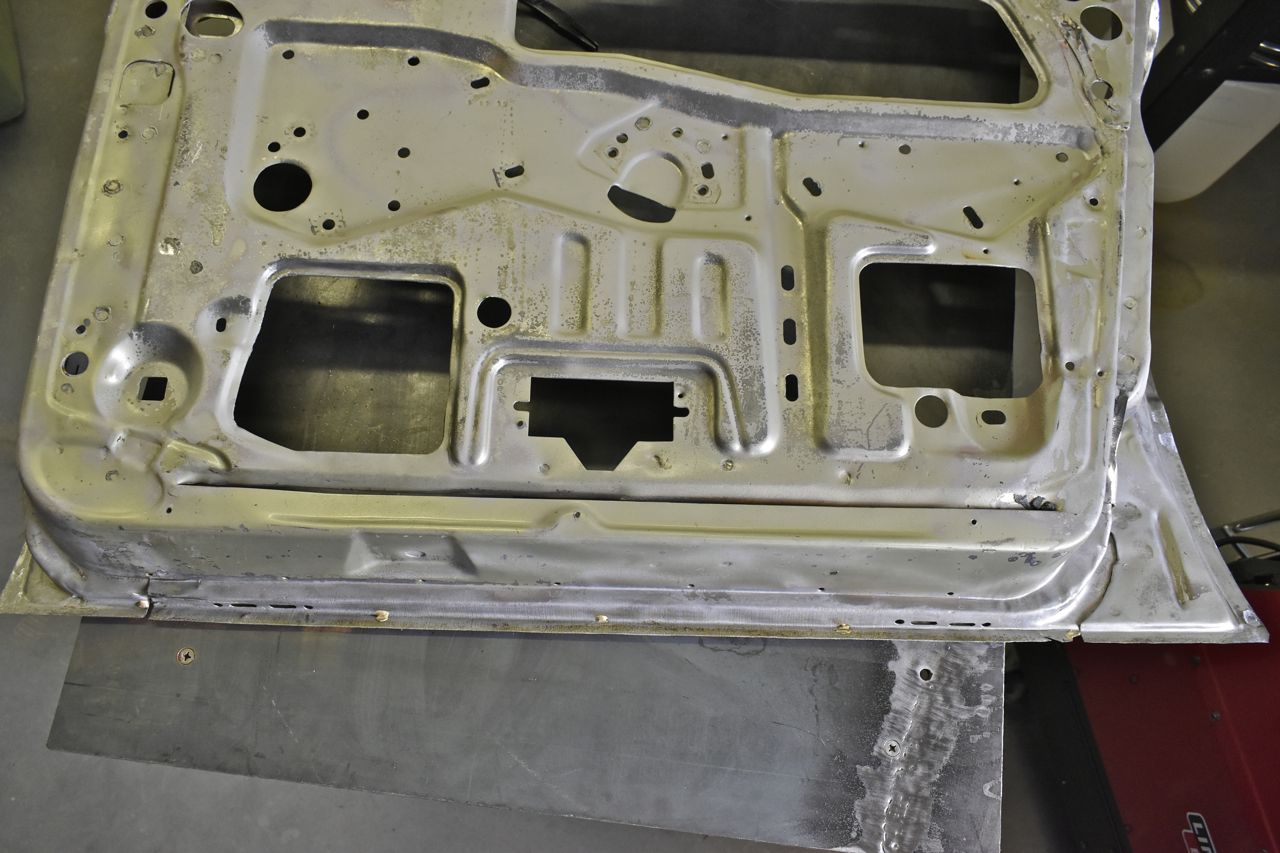
Now I can compare the door edge of the bent shell to the door edge of a good shell. I also deoxidized the LTD door shell and gave it a quick blast with water dustless sand blaster. I have the vast majority of the rust out of it now.
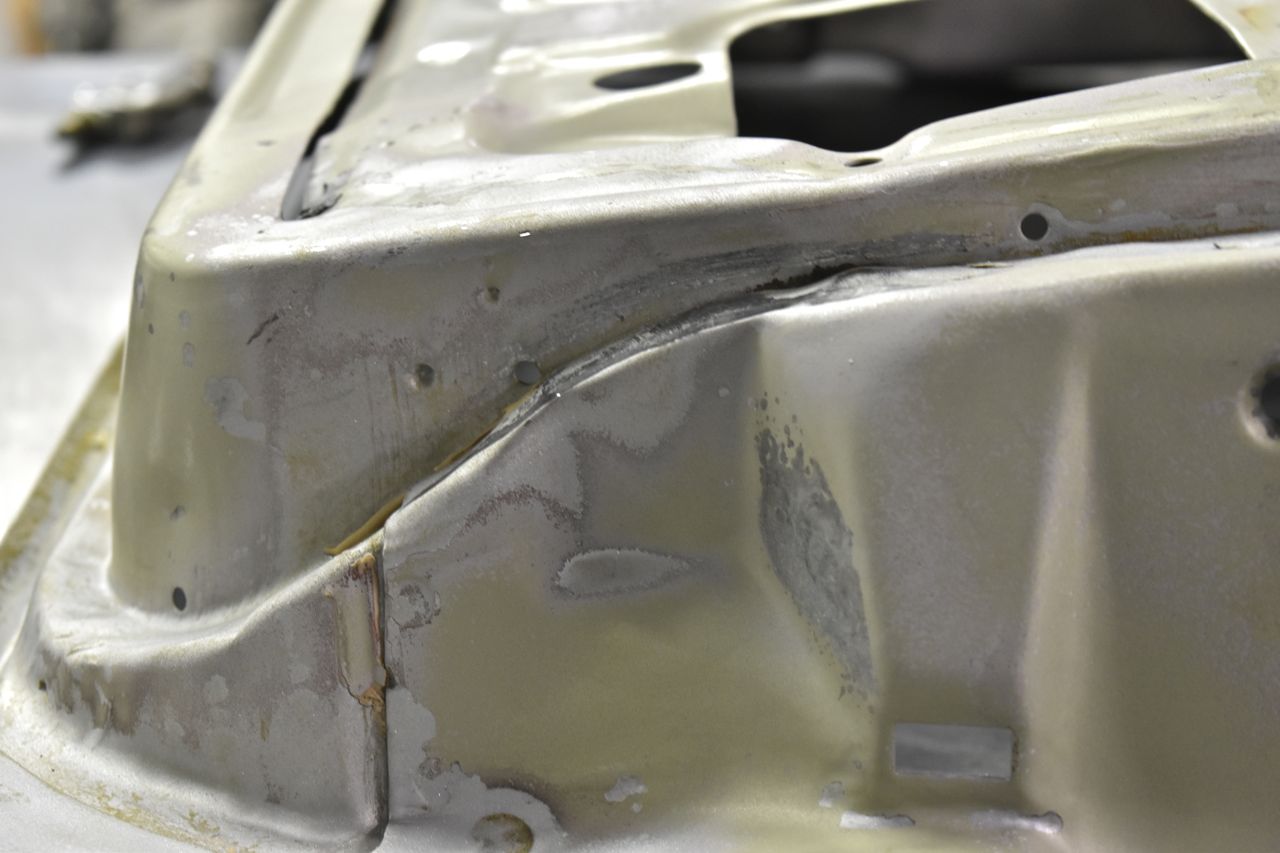
The hardest part in reforming the edge was putting the dippity do back in for the upper body line. It was creamed nearly flat from the latest accident. It tooks loads of persuasion to put it to right.
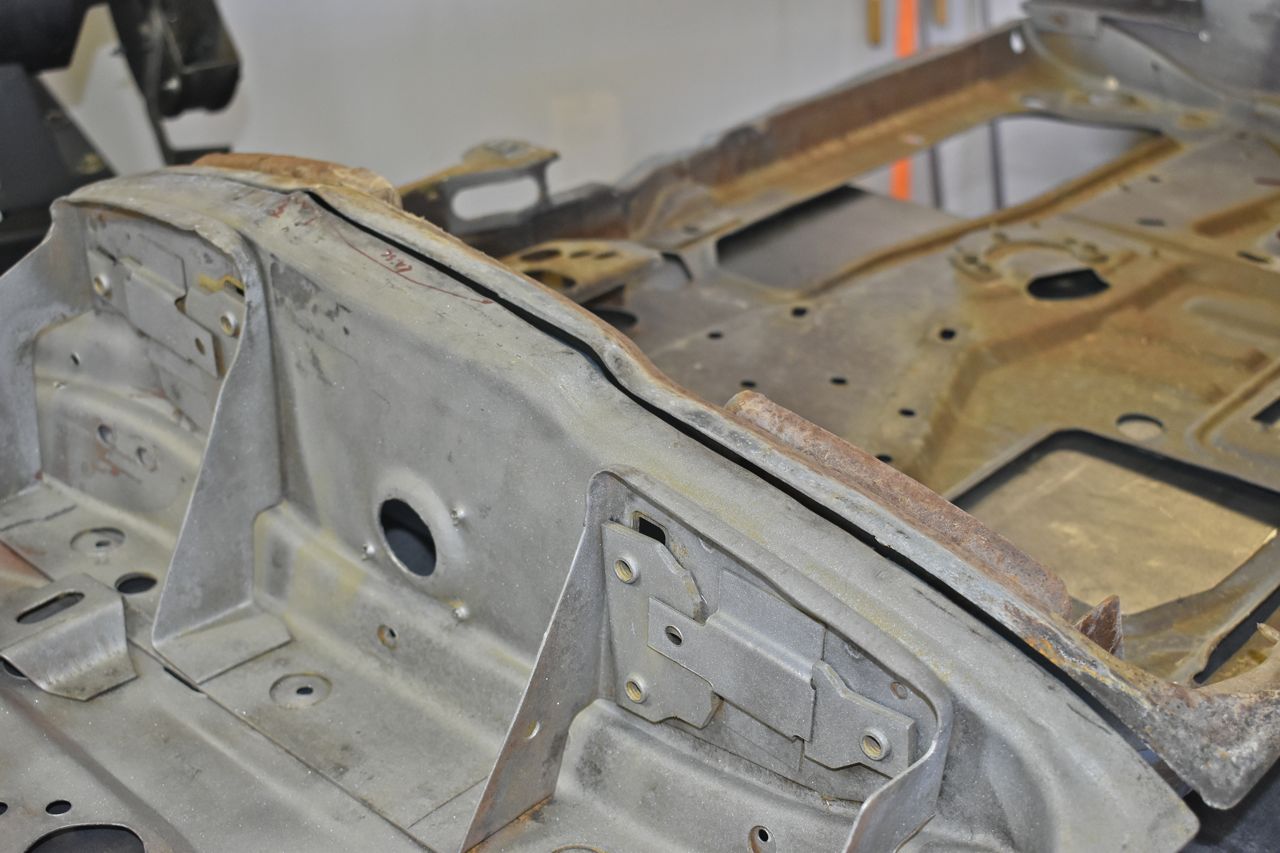
Back to where it's supposed to be. It was 3/16-1/4" pushed in at the top.
Some of the tools and fixtures I used.
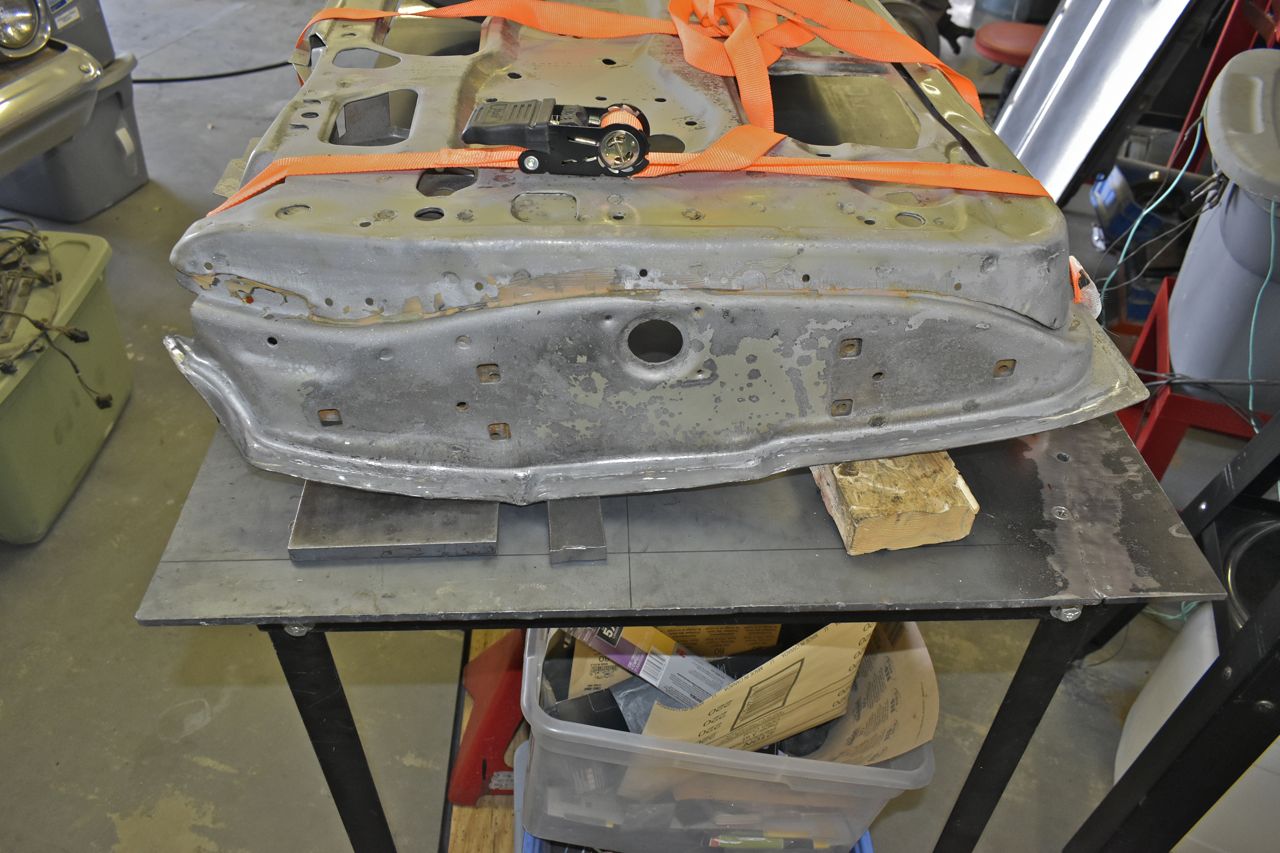
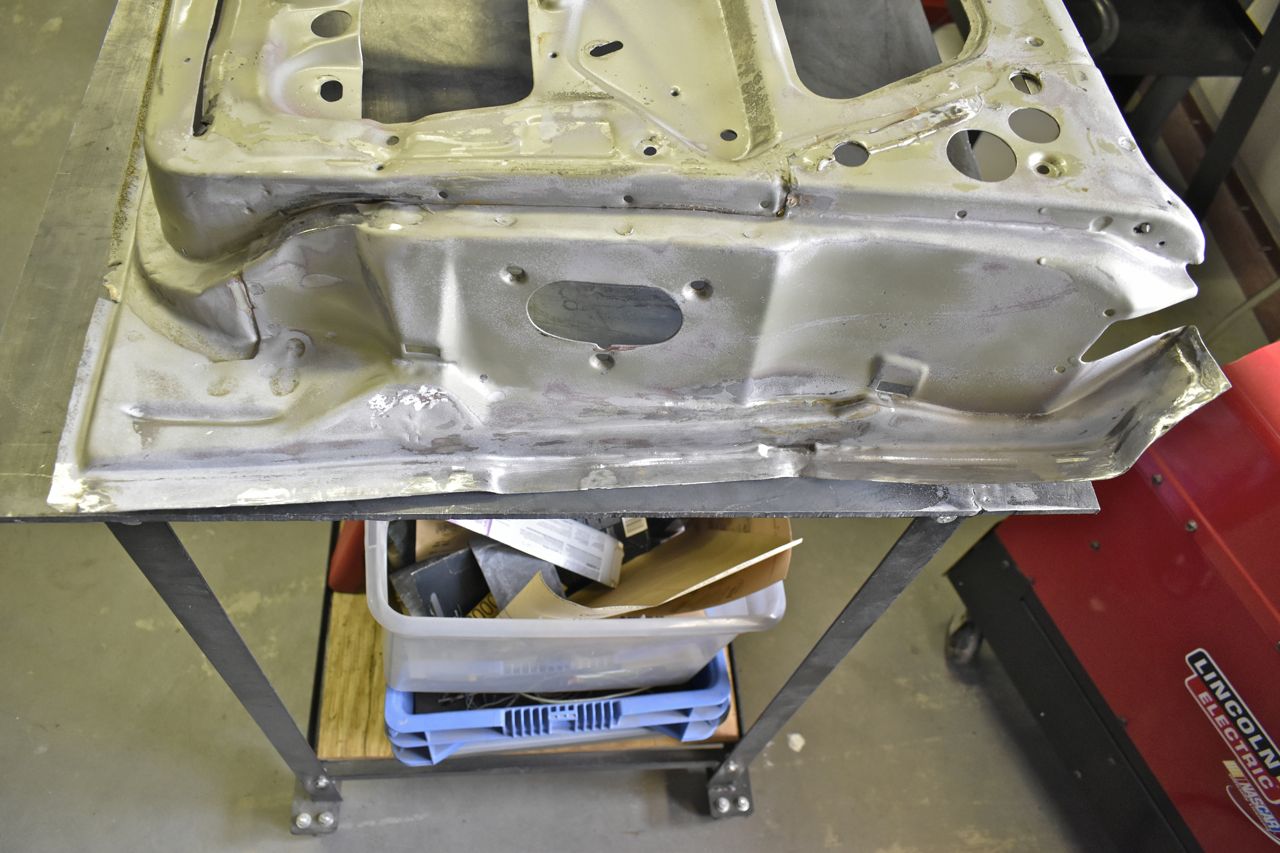
This was other damage on the other side of the door. It's buckled. This had to have been caused in the original accident all those years ago.
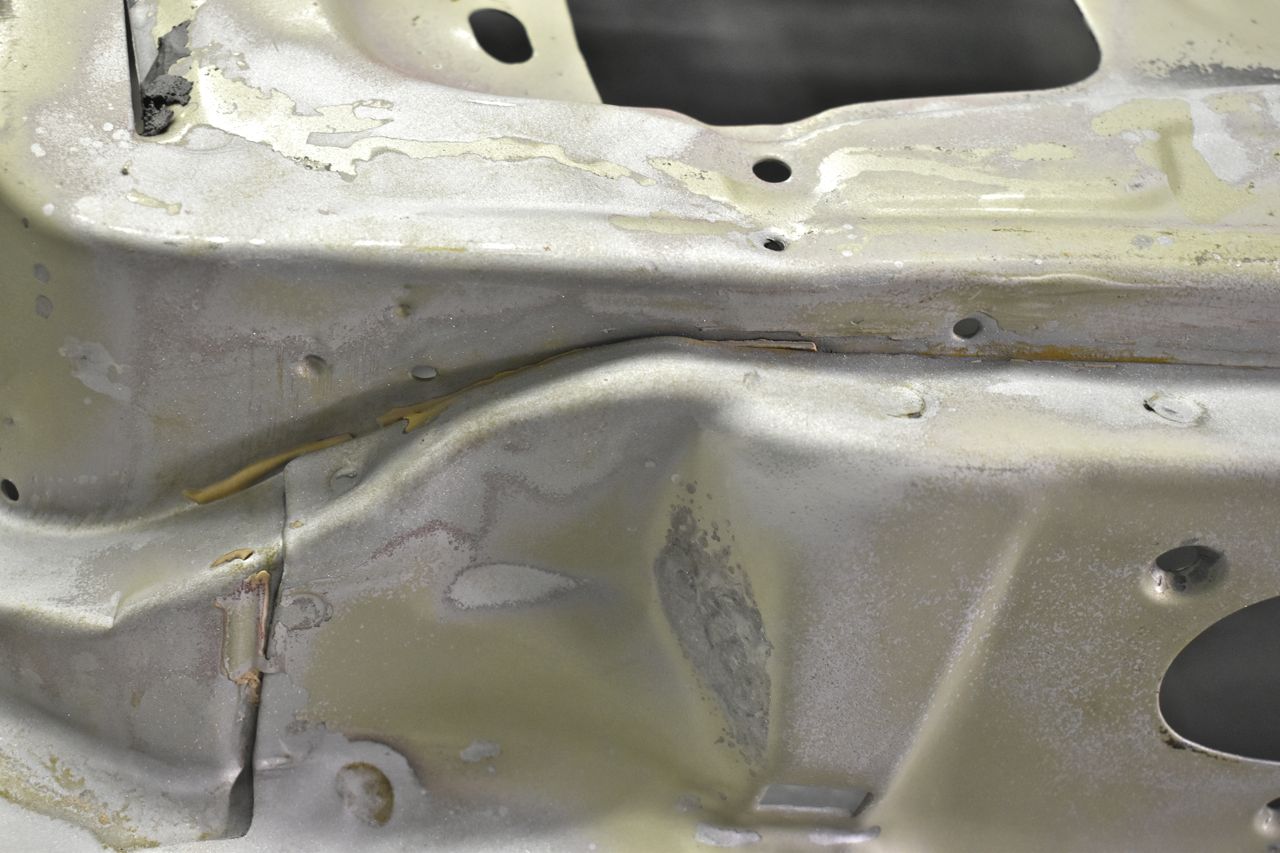
It's better, the weather strip now has a better chance to sit normally.
I used a planishing head on the air hammer and old dollies. I use old cheaper dollies on thick steel and save the good ones for the exterior panels.
Need to clean up this edge.

Same with the bottom edge.
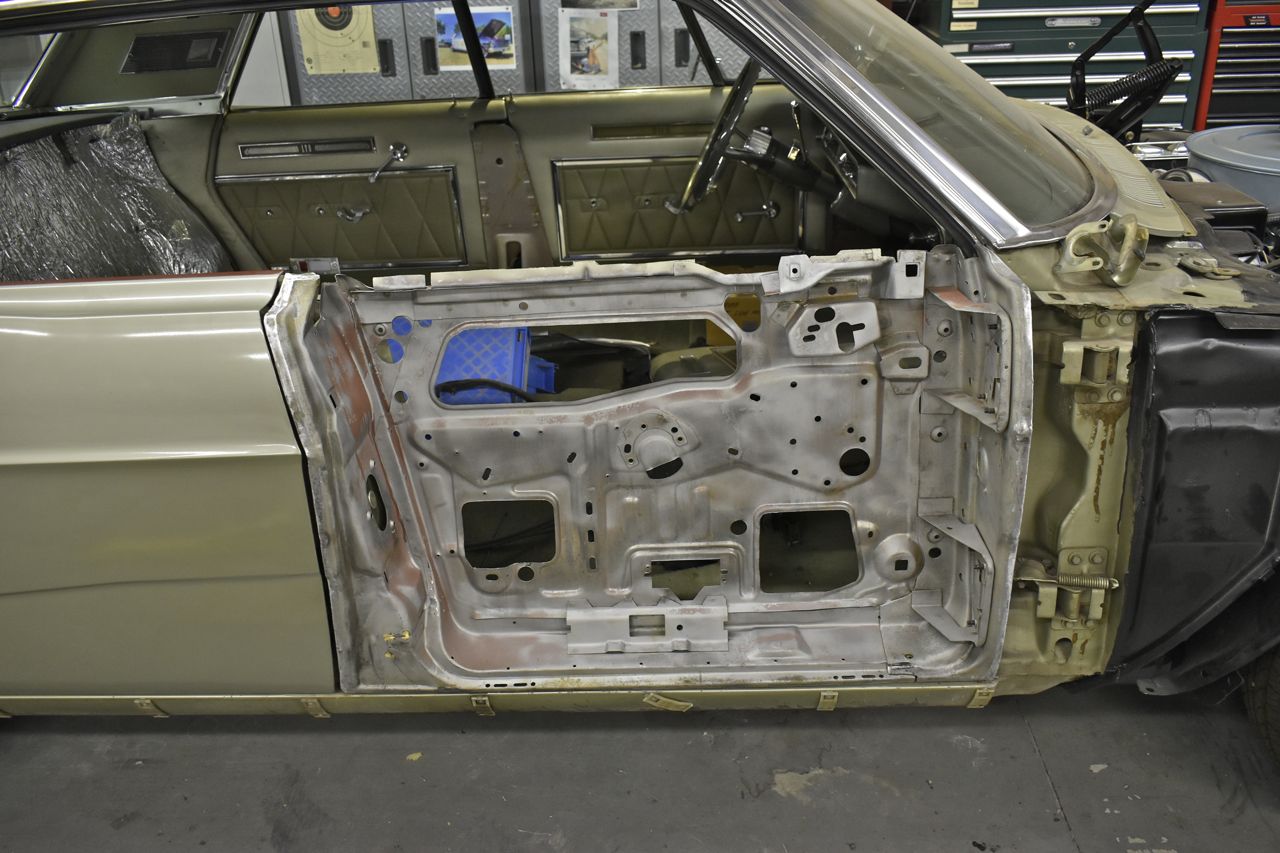
Now the door shell can go back on the car and all edges bent to conform to existing panel lines, such as the rear door edge, the rocker and the front wing.

Now I need the front wing on for now.
But first need to work on the replacement wing before I can temporarily put it on to finish the door.
Click here to continue to part 52