1966 Ford LTD Resto-Mod : 021 Transmission C6 Rollerization - Assembly part 8 - Neutral Safety Switch
2023, November 14
1 - 2 - 3 - 4 - 5 - 6 - 7 - 8 - 9 - 10 - 11 - 12 - 13 - 14 - 15 - 16 - 17 - 18 - 19 - 20 - 21 - 22 - 23 - 24 - 25 - 26 - 27 - 28 - 29 - 30 - 31 - 32 - 33 - 34 - 35 - 36 - 37 - 38 - 39 - 40 - 41 - 42 - 43 - 44 - 45 - 46 - 47 - 48 - 49 - 50 - 51 - 52 - 53 - 54 - 55 - 56 - 57 - 58 - 59 - 60 - 61 - 62 - 63 - 64 - 65Transmission (Dual Range C6) Rollerization and Build up - Assembly Part VIII
While you can buy a new neutral safety/backup lamp switch, I thought I'd try to revitalize the old one. It's crimped and riveted. With that I thought I'd drill out the rivets and tap for some pan head screws.

Years of weather took its toll.

It's cleaned and a very quickly made gasket ready for assembly with silicone grease.
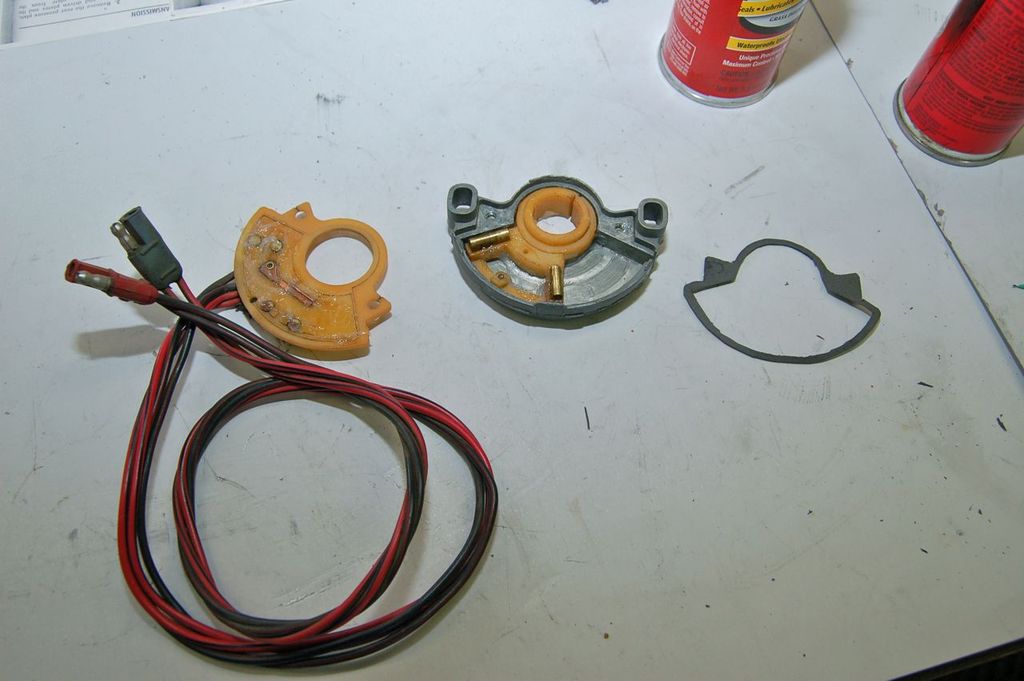
Screwed and recrimped back together.
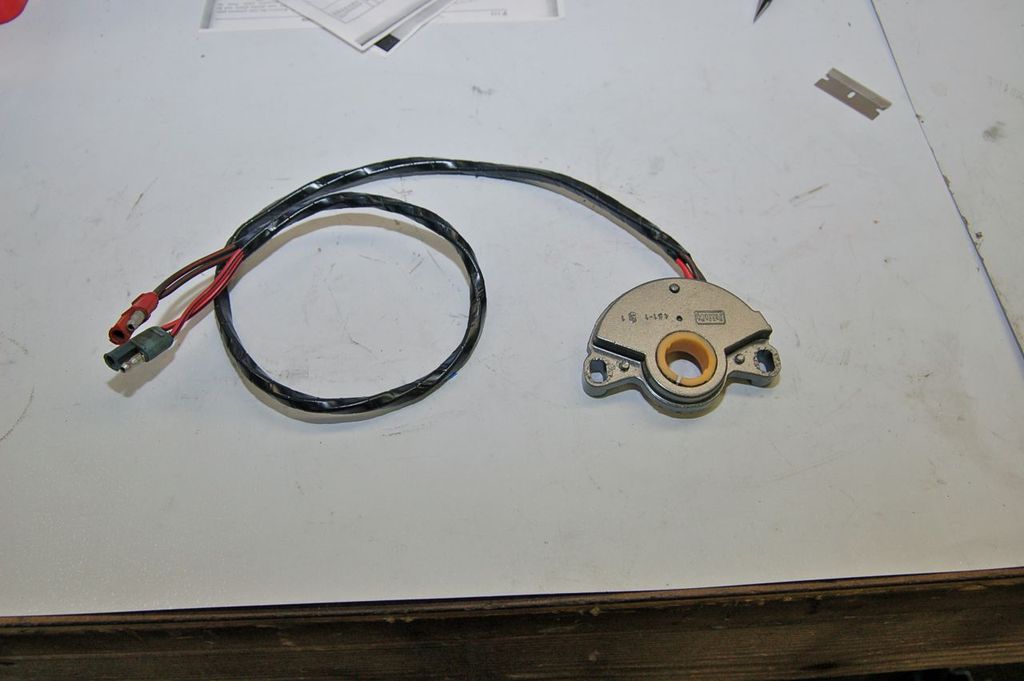
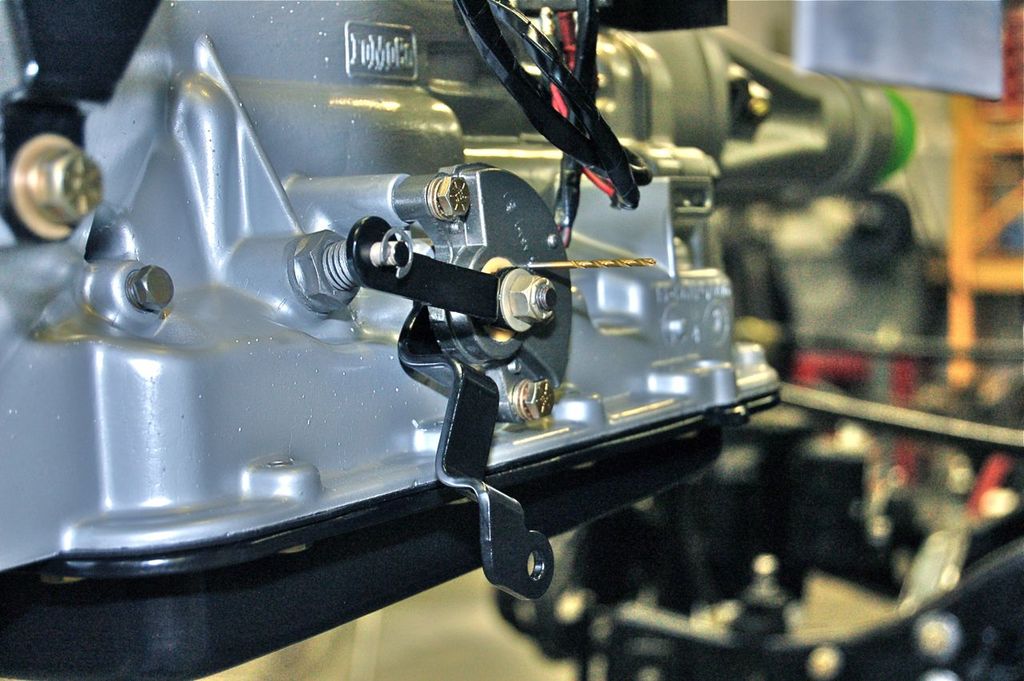
Once mounted, to adjust, set the transmission manual control to neutral, loosen the mounting bolts for the switch, insert a #43 drill bit or pin into the alignment hole all the way in. Wiggle the switch if you have to. Once the pin is set, tighten the switch mounting bolts and remove the pin. Test backup lamps and start function with a ohm-meter as you move the transmission through the gear ranges. This one works a treat now with no more intermittent flutters.
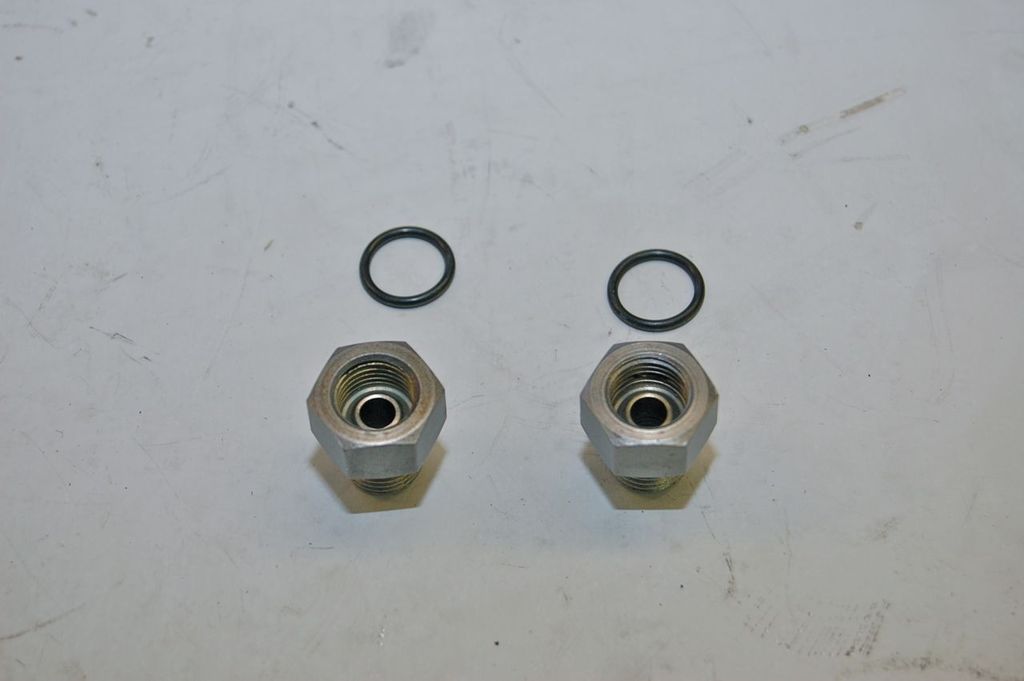
Install new O-rings and install in case.
While working on this I found the proper rear seal with the dust shroud. So I changed it. Seems to be a 1966 to 1967 thing. 1968 C6's do not have this style.

Here's the part number.
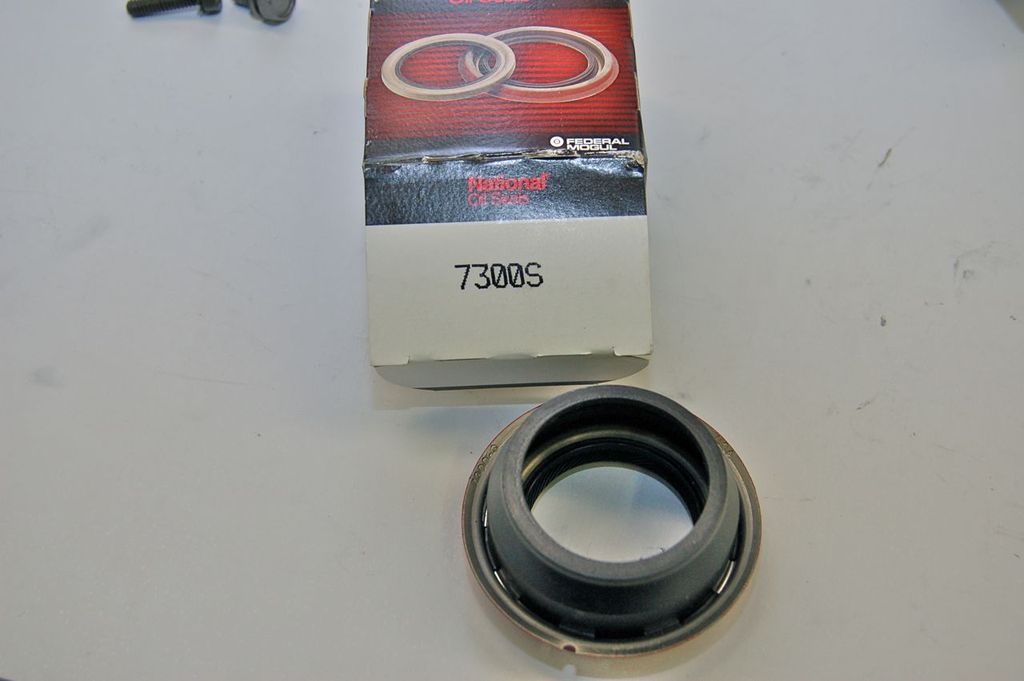
Install the vent tube, and all the other case hardware.

and we're done.

I modeled up some plugs in CAD and printed them out on the 3D printer to keep dust, bugs and moisture out of the trans till it's ready to be installed.

Just a few notes on this. I had over 600 pictures so I had to whittle that down a bit, I hope I covered enough to help someone out. The other idea I wanted to mention is to keep a logbook of what you do to the parts of the car. Even though I put the tag back on the transmission it is certainly no longer a model PDD -B.
Now there's no doubt I'll have to do some adjustments on the proving/adjusting drives. Some possibilities are other vacuum modulators with different spring rates and pin lengths, and if slipping still occurs in second gear I'll try larger piston servos. Good thing is all of this can be changed while the transmission is in the car.
As far as the torque converter, a rebuilt one with brazed fins, Torrington bearings and a flash stall speed around 2400 RPM was chosen. I specified a normal coupling at low power levels so the OEM diameter was retained, this allows normal low RPM stall when driving normally, but under hard acceleration and it will flash stall higher for better acceleration.
Hope you enjoyed.
Cheers.
Note 1: Well I got kind of lucky on the gasket. I searched high and low for that gasket with no immediate luck in sight. I resorted to the fact that I'd have to have one made. So I painstakingly CAD'd the original and while trying to source the raw gasket material came across a shop liquidating old stock and there they were.... just a handful and so I snagged them all.
But as a note to anyone in need of a specialized gasket, there are places that have CNC paper cutting tables for prototypes. Call around, gasket companies etc. The table has a precision knife head on it and they'll load your material and your CAD file. The table will cut out a nice gasket, in fact it's so precise it looks like it was die cut. Just do a good job on the CAD file :)
On the assembly of the rotating guts, like I mentioned earlier, more than one way to skin a cat. You should always do what you feel comfortable with. For me, after doing several transmissions on the bench and loading parts in like that I thought I'd give this a go and make a fixture to spin the case round. All I can say is that I wish I had taken the time to make the fixture for all those other transmissions, this was soooooooooo much easier, why fight gravity, let it be your friend
Note 2: The rear case thrust washers are the ones I converted whereas Frank did not. For #9 don't even bother trying to turn down the rear sprag race. You can buy a very reasonable Torrington and already machined down rear sprag inner race as a set. Here's the link
I bought the bearing/race set for the second C6 (internally combusting one) I built up.
It's a whole lot easier to just bolt in and go.
As for the rear Torrington (#10). This is weird one. I could not find it back then and just had a look and still it's not available through the common websites. On both C6's I built up I had to go to a local transmission shop in Albuquerque and order them. I think they were about 15 or so dollars apiece. As for the machining depth, I couldn't find any online reference to a depth or even bearing thickness so I measured it and the old flat thrust washer and machined the difference in the parking pawl sprocket. Unfortunately I didn't write that dimension down and it's been a few years and I don't remember.
Click here to continue to part 22