1966 Ford LTD Resto-Mod : 046 Wiring and Custom Lighted GM Power Window Switches
2023, November 14
1 - 2 - 3 - 4 - 5 - 6 - 7 - 8 - 9 - 10 - 11 - 12 - 13 - 14 - 15 - 16 - 17 - 18 - 19 - 20 - 21 - 22 - 23 - 24 - 25 - 26 - 27 - 28 - 29 - 30 - 31 - 32 - 33 - 34 - 35 - 36 - 37 - 38 - 39 - 40 - 41 - 42 - 43 - 44 - 45 - 46 - 47 - 48 - 49 - 50 - 51 - 52 - 53 - 54 - 55 - 56 - 57 - 58 - 59 - 60 - 61 - 62 - 63 - 64 - 65Right Rear Door Wiring
Since I'm adding power windows, locks, lighted switch, door ajar and locked sensors loads of wiring had to be added to the door.
It made good sense to sit down and work out each doors wiring along with what type of connectors I will be using. I'm using all Deutsch, but different series and colours in the door so each piece unplugs like a factory setup and each are different so you can't get corn-fused.

Since no one reproduces the '65-'66 power window switches I used older GM switches (1970- ~1976). I was going to use mid to late 60's GM switches as they are really close in design to the Ford switches, however the design of the 70's GM switches better suites the LTD's interior.
With the GM switches and Ford motors relays needed to be added to each door, since it's the original Ford power window regulators and permanent magnet motor. The Ford P.W. motors just reverse the polarity on the two leads to reverse the motor. On older GM's it's a double field series wound motor with a grounded motor and one lead for "up" and one for "down", hence the simple SPDT switch.
You can see the two relays on a small bracket I made that bolts to the top of the shell. It's out of the way of the moving glass and regulator parts.

I spent an entire 8 hour day just right here getting the wiring harness's made and fitted to the one door.

So when I have one harness made, in this case, the power window harness, I remove it and make the mirror copy for the other side door. No sense in having to reinvent the wheel when I get to that side. I also make the brackets as well. Other side will go much faster.

Here's the super complex original wiring for the door. A whole two wires one of which is ground. These old wires are so hard and getting brittle.

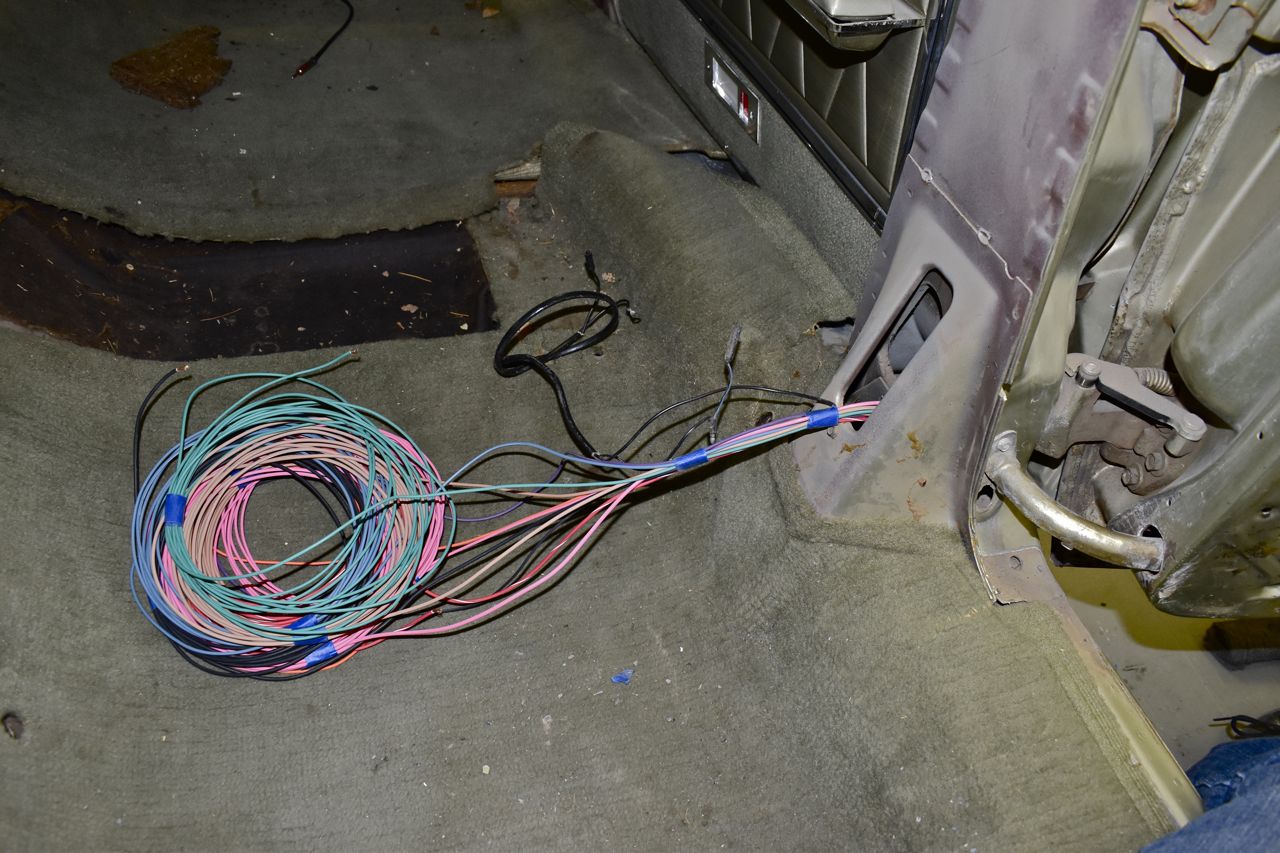
Bit of a mess.

Better. So everything in the door is on connectors and this is the start of the right side body harness. Since I bought mounds of different colour wire, gauges and type (GXL, SXL, TXL) I use what's appropriate then write on the schematic the colour wire and gauge and I'll go edit that back in for future reference.

I should point out I fitted the entire door together and made sure the power lock, window, lamp, and sense switches all work.
So far so good.
Lighted Older GM Power Window Switches
Since you don't see old cars with lighted power window/lock switches I thought this would be another cool feature, a nice little touch that sets this LTD apart.
First off I based this on the original GM power window switch socket, just with modifications. The only thing that made this possible were the GM switches have a translucent back, even the reproductions one I bought. So the idea is to shine the light through the socket and through the back side of the switch.
I modeled up a 2 piece switch socket in 3D then printed those pieces in ABS clear on the 3D printer. Next I did a PCB layout and sent the files to a board house. Here are the boards.
Osh Park is pretty neat. You upload your Gerbers right to their website, they are checked for errors and then they give you a price right there. It was less than 4 dollars for 3 boards. Nicely made, 1 oz copper, double sided, with mask and silk both sides. I spent some time on these, as they will easily pass ESD, load dump, reverse voltage, over voltage, inductive coupling and direct inductive SAE tests for autos. (use to do this for a living)

Here are the parts soldered on.


The original GM connector is on the left and the one I designed on the right and lit up.


Assembled and on the switch.

Looks really cool at night.

So I have three single ones done, need to do the 4 gang master.

Cheers
Click here to continue to part 47