1966 Ford LTD Resto-Mod : 028 Body Pan Repair, Cleaning, and POR-15 Coating
2023, November 14
1 - 2 - 3 - 4 - 5 - 6 - 7 - 8 - 9 - 10 - 11 - 12 - 13 - 14 - 15 - 16 - 17 - 18 - 19 - 20 - 21 - 22 - 23 - 24 - 25 - 26 - 27 - 28 - 29 - 30 - 31 - 32 - 33 - 34 - 35 - 36 - 37 - 38 - 39 - 40 - 41 - 42 - 43 - 44 - 45 - 46 - 47 - 48 - 49 - 50 - 51 - 52 - 53 - 54 - 55 - 56 - 57 - 58 - 59 - 60 - 61 - 62 - 63 - 64 - 65Hello again,
Been awhile and back to working on the LTD. So here's some pics of what has been or is being done.
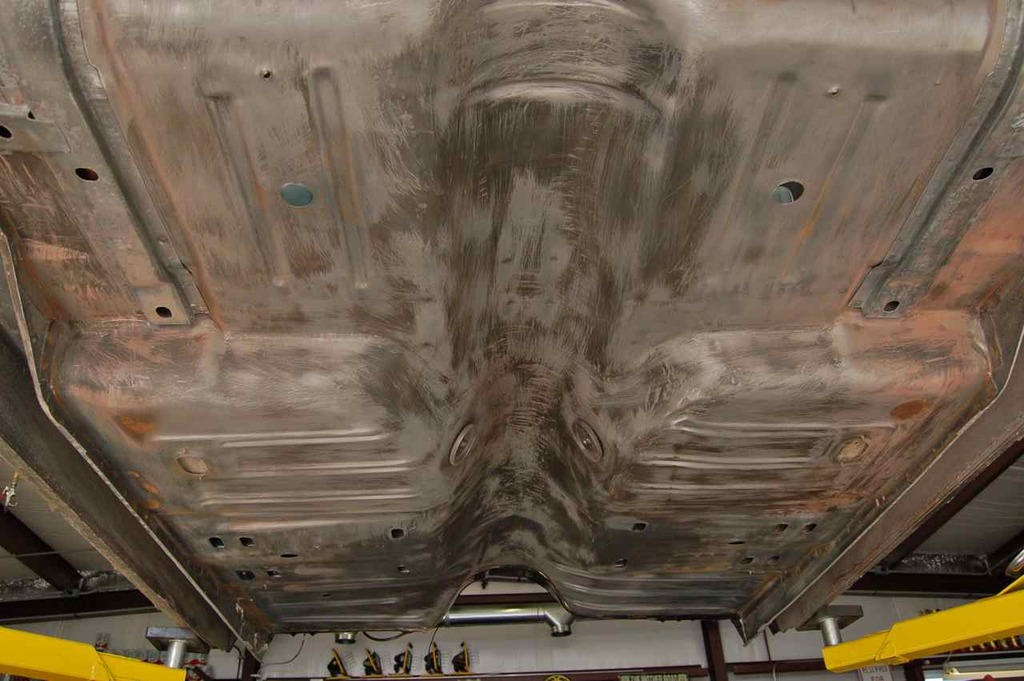
I hand wired brushed all the factory 50 year old undercoating off and removed all the excess body seam sealer that was also used. Good grief they really blobbed it on.
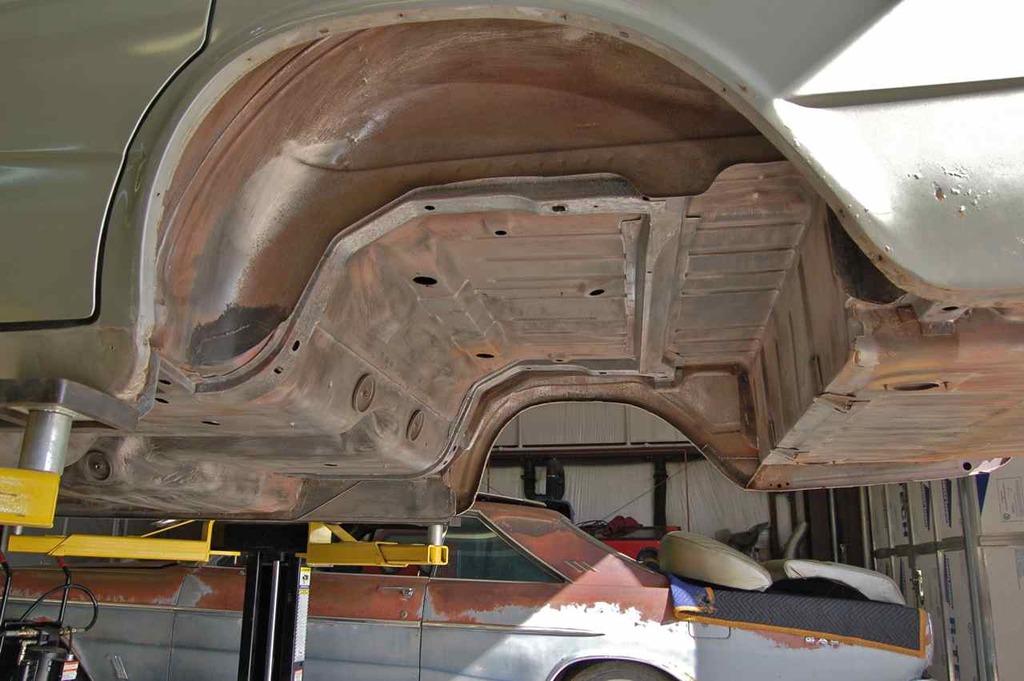


So now I can coat the inside of the channels that run underside near the back.
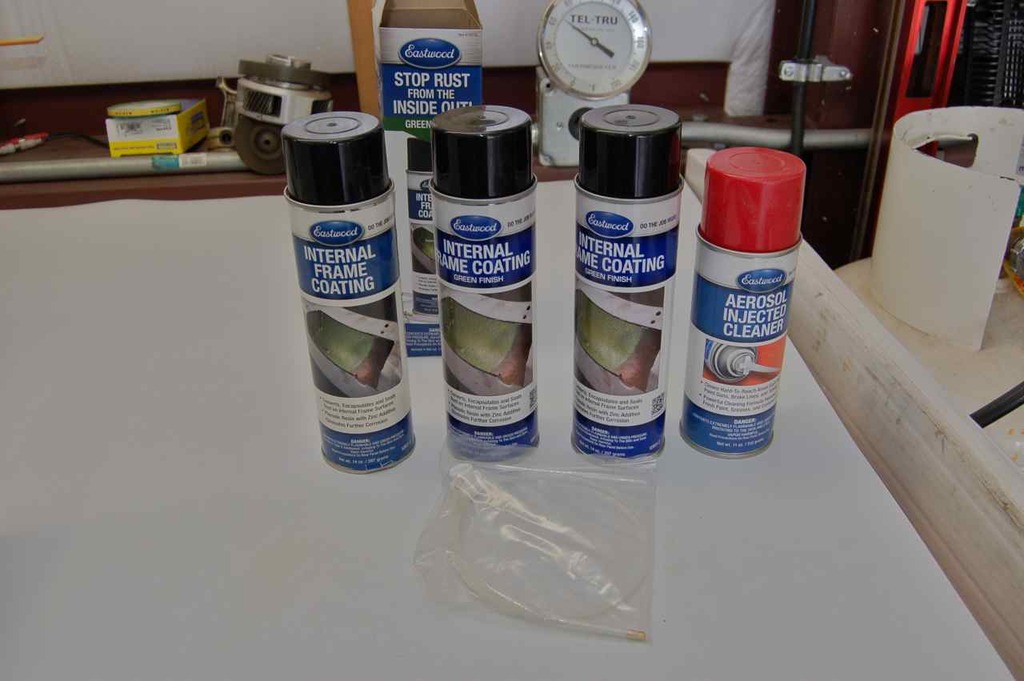
This is what I used, has a convenient little spray tube that reaches in and coats everything.
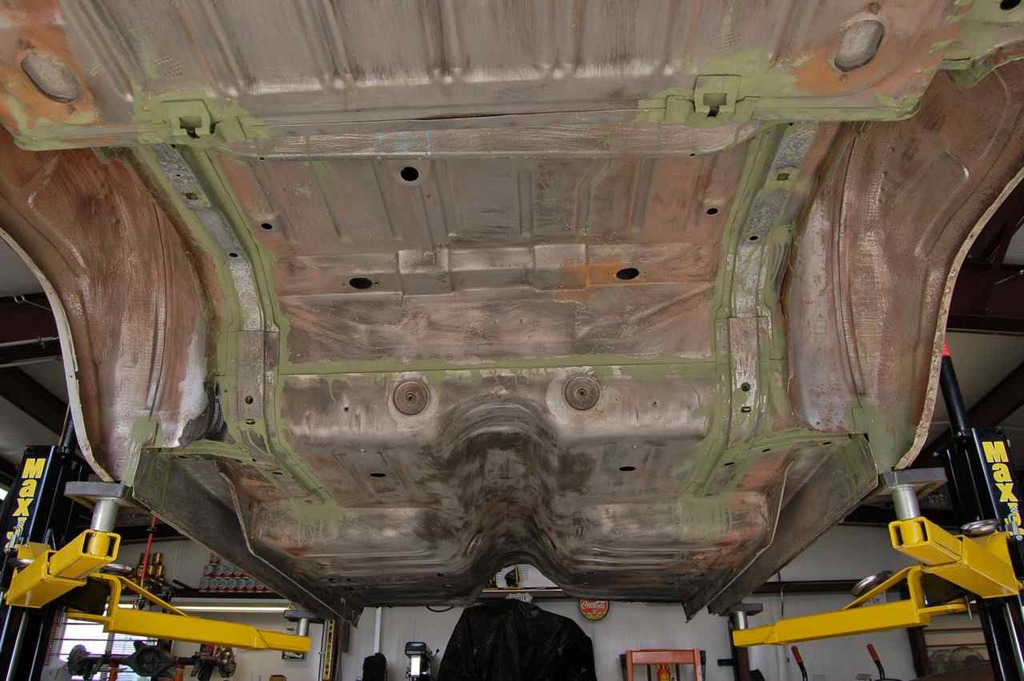
Still makes a colossal mess! A rain suit is in order for this. But I hosed it into the crack and crevices.
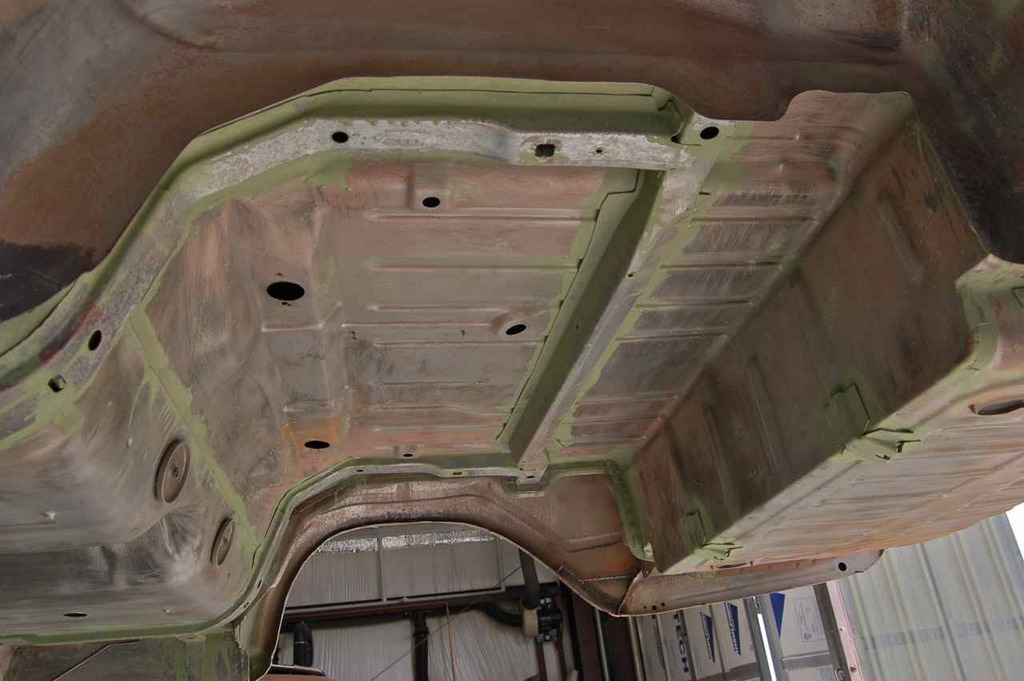
Just waiting for it to dry before I start POR 15 the rest and finish up the dreaded cutting and welding of the little rust holes I uncovered removing all that goo.
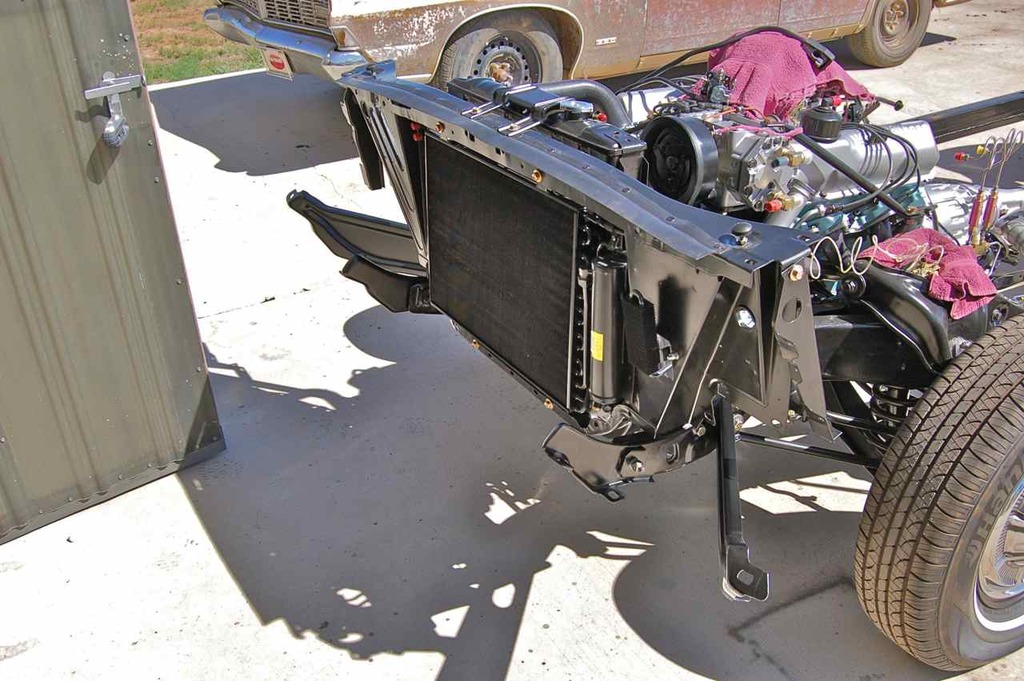
And also working on the front bumper assembly.
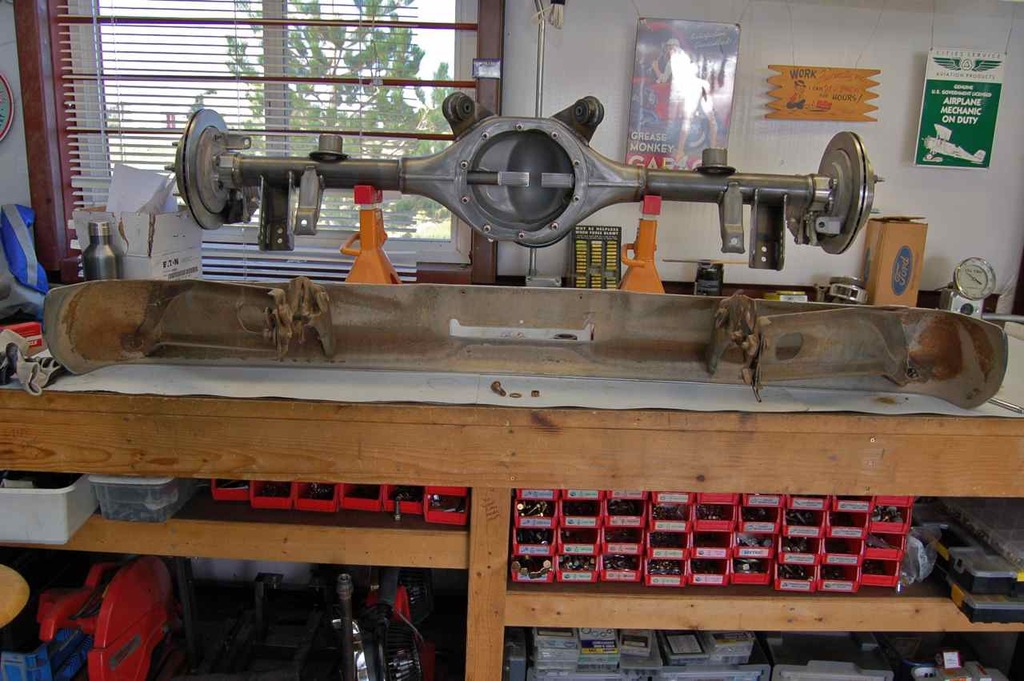
Have the brackets off and in the electrolysis bath, once they are done they'll get powder coated, then I'll dress the hardware and see what I can do for the bumper, since rechroming is out of the question for now.
As the body is getting repainted and rust repair, wasn't to concerned about POR 15 on the outside. This is the first coat, I had accidentally bought gloss POR 15 and since it's so expensive I used it for the first coat, the second coat will be semi-gloss.


Started welding up holes. These were punched in from the factory and head seam sealer hiding them.
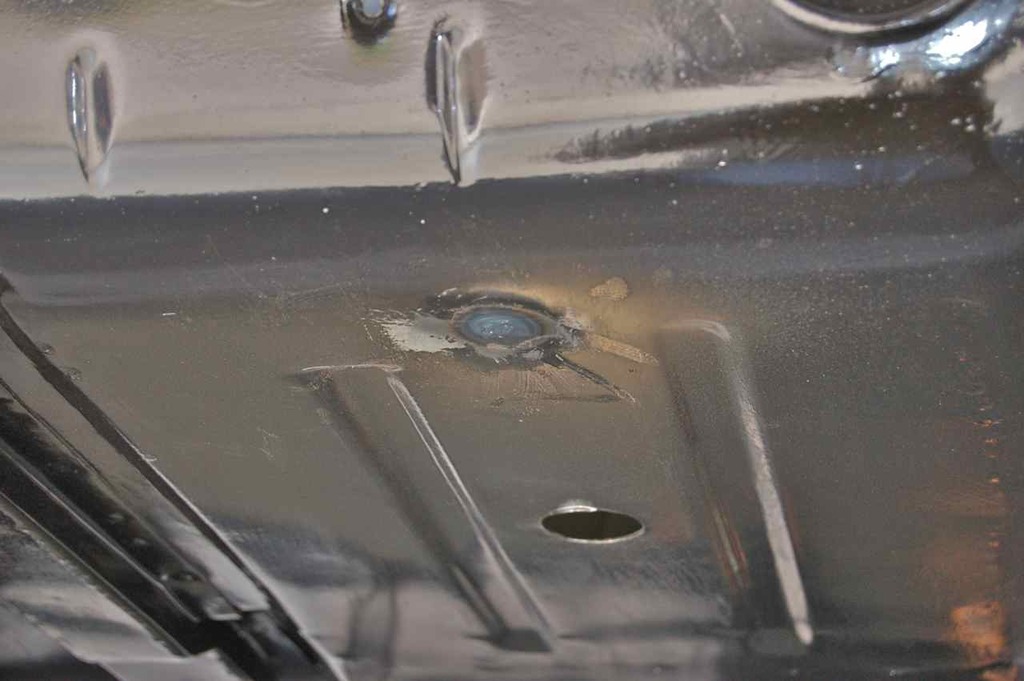
I have some rust holes that I'll be working on today. These are where the rear cowl drains attach and vent out over the rear axle.
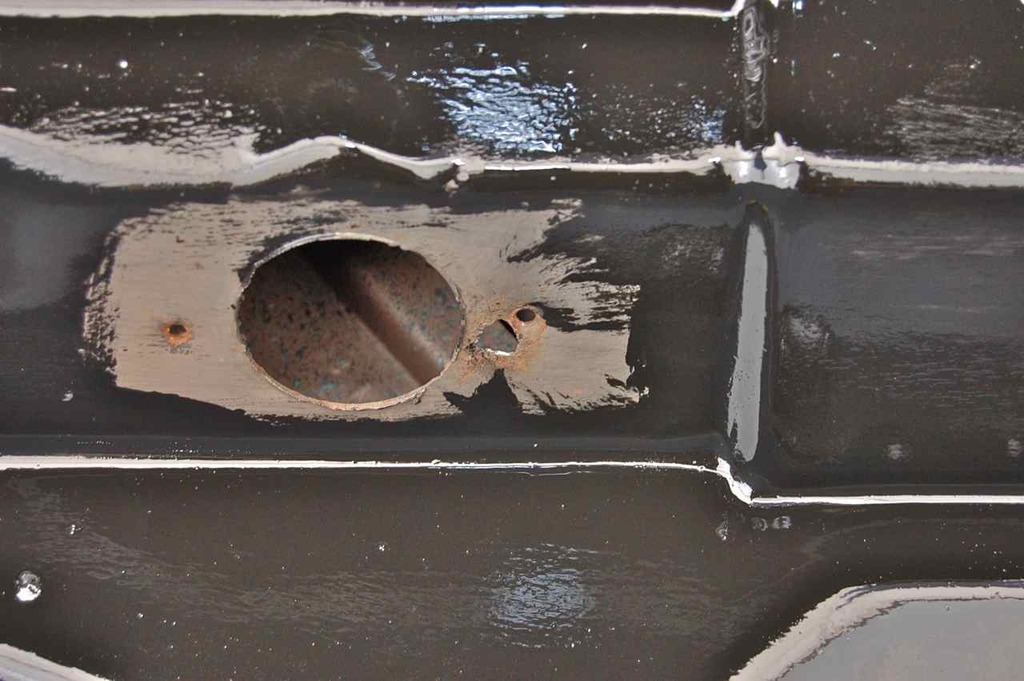
As well as plugging other holes from the factory that are not being used.
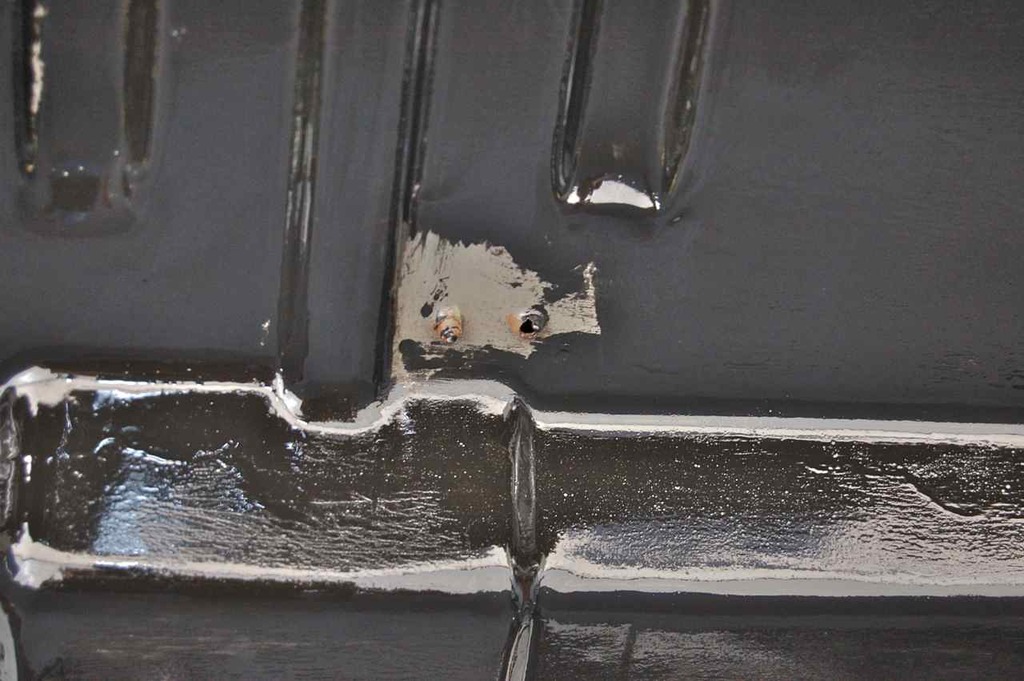
As well as fix these thin areas with pinholes
The front bumper brackets have been stripped and powder coated and installed on the chassis.
NOTE :
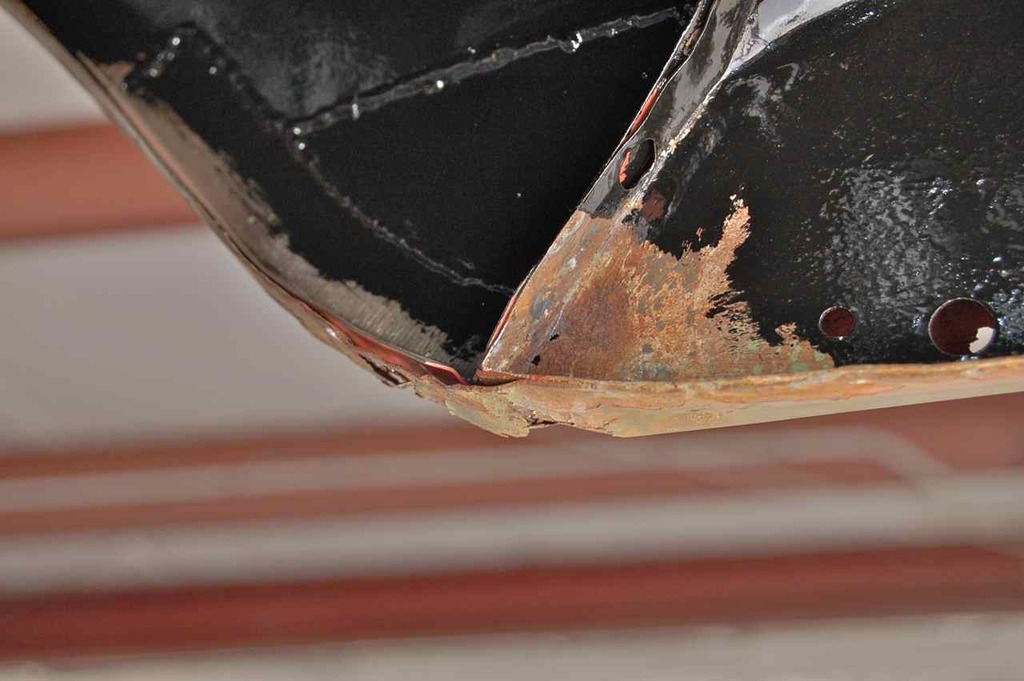
Unfortunately the lower rear wings/quarters need to be cut out and new pieces welded in, there's many pinholes/rust bubbles coming through the paint. Upon looking inside the boot/trunk area the corrosion has made the metal really thin. And of course rust bubbles in the paint means it's rusted through the steel panel and usually large areas are affected and need to be cut out, otherwise the problem will just resurface in short order.
Ford used galvanized supports in the body, I just wish they galvanized the whole thing!
I managed to tackle the one rust hole in the drain area under the body above the rear axle.
rust hole and thin area around the drain hole.

cut out the affected area and made a template on card paper, then cut out a new piece of steel with the gap necessary for the MIG welder.

but stitch weld the piece in
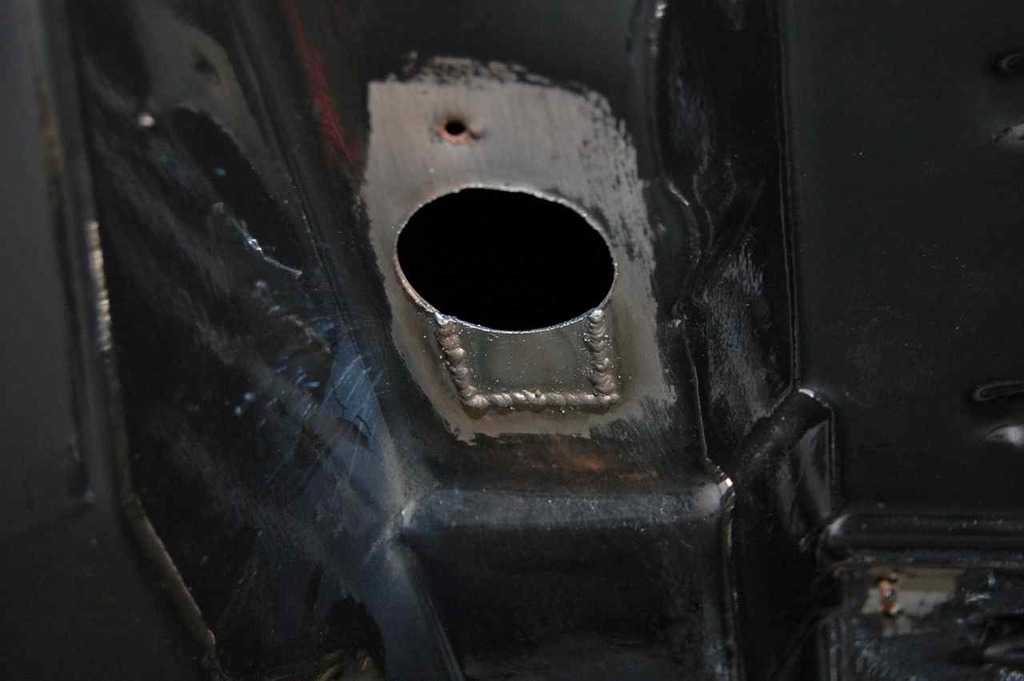
Even though is well under the car and this is not a show car, I decided to start practicing metal finishing. Mind you this is overhead as I'm welding from underneath the car.

Here's how the weld appeared on the top side, this is directly behind the rear seat. There isn't much room here.
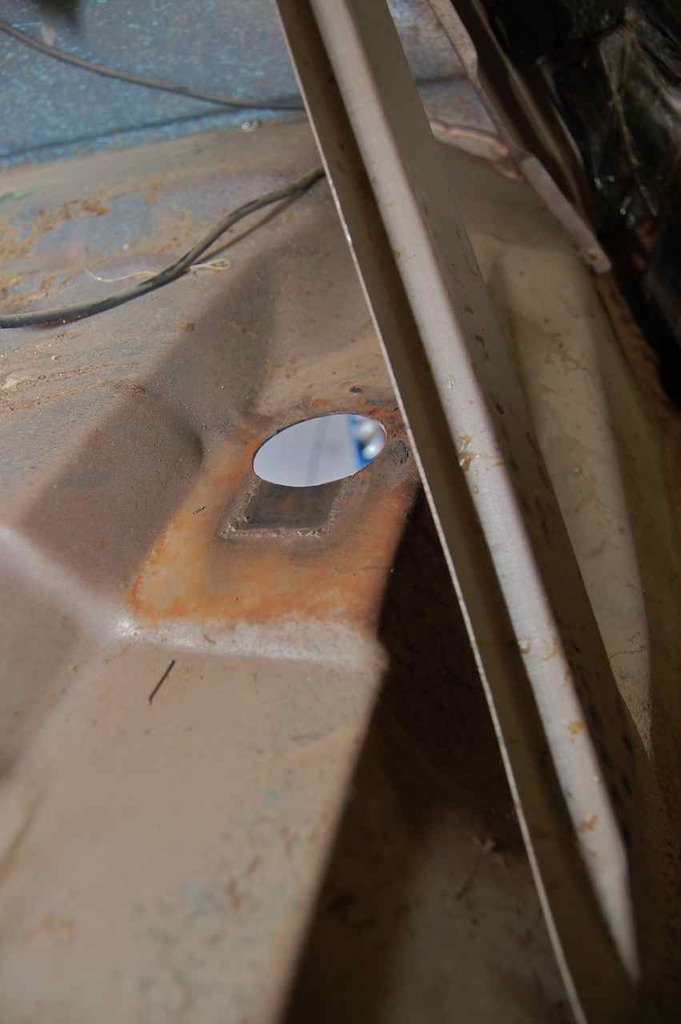
A quick dress from the belt sander to smooth it out, there is a seal here between this and the drain tube. In case you're wondering, the '65 and '66, as far as I know, 4 door hardtop galaxies and LTD's have a rear cowl for a vacuum operated vent and there is a gutter drain in the rear package tray/shelf area that drains into this hole I just mended.

This is right above the hole in the floor, you can see the oblong gutter spout.

Here's the whole picture.

However the drain tubes are 50 years old and disintegrating and as they are not reproduced I'll have to think of something to join this up. I have a plan and it will involve the 3D printer and ABS plastic along with aircraft cowl tubing.
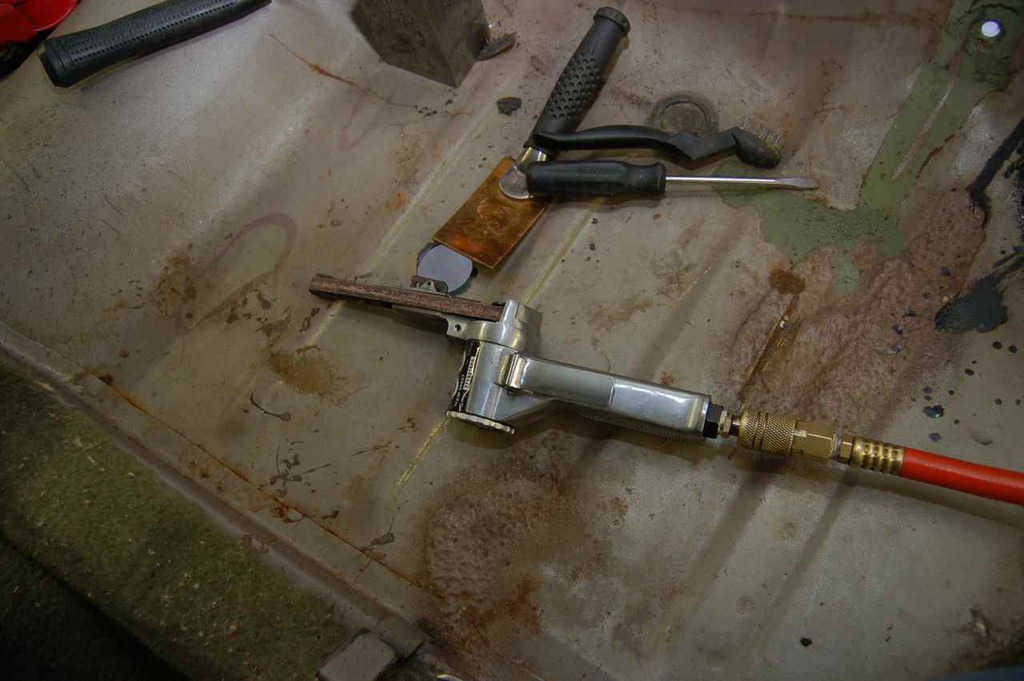
This is still a great cheap little tool (Harbor Freight) for getting into tight places to sand down weld, or rust.
Until next time...
Click here to continue to part 29