1966 Ford LTD Resto-Mod : 012 Transmission C6 Rollerization - Build & Modification, part 1 & 2
2023, November 14
1 - 2 - 3 - 4 - 5 - 6 - 7 - 8 - 9 - 10 - 11 - 12 - 13 - 14 - 15 - 16 - 17 - 18 - 19 - 20 - 21 - 22 - 23 - 24 - 25 - 26 - 27 - 28 - 29 - 30 - 31 - 32 - 33 - 34 - 35 - 36 - 37 - 38 - 39 - 40 - 41 - 42 - 43 - 44 - 45 - 46 - 47 - 48 - 49 - 50 - 51 - 52 - 53 - 54 - 55 - 56 - 57 - 58 - 59 - 60 - 61 - 62 - 63 - 64 - 65Transmission (Dual Range C6) Rollerization and Build up - Modification Part I
Hello,
I'd like to talk about what I did and most importantly why I did it. Anytime you modify anything you need to have a clear goal in mind otherwise you could end up wasting time and money on one aspect and not enough on the part(s) that need it.
The application is a 1966 LTD, 4 dr hdtp with a 390 estimated in the range of 500 hp. Nothing else has changed on the car, the weight is ~3700 lbs. with a 3:0 rear end and factory size tyres. Since the transmission is from the car, the factory calibration of shift points and line pressures should be satisfactory but we can fine tune them on the shakedown drives.
I feel it is important to touch on "shift kits". I've had my fair share of them. While it appears "shift kits" are under the guise of a "must have", a overly harsh shift is just as damaging as a extra soft slipping shift. For my application, there will be no shift kit.
Let me explain why, first this is a nice cruising car with a beautiful interior, the exhaust will be quiet but allow the necessary flow. I don't want to feel the shifts under normal driving conditions. Now it's true a soft shift will wear away the frictions more quickly than a firm shift. But you should replace trans fluid every 30K miles anyway, and so what, maybe the frictions will only last 200K miles versus 250K. This is Fords top of the line LTD not a gutted out race track warrior. But the choice is yours. I had a car with a firm shift kit, and I can say it was not obnoxious but it does get old to the point I did not wish to drive it every day. But that's just me. OK, I've said my peace on this.
The modifications needed to live behind the higher power of the 390 will be adding an extra set of friction and steels in the forward and direct clutch, a wider band, and we're going to use Red Eagle frictions with Kolene steels.
What I elected to do also is "rollerize" the transmission to reduce energy wasted internally. You can look at this as wasted power not reaching the rear wheels under full throttle conditions or conversely under normal driving conditions wasted fuel turned into heat and lower MPG.
The following are two books that were paramount for tackling this as well as some web resources I'll also post.
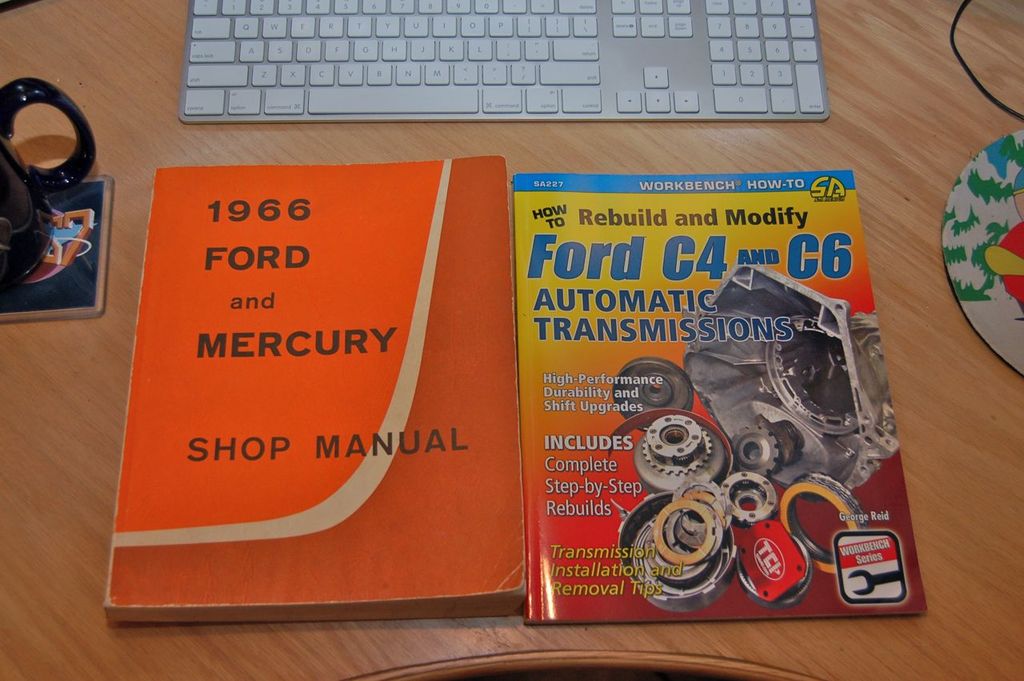
The shop manual is the absolute must, the "How to Rebuild and Modify Ford C4 and C6" book is really an addendum or supplement if you will to the shop manual. The reason I say this is while I've never opened a Ford C6 before but have several GM transmission rebuilds successful under my belt, the book was a little confusing to me. I had to read it several times and unfortunately by the time you get to the C6 section the author assumes you are intimately familiar with the C4 and makes many mentions comparing the C6 to the C4 upon disassembly and modifications. I found it kind of confusing trying to learn just about the C6 while not having empirical knowledge of a C4. As a result I found myself constantly flipping around the book.
But I did learn a few tips and tricks from the book, which is why I consider it a valuable supplement. I think it's nearly a forgone conclusion that the big C6, while very robust is also an energy vampire.
Here's a snippet I found on the 460 forums concerning this.
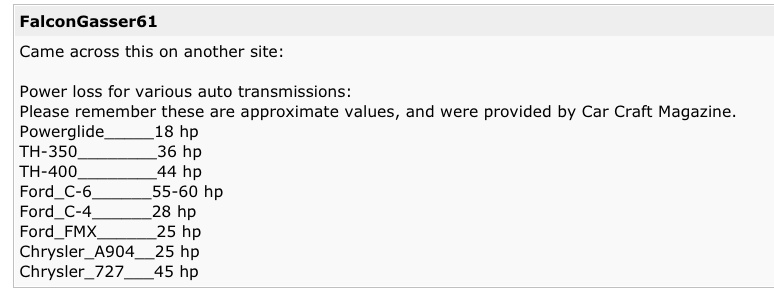
The link to this is Roughly how much power will a C6 rob? 460 Ford Forum if you wish to research it further.
While I could not find any direct evidence of power savings by rollerizing as it were I did come across a singular post stating after rollerization his particular C6, it absorbed only 30 hp.
As with anything not backed up with evidence take it with a grain of salt. I figured it couldn't hurt only help. The process of rollerizing is replacing key flat thrust washers with Torrington bearings. This requires machining of the rotating parts as the Torrington bearings are thicker than the stock flat thrust washers.
While I took my lead from the book on rollerizing the C6, as with anything you can just buy everything already machined as a kit, but it is $$$. Eventually I plan to change out this C6 for a built up 4R70W trans for the overdrive and lock up ability so I do not wish to invest several hundred to a couple thousand into this. This C6 was just a chance to stretch my skills some.
Since I have a little cheesy lathe and mill and the Torringtons are inexpensive I elected to do the machining myself. I then found this posting on the 460 forums:

This is the direct link to this: Rollerizing a C6 [Archive] - 460 Ford Forum
So a big shout out of thanks to Frank Merkl as this saved me some time researching part numbers on the Torringtons I would need.
Transmission (Dual Range C6) Rollerization and Build up - Modification Part II
I did take his modifications one step further with the addition of the rear thrust washer also replaced with a Torrington. He mentions it shouldn't be under load and therefor doesn't need replacing, but from the below picture it is quite worn (far left one).

You can see the new thrust washer and the Torrington in the middle meant to replace it. This is a Ford Torrington used in the E4OD, which if you're unfamiliar is a modern 4 speed overdrive trans based on the C6.
For the following pictures and remainder of this section I am concerned with tolerances and not with seals or unnecessary cleanliness or complete assembly. This is dry fitting the rotating internals and the machining on the parts. The next section/thread will deal with cleanliness and proper assembly techniques.
Enough of my boring banter, more pics....
The original thrust washer and it is worn. This transmission has approximately 100K miles on it.
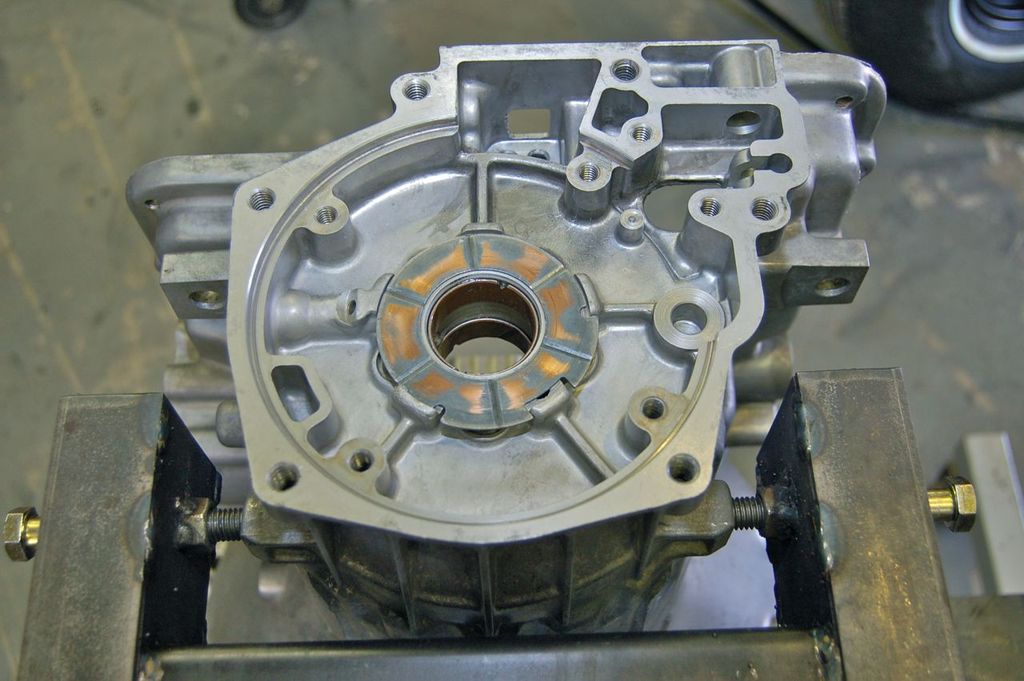
The E4OD Torrington fits nicely in place.
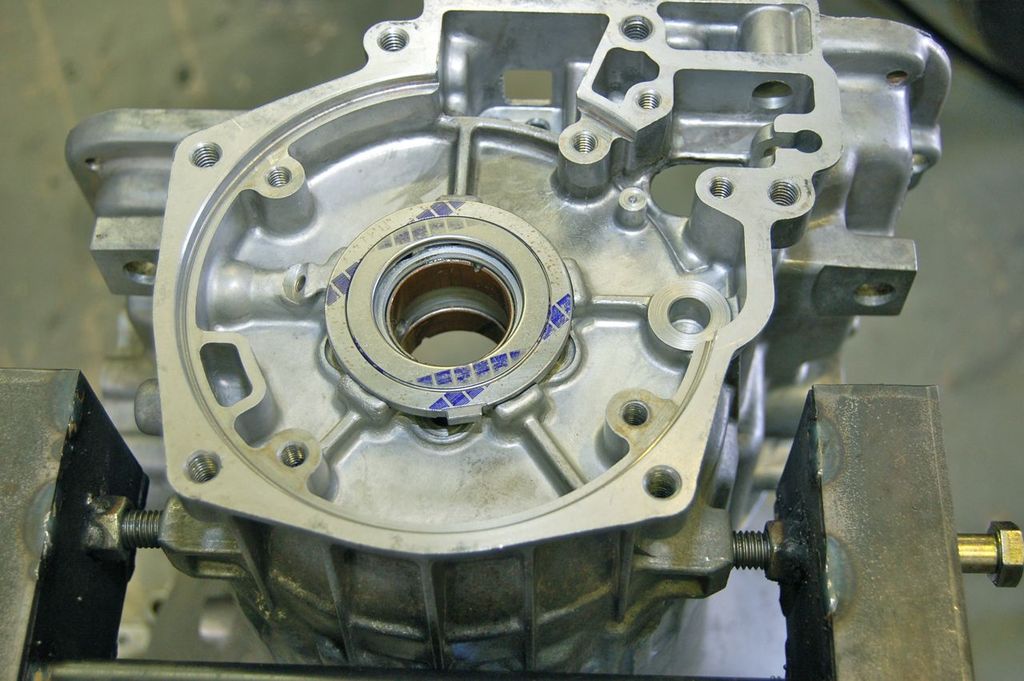
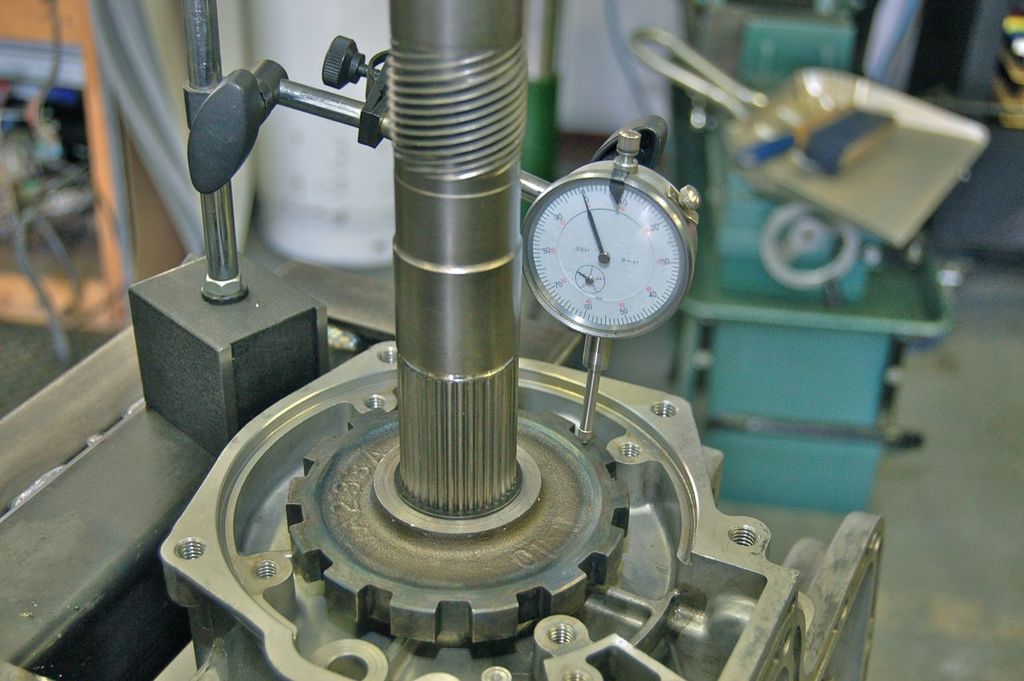
Because the Torrington is thicker some material will have to come off the parking gear, but as I could not find a manufacturer thickness of the Torrington. Therefore I had to measure the height differential between the thrust and the roller bearing.
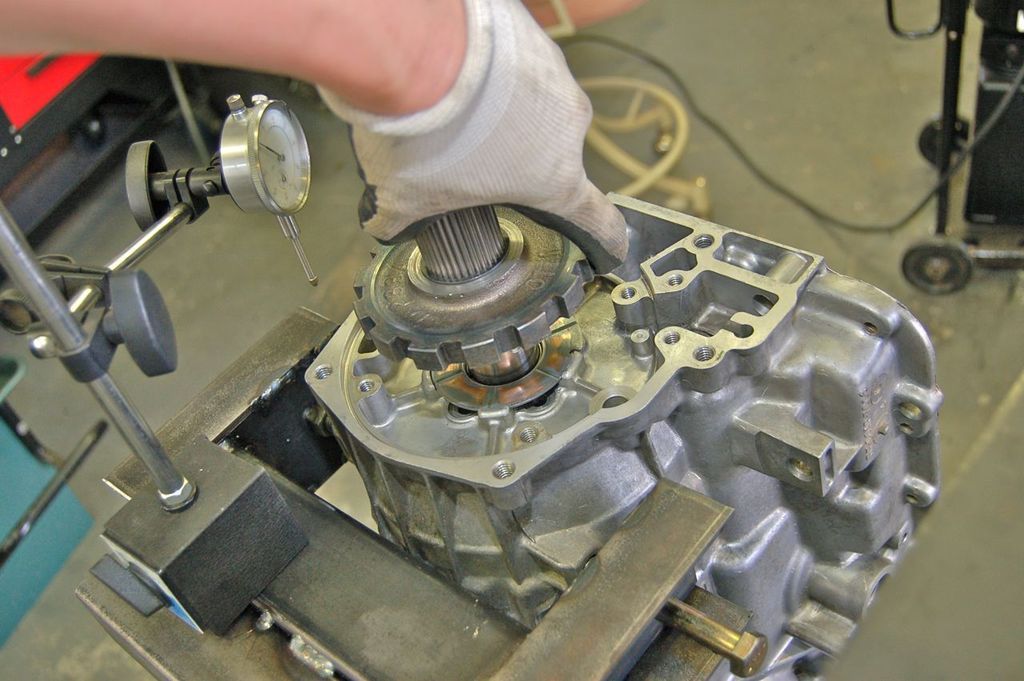
With the heavy tailshaft in place I carefully zero'd out the dial indicator, then slipped the Torrington or roller bearing in place and measured the height difference.
Then I chucked up the parking gear and removed the difference in height.
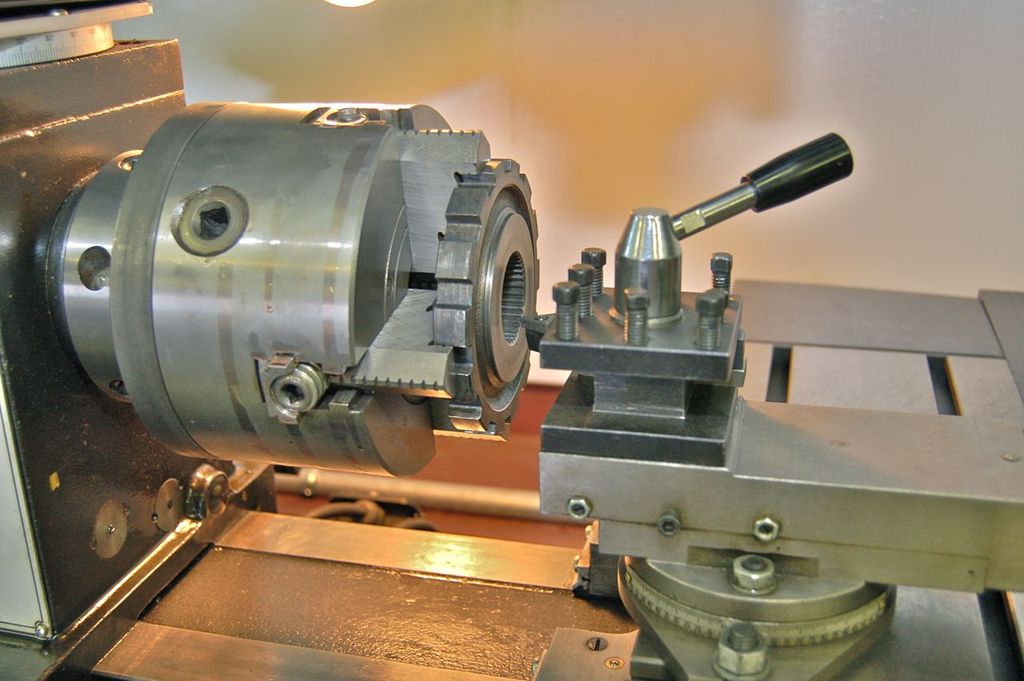
That one is done.

Next is the #9 thrust washer, this sits between the rear race and rear planetary ring gear/hub.
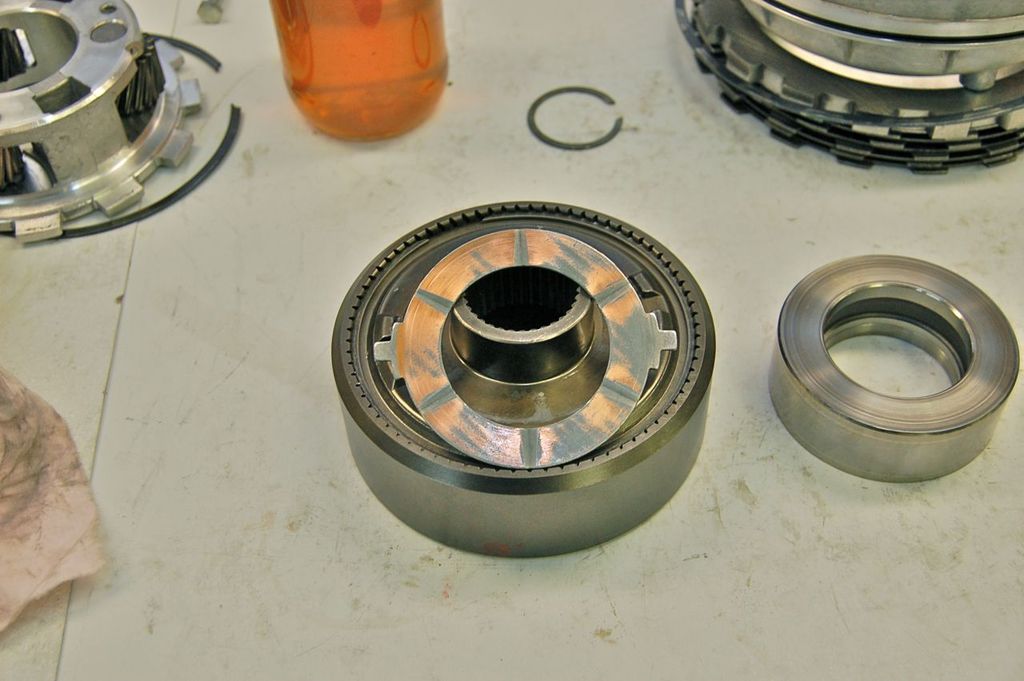
This is the Torrington to replace the thrust. Again the difference in height has to be removed from the race face. Ha race face, I'm a poet and I don't know it.... But seriously, they sell the race already machined with the Torringon. But heck I was on a roll with the lathe so I machined the face of this race down.

Fits nicely. As a side note the race looks to be inductioned hardened around the edge. I left it as it clears the bearing. A carbide bit will not cut this, to remove it, it would have to be ground down. But it is not necessary.
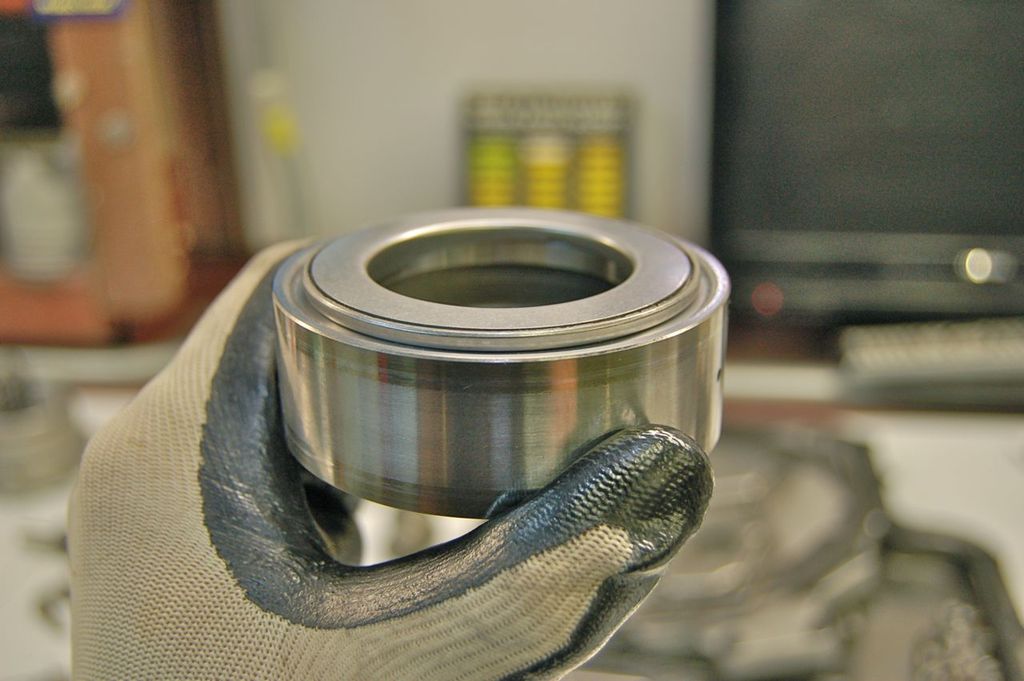
I temporarily assembled the tailshaft bits back together to check clearances with the new rollers. And wow, what a difference to spin even just this on rollers versus the flat thrusts.

Next up is the #8 thrust washer to be replaced with the roller bearing to the right.
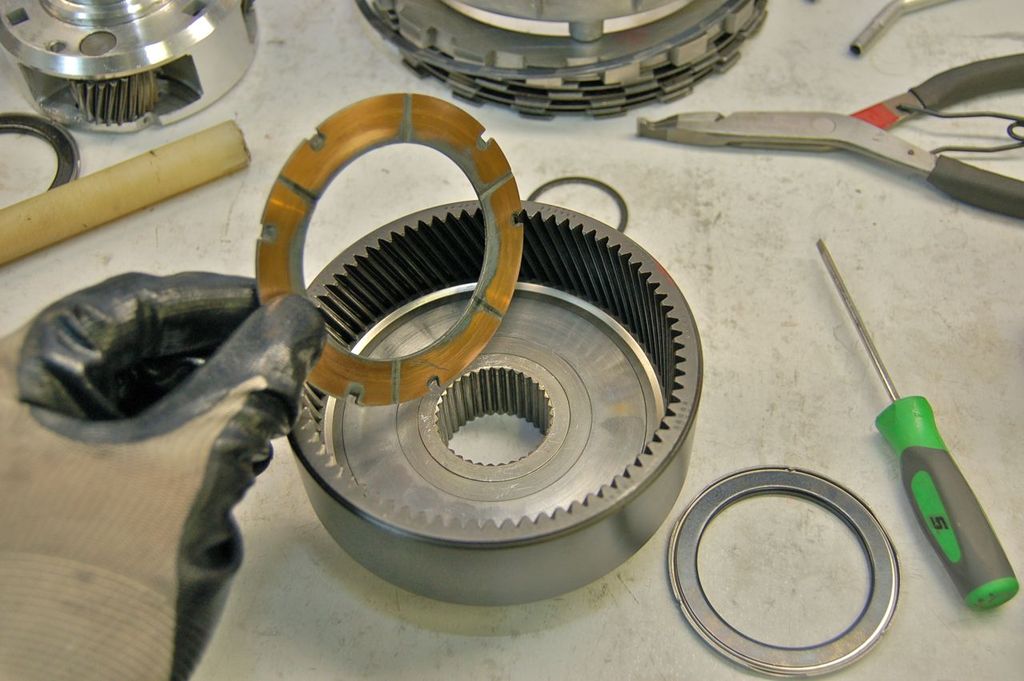
For these bearings I followed Franks advice and cut the difference from both the back of the hub and the rear planetary.
To remove the back of the hub from the ring gear, remove the snap ring and lift up and twist.

like so
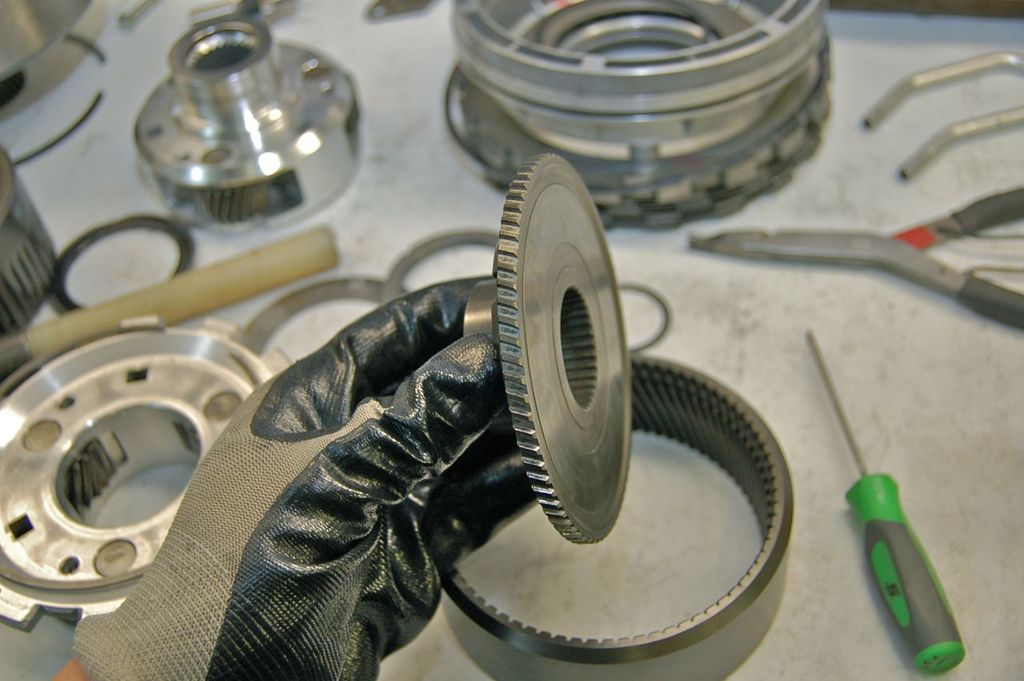
I machined that bit as he stated

Then the back of the reverse planetary
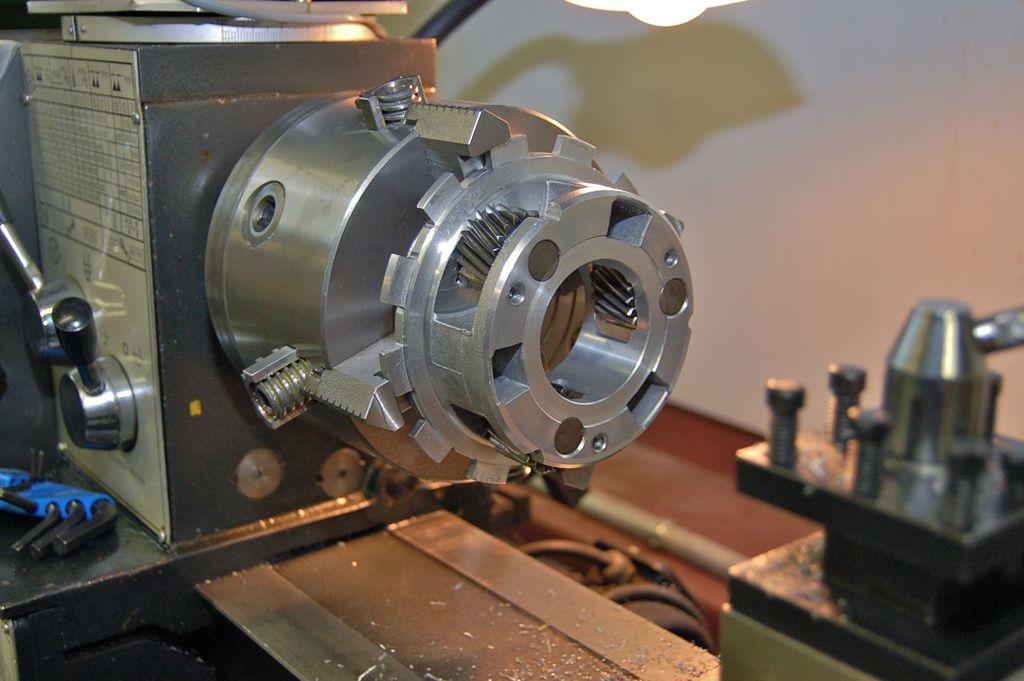
That one is done.

Next up is # 7 thrust washer to be replaced with a Torrington.
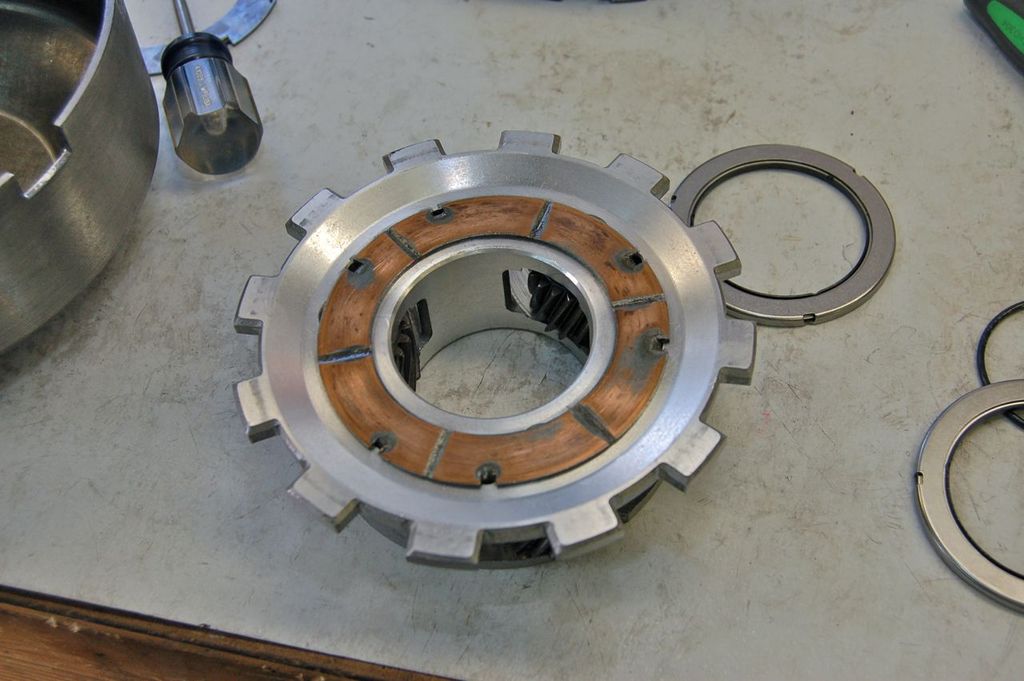
like so

more in part III
Click here to continue to part 13