1966 Ford LTD Resto-Mod : 050 Body Damage Repair Part 3 - Front Passenger Door Skin Removal
2023, November 14
1 - 2 - 3 - 4 - 5 - 6 - 7 - 8 - 9 - 10 - 11 - 12 - 13 - 14 - 15 - 16 - 17 - 18 - 19 - 20 - 21 - 22 - 23 - 24 - 25 - 26 - 27 - 28 - 29 - 30 - 31 - 32 - 33 - 34 - 35 - 36 - 37 - 38 - 39 - 40 - 41 - 42 - 43 - 44 - 45 - 46 - 47 - 48 - 49 - 50 - 51 - 52 - 53 - 54 - 55 - 56 - 57 - 58 - 59 - 60 - 61 - 62 - 63 - 64 - 65Front Passenger Door - Bloody Annoying Body Damage Part III
Let's see I left off where I was intending to illustrate how to remove a door skin. In actuality this would work well for a deck lid as well.
This is the donor door/skin as the front post 4 door shares the same skin as the 4 door hardtop. These are the tools I used to remove it.

These are the specialty tools that make this process much much easier. The homemade screwdriver turned hardened hook and the specialty door skin pliers I bought (about 25 dollars).

The pliers I found are only good for initially getting under the seam and lifting it just enough to get the hooked screwdriver into place. These pliers really distort the skin face (more work to sort out) if you were to use them only, not that you can anyway because some quarters are so tight they don't fit.

The hooked screwdriver does the crux of the work. Use a rocking up and down motion whilst sliding it over across the seam. Take a couple of passes to slowly work the seam lip up evenly (less stretching).

There are spot resistance welds from the factory that need to be drilled out, so centre punch them and use the spot weld drill bit.


You can see in the areas like the bottom of the door there is no room for the pliers and the hooked screwdriver really comes into its own.

Make no mistake, it's tedious, about an hour to separate the skin from the door.

These spot welds need to be drilled out as well.

On the post door Ford welds the skin to the post assembly (mostly removed for ease since not using the shell), this needs to be carefully ground away without harming the skin.

Once the skin is off, time to strip the paint and undercoat from the skin.

Use a small propane torch to heat up the undercoat and it glides right off.

This is all you need to dress the lip area once the panel is stripped.

And of course just my luck this one was whacked too, had loads of body filler on it. At this point I started dressing some of it out, but it will need loads more work to set straight.

This is the door off the LTD, ready for skin separation.

Here you can see the previous repair in that this factory Ford replacement skin was brazed into place. Actually it was harder to get this one off because the braze crept under the skin and covered a higher surface area between the skin and shell flange.

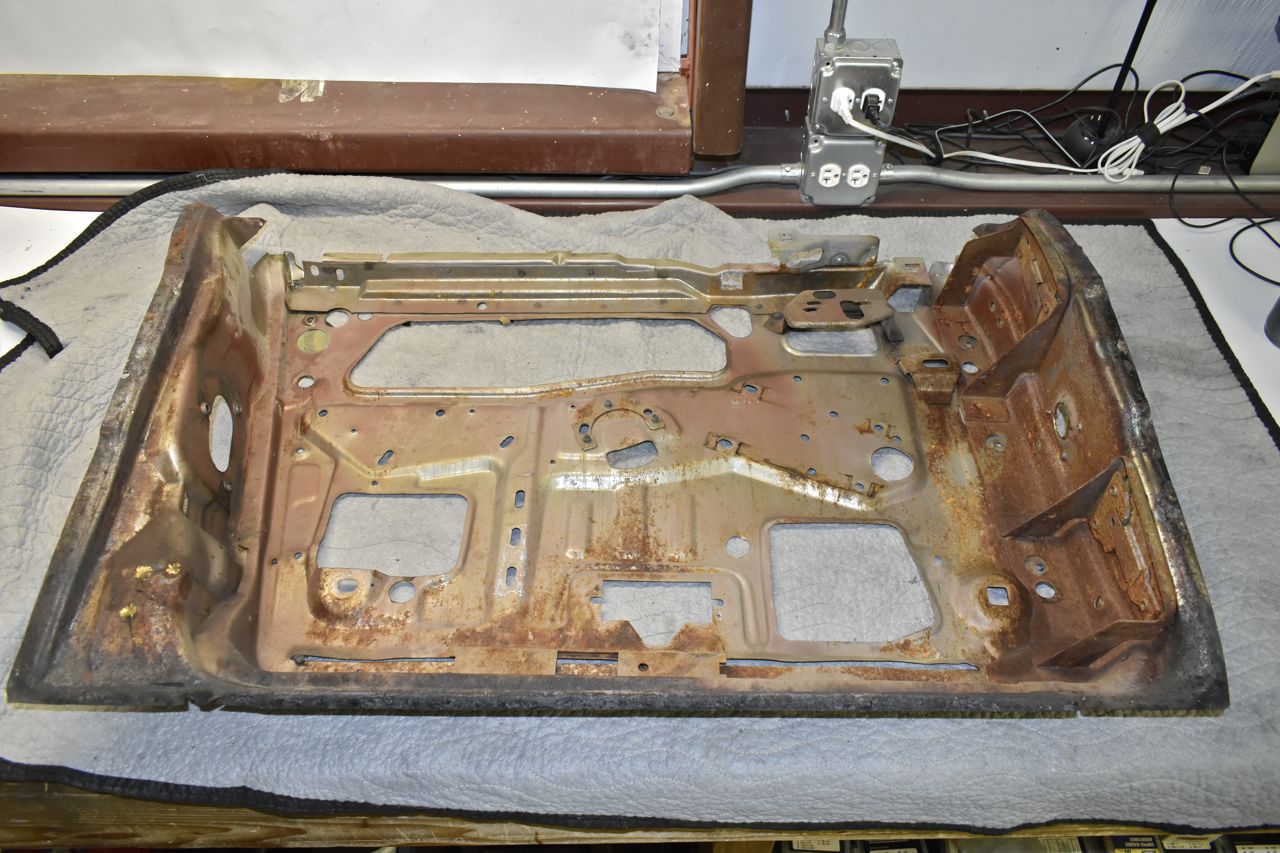
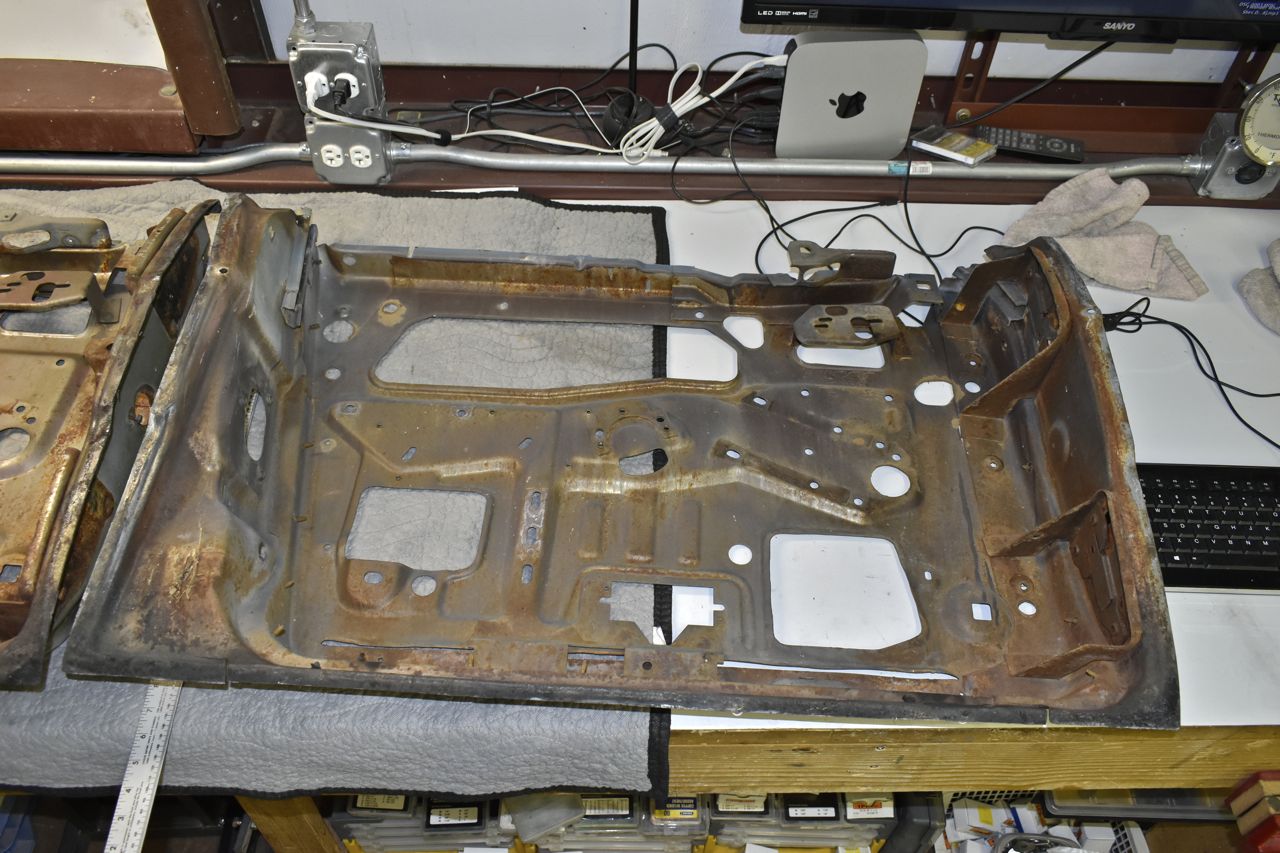
Wow it's really rusty on the inside.

The first thought I had was well why not adapt the post shell to work as the hardtop shell. However if one studies the pictures of the two there are several differences that would require loads of precise cutting and stitching together and it's less work to sort out the hardtop door shell. Where the post door shell comes in handy is to use as a reference to measure where the lip on the upper hinge side should properly be. I'll have to secure the hardtop door shell then bend that lip back to match the post shell lip. But first need to clear off some of the rust. It's not structurally bad corrosion but it looks ugly.

Note: The part of the repair I had slated the stud gun was for raising the ridge of the upper body line. It was pushed in during the damage and my metal tabs were too big for that kind of detail to be restored to proper height. Plus the backside of the skin damaged towards the edge of the door is obscured by the door shell.
I had to give it a try as it was suggested but it's still rubbish, like the professional metal fabricators say, if you can't get to the backside of the panel to properly restore the shape, then the panel either needs to be removed or that portion cut out then reworked or replaced to do a job properly. I can see the wisdom in that more than ever.
Cheers
Click here to continue to part 51