1966 Ford LTD Resto-Mod : 013 Transmission C6 Rollerization - Build & Modification, part 3
2023, November 14
1 - 2 - 3 - 4 - 5 - 6 - 7 - 8 - 9 - 10 - 11 - 12 - 13 - 14 - 15 - 16 - 17 - 18 - 19 - 20 - 21 - 22 - 23 - 24 - 25 - 26 - 27 - 28 - 29 - 30 - 31 - 32 - 33 - 34 - 35 - 36 - 37 - 38 - 39 - 40 - 41 - 42 - 43 - 44 - 45 - 46 - 47 - 48 - 49 - 50 - 51 - 52 - 53 - 54 - 55 - 56 - 57 - 58 - 59 - 60 - 61 - 62 - 63 - 64 - 65Transmission (Dual Range C6) Rollerization and Build up - Modification Part III
Next up is the #5 thrust washer, this is between the forward planetary and forward clutch inner hub.
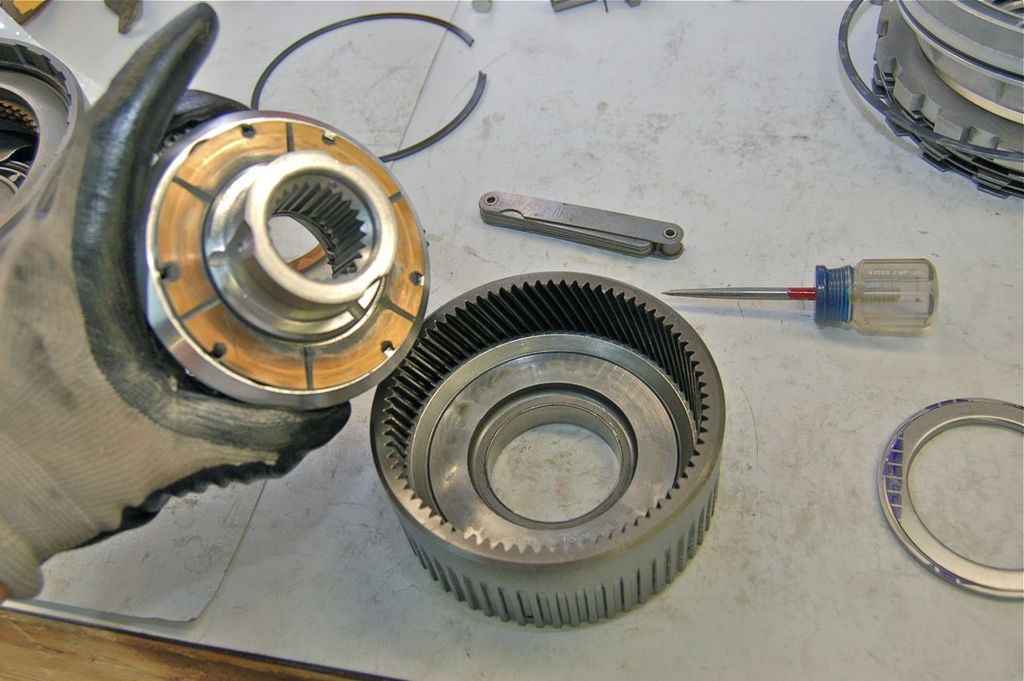
like so, the same machining pics as shown earlier apply to these parts.

That completes the rollerizing steps, next is regrooving the clutch drums to hold an addition set of friction and steels.
After carefully measuring the drum and determining the extra thickness of the new friction and steel, I then selected the middle size of the snap rings available to calculate my new ring groove. The reason I did this is because if I was off in either the + or - I can then use the thinner or thicker selectable snap ring to bring my overall clutch gap to tolerance.

I found to accurately measure the clutch gap or the pressure plate to snap ring gap is to exert pressure equally on two opposite sides and then take a reading with your feeler.

To turn a new groove in the clutch drums (forward and direct) I made a tool from a cheap of generic carbide set I bought at Harbor Freight.

It took a while to grind the profile on the bit but considering how much a proper ring grooving tool costs it was 15 minutes well spent.

To finish up the forward clutch I needed a newer ('68-up) forward planetary ring gear as the '66 to mid '67 has fewer teeth than its successors. The reason why this is necessary is Red Eagle frictions for the forward clutch ONLY come in the higher tooth count. But any transmission shop should be able to sell you a used ring gear.

Just install the newly machined hub onto the newer ring gear and replace the snap ring.
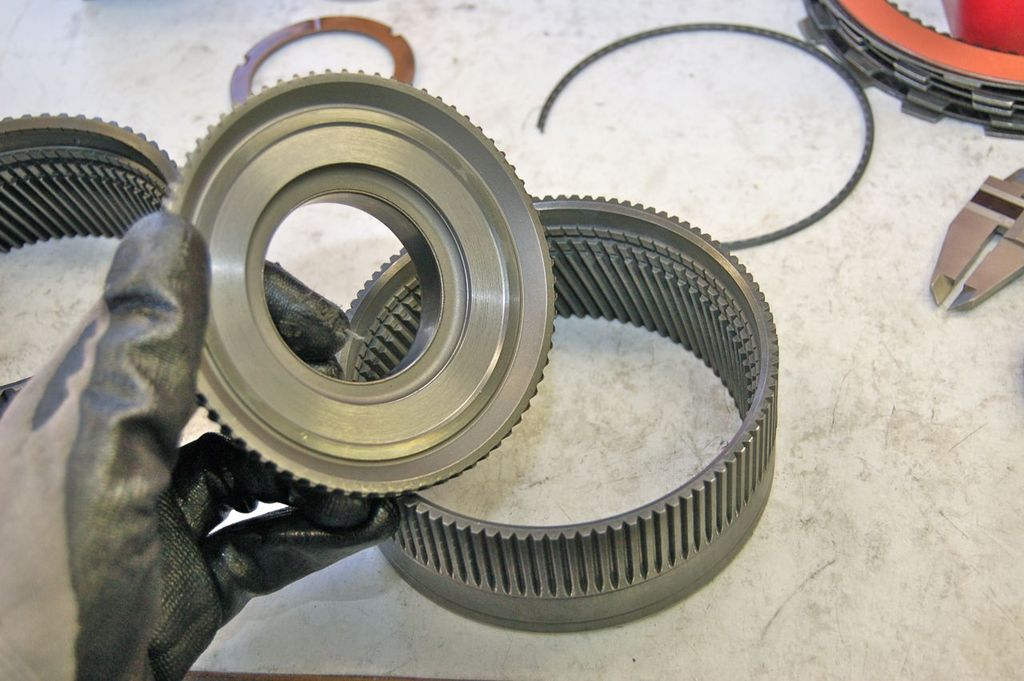
Test fit everything into place and make sure the teeth are all engaged. This takes care of the modifications to the forward clutch.
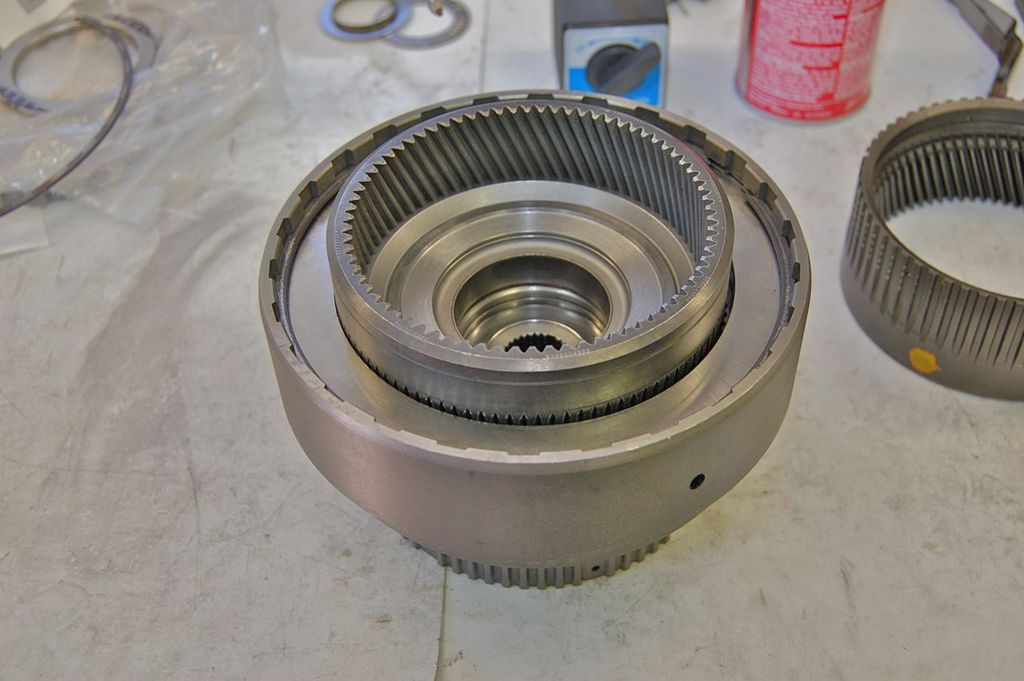
This is the old band, notice the width.

This is the Red Eagle width. Should have loads of extra holding power for the same pressure on the servo.

Next up is the direct clutch, the old frictions and steels versus the new ones.

Again, took measurements and regrooved the drum.
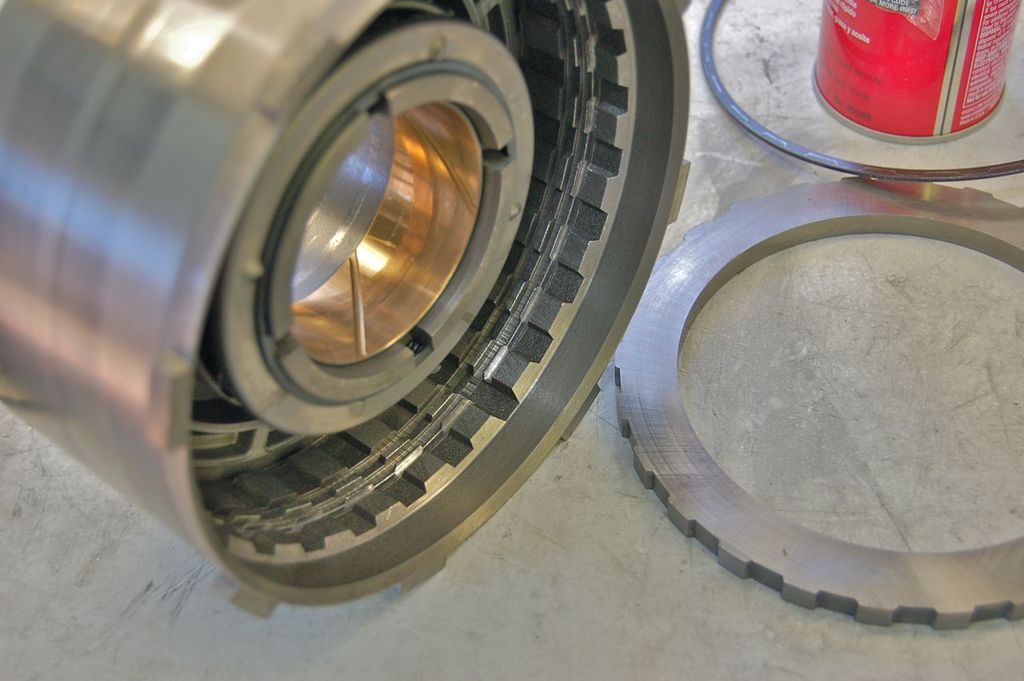
Again just like the forward drum double check the final clutch gap and adjust with the different thickness snap rings offered if needed.

Even though this picture is from the final assembly, I wanted to show what the final step in this should be. That is to check the total end play of the transmission and select the appropriate front thrust washer to bring that end play into tolerance.

So here after bolting the pump back, with the old gasket is fine. But all the frictions and steels are not in the clutches at this point and the transmission is standing up right to ensure no Torringtons or remaining flat thrust washers have dislodged. Taking this measurement is important because upon the real final assembly if this doesn't match your measurement then something is amiss and you can catch it before installation.
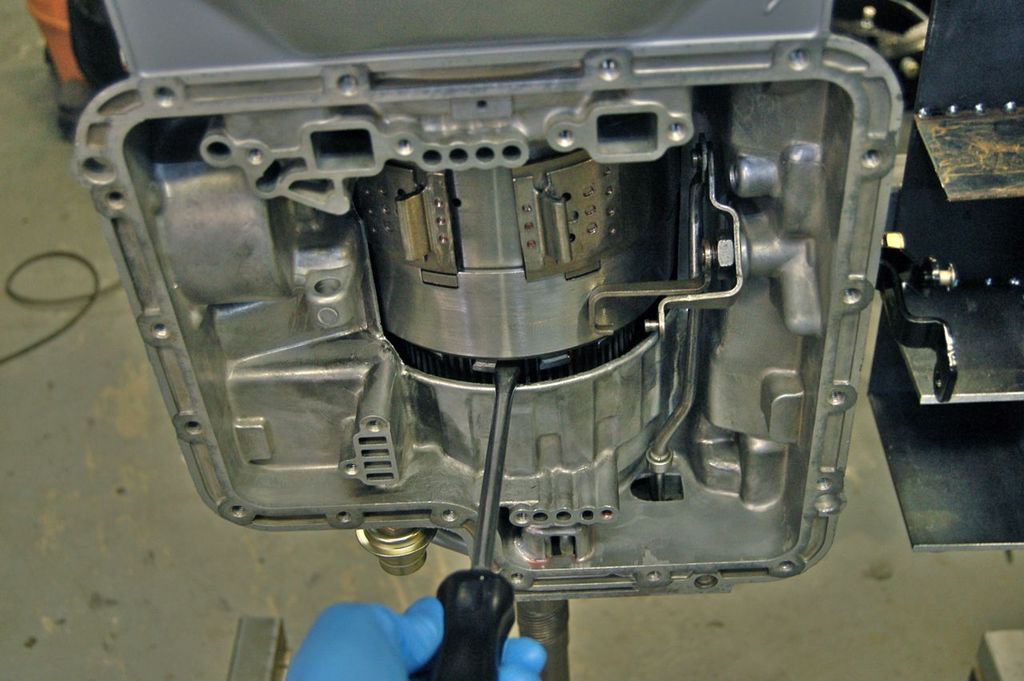
To check the total end play use the screwdriver to push up after pushing down on the input shaft and zeroing the dial gauge.
Right that concludes the modification portion. Onto final assembly....
Hope you have enjoyed so far.
Cheers.
Note : I know most folks probably do not have a lathe or feel like taking their parts to a machine shop. If I was planning on keeping the transmission in the car I probably would have bought the kit that comes with the rollers as well as change 1st and 2nd gear ratios to widen them a bit to help with acceleration.
But to do the roller conversion on this at home was only 40 dollars in parts, so what the heck :)
For me there's no reason to have a "shift kit", as long as the transmission is adjusted so that no slipping occurs at any time, especially under all load conditions. Granted some people like that firm feeling of shifts. I do not. To me it totally degrades the enjoyment a big cruising car.
I'm setting this C6 up similar to my even larger cruising car I did nearly 20 years ago and still going strong. It's a 1973 Chevrolet Caprice convertible fully loaded with the factory 454 option, Turbo 400, etc. It weighs in close to 5000 pounds :eek: with stock size diameter tyres and a 2.73 rear ratio. It's much heavier than these 60's galaxies and bigger too. I built up the engine and built up the transmission with no shift kit, just careful adjustments. As a result you do not feel any shifts under half throttle. Under detent conditions it firms up enough for quick shifts while not being a nuisance.
As a result, it's an absolute joy to drive. It's quiet, smooth, very roomy, and still packs one heck of a punch when you nail it. Every transmission oil/filter change the ATF is pink and a little gray matter at the bottom. Like I mentioned earlier if the frictions only last 200K miles versus 250K miles so what, to me it's worth the comfort factor, kind of like air conditioning robbing potential engine power or the extra weight of power windows and locks. I love all these creature features :)
I'm building the LTD to match these characteristics of the big Caprice. On the plus side the LTD is lighter ~3700 pounds verses ~5000 and with a 3:0 ratio axle. With a less powerful engine as the Caprice the C6 will see even less loading as the torque differential (input-output shaft) is lower than the TH400 and the C6 is comparable to the TH400 class wise. This will be a doddle for the C6.
But that's just me and I know I'm odd. Besides I do not believe anyone makes a shift kit for the C6 with a dual range valve body (1966 only). The ones mentioned always say '67 on up.
Click here to continue to part 14