1966 Ford LTD Resto-Mod : 023 Power Steering Gear Rebuild part 2 - Balls, Rack, Seals
2023, November 14
1 - 2 - 3 - 4 - 5 - 6 - 7 - 8 - 9 - 10 - 11 - 12 - 13 - 14 - 15 - 16 - 17 - 18 - 19 - 20 - 21 - 22 - 23 - 24 - 25 - 26 - 27 - 28 - 29 - 30 - 31 - 32 - 33 - 34 - 35 - 36 - 37 - 38 - 39 - 40 - 41 - 42 - 43 - 44 - 45 - 46 - 47 - 48 - 49 - 50 - 51 - 52 - 53 - 54 - 55 - 56 - 57 - 58 - 59 - 60 - 61 - 62 - 63 - 64 - 65Ford Power Steering Gear Rebuild - Part II
Piston seals get installed next. The black O ring goes in first, then the blue square cut Teflon ring. like so
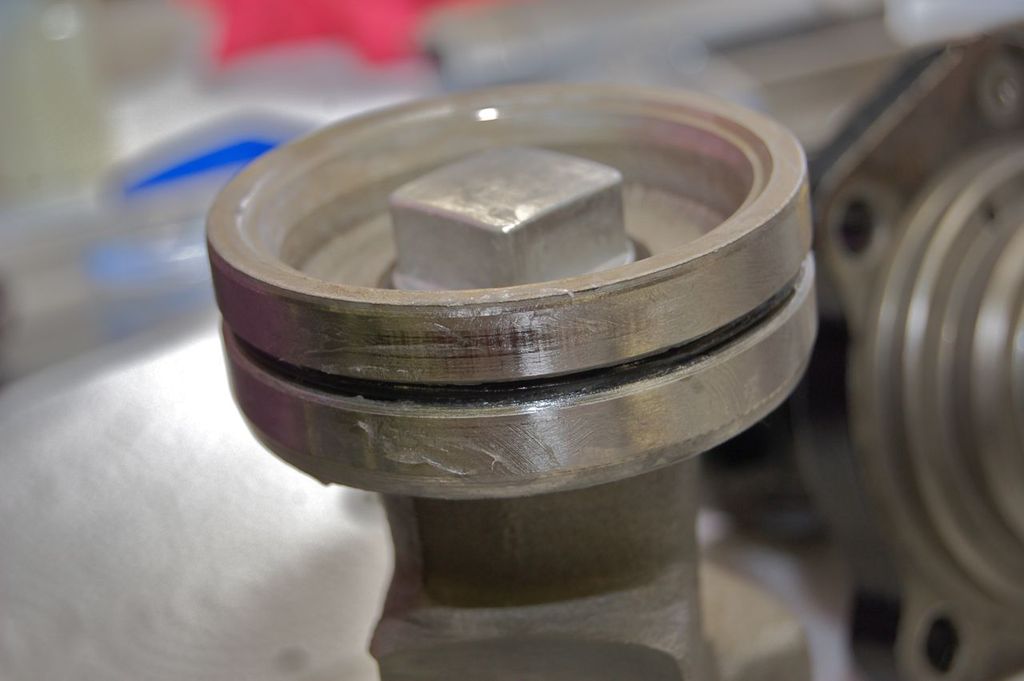
and such
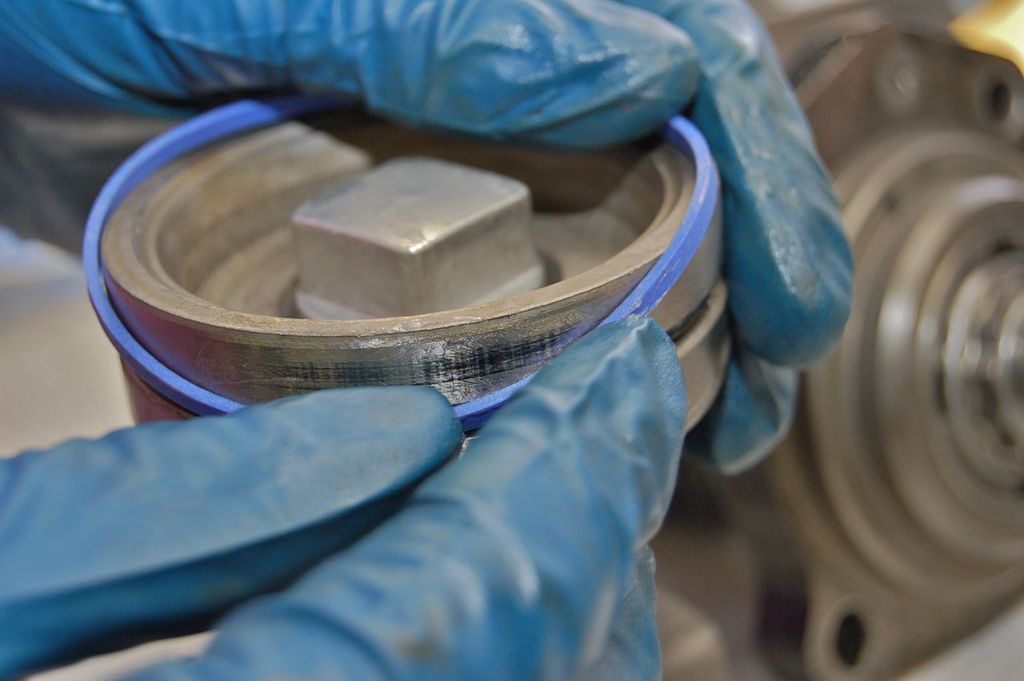
Completed
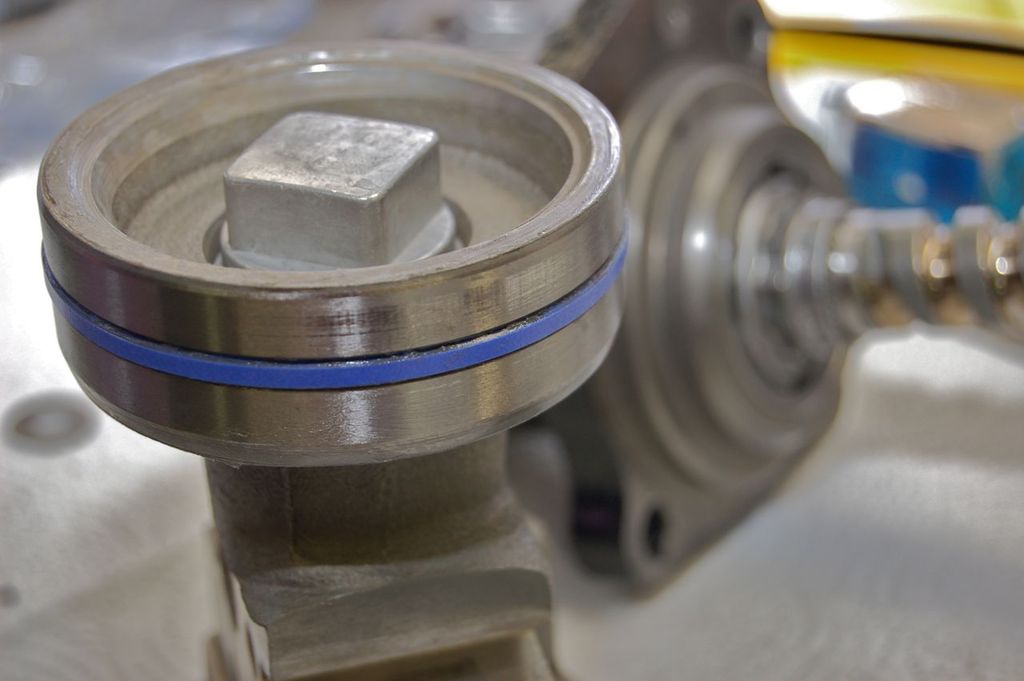
Load the piston/rack onto the worm.
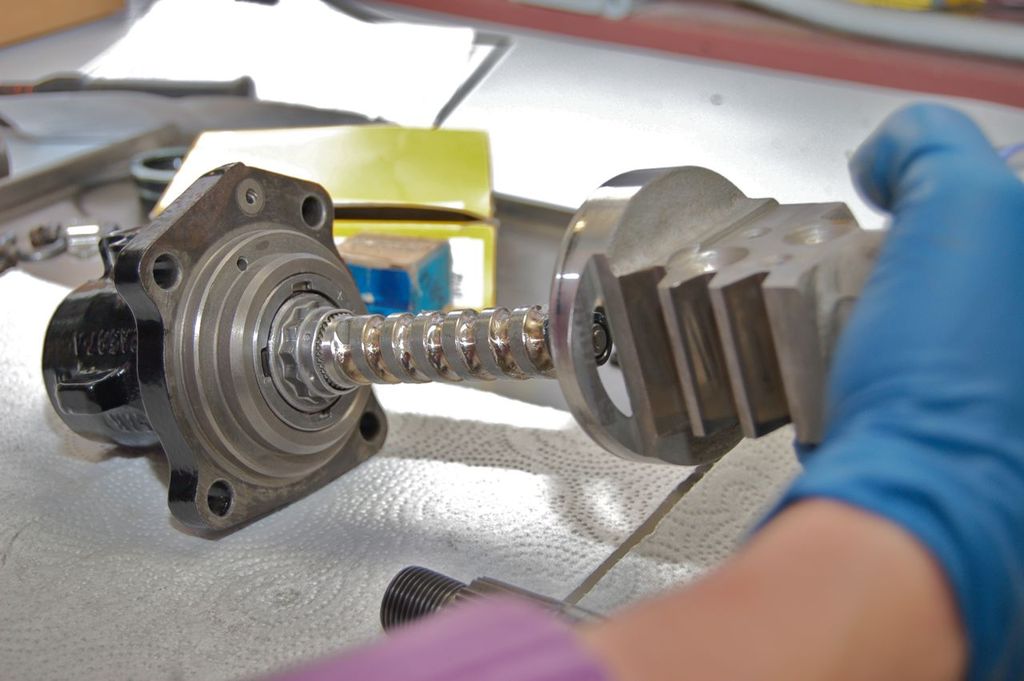
Load the balls into the lower cavity. Note the balls must be dropped down and not allowed to wander up and over onto other parts of the worm. The balls must remain in the worm that connects one hole to the other. It is possible for them at the top to run down the other part of the worm so be vigilant. If unsure, remove them and remove the piston/rack and check to make sure there are no rogue balls inside.
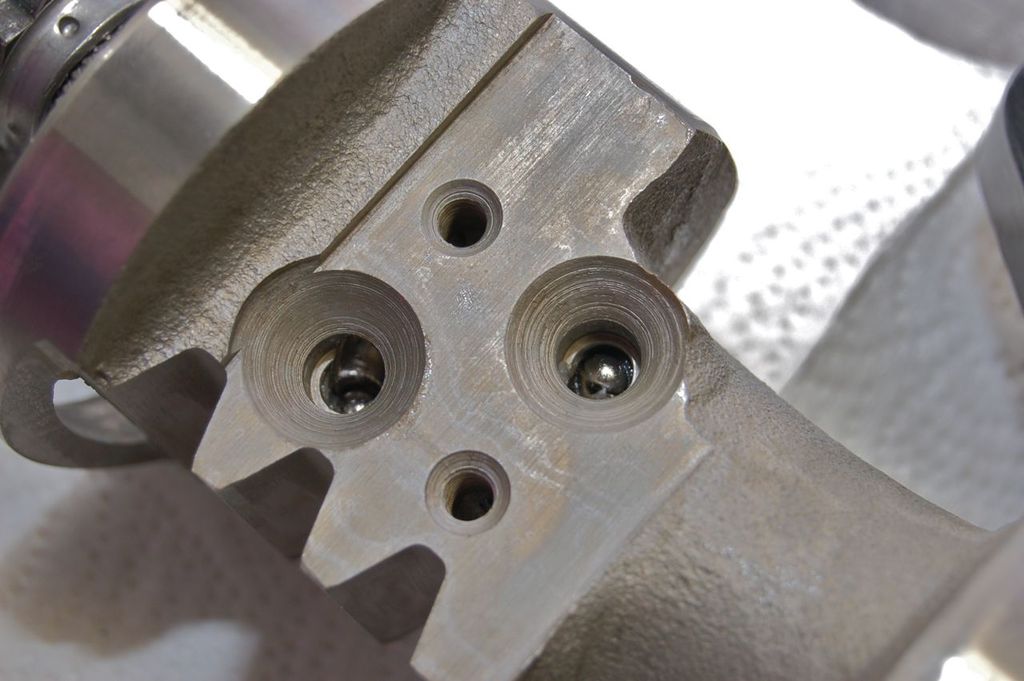
When the passage is roughly full, insert the guide pipes into place and finish installing the remaining balls.
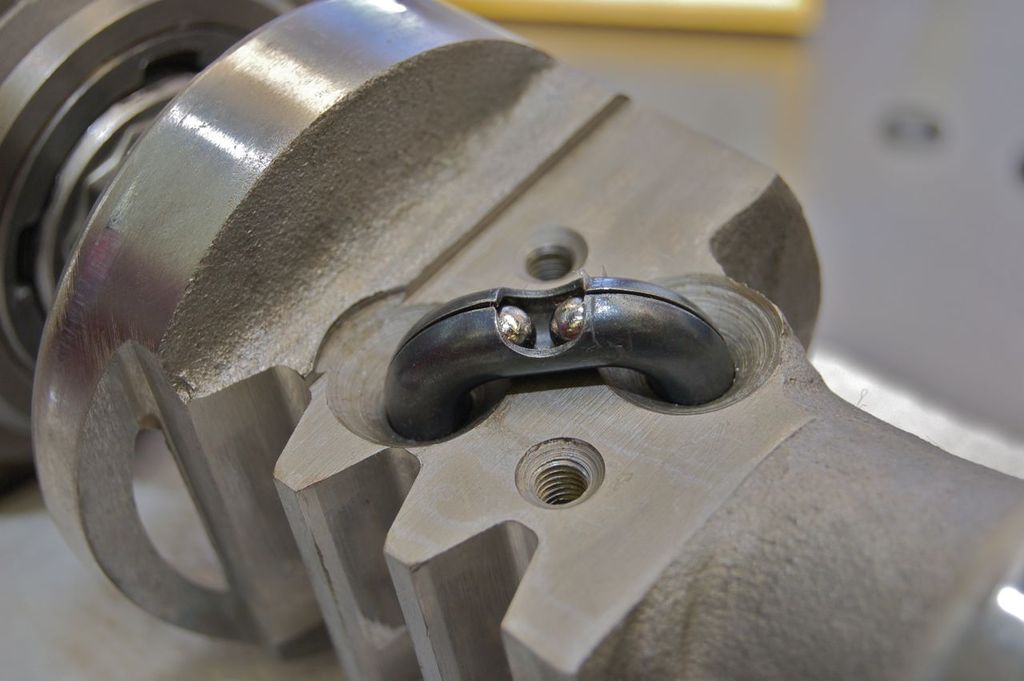
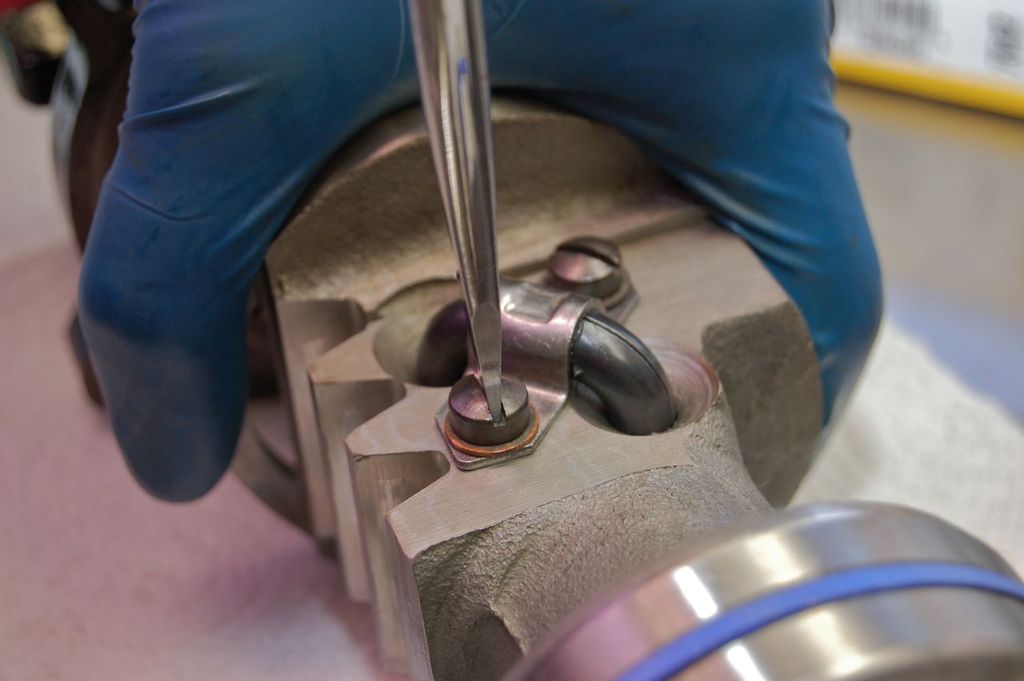
Tighten down the retaining screws. I use a little Locktite in this application. Use at your discretion.
Take the new bushing and install. Of course remove the old first if you haven't already done so.
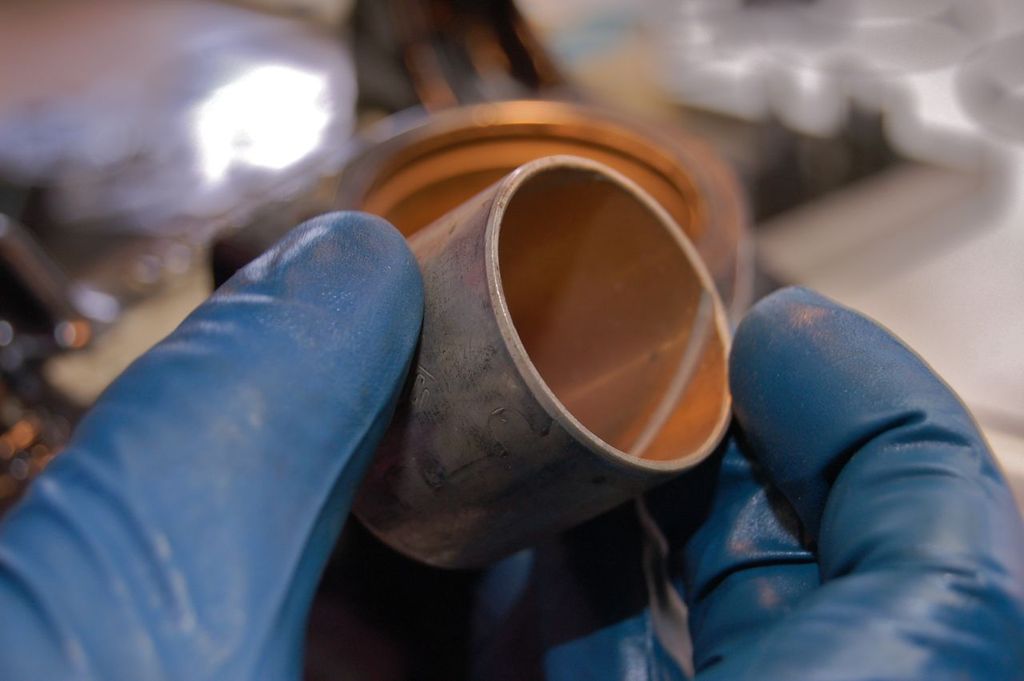
Make sure the bushing goes in straight. I used a press, just go slow and take your time.
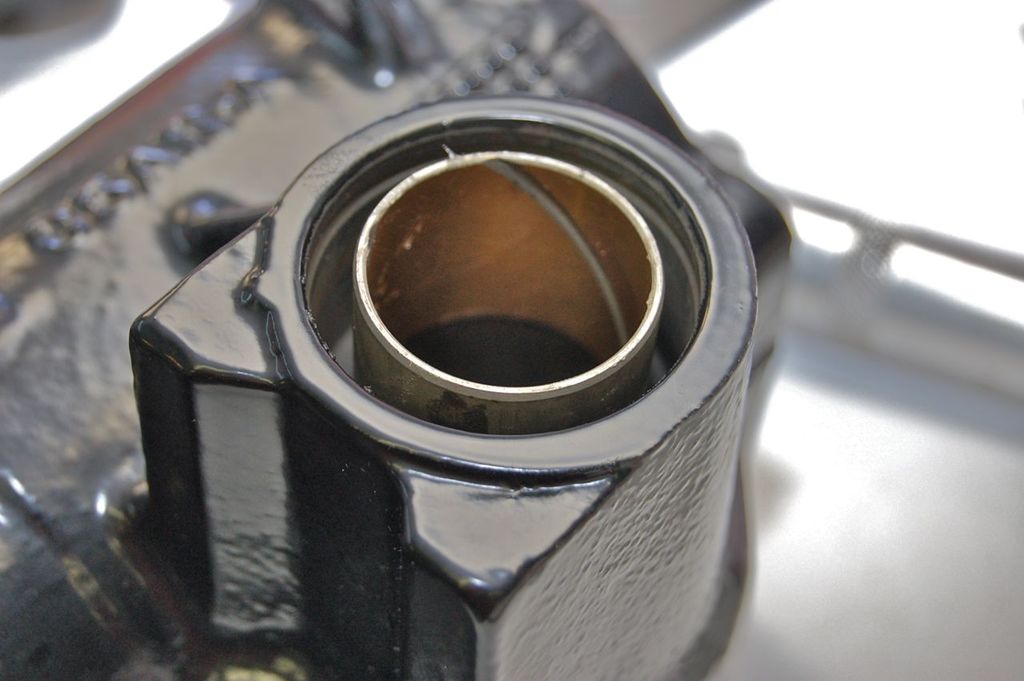
New bushing installed
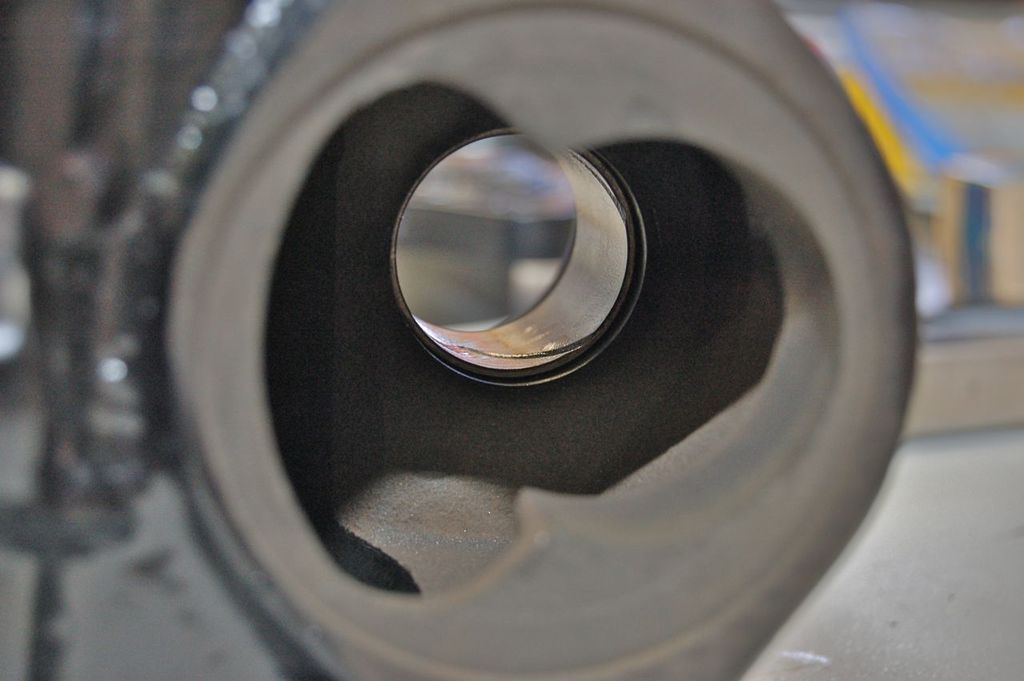
Again there are no stops for the bushing, so take note where the original rested.
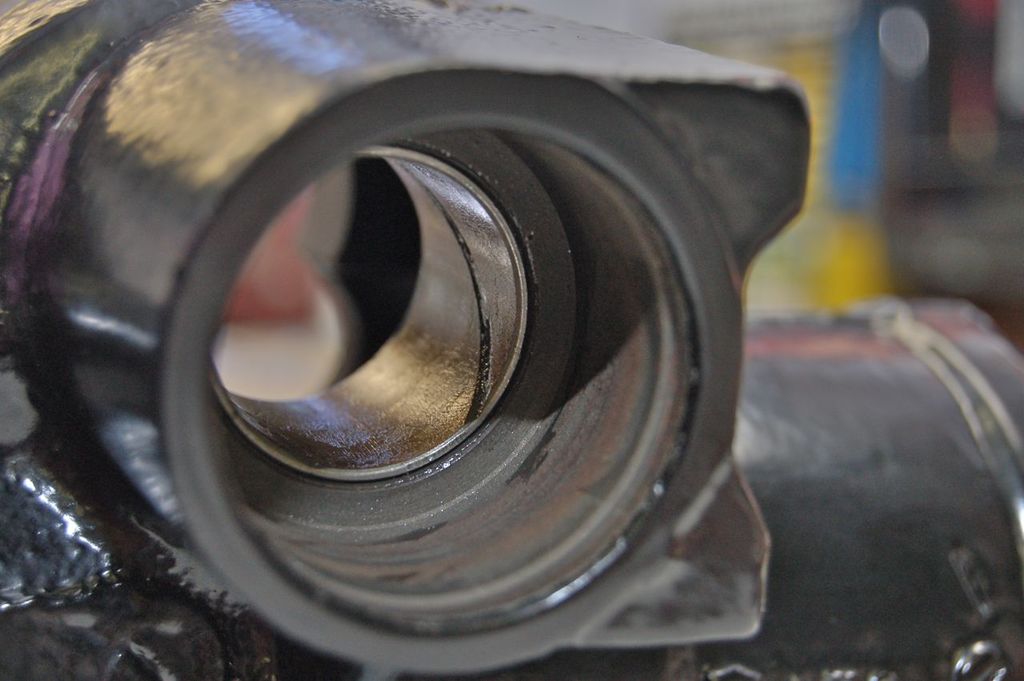
Install new case to control housing O-ring.
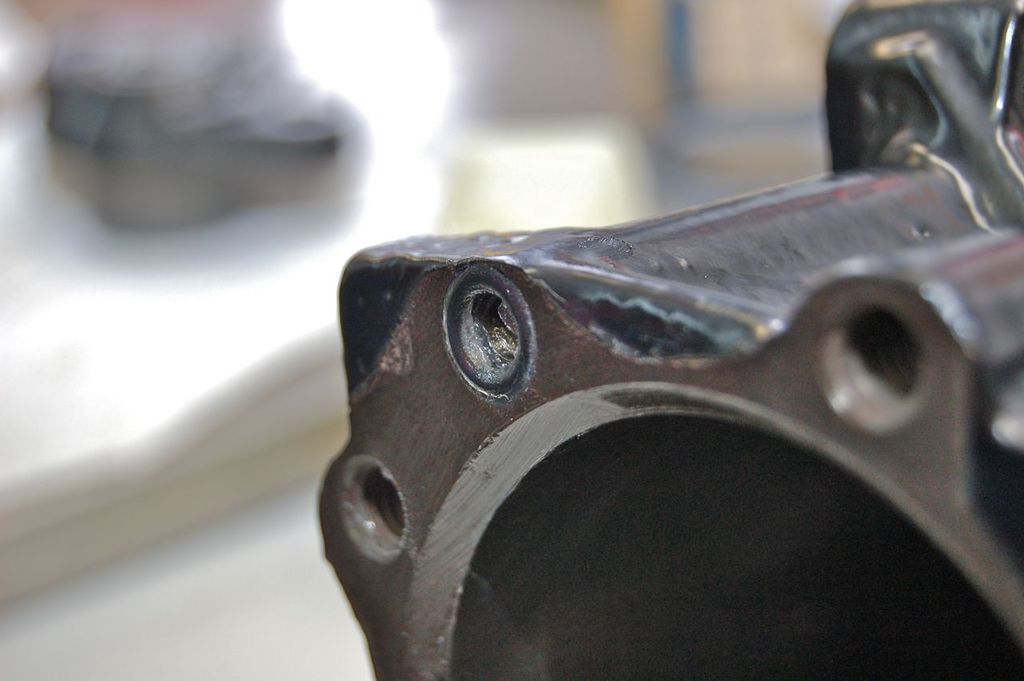
And main sealing ring for the control housing.
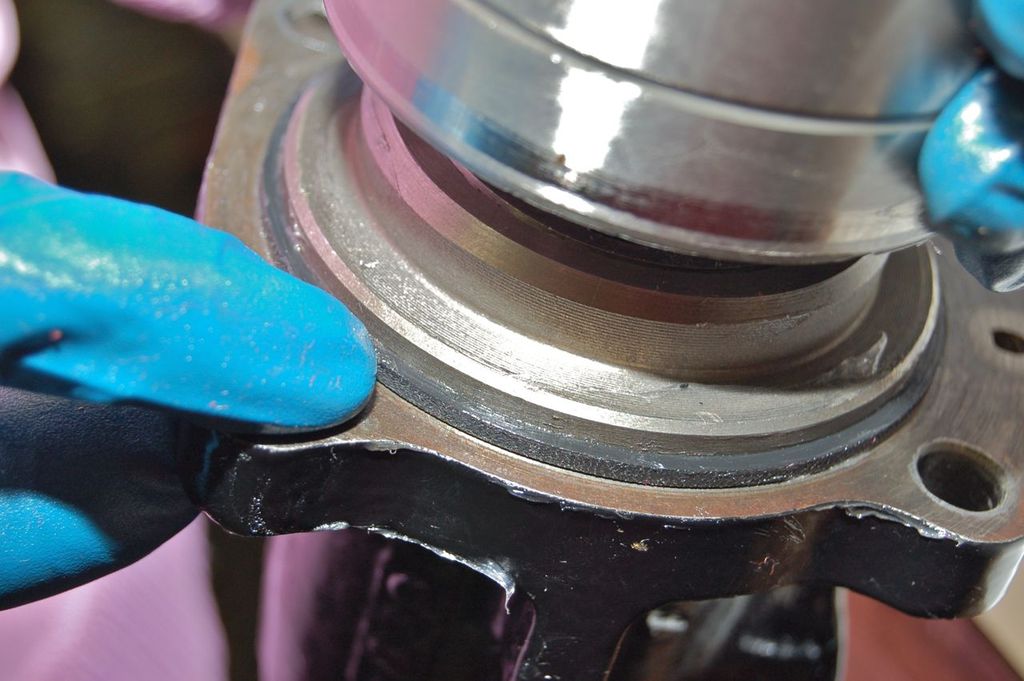
Load the assembly into the case. Again as a note lube everything upon assembly.
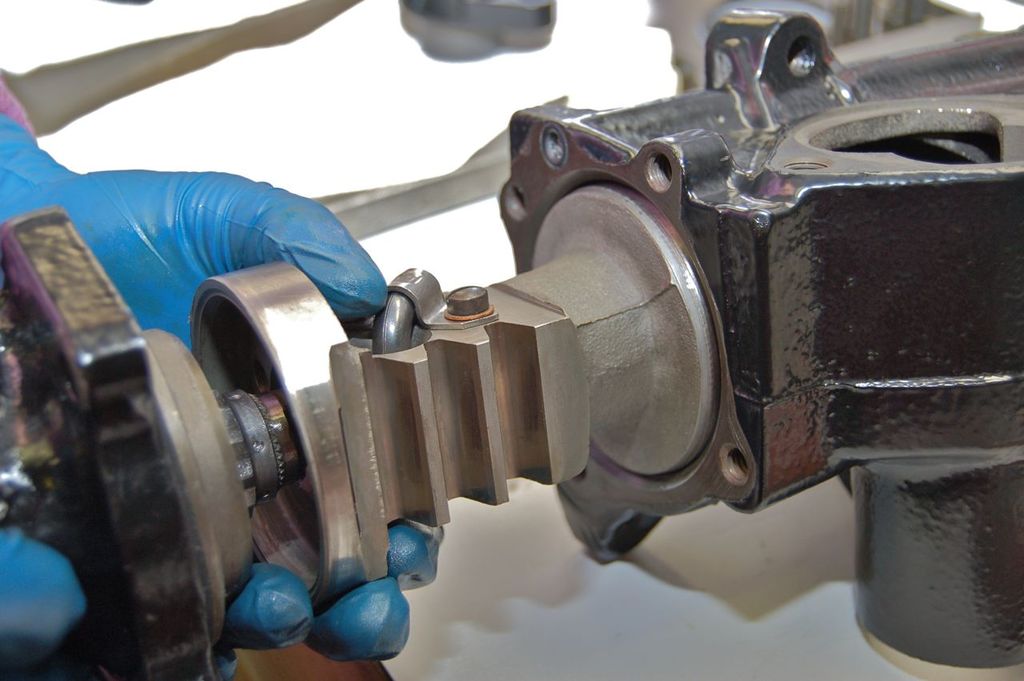
There should be no binding and the pieces slide easily together. Bolt the control housing to the case.
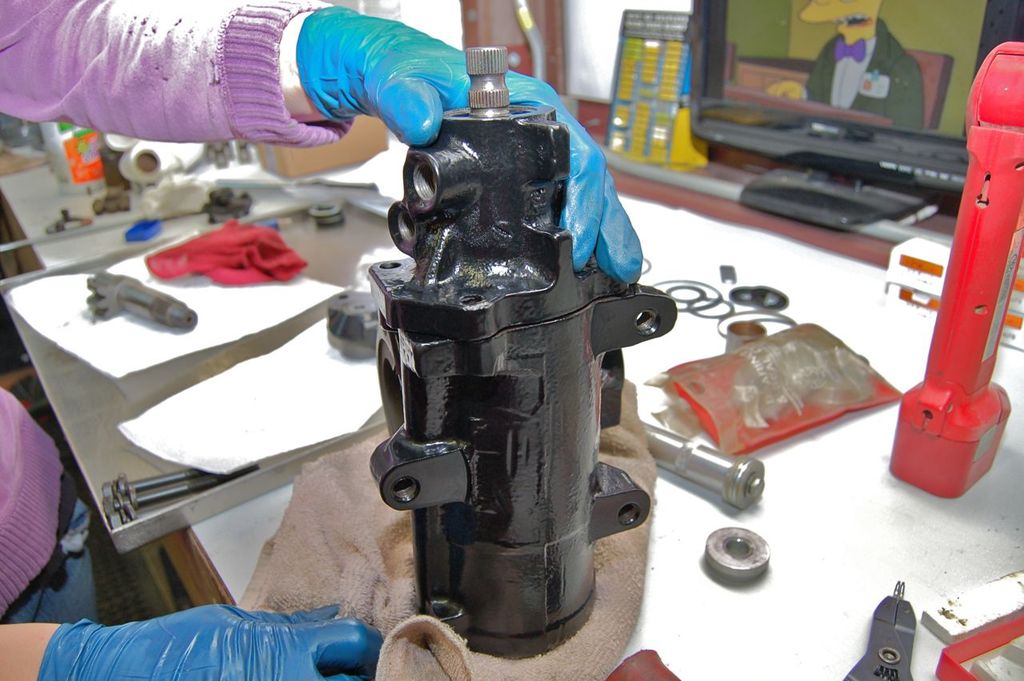
Install the flexible (rag) joint.
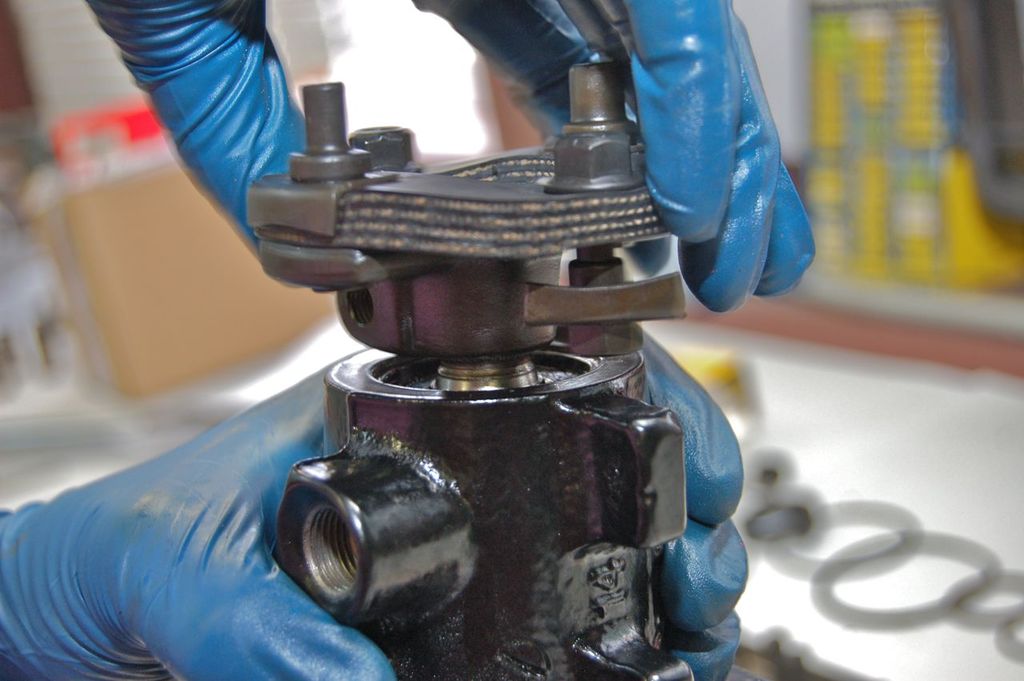
Load the Pitman (sector) shaft seals. Again there are no stops so the top washer should sit level or slightly proud of the snap ring groove. A little bit below isn't going to hurt. The first time you go lock to lock with the box with the engine running the case will reach approximately 1000 psi+ and those seals will set against the snap ring make no mistake.
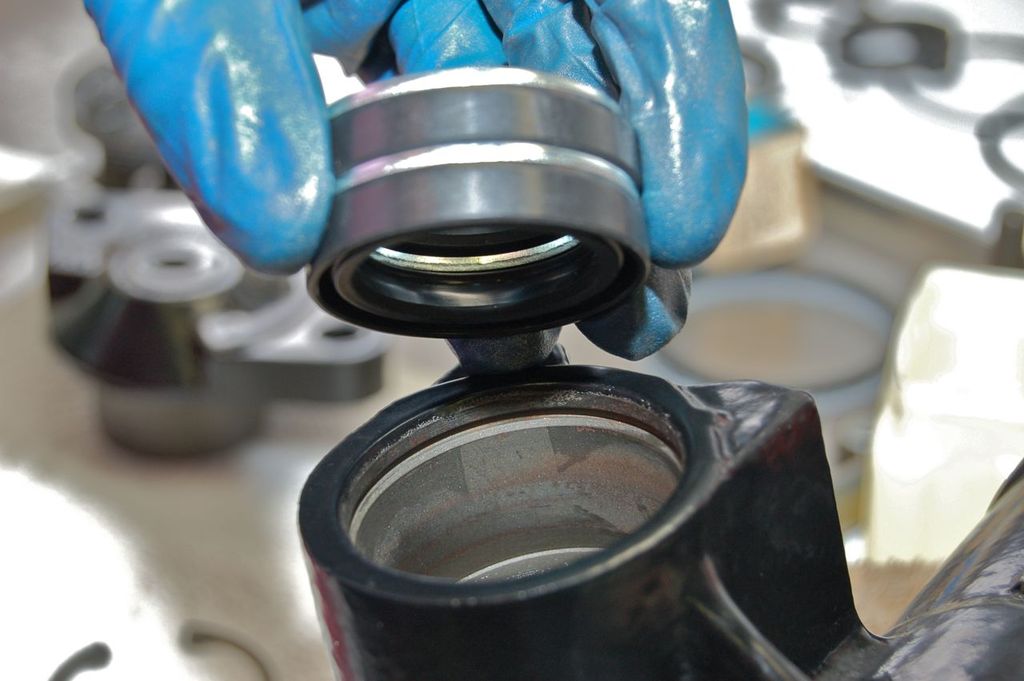
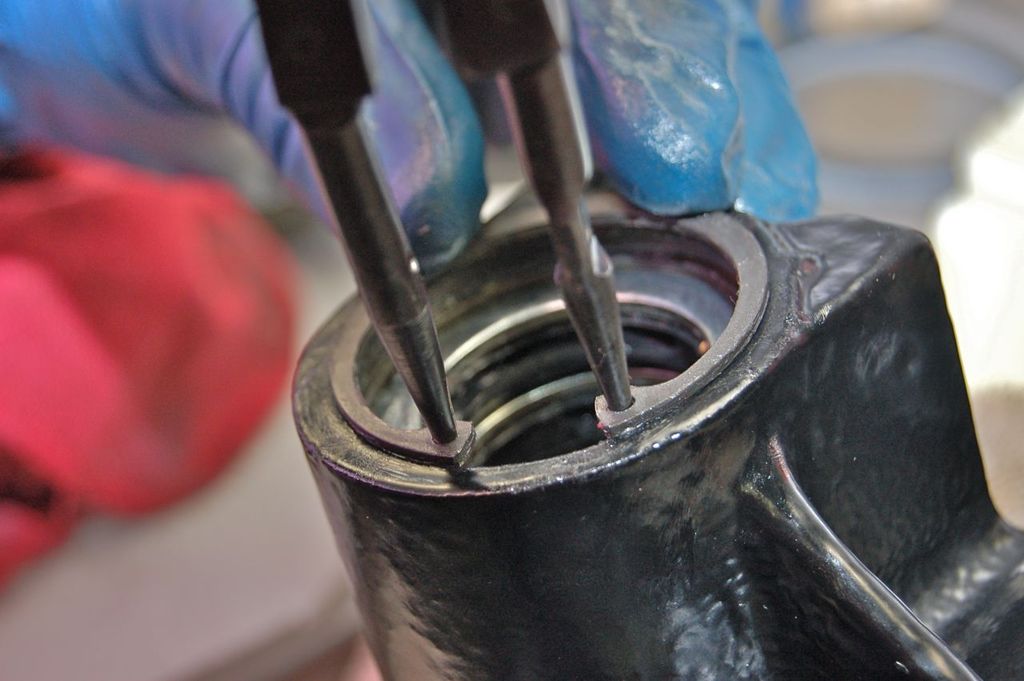
Install the snap ring.
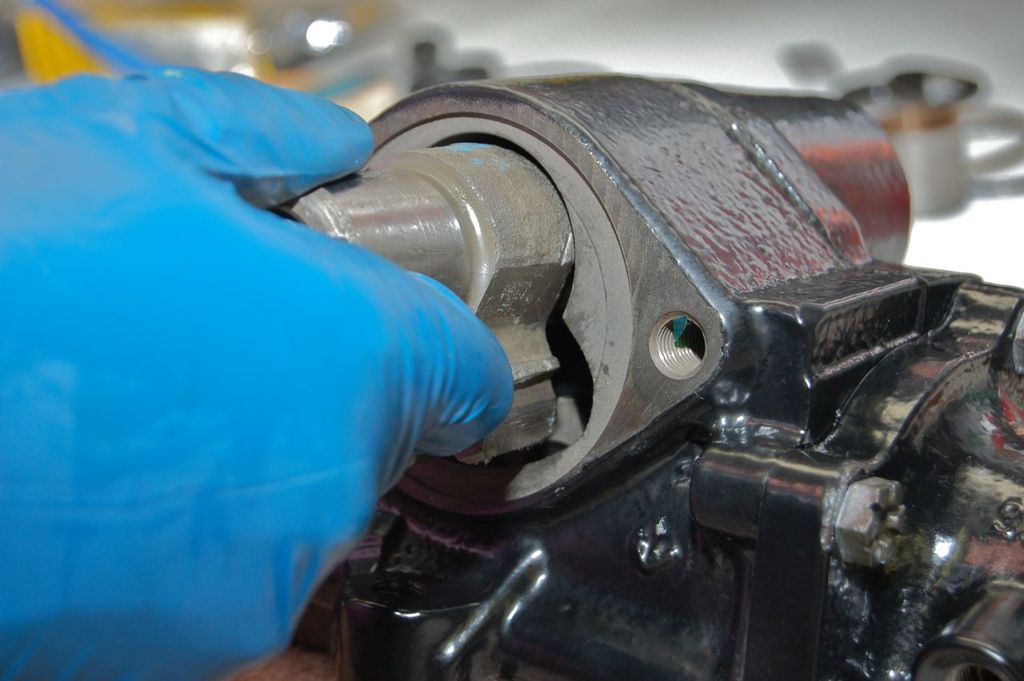
Load the Pitman shaft, again this goes without saying, but lube everything!
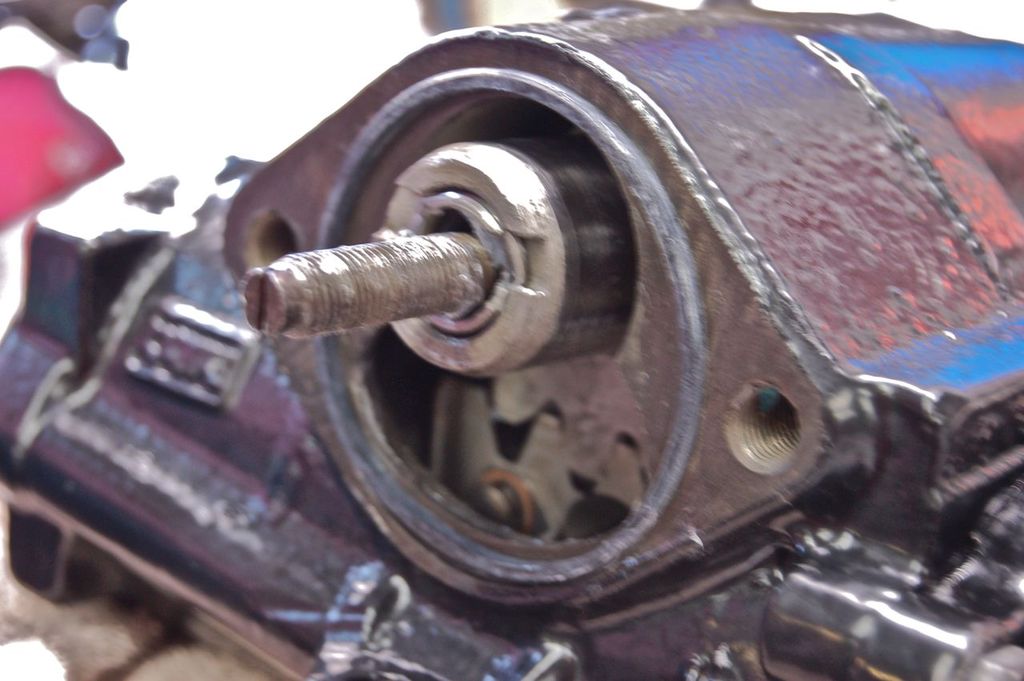
Install the correct top cover sealing ring. Sorry for the blurry picture.
Install the top cover. Note before you tighten the outer bolts draw up the pitman shaft lash adjuster lead bolt all the way to the cover. If you don't and try to tighten with the pitman shaft pushed down, you'll break the cover or other bits torquing down the cover bolts!
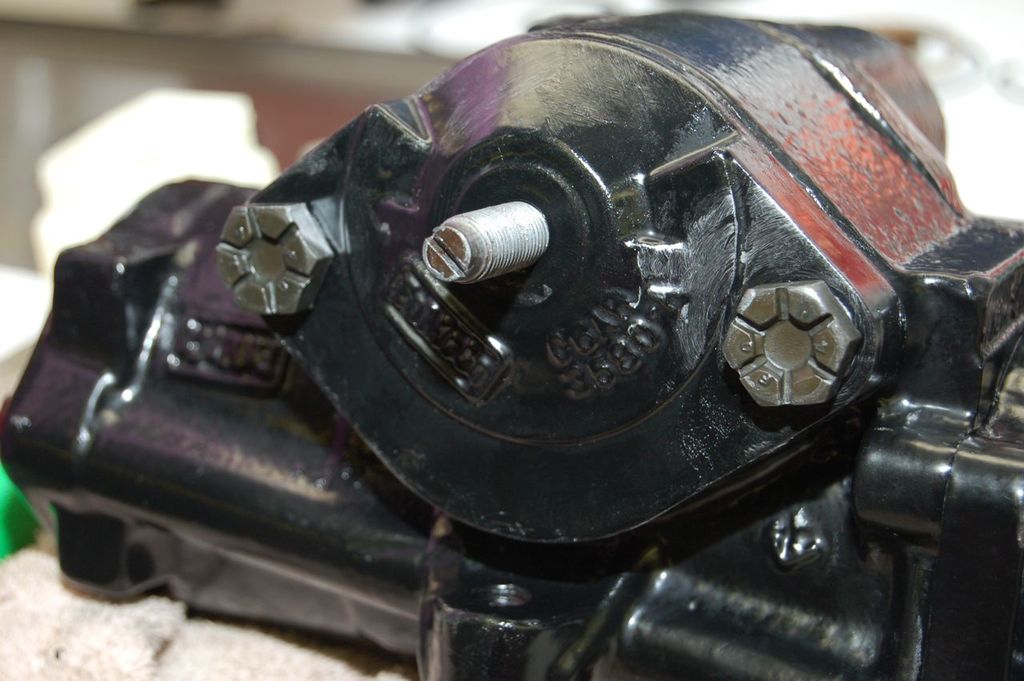
Finally the brass sealing ring and the lock nut.
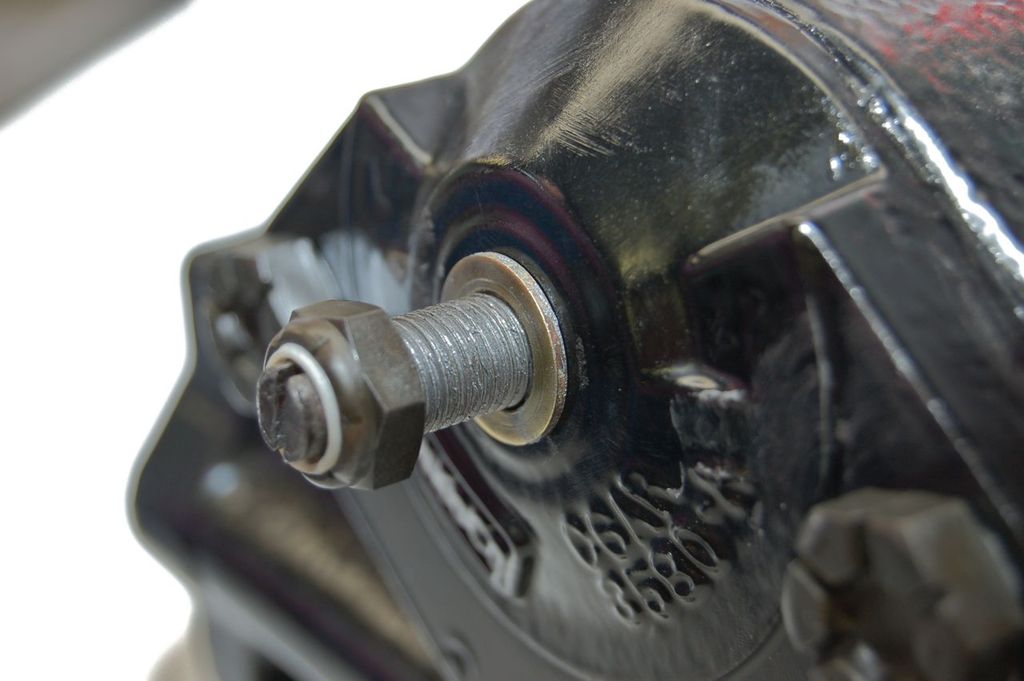
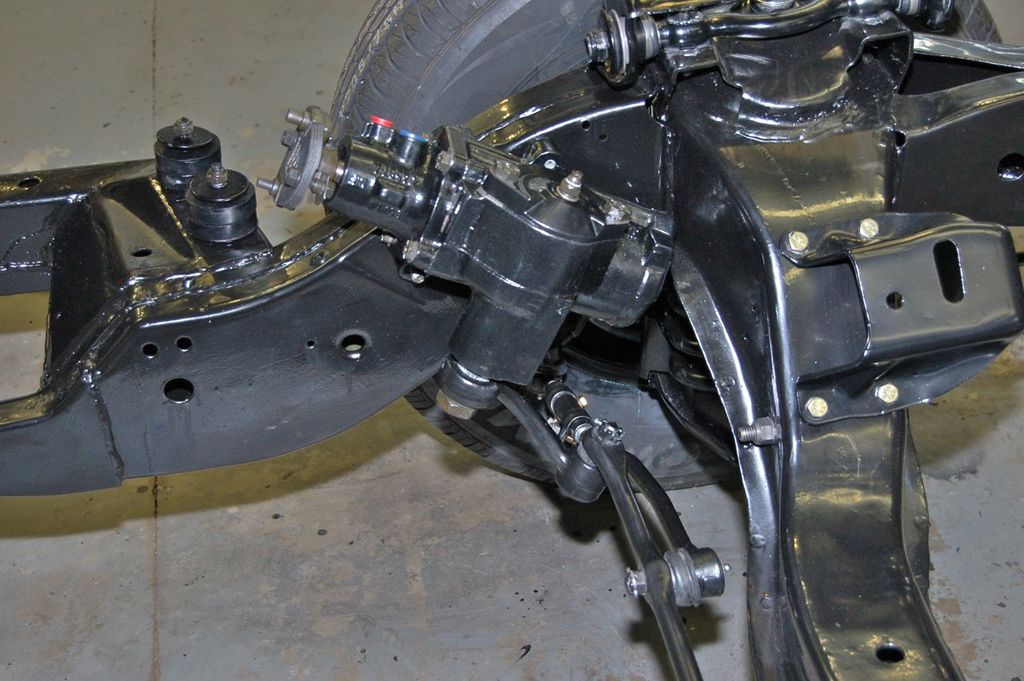
And install on the chassis and obviously then the Pitman arm, hoses, and adjust the Pitman Shaft lash lead bolt and lock down.
Hope some found that bit helpful
Cheers,
NOTE: My original intention when I started this project was to take detailed pics, like the transmission and steering gear, but for every part that needed work and then post each are of the car, or system separately, then in the end link them all up to one common thread about the car.
The problem arose is when I lost a great deal of pictures. I had complete pics on the engine, recfurbishing the HVAC systems on the firewall, including the plenums, brake booster, etc.
Since the ability was lost to have a complete collection I then just decided to use what I have for this LTD and make it one continual thread. If anything it shows that even a 4 door Ford luxury car can be worth putting loads of effort and care into.
Click here to continue to part 24