1966 Ford LTD Resto-Mod : 060 Roof Repair - part 1
2023, November 14
1 - 2 - 3 - 4 - 5 - 6 - 7 - 8 - 9 - 10 - 11 - 12 - 13 - 14 - 15 - 16 - 17 - 18 - 19 - 20 - 21 - 22 - 23 - 24 - 25 - 26 - 27 - 28 - 29 - 30 - 31 - 32 - 33 - 34 - 35 - 36 - 37 - 38 - 39 - 40 - 41 - 42 - 43 - 44 - 45 - 46 - 47 - 48 - 49 - 50 - 51 - 52 - 53 - 54 - 55 - 56 - 57 - 58 - 59 - 60 - 61 - 62 - 63 - 64 - 65Continued....
Next was to repair the front windscreen frame area.
I removed all the butyl window sealant. Good grief that was tedious, I am not using that for the new windscreen. The windscreen and rear window will be glued in with modern urethane after the body is painted and the new top fitted.
Here you can see all the holes in the top glass frame.

Next was to plug weld all the holes. I used ER70 0.025" wire with a gas mix of CO2/Ar and the current and wire feed for 18 gauge mild steel.

After I plug welded every single hole next was to very carefully grind down each weld with a Dremel. This was very time consuming as each weld had to be at least flush to the plane of the channel as not to interfere with the top material and top stainless trim. This requires loads of patience as you do not want to accidentally cut into the thin sheet metal all the while lightly feathering the weld into the existing structure. It almost requires scalpel like precision in order to avoid making even more work.
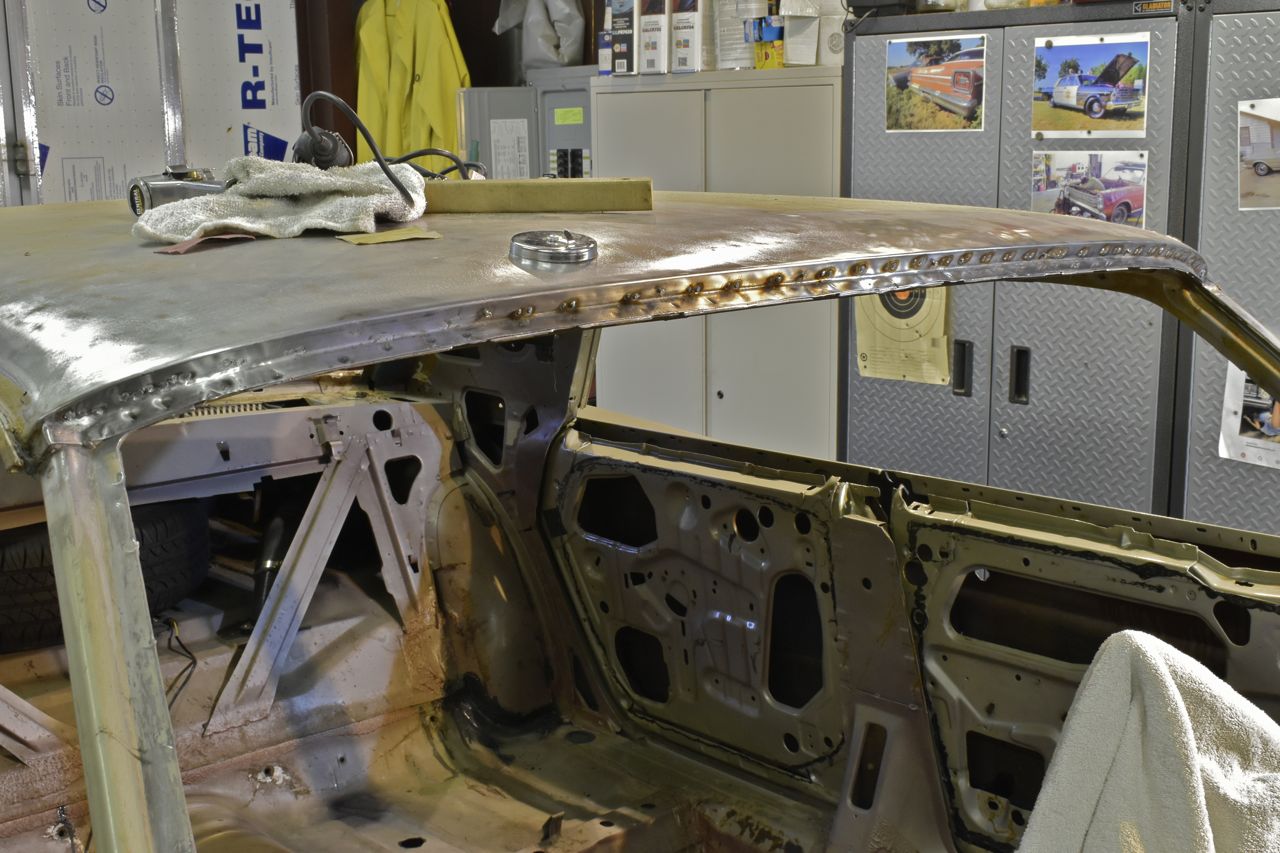
Done. All holes are filled in with steel. There is no need to finish the metal perfectly smooth as all this is hidden anyway. The only two goals were to fill the holes in order to stop the ingress of water during a monsoon and also add a layer or two of corrosion protection of which the 2 stage paint job will more than adequately do.

Well that was the easy part that was finished the other day.
More to come.
Well, over the past few months, I did waste a bunch of time trying to resurrect a '79 Dodge Power Wagon. What a complete pile of ........... This is the first and last Mopar I'll ever own. And it isn't because it was neglected or left for dead. I'm used to that and can deal with that. It was still being used when we bought it, granted it is rough, but upon disassembly of a similar parts truck I have quickly come to learn that it's a badly engineered vehicle that uses the cheapest materials. And apparently the newer Dodge stuff is just as bad. I've read reports on interiors falling apart, wiring and electronic problem galore and the one version of the Hemi that loves to eat camshafts. How they stay in business I'll never know.
I will say this, these old Fords are like Rolls Royce's compared to a Mopar. I have such a renewed appreciation for our 3rd gen full size Fords and my old Caprice Classic convertible, heck, even our '96 Impala SS when once I thought they were super cheesy. Owning a Dodge put it all into perspective.
Roof Repair
Hello All,
I have been working on this roof project and it's a bugger. With that here's some updates. I finally have the roof stripped of irritating glue, paint, vinyl, padding, silicone, butyl, nails, rivets and staples. That was unbelievably tedious. The glue Ford used must have been from the space program as that just didn't want to let go. Not to mention dealing with all the other stuff on there. I want to slap that someone at Ford for thinking, hymmm, this is a good idea.
The worst side on this car is the passenger side, but since metal/body work is not my forte I had a lot of apprehension starting on this so I decided to tackle the drivers side since it was far less worse. There were only two areas that needed to be cut out and patches welded in.
First area.

Second area.
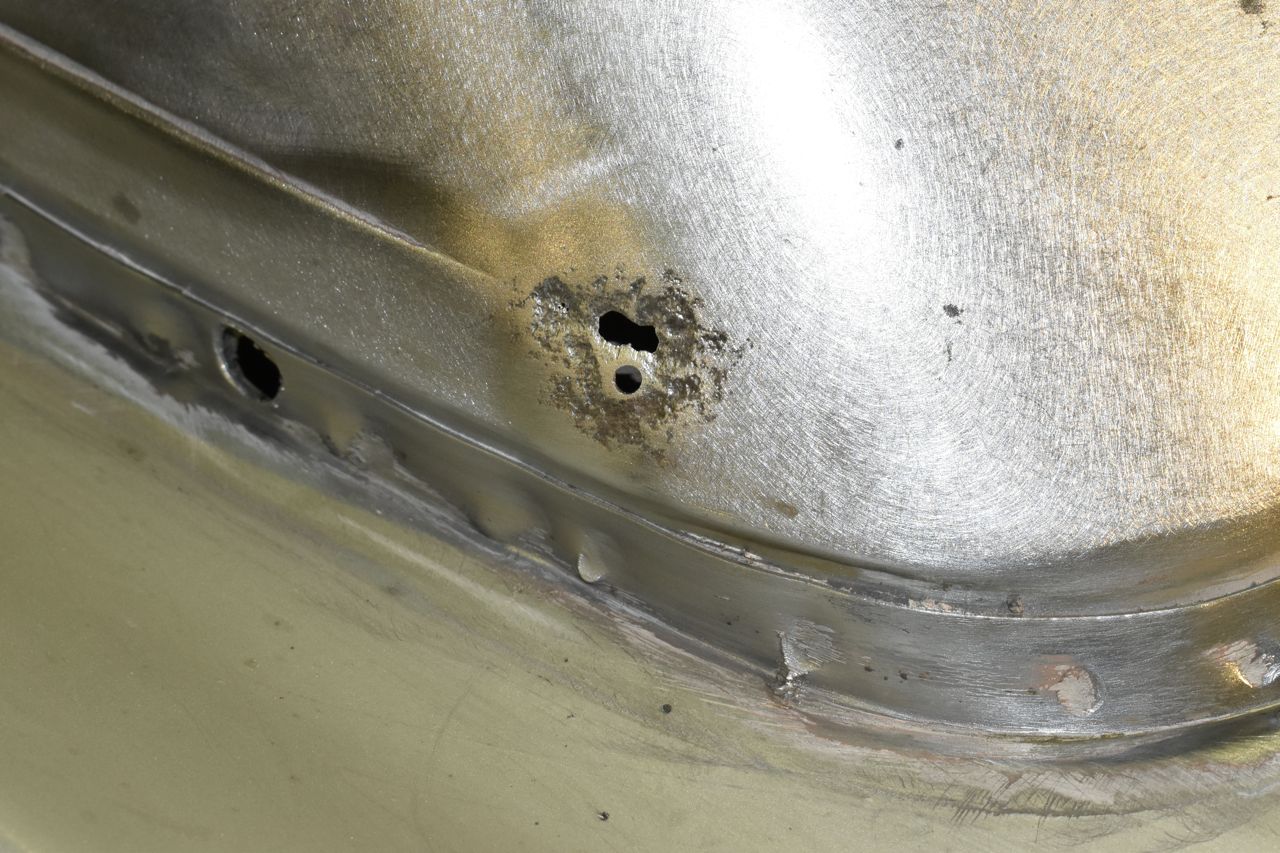
First section cut.
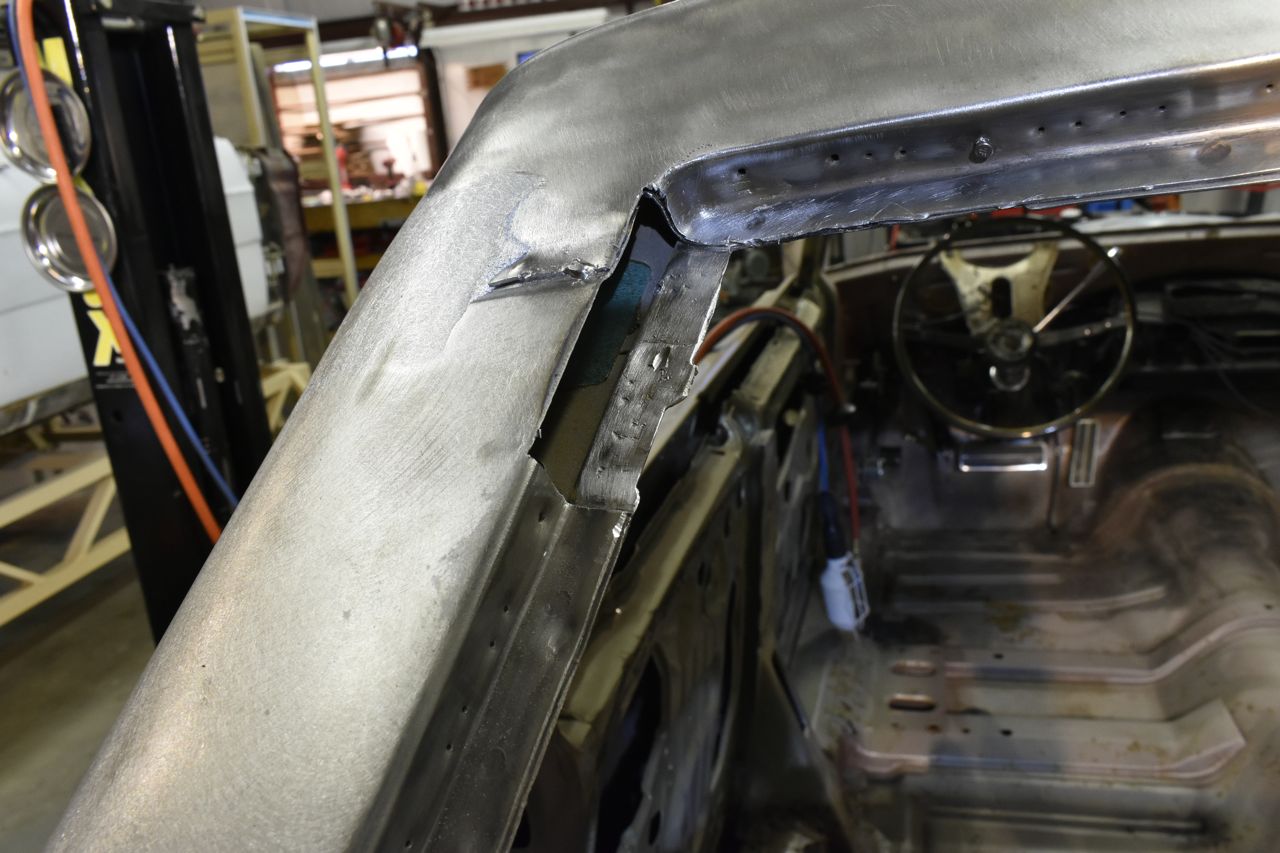
Second section cut.

Patch pieces. These are from the donor '66 roof so it should be the same exact steel as in this car.

Now I've watched countless videos on metal shaping even bought a couple from British master coach builders and whilst those guys could do the most amazing work with the basic of hand tools the one thing that always struck me as odd is they never did anything for corrosion protection. They would layer bare steel together or have exposed steel back sides. It's like they welcomed the eventual come back to fix the same rusty panel..... again...... and again.
So since I'm layering steel over steel for the window flange, I applied some weld through primer to stave off corrosion between the bare layers of steel. Now I will be using a internal frame type spray inside the roof area to coat from the inside after I finish all this steel work. But I even see body shops missing this step as well.

Stuff I use.

Did the under and back side of the replacement piece also.
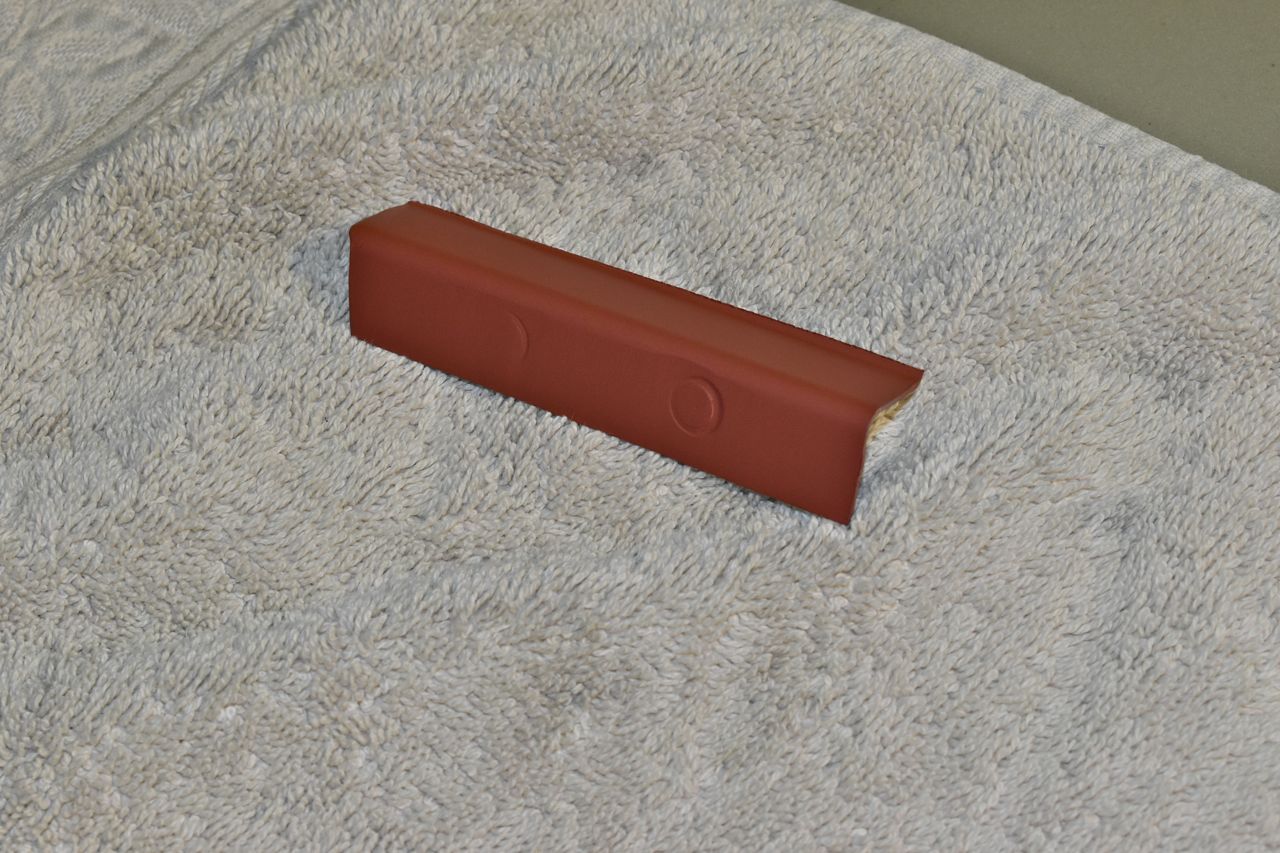
Every little bit helps. I DO NOT want to ever have to fix this roof ever again.
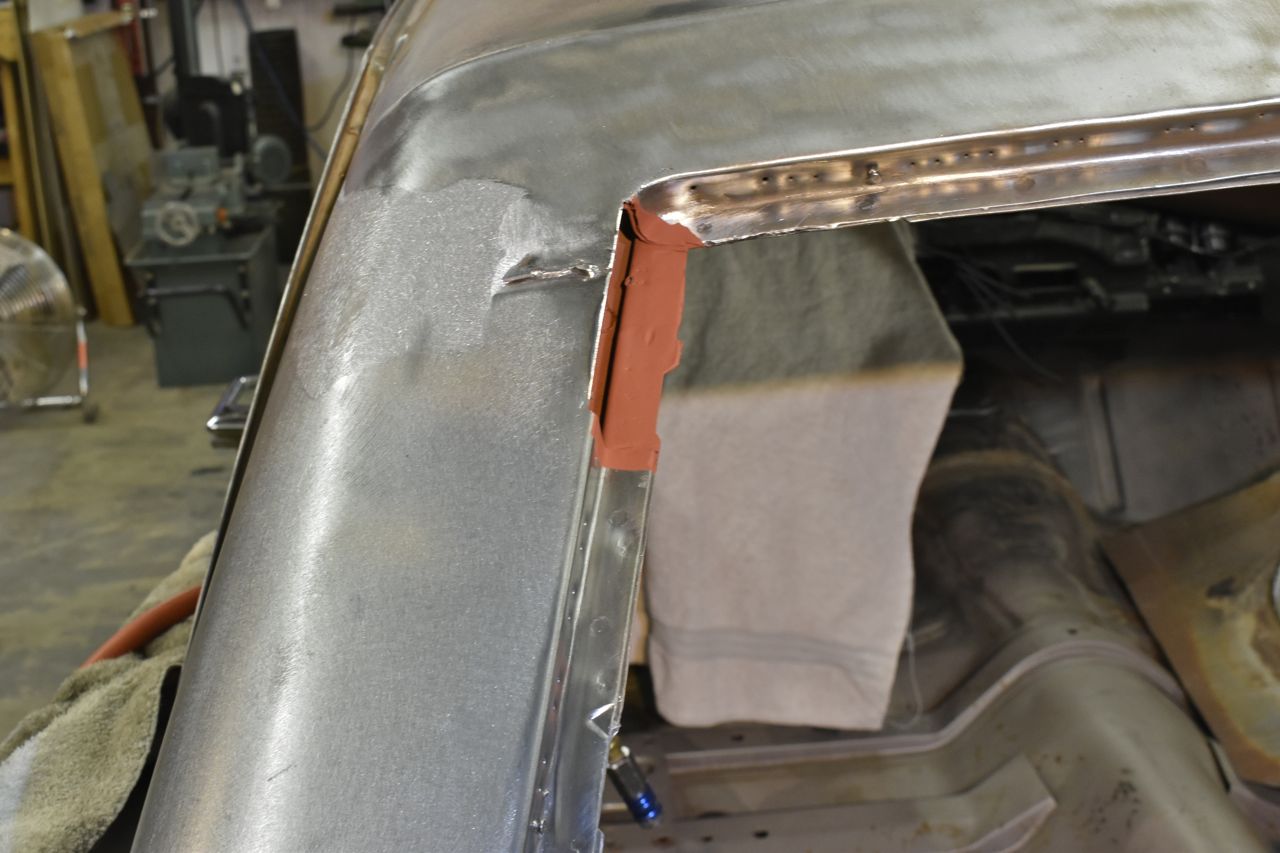
This little guy was first. There is no direct access to this area from the inside with the internal roof framing in the way. If I crawl into the boot of the car I can barely access it. So I had to get creative on how to fixture the patch to weld. So I used these little neodymium magnets to hold the piece in place.

This piece is actually a slight compound curve and I bent the patch close as I could at this point. I gambled that at least one corner of the patch would sit flush with the existing roof and I won that bet and that's where I started with tacking.

To locate the trim stud hole I drew a slew of intersecting lines through the original hole and extended them outward as with the curves it's nearly impossible to use any other reference point. Once the side flush was tacked I crawled in and removed the magnets and used the little screwdriver to pry the edges of the patch till they were flush with the roof skin and continued tacking in this way.

Tedious.
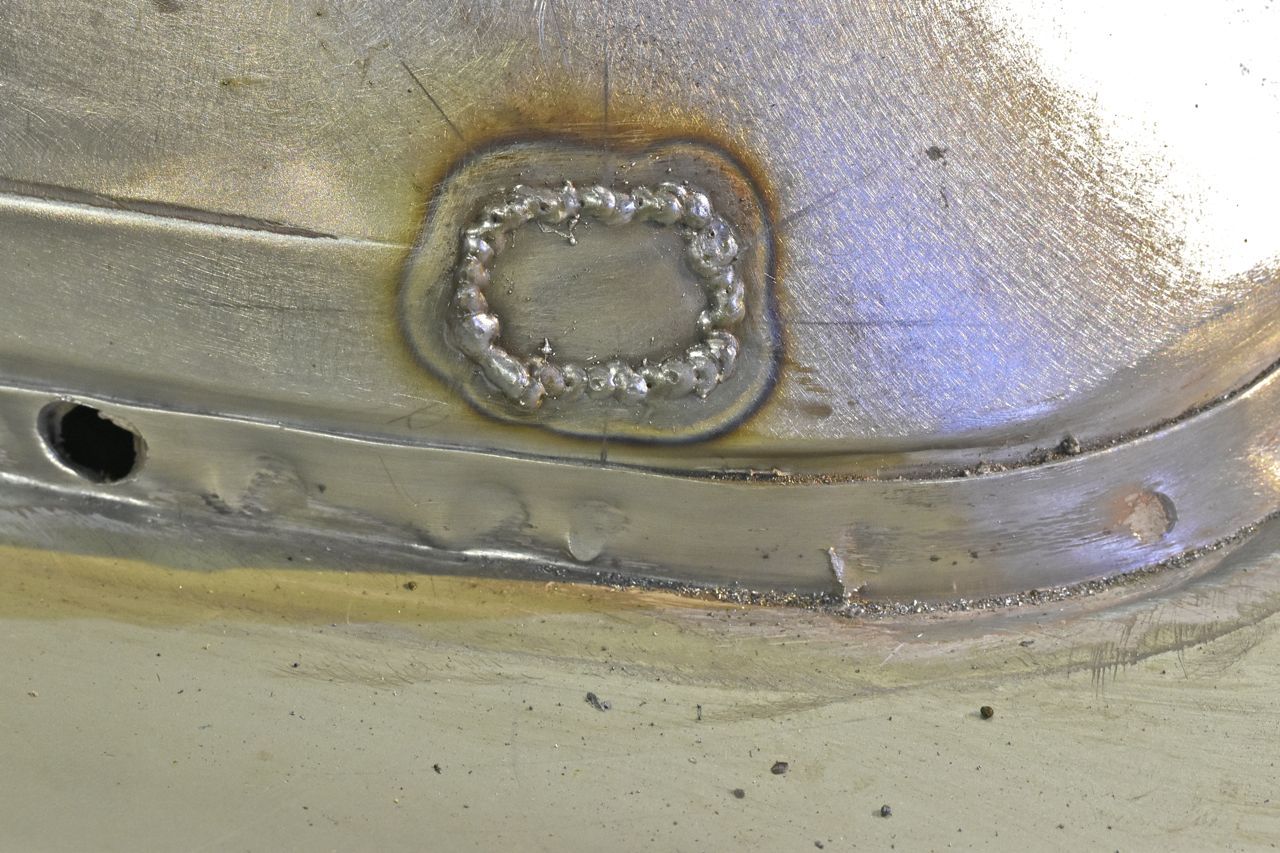
Did a quick grind and found my centre for the trim hole and drilled that before I lost my reference lines.
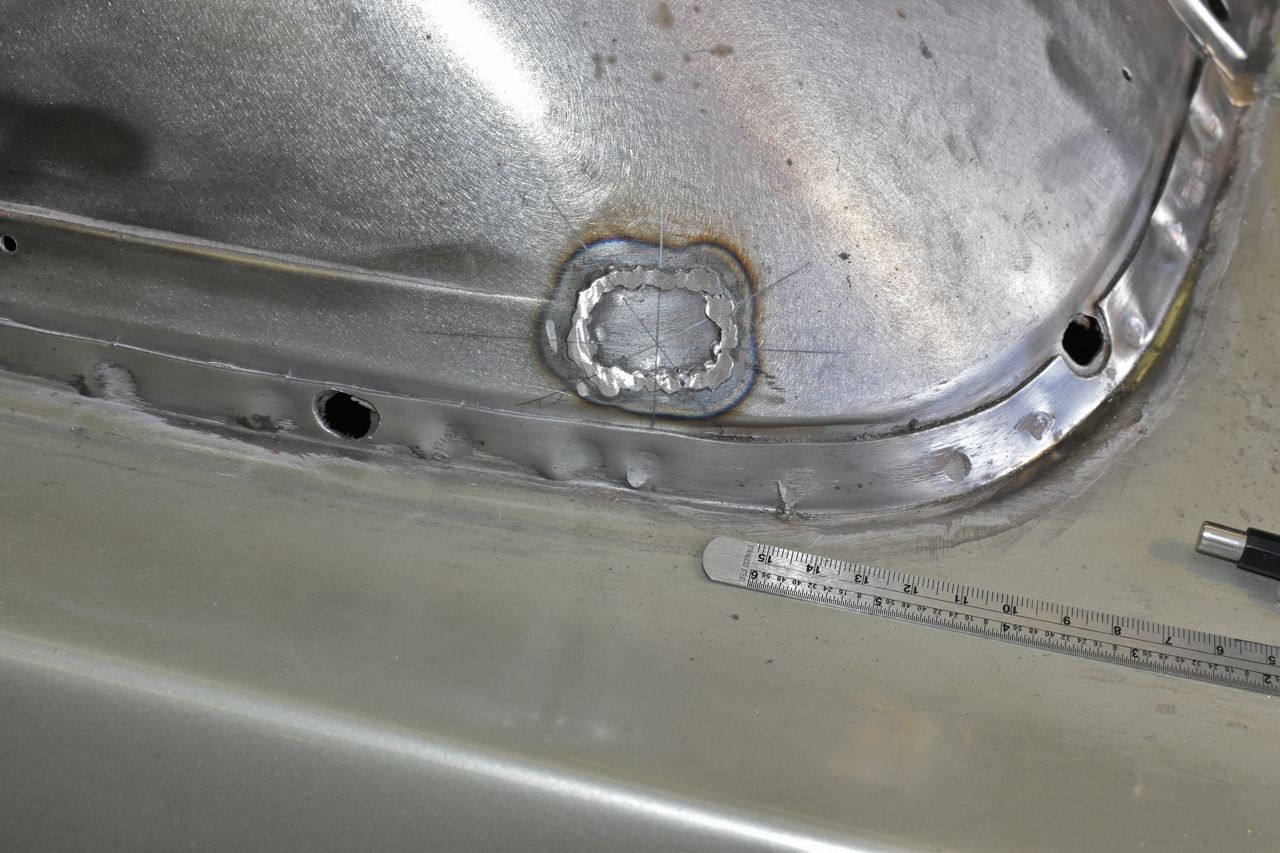
Did a first round grind flush and I had low spots.
Since I can't bump them out from behind I got to use this guy.
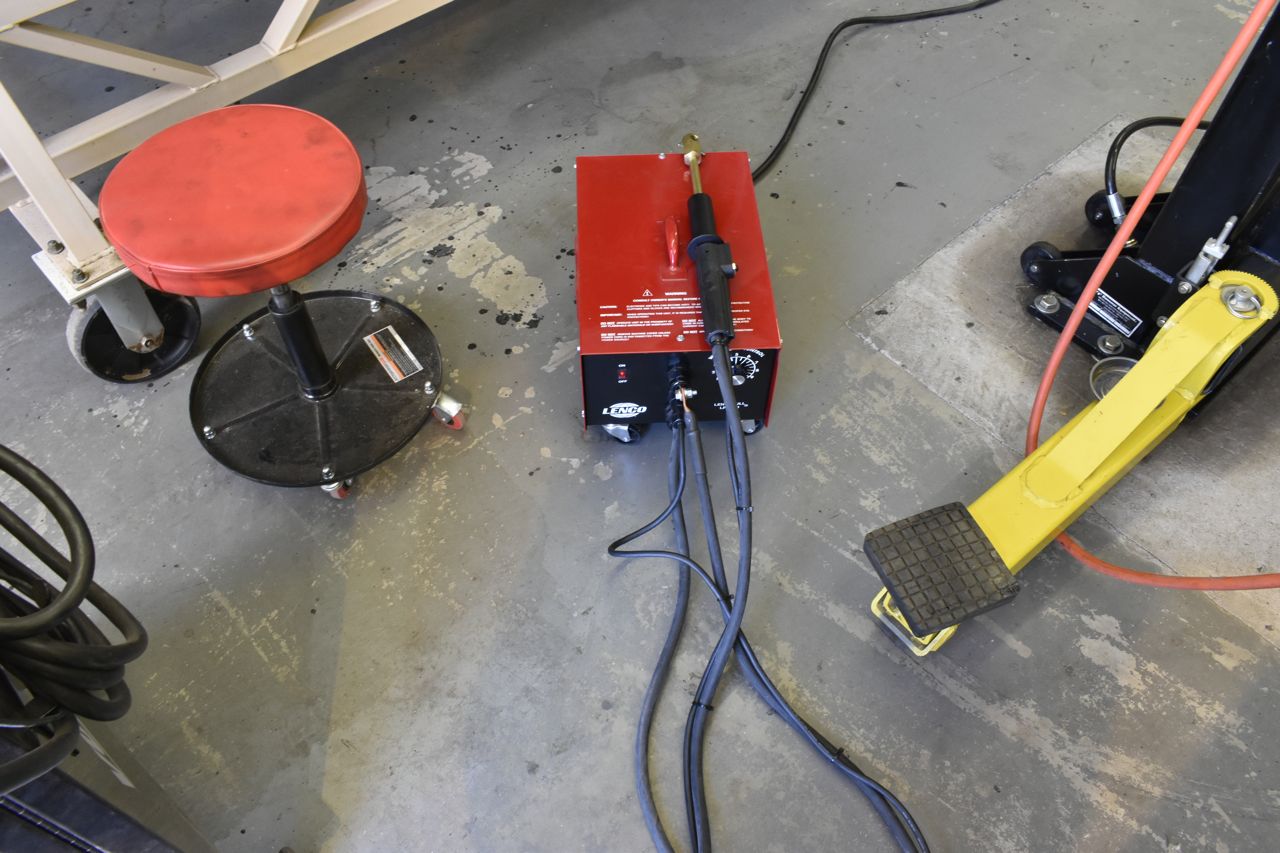
It's a spot welder and slide hammer rolled into one. You spot weld onto the area and use the slide hammer to bump the metal. Then twist and it comes off. "Rinse and repeat."
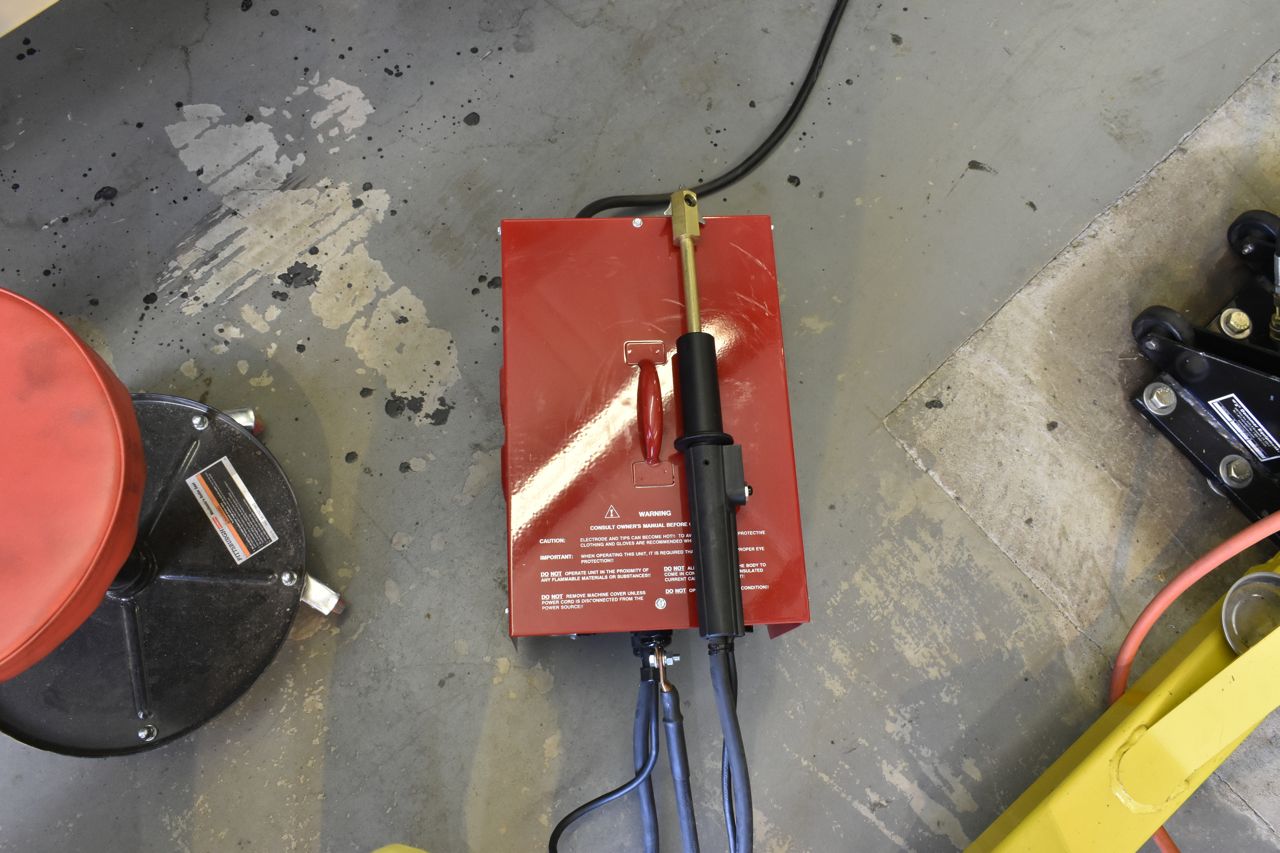
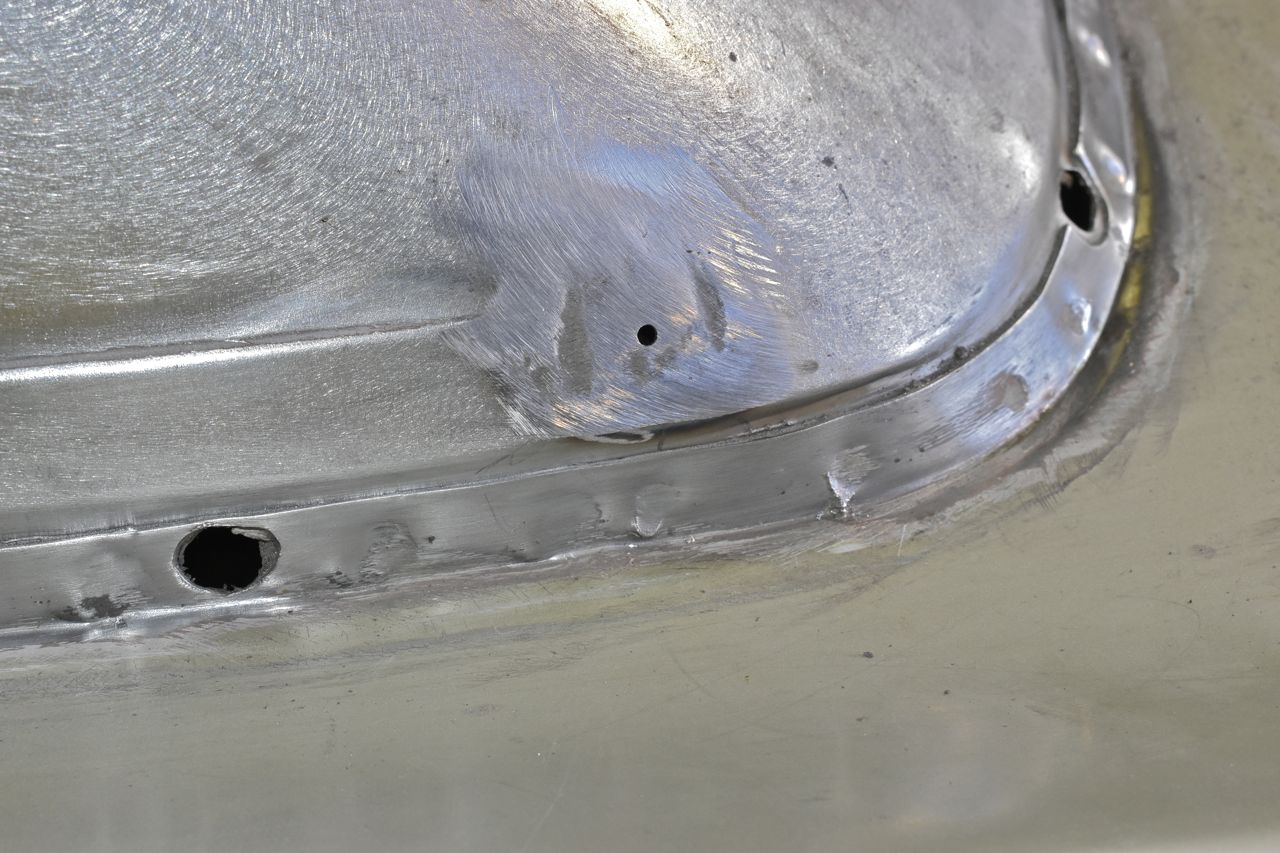
I filled in some of the dimples from the puller with more weld and...

No plastic filler required.
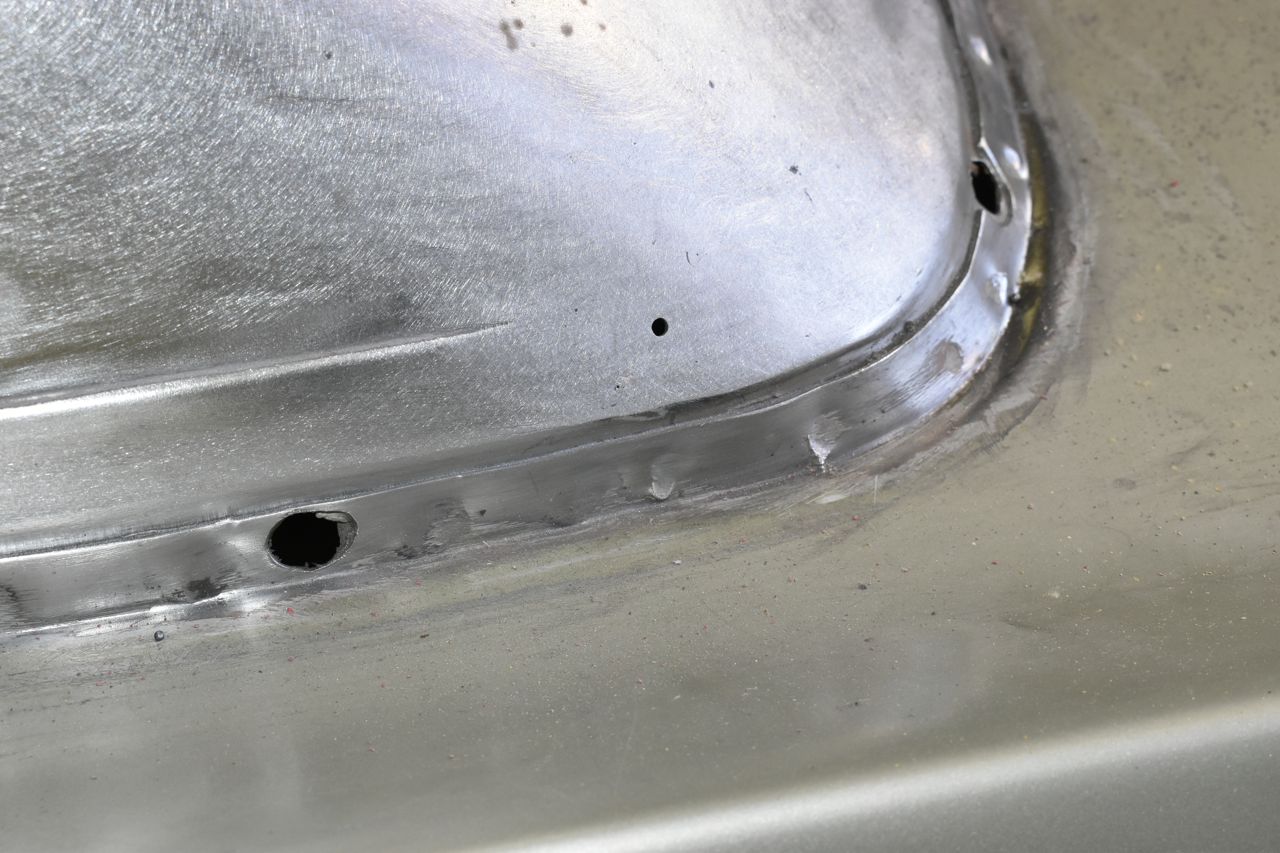
tapped the hole for 8-32 and this patch is done.

continued in next post.
Click here to continue to part 61