1966 Ford LTD Resto-Mod : 018 Transmission C6 Rollerization - Assembly part 5 - High-Reverse Clutch
2023, November 14
1 - 2 - 3 - 4 - 5 - 6 - 7 - 8 - 9 - 10 - 11 - 12 - 13 - 14 - 15 - 16 - 17 - 18 - 19 - 20 - 21 - 22 - 23 - 24 - 25 - 26 - 27 - 28 - 29 - 30 - 31 - 32 - 33 - 34 - 35 - 36 - 37 - 38 - 39 - 40 - 41 - 42 - 43 - 44 - 45 - 46 - 47 - 48 - 49 - 50 - 51 - 52 - 53 - 54 - 55 - 56 - 57 - 58 - 59 - 60 - 61 - 62 - 63 - 64 - 65Transmission (Dual Range C6) Rollerization and Build up - Assembly Part V
Carefully place the piston in its bore. Clean, lube, blagh blagh blagh

Insert the springs.

Use the spring compressor to compress the spring plate and install the retaining snap ring.

Make sure everything is seated nicely.

Install the frictions, steels and pressure plate and finally the selective retaining snap ring.

Again double check your work.

Install this thrust washer with a new one and really grease this to hold into place. (Will be up-side-down when assembling)

I've also earlier took some 320 grit and cross hatched a nice pattern into the direct drum surface for better oil distribution between this and the band. Sorry this picture is a little out of sequence.

Lining up the friction teeth before hand, lower the direct clutch onto the forward clutch hub. Again wiggle and jiggle until sure all teeth are engaged and seating properly.

Everything is seated properly here. Notice the gaps.

After soaking the band in ATF, maneuver it into place over the direct clutch drum.

like this.

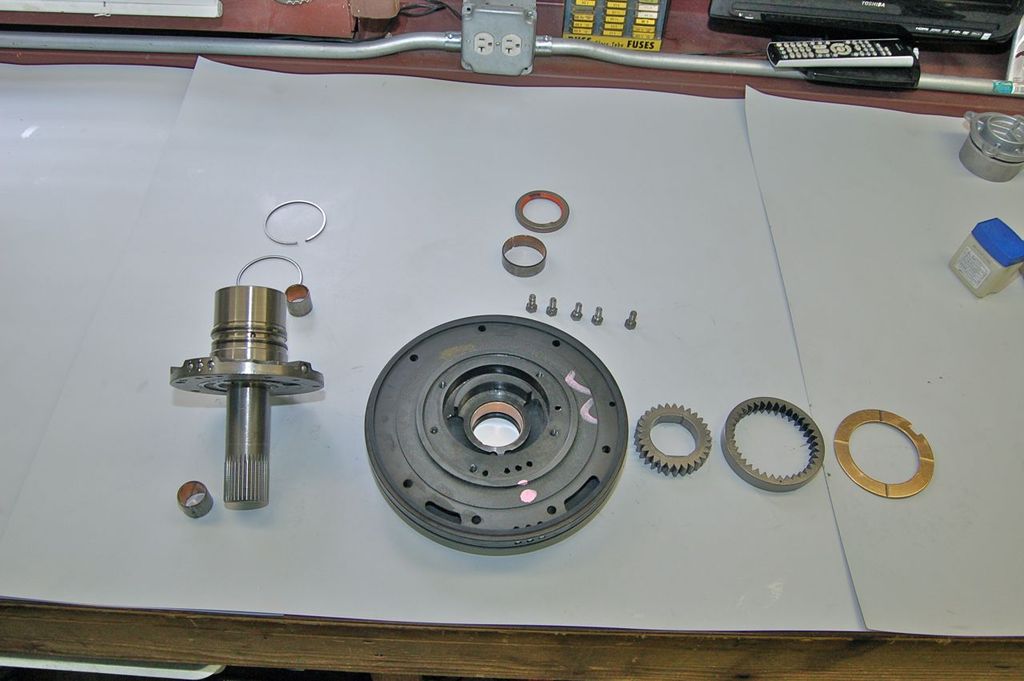
Here we have the pump and stator bits and bobs for assembly.

Starting with the pump bushing, which is actually the torque convertor snout bushing. Note the location of the notch, the instructions are pretty specific about how it's clocked upon assembly.

Don't forget the new seal.

The bushings in the stator are little buggers. In order to easily get them out I VERY CAREFULLY used a bare hacksaw blade to slice each one. It was painstaking but worked very well. Take note the oiling grooves are different for these two so be aware of where they go along with clocking of them.

Replace the rings, again they are locking.

Lube the snot out of the pump gears.

Assembly the stator support onto the pump.

Torque the bolts evenly and then lube and install outer ring seal.

continued in part VI
Click here to continue to part 19