1966 Ford LTD Resto-Mod : 063 Roof Repair - part 4 Roof Leading & Door Filler
2023, November 14
1 - 2 - 3 - 4 - 5 - 6 - 7 - 8 - 9 - 10 - 11 - 12 - 13 - 14 - 15 - 16 - 17 - 18 - 19 - 20 - 21 - 22 - 23 - 24 - 25 - 26 - 27 - 28 - 29 - 30 - 31 - 32 - 33 - 34 - 35 - 36 - 37 - 38 - 39 - 40 - 41 - 42 - 43 - 44 - 45 - 46 - 47 - 48 - 49 - 50 - 51 - 52 - 53 - 54 - 55 - 56 - 57 - 58 - 59 - 60 - 61 - 62 - 63 - 64 - 65More Roof Repair - Continued
I worked on the weld seems for seemingly days, using the spot welder dent puller, hammer, dolly and shrinking discs.
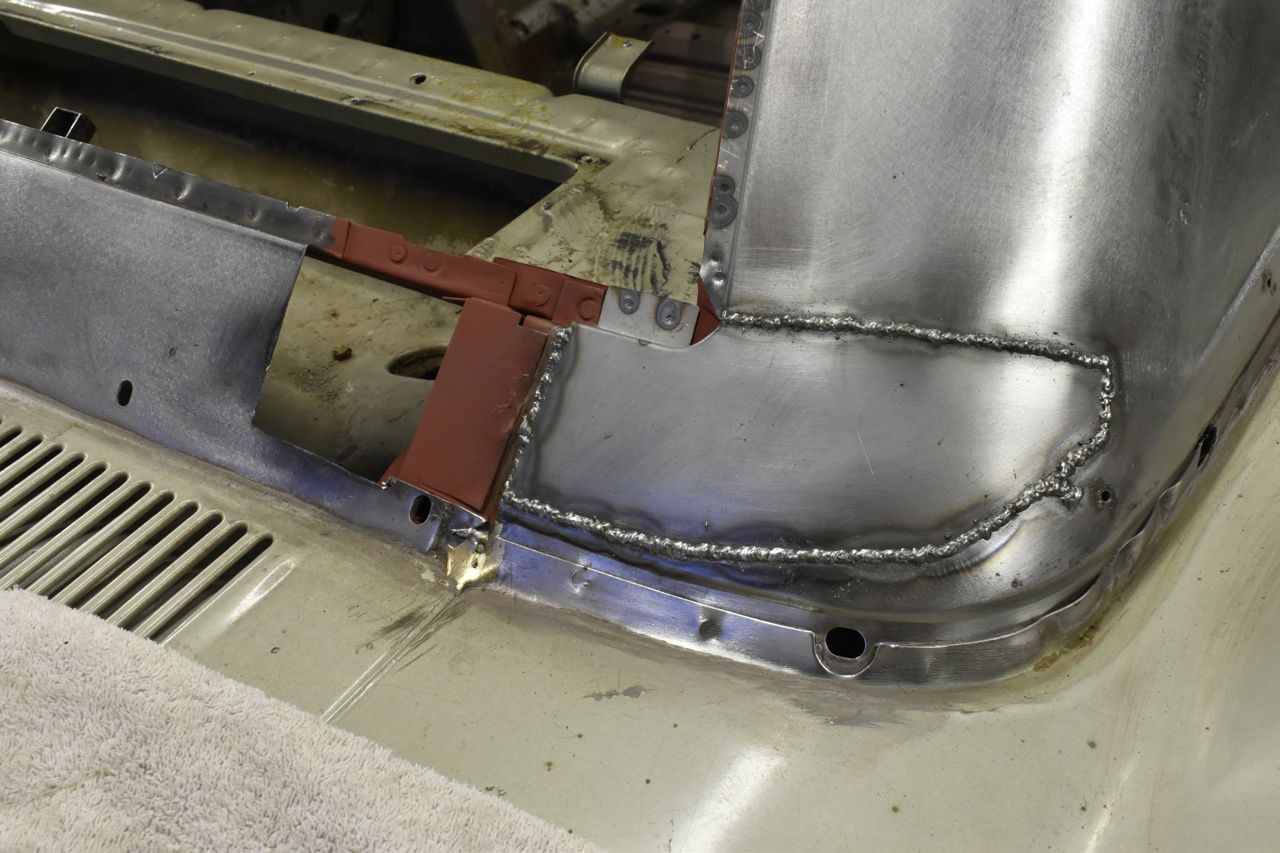

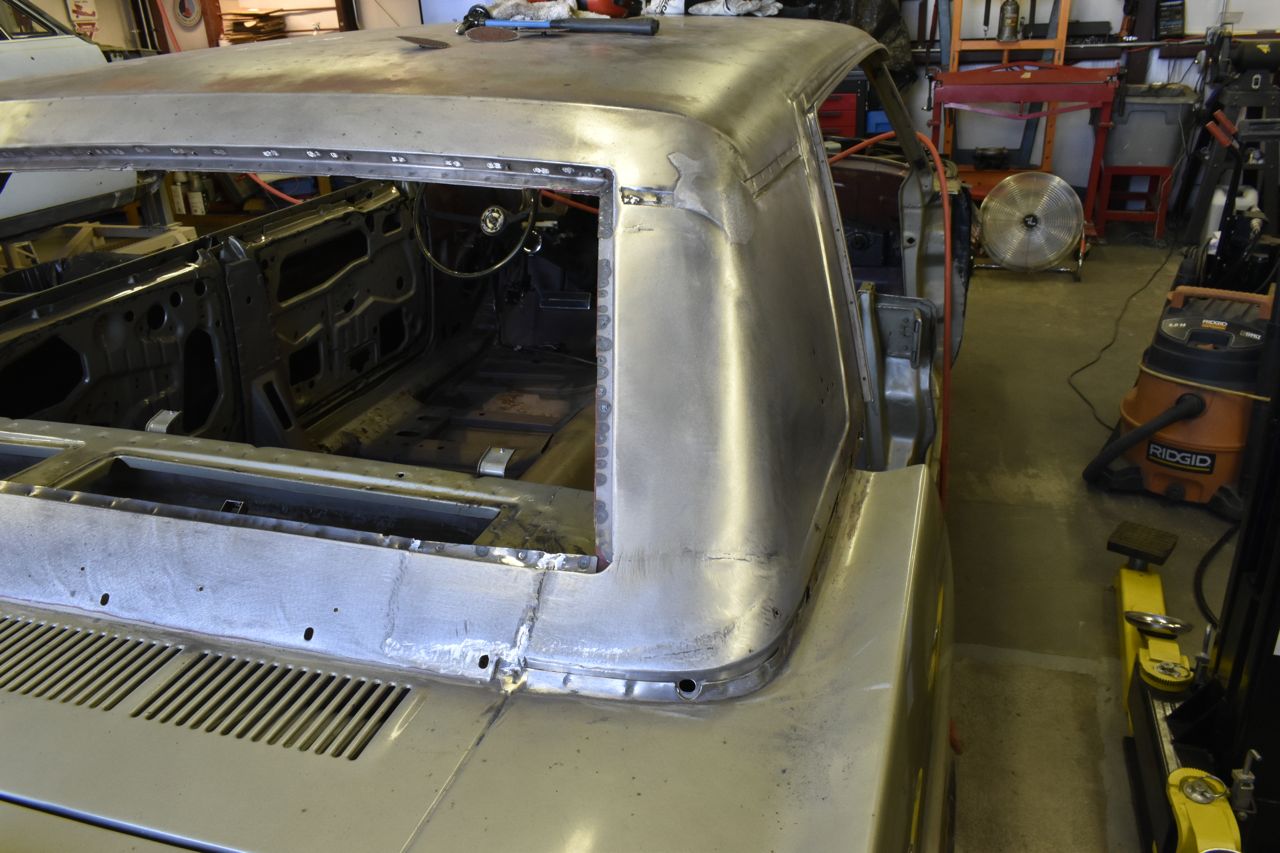
I needed a break from this side, I had enough and decided to finish the other side. So now the excursion into leading begins.
Originally I found this video from Eastwood Eastwood Leading Video and tried this method. The problem I had is after using baking soda and rinsing after the lead wasn't adhering well in some areas. So I had to redo this with some other kind of method.
Another school of thought is that instead of tinning first, then neutralizing the acid with baking soda, then add lead, was to tin, wipe the excess off then lead the poopers out of are, file/sand then neutralized anything afterwards with baking soda and rinse. I tried this method and it worked.
Of course I had my concerns about leaving trapped acid under the lead, but when I melted out the original Ford lead, the flux was still there in the seam so even Ford tinning, leaded, sanded, then most likely wiped to neutralize then sent the car down the painting line. So if Ford did and it lasted 50+ years, then so shall I.
Now I did find another really good video Trev's Blog on Lead Loading on leading and incorporated his ideas with the Eastwoods approach and came up with a process that seems to work.
The lower seam is leaded and I filled in a bunch of rust pits in this section as well.
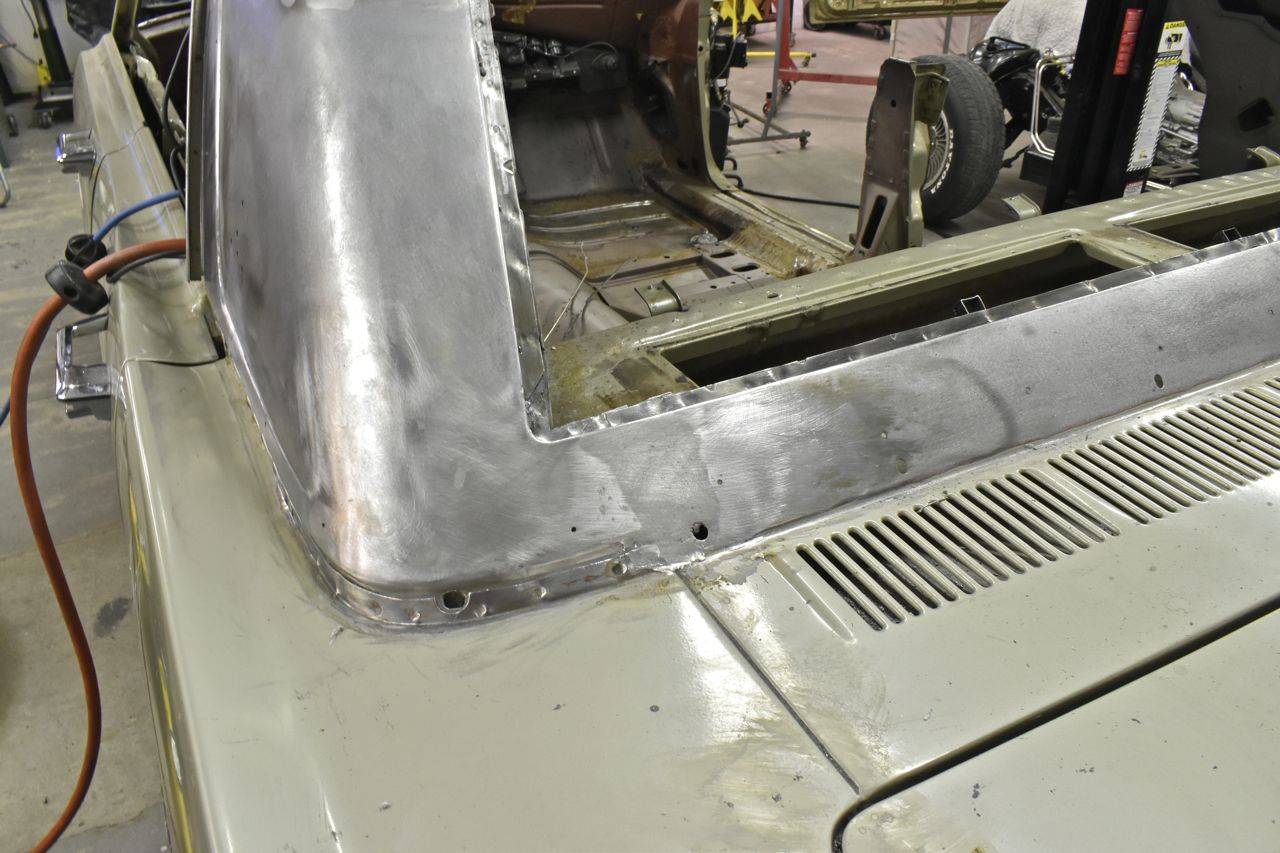
I removed this portion of the Ford original leading. As you can see there is a little corrosion from the left over flux, but it's superficial and wire brushes right off.


Now it doesn't have to be plate glass smooth for the roof as it's getting the vinyl top and it will hide some minor sins. The amount of time this takes an rookie ameteur like me is staggering. So I crown thee drivers side done!

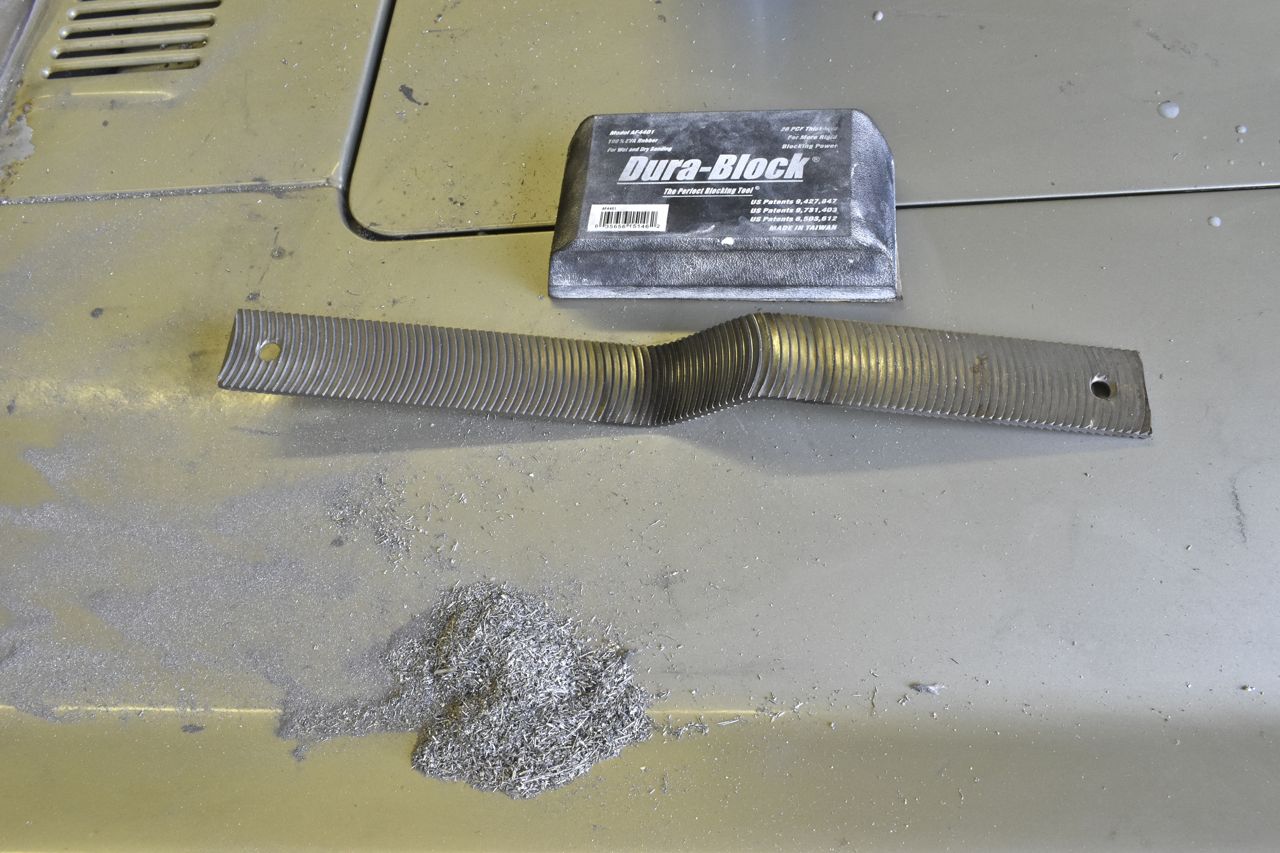
Obviously you want to keep the particles of lead as large as possible to keep from getting airborne so I used a large bastard body file modified as noted in Trev's Blog (linked above) and 80 grit sandpaper on a Dura Block and sanded hard and slow.
A couple of notes about leading from what I've learned. First, using a propane torch is a poor idea. You really want a low heat pillow like flame for paddling the lead, especially on a vertical surface. My propane torch was a bear to use because of the concentrated heat in the middle of the flame. I did order that torch attachment from Eastwoods leading video to use on the passenger side. Hopefully it's as good as the video promotes. We'll see.
Secondly, to fill in rust pits, they have to be really clean. Even a wire brush is iffy. So I used my dremel with a tiny point like rotary file and cleaned out the pits like a dentist removes decay from a tooth. That worked a treat the tinning and lead adhered and filled really nicely.
The last and most important part of leading. When you discover you did not put enough down and when you add more to one spot the adjacent spots dish inwards and you find yourself chasing your tail. Easy peasy, don't use a torch for small areas. I used a 300 watt Weller soldering gun. Simply brush on your tinning solution just in the area that needs a bit of lead, use the soldering iron to get the lead stick hot and partially melted to the soldering iron tip then lightly press on the area of missing lead, let the tinning solution clean and let the lead on the soldering iron transfer to the area you need. Lightly and I do mean lightly keep adding and building up. Let the heat of the molten solder on the tip heat the area on the car you need to add to. Any more heating and you risk creating low spots around where you added.
My little trick may not be brilliant nor fast, but it does work.
I still have to do rework to the steel on the passenger side then lead. But at least it's a darn site better off now.
Now about vinyl tops or in this case looks more like a toupee.
I was just laying this top I bought a while back out on the car to see how things look. Here's where I possibly went wrong. I ordered this top from a catalogue some time back, whilst the seams, window area and roof area seems to be well done and laid out the material itself looks like some cheap crap you'd buy at Walmarts Arts and Crafts centre.
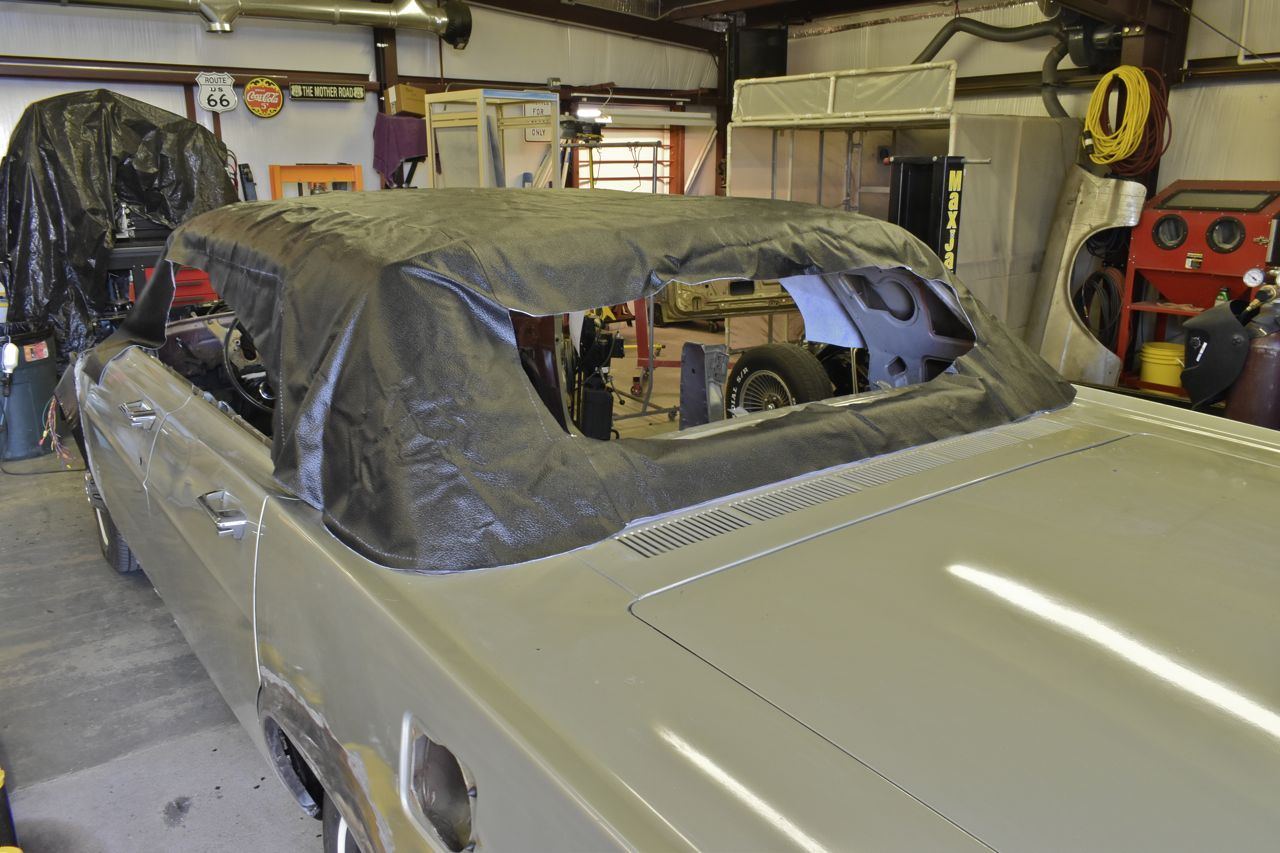
I did more research and found that a vinyl supplier named Haartz supplies a great deal of OEM's with tops for luxury car roofs and convertibles. If OEM's are willing to use this supplier it's probably a safe bet they make something that will last. So I ordered another top from Kee Auto Top and they use Haartz vinyl. So it'll be an interesting to see the comparison when it arrives.

At least I'm getting really close to finishing this roof.
The hardest part in learning something new on your own is weeding through all the information and sometimes misinformation out there. And by out there it doesn't mean if it's the internet in general or another person specifically.
I have no problem using a good grade polymer filler on the rest of the car but the roof makes me nervous, hence the lead and avoiding plastic fillers. Because it's getting a black vinyl top and we live in the Southwest, when the car sits outside in the summer time that roof will roast. Then cool down to very cool temps in the evening. The question becomes how many times can plastic and steel expand at different rates before they separate.
Referring to a real life example of our 1996 Chevrolet once again, obviously they didn't use lead when constructing this car, GM used a plastic filler on the roof where the rear wing/quarter meet. That started cracking and separating around 15 years of age. My better half and I both had '96 Impala SS's at the time and they both experienced it. I sold mine off a few years ago and honestly do not miss the car at all.
With that my biggest worry is having plastic filler shrink over time and separate from the steel and paint leading to eventually trapping moisture under the vinyl and we're back to square one again with rust and holes.
So from what I've read about the metal fillers is that it's still a catalyzing polymer base just with bits of reinforcement added to it. Again it begs the question of how long can it realistically last in extreme temperature cycling. In a realistic view however I think these polymer fillers would just fine as long as they weren't applied to thick in areas. Metal work should be easily within 1/16" of the final shape before any filler is used as the thicker the filler the more tension and the propensity to separate from the parent metal. This falls back on the roof to rear quarter seam where it's quite deep. The metallic bond between the steel and the lead/tin mix is obviously really strong as it lasted 50+ years. Whereas the covalent bond between the factory polymer filler and primer on the mid 90's General Motors cars failed about 15 years into the cars life because of the depth of filler used.
On a slight tangent, now obviously a great deal of the 1990's era American cars were really substandard due to corner cutting from internal matters such as unions requiring more money as a result quality of materials, R&D and manufacturing really suffered, so maybe they thought the car will not be around after several years anyway (normal attrition) so who cares how badly they were built.
It's a whole lot easier to fix the GM cars roof when there is no vinyl covering over it
This is a scenario I do not want to occur on the LTD's roof. At this point, nothing would please me more than never having to revisit this roof again.
Plus there is one more advantage to leading, you can still bump (hammer and dolly) the metal and not affect it. Try that will a polymer filler and it's sure to crack or separate.
Just a little more progress to show.
I am done with leading. It's not perfect, but it's good enough for the top I think. Best of all it's an all solid metal repair in an area once referred to as swiss cheese. Leading was a learning experience. About 300 dollars worth of lead for this education. (sigh)

As a side tangent I picked up on the door I left a while back.
As I mentioned I have no problem using plastic fillers in shallow quantities. So the first round of using the spreadable filler fills in the majority of the lows. As was taught to me; divide the panel into parts using major body lines. Then spread fully on one section at a time. Sand using either a long board or a long mechanical sander, in this pneumatic on the flat sections but for high crown sections use round pipe or other straight round object as the board to sand.

I broke up this door into 4 major sections and tackled each separately.

These rear doors have more body lines and contours than most new cars have in their jelly bean entirety. The trick in apply the spreadable filler is not to prematurely loose a minor body line. It's learning when to sand and when to stop.

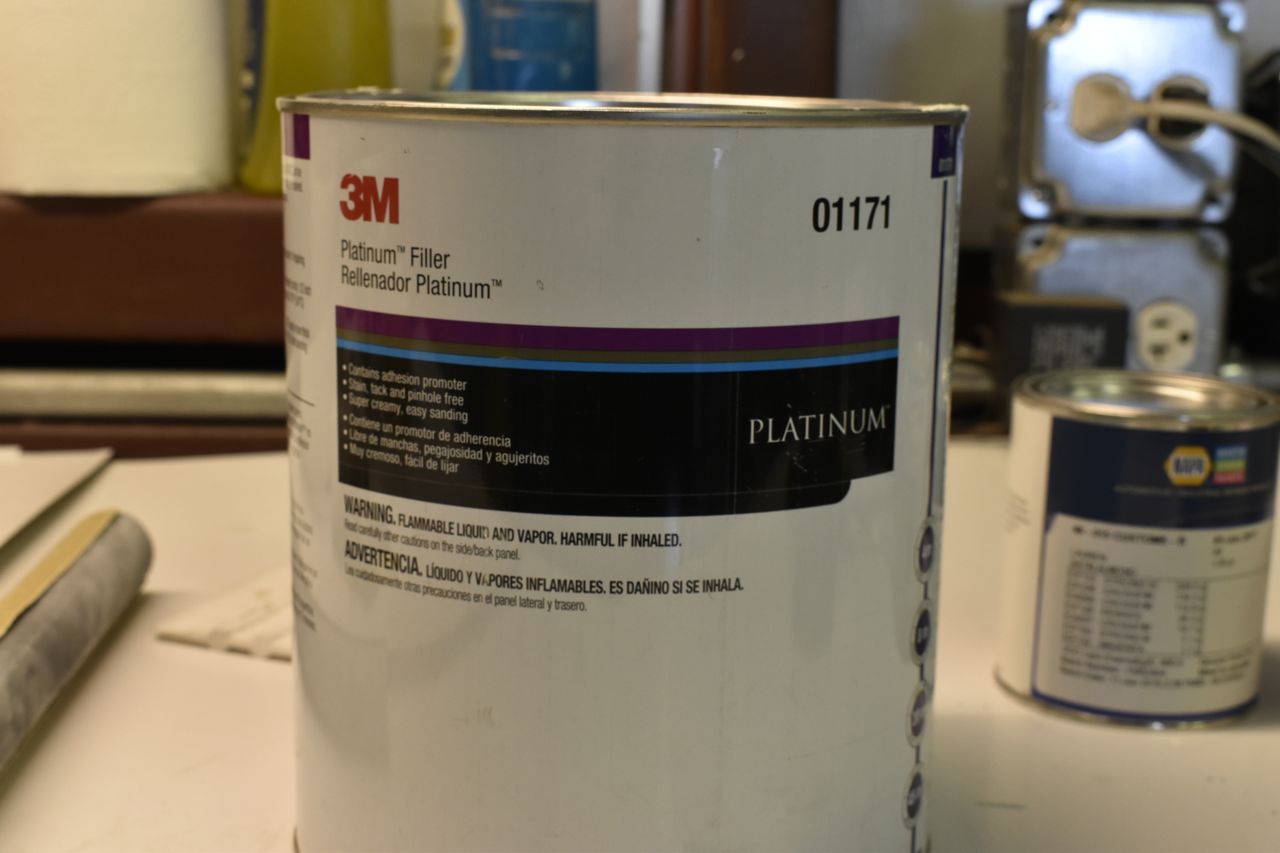
This is the spreadable filler I use.
Once this is sanded, I then use spray Feather Fill with the regular HVLP turbine compressor gun.
First round of 400 ml. As with any filler, be it spreadable or spray on, 70-90% of it ends up on the floor. I still had a few high spots.
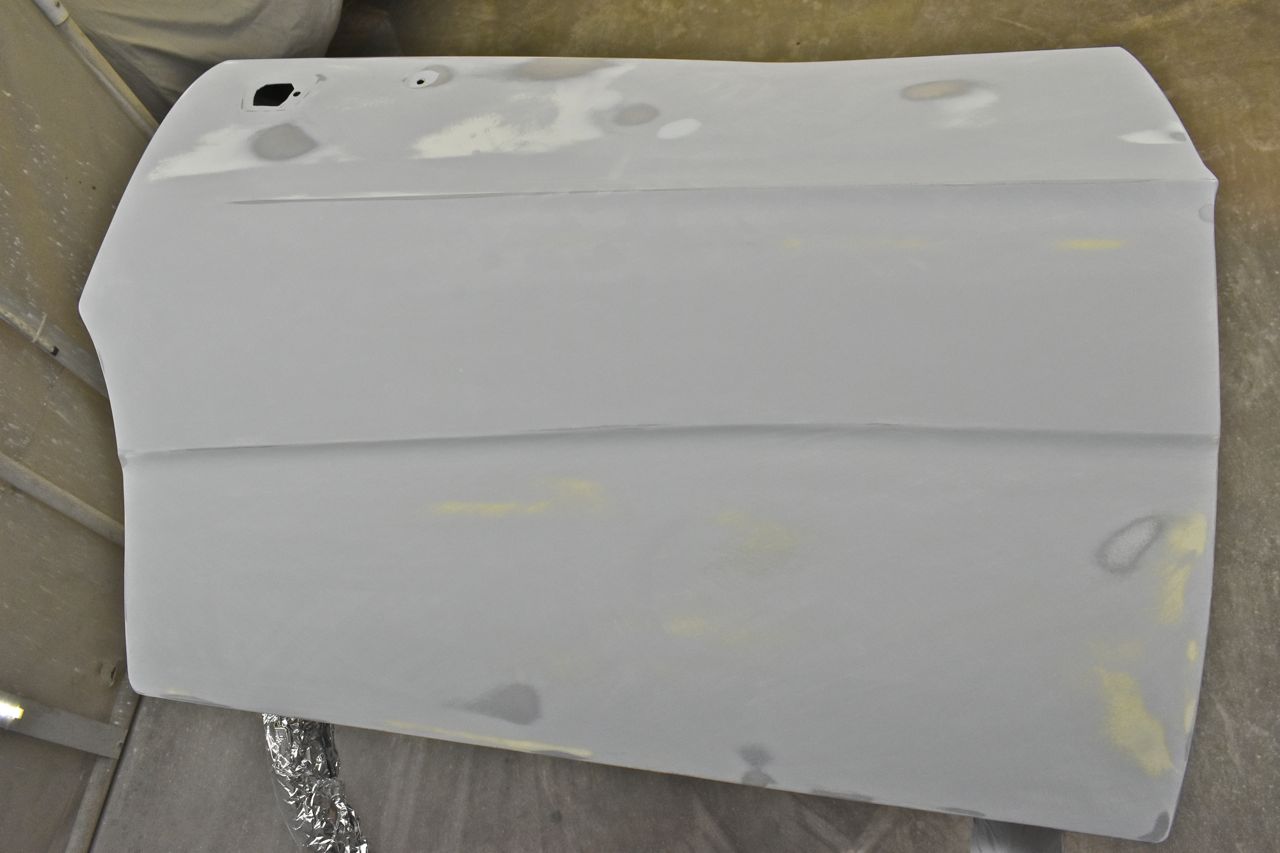
Another 400ml

That should do nicely when sanded. For now this is where this stops. I paint the outside last, the inner areas/jambs get painted first.

Continued in next post.
Click here to continue to part 64