1966 Ford LTD Resto-Mod : 015 Transmission C6 Rollerization - Assembly part 2 - Shaft & Low Reverse
2023, November 14
1 - 2 - 3 - 4 - 5 - 6 - 7 - 8 - 9 - 10 - 11 - 12 - 13 - 14 - 15 - 16 - 17 - 18 - 19 - 20 - 21 - 22 - 23 - 24 - 25 - 26 - 27 - 28 - 29 - 30 - 31 - 32 - 33 - 34 - 35 - 36 - 37 - 38 - 39 - 40 - 41 - 42 - 43 - 44 - 45 - 46 - 47 - 48 - 49 - 50 - 51 - 52 - 53 - 54 - 55 - 56 - 57 - 58 - 59 - 60 - 61 - 62 - 63 - 64 - 65Then the pawl itself and its return spring.

Install the governor sleeve with the pipes. Lube up the pipes for sure and wiggle and jiggle till all of it is properly seated.
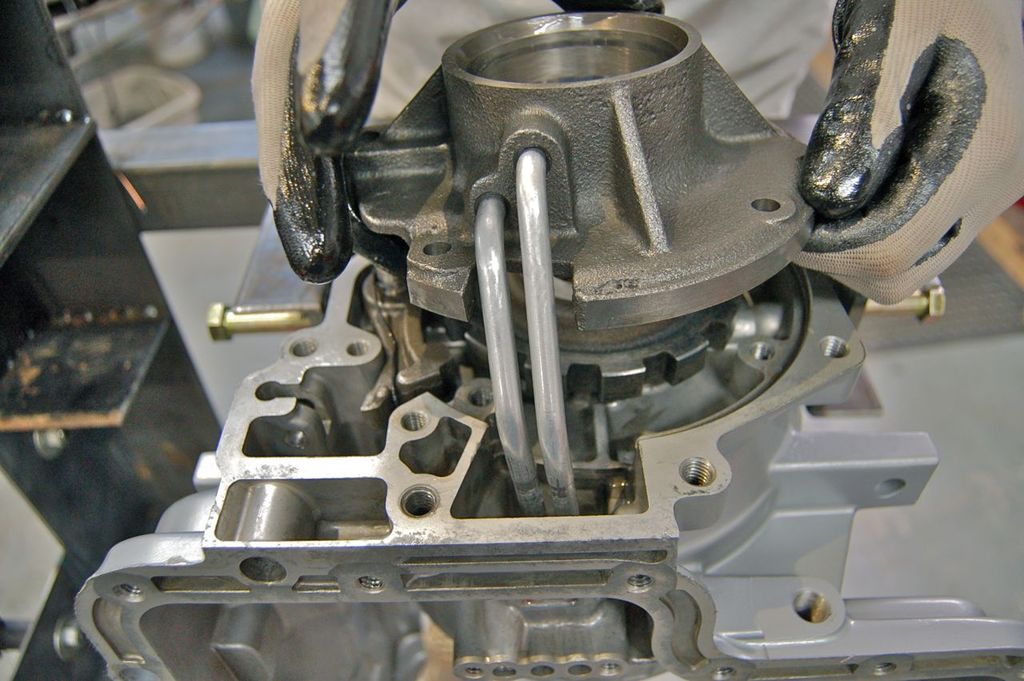
Torque it down to the proper value. The torque values are in the shop manual neatly organized too in a table.

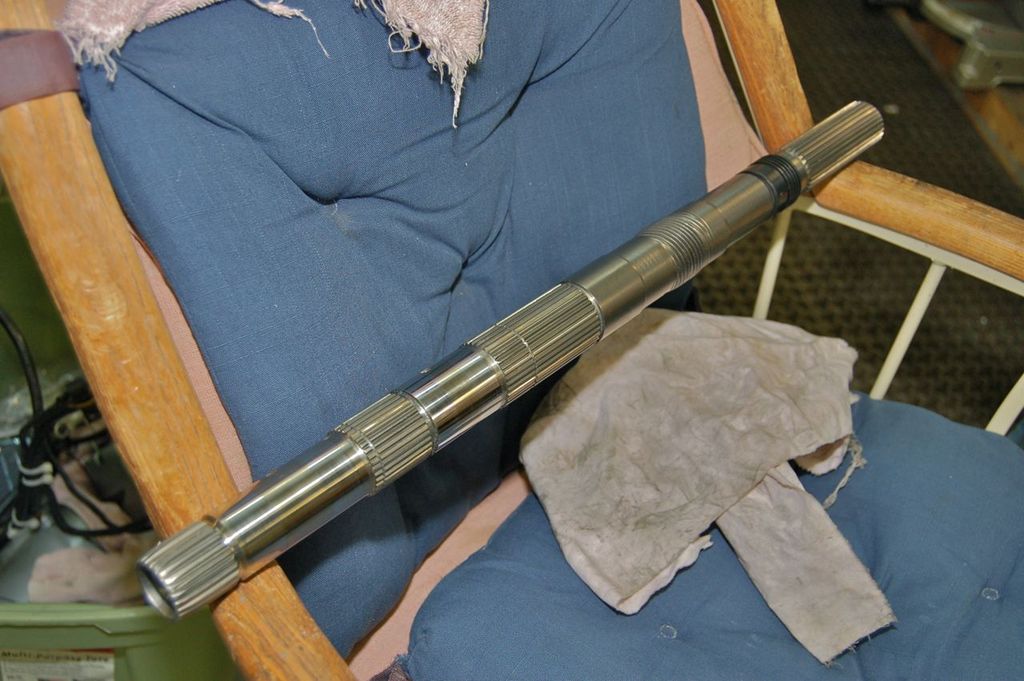
Clean up the tail shaft and especially the internal lube passages.
Remove the governor assembly from its plate for now.

Remove the old rings from the governor plate and install the new ones.
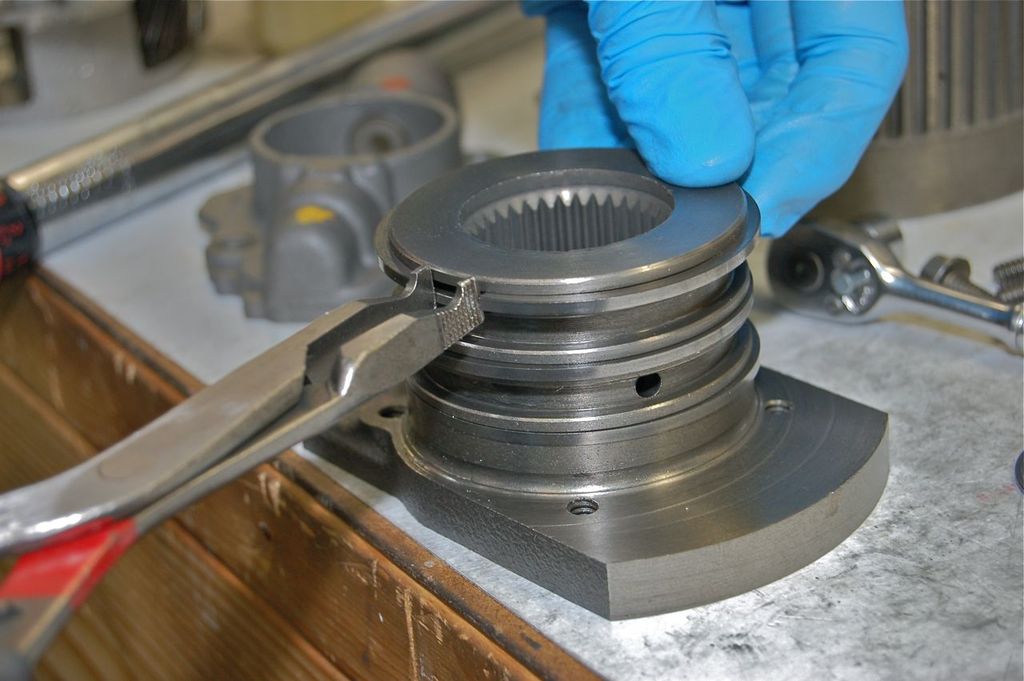
like so.... goes without saying clean and lube.

Slide the governor plate back onto the tail shaft.
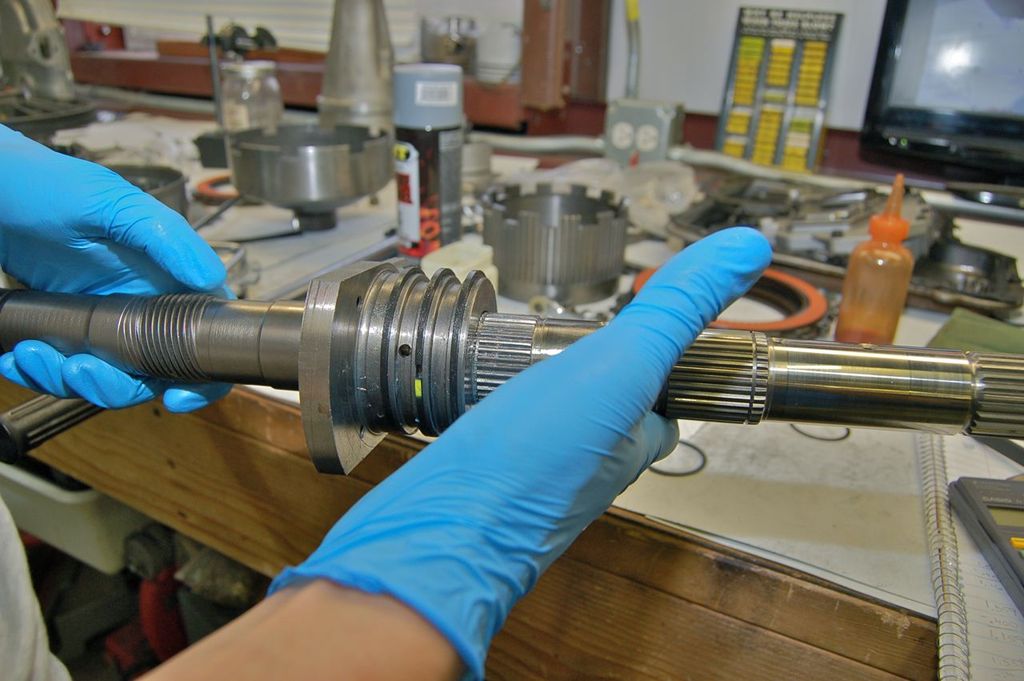
Apply the retaining snap ring.
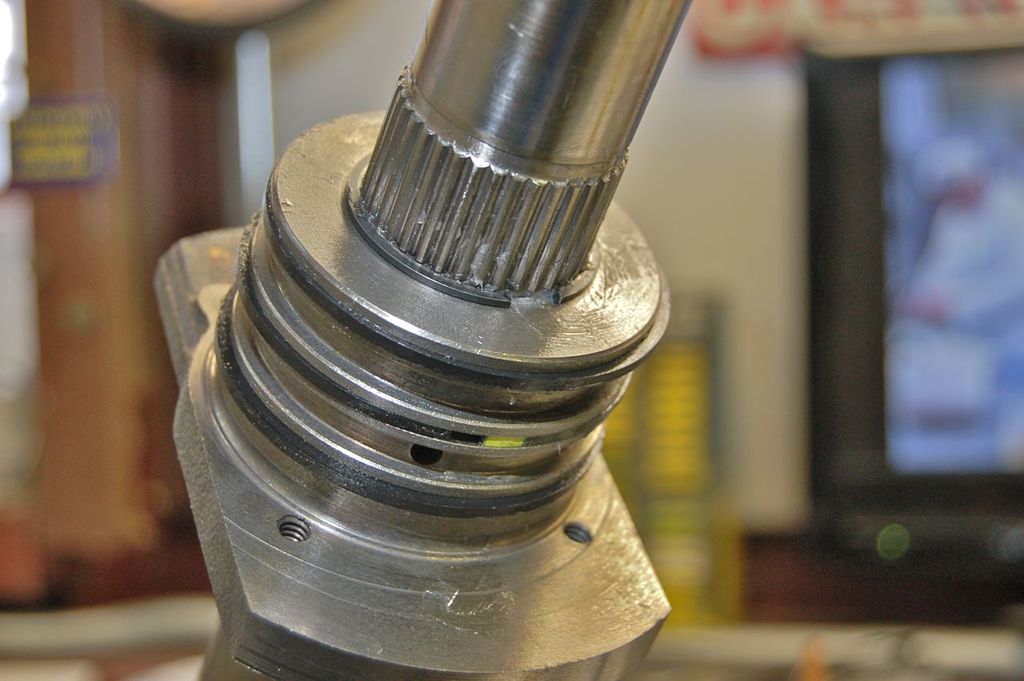
Very carefully slide the assembly into the governor sleeve. Do not force the rings! Lightly wiggle if needed.
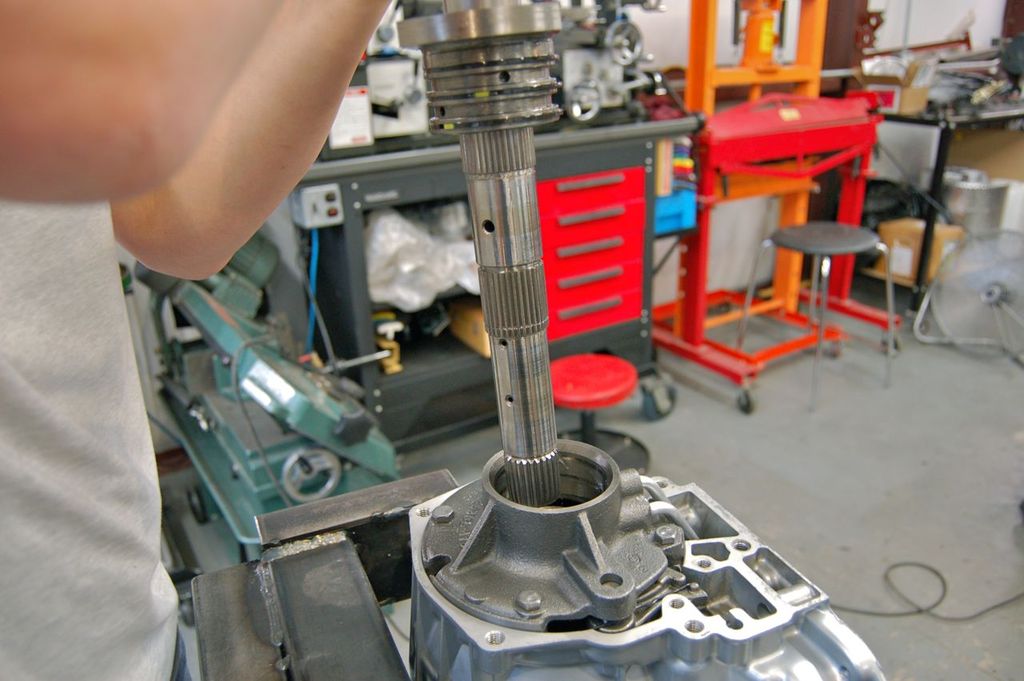
It should seat nicely like this.

Next up clean and lube the rear clutch (low-reverse) hub and sprag.

The sprag is captured in the hub by a snap ring on other side.
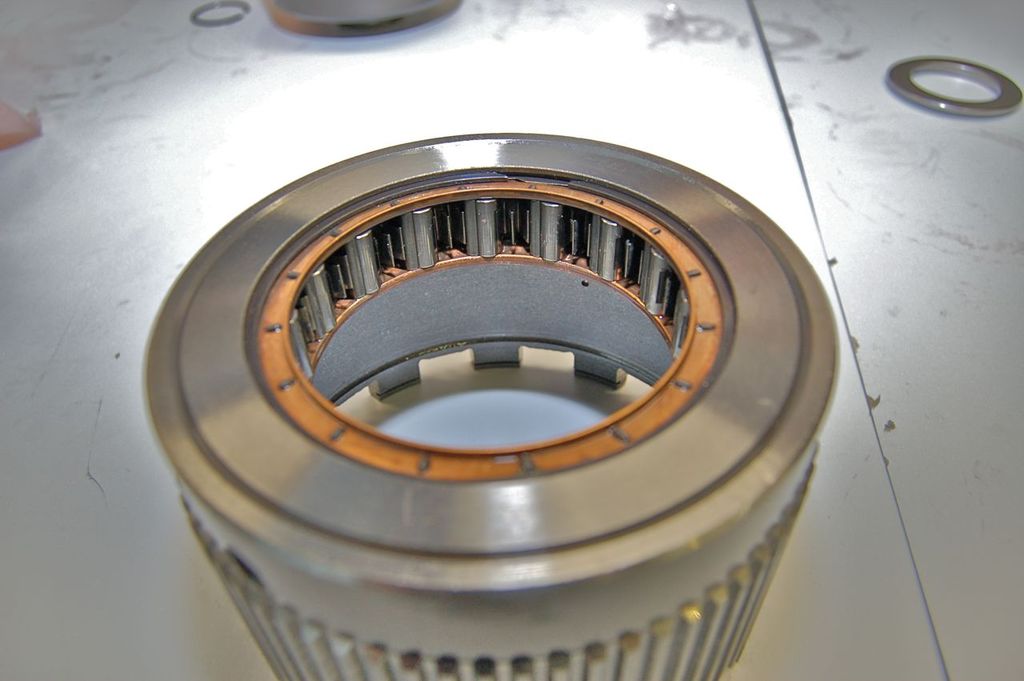
Insert the hub onto the rear race with a rotating motion while pushing.
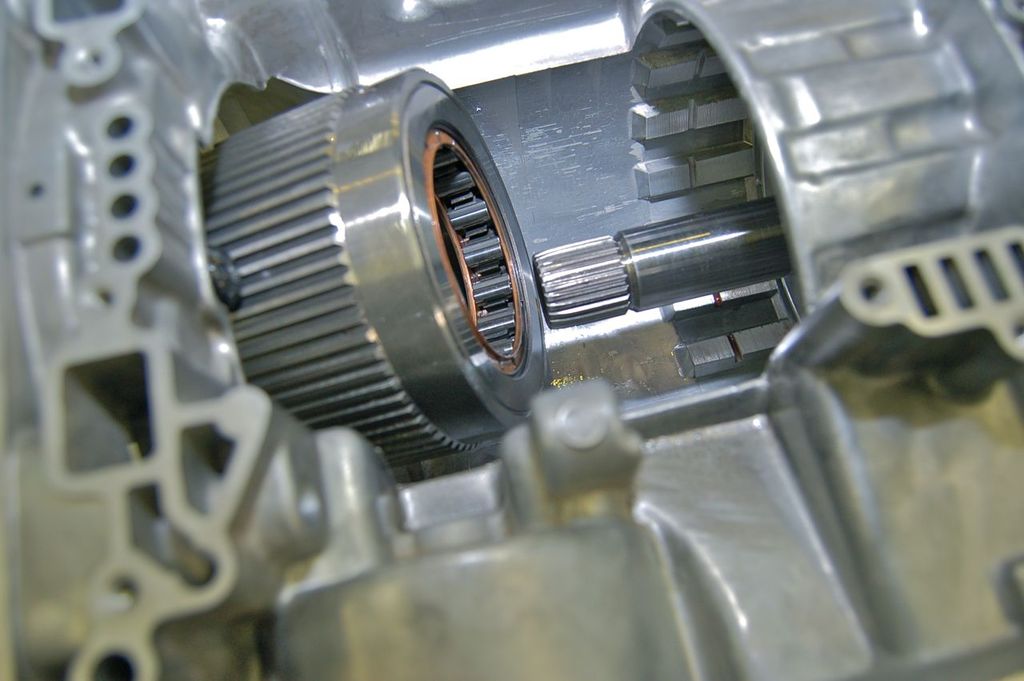
Slide the Torrington in place. Gobs of Vaseline will help hold it to the rear race properly.
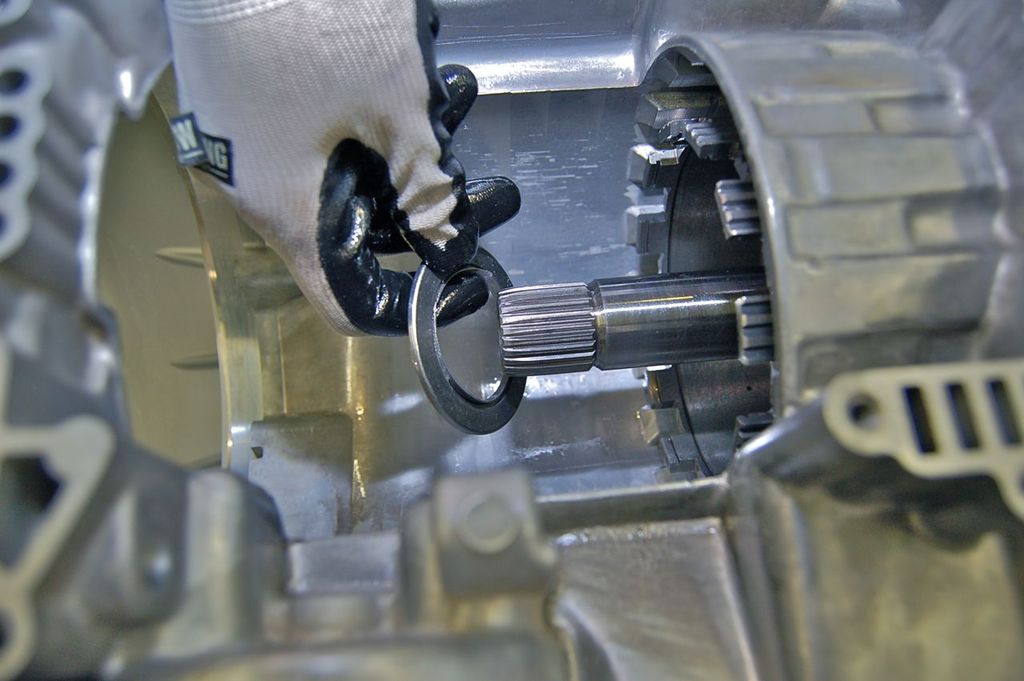
Next install the rear planetary outer ring gear and hub into place.

Then install the retaining snap ring. This will now hold all the parts into place and nothing should come out. Check for smooth turning. Noting there will be drag from the fresh governor rings in the sleeve at this point.

These are the low-reverse clutch frictions, steels, pressure plate and retaining snap ring. This is one clutch I didn't have to modify as it was already configured from the factory to house all the frictions and steels in the kit. It gets installed as shown from right to left.

Remember to soak the frictions in ATF for 15 minutes before assembly. I use a large ziplock bag, that way you do not waste much ATF and they soak well.
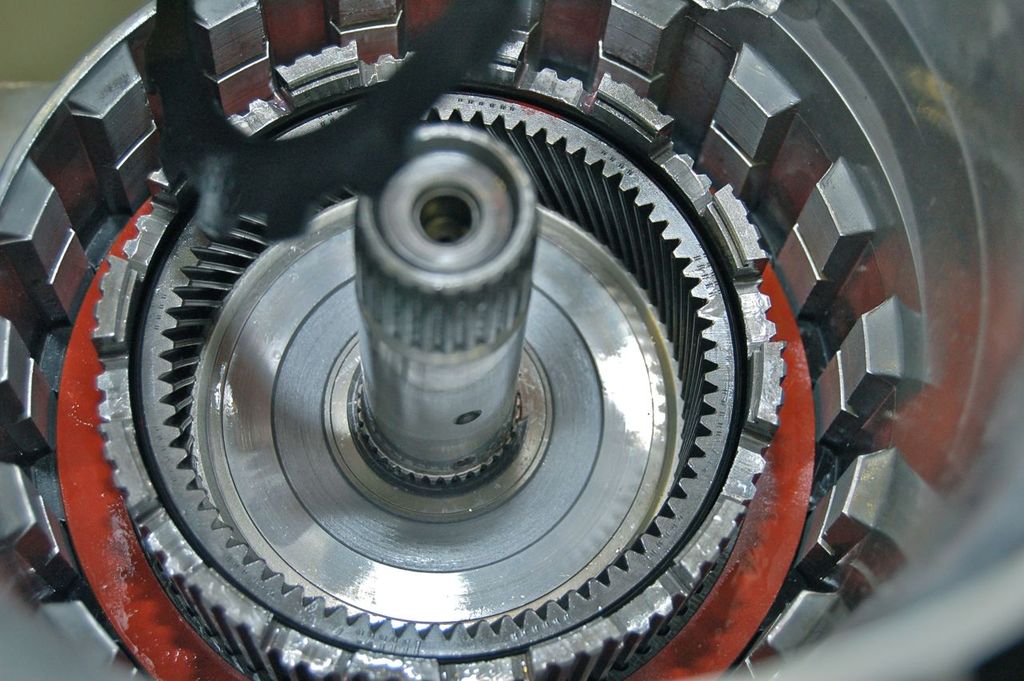
done.

more in part III.
Click here to continue to part 16