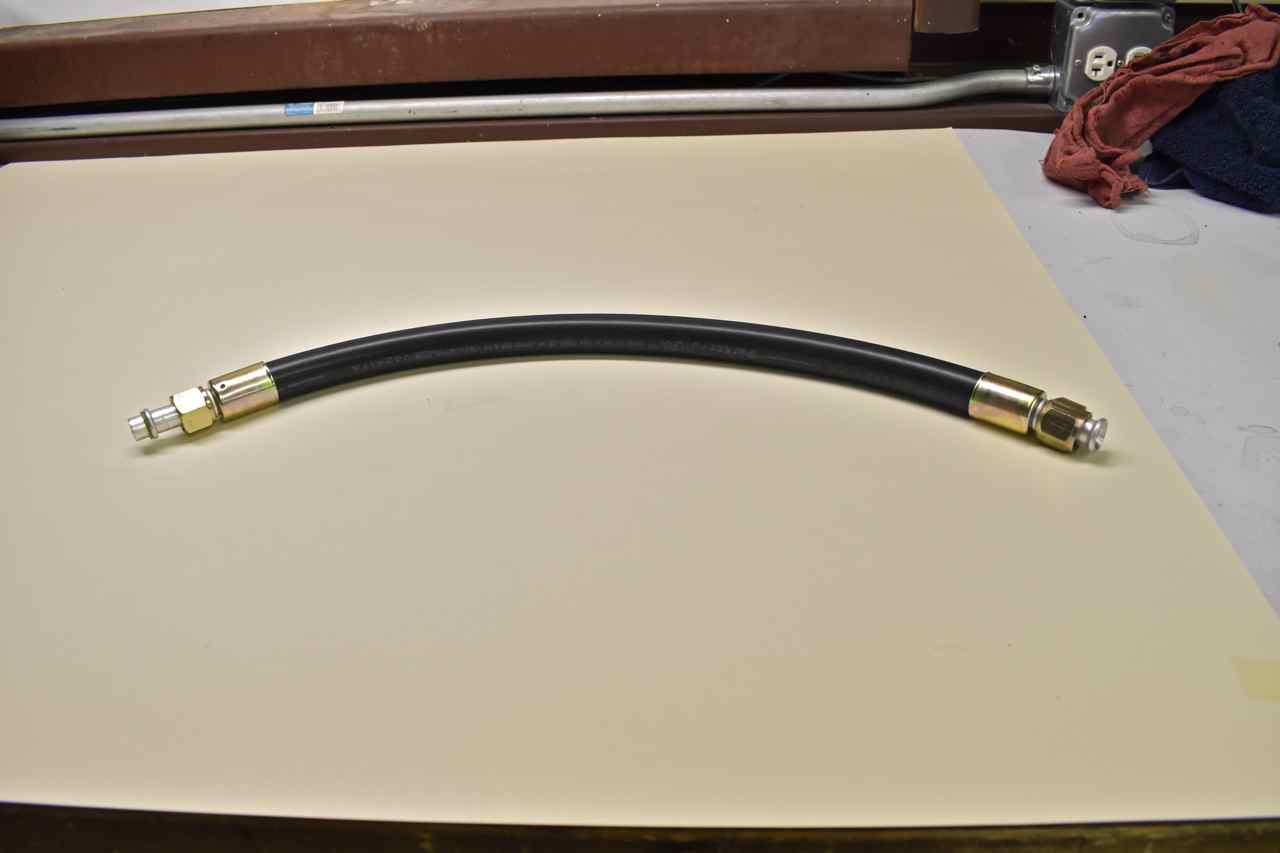
1966 Ford LTD Resto-Mod : 036 Custom Making Refrigerent Hoses
2023, November 14
1 - 2 - 3 - 4 - 5 - 6 - 7 - 8 - 9 - 10 - 11 - 12 - 13 - 14 - 15 - 16 - 17 - 18 - 19 - 20 - 21 - 22 - 23 - 24 - 25 - 26 - 27 - 28 - 29 - 30 - 31 - 32 - 33 - 34 - 35 - 36 - 37 - 38 - 39 - 40 - 41 - 42 - 43 - 44 - 45 - 46 - 47 - 48 - 49 - 50 - 51 - 52 - 53 - 54 - 55 - 56 - 57 - 58 - 59 - 60 - 61 - 62 - 63 - 64 - 65I finished up the air con system in the car a bit ago. Thought I'd post the pics of making refrigerant hoses.
To recap previous work done, it has a brand new York 210 compressor on there, a new expansion valve and a new receiver drier for R12 or R134a. I am converting it to R134a since it's cheap and abundant.
I perused Ebay and found a reasonable supplier of a/c fittings and hoses so I made a list of the kinds of fittings I would need and hose size and length then made the order. It was about 90 dollars in parts. I bought a hose crimper so I could make the hoses at home and not have to pay someone else or worry they didn't do a good job and I'd have to have them redone.
This is fitting the first hose, just cutting to length.

Once I'm happy with the length I want to make sure the hose is inserted all the way into the fitting end.

These beadlock fittings have a little hole you can see if the hose is in all the way. Handy.

This is the a/c crimper and it comes with the 4 most common hose size dies. For the price this tools works amazingly well and it's really well built. Actually I was pleasantly surprised by the quality of construction and forethought placed into it.

Crimps are easy peasy, well, except for that 180˚ high side fitting as it wouldn't fit in the crimper body. I had to get creative with that, but in the end I won.

Crimps are nice looking.

I just continued on with the remainder of the hoses. Now since I'm using R134a head fittings on the York those use O-ring fittings (more modern) the rest of the car still sports its old 45˚ flare fittings.

The new expansion valve needs to have its temperature sensing bulb wrapped in insulation.

I found this stuff.

This tape like insulation works exceedingly well. It's sticky on one side, smooth on the other and it can stretch relatively easy.


Since the old (original) expansion valve has a sight glass built into it and the new one doesn't, I added a sight glass right after the condenser outlet.

After all the hoses were done, I evacuated the system and let it sit for 15 minutes, of which surprisingly there were no leaks so I let the pump run for 1/2 hour with the engine heating the HVAC parts up and helping boil any moisture out of the oil and any lines/coils.
I should mention before I evacuated I filled the compressor with 11 ounces of Ester oil.

Since the proof is in the pudding, at hot idle, blower on high, windows down on a 90˚+ day outside it blows 36-37˚ out of the vents. Seems to be working just fine.

Proof that these old factory systems are extremely adaptable to R134a with excellent results when done correctly.
Hope that helps anyone contemplating rejuvenating their air con system.
Cheers
Click here to continue to part 37