1966 Ford LTD Resto-Mod : 019 Transmission C6 Rollerization - Assembly part 6 - Governor & Servo
2023, November 14
1 - 2 - 3 - 4 - 5 - 6 - 7 - 8 - 9 - 10 - 11 - 12 - 13 - 14 - 15 - 16 - 17 - 18 - 19 - 20 - 21 - 22 - 23 - 24 - 25 - 26 - 27 - 28 - 29 - 30 - 31 - 32 - 33 - 34 - 35 - 36 - 37 - 38 - 39 - 40 - 41 - 42 - 43 - 44 - 45 - 46 - 47 - 48 - 49 - 50 - 51 - 52 - 53 - 54 - 55 - 56 - 57 - 58 - 59 - 60 - 61 - 62 - 63 - 64 - 65Transmission (Dual Range C6) Rollerization and Build up - Assembly Part VI
This is the pump selective washer that goes between the stator snout and the direct clutch. This one is plastic, either metal or plastic will do.

Wet the new pump gasket and install.

Lube it all and lower the pump slowly into position lining up the bolt holes as you go. Use a punch if you have to, just don't damage the threads in the case.

Before tightening down the pump bolts make sure the guts rotate and are not binding. If they are you have friction not engaged or a flat thrust washer or Torrington out of place. As you tighten the pump bolts keep checking there is no binding.
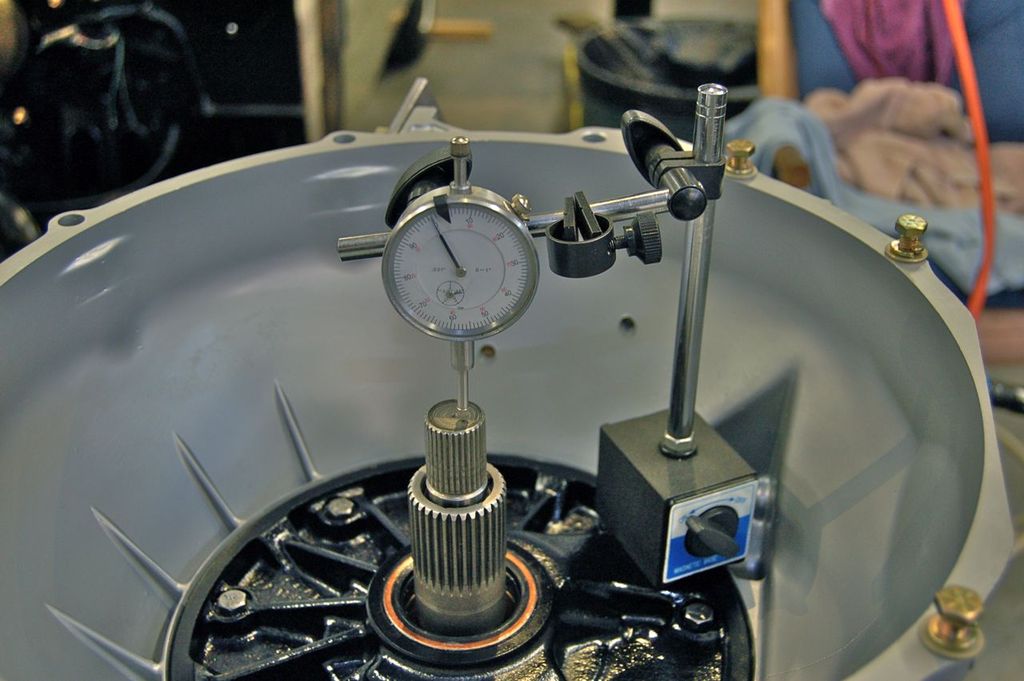
Then once torqued down, check end play, should be the same value as in part 2 at the end of the thread. If not recheck everything...

Use a screwdriver or other lever to lift up on the rotating guts after you've pushed down on the input shaft and zeroed the dial gauge, this is your total end play. I've set mine to 0.017" You want this setting on the low side with the Torringtons so they are not slamming around or falling out of grooves.

If you haven't already done so, you can air check the clutches. This is the rear (low-reverse) clutch.

You can use this port and the one to the right of it to check the forward and direct clutches.

Next clean all the parts for the governor and make sure the spool valves move freely in their bores, lube and assemble.

checking...

Note the orientation and attach.

Torque down the governor.

Install the new bushing and seal into the tail shaft housing. Note the drain hole location in the bushing.

Wet the extension housing gasket and install the extension housing.

Torque it down. Now it's starting to look like something.

Here's the Intermediate Band Apply Servo assembly.

Install the new seals on the piston.

As well as on the housing.

Spring goes in first.

Install the piston into its bore.

With the new gasket install the servo.

continued in part VII
Click here to continue to part 20