1966 Ford LTD Resto-Mod : 039 Clock Repair
2023, November 14
1 - 2 - 3 - 4 - 5 - 6 - 7 - 8 - 9 - 10 - 11 - 12 - 13 - 14 - 15 - 16 - 17 - 18 - 19 - 20 - 21 - 22 - 23 - 24 - 25 - 26 - 27 - 28 - 29 - 30 - 31 - 32 - 33 - 34 - 35 - 36 - 37 - 38 - 39 - 40 - 41 - 42 - 43 - 44 - 45 - 46 - 47 - 48 - 49 - 50 - 51 - 52 - 53 - 54 - 55 - 56 - 57 - 58 - 59 - 60 - 61 - 62 - 63 - 64 - 65Hello again,
I have a little more time to post so here we go.
Clocks...
I recently bought a bunch of '66 LTD/galaxie 500 parts. In the boxes that showed up were two clocks. Neither one worked but I was able to make one good one out of the both. Since both are rather aesthetically in good shape the other one will end up a quartz conversion. Here's the pictures of making one good one.
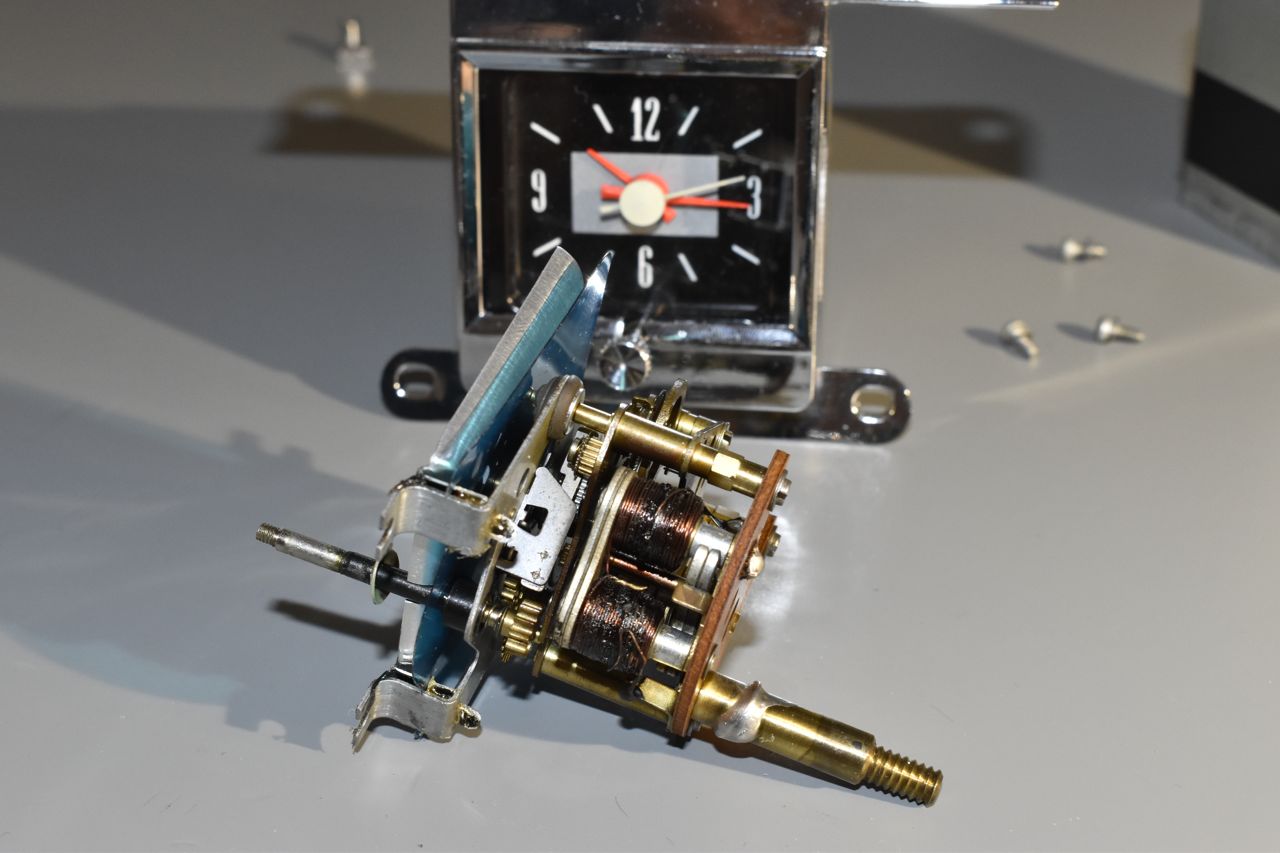
One clock had burnt winder windings. Say that 10 times really fast. Burnt windings are the usual death sentence for these clocks due to the high current they draw and if they run out of lubrication or have low battery voltage where they can't disengage after an attempted wind of the main spring then they cook like this.
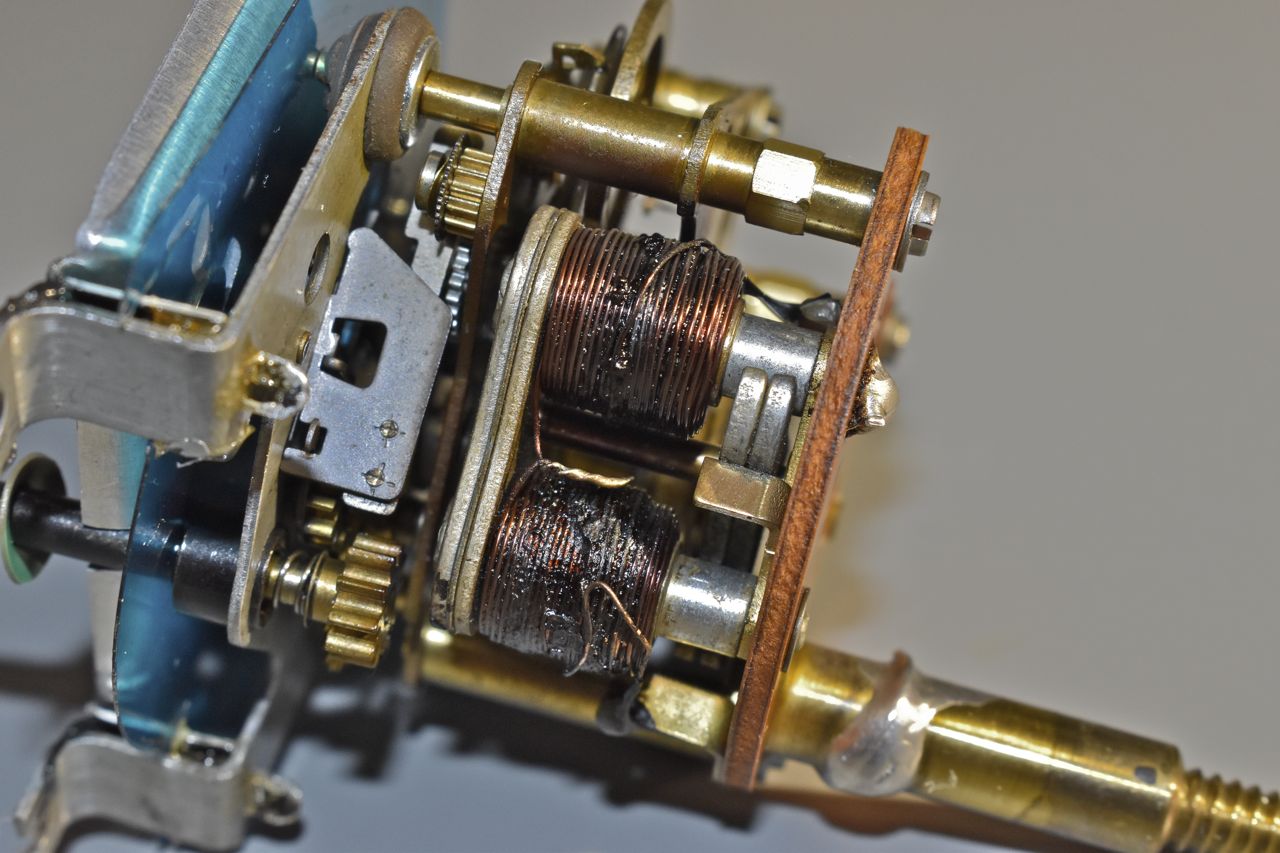
Except for the cooked windings it was in good shape. If I manually wind the main spring it worked.
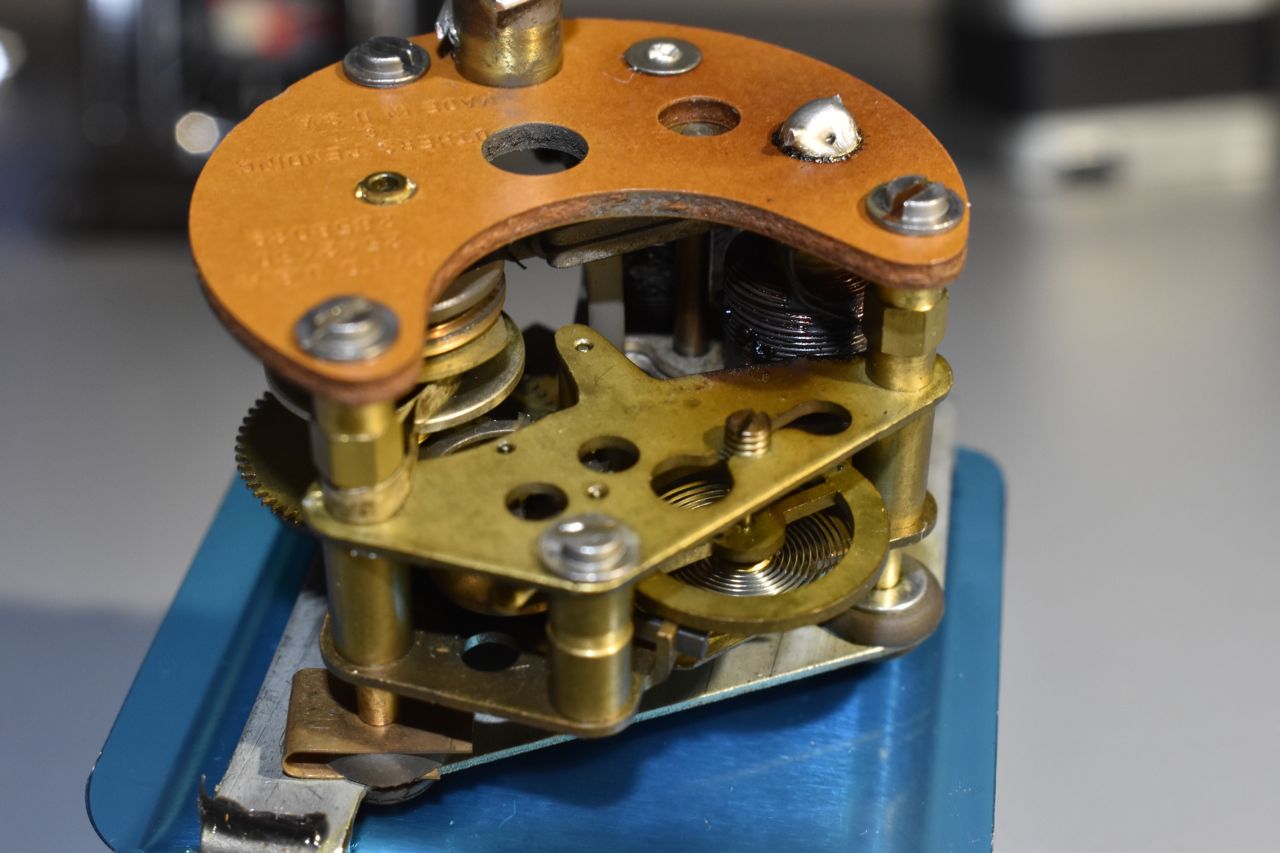
The other clock, whilst it had noticeably hand wound new windings had a broken contact point on the main spring assembly.
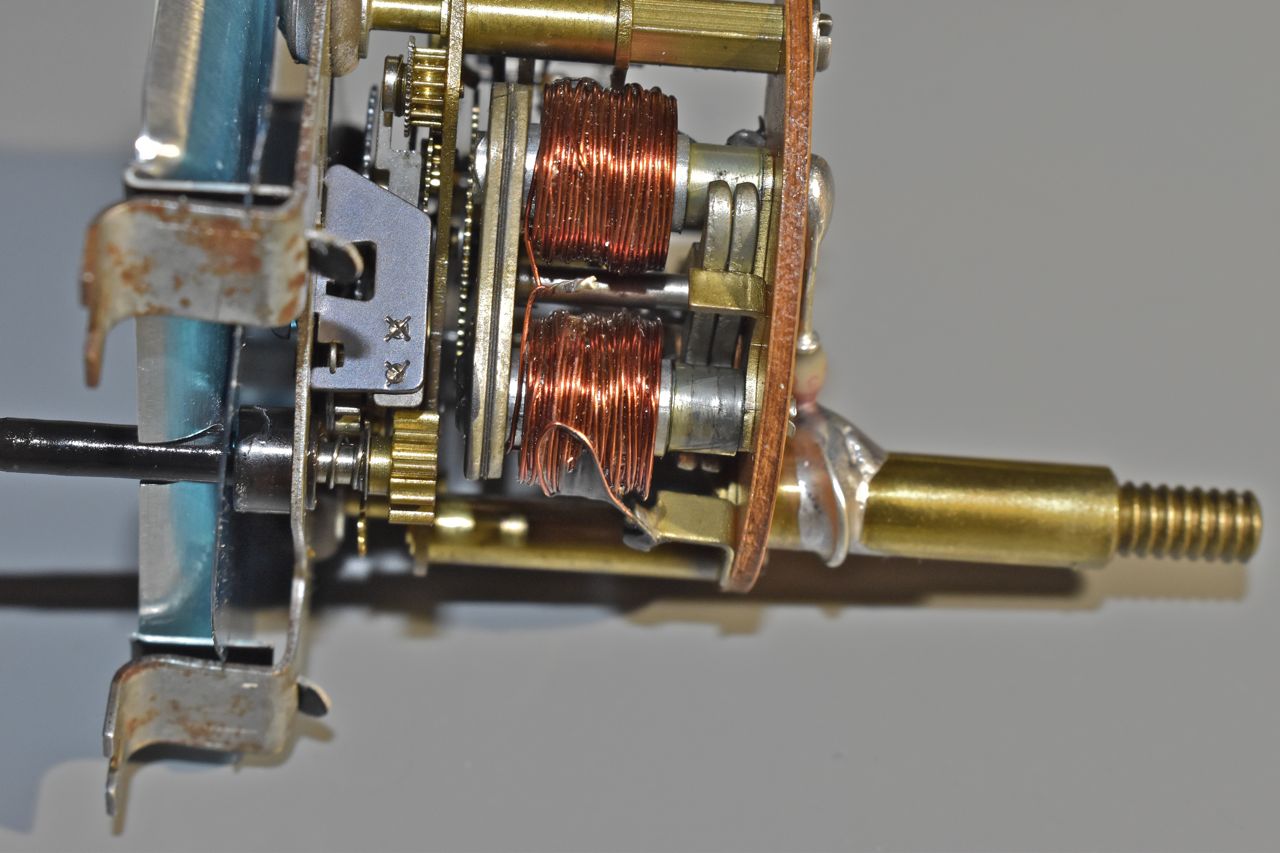
Here's the two main spring assemblies from both clocks. You can see the missing electrical contact point broken off of one. So I put together one complete clock from good parts.

Now these clocks have an auto adjust mechanism. Every time you pull out the adjustment and either advance or retard the hands it actually moves another set of gears one notch that either places more or less tension on the hair spring and hence is auto adjusting. It's hard to tell from the picture above, but there is a mechanism similar to a star adjuster on a drum brake.

You can wait to do a series of adjustments until the clock is in near perfect time, or in this case I timed it against a stop watch and manually adjusted the hair spring till it was really close.

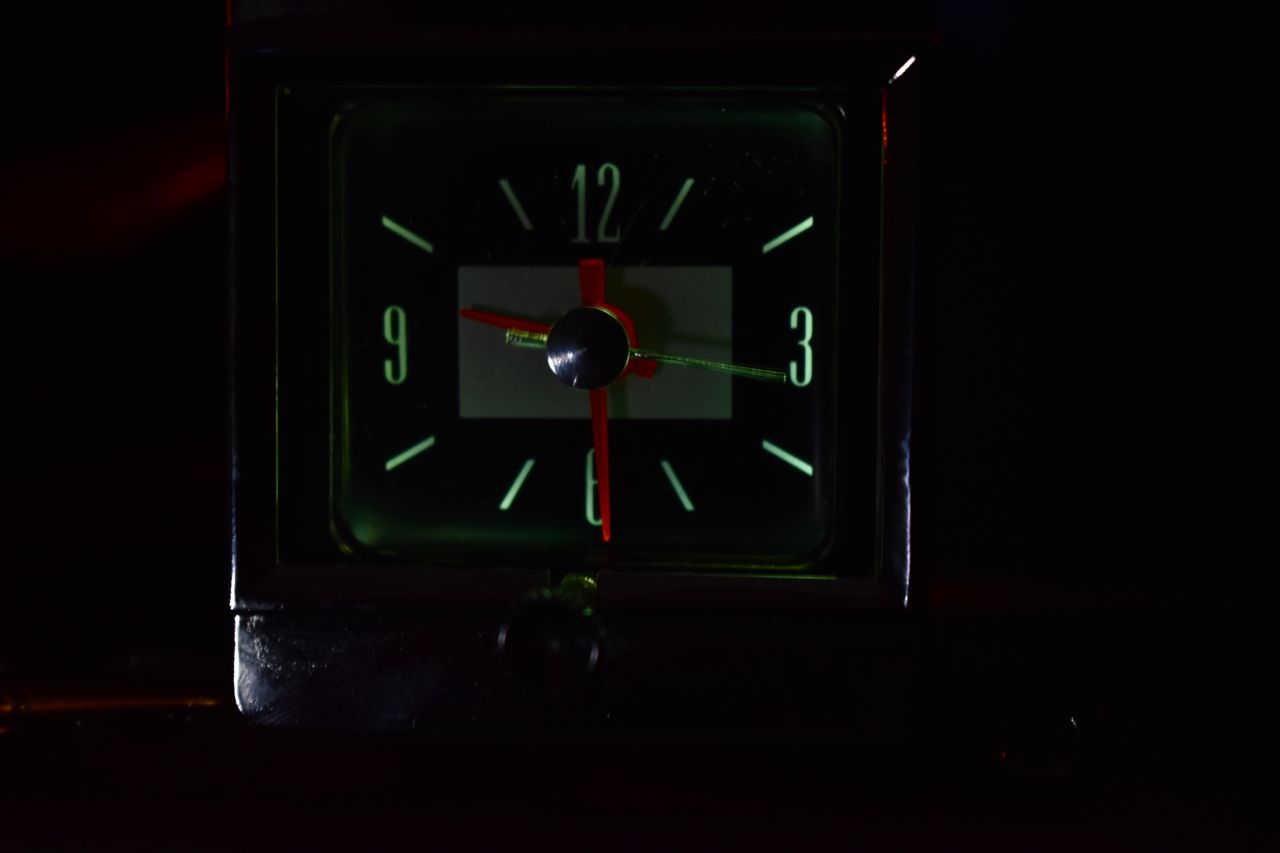
Done and ready for installation.

As a side note I tried a couple of LED replacements, but have yet to find a good one that lights up the clock well. This is still the incandescent bulb and it works the best for now.
OK onto next bit
Cheers
Click here to continue to part 40