1966 Ford LTD Resto-Mod : 030 Custom Hood Lock and Front Bumper
2023, November 14
1 - 2 - 3 - 4 - 5 - 6 - 7 - 8 - 9 - 10 - 11 - 12 - 13 - 14 - 15 - 16 - 17 - 18 - 19 - 20 - 21 - 22 - 23 - 24 - 25 - 26 - 27 - 28 - 29 - 30 - 31 - 32 - 33 - 34 - 35 - 36 - 37 - 38 - 39 - 40 - 41 - 42 - 43 - 44 - 45 - 46 - 47 - 48 - 49 - 50 - 51 - 52 - 53 - 54 - 55 - 56 - 57 - 58 - 59 - 60 - 61 - 62 - 63 - 64 - 65I'll be working on the grill next.

I need to polish, paint (detail) the grill, I need to powder coat the brackets, but first I have to modify the latch for the bonnet to accept a locking cable. I bought a nice locking cable that mounts under the dash and has a key, it prevents the bonnet from being opened from the outside when locked. I like this idea.

But now back to the bonnet catch lock.
I have a cable that extends all the way into the passenger compartment with a lock on it, I thought I had a picture of the whole thing, at the moment I do not. I'll snap one later.
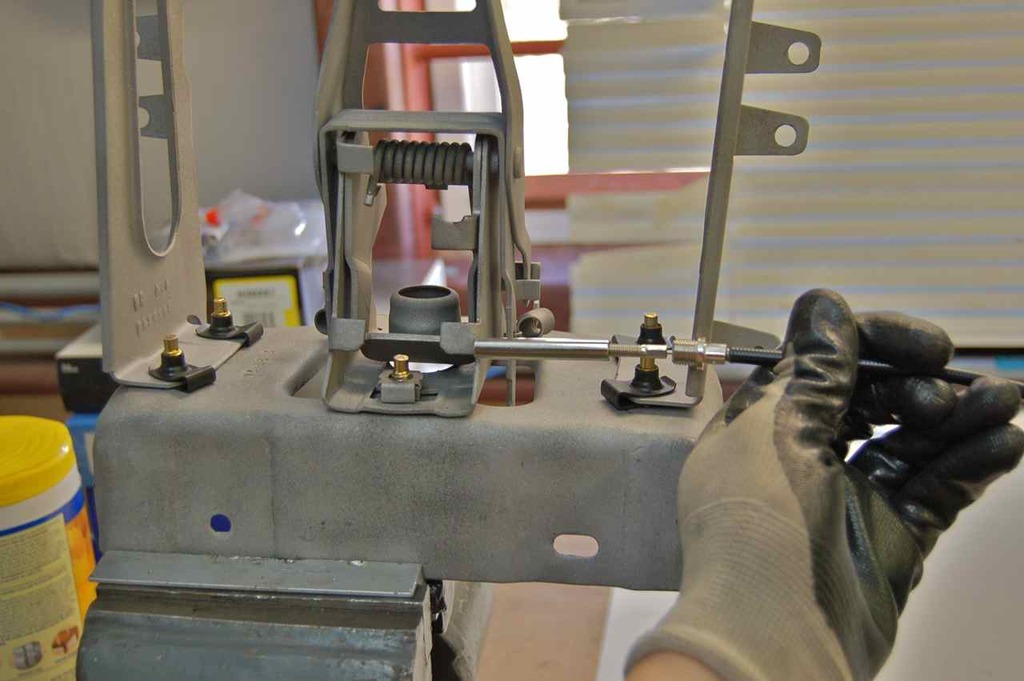
In order to make this work, I had to establish some criteria; first it needed to jamb the latch from opening when locked. Secondly it needed to be easily assembled; thirdly it needed to be pretty well hidden and the last point it needed to be able to be hard to defeat but not impossible in case of cable seizure or breakage.
The cable end above has a steel plunger that extends when locked. So I positioned it to jamb the main lock from opening when extended. Now to make the bearing tube and cable mount.
Another note is that this is the cast grill latch, the standard galaxie/Custom stamped aluminum grill latch can modified in the same way.
A piece of stainless (304L) rod will act as the bearing tube/guide for the steel plunger.
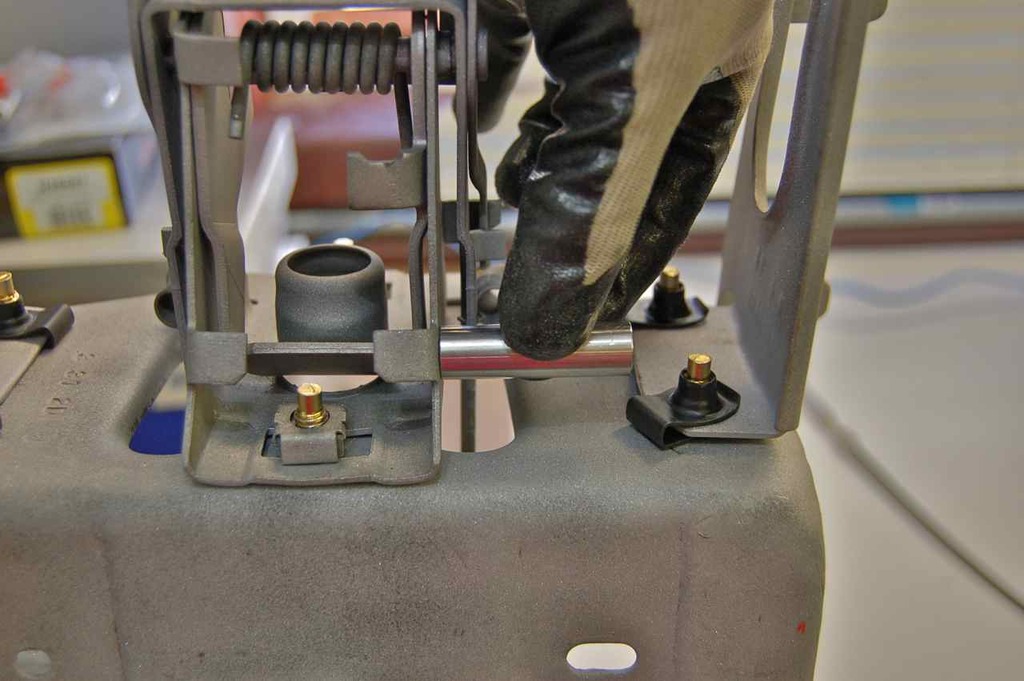
I bored out the stainless piece for the steel plunger. I chose stainless so it wouldn't corrode and seize the plunger.


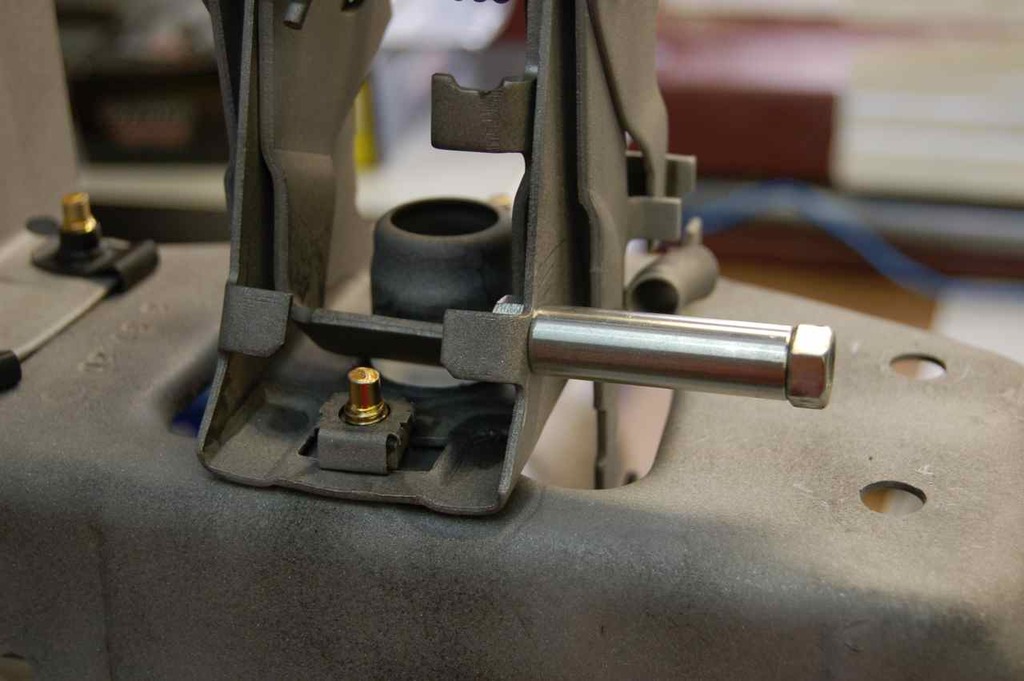
I used a bolt to fixture the piece for TIG welding.
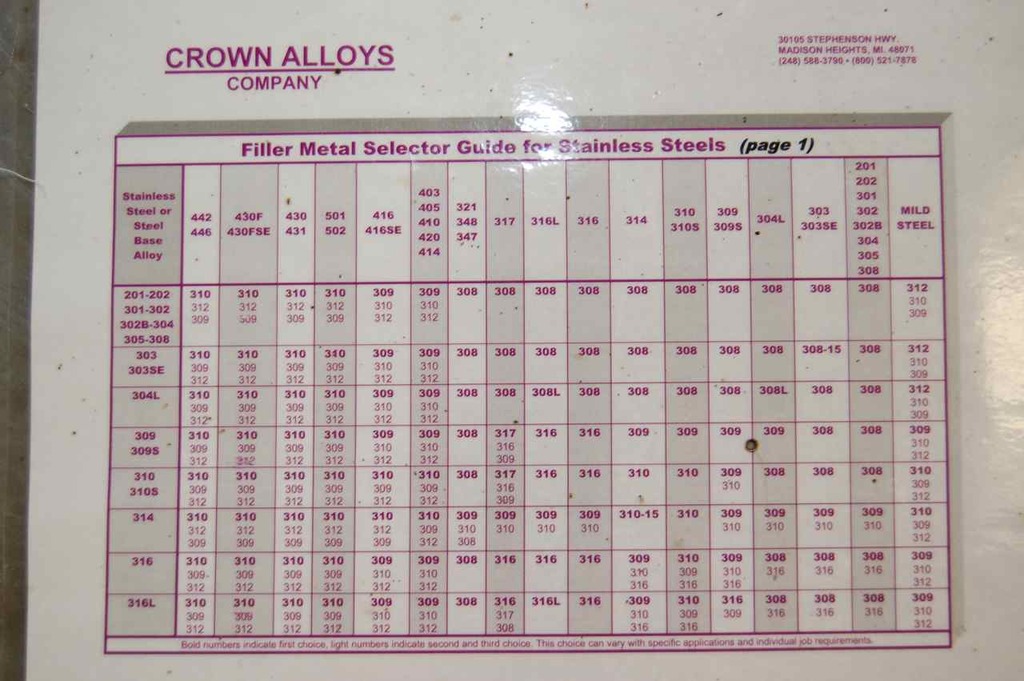
When joining two dissimilar metals it's a good idea to use the correct filler rod, this a chart of what filler rod to use for joining different kinds of stainless to stainless or mild steel, which is what the latch is made from.
Now at this point I thought I had snapped pictures, of the rest of the assembly, but I guess I didn't... I could have sworn I did. I think it's time for a talk with the camera.
So onto the more or less finished product.
For the cable end mount (threaded portion that locks the cable housing in place) I had to make it really small, in order to keep the strength in such a small piece I used O2 tool steel and welded that to the stainless guide tube, then did a quick a dirty heat treat to it. It's not bending... It's just not..
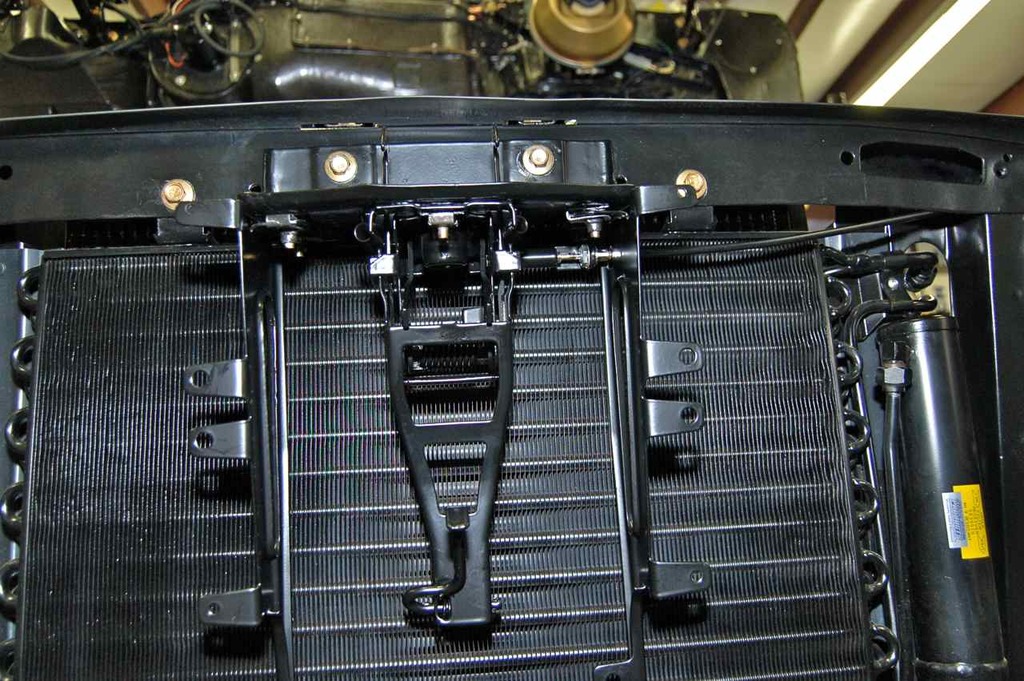
It doesn't look to bad, and most of it's out of sight, sans the cable. Plus there was just enough room for my mount to house everything and still have full adjustment travel of the lock mechanism when aligning the bonnet hook and mating latch.
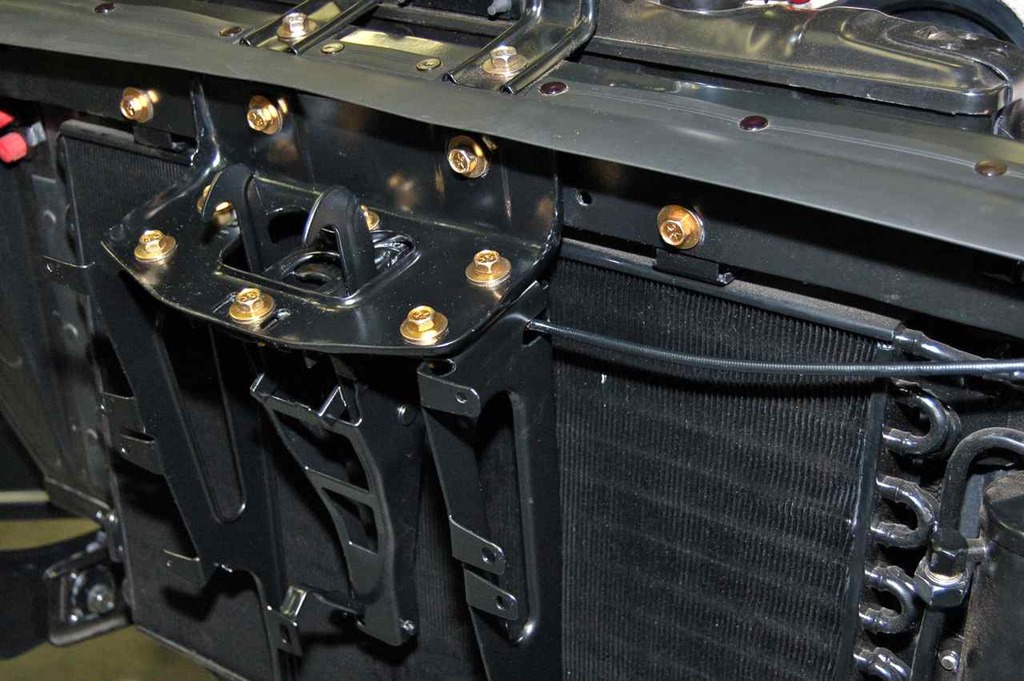
If you look atop of the white towel you can see the lock portion at the other end of the cable that bolts to the underside of the dash. This also has a wire that disables the ignition, if you so desire, when unlocked.

The nice part is now the bonnet can be locked from inside the car and even with the windows left down if desired parked.
Now onto cleaning and detailing the grill and seeing about mounting the engine oil cooler and transmission ancillary cooler between the grille and condenser. Another tight fit I fear.
I decided to prep the front bumper. These need to be rechromed but for now, will just polish and install. I just do not have the time or resources to drive several bumpers to El-Paso for replating and haul them back.
I painted the insides with satin black epoxy paint to clean up the inside a bit.
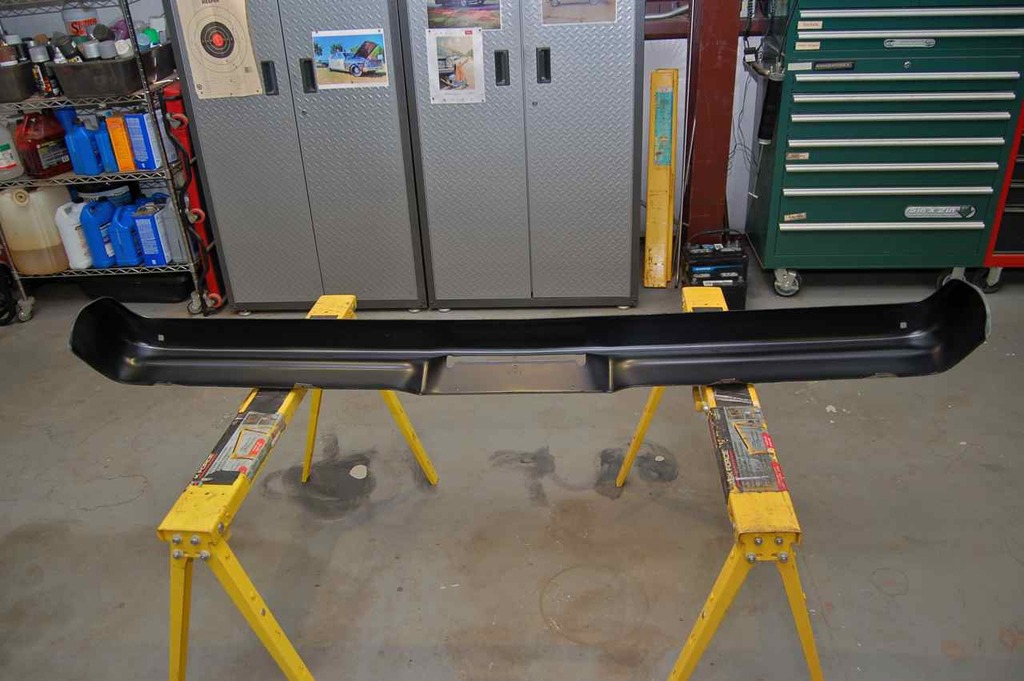
Before

After with the orbital polisher. It's not great, but better than it was.
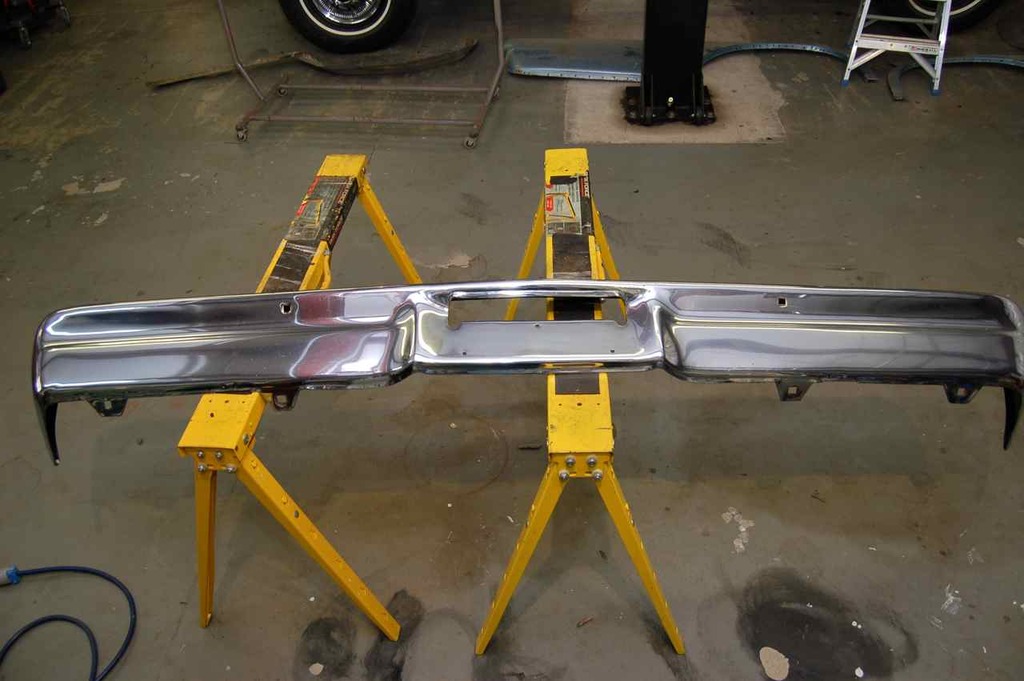
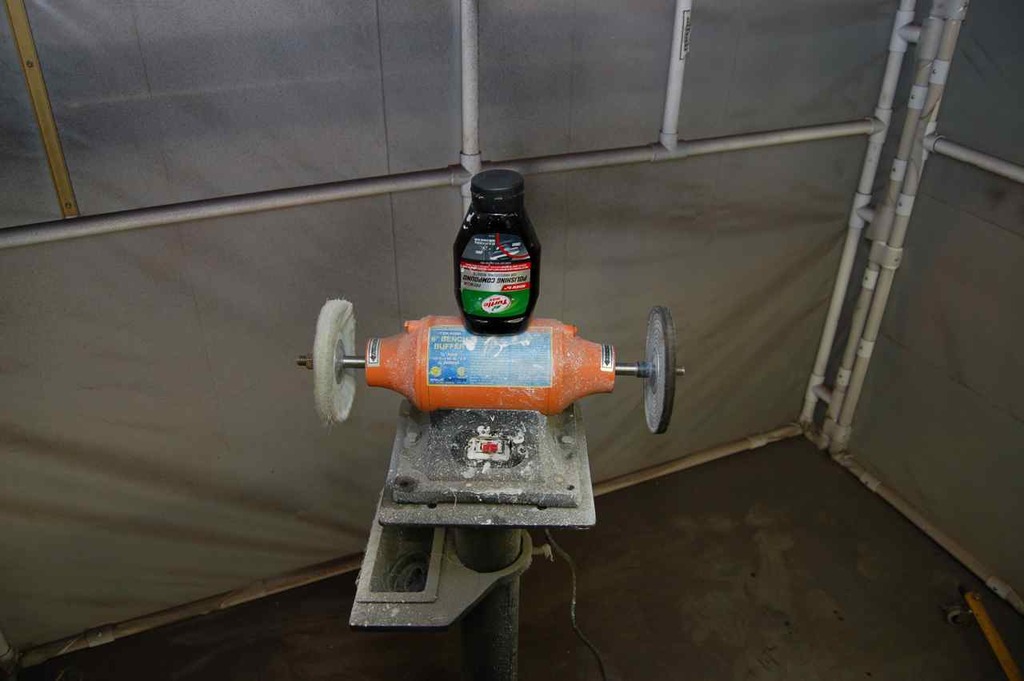
I found new bumper bolts for $1.25 each and well they are rather dull as seen on the right as they came out of the bag. Spent a couple minutes on each other with the buffer wheel and compound and they look much better (left).

Proof you really do not need anything fancy. The polish is the cheapest stuff you can buy at Wally World (Walmart) and the crappy buffer is from Harbor Freight. A small warning on that buffer wheel, dunno if it's just mine or if they are all like that, but after 15 minutes they overheat. This one you can smell the varnish cooking on the windings... Gotta love China.... not....
I powder coated the upper bumper spacers and bought new stainless hardware for the rest of the bolts.

Before I forget...
This is the bonnet latch lock that goes under the dash and can lock with a key. It's quite sturdy.
