1966 Ford LTD Resto-Mod : 005 Engine Build Part 3 - Custom Oil Pan & Starter Rebuild
2023, November 14
1 - 2 - 3 - 4 - 5 - 6 - 7 - 8 - 9 - 10 - 11 - 12 - 13 - 14 - 15 - 16 - 17 - 18 - 19 - 20 - 21 - 22 - 23 - 24 - 25 - 26 - 27 - 28 - 29 - 30 - 31 - 32 - 33 - 34 - 35 - 36 - 37 - 38 - 39 - 40 - 41 - 42 - 43 - 44 - 45 - 46 - 47 - 48 - 49 - 50 - 51 - 52 - 53 - 54 - 55 - 56 - 57 - 58 - 59 - 60 - 61 - 62 - 63 - 64 - 65Engine Build - part III
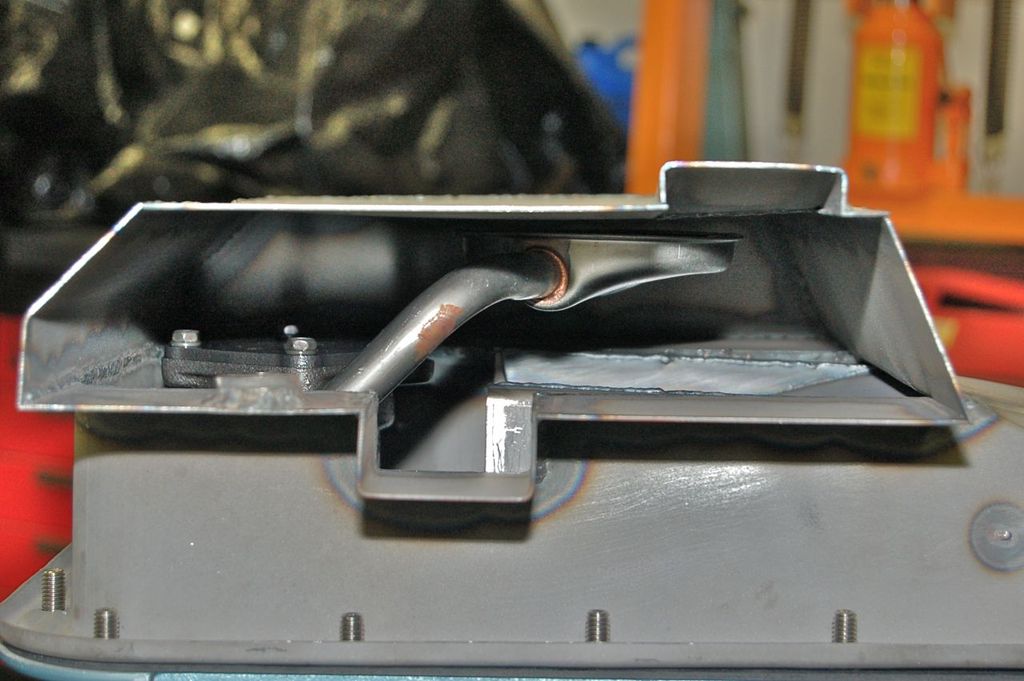
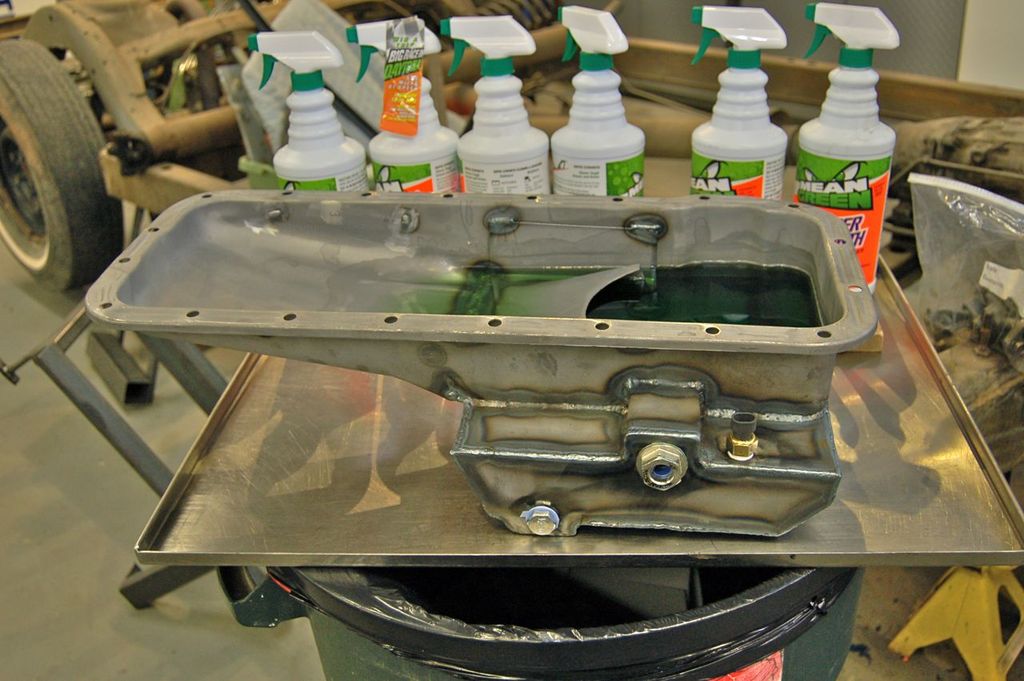
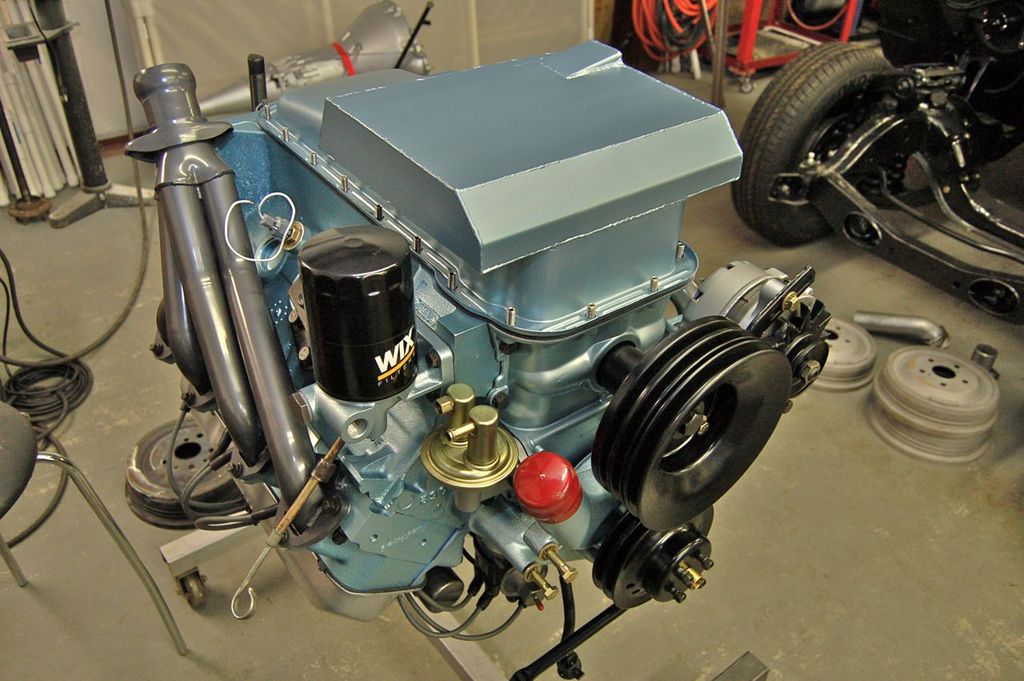
Next up was an oil pan that had more capacity and better baffling, but I also wanted an oil temp sensor and an oil level sensor. So I thought I'd try my skills at making one. If anything it proved to be an interesting object lesson in fabrication.
The one on the right is the original oil pan for this engine. The one on the left had a rust hole in the bottom of it. So it seemed rather providential to use it. So I sliced the bottom out of it and with some 16 gauge steel made the baffle and extension bits.

Testing the pickup clearance.
Leak testing and oil level sensor testing.
More or less happy with it.
Playing with some fittings for fit and prepping the back for the transmission.
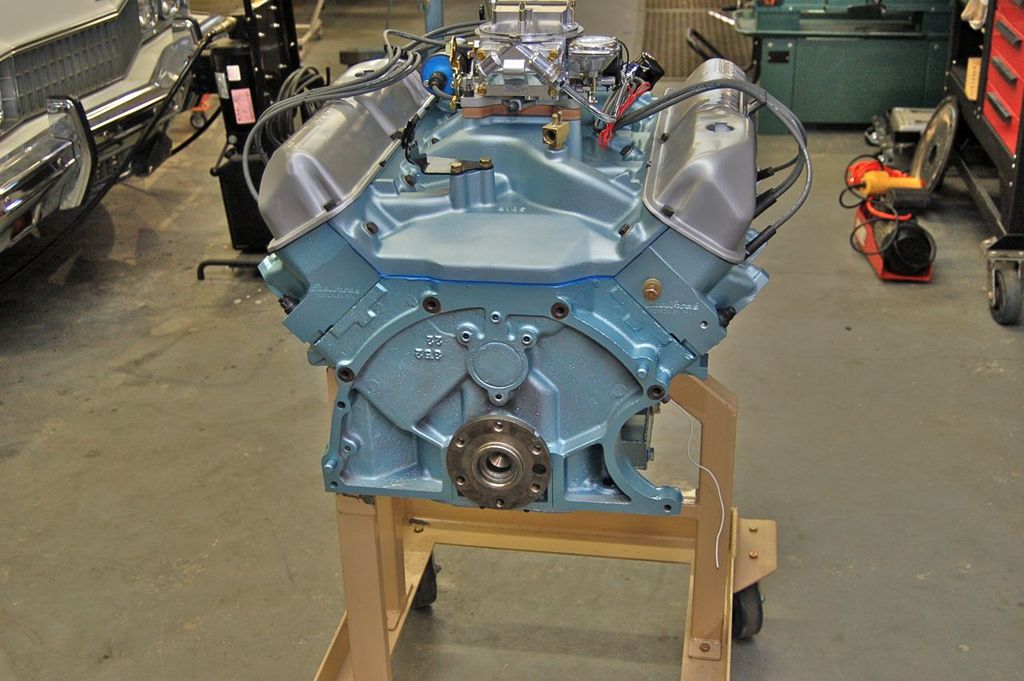
A replacement flexplate, and as note Locktite the flexplate bolts in.

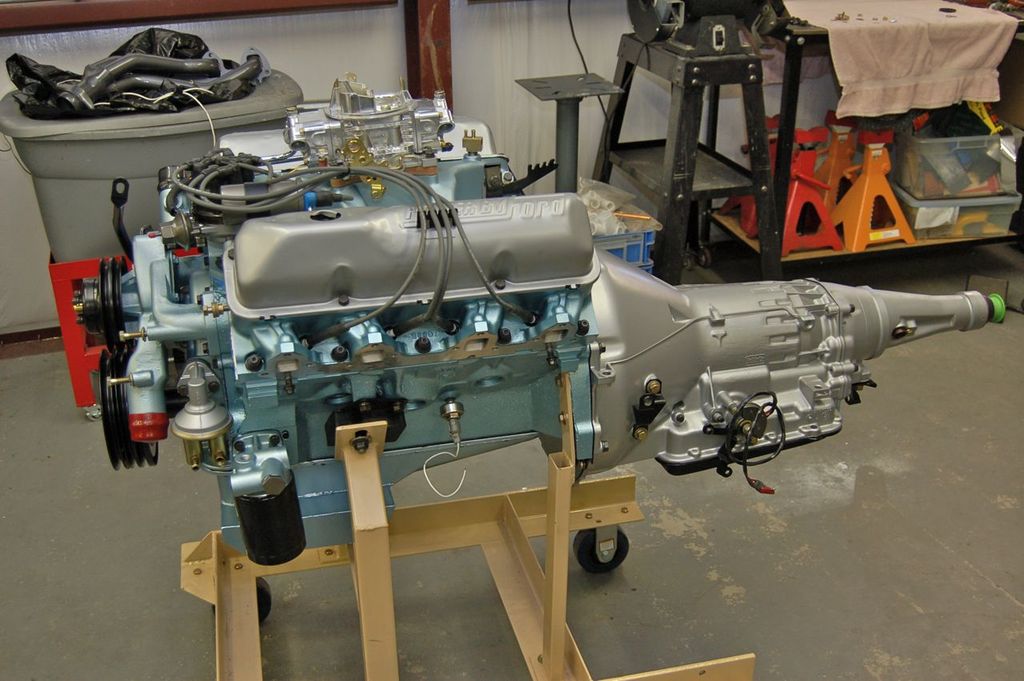
I'll cover the transmission build up and modification later. But it is the cars original '66 C6 dual range, just built up to be able to handle the new power output of the engine.
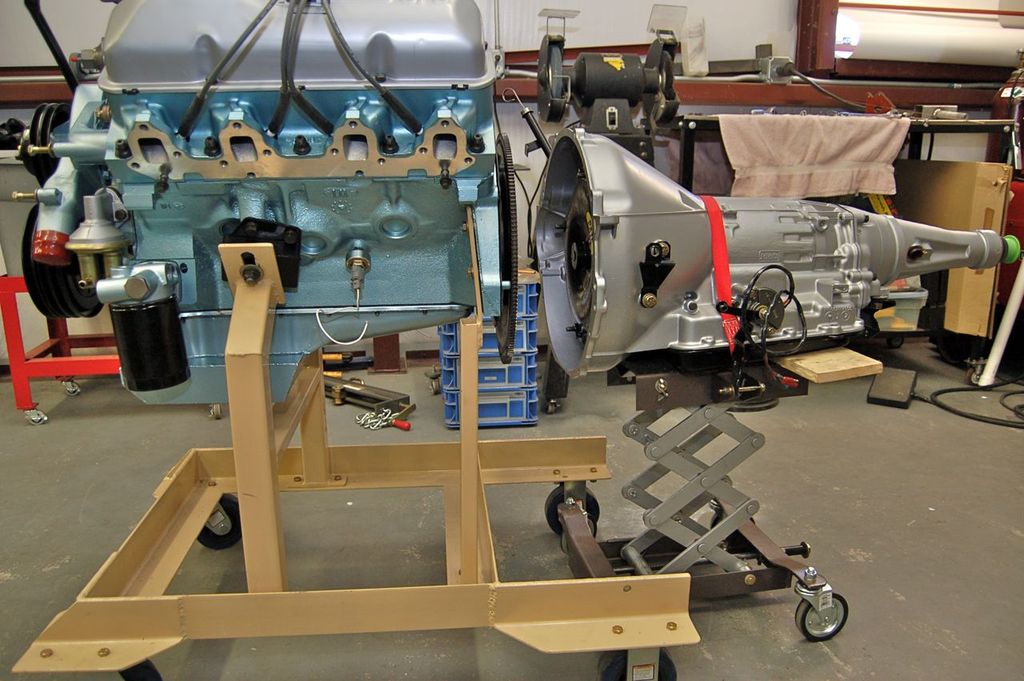
So far so good.

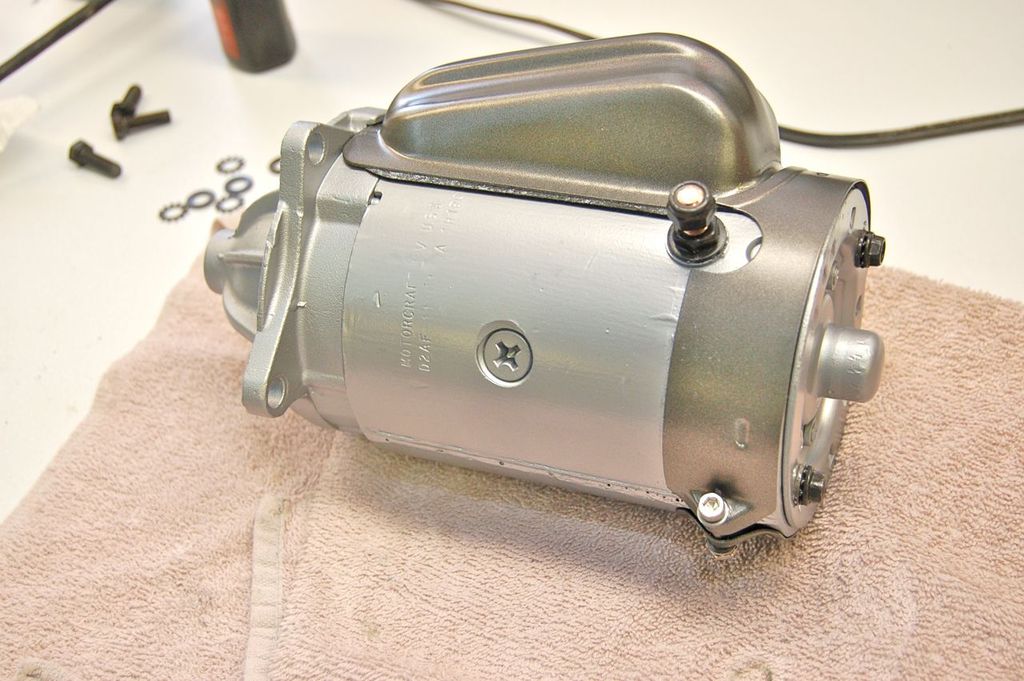
Next up with dealing with the cars original starter motor. The commutator was pretty knackered so I took the plunge and bought a rebuilt.

However I try to leave nothing to chance so I disassemble new and rebuilt parts to inspect and test the parts to make sure it was put together correctly. Plus it gives me a chance to detail the parts to match my colour scheme.

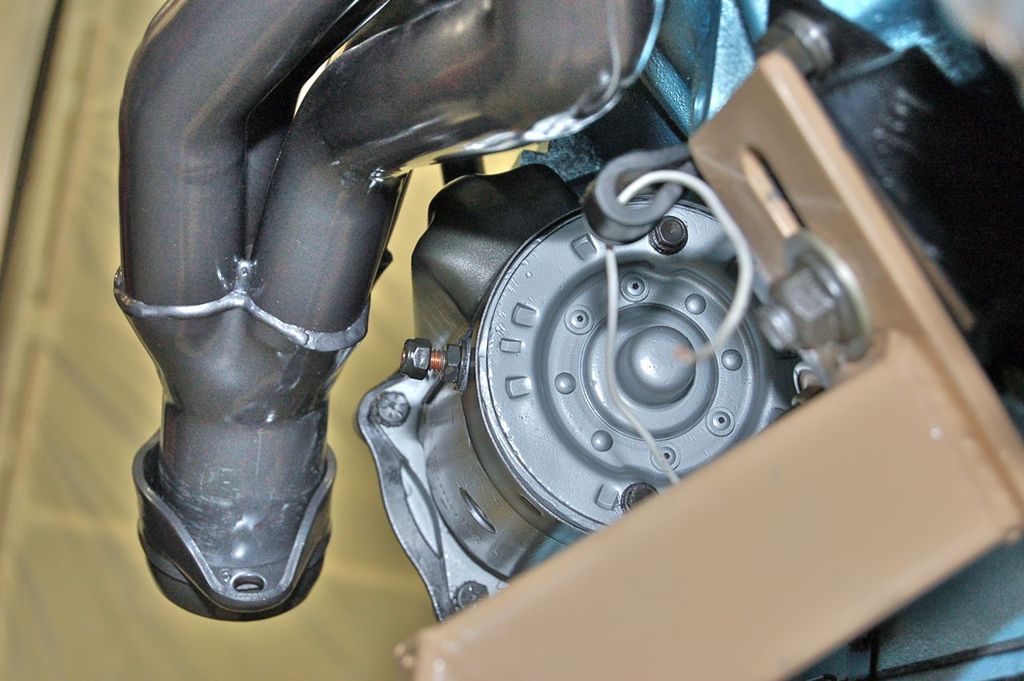
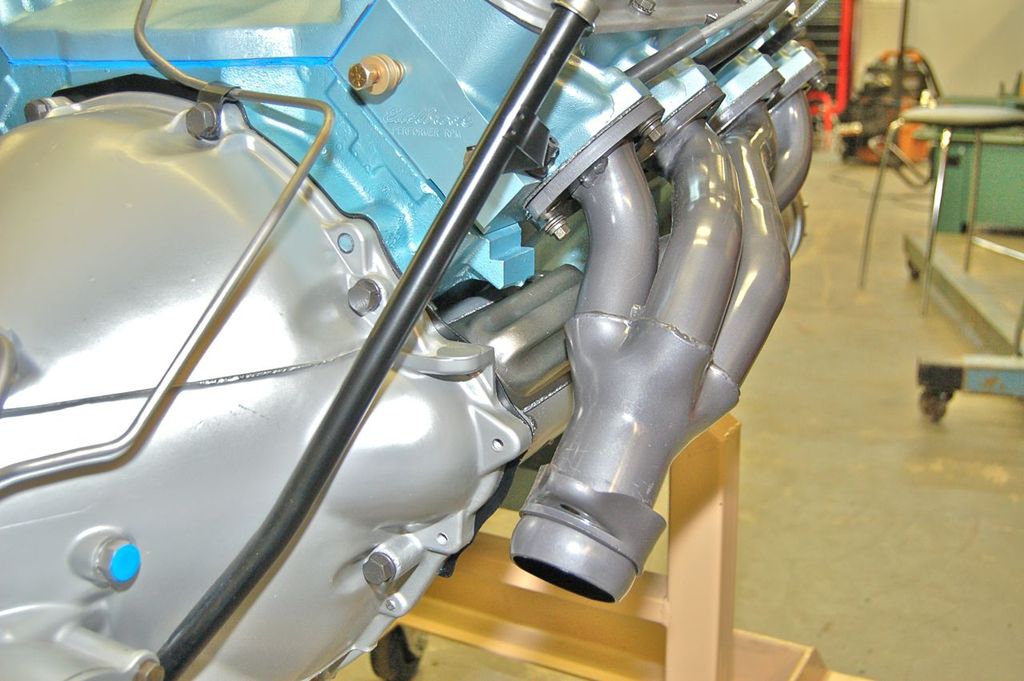
The large Ford starter fits just fine under the FPA headers.
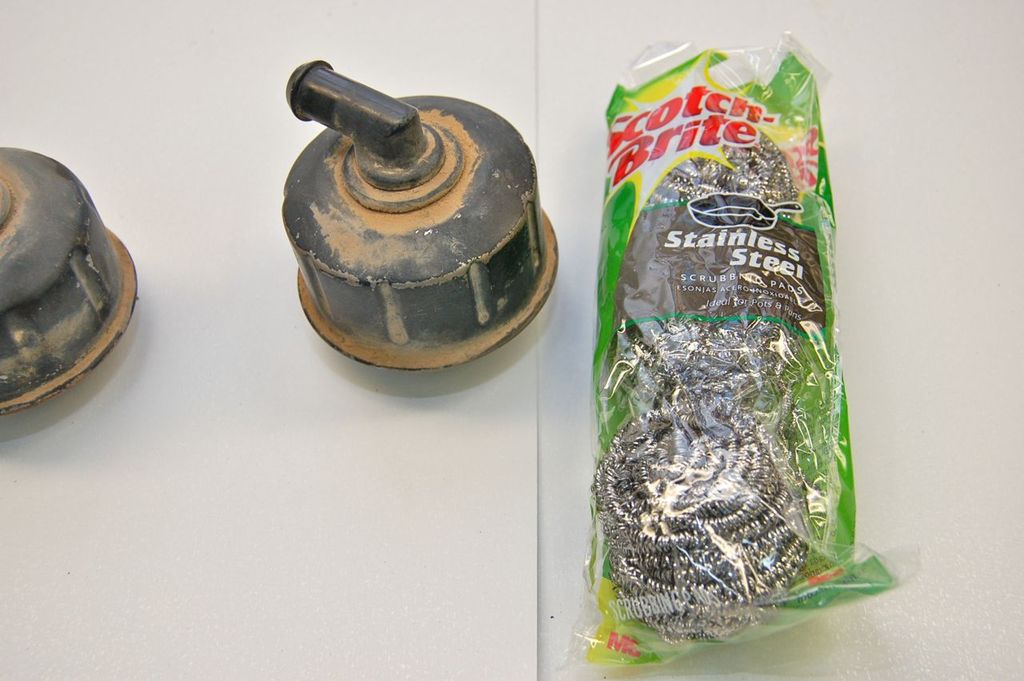
Next I had to deal with the oil air separators from the junkyard. They were packed with carbon and the wire mesh was disintegrating. I didn't want any of this falling into the engine. Soooooooooooooooooo.

Try to gingerly pry the edge up.

Toss the nasty guts out.

New material for the innards. It's stainless so it will last a long time.
Using some stainless safety wire I made little wreaths for the top and bottom.
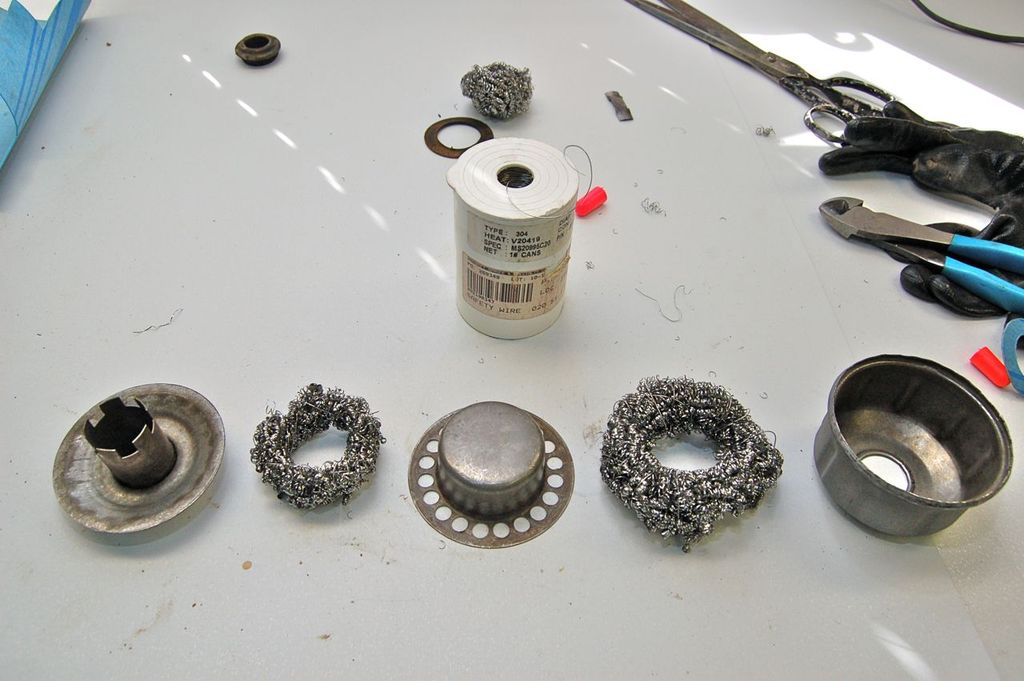
The wire wrap keeps the stainless scrubbing pad in place.

More in part IV.
Cheers.
Click here to continue to part 6