1966 Ford LTD Resto-Mod : 020 Transmission C6 Rollerization - Assembly part 7 - Valve Body
2023, November 14
1 - 2 - 3 - 4 - 5 - 6 - 7 - 8 - 9 - 10 - 11 - 12 - 13 - 14 - 15 - 16 - 17 - 18 - 19 - 20 - 21 - 22 - 23 - 24 - 25 - 26 - 27 - 28 - 29 - 30 - 31 - 32 - 33 - 34 - 35 - 36 - 37 - 38 - 39 - 40 - 41 - 42 - 43 - 44 - 45 - 46 - 47 - 48 - 49 - 50 - 51 - 52 - 53 - 54 - 55 - 56 - 57 - 58 - 59 - 60 - 61 - 62 - 63 - 64 - 65Transmission (Dual Range C6) Rollerization and Build up - Assembly Part VII
Carefully draw up the bolts and torque down. The ears are fragile so do not try to tighten one bolt at a time.

Hold the servo apply lever in place.
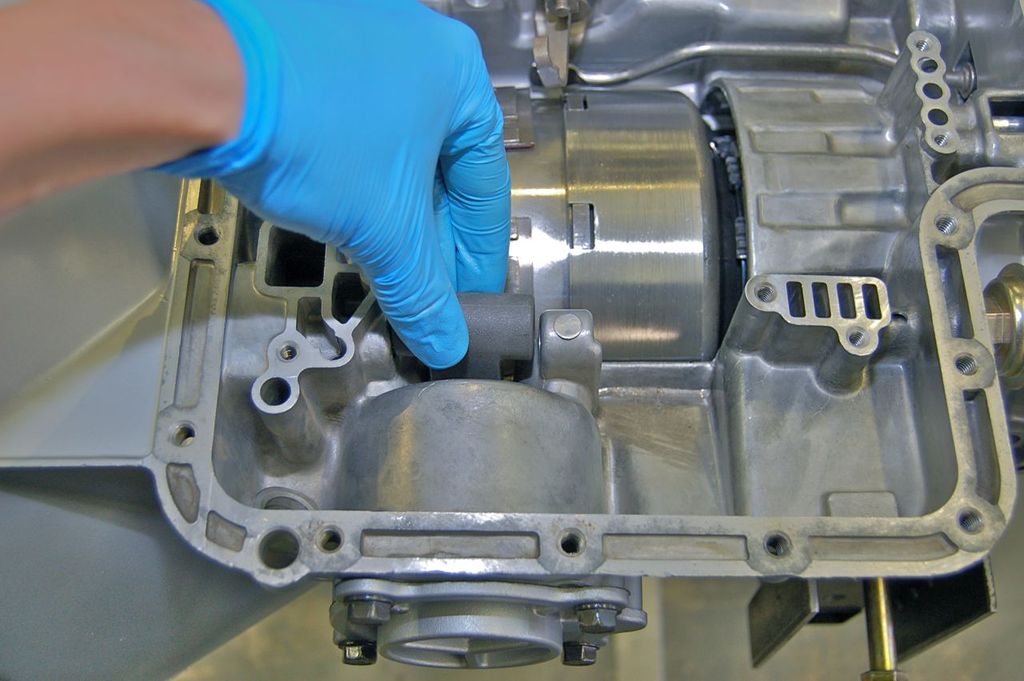
While inserting the pin.

Then the retaining ball.

Use a punch or drift to set the ball all the way down.

Using a small centre punch stake the case on both sides to keep the ball in place.

Install the band adjustment bolt.

Install the band apply shoes.

Install the new jamb nut and tighten the bolt and jamb nut per the shop manuals instructions.

Valve body has been disassembled and cleaned and ready for assembly. The manual valve goes in first.
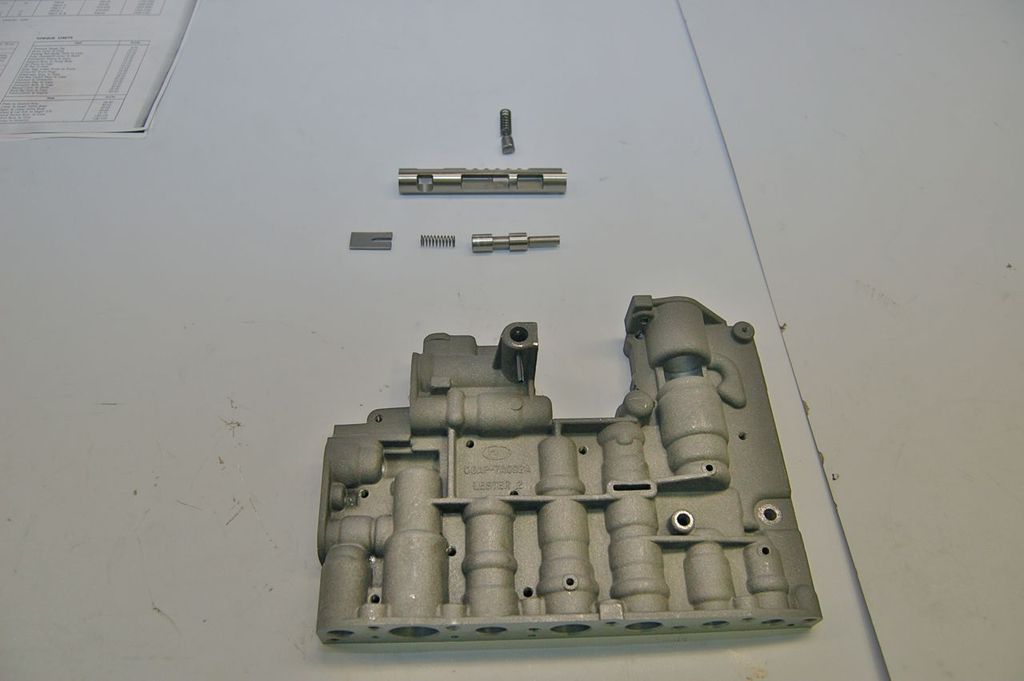
The detent piece and spring are loaded.

Use a small punch to hold the spring into place while the pin is drawn over the spring by pliers.

Install the detent/kickdown valve in next.

Followed by the spring and retainer.

like so

Install the line pressure regulator and pressure boost valving into place.

little details
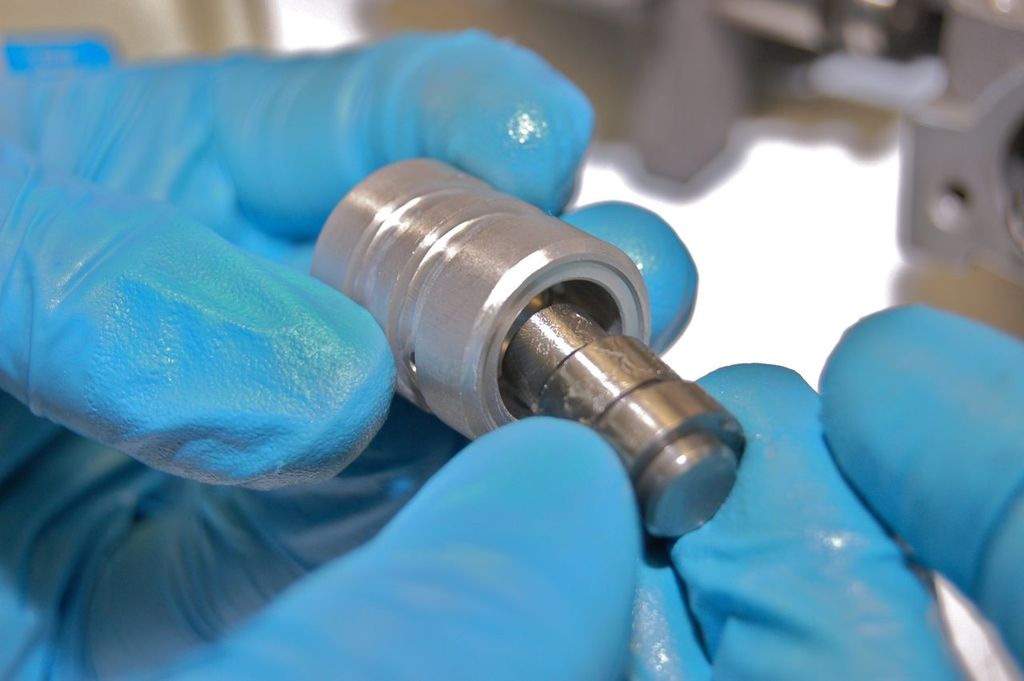
done.

Tackle these next. As always clean and lube , either ATF or Vaseline.
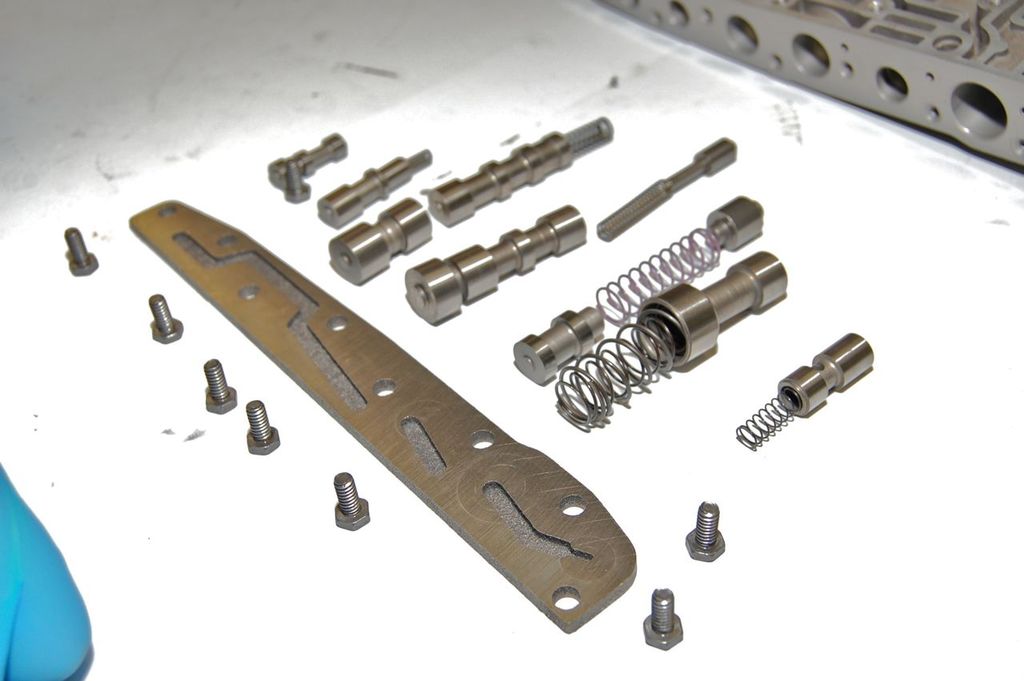
Torque the plate down properly.

Last of them.
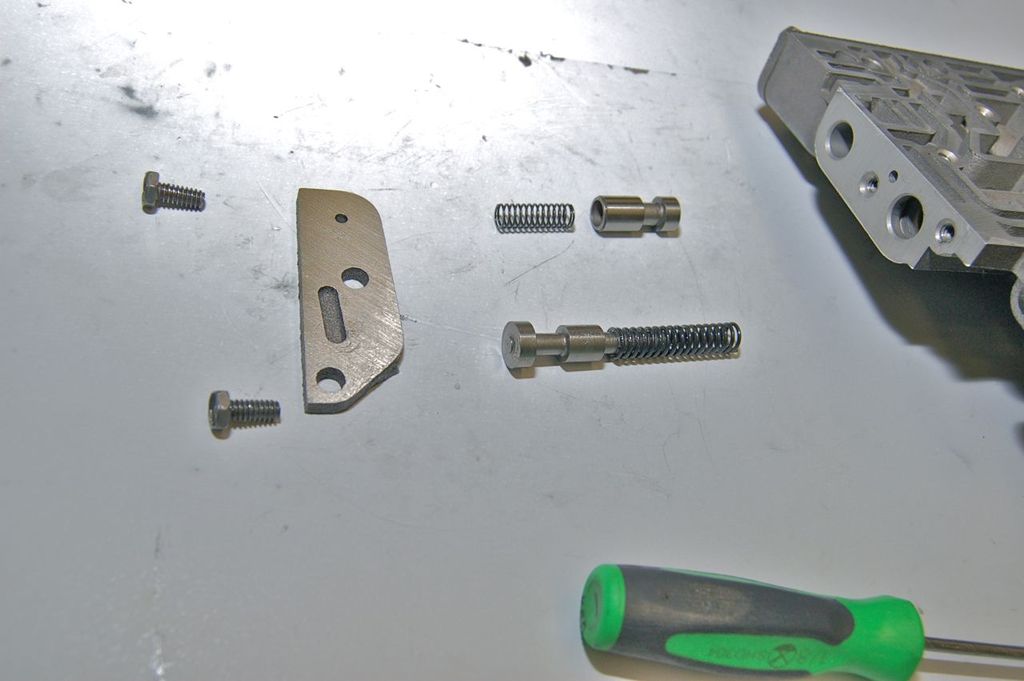
Again torque down properly.

Here is what's left to assemble on the valve body.
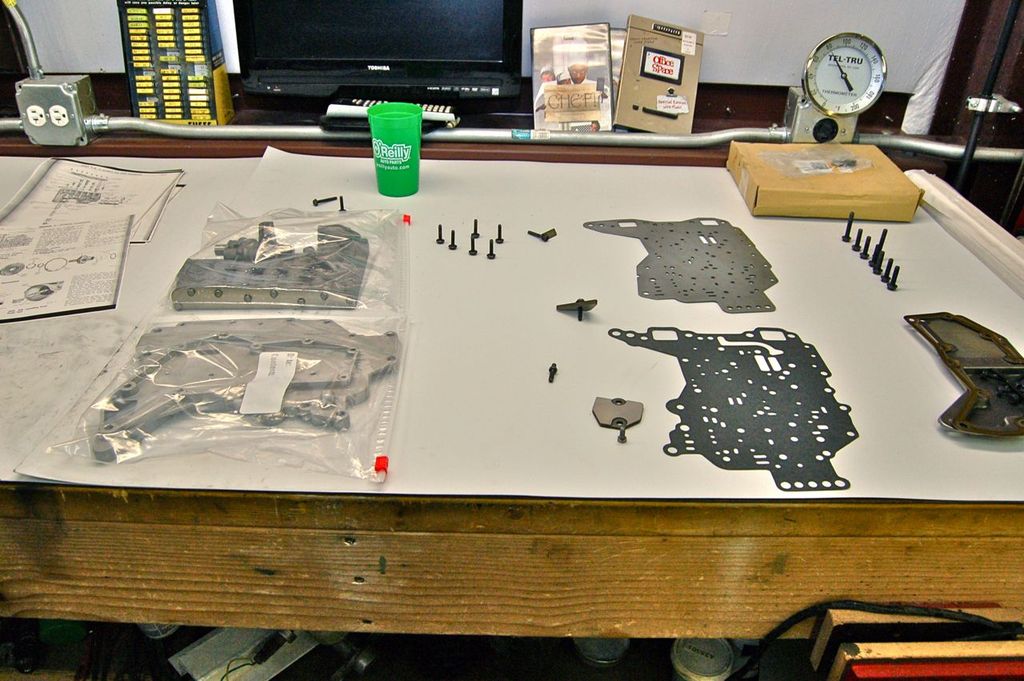
The new gasket goes on. Reminder there are two possible valve body gaskets, one for 1966 dual range only and the other models called select shift. This is still the 1966 dual range valve body so requires the hard to find 1966 gasket.

Attach the spacer plate and the two retainers.

On the valve body side flipped over there are 2 check balls and a spring. This one is the 2-3 shift check ball.

And the converter pressure relief spring and ball go here.

Assemble the two halves.

I went with a Wix filter as its screen appears to be a finer mesh than the OEM Ford one.

Torque the filter down.

Install the valve and torque it down.
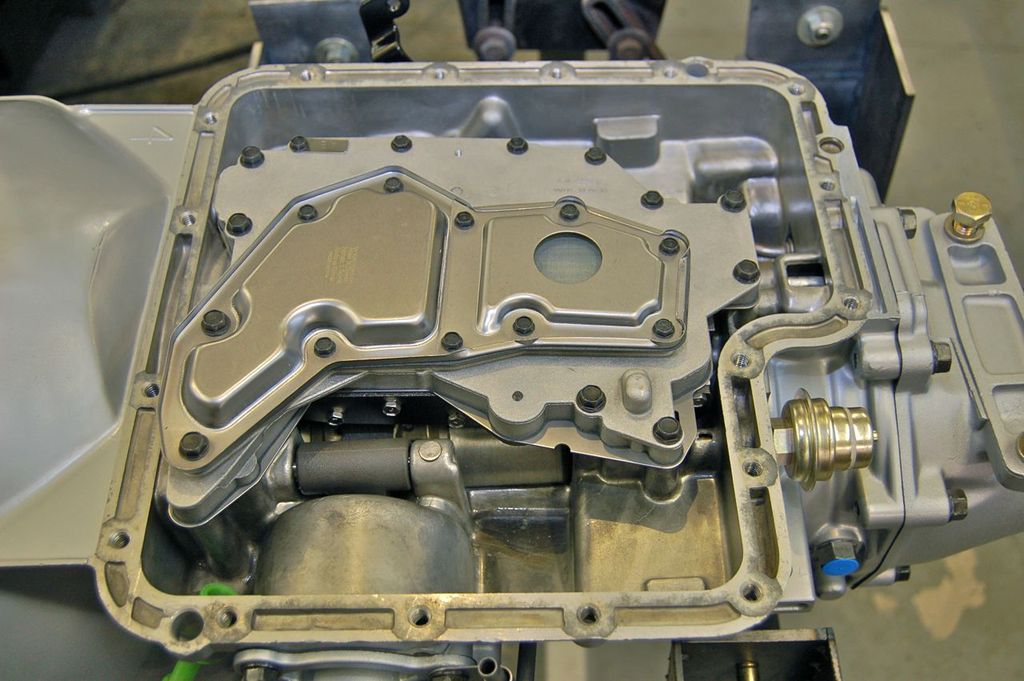
Install the pan gasket wet.

I powder coated the pan and installed a drain plug with a magnet. Bolt this on the transmission.

continued in part VIII
Click here to continue to part 21