1966 Ford LTD Resto-Mod : 038 Power Window And Lock Conversion
2023, November 14
1 - 2 - 3 - 4 - 5 - 6 - 7 - 8 - 9 - 10 - 11 - 12 - 13 - 14 - 15 - 16 - 17 - 18 - 19 - 20 - 21 - 22 - 23 - 24 - 25 - 26 - 27 - 28 - 29 - 30 - 31 - 32 - 33 - 34 - 35 - 36 - 37 - 38 - 39 - 40 - 41 - 42 - 43 - 44 - 45 - 46 - 47 - 48 - 49 - 50 - 51 - 52 - 53 - 54 - 55 - 56 - 57 - 58 - 59 - 60 - 61 - 62 - 63 - 64 - 65Moving on to power window and lock conversion.
A while back I had run out of luck trying to find power window regulators for a 4 door. As a result I had started conversion of a manual set to use the original style lift motors. But with the kind help of a forum member I was able to purchase a used complete set of 4. In the interest of time I decided to just refurbish those and shelve the conversion set for later.
I used the electrolysis tank then blasted the regulators, next was replacing all the rollers. These plastic (maybe nylon?) are brittle and some have cracks in them. I know at 5 dollars a roller it's pricey to change them all, but the alternative is a nonfunctional window sooner rather than much later. It's 3 rollers per regulator and 3 rollers per window. 24 rollers total.

I drilled out the old roller, inserted the new and used a hardened nut (AN hardware) to rest on the metal rivet section without damaging the new plastic roller.

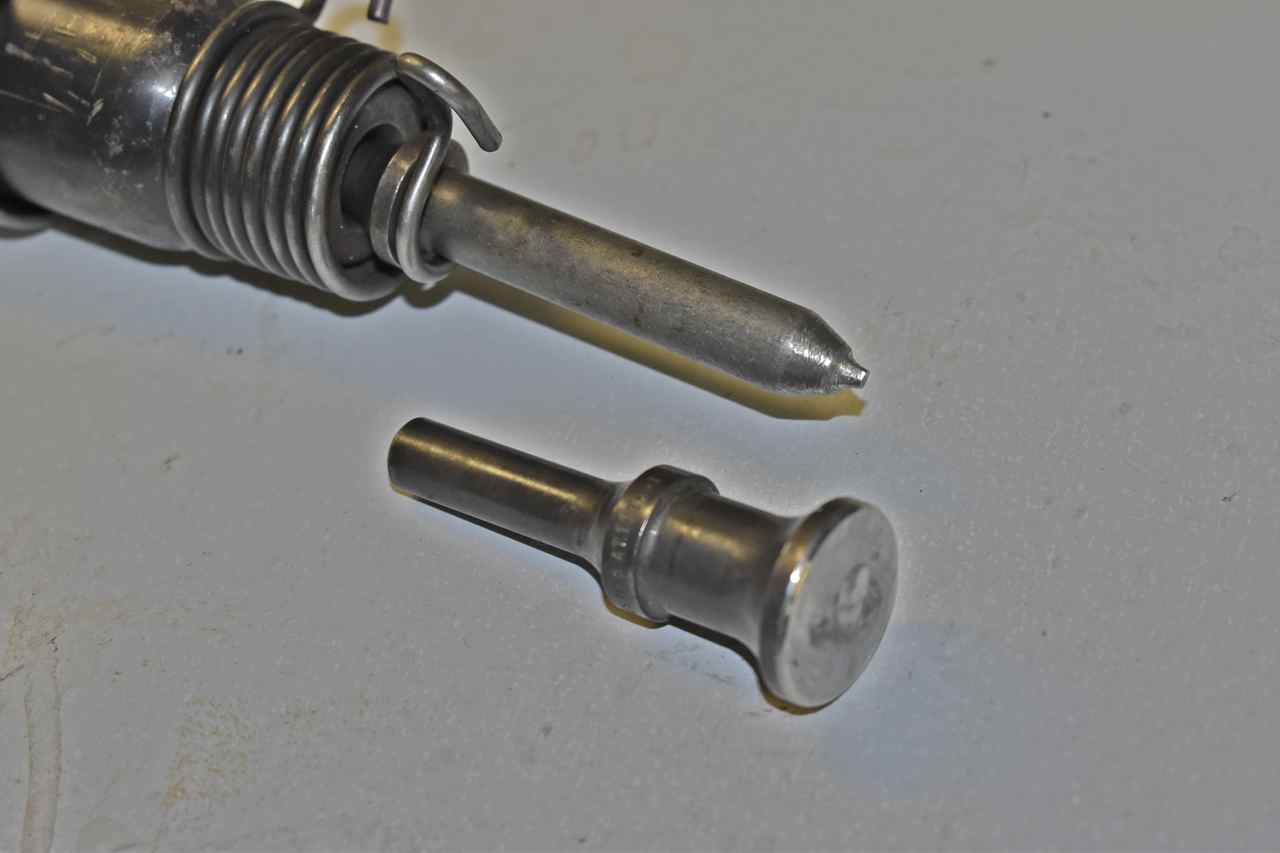
These are the two heads for the riveting I use. I made the crude tip one on the grinder. I found on these if you do not first splay the rivet end out it just mushes over to the side with the flat hammer and doesn't look good and probably doesn't hold as well.
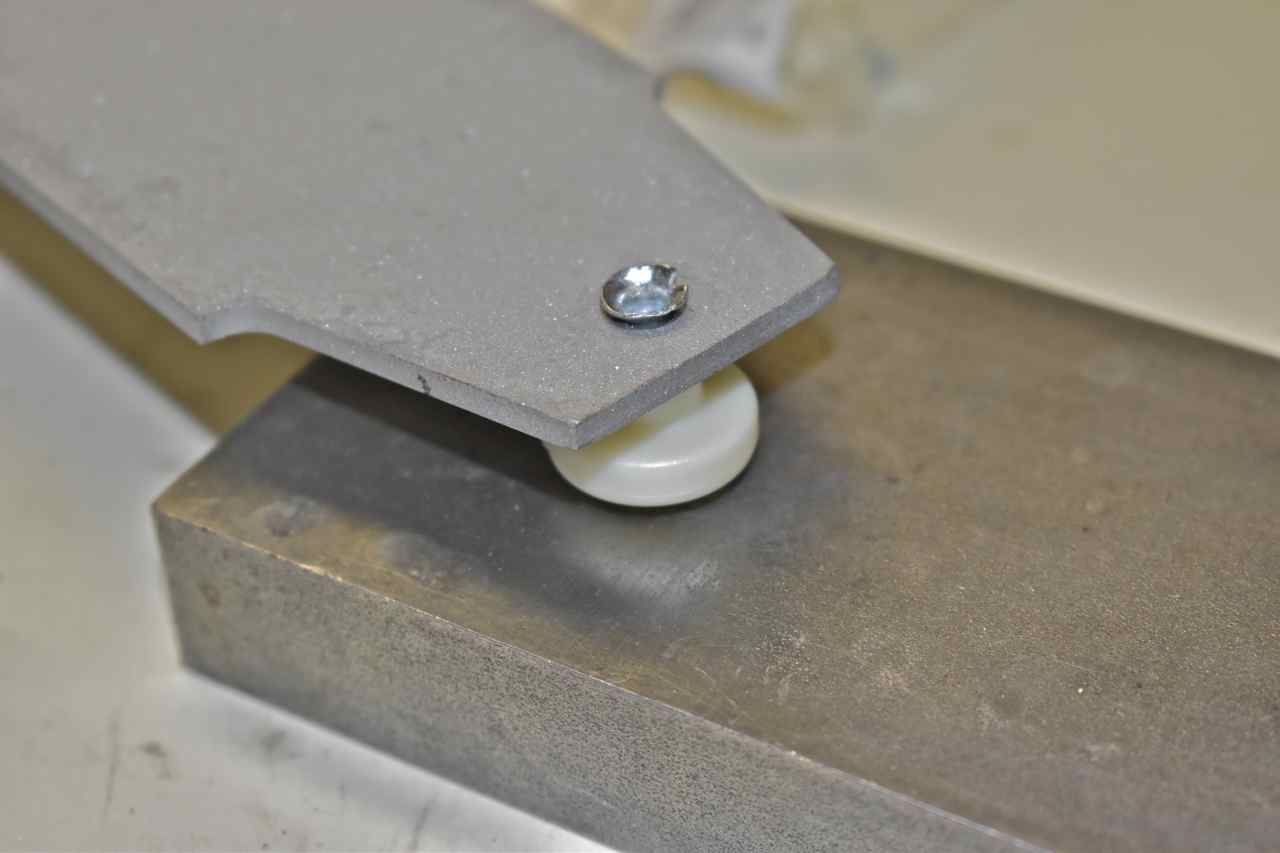
First the splaying. These rivets are work hardened pretty well, they'll split, you could anneal them slightly to alleviate this.
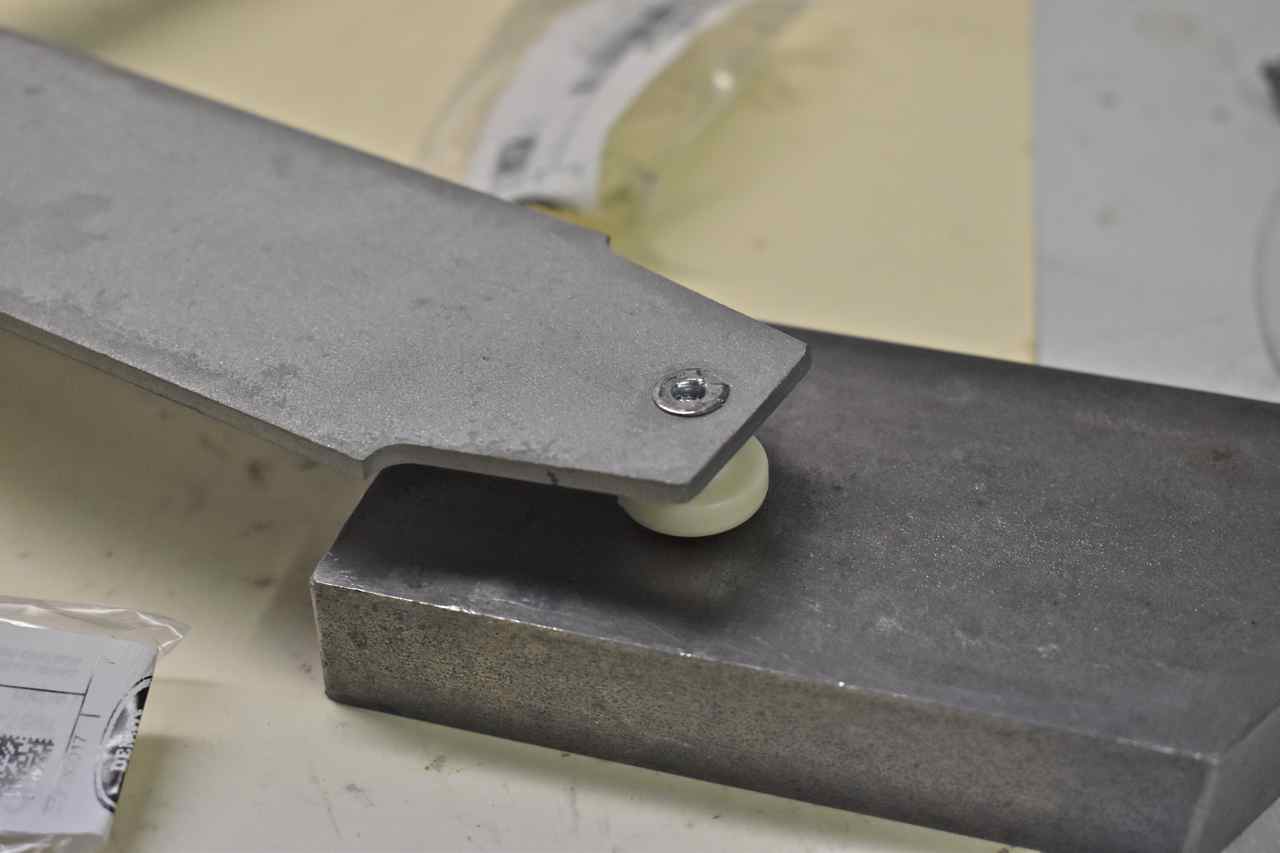
However once flattened they are rock solid in the regulator.
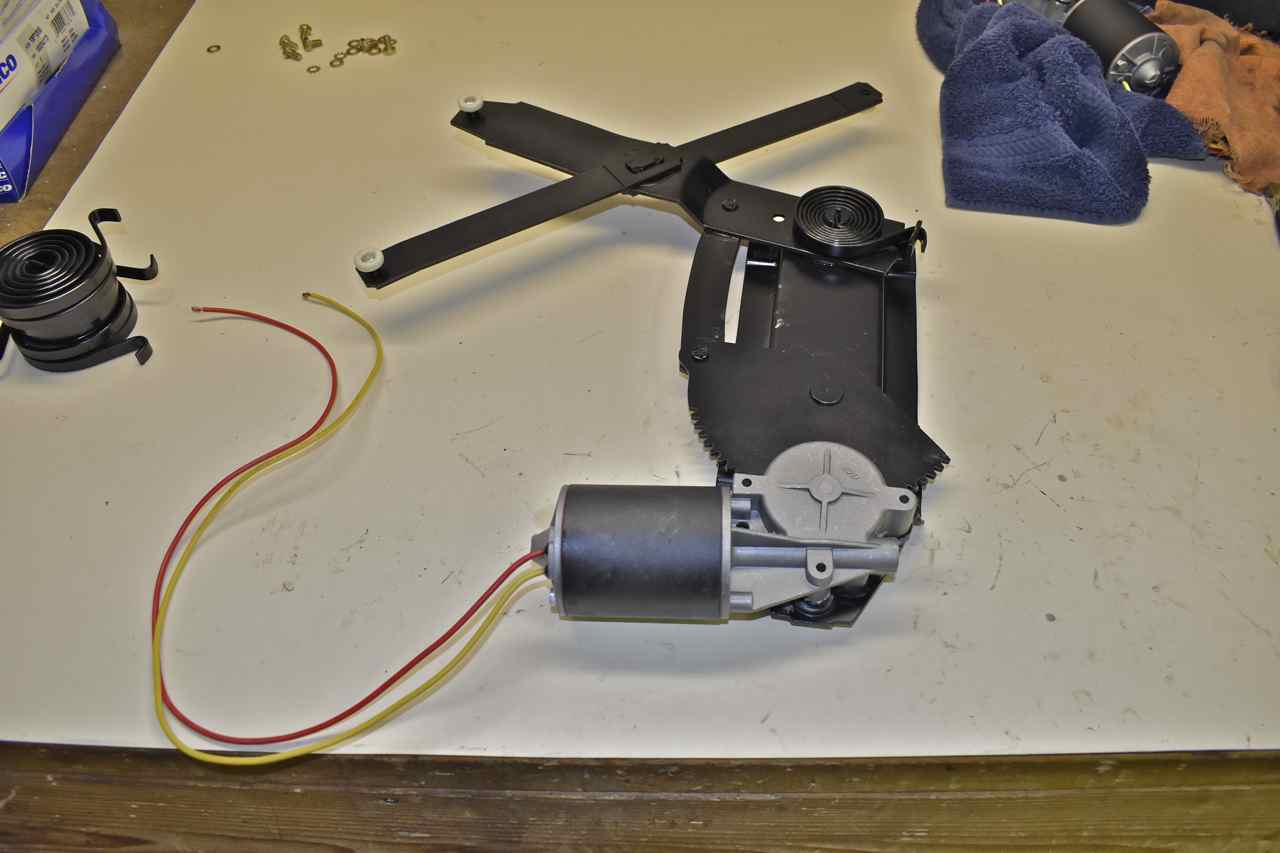
Every regulator received a brand new lift motor. The cost per window is about 35 dollars per window lift motor, about 32 dollars for the rollers and the used regulator was 30 dollars apiece. So roughly 100 dollars per window to convert and replace the rollers on the window itself.
This regulator is for the rear passenger door, which is the door being converted first.
These are the little plates I made to mount the door lock solenoids. If this car was ordered originally with power locks they were vacuum operated and what a mess of a system that was. I'm using GM '77-'90 electric door lock servos. They are pretty robust and can be still bought aftermarket.

I'm making the parts for this rear door and also the mirror image parts for the other door so when I get to that door I do not have to reinvent the wheel as it were.

The rear door lock mechanism system uses these bellcranks only in the rear doors. These are a spare set I had. They translate the vertical movement of the door lock button to a horizontal movement that a rod traverses the span of the door to the latch. I need to add a third ear to the other side so the door lock solenoid can attach too.
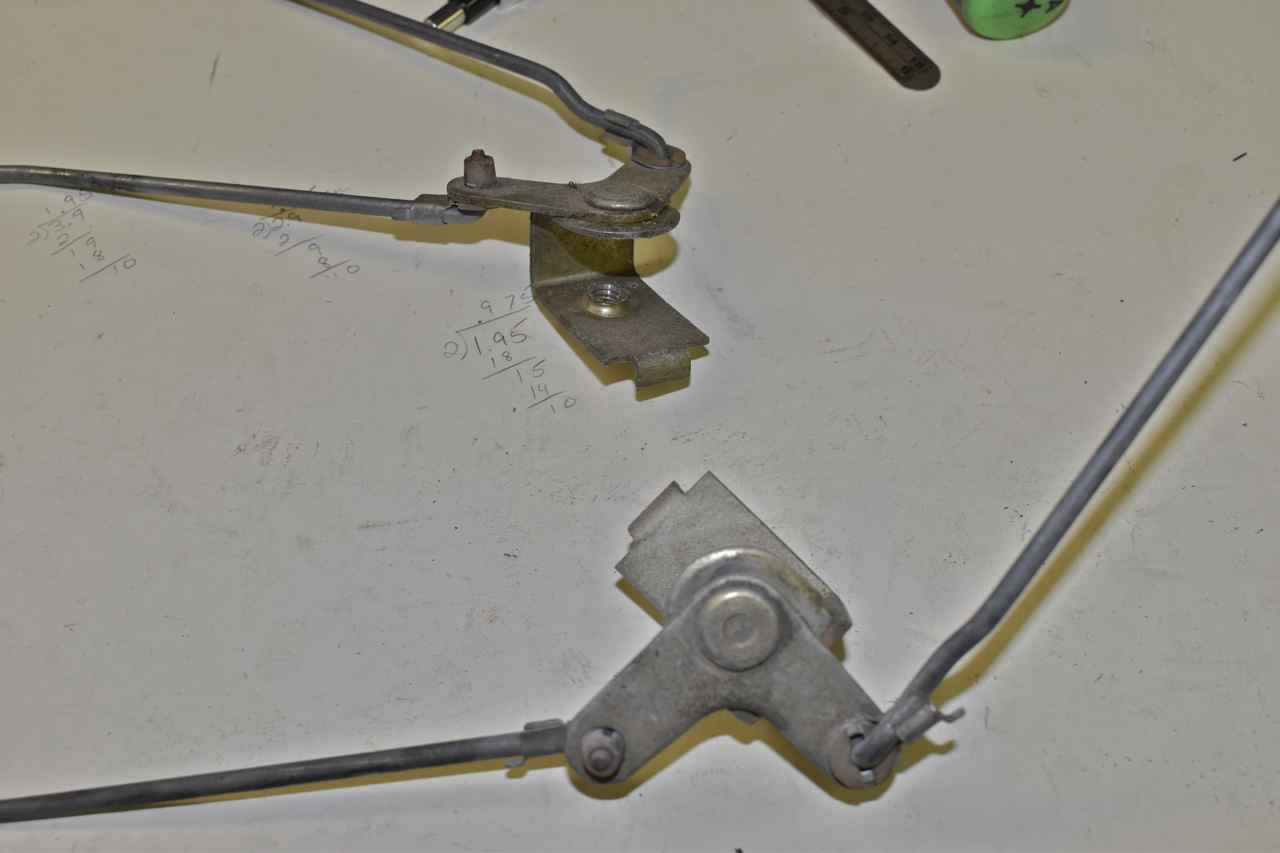
I found a drawing in the illustrated manual and it does show a 3 eared piece for power locks and a 2 ear piece (above and below) for manual locks.
The tricky part is welding a third ear onto these without welding the moveable bellcrank to the housing or rivet.
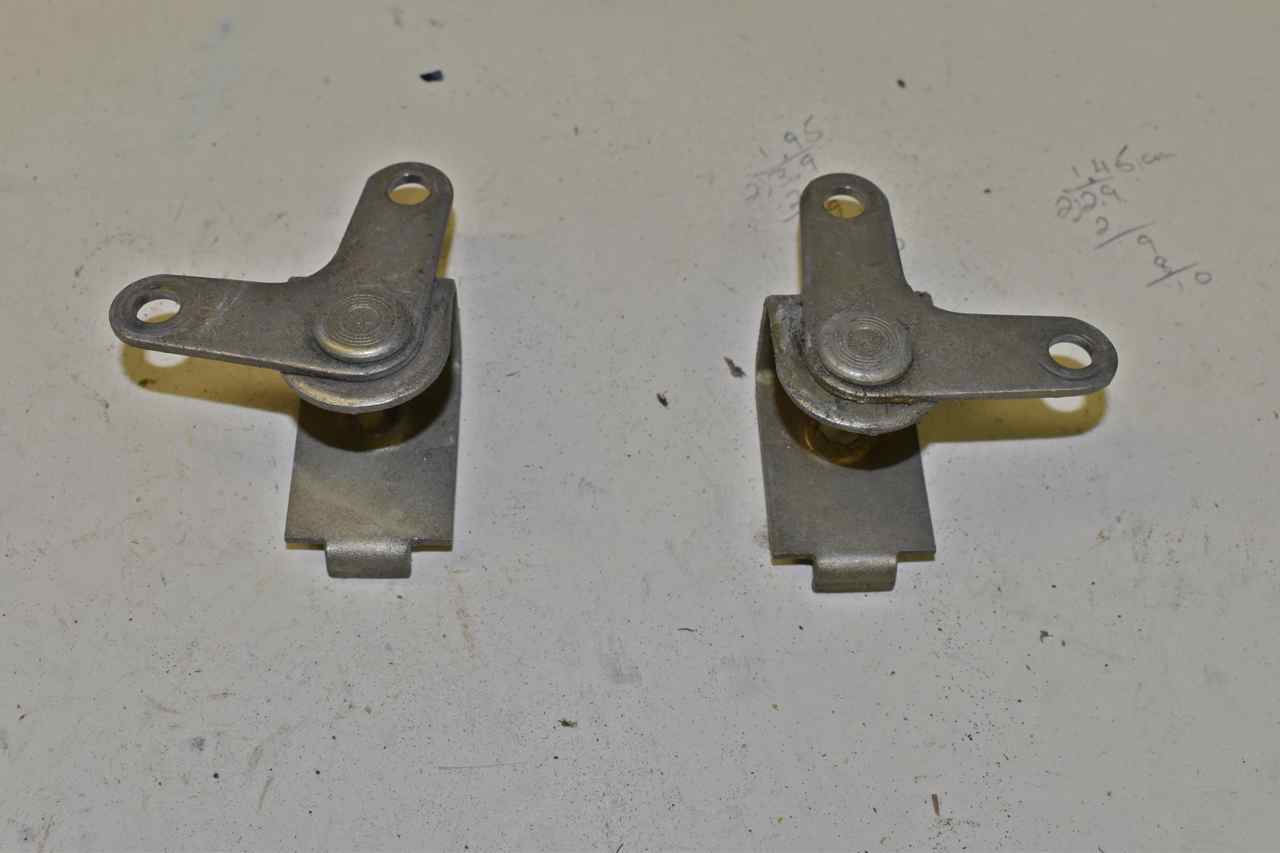
These are not particularly brilliant looking but it's way harder than it looks to TIG that third ear on without melting to rivet or mounting plate.

I made the 3 ear a bit longer because the GM lock servo has a longer throw, so I calculated the extra length I would need to use ~85% of the available throw.
I made these new rods from the spares I had laying around to connect the 3rd arm to the lock servo.

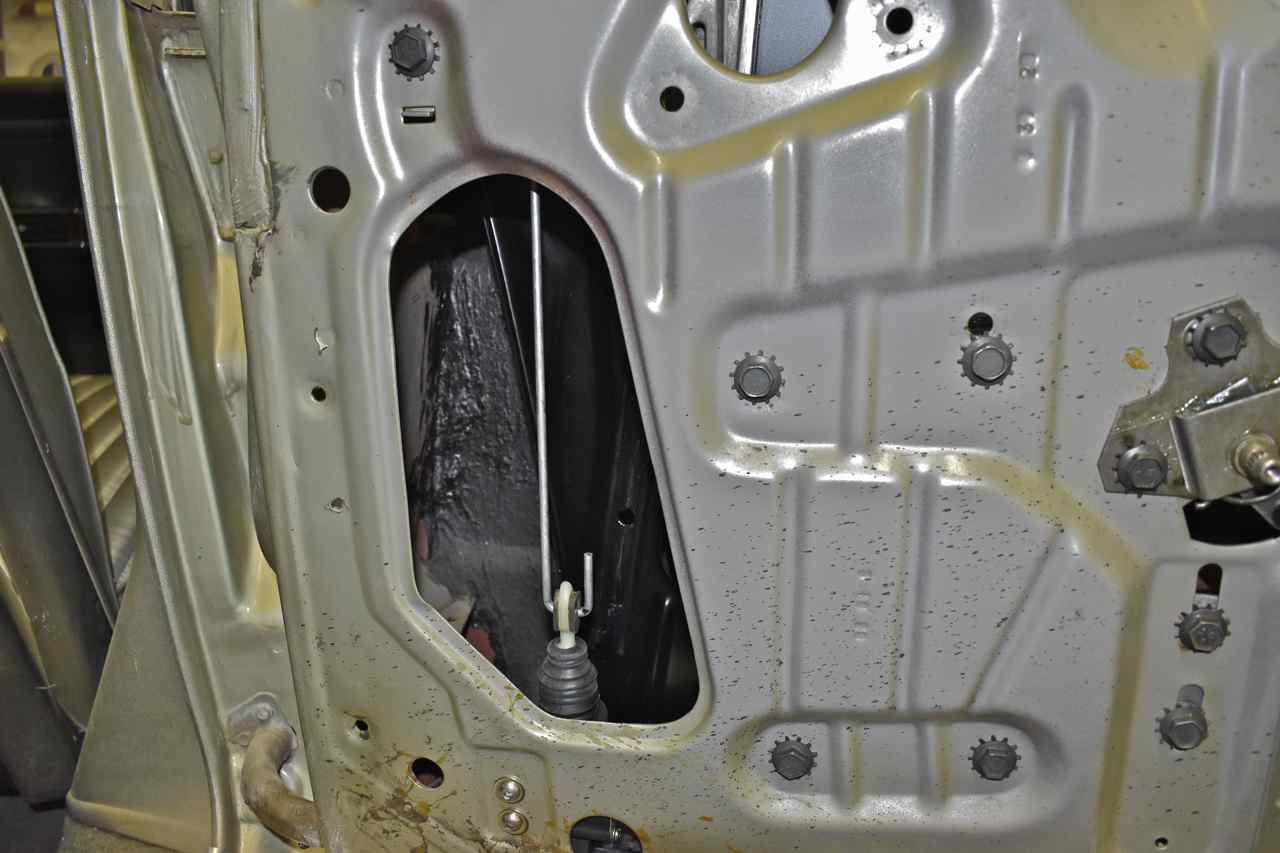
Power lock and power window installed and working properly.

You can see the 3 arm bellcrank in the upper corner.
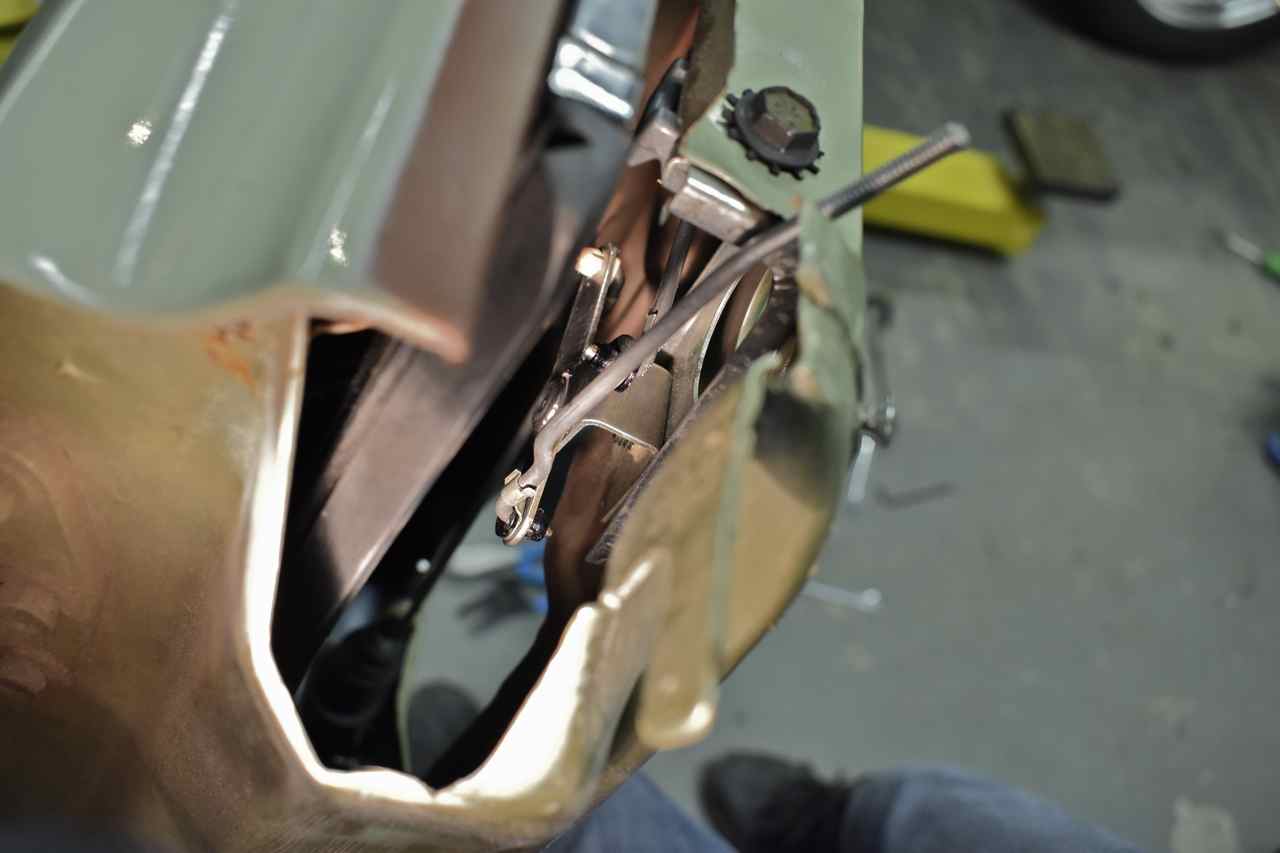
You can see lock servo and lift motor. Whilst it's a tight fit in the door, nothing comes close to touching in operation.
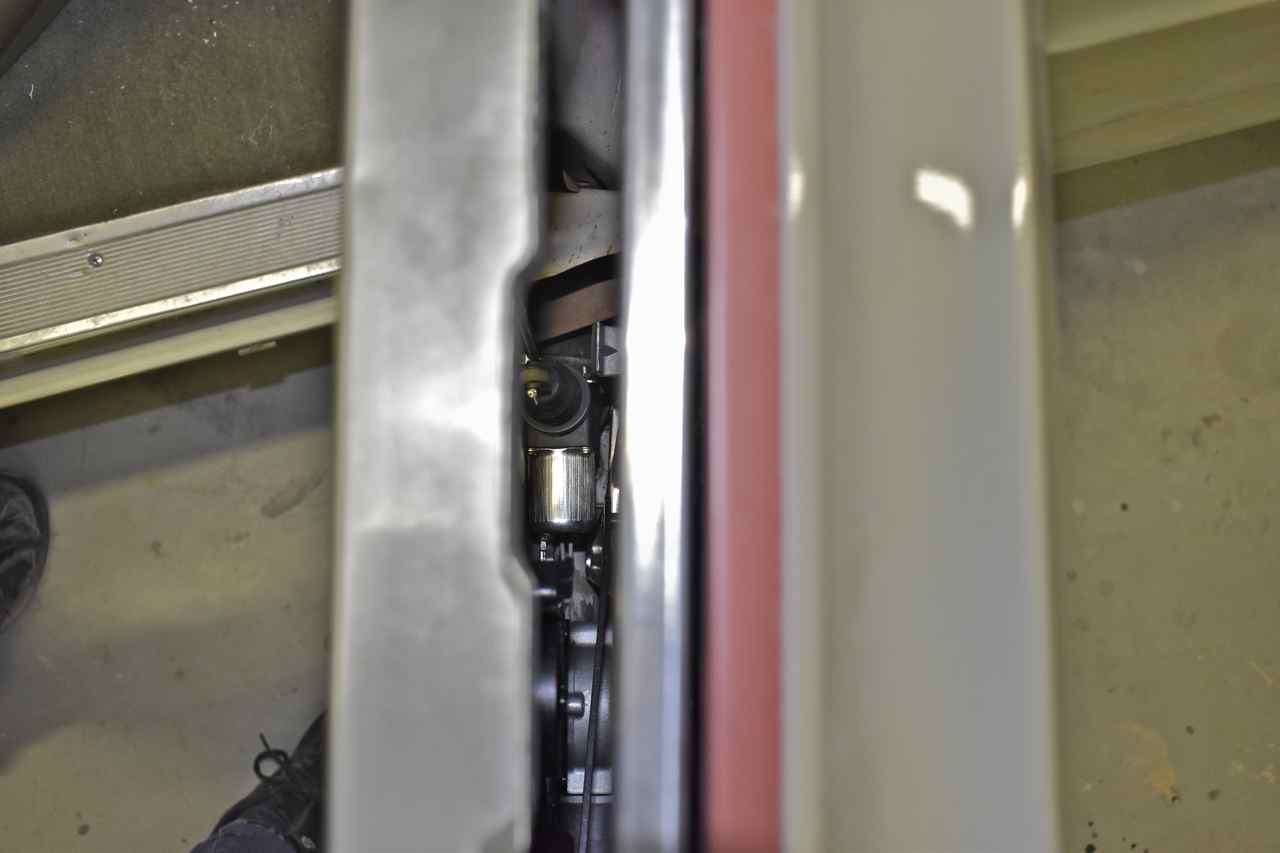
That portion is done, next I have to add the door unlocked sensor and door ajar sensor to the door latch. I can't find a drawing of how Ford did it, but I bought some micro switches and have my spare set of door latches to use to CAD up a plastic bracket then 3D print in ABS to mount them.
When originally ordered with power locks you got the convenience package which had other indicators on it. I plan to remake a rendition of that convenience package hence why I need the sensors in all 4 doors.
More to come. Hope you enjoyed.
Cheers
Click here to continue to part 39