Random Post of the Day ( original post date 2016, July 16 )
Installing a 'MR HEATER' Shop Heating Unit
Having heat is a must in the winter.
I have just enough room for 3 cars in the shop, 3 cars in the shed (enclosed metal carport) and 2 cars in the attached garage. And there's still two parts cars parked outside.
This is the shop when we bought this place.
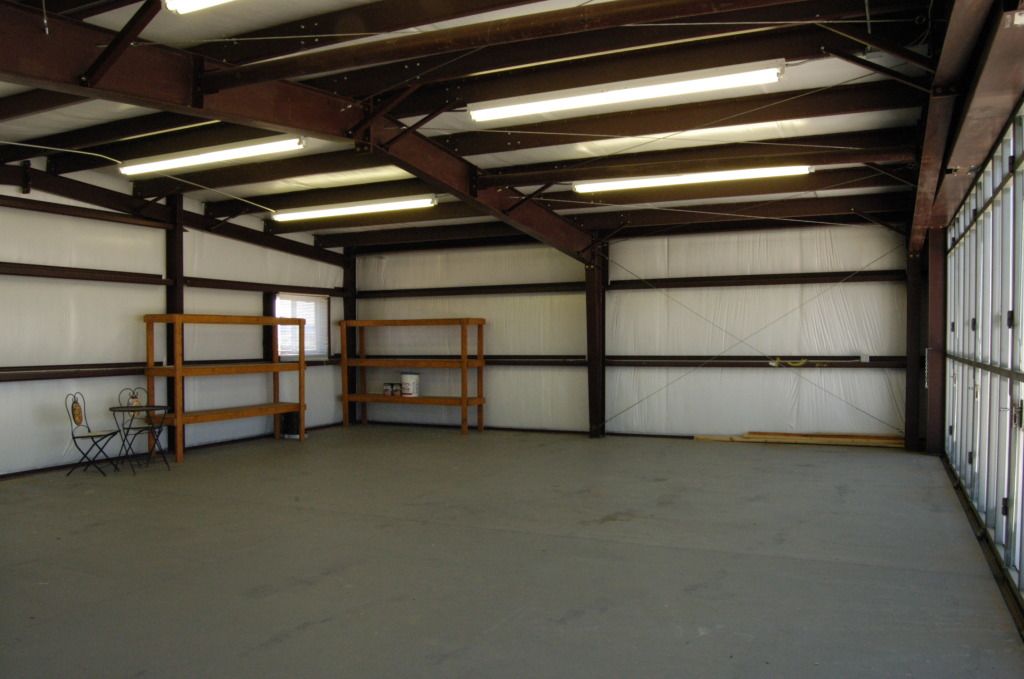
Then I moved in:

Along with all my crap
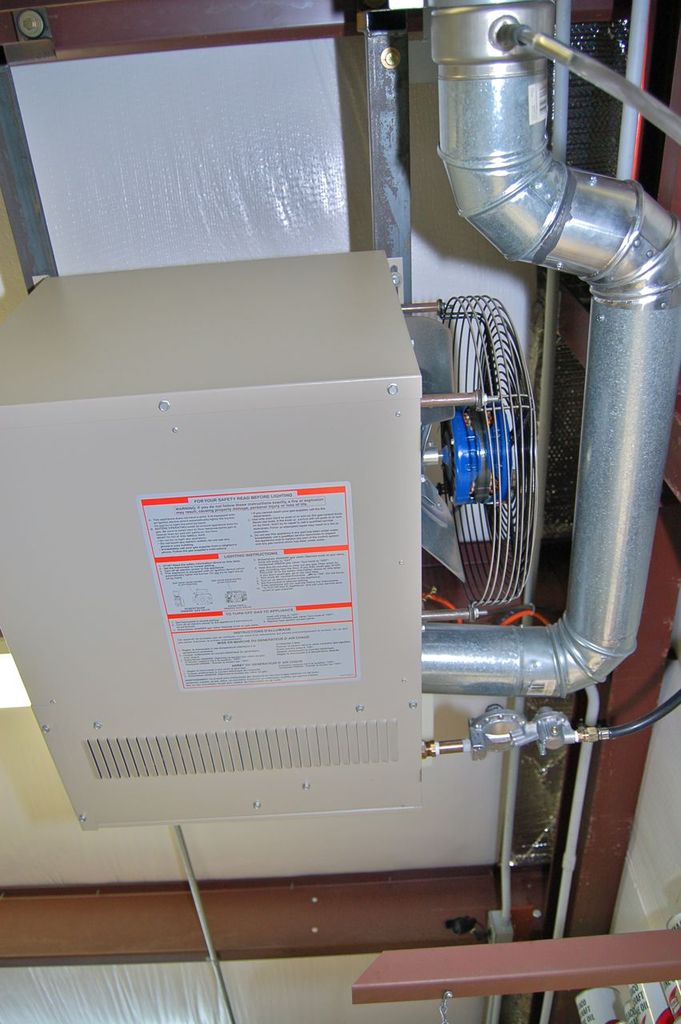
We took a chance and bought a Mr. Heater brand 50,000 BTU forced air furnace that can work off of natural gas or LP. It's a tiny thing. However the heat and air flow was abysmal at best. Whilst the fan motor was a low RPM motor only and the fan blade was a one piece stamped assembly the burners and the heat exchanger were capable of so much more heat output, but were just dialed back on the Honeywell control valve.
Having the natural tendency to be frugal, I noticed that the fan motor from our Whole House portable fan would fit, so at the thrift store I noticed one just like it and for 18 dollars I bought that, then I bought a new fan blade at Zoro Tools online. I bought the more aggressive 14" condensing unit fan blade with a 1/2" shaft rated for high speed. This is a two piece fan blade. These are inexpensive replacement parts, I think the new fan blade was ~35 dollars. Then I bought an inches of water pressure gauge to readjust the gas pressure on the jets.
As a result, this little thing really puts out the heat now, nothing trips on overload and works a treat. And it's capable of more. But I run the fan on medium speed and it will take the building to 90˚F when it's in the teens outside if left running constantly. It has the built in control and wiring for use with a residential thermostat. Here's the pics on the conversion.
This is whole house floor fan I found a twin of for 18 dollars. I just used the motor out of it.

Here it is installed with the aggressive 45˚ pitch blades. I had to move the screen guard back to make it all fit.
The gauge pressure kit to set the burner pressure.

My last issue to tackle was the furnace was only rated at 80% efficient. The outlet temp was about 350 degrees and was wasted heat out the stack. So in order to capture a good portion of that heat and heat the building too as Tim so kindly said I came up with a simple and inexpensive ancillary heat exchanger to do just that.
The exhaust pipe out of the furnace is 4" so I bought 7" pipe a couple of tees, other fixtures and fittings and a small centrifugal blower meant for greenhouse. To trigger the external fan I used a zero crossing SSR, a small panel mount Stancor variac and made a little electrical box to house the components. When the thermostat calls for heat, it turns on the ancillary blower, the variac controls the speed, as at full speed the motor is just too powerful and can be heard.
Here's the control panel for the ancillary exchanger blower.

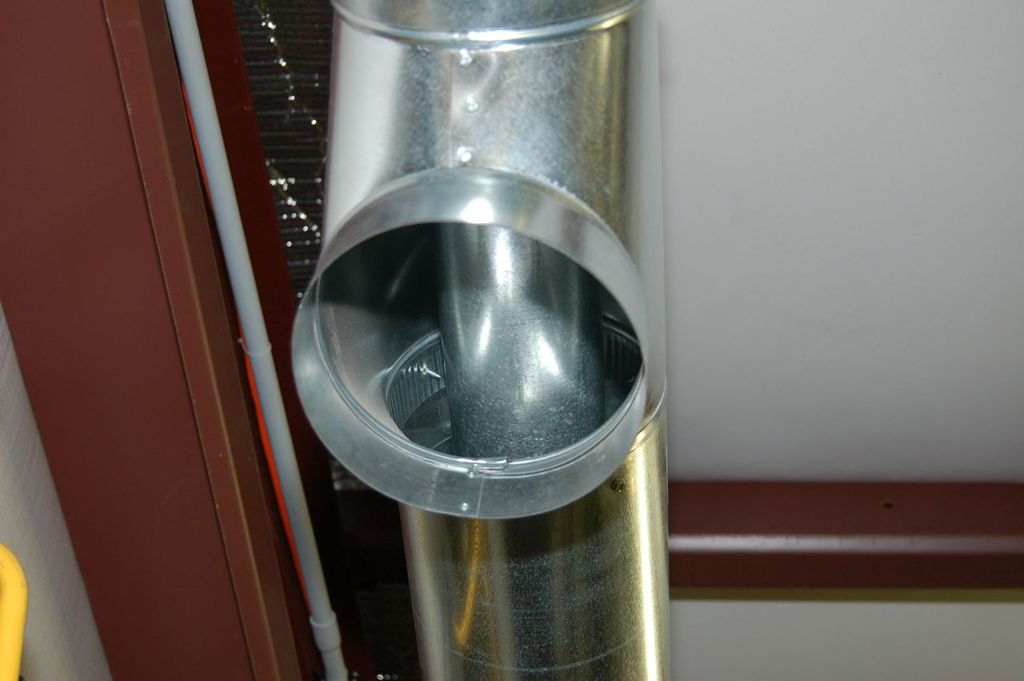
Here's the 4 inch exhaust pipe inside the 7 inch exhaust pipe. The blower takes shop air and passes it over 4" pipe and inside the 7" pipe pulling quite a bit of otherwise lost heat out. Since the furnace has an exhaust draft inducer motor, no need to worry about loosing the flow due to excessive cooling.
Here's the inexpensive motor from Amazon, it was meant for a green house. As it's a capacitor start split phase motor with no centrifugal switch running the motor at a lower voltage to reduce speed will not hurt it.
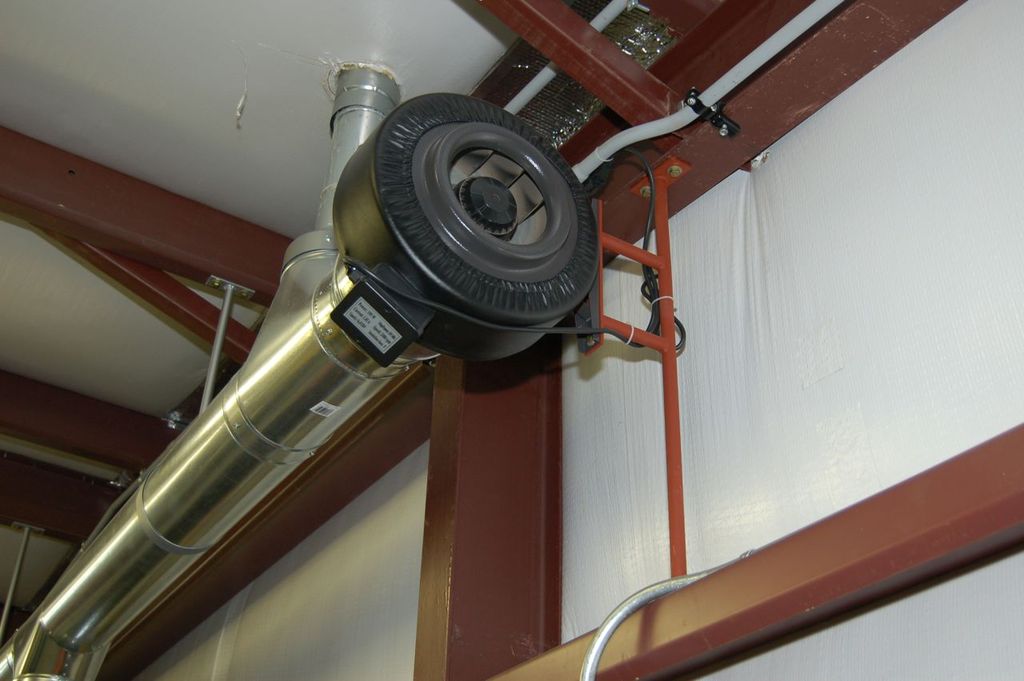
And here's the whole thing. The outlet temp to the roof is only around 100˚F now and quite a bit of extra heat is added to the room. Not to mention the extra blower and vent helps stir up the air. And I'm not wasting too much propane on wasted heat out the roof.

Cheers.
‹ the end ›


