1966 Ford Galaxie 500 XL Refurbishment : 070 HVAC Plenum Restoring
2023, November 14
1 - 2 - 3 - 4 - 5 - 6 - 7 - 8 - 9 - 10 - 11 - 12 - 13 - 14 - 15 - 16 - 17 - 18 - 19 - 20 - 21 - 22 - 23 - 24 - 25 - 26 - 27 - 28 - 29 - 30 - 31 - 32 - 33 - 34 - 35 - 36 - 37 - 38 - 39 - 40 - 41 - 42 - 43 - 44 - 45 - 46 - 47 - 48 - 49 - 50 - 51 - 52 - 53 - 54 - 55 - 56 - 57 - 58 - 59 - 60 - 61 - 62 - 63 - 64 - 65 - 66 - 67 - 68 - 69 - 70 - 71 - 72 - 73 - 74 - 75 - 76 - 77 - 78 - 79 - 80 - 81 - 82 - 83 - 84 - 85 - 86 - 87 - 88 - 89 - 90 - 91 - 92 - 93 - 94 - 95 - 96 - 97 - 98HVAC Plenums
I want to preface all these dealings with the 3rd gen (1965-1968) factory HVAC system with it's not all that and a bag of chips when compared to the 4th gen (1969-1974) systems. These 3rd gen systems are overly complicated, more difficult to diagnose and you cannot get dehumidified warm-hot air to the windscreen or out the main dash vents.
I'll go into this more later once I really get into the thick of it with this system. I will say this, when properly working the heater works well (as long as your using the 195 stat) and the air conditioner really works well on hot desert days.
There are three separate plenums to these factory HVAC systems. As a side note for heater only cars there are only two plenums.
I'm going to start with the heater core plenum, since it's the smallest and easiest to manage.
I have three to chose from and yes I did stock up on these now rare and expensive parts. As these cars age the plastics just become increasingly embrittled. All three of these are from Southwest cars. I'll go through these and pick the best parts to make one good one for this gal 500 XL.

Even being a Southwest car doesn't preclude corrosion problems.

And this plastic housing is just falling apart as you touch it. So this one can go instantly back as I'm not going to bother with it. I tackle the remaining two and see what's what when disassembled.

This is the original one off this gal 500 XL.

And this one I pulled from a car in the junkyard. Actually we took the entire HVAC system off it.


When you strip the foam off, you'll find more hidden corrosion and it goes downhill from there.

That date indicates July 13, 1964. Tis original.

This is a good time to discuss heater cores for these 3rd gen HVAC systems.
There are two different one for factory HVAC (air conditioned) cars. The cores are physically the same, only one has the same 5/8" tubing for inlet and outlet and the other has 5/8" and 3/4" tubing. I chose to use the core with the same 5/8" tubing because I just bought a big roll of 5/8" black silicon heater hose and it does the entire car.

I have seen aluminum ones offered but they look smaller and probably a nightmare to get to seal. Not less forgetting brass/copper cores will simply last longer from a corrosion perspective.
Fortunately I bought all the HVAC stuff for all three old Fords we have ('66 LTD, '66 gal 500 XL and the '68 XL) a long while back. I'm glad I did, because now what you can find available it 2-4 times the original price. It's all insane if you ask me.
Back to the plastic housings. The plastics are dying. I walnut blasted these and in some areas the plastic was just sloughing off. This can still be saved, but this means sealing and strengthening what's left.

It may be hard to see, but the plastic is heavily pitted and in one area went right through.

The other plenum was in much better shape but still had areas where the plastic just came off in droves.


The best solution I've found to date is simply build them back up and seal them with fiberglass resin. It's a messy, stinky job, but does seem to work and will prolong the life of these plastics.

Here you can see just how pitted that one plenum was. That will need several brushed on layers.

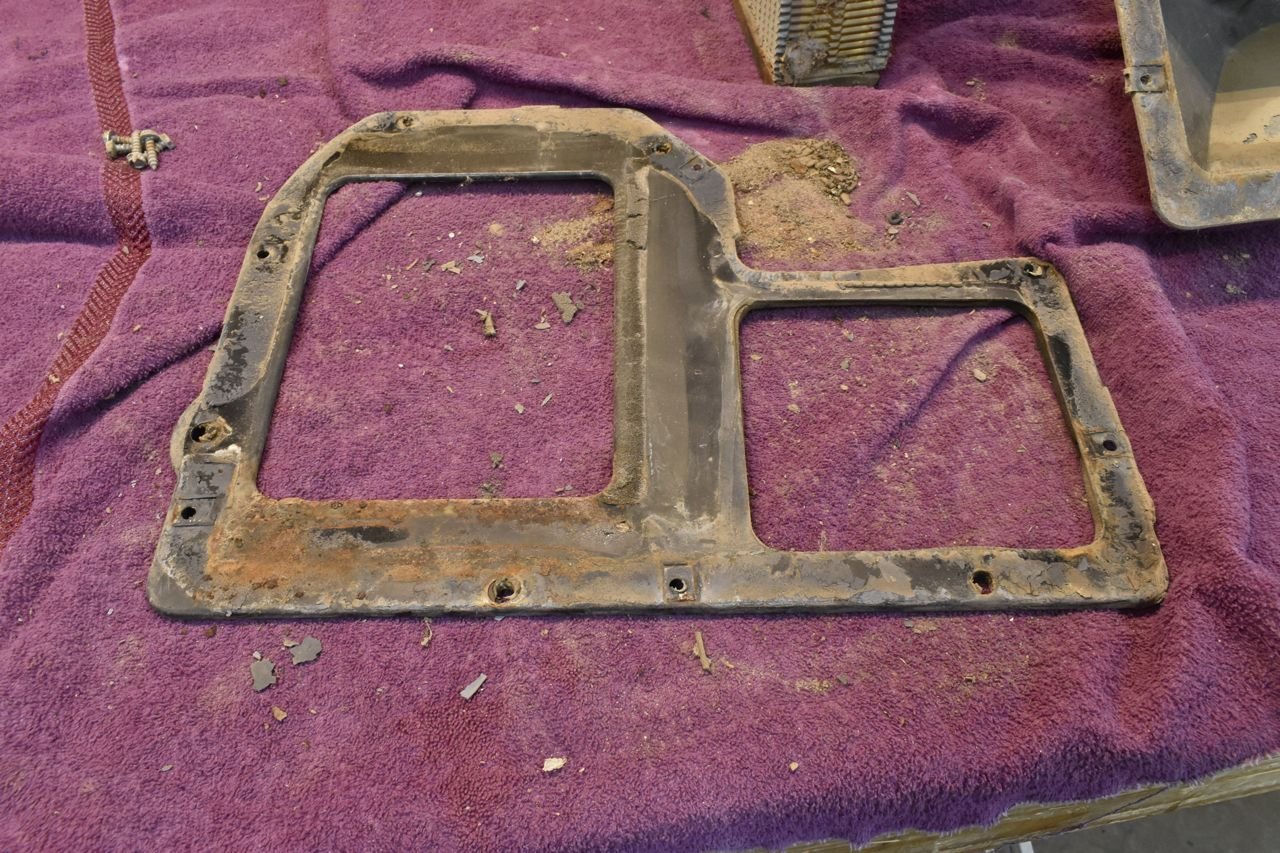
The heater core retainer plates didn't fare much better when stripped. One has a small hole and the other, well, you can see for yourself.

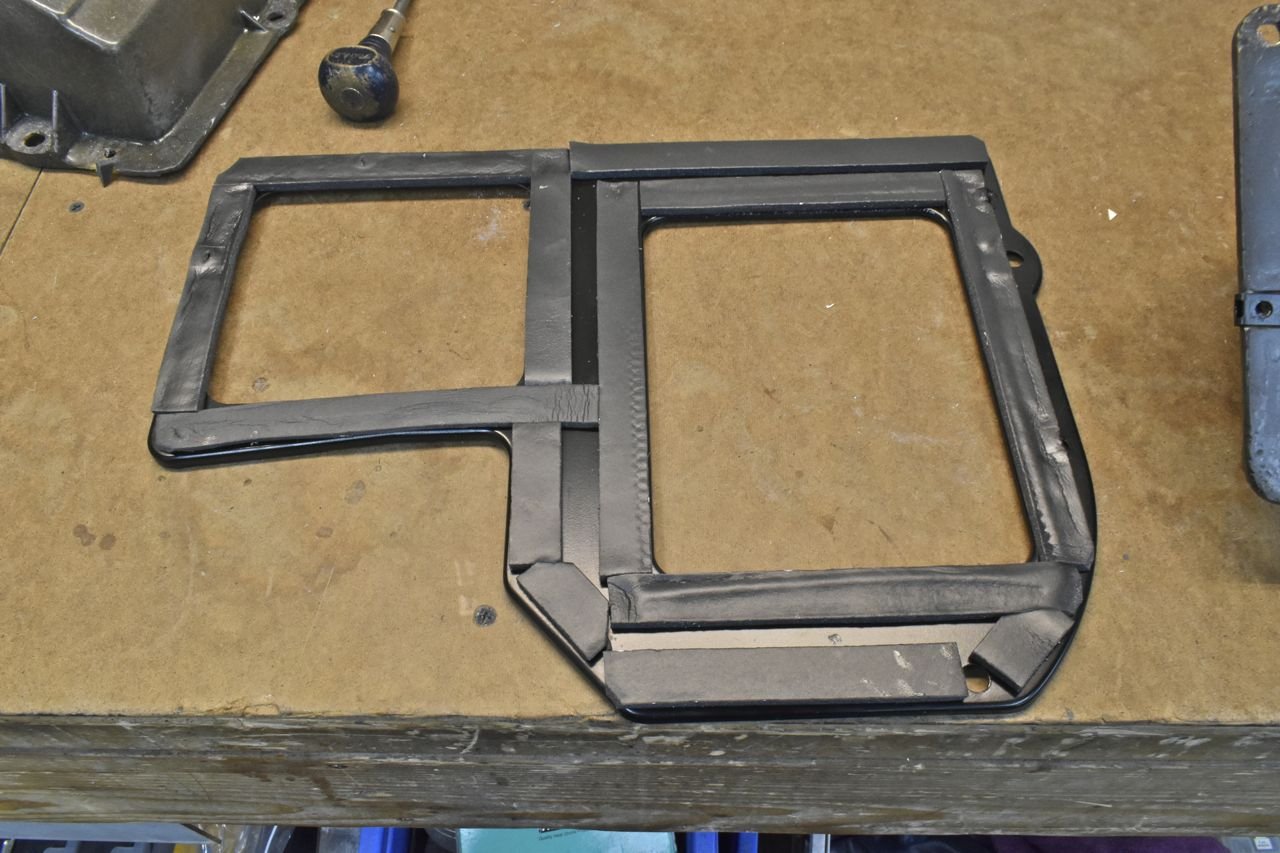
After some cutting, welding in patch steel and giving it a quick grind (not going for looks just structural integrity), these are ready for paint.

Here's the better of the two plenums after a couple rounds of fiberglass resin inside and out and test fitting for a sanity check.

A couple of years ago I would normally just toss the old parts, even if they were still OK. Now with the parts shortage and poor quality of replacement parts I will keep the old cores as spares. However I will clean them out first. I gave each a good flush with the hose, then boiled some hot vinegar on the stove and filled each one and let them set for 20 minutes. Then flushed again. Oh my the crap the came out.

This was after several flushes after mild acetic acid treatment. One was still spewing rust from what I can only imagine is the engine block.

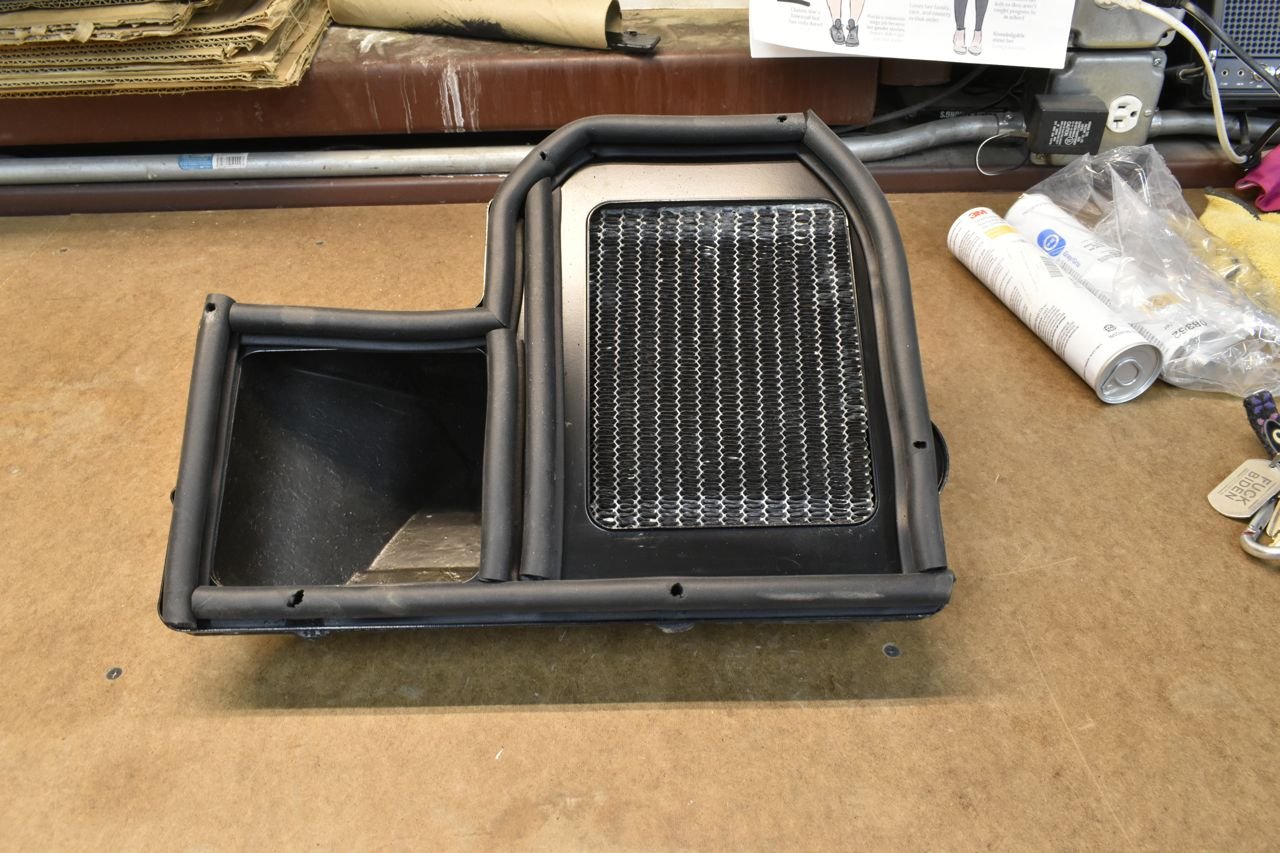
Time to assemble the heater core plenum.

Bolted the tube strain stop back on.

Reused the old foam on the new core. It still was in serviceable condition.

I used some generic foam to keep pressure on the core and keep it from moving. Just have to get creative with some of this.

Everything is sealed and snug.

Now this isn't pretty, but it is functional and you're not going to see it when it's installed. This is EPDM foam seal and it's 3/4" tall. There is a place that sells new foam for these. That place is Detroit Muscle technologies. However,,,,, they list the foam they use in this plenum as 1/2" tall. I have experimented with 1/2" foam and it will not seal all around. You have to use 3/4" tall and here's why; the plenum goes over layered sheet metal on the firewall, the firewall isn't not perfectly flat and nor is this plenum. The stack up of tolerance in some areas will lead to gaps with a thin foam.
This generic foam works really well as I've tested several.

Fitment.

There's no gaps in this.

Here's the other heater core plenum, it could use a few more coats of resin and sanding, but it's strong and going to last. This is just going on the parts car to get it out of my hair and is just a spare.

There's the rest of the HVAC plenums to chose from and refurbish, plus other odds and ends I dug out. I have loads more if need be.

More to come.
Cheers
Click here to continue to part 71