1966 Ford Galaxie 500 XL Refurbishment : 041 Engine - Mounts, Oil Pump, Balancer, Water Pump
2023, November 14
1 - 2 - 3 - 4 - 5 - 6 - 7 - 8 - 9 - 10 - 11 - 12 - 13 - 14 - 15 - 16 - 17 - 18 - 19 - 20 - 21 - 22 - 23 - 24 - 25 - 26 - 27 - 28 - 29 - 30 - 31 - 32 - 33 - 34 - 35 - 36 - 37 - 38 - 39 - 40 - 41 - 42 - 43 - 44 - 45 - 46 - 47 - 48 - 49 - 50 - 51 - 52 - 53 - 54 - 55 - 56 - 57 - 58 - 59 - 60 - 61 - 62 - 63 - 64 - 65 - 66 - 67 - 68 - 69 - 70 - 71 - 72 - 73 - 74 - 75 - 76 - 77 - 78 - 79 - 80 - 81 - 82 - 83 - 84 - 85 - 86 - 87 - 88 - 89 - 90 - 91 - 92 - 93 - 94 - 95 - 96 - 97 - 98Engine Assembly Continued
The new engine mounts, I stripped the coating on them and used epoxy paint.


Getting somewhere now.


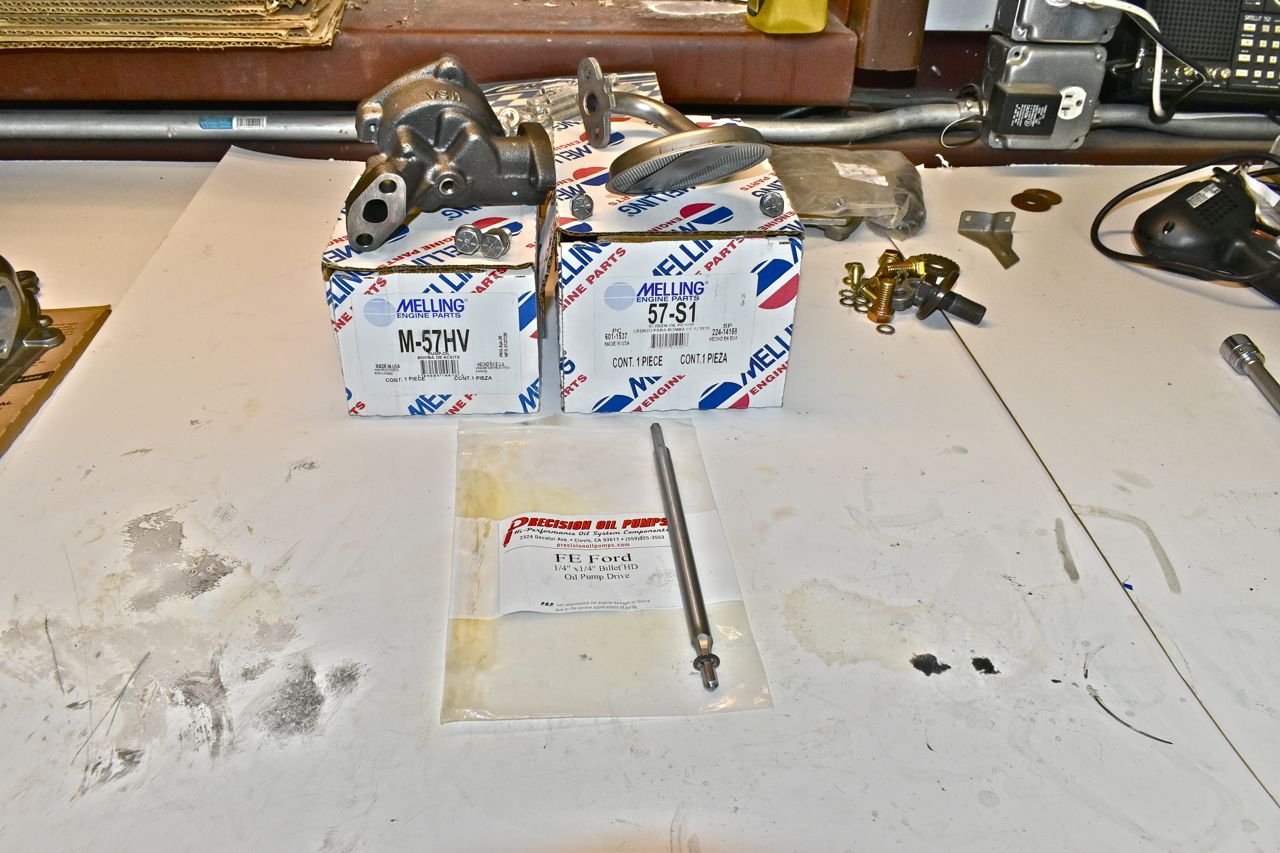
The new oil pump, pickup and drive rod. Obviously it's a high volume oil pump.

I spent some time adjust the push on retainer on the oil pump drive rod so there was some play but not enough to come out of the oil pump and not so tight the push on retainer rubs on the block and creates metal.
Then I opened the oil pump to check the internals and put some assembly lube in there. It was really dry.

The timing cover and parts. The new seal is installed in the cover.

Not less forgetting the seal splash shield first.

Of course you use the snout spacer to locate the timing cover so it's centre'd on the seal. In this case the timing cover sits proud of the bottom of the block. But that's just the way it has to be.

These oil pan studs work really well I liked them on the LTD's 390. So I used them here.

I used Locktite to secure the oil pan studs into the block and timing cover.

I reused the old harmonic balancer, just stripped and painted it. The isolated rubber pad was in really good shape and serviceable.

Timing pointer and hardware. I tapped the cover for 10-32.


Even though I am using the 3 groove accessory pulley over this (power steering and air con) I did do a sanity check and verified TDC on the piston and it matched with 0 on the harmonic balancer. It's a good feeling when things line up when they are supposed to.

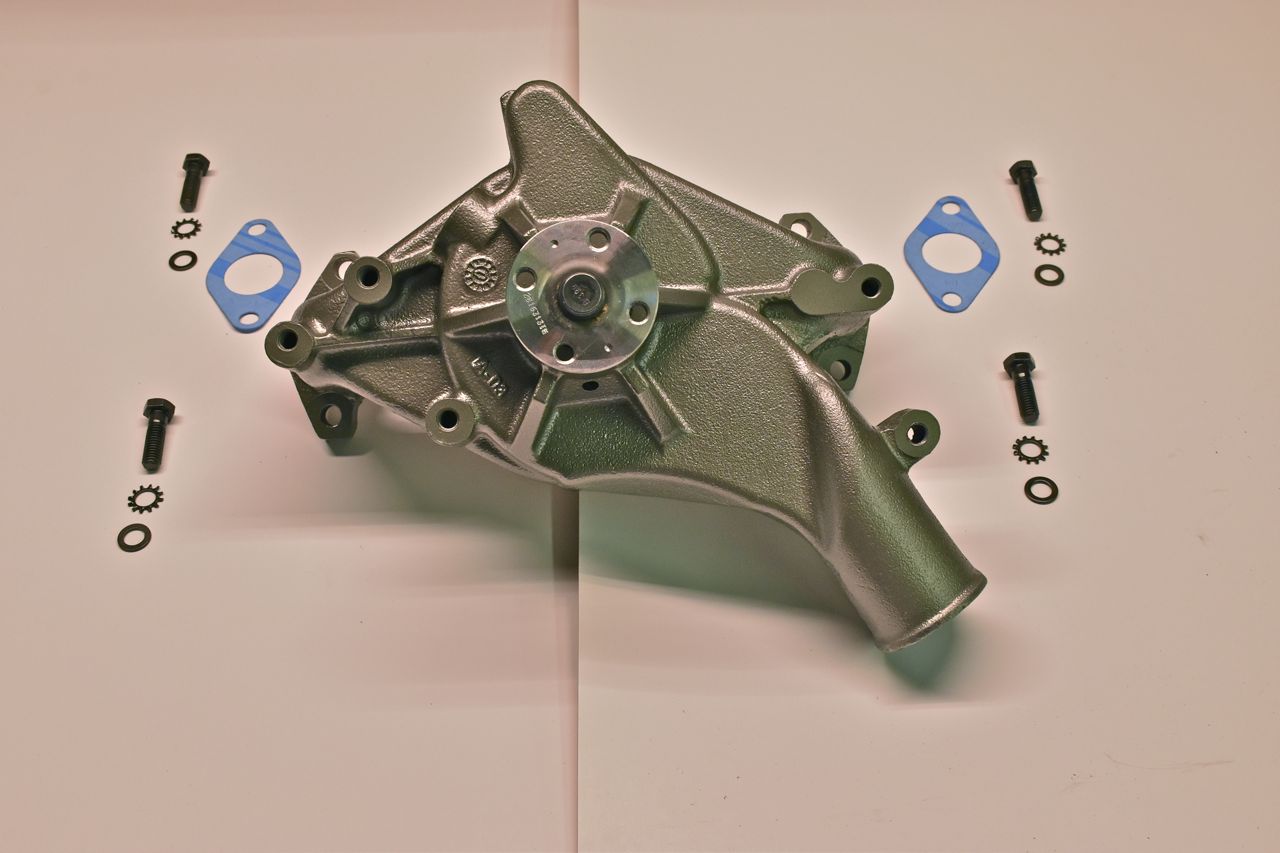
This is a new Airtex coolant pump.


And of course the super cobra jet oil filter adapter cleaned and painted to match.

Now it's starting to look like something. This is where the progress stops for now.

The oil pan, it's woefully inadequate on keeping oil on the pickup if a hard launch should happen. So this will have to be stripped and that baffle removed. Then increase the pan capacity by a quart or so, install a new improved baffle and add a Ford low level oil switch and an oil temperature sender.

This will require some work.
I did order the multiport fuel injection parts. As it was recommended to port match the heads to the intake I am not installing the heads till the intake arrives. The intake I am using is the Edelbrock multiport Victor intake and Edelbrock is out of them. I ordered everything through Summit and Summit was nice enough to check on when it would be available and it wouldn't be till mid to late November.
I kept that option in my back pocket and called around, turns out FAST has two of these intakes in stock under their part number so the wonderful customer service at Summit went out of their way to order the intake from FAST and then sell it to me much cheaper than what FAST was selling it for. 65 dollars cheaper to be exact.
I tip my hat to Summit for allowing me to order everything through them and the discount. The Holley throttle body arrived, the Holley Bosch style 42lb injectors arrived, the connector kits arrived, just waiting on the intake and fuel rails to arrive.
Until next time.
Cheers
Click here to continue to part 42