1966 Ford Galaxie 500 XL Refurbishment : 095 Power Window Regulators, pt 3 : Regulator
2023, November 14
1 - 2 - 3 - 4 - 5 - 6 - 7 - 8 - 9 - 10 - 11 - 12 - 13 - 14 - 15 - 16 - 17 - 18 - 19 - 20 - 21 - 22 - 23 - 24 - 25 - 26 - 27 - 28 - 29 - 30 - 31 - 32 - 33 - 34 - 35 - 36 - 37 - 38 - 39 - 40 - 41 - 42 - 43 - 44 - 45 - 46 - 47 - 48 - 49 - 50 - 51 - 52 - 53 - 54 - 55 - 56 - 57 - 58 - 59 - 60 - 61 - 62 - 63 - 64 - 65 - 66 - 67 - 68 - 69 - 70 - 71 - 72 - 73 - 74 - 75 - 76 - 77 - 78 - 79 - 80 - 81 - 82 - 83 - 84 - 85 - 86 - 87 - 88 - 89 - 90 - 91 - 92 - 93 - 94 - 95 - 96 - 97 - 98Now that the motor and roller problems have been sorted lets actually start on the regulators.
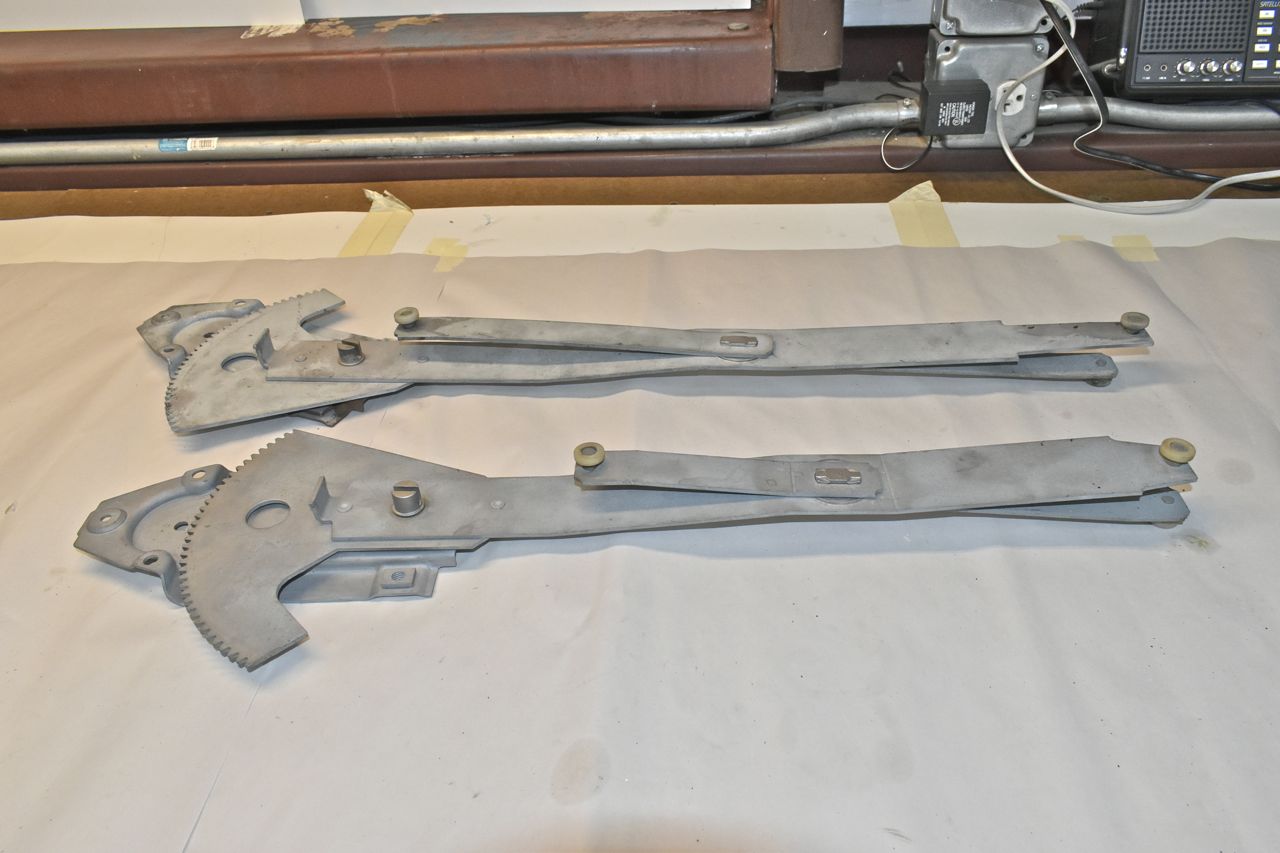
Here are the front door regulators for the 1965-1968 full size 2 door coupe and convertible (upper one) and the 4 door coupe and sedan (lower one). In order to really restore one of these regulators you have to separate them. They are swaged together at the factory and you'll have to grind off all the swages.
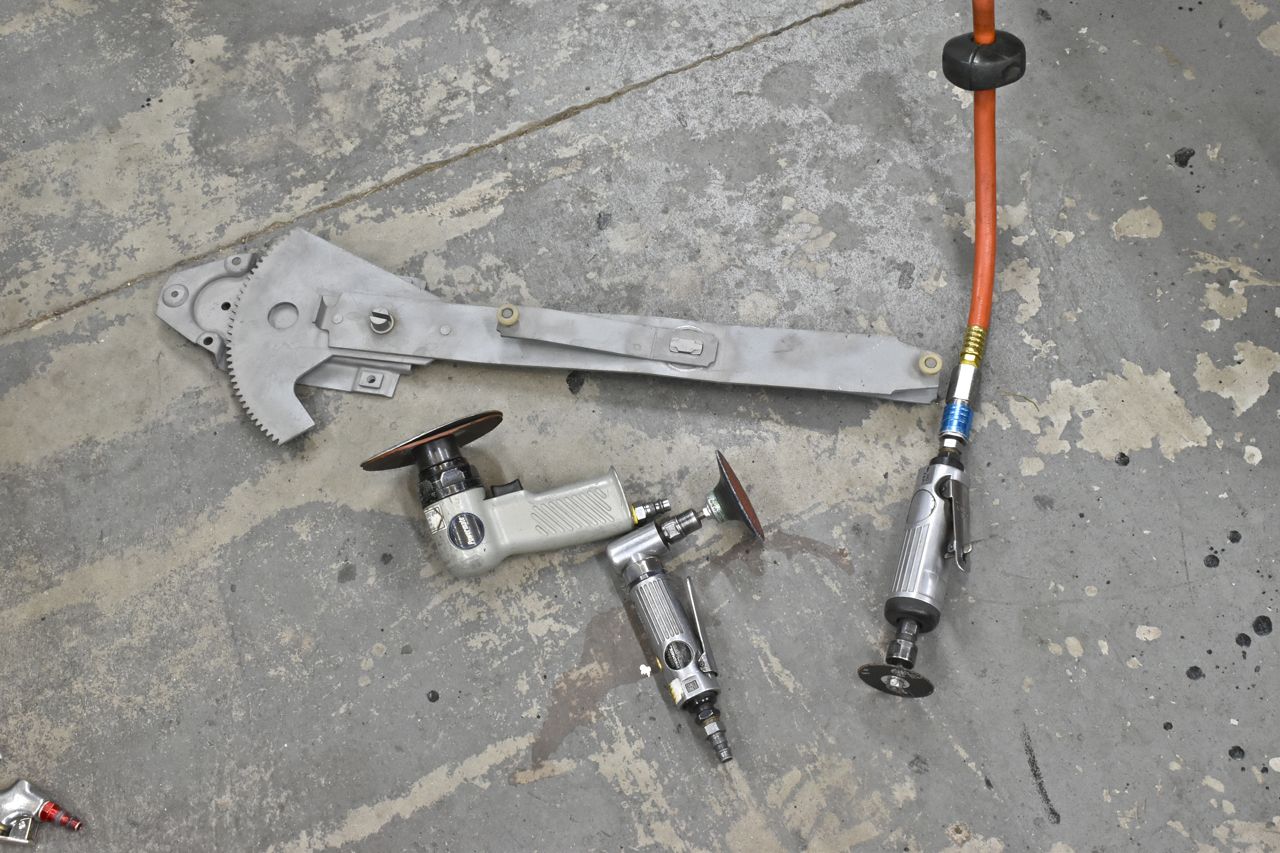
This is what I used to grind all the swages off. Even after you grind the excess off the metal still has a considerable friction press fit and you will need a small drift and a hammer to get them apart.
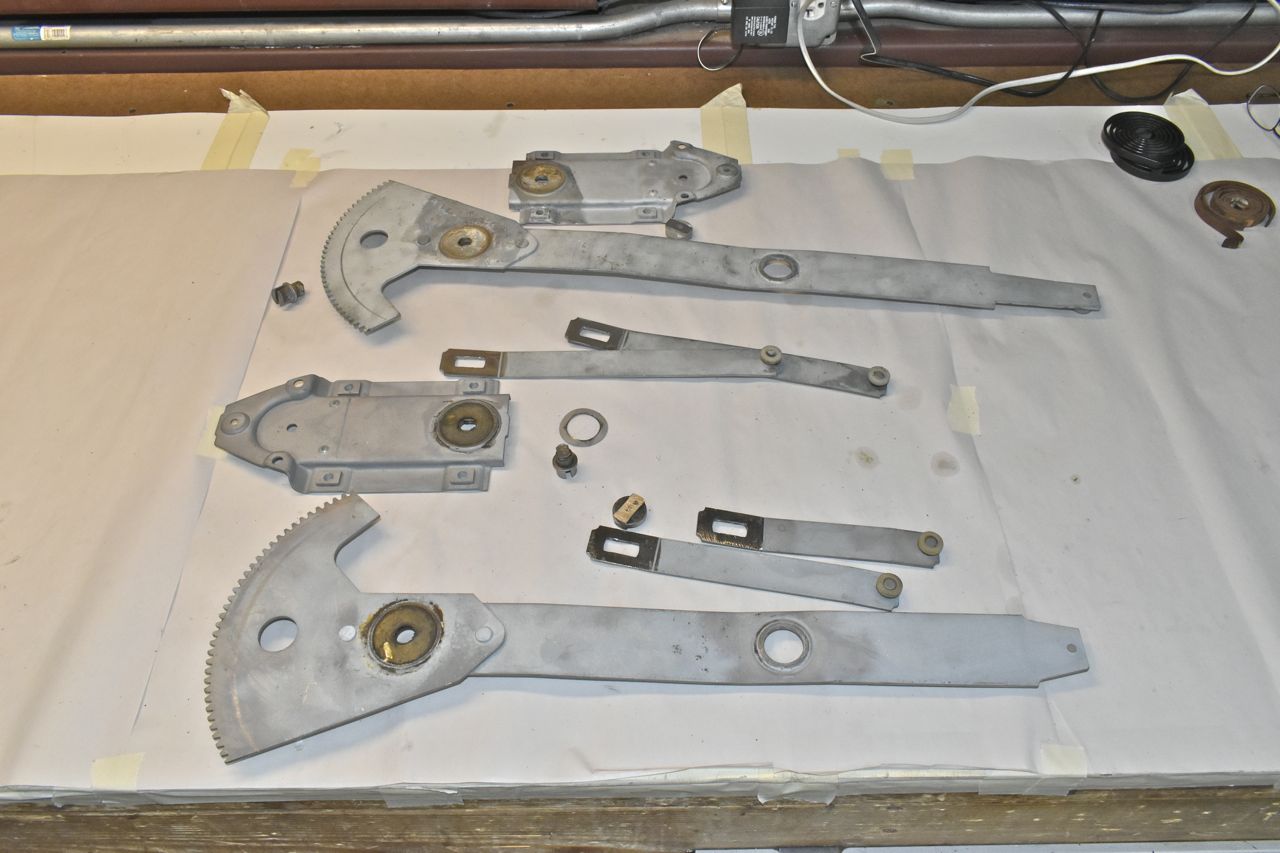
This is the end result. You'll notice the hidden pocket of old crusty grease you couldn't otherwise access as it was greased at the factory then pressed together forever. Well till now. Next you'll want to remove the old rollers by carefully drilling the swage on the old roller axles, then popping them out.
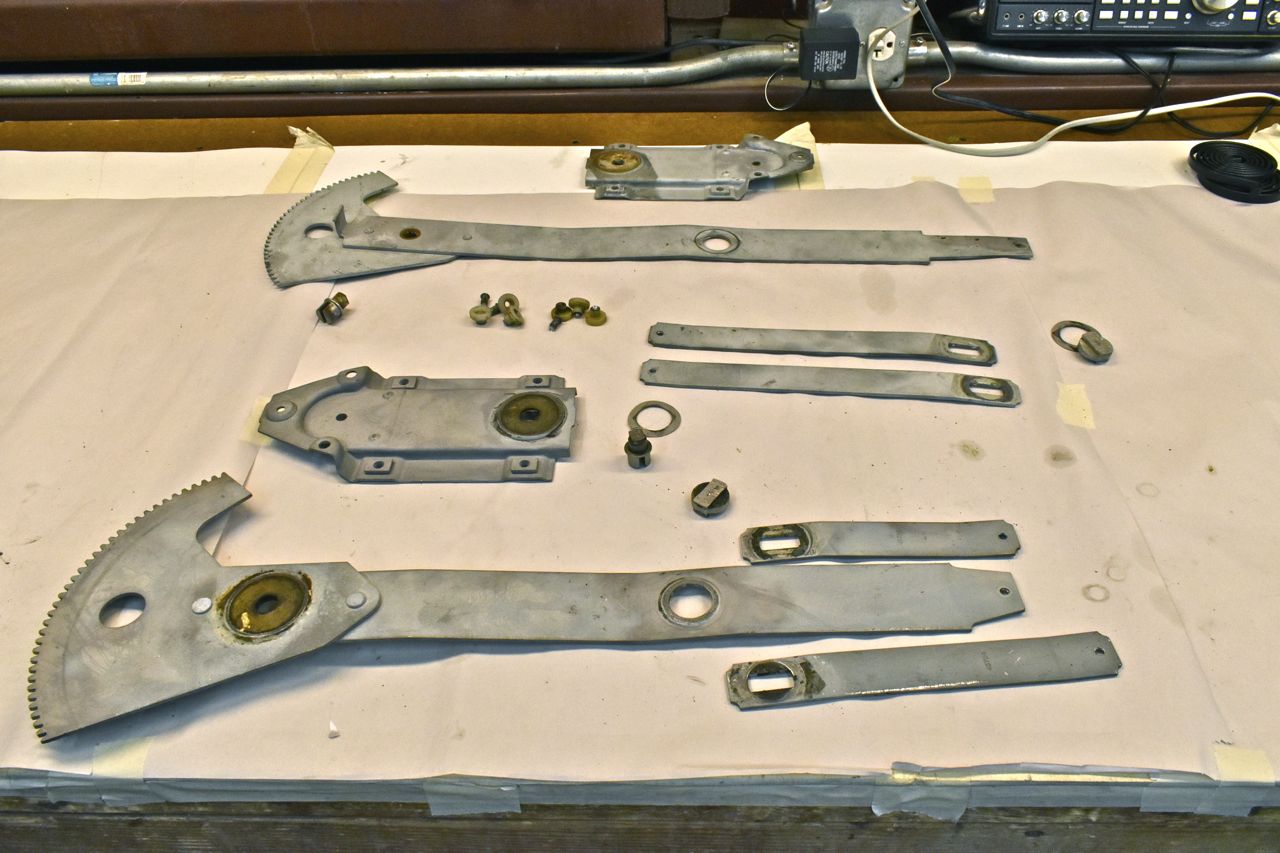
Now the work really begins.
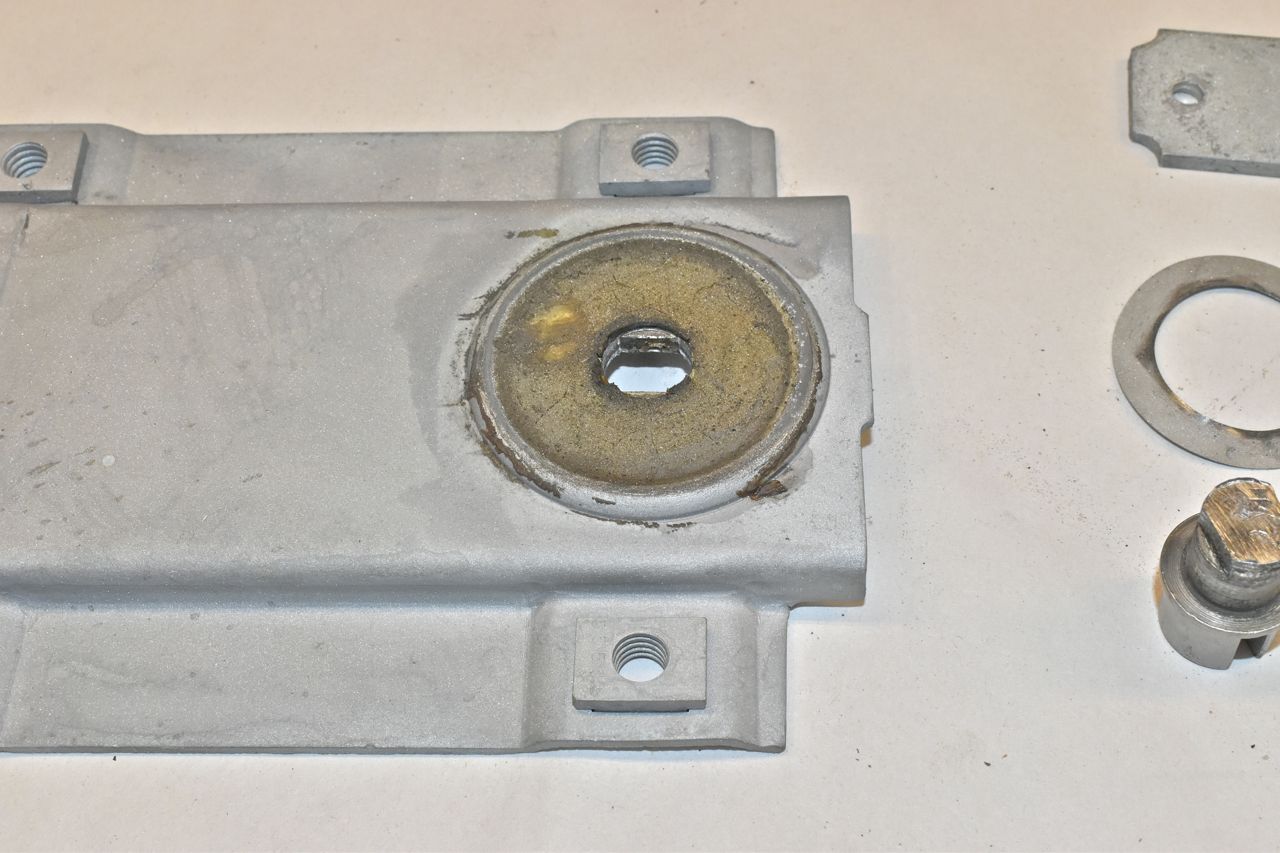
This is the close up of the old grease stored in the otherwise hidden and unaccessible pocket. The grease may still have lubricity or be rock hard depending on the cars environment. All the stamped steel parts need to be cleaned and prepped for painting.
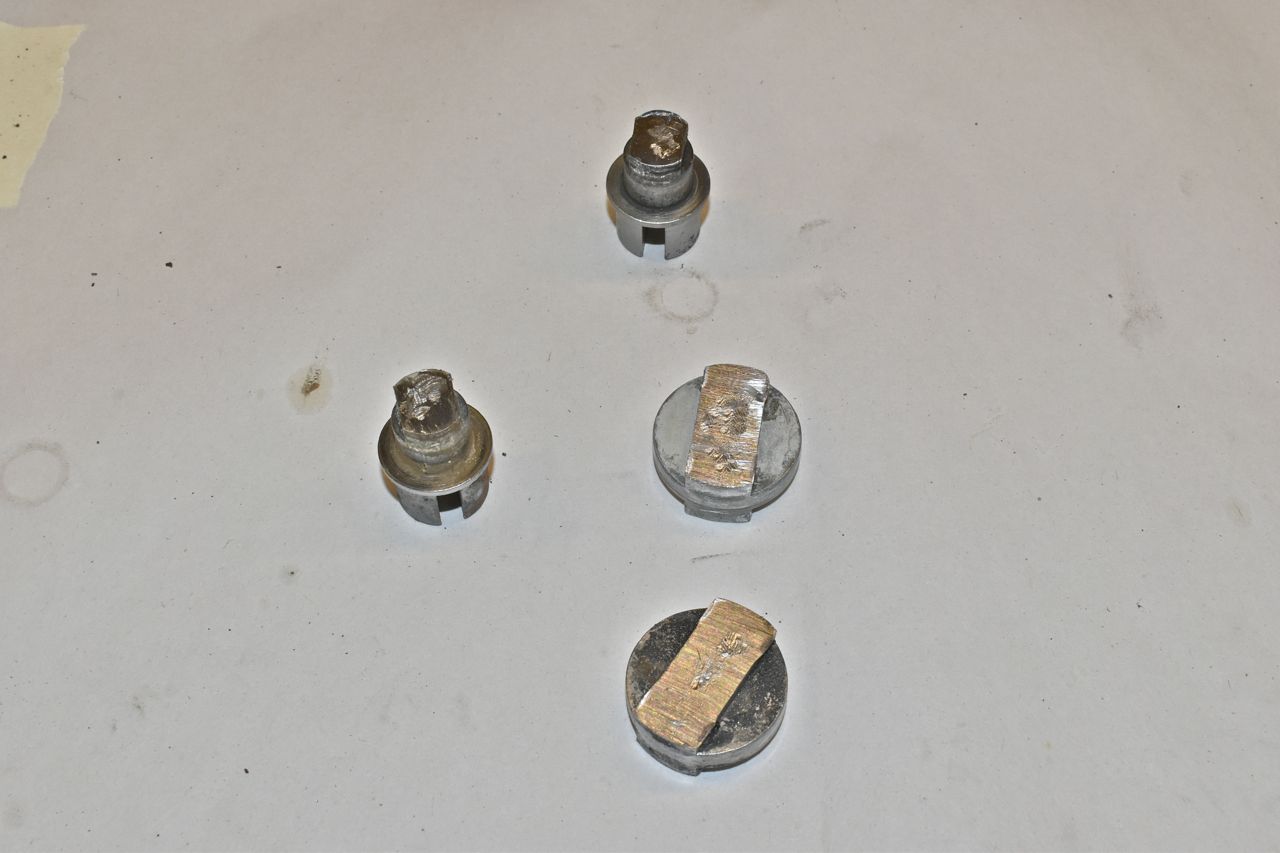
These are the fulcrums that were swaged in placed. As you can see even after grinding a little persuasion was needed to finish punching them out. The marks are of little concern because 10-20 thousands from the grind surface needs to be further removed so there is appropriate tension when these are screwed back together.
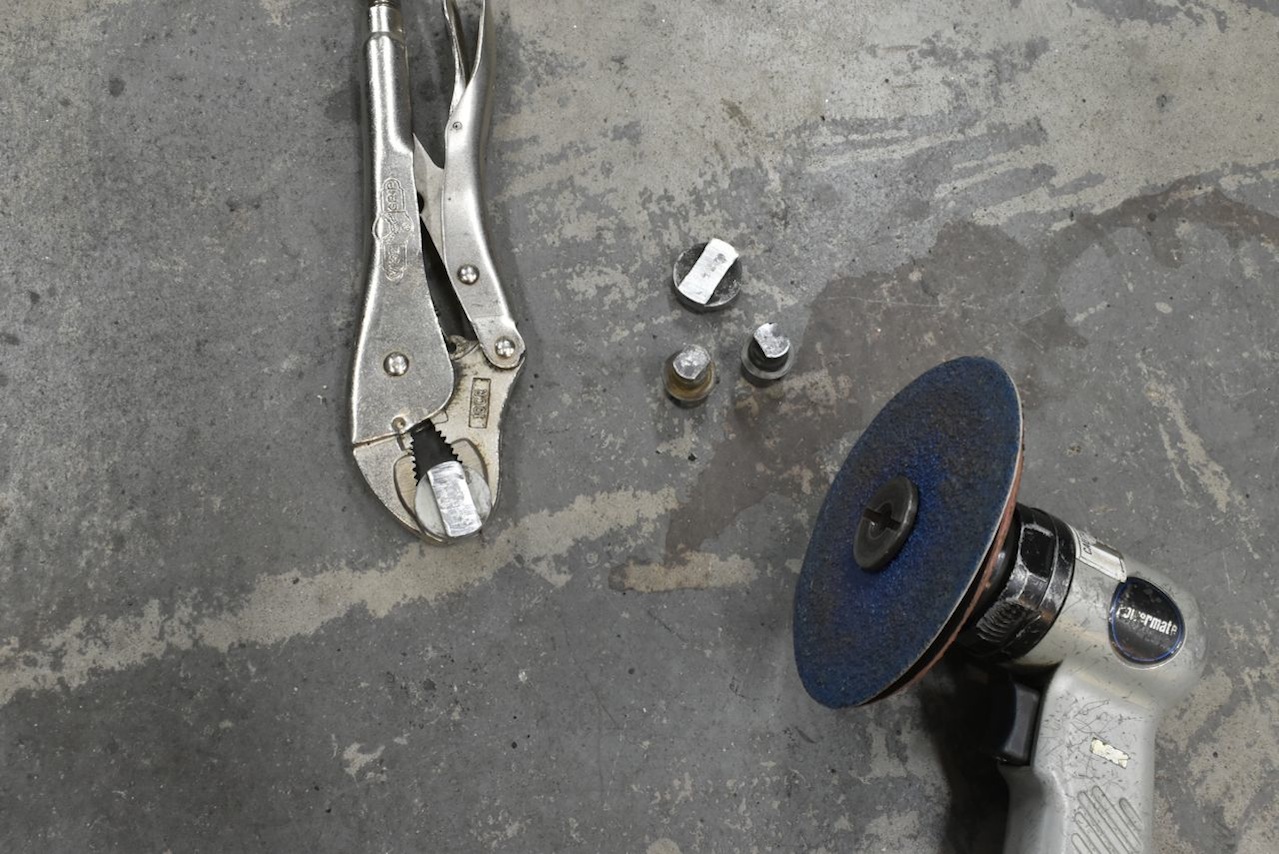
The exact depth of removal doesn't have to be exact. Just enough to ensure a tight fit when reassembling. I used the rotary sander and some vice grips to hold the part. Next all these removed fulcrums need to be machined.
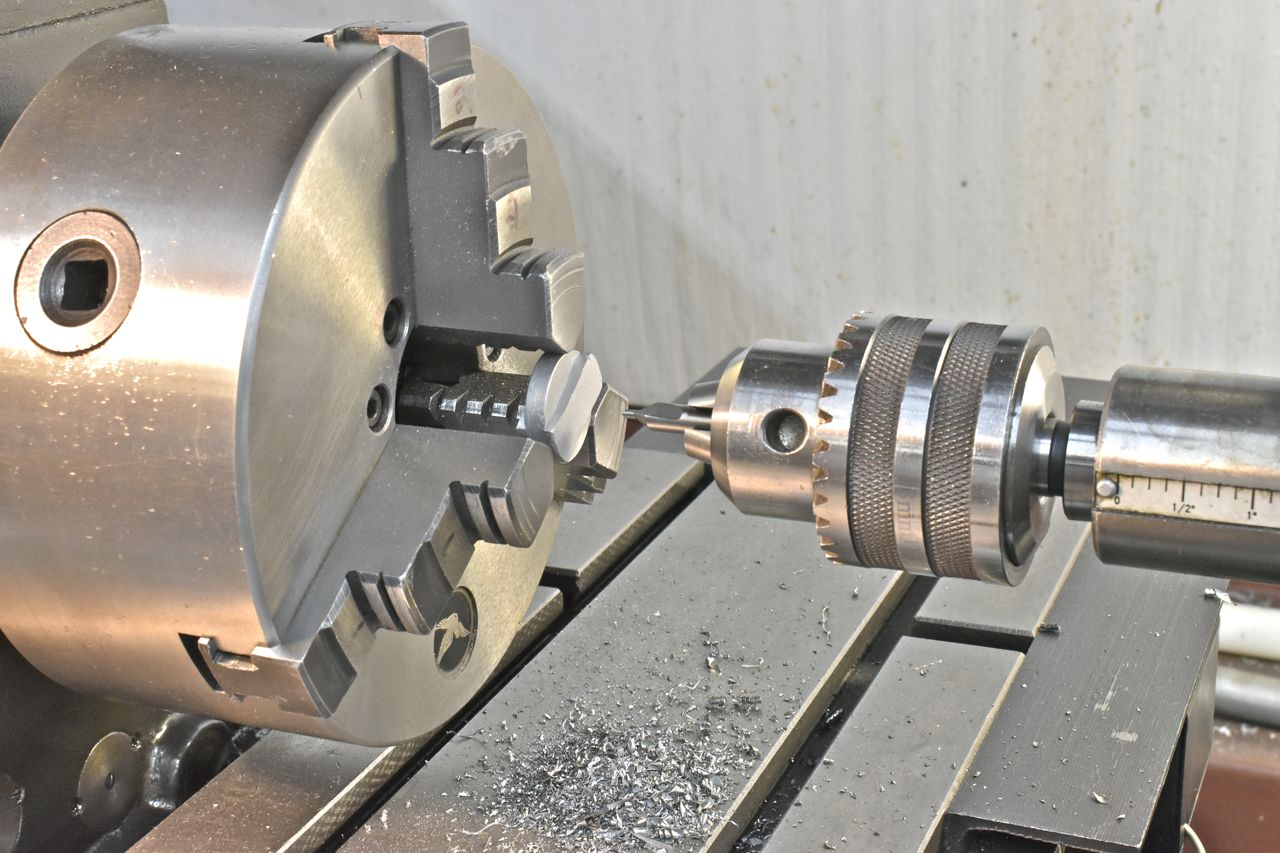
You will need a lathe for this as shown. The idea here is we want a through hole threaded to 1/4"-28 in order to refasten the swing/equalizer arms to the main arm.
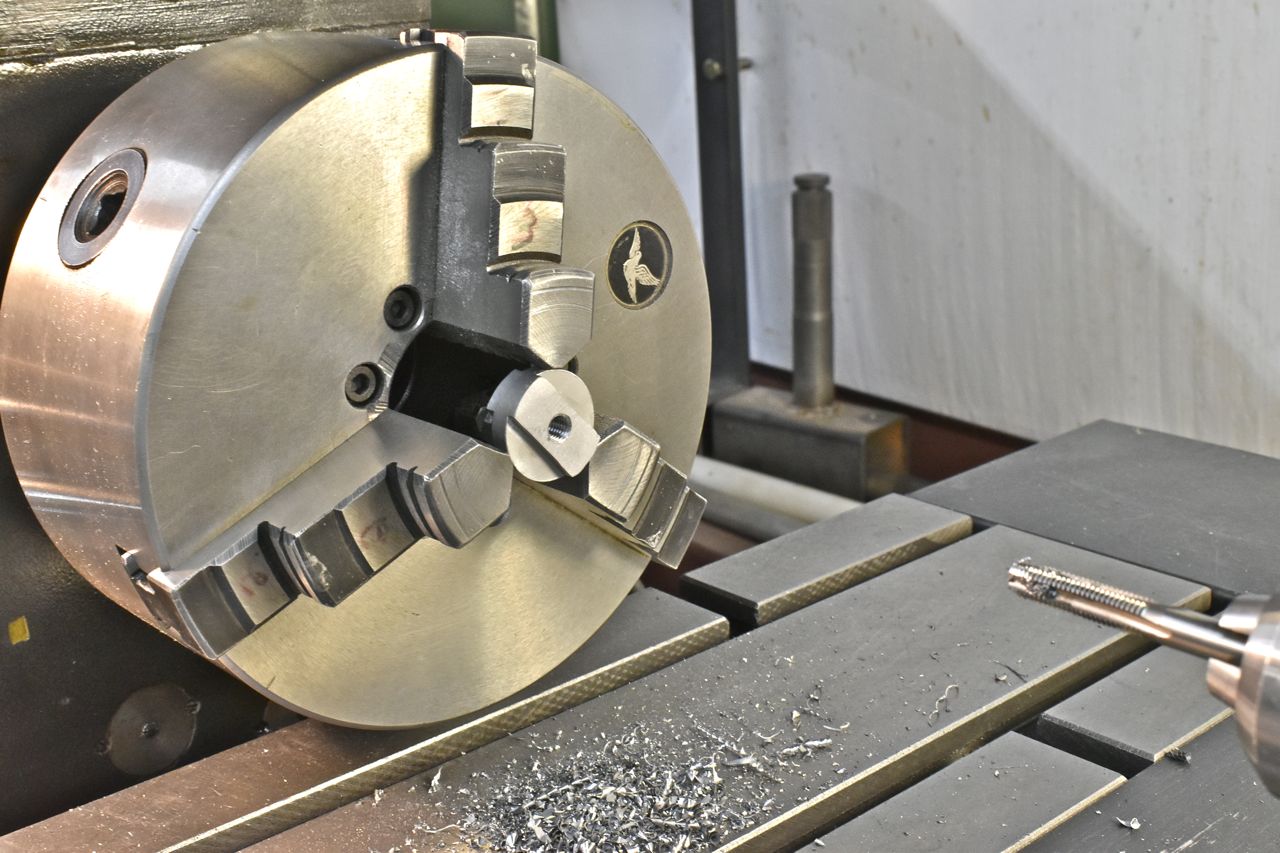
Like so. Now these are hardened pieces so use good drill bits and taps. Hobo Freight (Harbor Freight) tooling need not apply. Also use a good cutting oil with sulfur in it to aid in tool life.
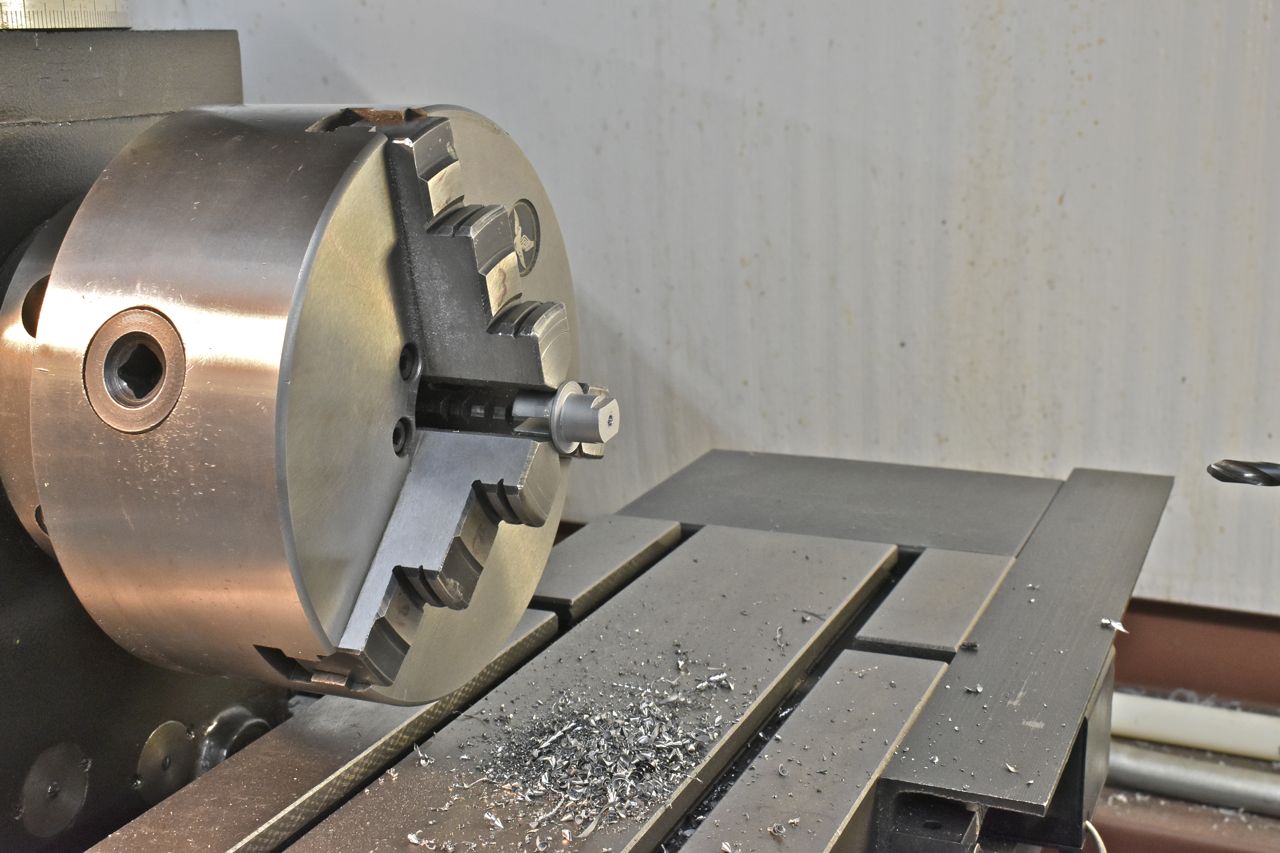
Next up is drilling the main arm fulcrum and counter weight spring reference piece. On this piece do not drill all the way through, this will be a blind hole. I used 0.3" + drill bit tip length distance from the flat surface of the work piece.
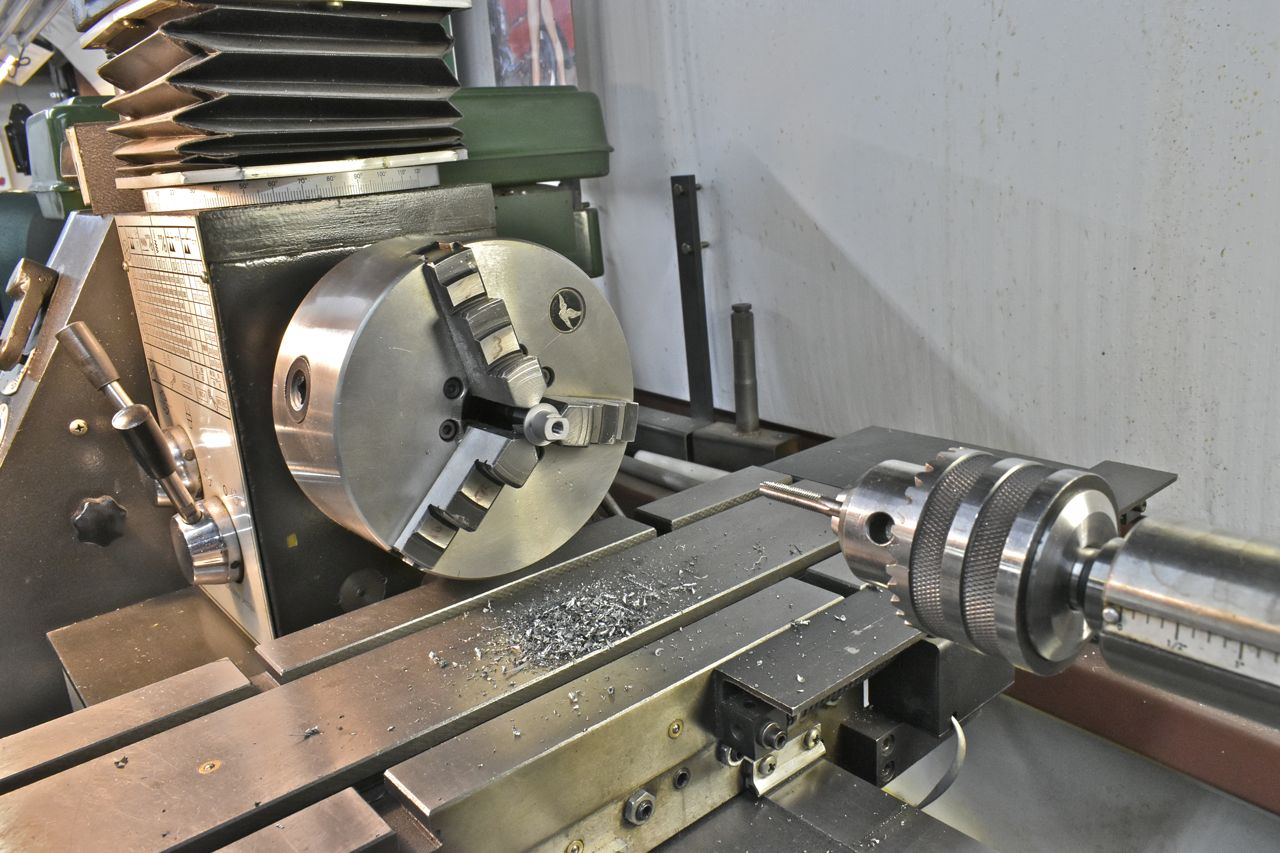
Like so.
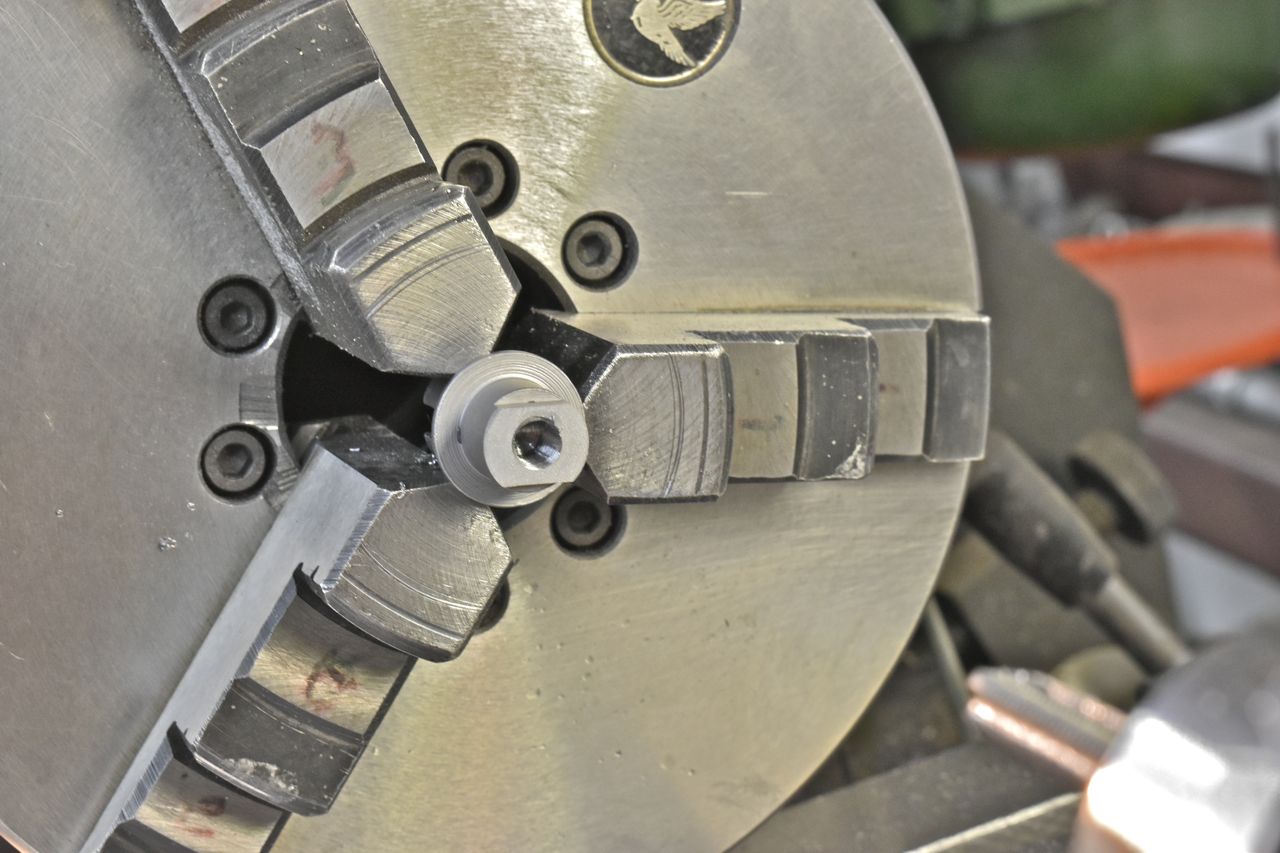
This is a good depth.

With those parts machined and all pieced painted, it's time to reassemble with some additional hardware. The new 3D printed rollers are also ready along with the reworked ACI motors.
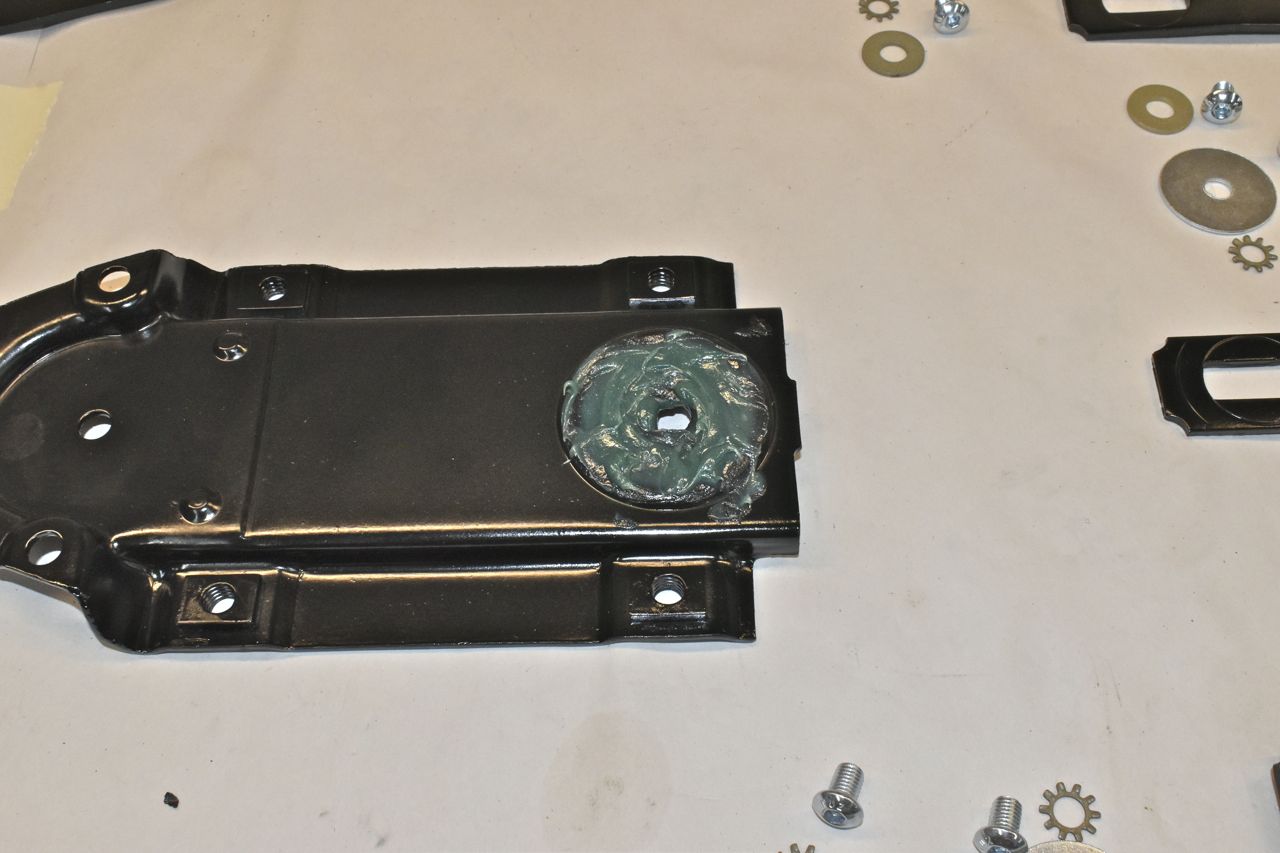
The grease pocket is filled once again with fresh modern lubricant (I use Magnalube).
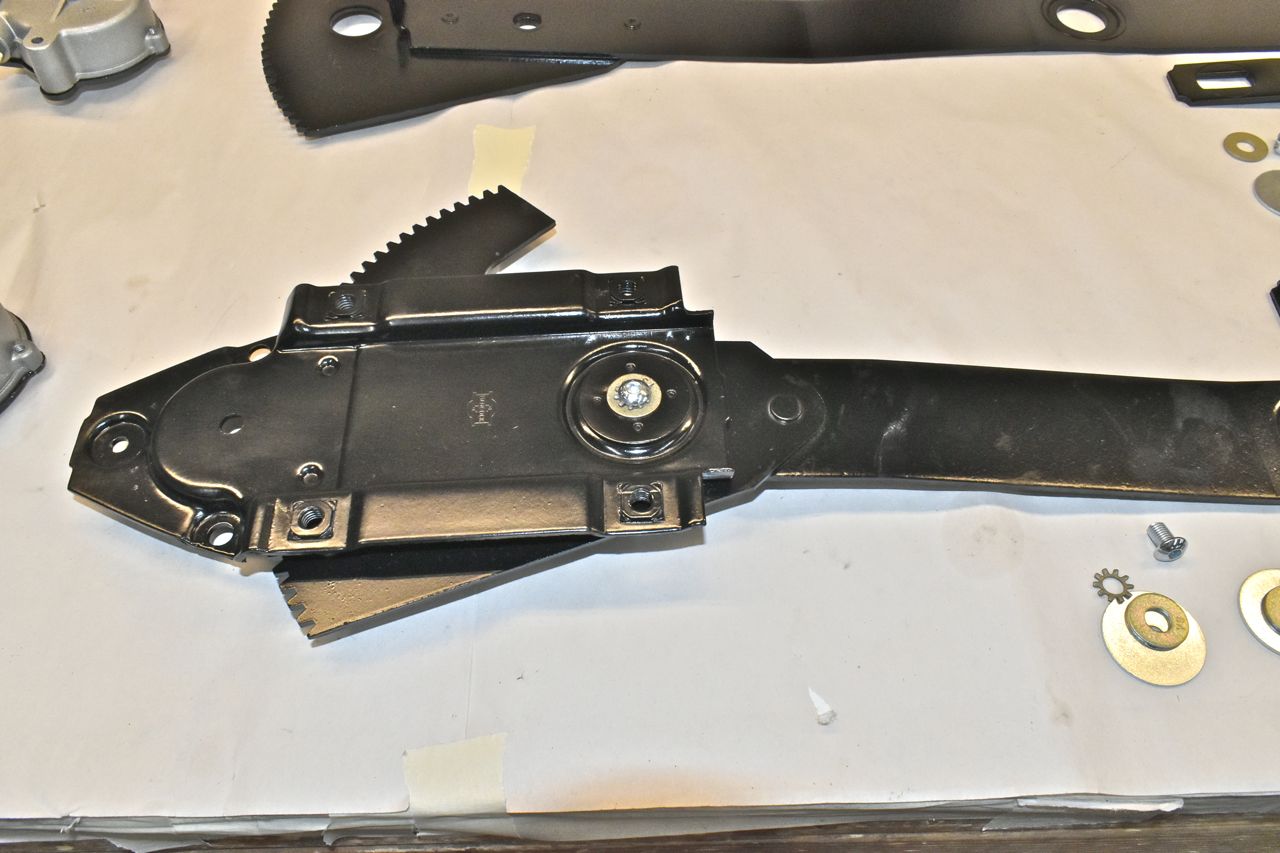
Now the main arm can be reassembled with a hardened machine screw, flat washer and lock washer. Now when tightening the bolt you need to watch for how tight the main arm is to the base as it pivots. What can happen when your initially removing it especially having to use a punch is you can accidentally distort the metal in the base. What can happen is that the arm appears to tight (binding) to the base or sometimes too loose. To tighten to loosen the fitment of the main arm to the base you can use a press to lightly adjust the steel in the base plate.
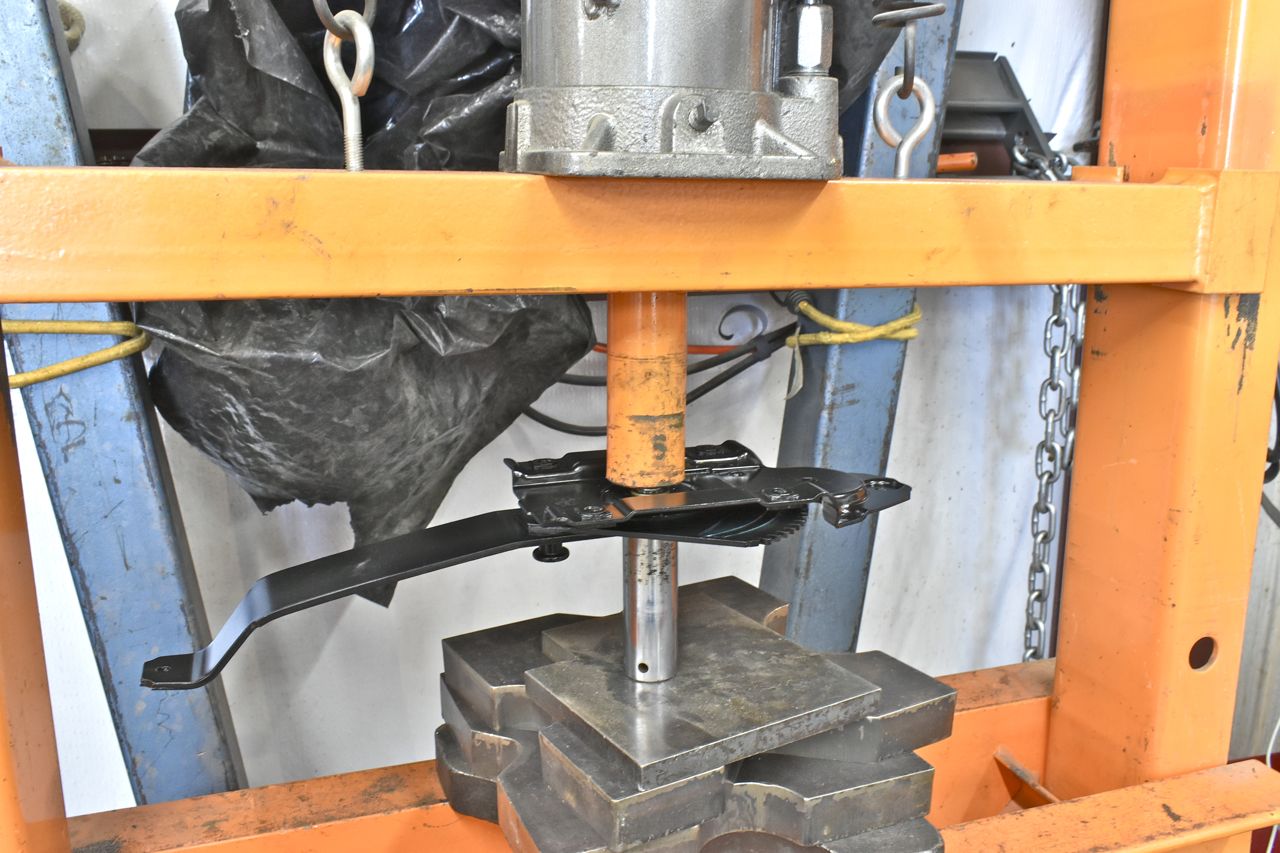
This is the technique for loosening the arm to the base after the screw is tightened.
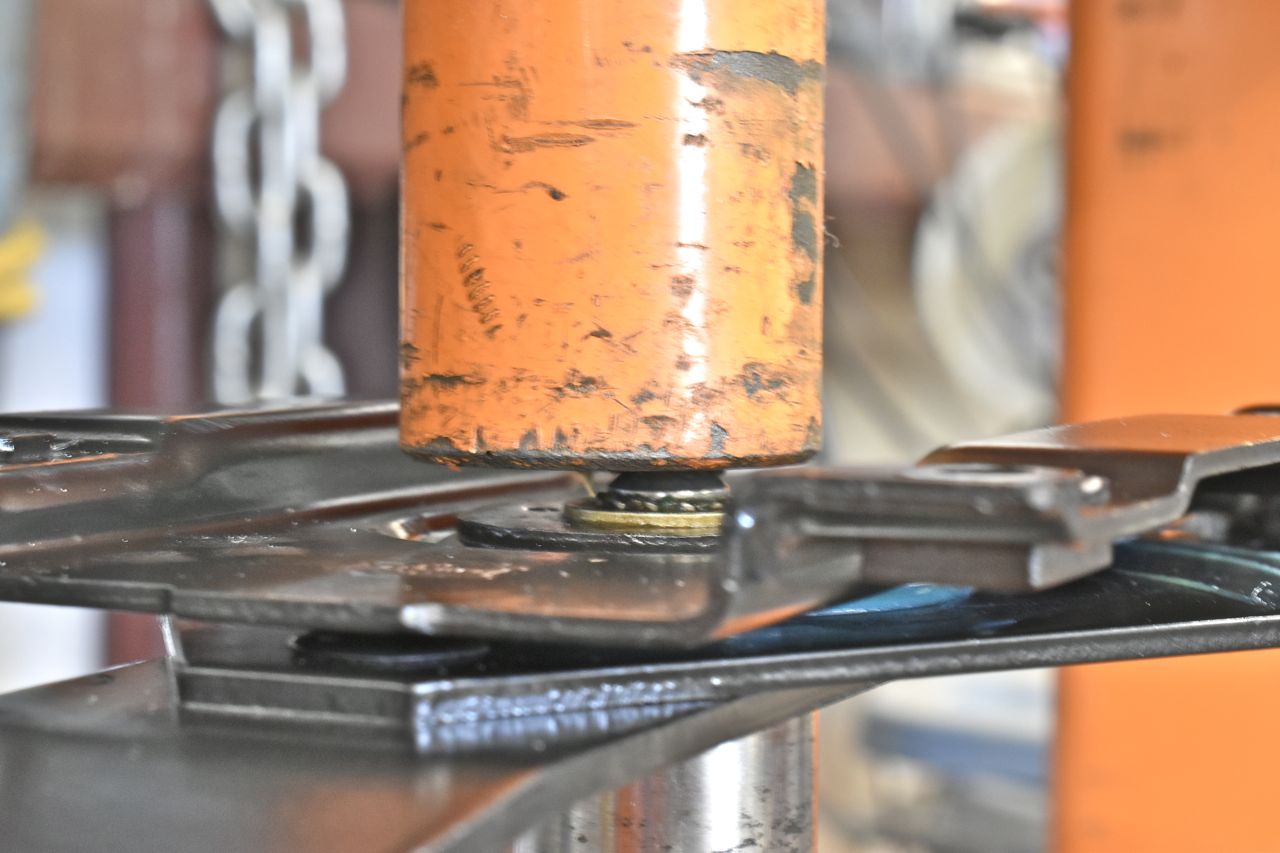
You can press right on the hardened screw without worry about distorting it as it doesn't take much pressure to move the metal in the base plate.

Then just support the lower end with a socket or pipe. To tighten up the arm to base flip the regulator around in the press. You want the arm to just grace the base plate without being too tight or too floppy.
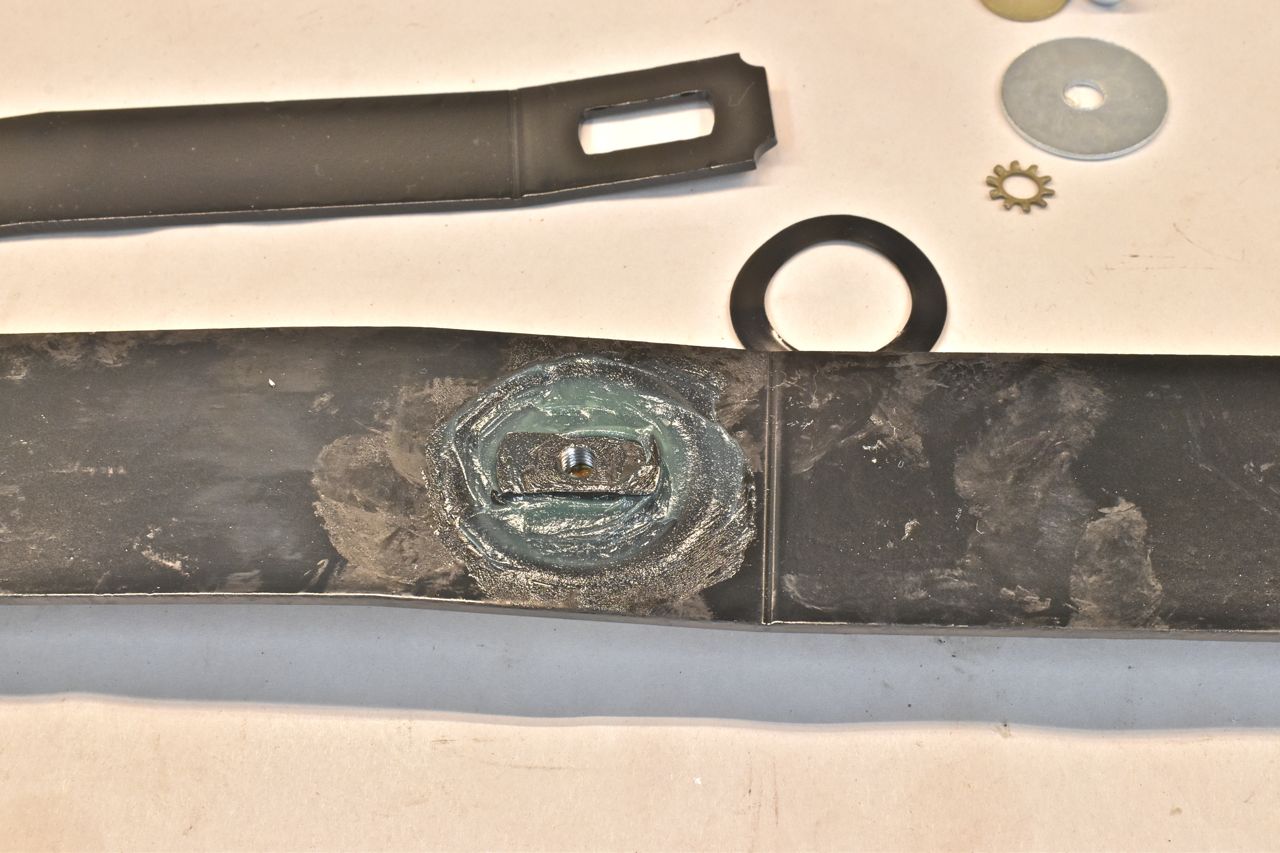
Next is to assemble the swing/equalizer arms to the main arm.
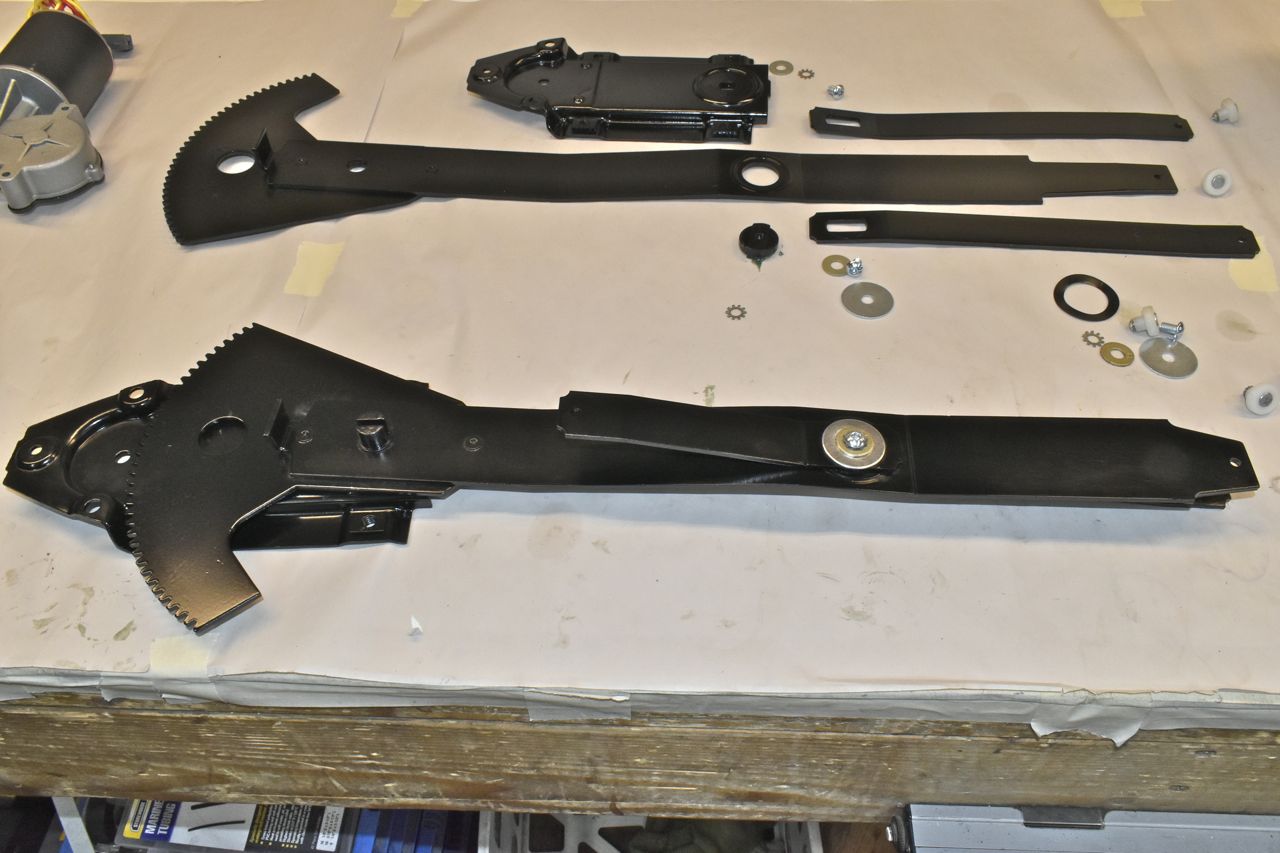
The equalizer arms are attached and checked for smooth no excessive play movement. It's coming together nicely. The next step is to attach the rollers to the arms.
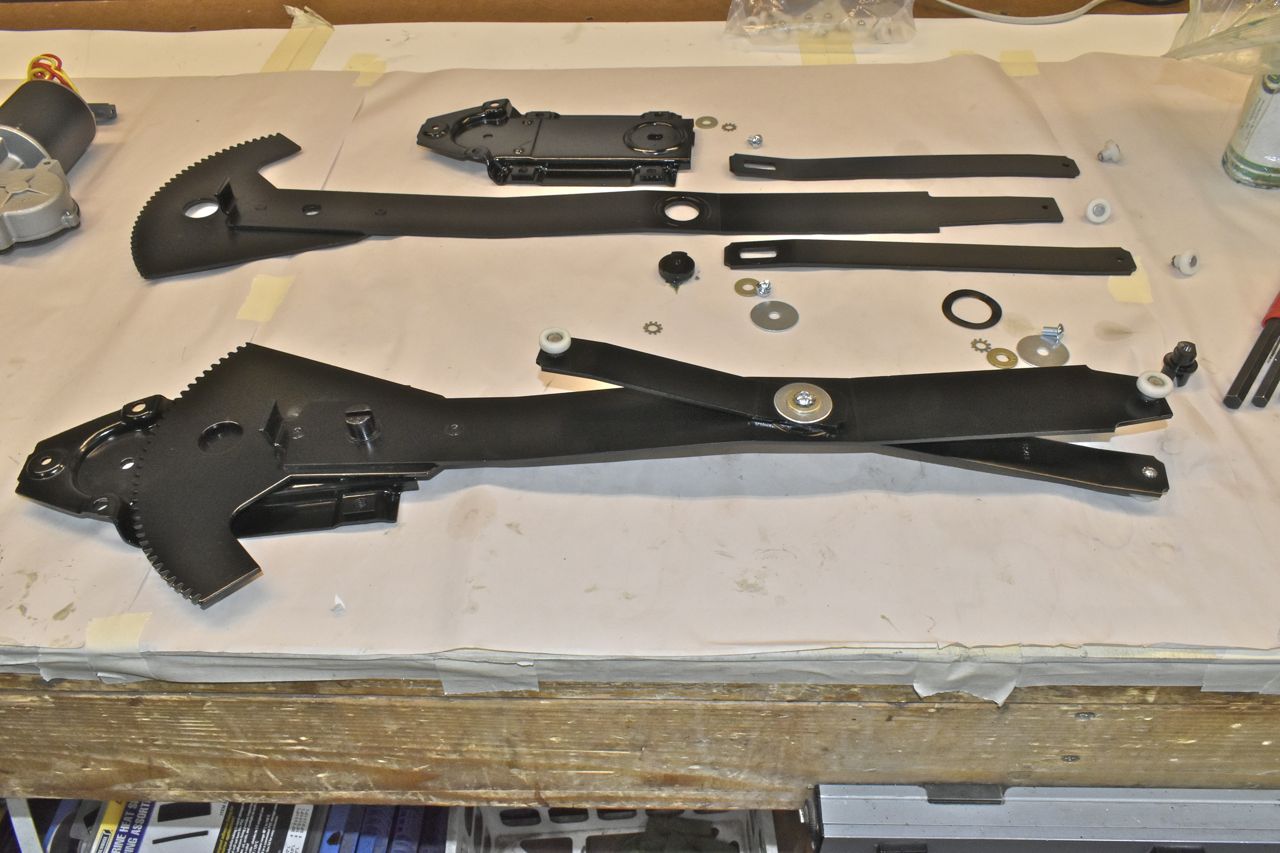
The regulator main portions are back together, everything should move smoothly and easily without slop. Next is to assemble the window counterweight spring and the electric motor.
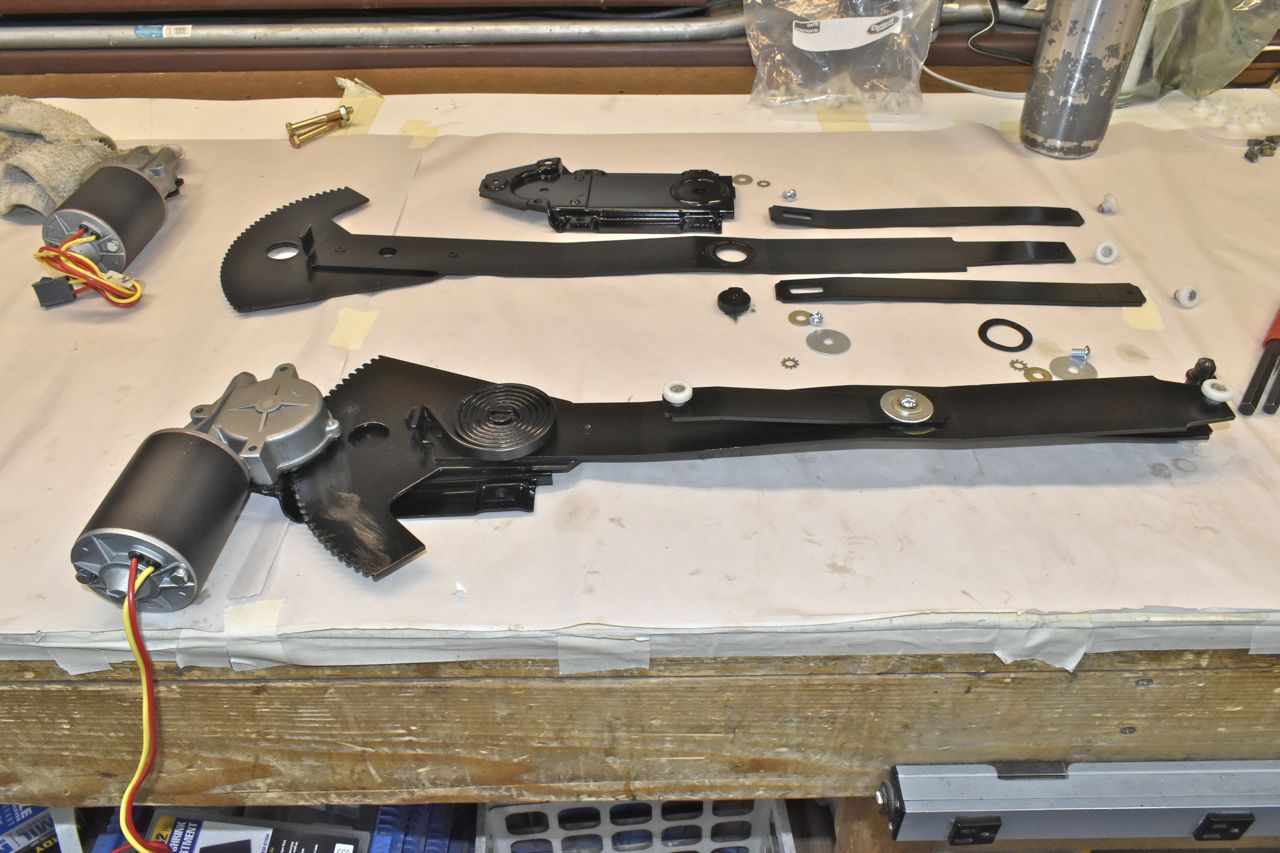
Now it's completed.
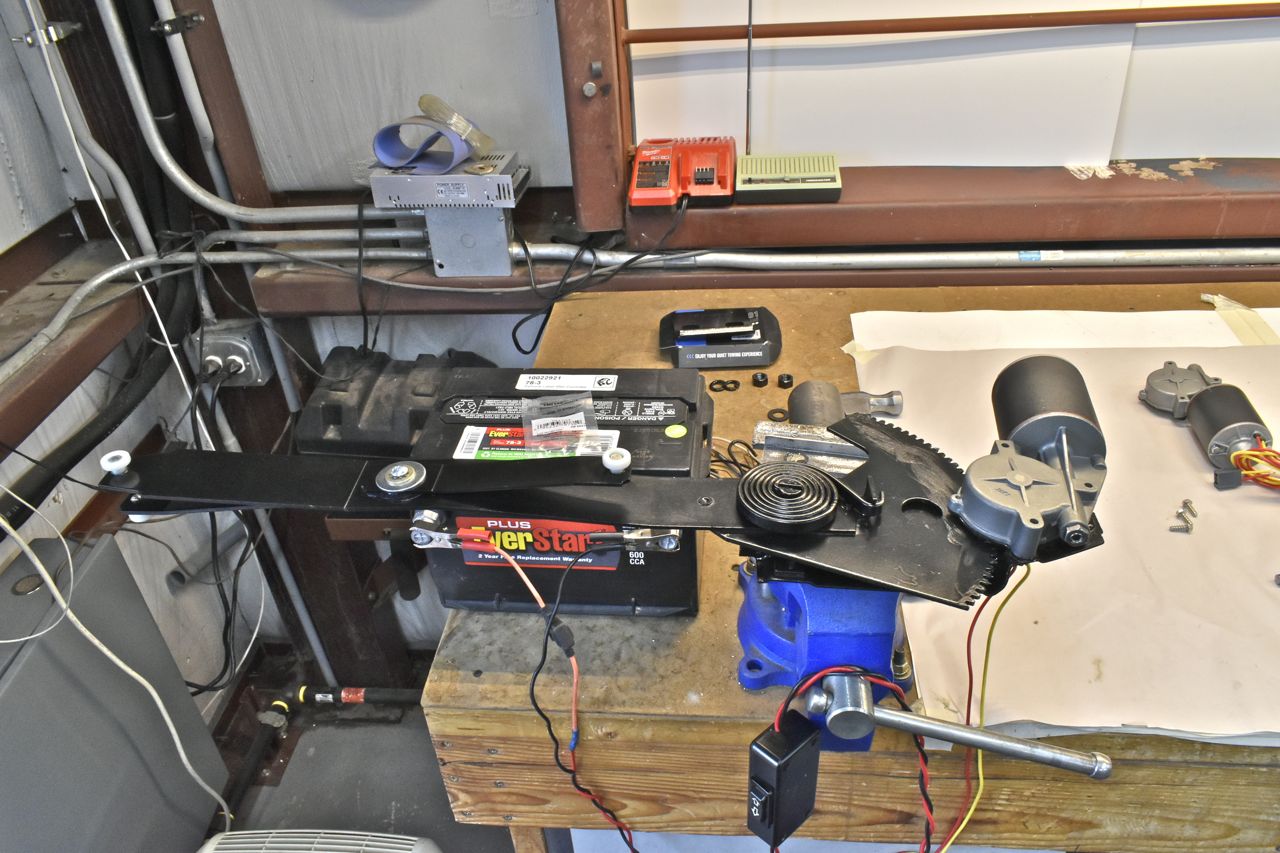
Now for a final test. I have a small test fixture with a power window switch installed that I can plug into the motor. It makes checking the motor up down rather easy. The regulator moves quickly and smoothly now. Plus the extra advantage is now the regulator can be easily disassembled for any future servicing. However it should be good for another 30 - 40 years without fail.
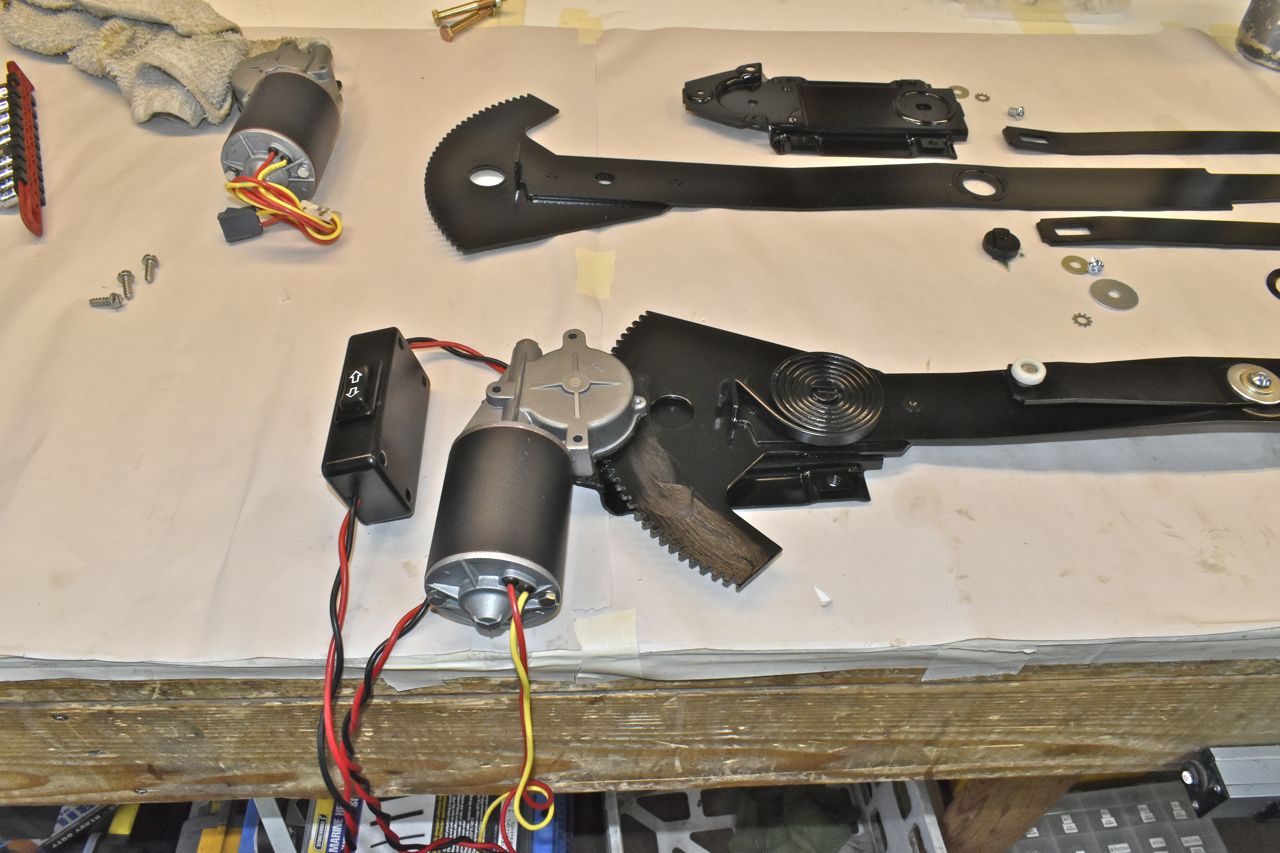
One done, 11 more to go.
Click here to continue to part 96