1966 Ford Galaxie 500 XL Refurbishment : 091 Rear Quarter, pt3 : Finishing A Welded Area
2023, November 14
1 - 2 - 3 - 4 - 5 - 6 - 7 - 8 - 9 - 10 - 11 - 12 - 13 - 14 - 15 - 16 - 17 - 18 - 19 - 20 - 21 - 22 - 23 - 24 - 25 - 26 - 27 - 28 - 29 - 30 - 31 - 32 - 33 - 34 - 35 - 36 - 37 - 38 - 39 - 40 - 41 - 42 - 43 - 44 - 45 - 46 - 47 - 48 - 49 - 50 - 51 - 52 - 53 - 54 - 55 - 56 - 57 - 58 - 59 - 60 - 61 - 62 - 63 - 64 - 65 - 66 - 67 - 68 - 69 - 70 - 71 - 72 - 73 - 74 - 75 - 76 - 77 - 78 - 79 - 80 - 81 - 82 - 83 - 84 - 85 - 86 - 87 - 88 - 89 - 90 - 91 - 92 - 93 - 94 - 95 - 96 - 97 - 98Quarter Panel Drudgery Part 5
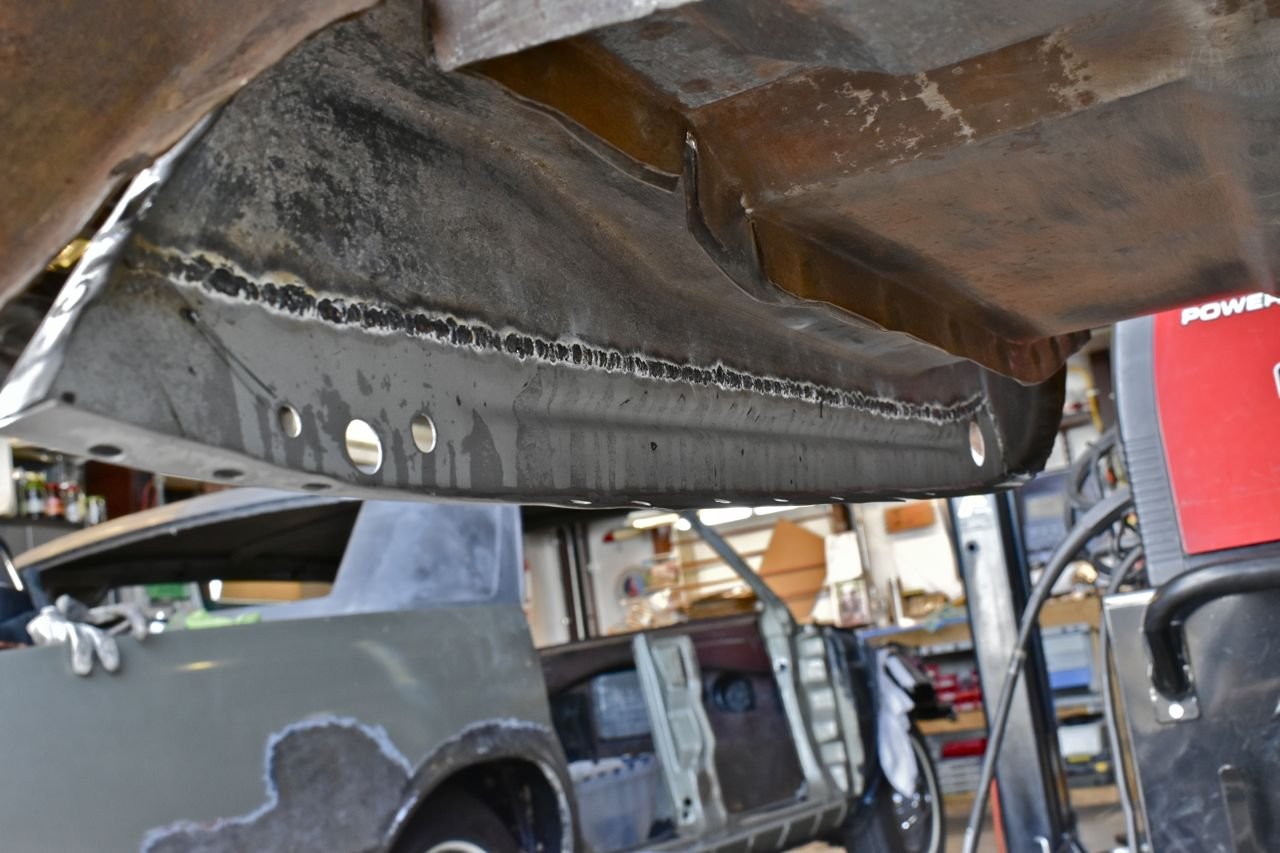
You slowly butt stitch weld in spaced sections allowing the panel time to cool, rinse and repeat until finished.

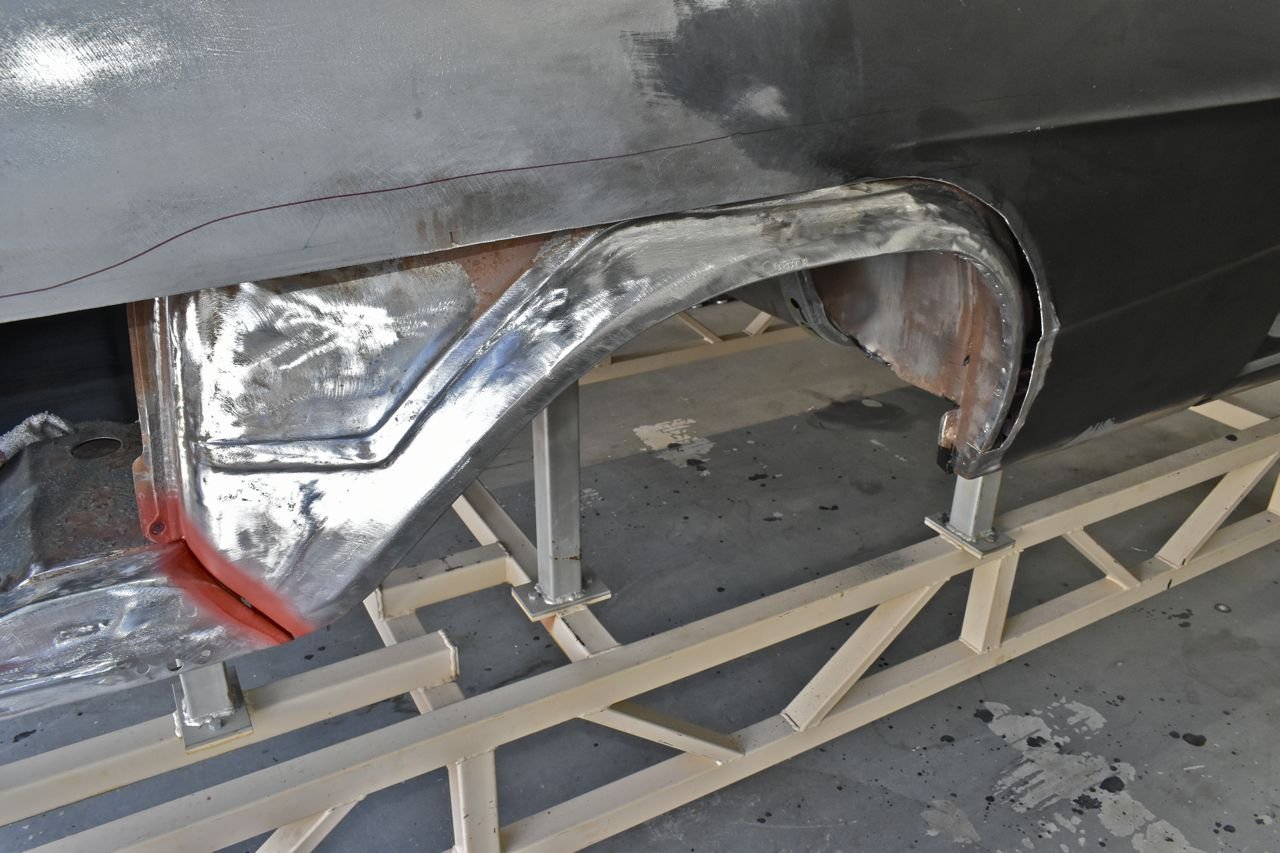
Now you can leave it like this and that's fine as no one will really see it. But for example you can clean this up carefully with 36 grit on a rotolock disc. I did this side to show what's possible.
You can hardly tell it was cut and welded.

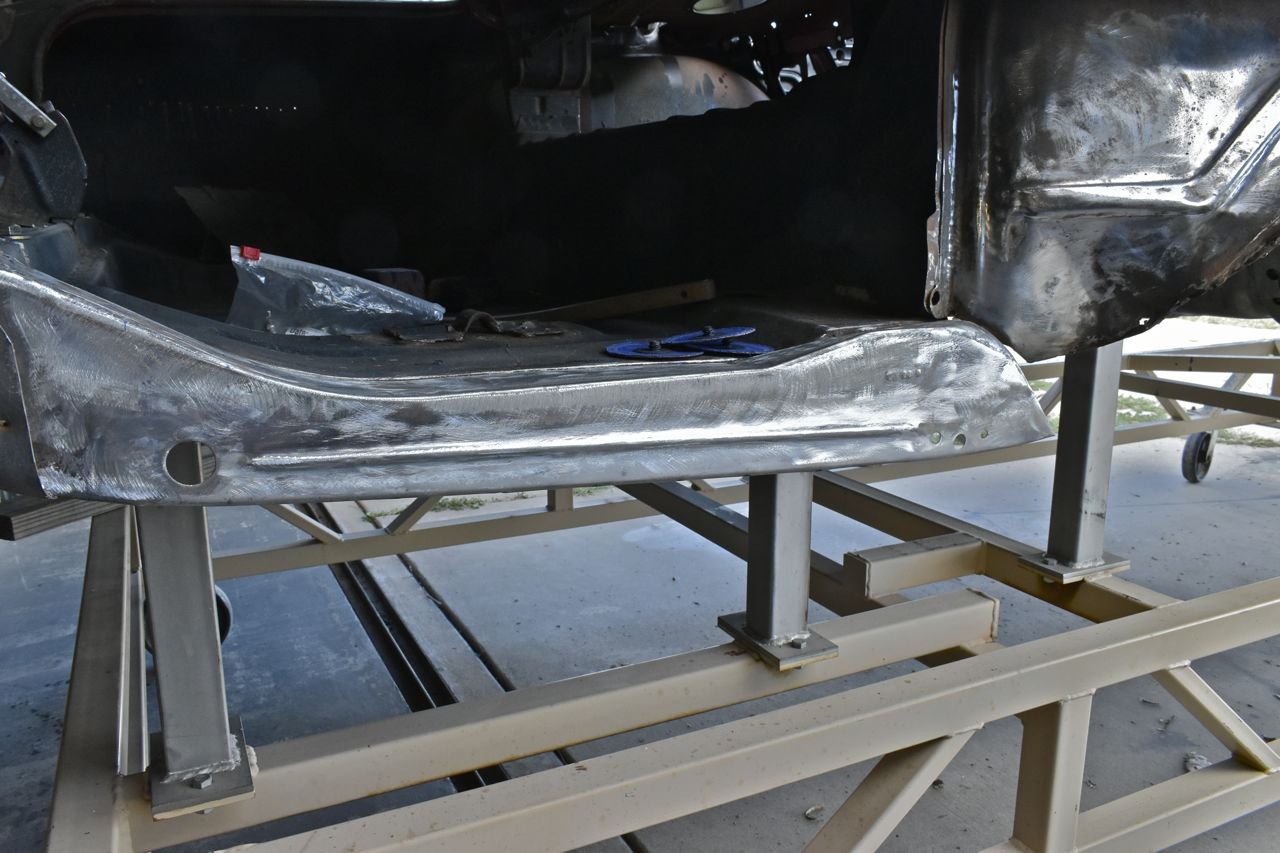
Minimal warping and flush. You couldn't really ask for more. Don't get me wrong, the pictures might make it look easy, but this is tedious. This is around 4 hours of work. If you notice I left the alignment hole intact on the side that mates to the outer wheel house. This will come in handy when I replace the outer section of that.

If this was a show car you could give the underside the same treatment and no one but you would know it's been replaced.
Quarter Panel Drudgery Part 6
Right O' time to get started on the outer wheel house. Yikes this one is going to be tough because of the tight spaces due to the fact the replacement quarter is from a 4 door post car. I was dreading this one.
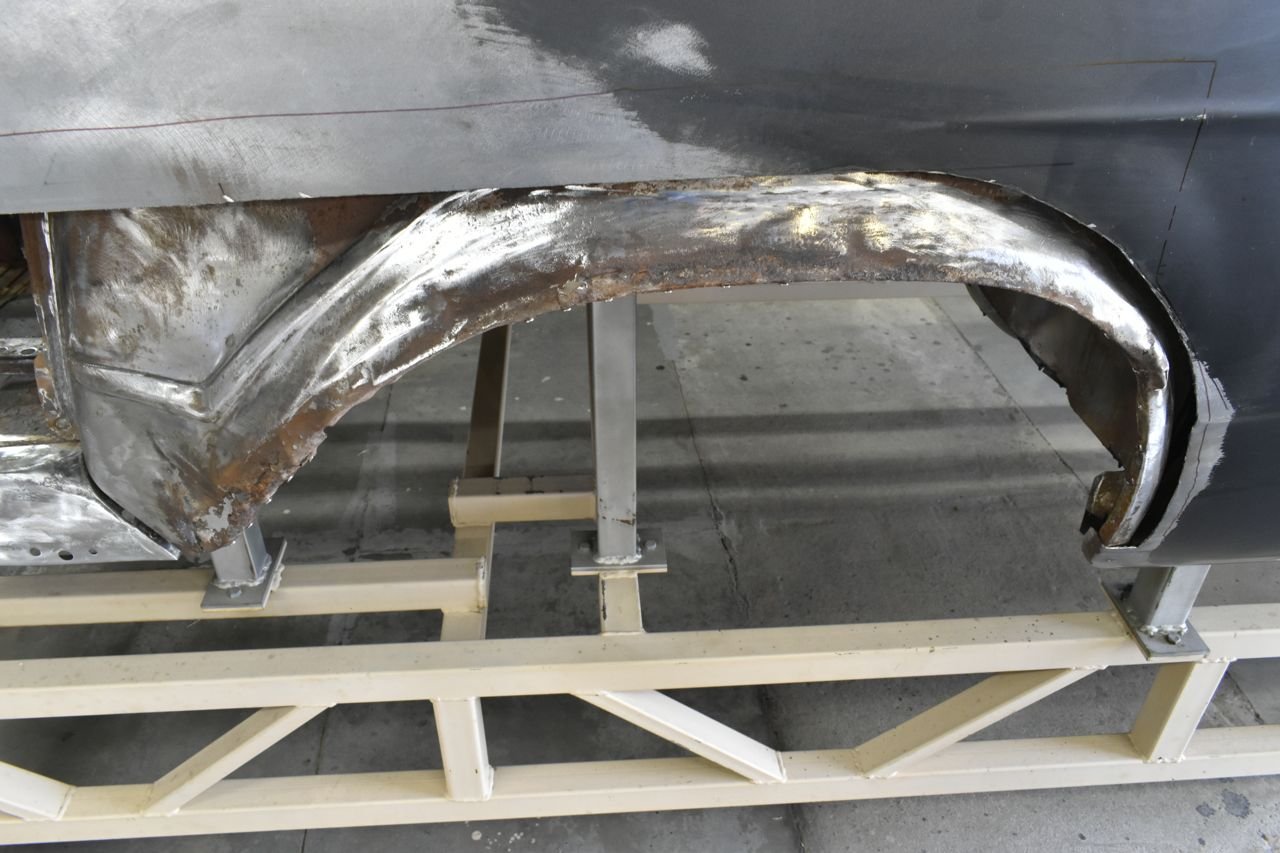
I spent some time studying this trying to figure out what to keep, what to fix, and what to cut.
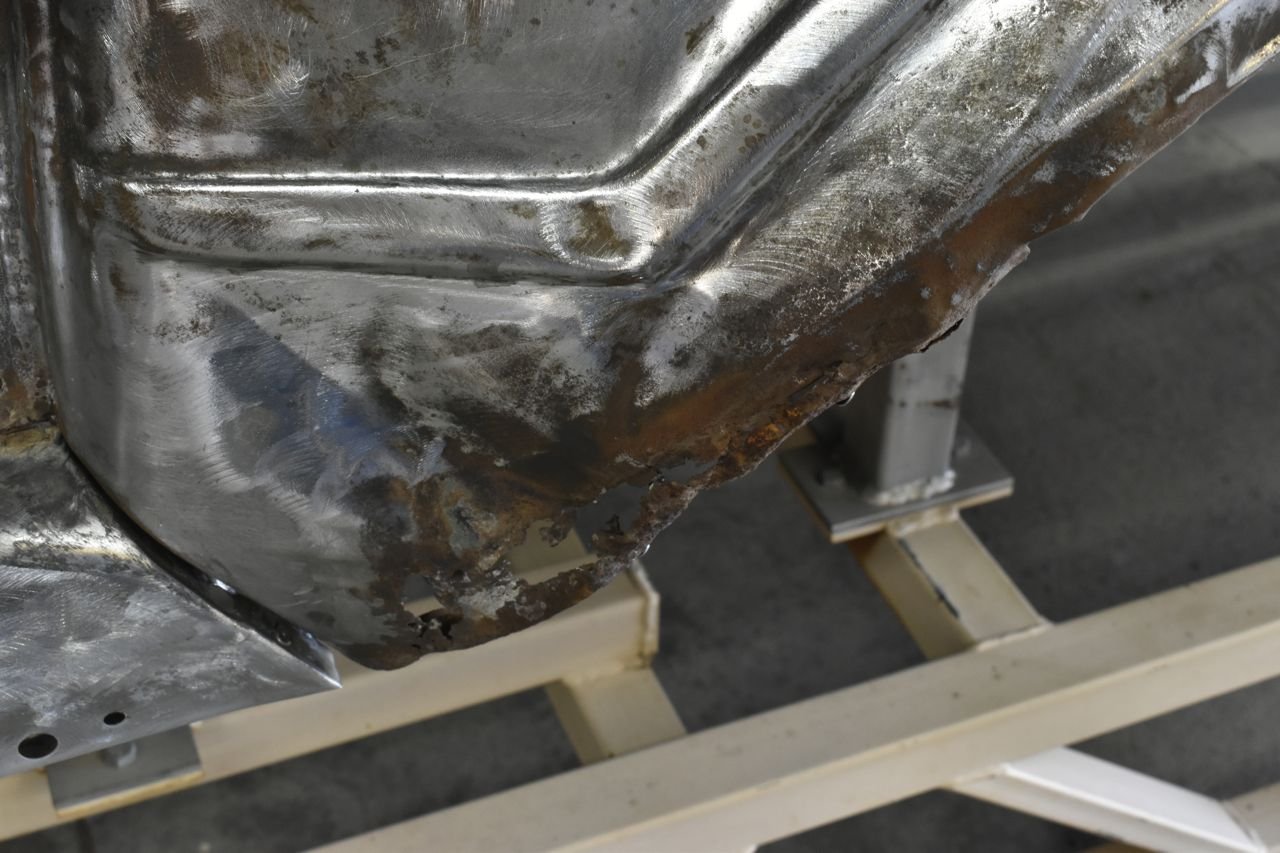
I cut out the badly rotted sections and the distorted sections.
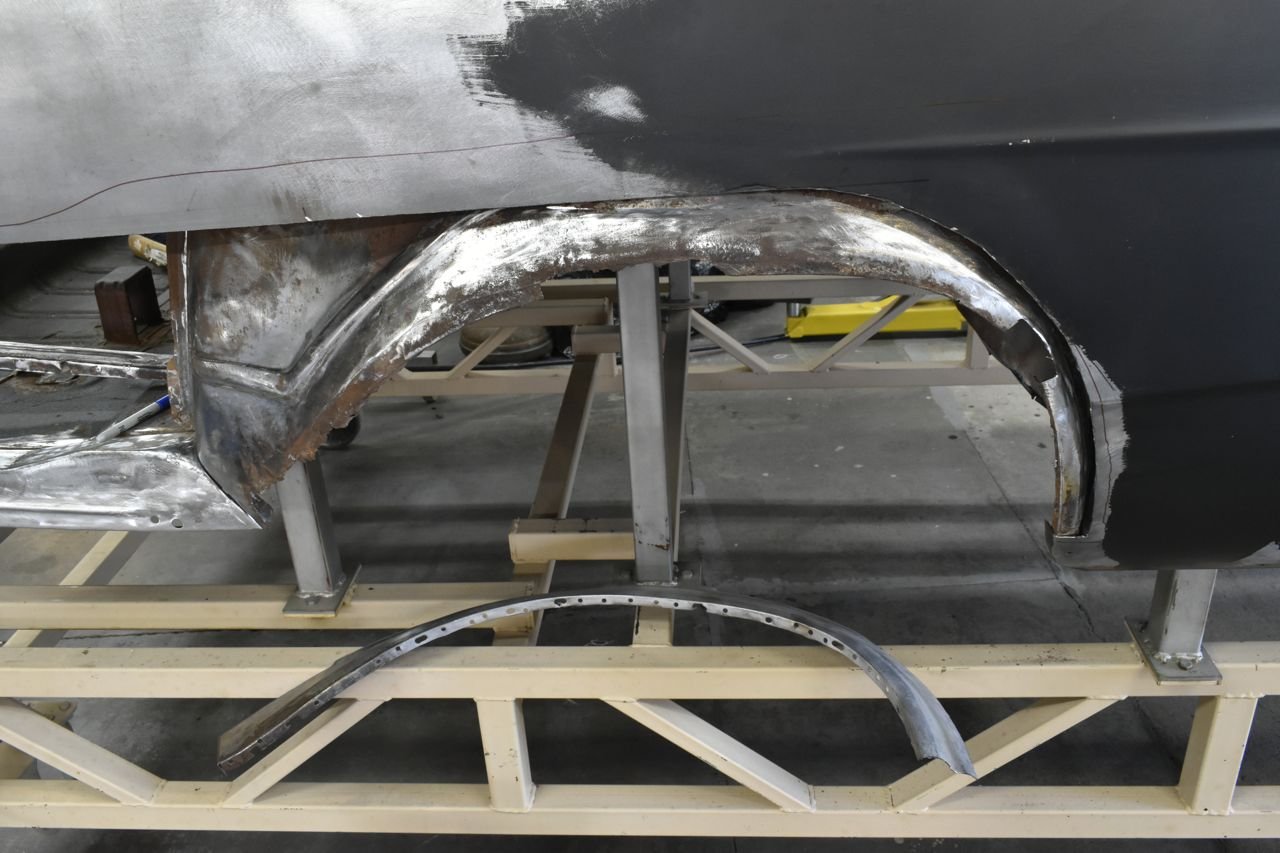
It's the same old adage of measure 17 times, cut once.
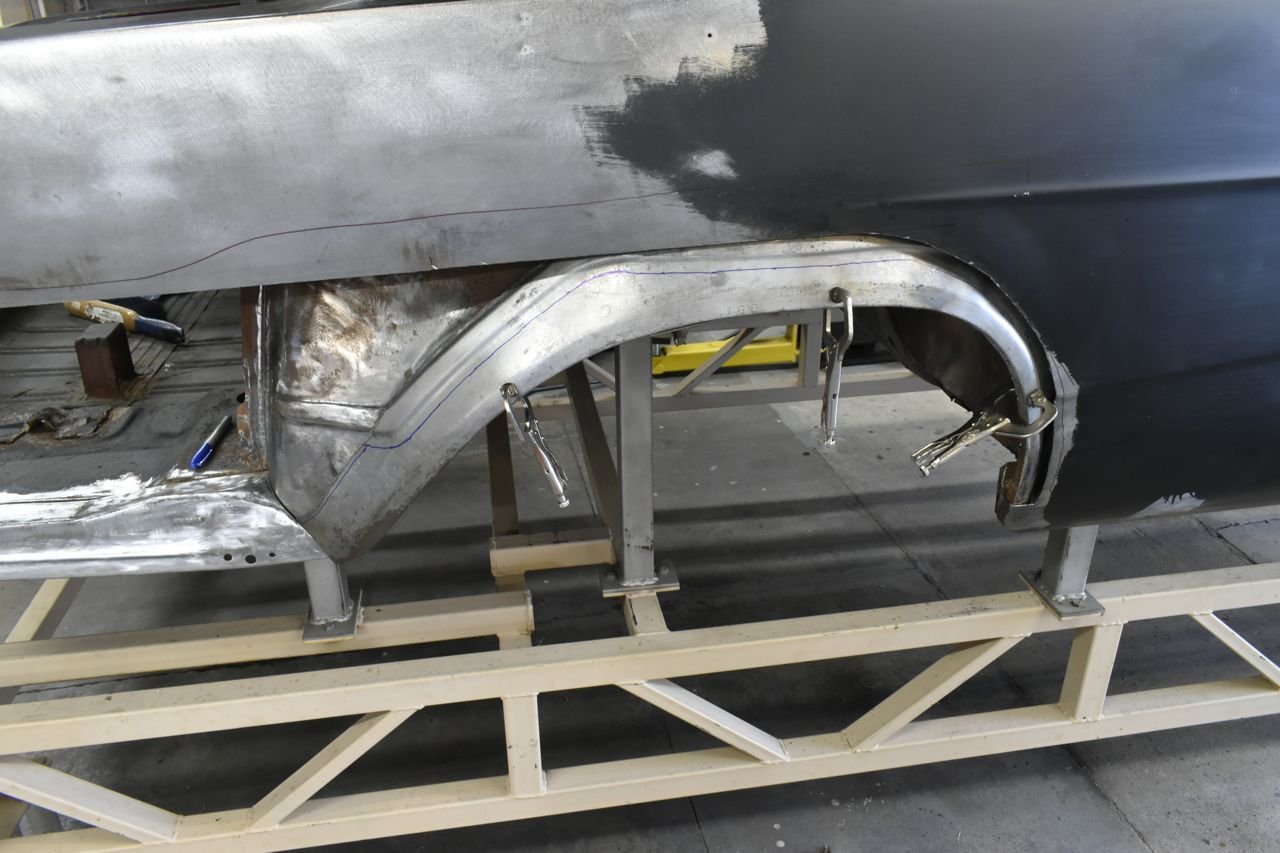
The rudimentary fixture, I had to use C clamps in the far right as the panel clamps wouldn't fit. You do what you have to do.
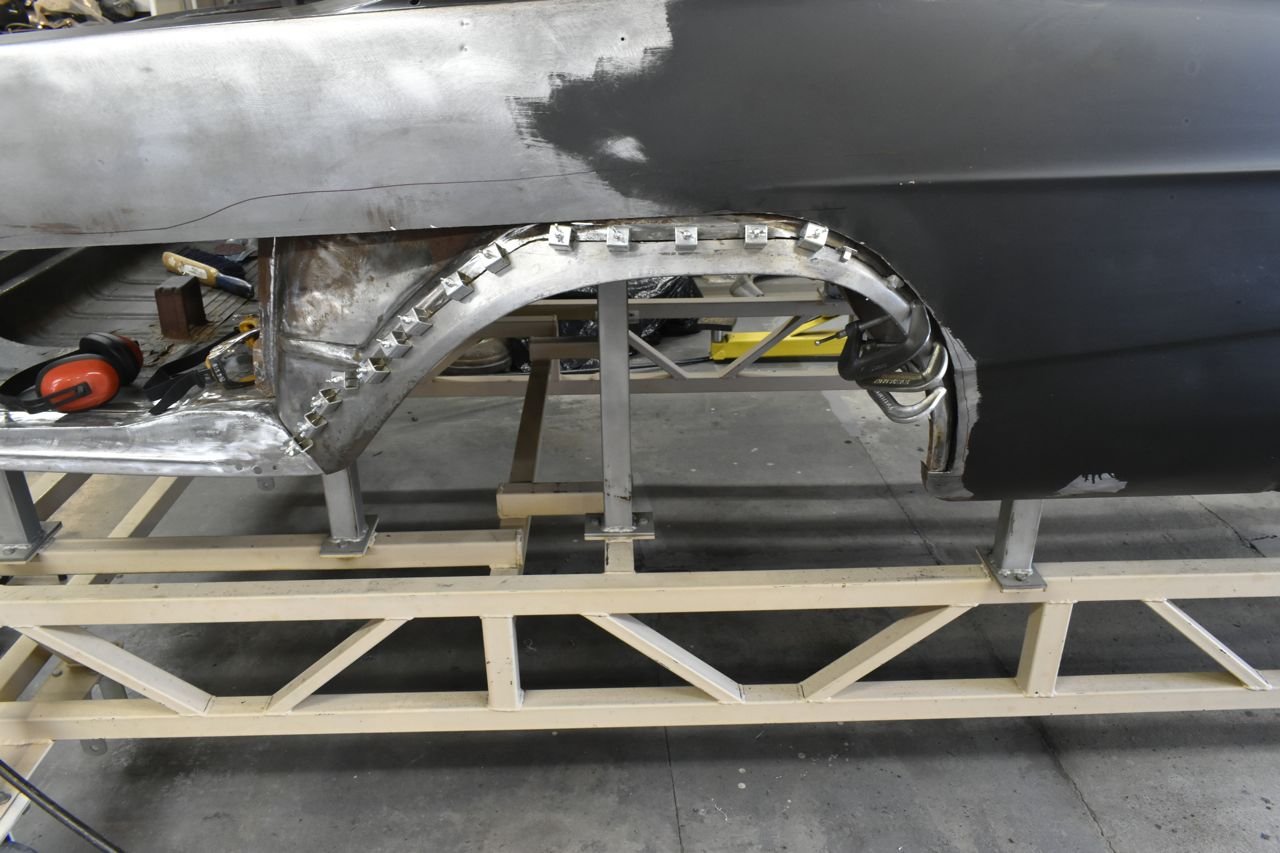
This takes bloody forever to do.
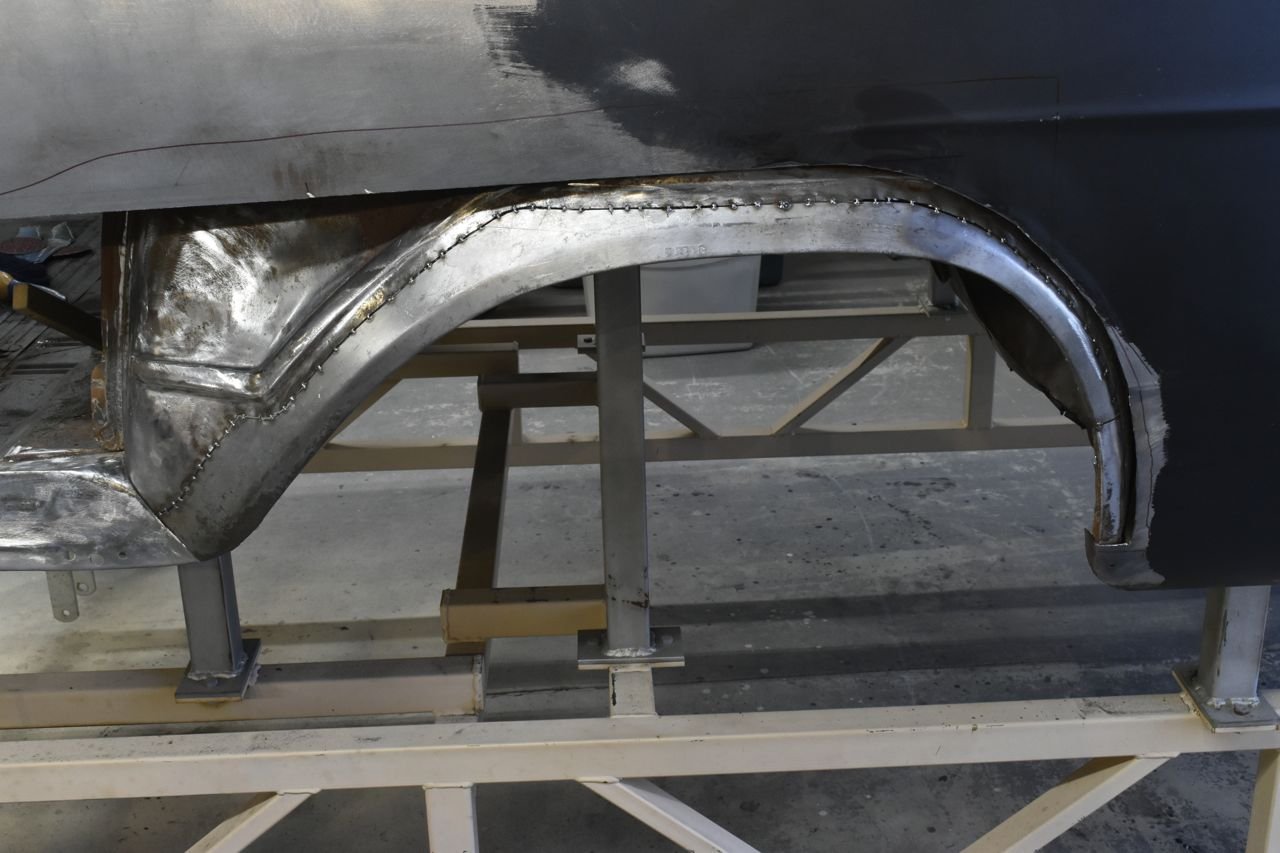
It's in there.

Since I smoothed out the drop off I figured I'd do this for good measure.

Now it has a good base for the quarter to go back on.
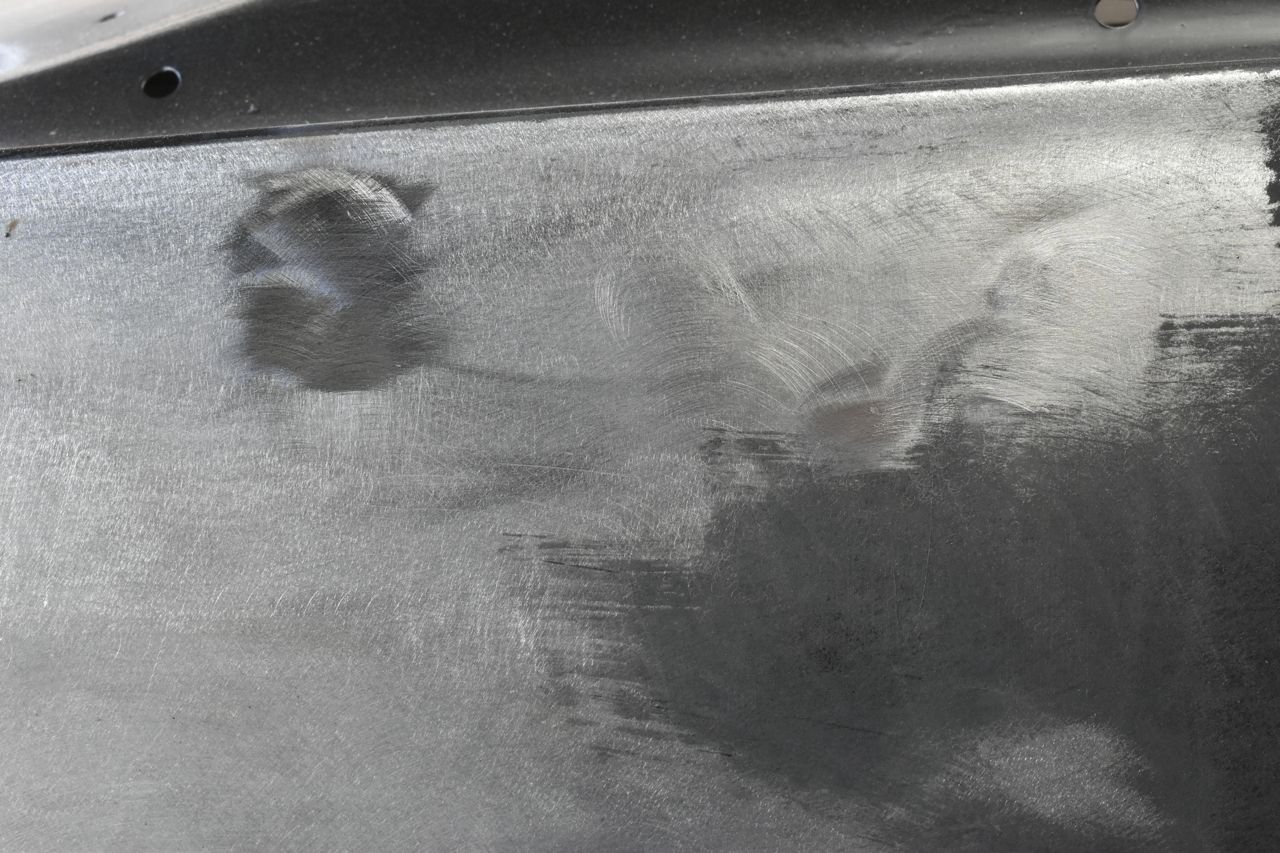
I also filled these holes, there were three holes here.
Quarter Panel Drudgery Part 7
There was a tiny rust hole to the right of the trim holes as well.
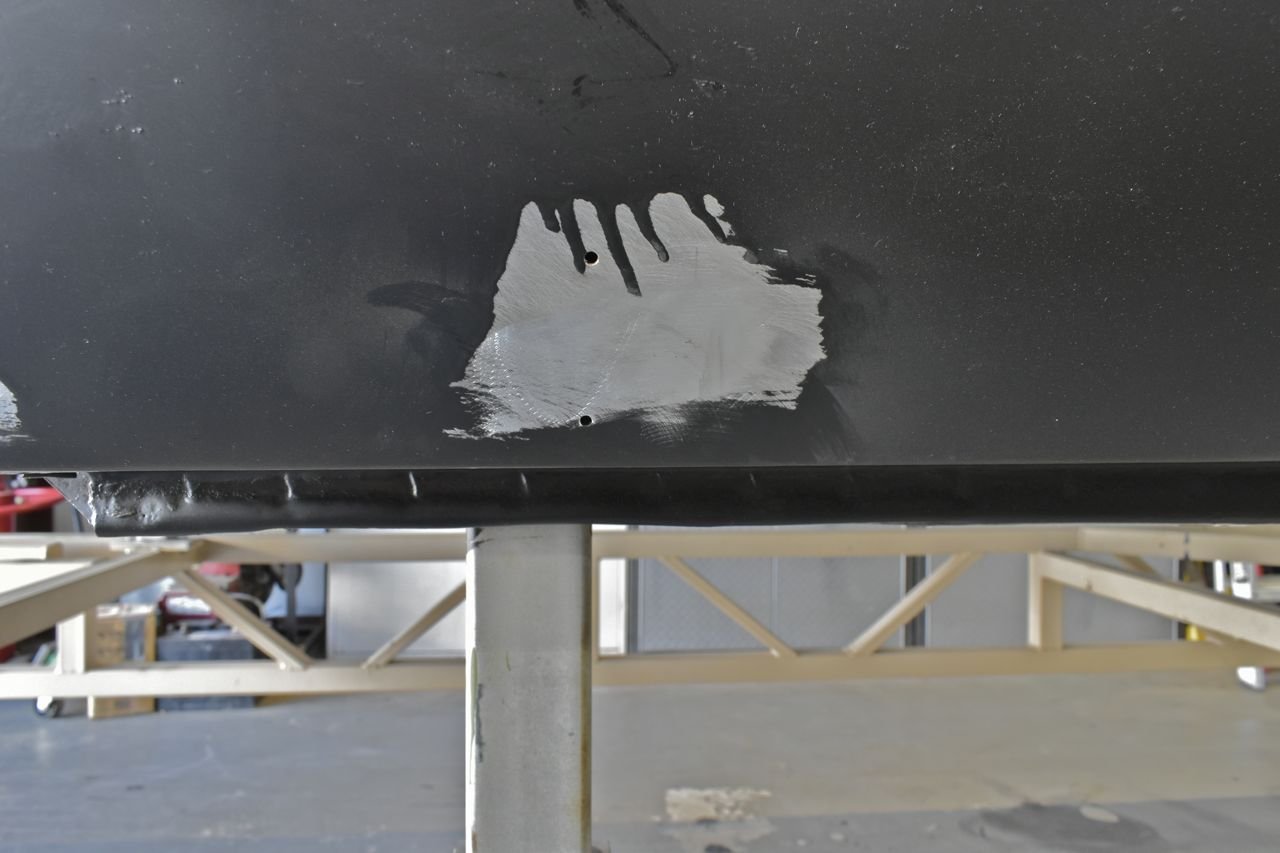
This is weld through primer and the outer wheel house graft was spot welded to the drop off graft.
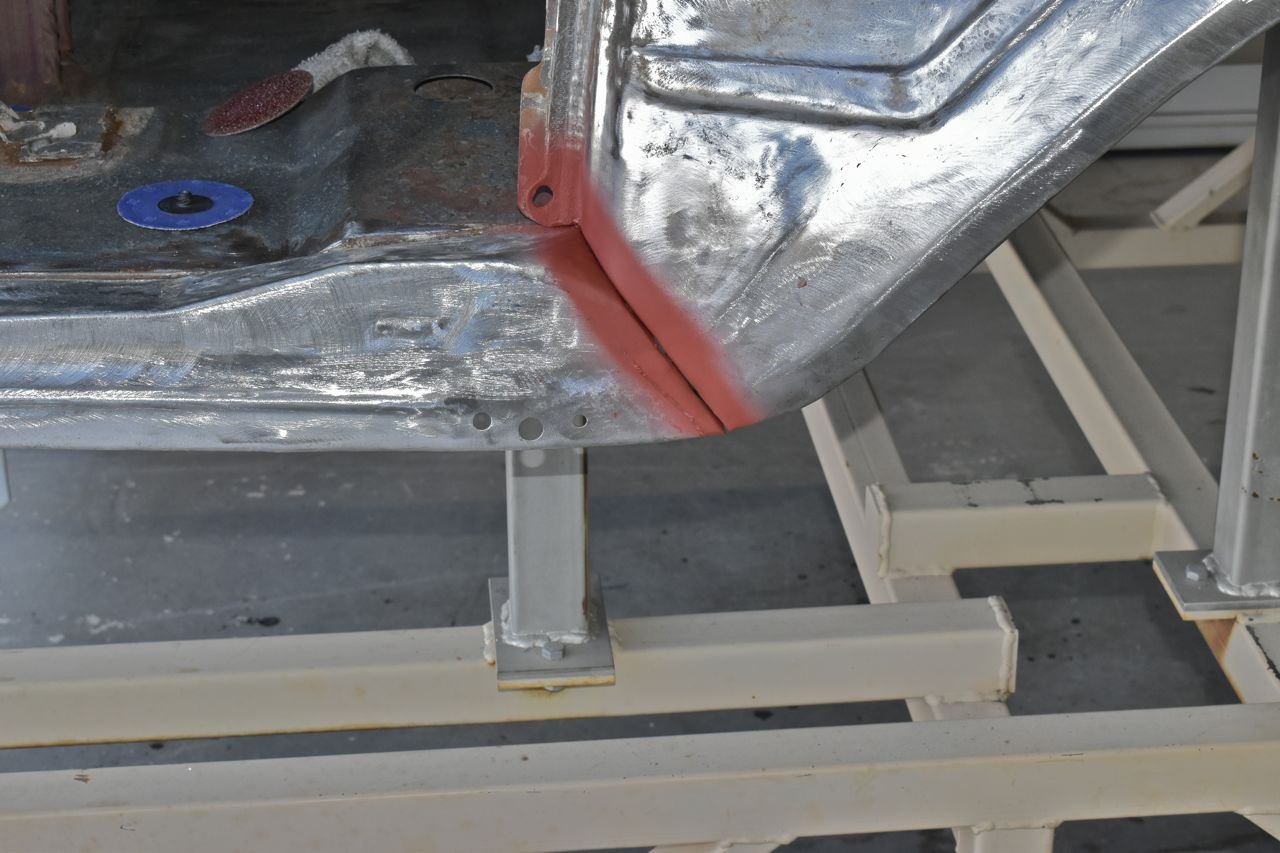
This is the first round of fitting and cutting. This is tedious.
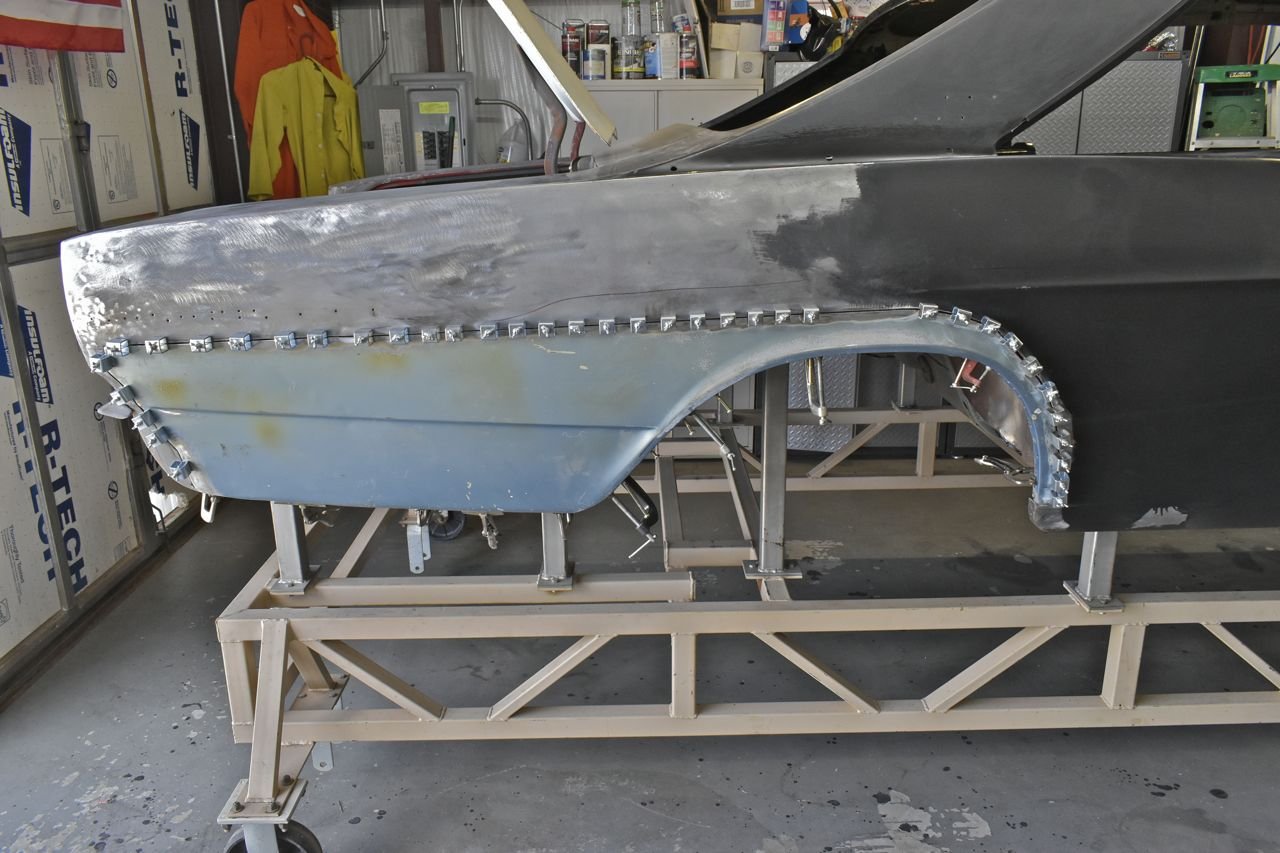
Once it seemed ok, it all had to come off.

More weld through primer.
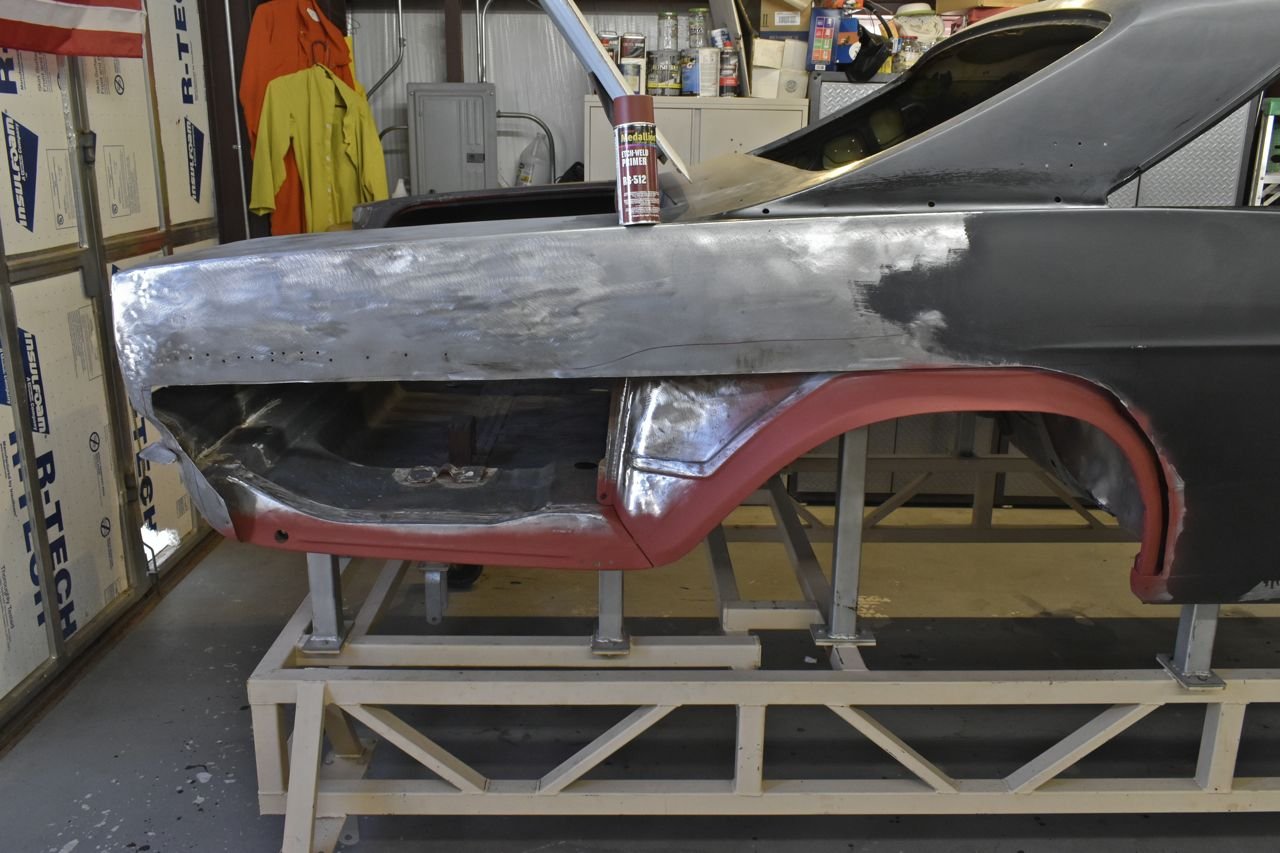
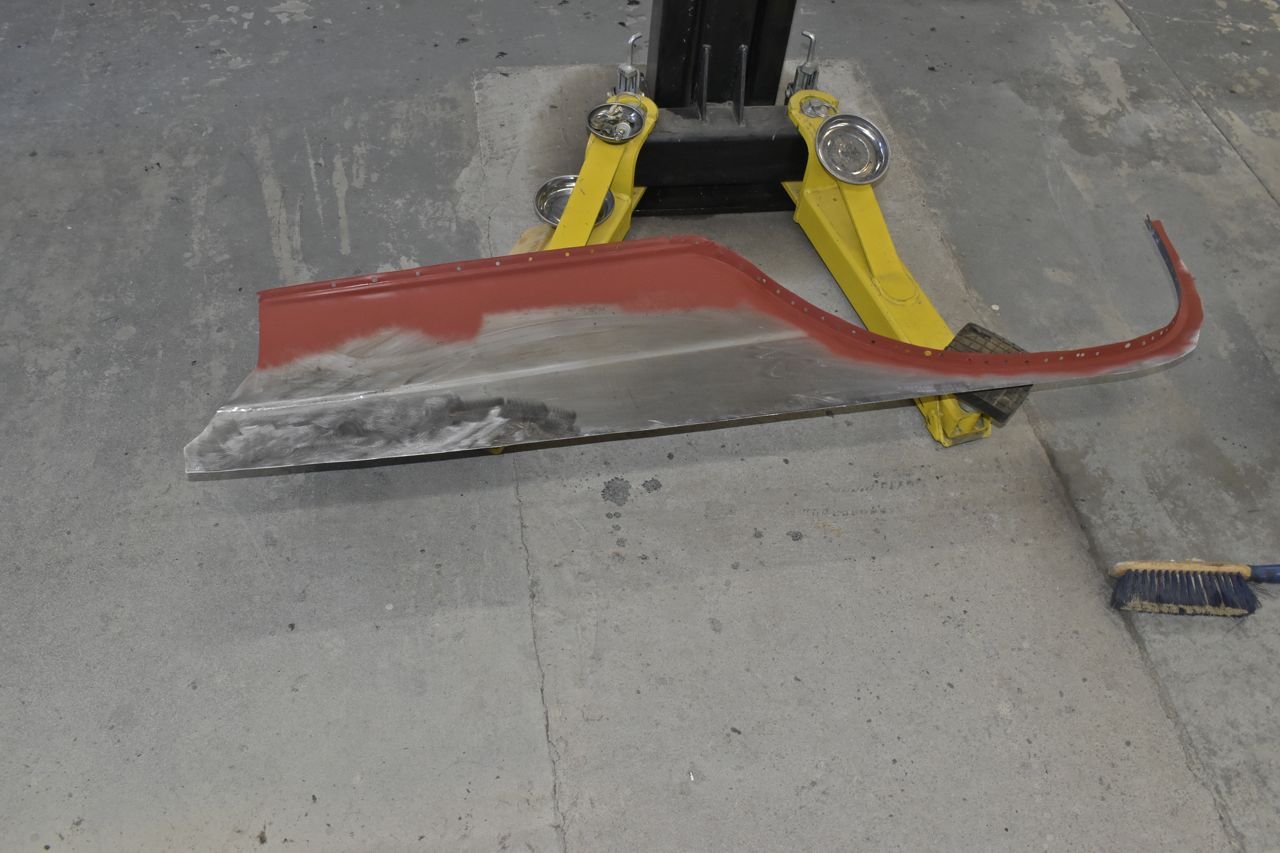
The final fitment.
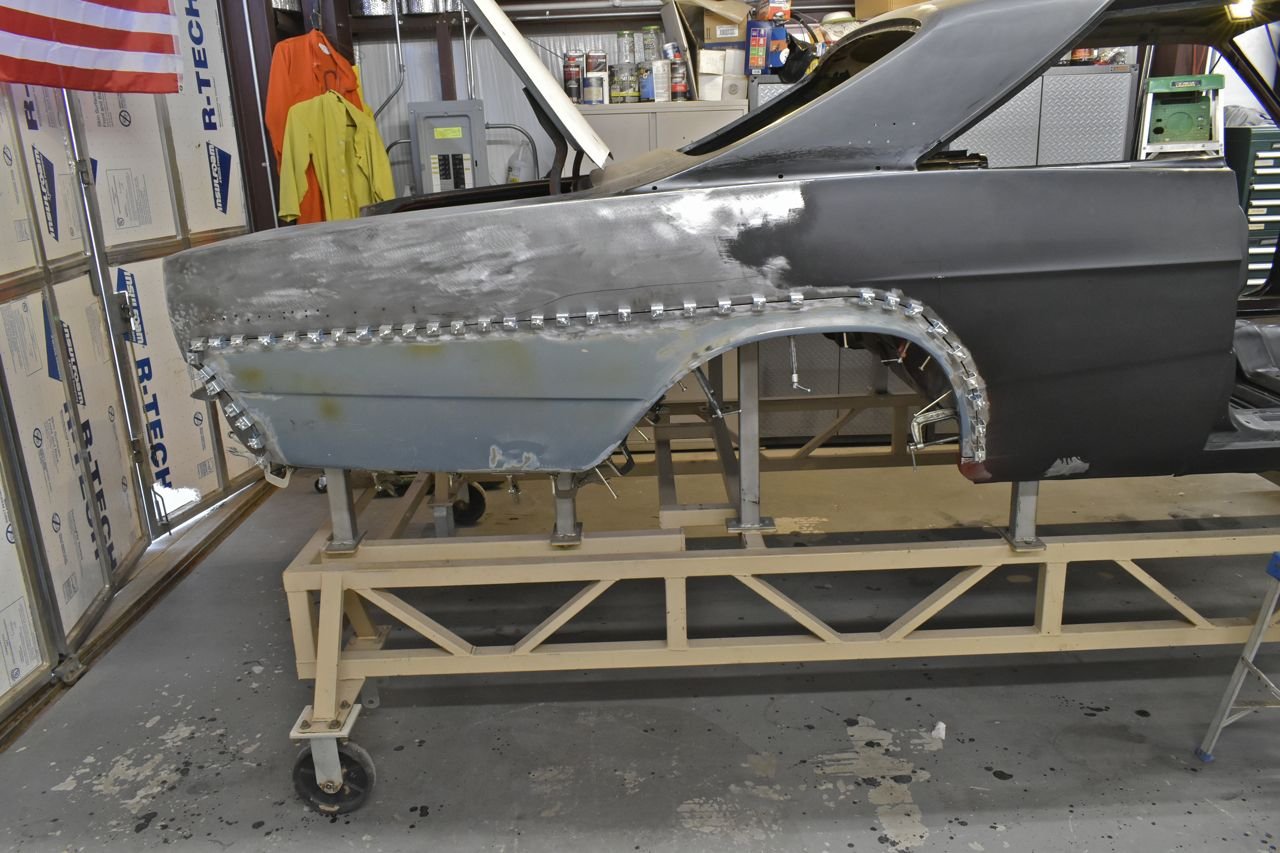
I want to mention one thing about the newer Hobo Freight panel clamps. They stink.
I had to buy some more and wasn't very happy at the quality.
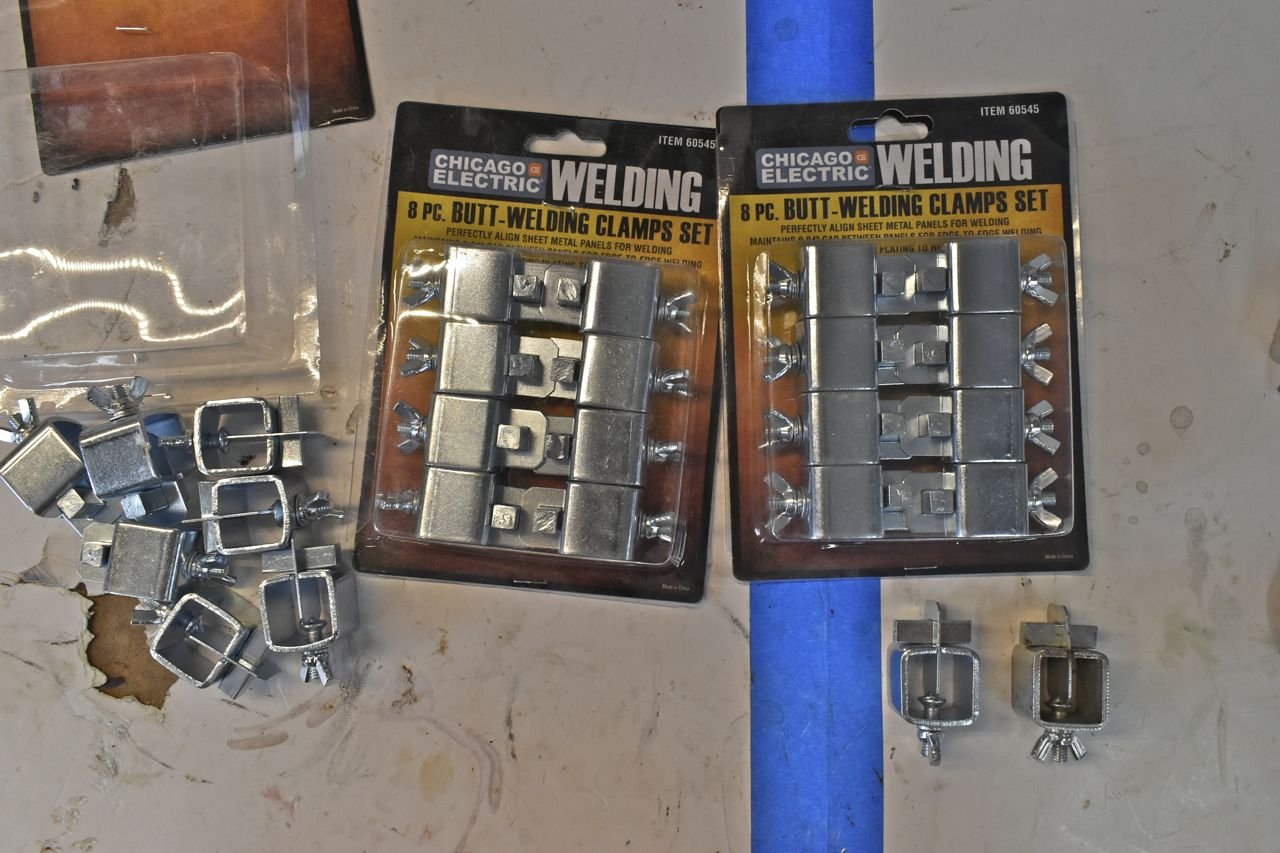
The clamp on the right is an old Hobo Freight clamp and it's relatively flat across the surface. The new one on the left is really bad. I had to spend about 3 hours and fix them all before I could use them.

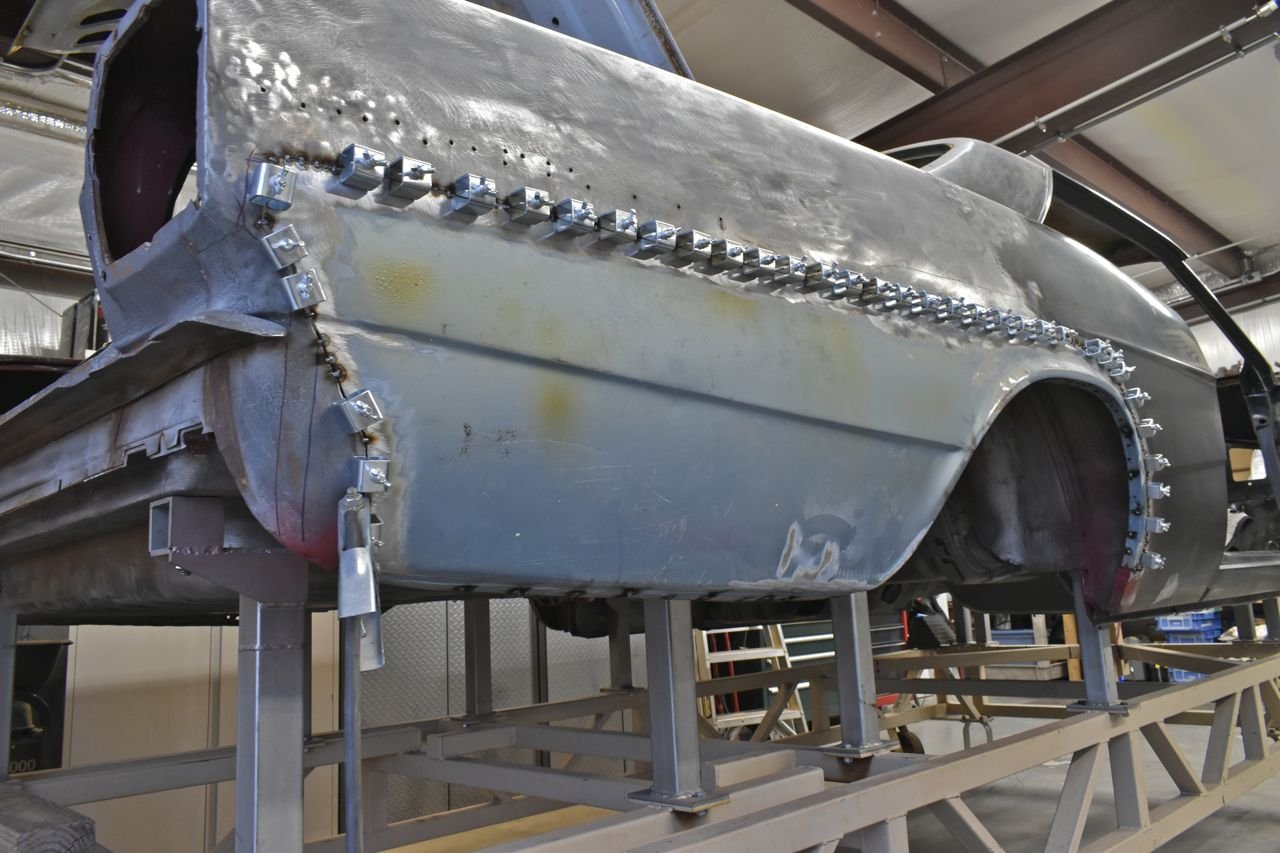
The tack welding begins.
Quarter Panel Drudgery Part 8
I still have much welding to do, but it's in securely. The work on the outer quarter panel alone was about 8 hours of labour so far to this point. It's slowly getting there.

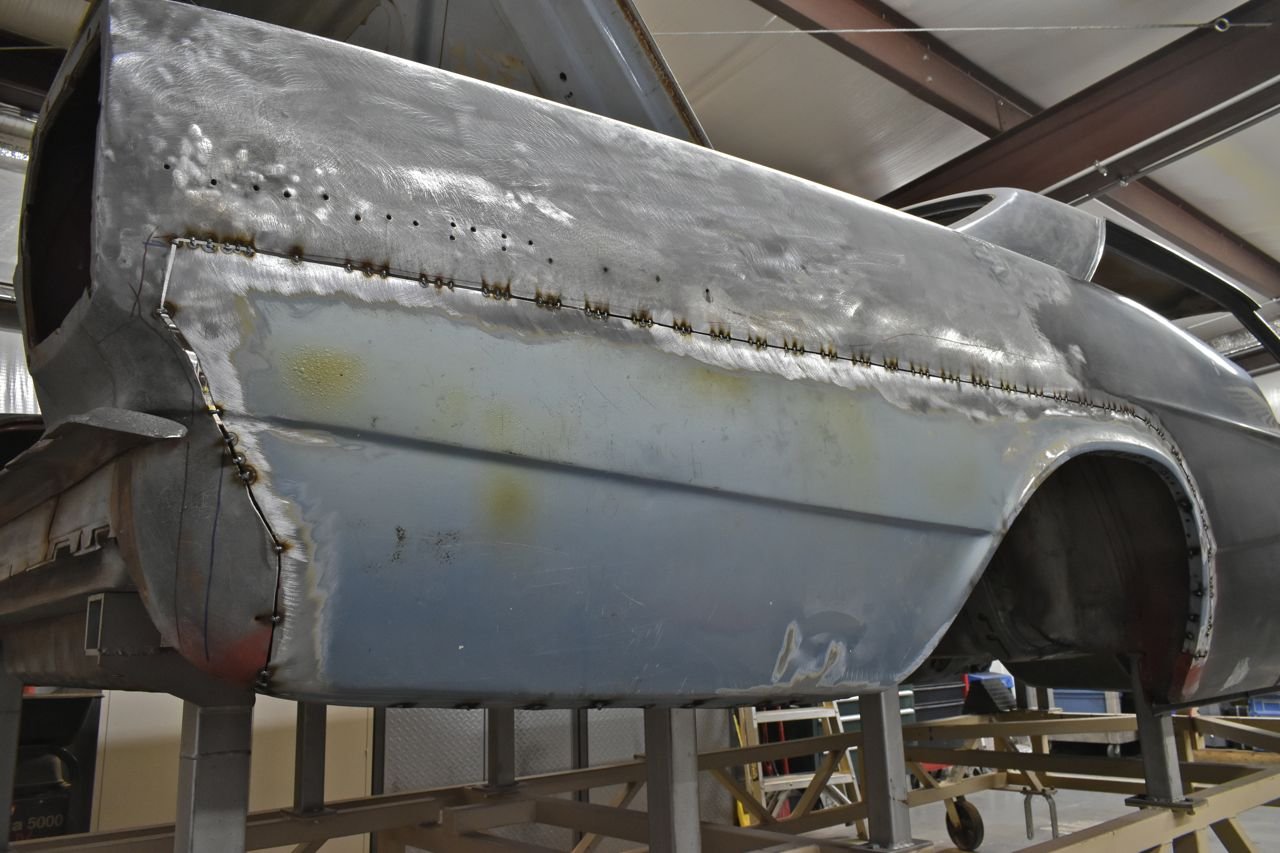
Just a recap of what was on there.
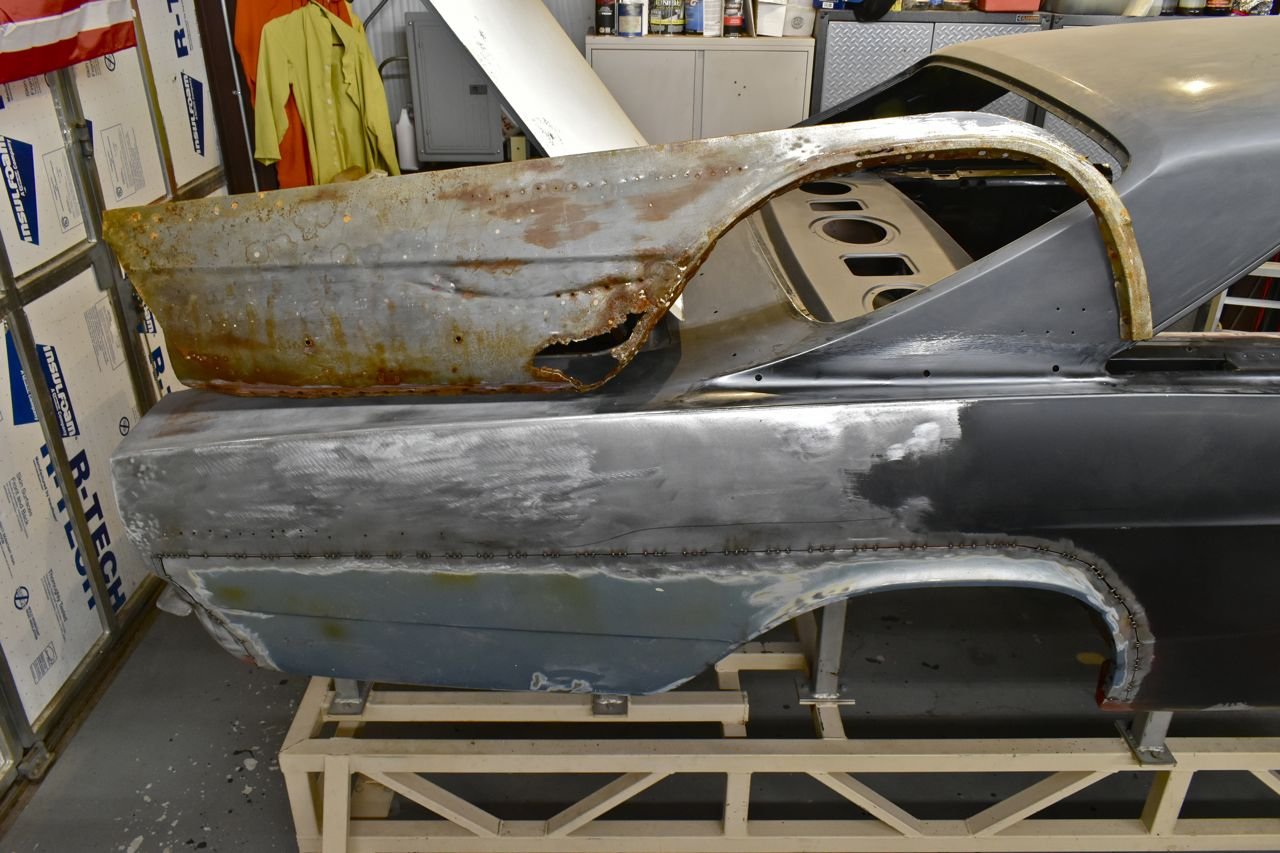
It is interesting the little massaging that needed to be done because the stampings were a little different to get the body lines to match up. As I previously mentioned this rear quarter section is off a 4 door post car. Ford seemed to make upteen million 4 door post cars and they are potential source for body panels for the 2 door models.
More to come.
Click here to continue to part 92