1966 Ford Galaxie 500 XL Refurbishment : 048 Engine - More Minutiae, Sensors, Plugs, Gaskets
2023, November 14
1 - 2 - 3 - 4 - 5 - 6 - 7 - 8 - 9 - 10 - 11 - 12 - 13 - 14 - 15 - 16 - 17 - 18 - 19 - 20 - 21 - 22 - 23 - 24 - 25 - 26 - 27 - 28 - 29 - 30 - 31 - 32 - 33 - 34 - 35 - 36 - 37 - 38 - 39 - 40 - 41 - 42 - 43 - 44 - 45 - 46 - 47 - 48 - 49 - 50 - 51 - 52 - 53 - 54 - 55 - 56 - 57 - 58 - 59 - 60 - 61 - 62 - 63 - 64 - 65 - 66 - 67 - 68 - 69 - 70 - 71 - 72 - 73 - 74 - 75 - 76 - 77 - 78 - 79 - 80 - 81 - 82 - 83 - 84 - 85 - 86 - 87 - 88 - 89 - 90 - 91 - 92 - 93 - 94 - 95 - 96 - 97 - 98More Engine Minutiae Continued
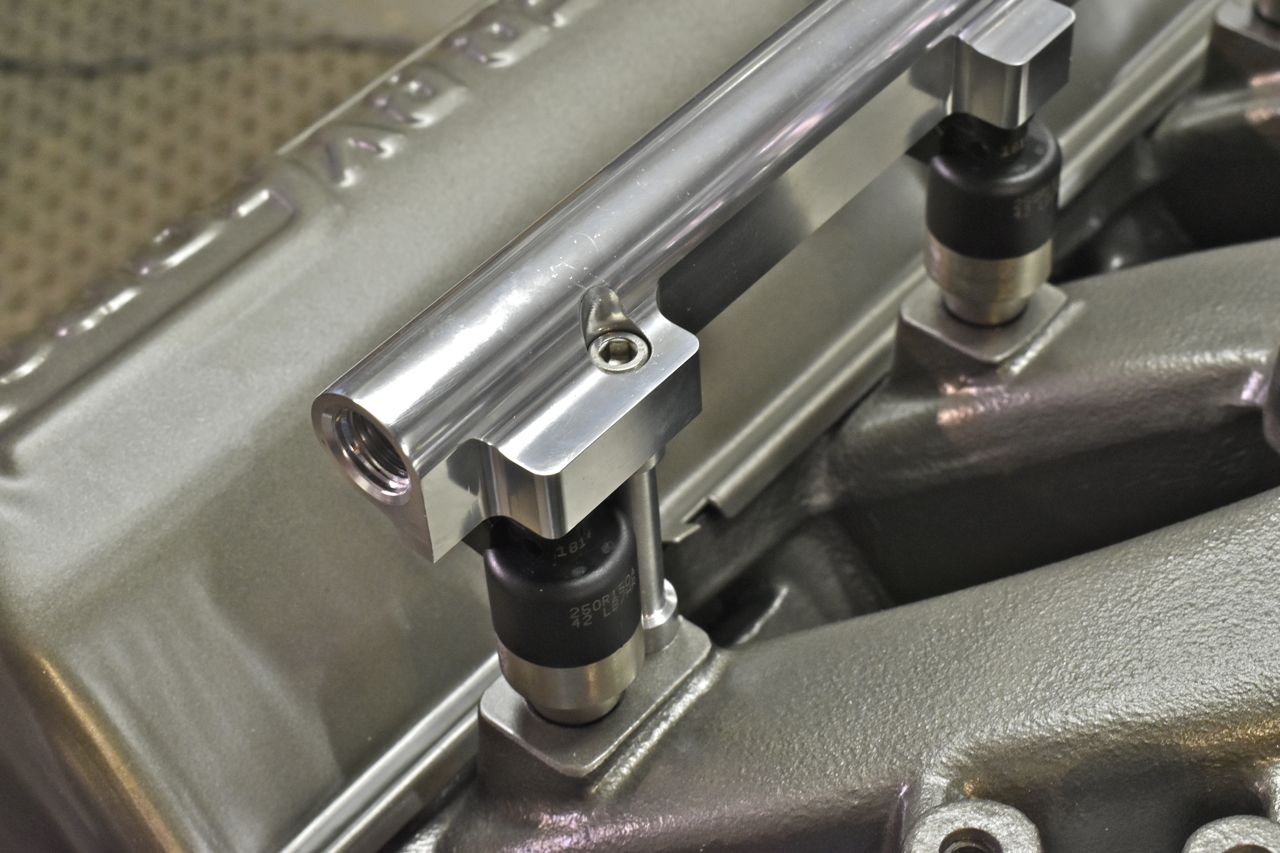
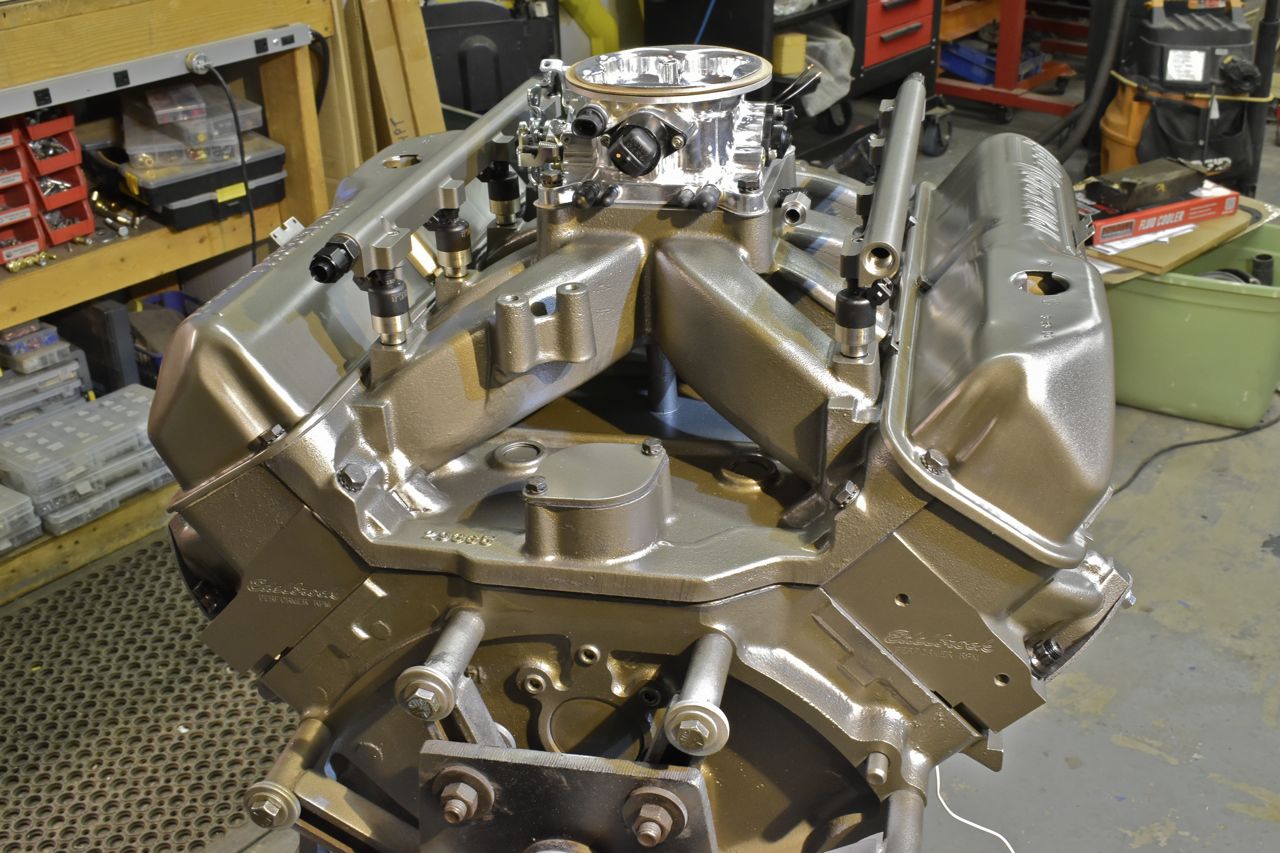
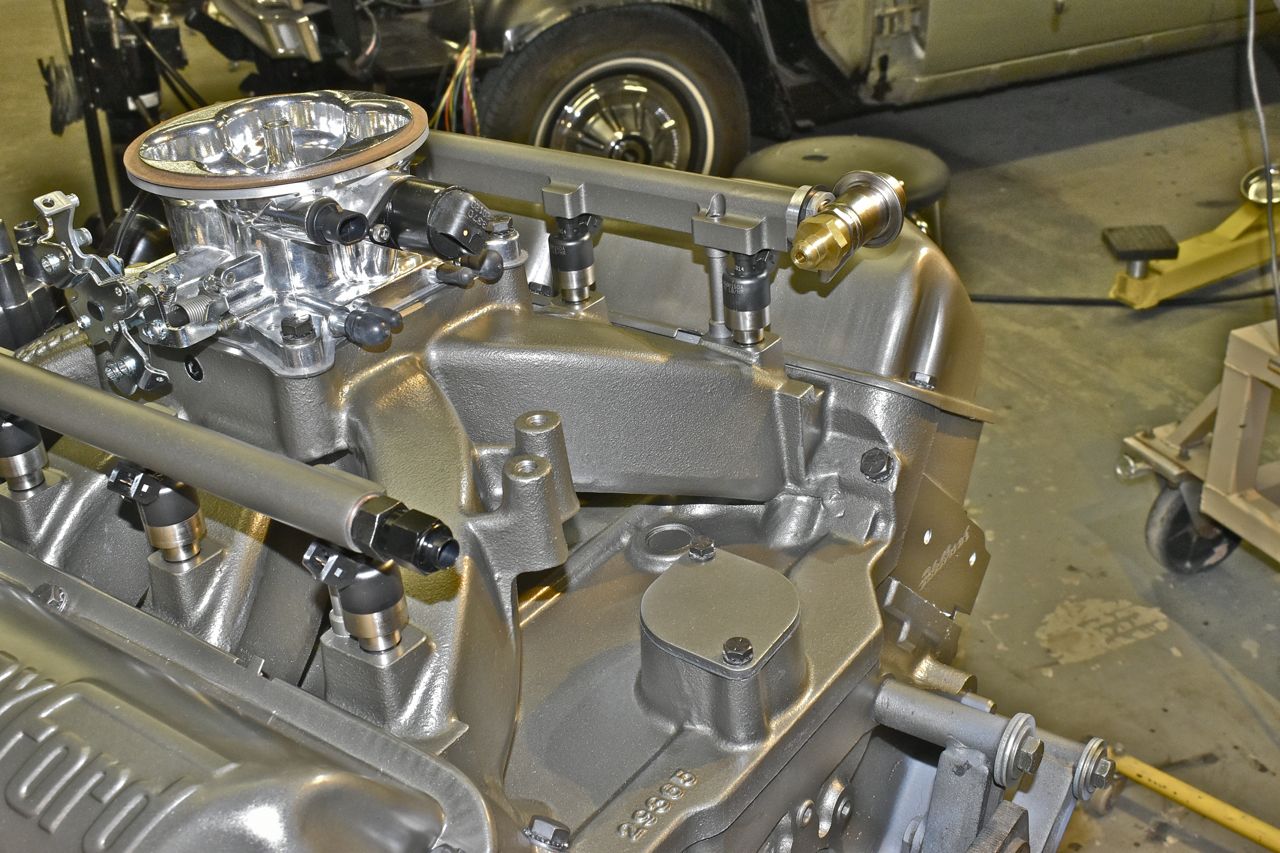
The fuel rail is positioned so the injectors are floating about 30 thou vertically so there is no binding or pressure on the injectors.
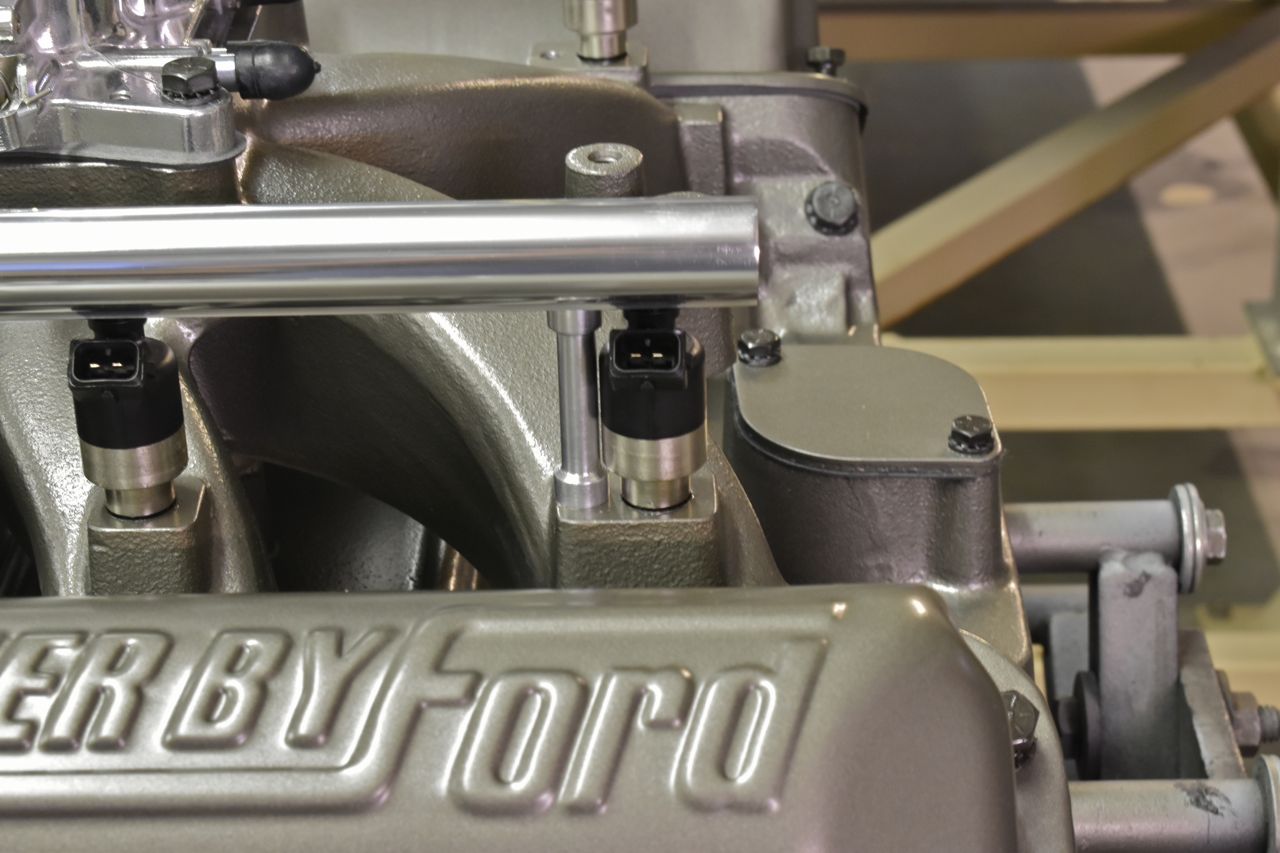
OK so that's done, other than painting them the same colour as the engine block.
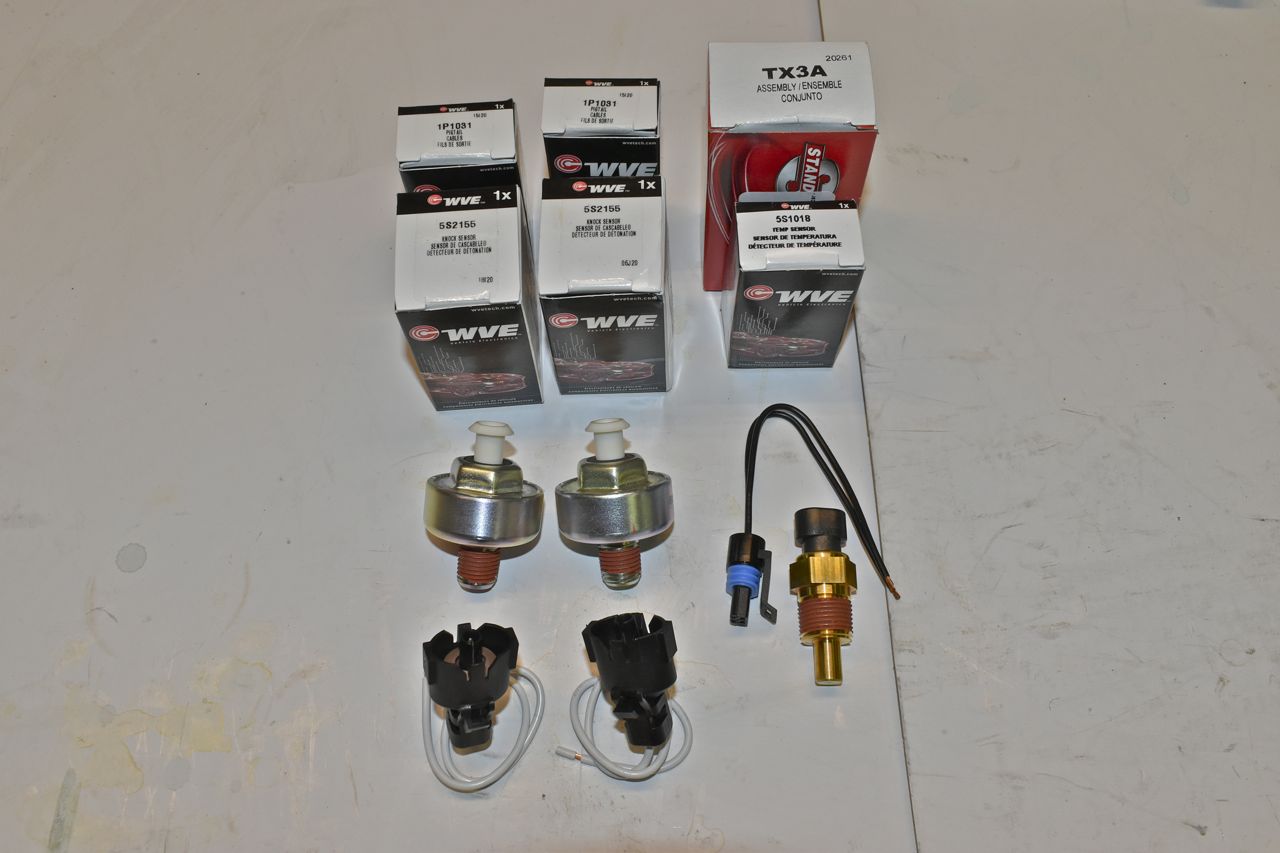
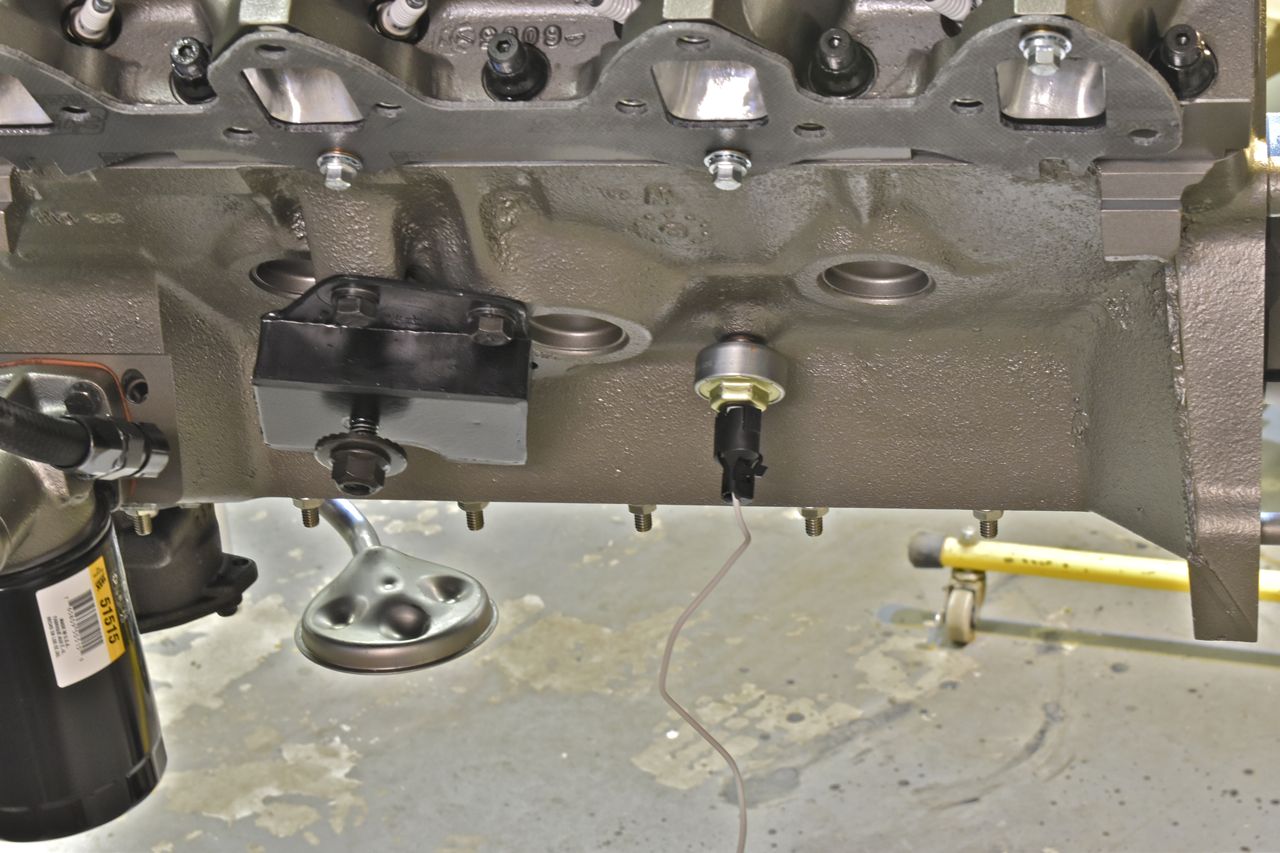
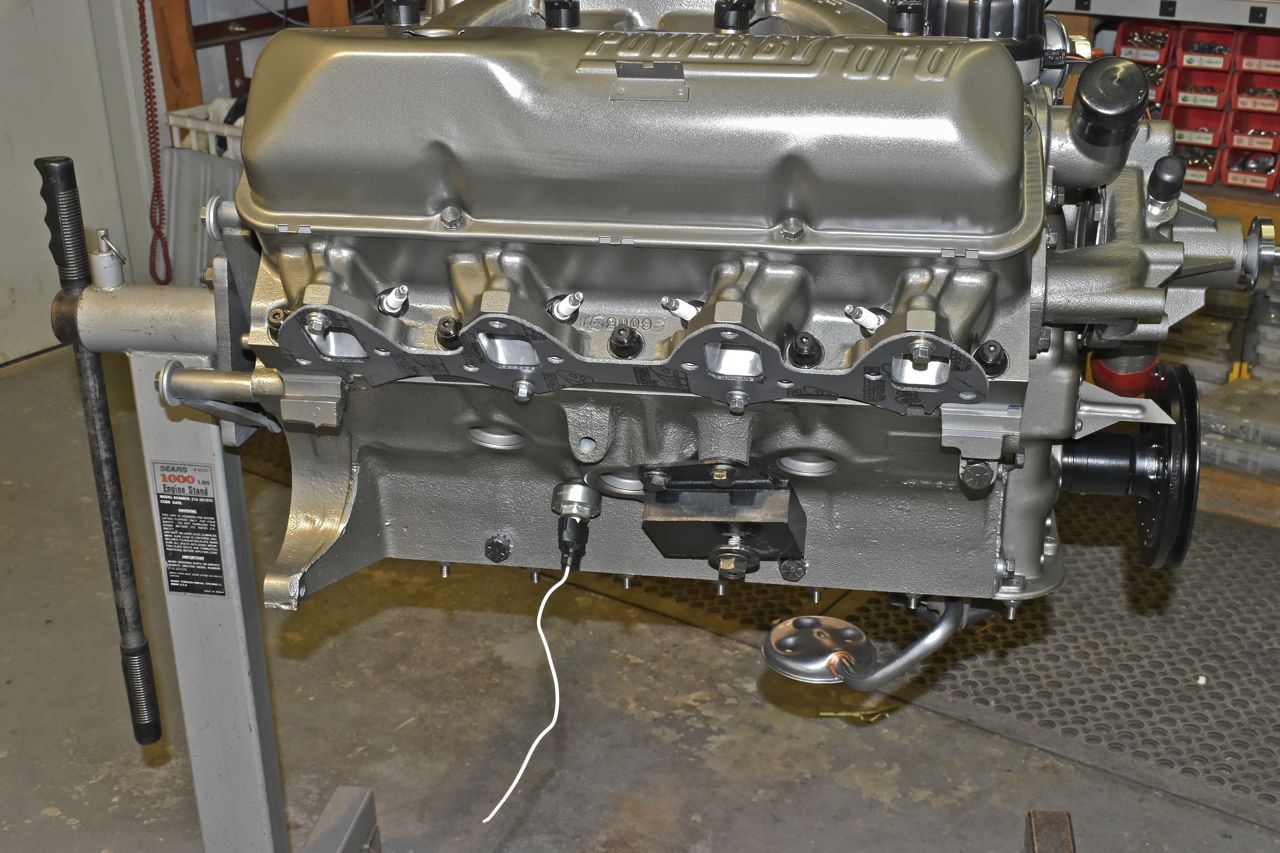
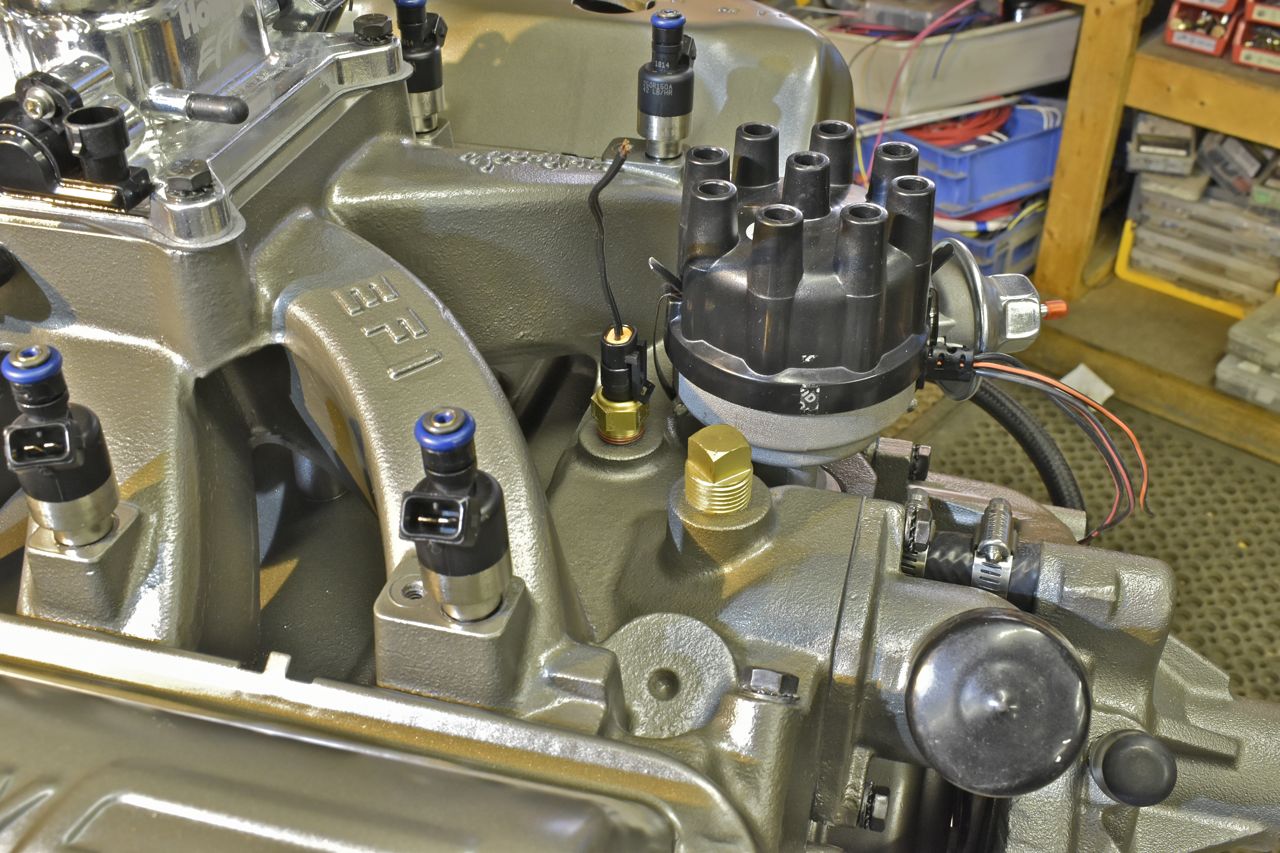
Some more parts trickled in from Rock Auto. The knock sensors and coolant temp sensor and connectors. Even though the sensors come with sealant on the threads I applied a smidge of Ultra Black RTV on them as well.
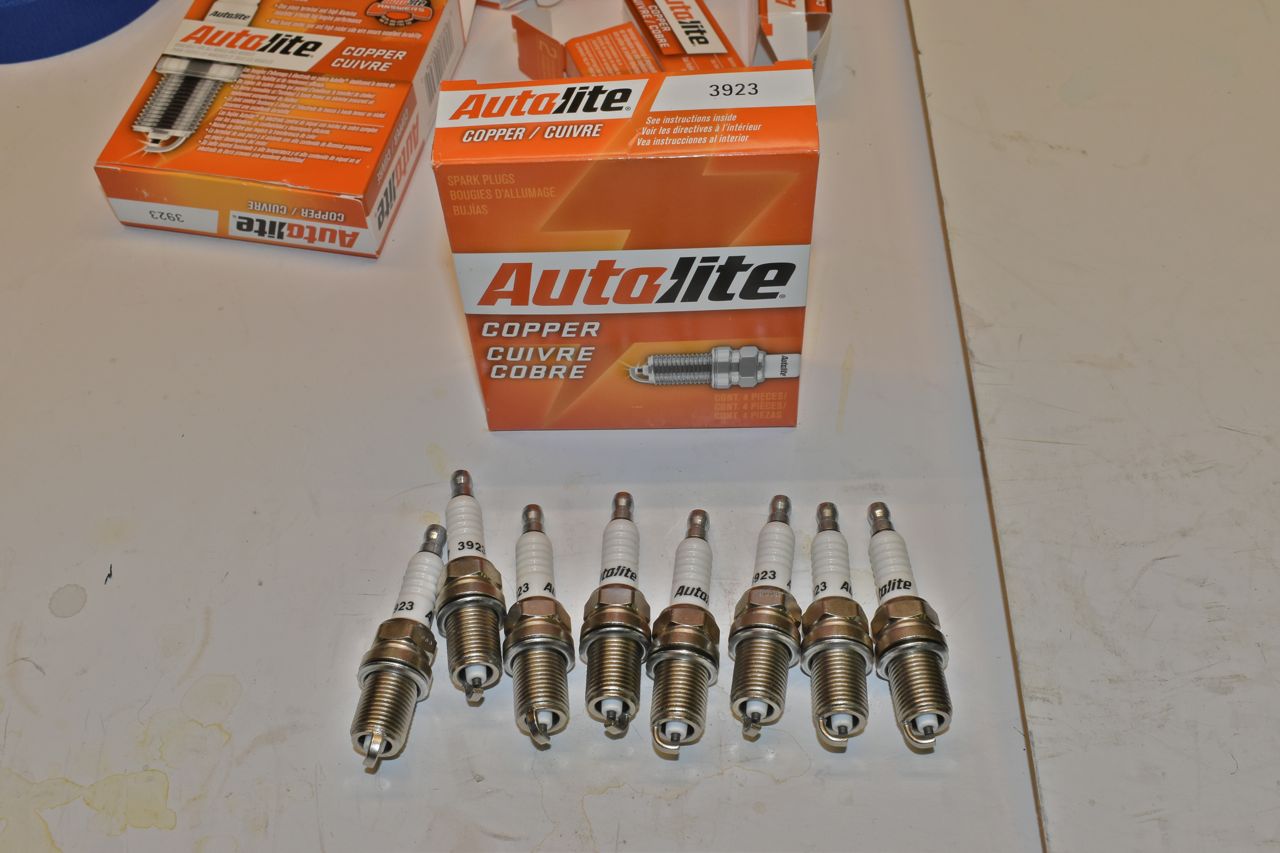
New plugs as well and applied copper high temp anti-seize to the threads.
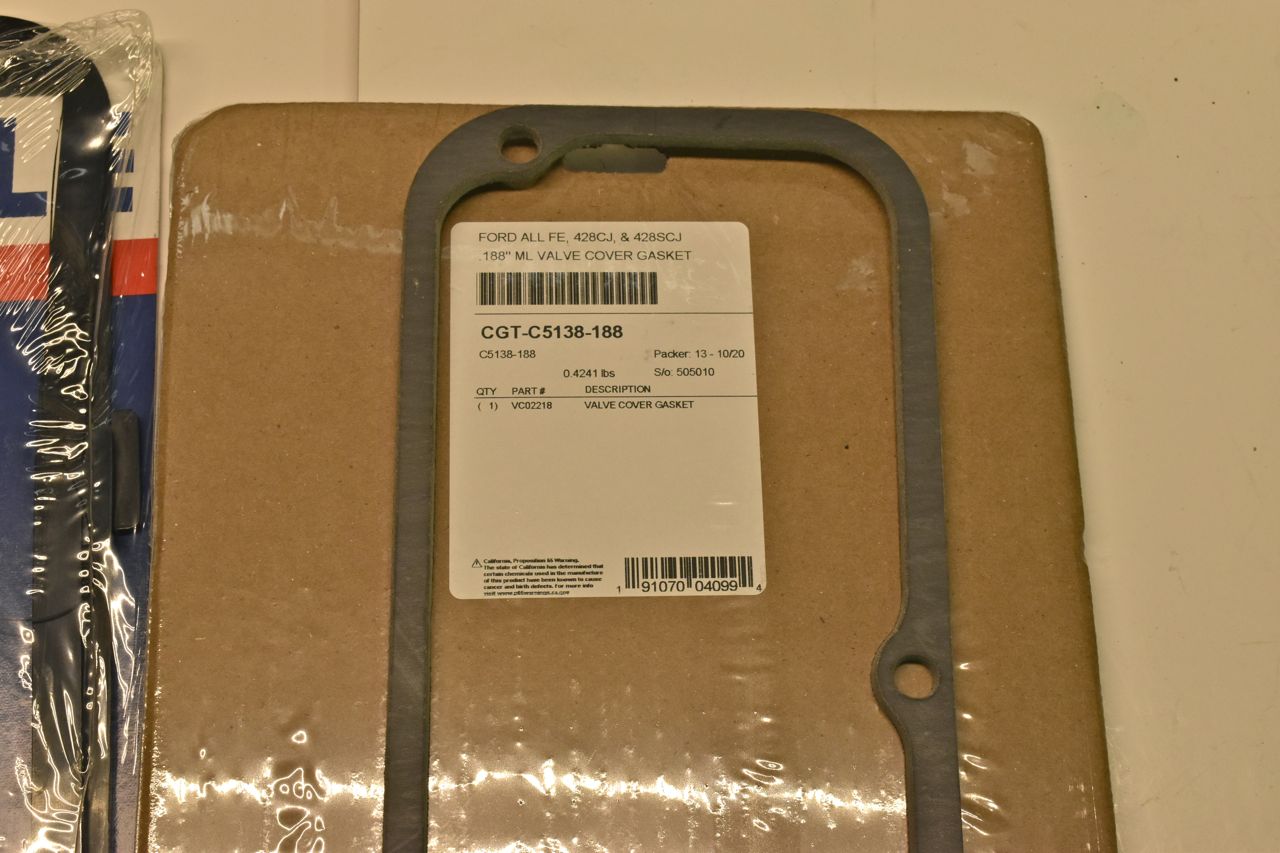
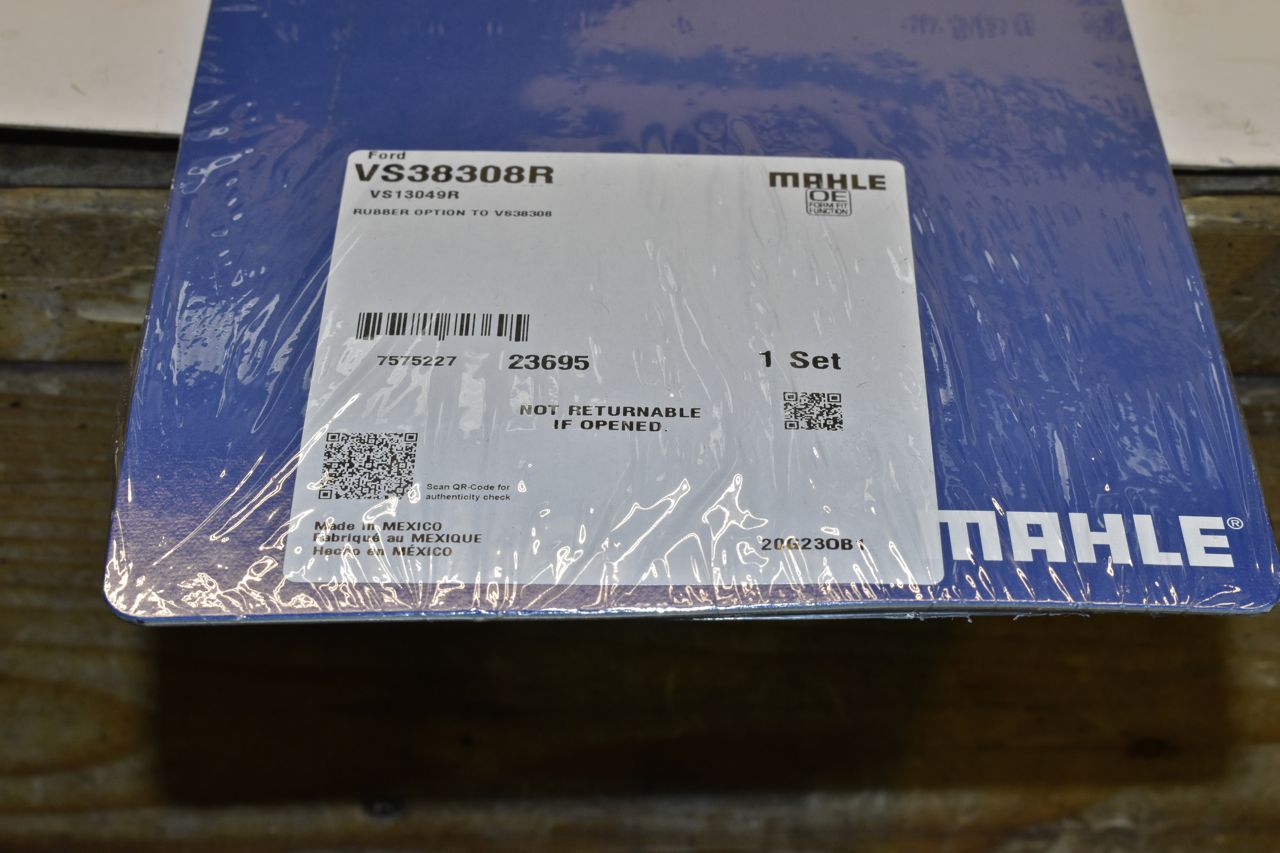
OK, gaskets. This is where I've been burned by Fel-Pro twice now and I used to have a high regard for them. First it was the intake gaskets they sell for the medium riser port #1247. I used these on the LTD's 390 and they already failed. That engine started running rough and burning oil and the car isn't even finished yet. Then thinking it was maybe a bad valve steam sealed I pulled the rocker covers of which I used FEL VS13049R rubber gaskets and the short time they've been on there they have expanded to point where I had to fight them to get them back under the cover lip.
With that rant out of way I am trying other brands for the rocker cover. I've already done research on the #1247 for the FE medium port riser and this is old news it seems as I found esoteric blog entries about how Fel Pro knows those are failure prone because there is no steel core in them and they just pull in under vacuum if the intake sealing pressure isn't perfect on them. Fel Pro makes a #1247S-3 which is the exact same gasket with a steel core and is the reliable one. The really annoying part is Fel Pro still makes the worthless 1247 and when do you a search for FE medium riser this number pops up. It's like you need to know the secret Masons handshake to get clued in on the 1247S-3.
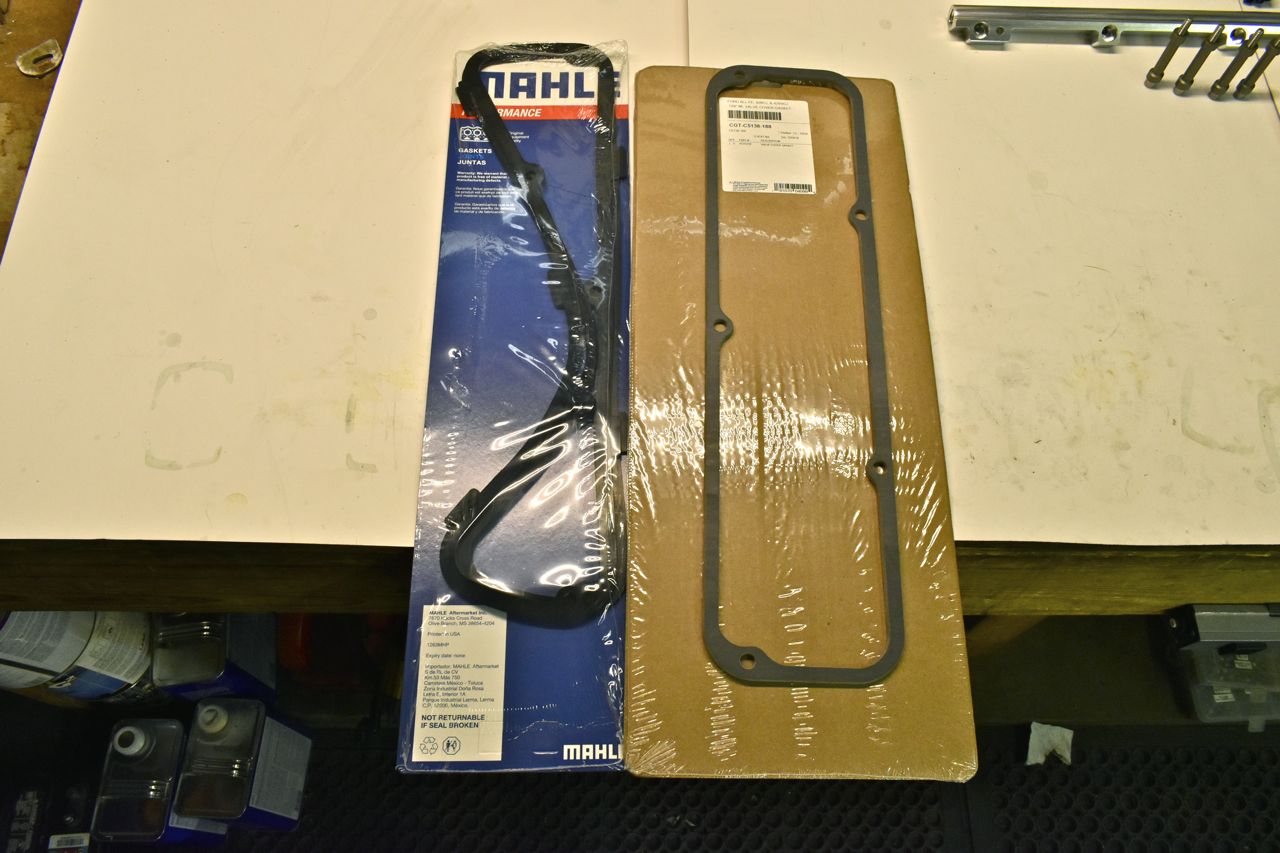
Back to rocker cover gaskets, the one on the right is a Cometic brand gasket and the left are quite obviously Mahle's. I'll try the Mahle's in the LTD's 390 and the Cometic's in this engine and see which lasts longer.
This one Cometic rocker cover gasket costs more than both Mahle's. The Cometic's is a very hard rubber almost solid like. Both will still need some RTV because of the FE's goofy head/intake interface plus stamped steel rocker covers.
The fuel rails and standoff's are painted and installed. Now for some fittings.
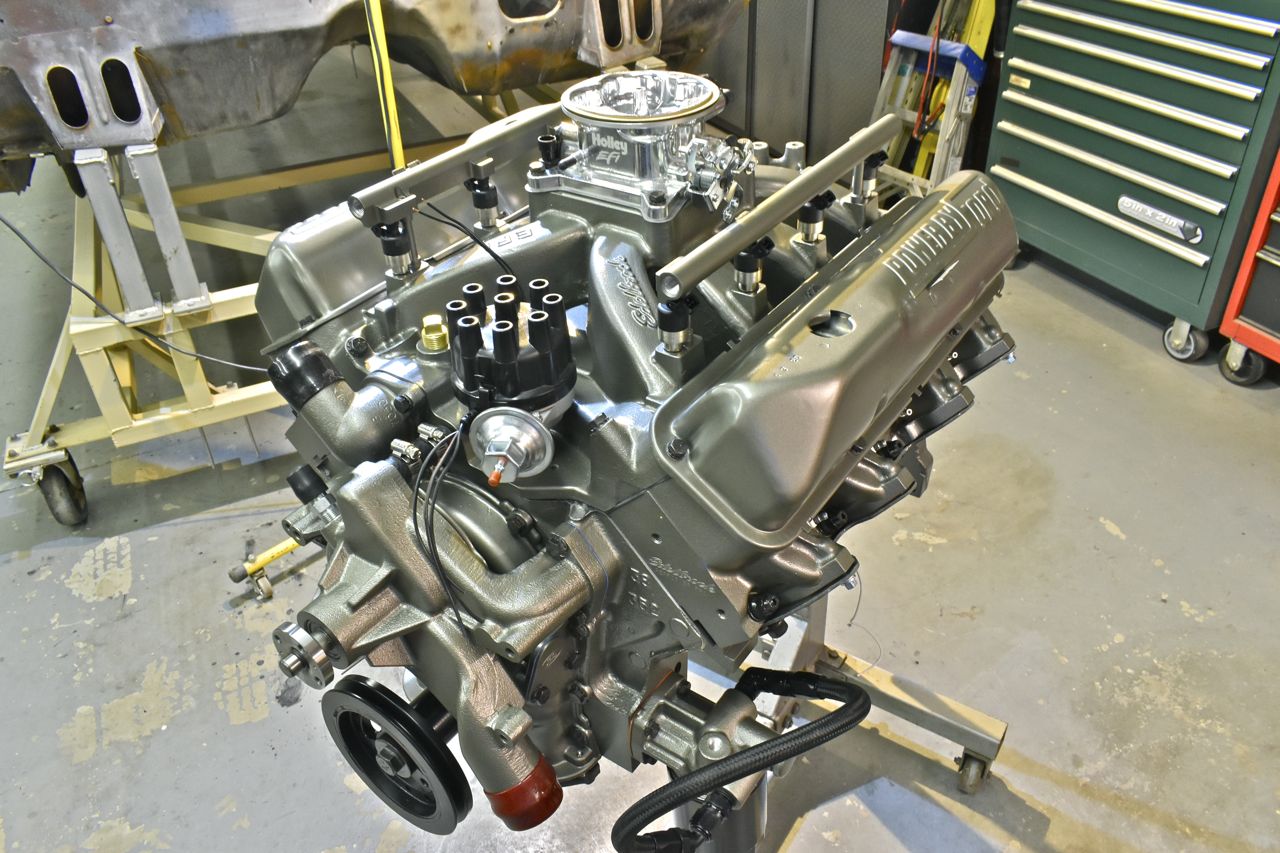
For some reason Edelbrock chose 1/4" NPST instead of 1/4" NPT on the fuel rails. I really wish they used the taper thread. The straight thread just complicates things and makes for more expensive fittings.
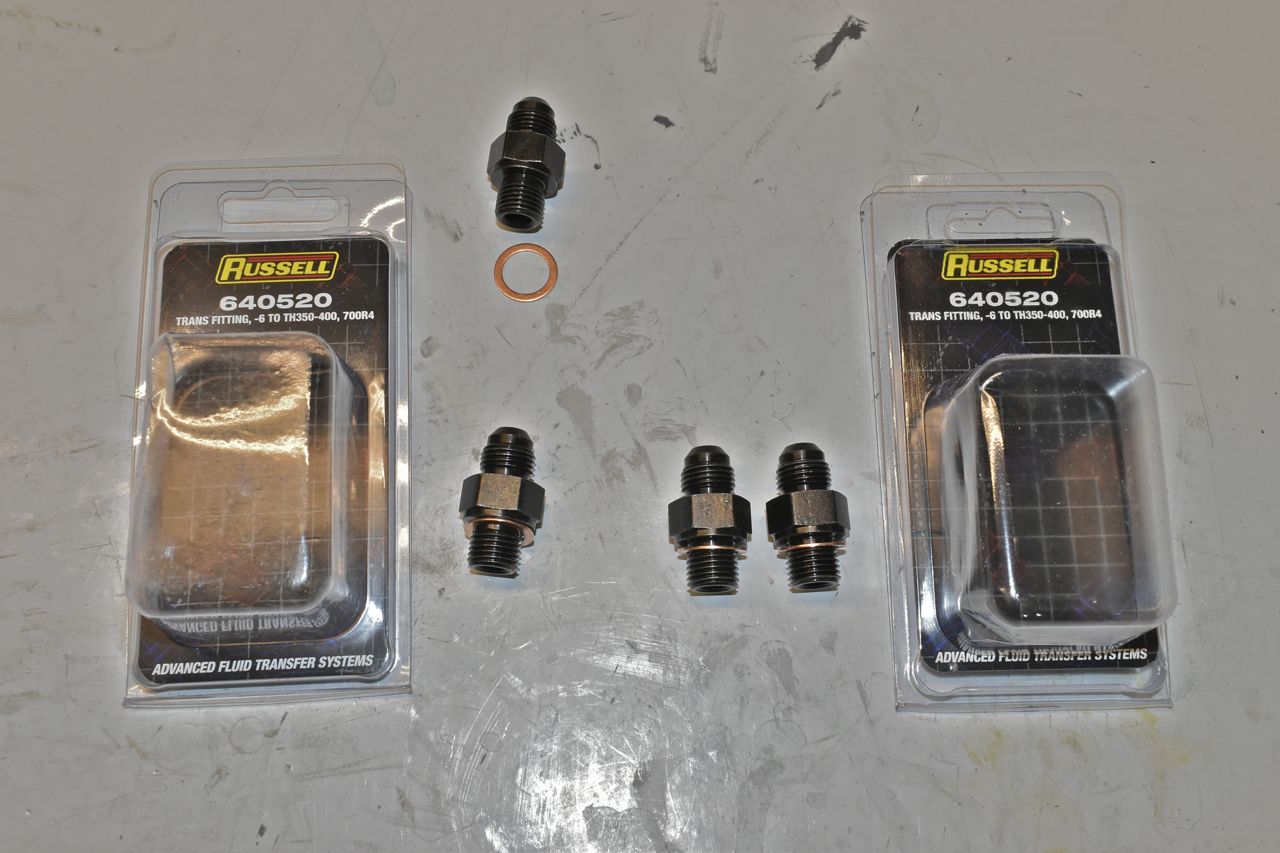
The only fittings I could find with straight thread to 6 AN were transmission fittings and the thread is cut a bit on the loose side, but I'm out of options.
I need to add these to the straight fittings in order to swing down for the interconnecting piece between the rails. Now they do sell an elbow with straight cut threads to AN6 but it's a swivel joint with some kind of internal O-ring. This makes me nervous as I can't see the quality of the O-ring or the machining and having it hold pressurized 43 PSI fuel sitting atop a hot engine is a recipe for disaster. Actually ruinous ball of fire comes to mind, but you get the idea. So I opted for hard interface separate fittings, no O-rings.
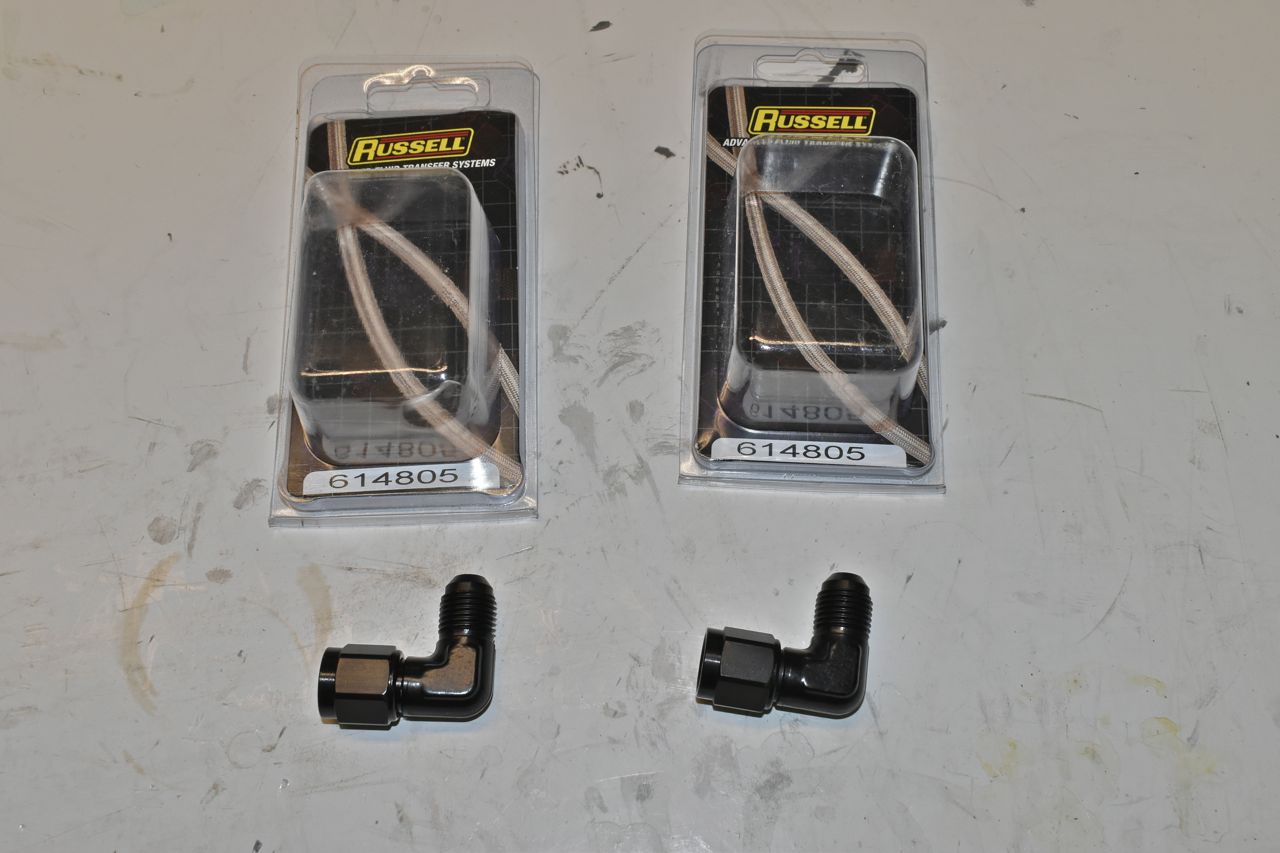
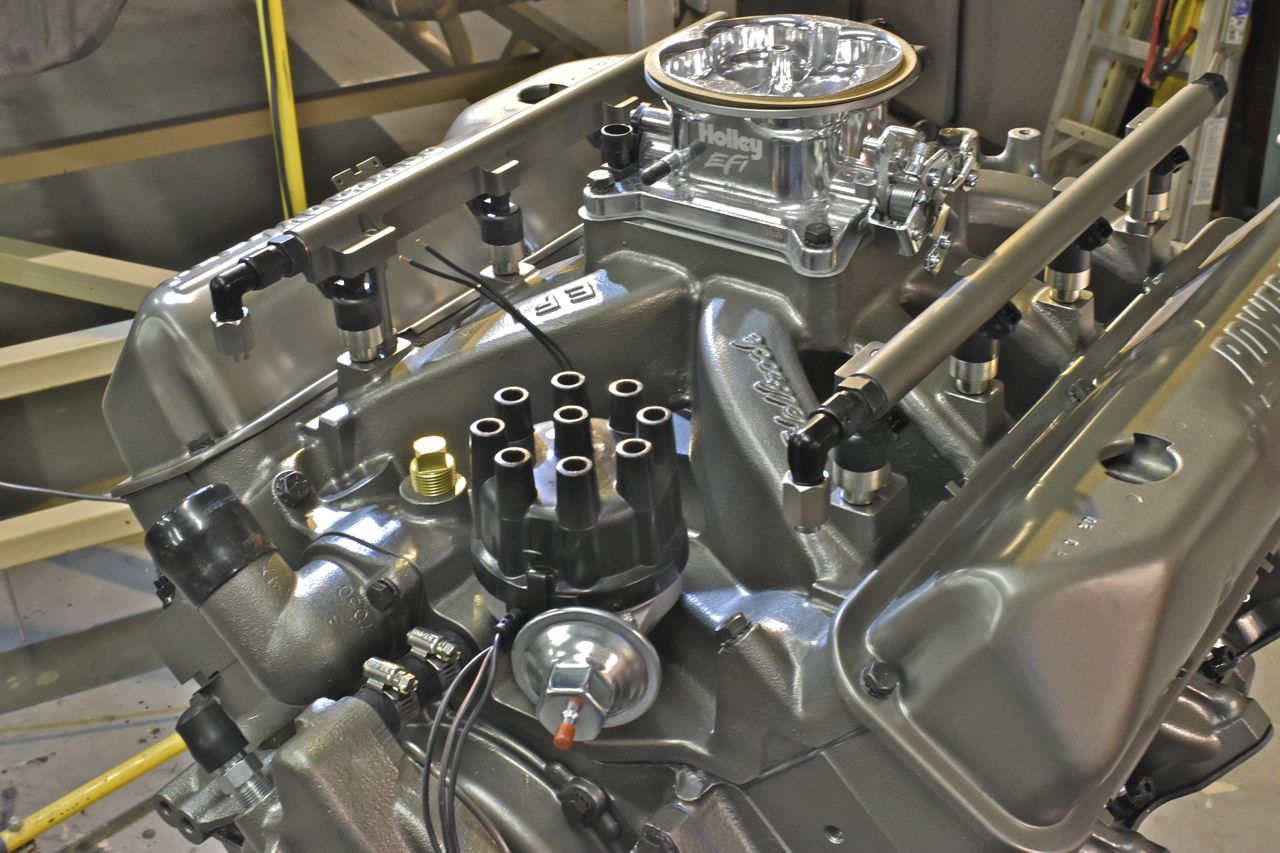
So on the back this is the plan; the fuel pump (in the tank) will push fuel up to the apron, then pass through a fuel filter then into the drivers side back rail, loop around to the front of the passenger side rail, then to a return regulator, then back to the tank.
Yuppers here we go again. I really want to use an OEM production car common fuel pressure regulator. This is the only one I could find to work with this. Otherwise it was generic aftermarket ones that hang on an apron or firewall and just looks tacky in my opinion, plus how well are they built comes to mind.
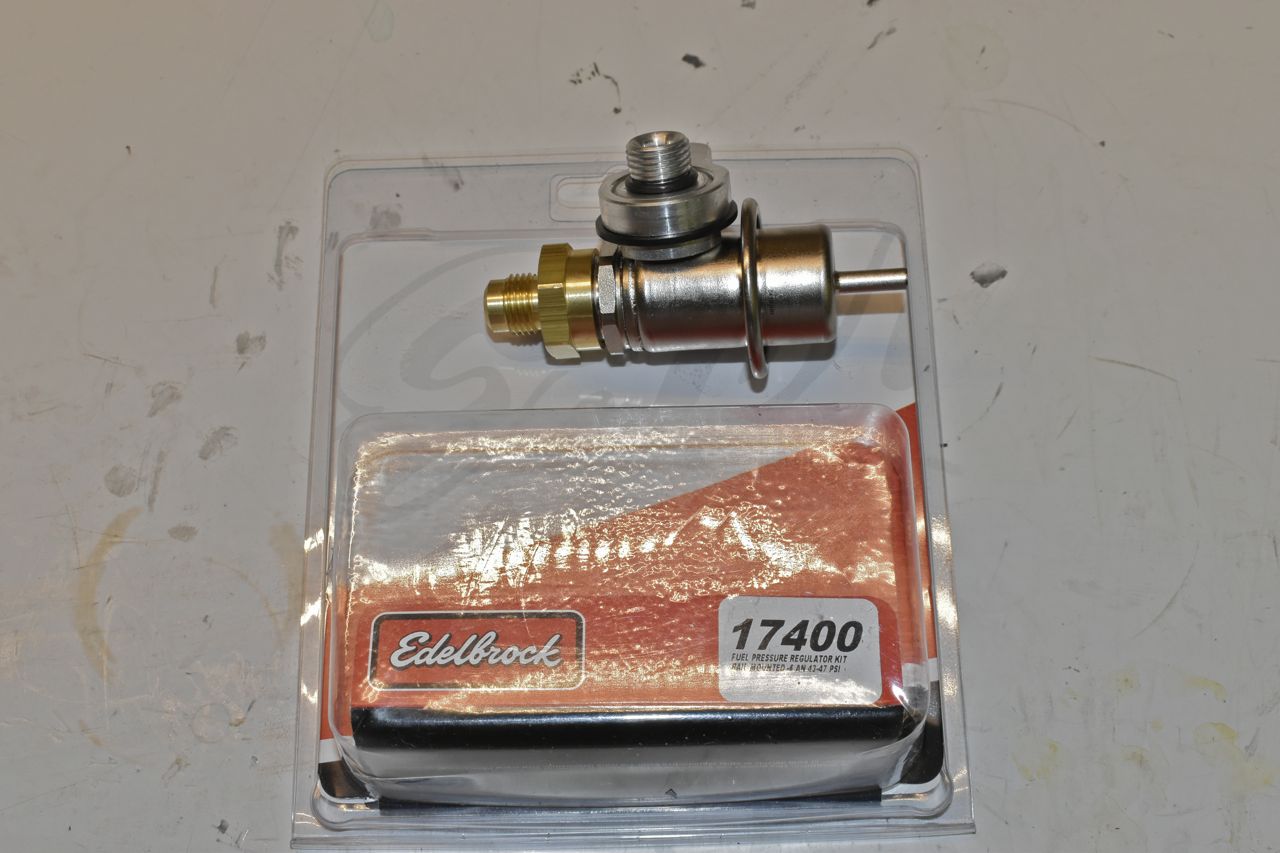
As much as I just love Edelbrock, they were the only ones to have this option of a common GM 43 PSI pressure regulator that would screw into the fuel rail and have the return fitting 6AN. Now the reviews on Summit were horrible for this... gee go figure. Sure enough what they said was true, but I after a quick quoting of what tooling it would take and materials to make a better set of adapter fittings, it's 3 times the price of this plus labour. So weirdly this was still the better way to go and just modify this to correct the problems.
So it would go here. I'm still working on it so it isn't ready for permanent installation yet.
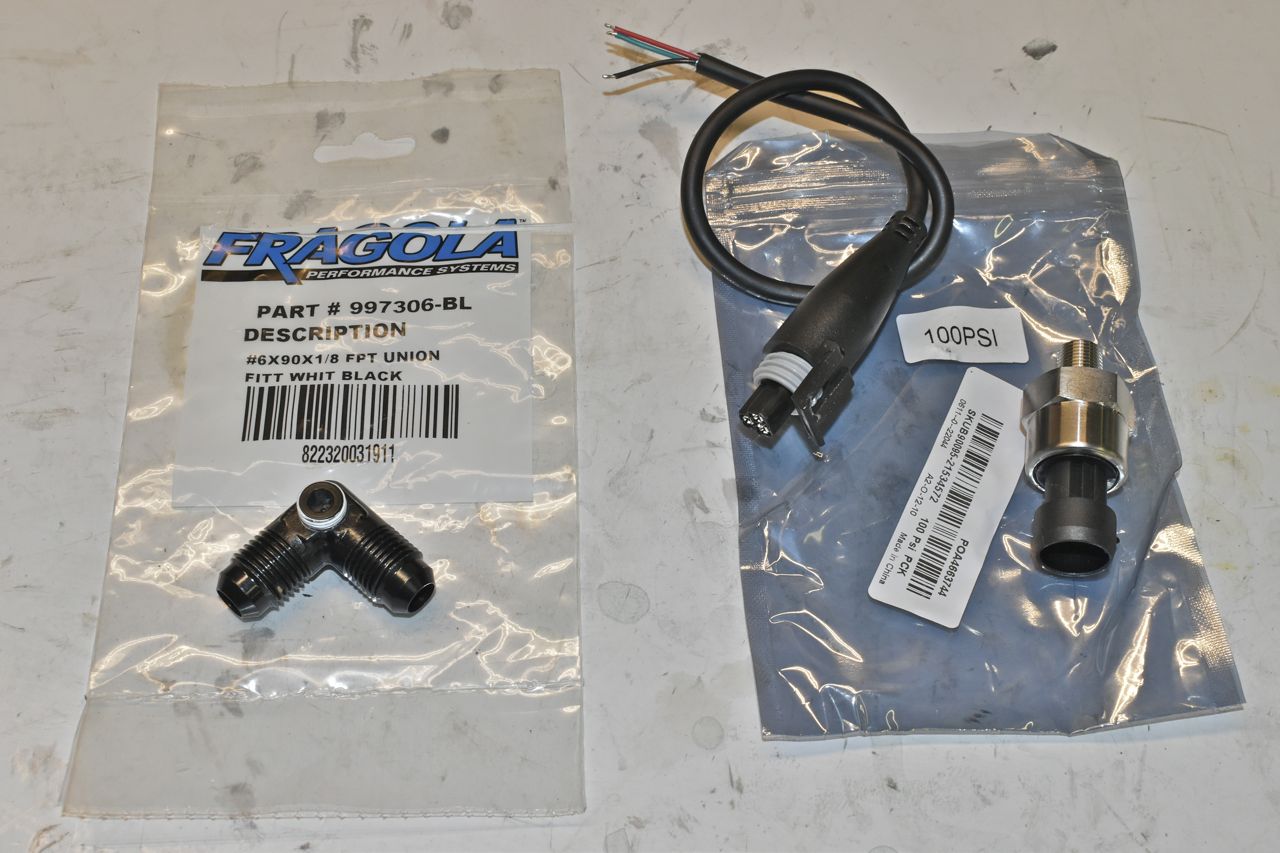
I do need to add a fuel pressure sensor, well not really as I could characterize the fuel pressure regulator to pressure vs manifold vacuum, but I thought why not just add the sensor anyway.
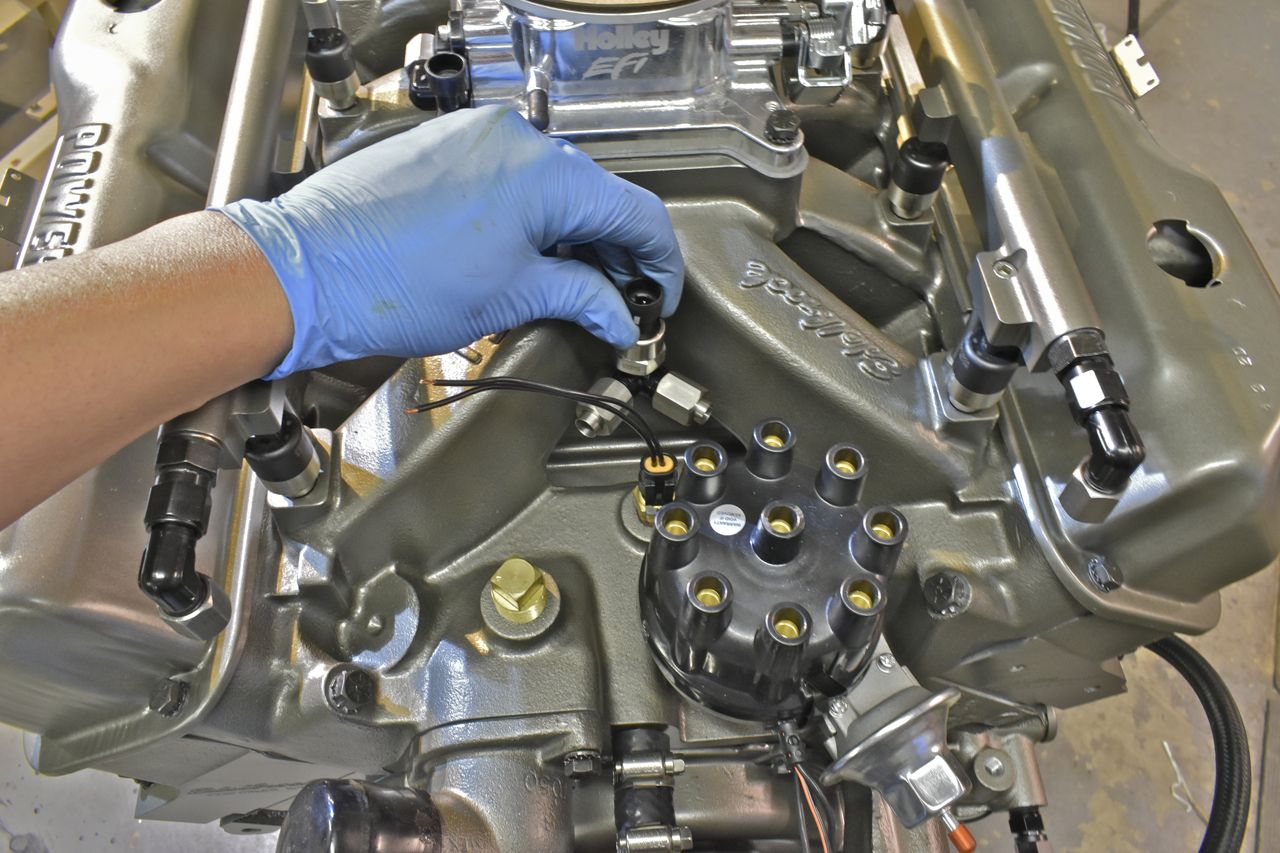
This isn't the exact sensor as this goes to 100 PSI, but I have a 60PSI one that looks just like it on the way. This is actually one of the oil pressure sensors (using this analog and secondary one that's the cars original).
It'll go here midway between both rails and sitting on the interconnecting line. All I need to do is cut, bend and AN flare some stainless 3/8" line.
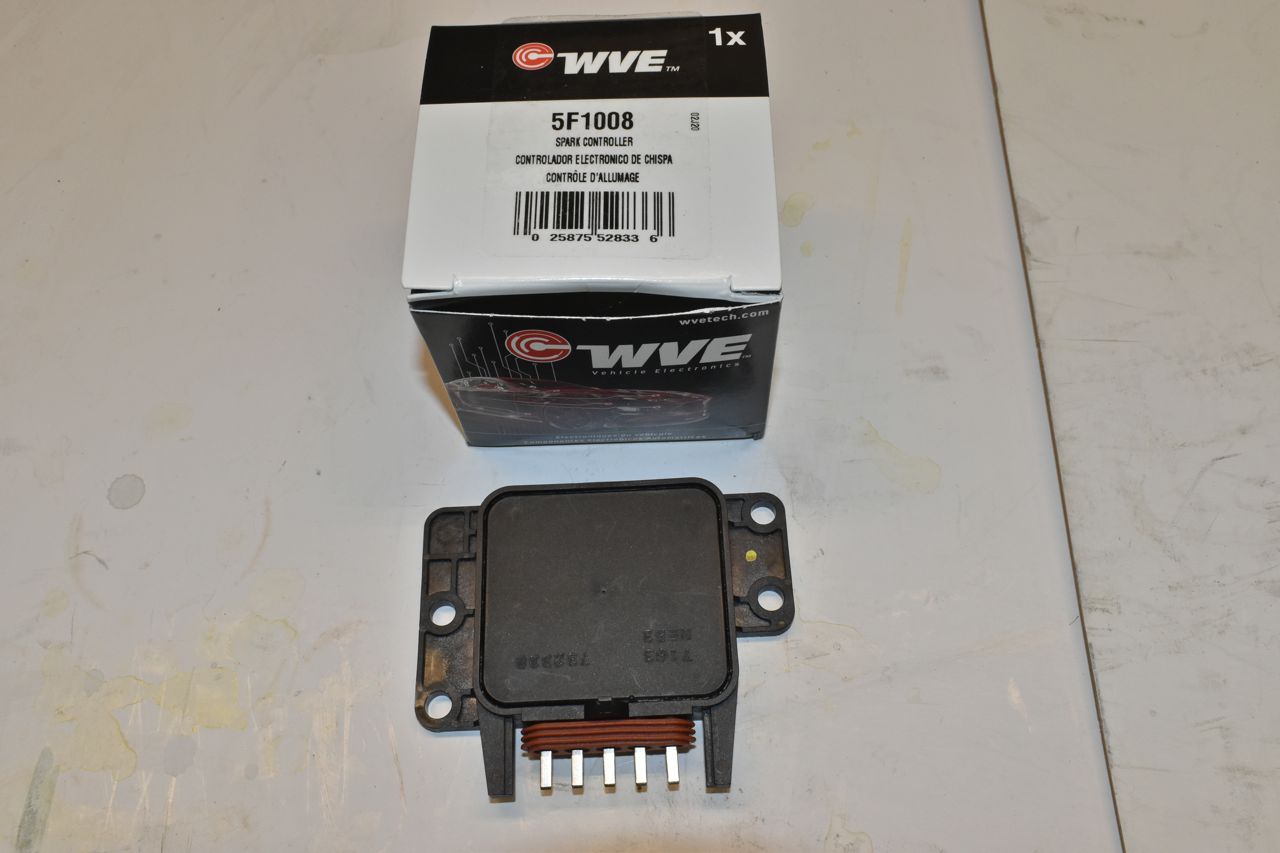
On the topic of sensors and modules I also bought this to experiment with:
The plan is still to develop my own ECU, but my fall back plan is to use MegaSquirt 3. This is the knock sensor module. The actual knock sensor is just a piezoelectric microphone and this modules listens with set thresholds, hysteresis, etc and sends out a logic change upon substantiated knock detection. So I can play with this in the lab and simulate inputs and characterize it as I'd like to just incorporate this function into my ECU.
Until next time.
Cheers
Click here to continue to part 49