1966 Ford Galaxie 500 XL Refurbishment : 060 Bucket Seat Floor Braces - Welding & Rust Protection
2023, November 14
1 - 2 - 3 - 4 - 5 - 6 - 7 - 8 - 9 - 10 - 11 - 12 - 13 - 14 - 15 - 16 - 17 - 18 - 19 - 20 - 21 - 22 - 23 - 24 - 25 - 26 - 27 - 28 - 29 - 30 - 31 - 32 - 33 - 34 - 35 - 36 - 37 - 38 - 39 - 40 - 41 - 42 - 43 - 44 - 45 - 46 - 47 - 48 - 49 - 50 - 51 - 52 - 53 - 54 - 55 - 56 - 57 - 58 - 59 - 60 - 61 - 62 - 63 - 64 - 65 - 66 - 67 - 68 - 69 - 70 - 71 - 72 - 73 - 74 - 75 - 76 - 77 - 78 - 79 - 80 - 81 - 82 - 83 - 84 - 85 - 86 - 87 - 88 - 89 - 90 - 91 - 92 - 93 - 94 - 95 - 96 - 97 - 98Bucket Seat Floor Braces
This part of the project was a bit time consuming. Hah, like what isn't...
Just a recap, so I needed to add the XL floor braces to this body that was originally factory fitted for a bench seat. Whilst this was a lot of work it was worth it from another view point; corrosion control as Ford left the enclosed areas of the braces in bare steel, which was starting to get a thick layer of rust.
Even though the end supports are the same for bench and bucket I wanted to use the complete set from one car, so the complete set from the XL will be used.

This is very time consuming as you want to be as careful as possible when drilling out the resistance welds otherwise you could make this job much harder and much longer.

I start with using all kinds of light and then use a wire brush and or sandpaper to highlight the dimples in the factory spot welds. I then use a Sharpie to mark the centre.

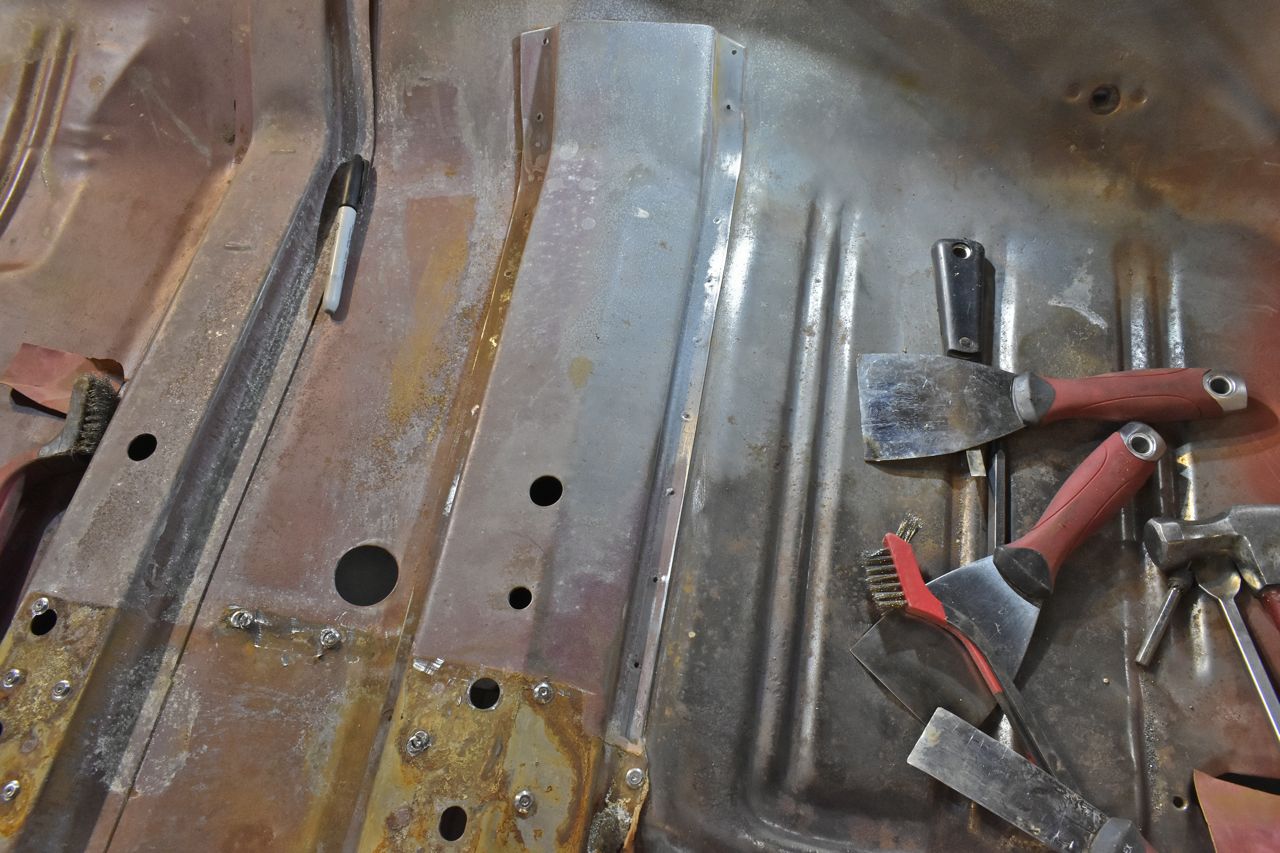
I then centre punch each spot weld, after which I used a small drill bit to make a feasible deep dimple without hitting the underlying floor sheet metal. After that I used the spot weld drill bit to very carefully drill only as needed to release the top brace. I used a hardened putty knife and gasket scraper to force in between the two welded parts to put pressure to help see if I'm deep enough with the cutter or if I'm off centre. This takes time to do each one. You don't want to drill into the floor sheet metal. Sometimes it happens and you have to fix that after the brace is off.
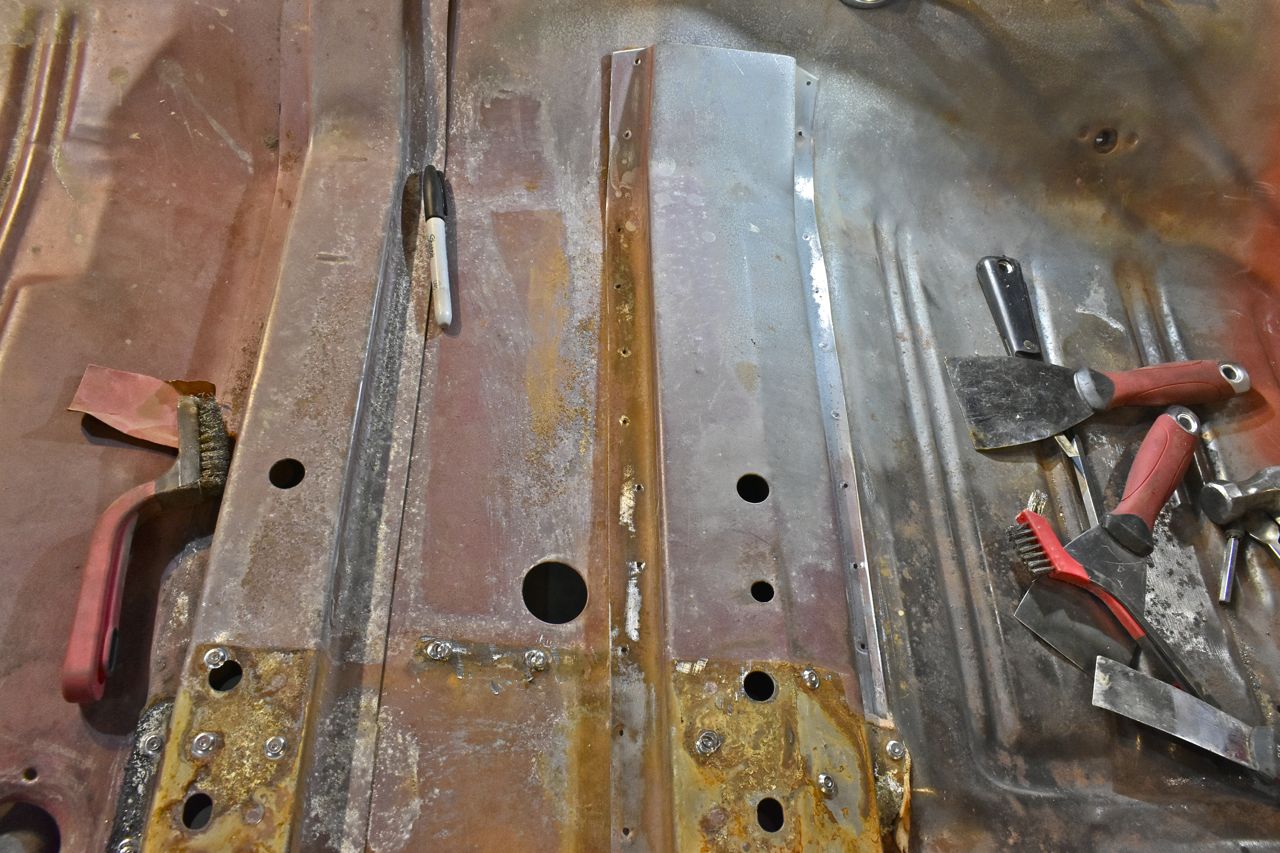
If you go to deep as a few of them I did on this side, you can build it back up with weld (using 0.025" MIG wire with CO2/AR mix gas) then grind carefully back down.

I was a bit overzealous on this side.

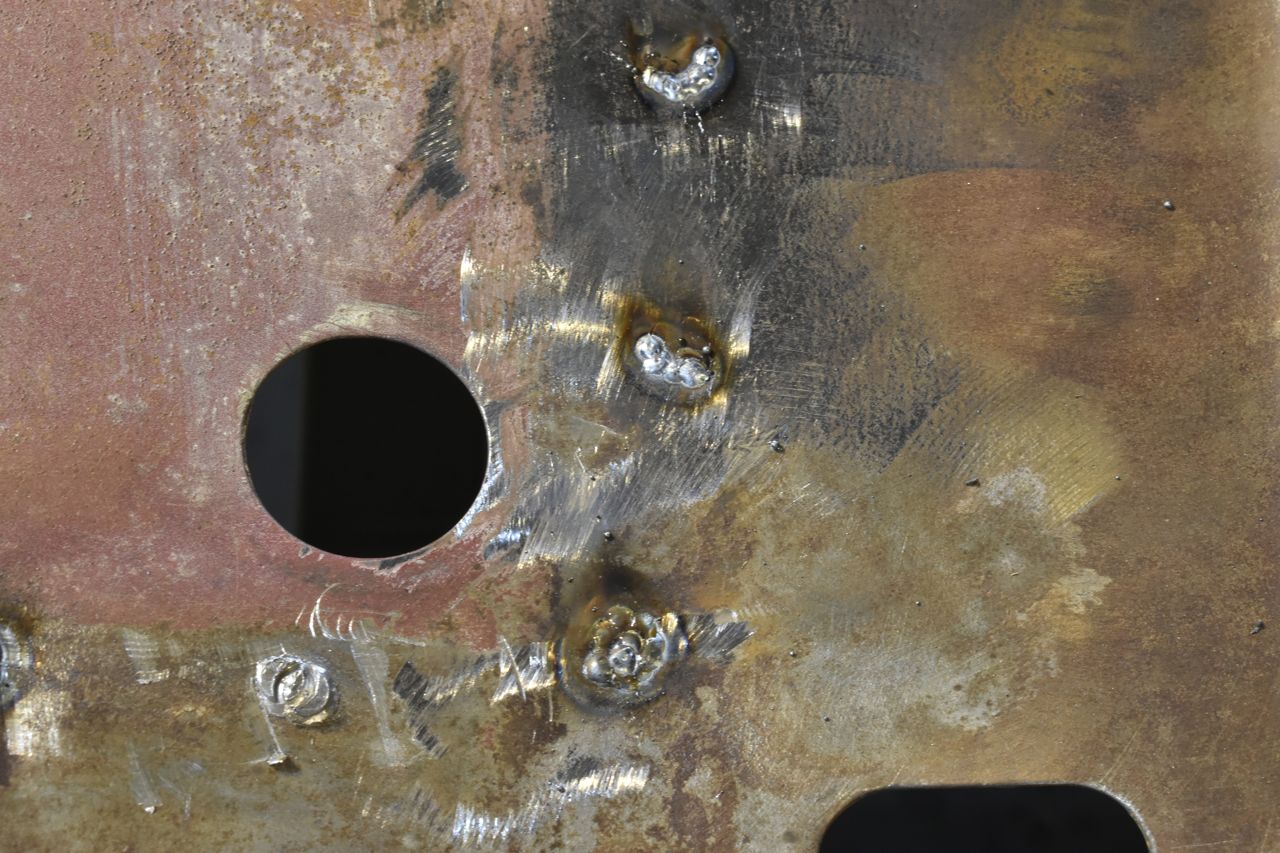
To cut the centre of the old spot weld and grind any welding needed to build it back up level, I used a regular cut off wheel to cut most of it, then used a tiny air belt sander to blend the rest down.

There was a good coating of rust on the bare steel over the years. Those seat plugs dry out and fall off, then road debris, water and salt can enter the enclosed brace area and sit on bare steel. Fortunately this was a Southwest car and I caught it in time, but I have a '68 XL from Colorado Springs (seemed to be from there all its life) and the floor rust started from inside the braces and spread out. Very large sections of the heavy braces are completely rotted away on that car.
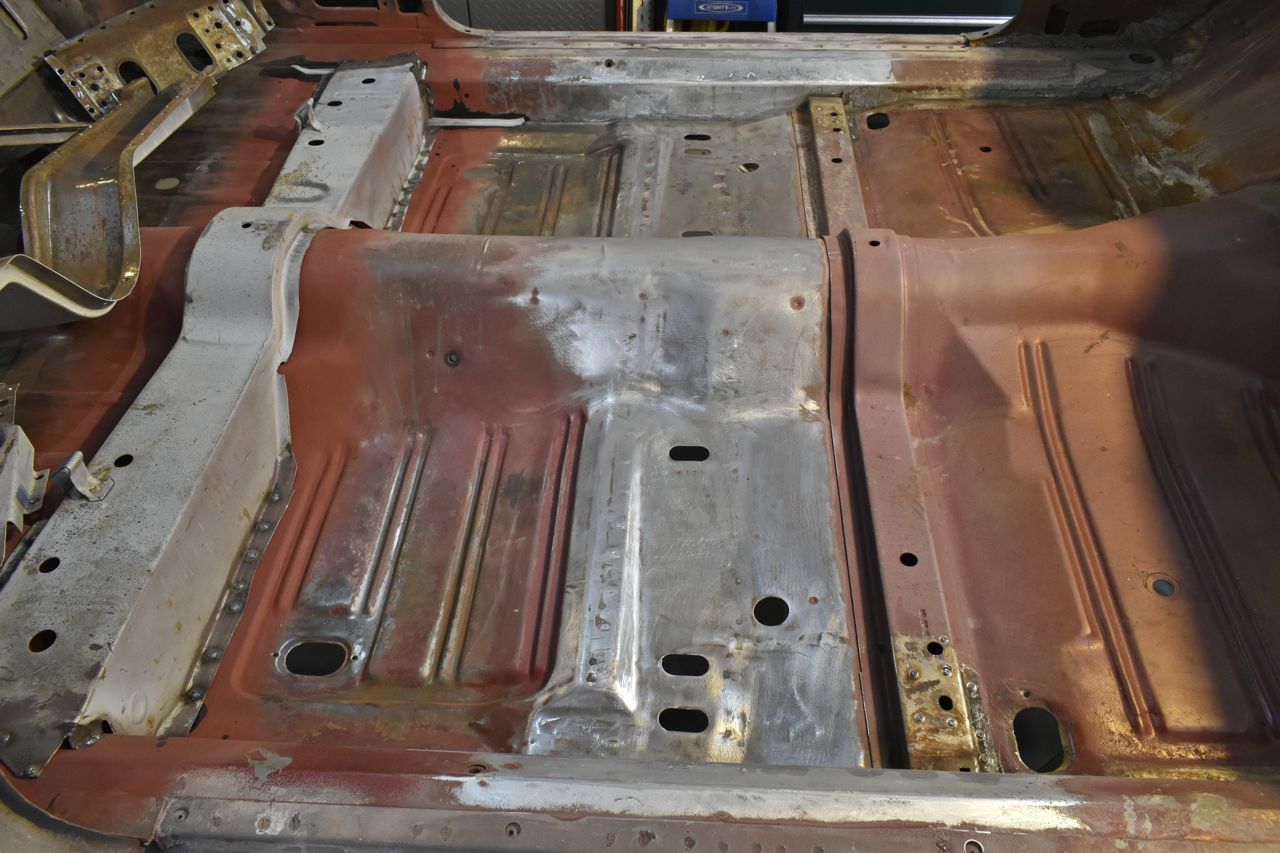
Weld through primer used.
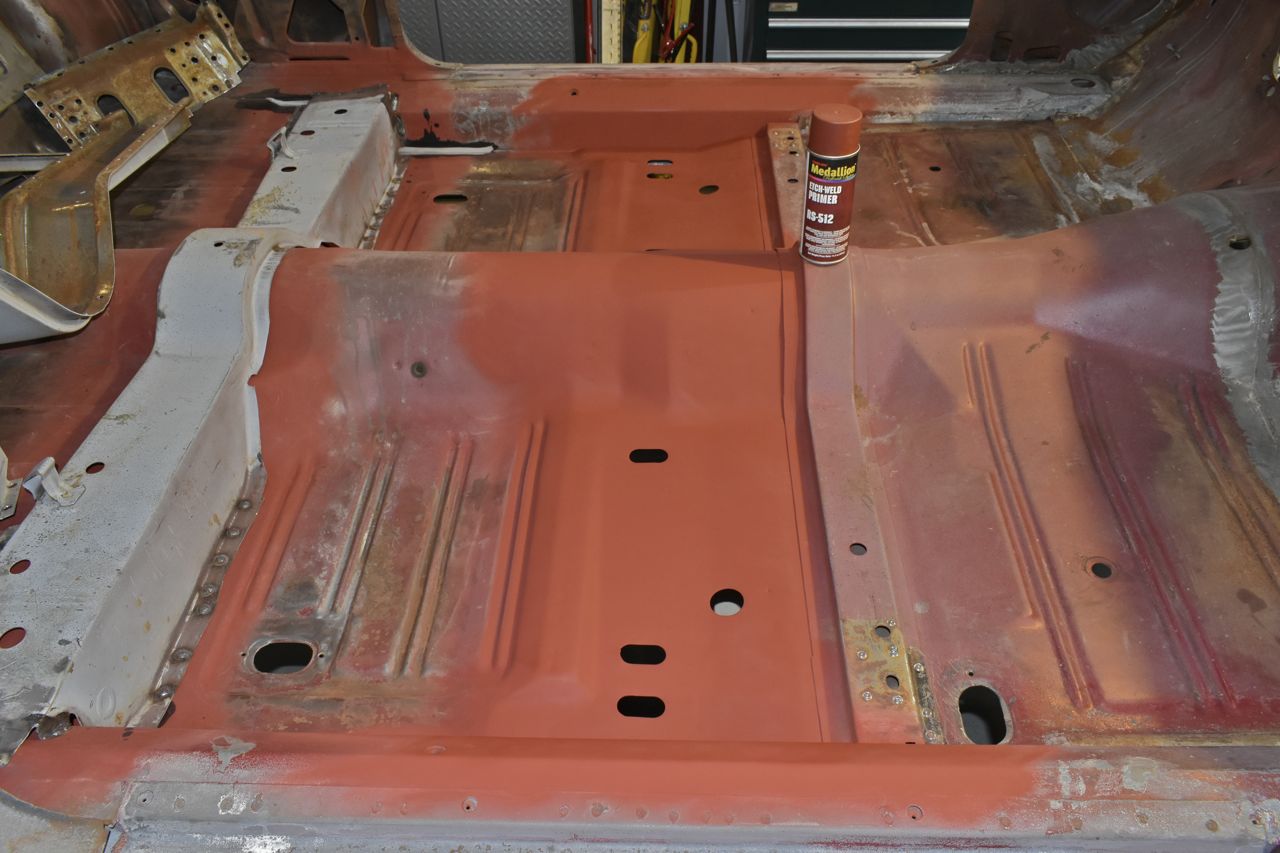
Just a recap, the '66 gal 500 XL and 7 Litre models use a full length rear brace and a reinforced front brace.
I've knelt on the rear bench seat brace where the bucket seat would normally attach and the floor does move a bit, you really need that full brace to properly support the bucket seat.

There's the difference in the front brace.


I used POR 15 on the floor to rocker seam, then once that dried I used urethane seam sealer to further seal it.
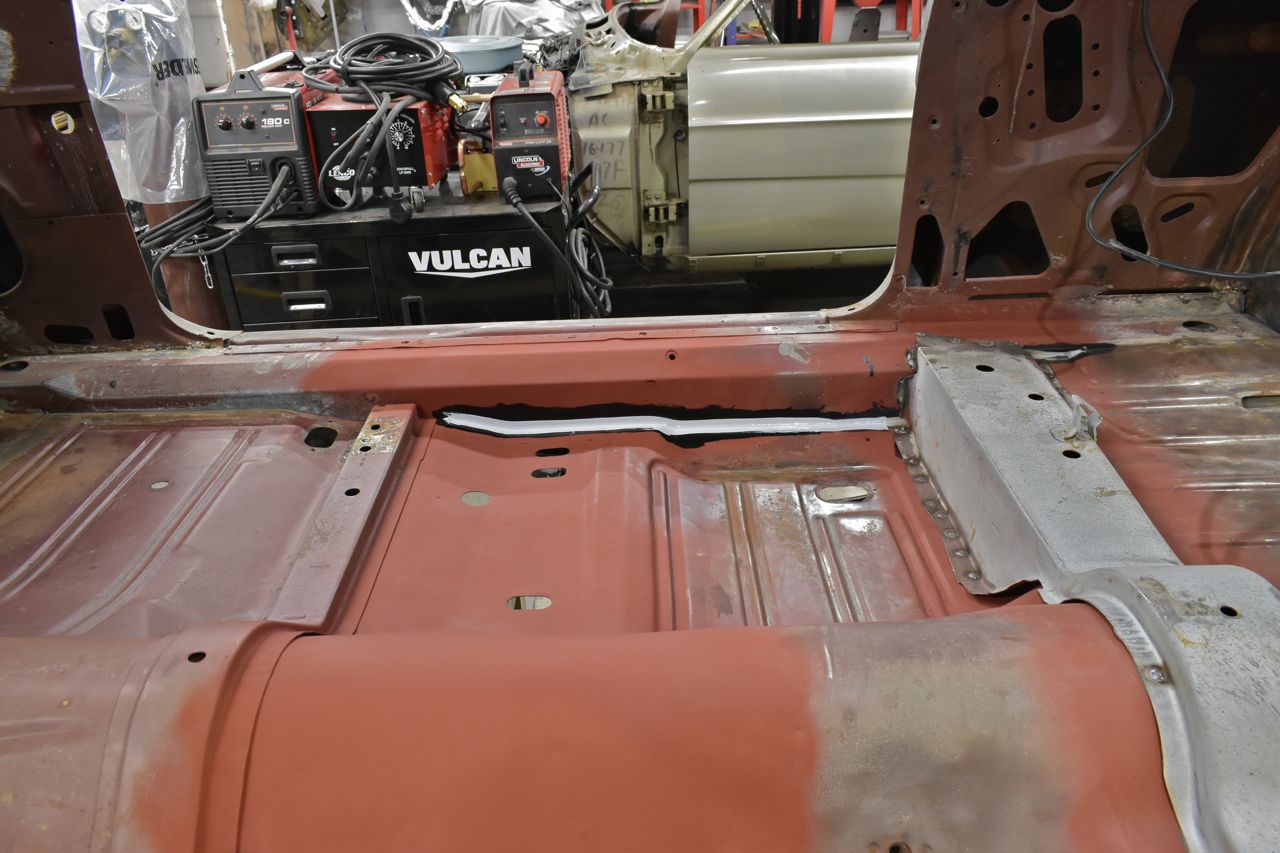

You can see it's just bare steel and this needs to be stripped and primed.
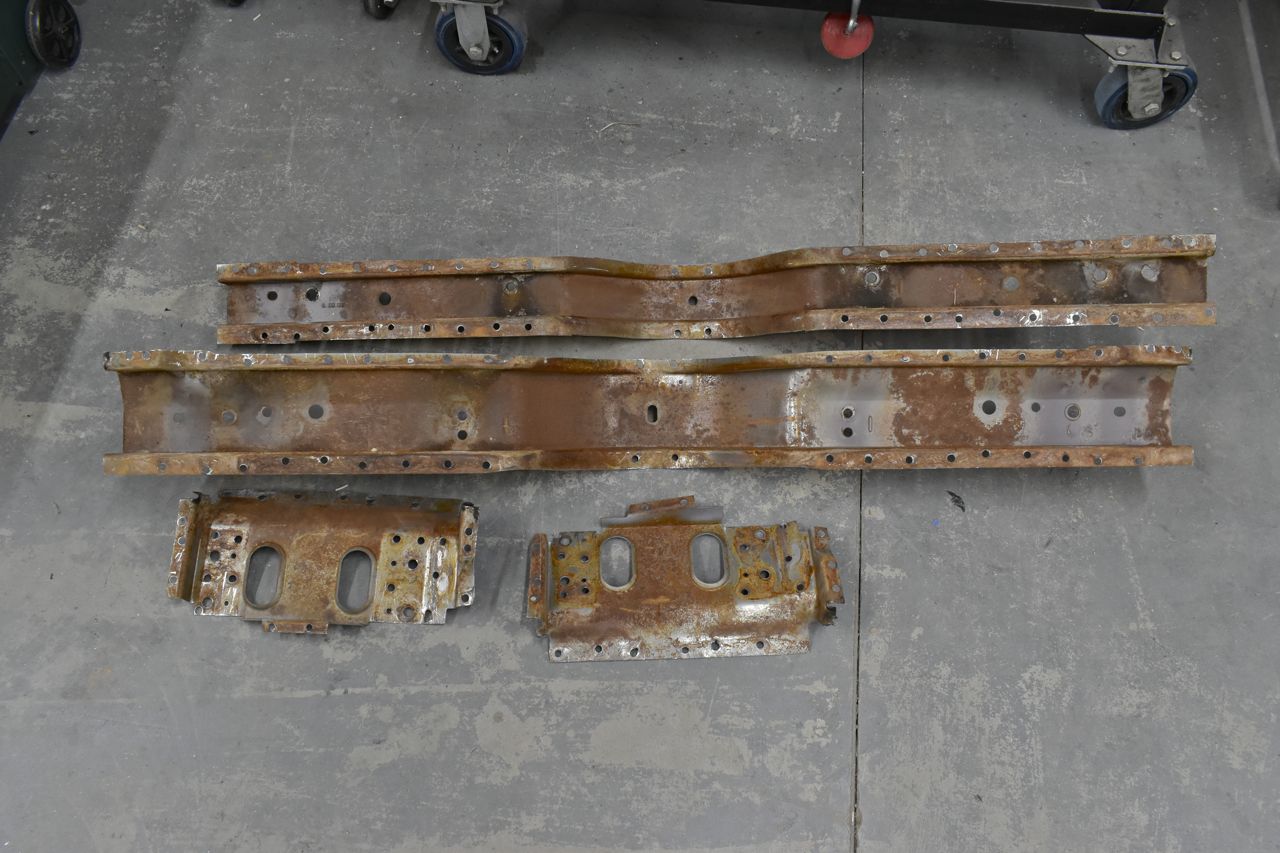
Getting there, it's still a snowy mess outside so sandblasting outside is out of the question so I'll have to do this the old fashioned way.


Done.

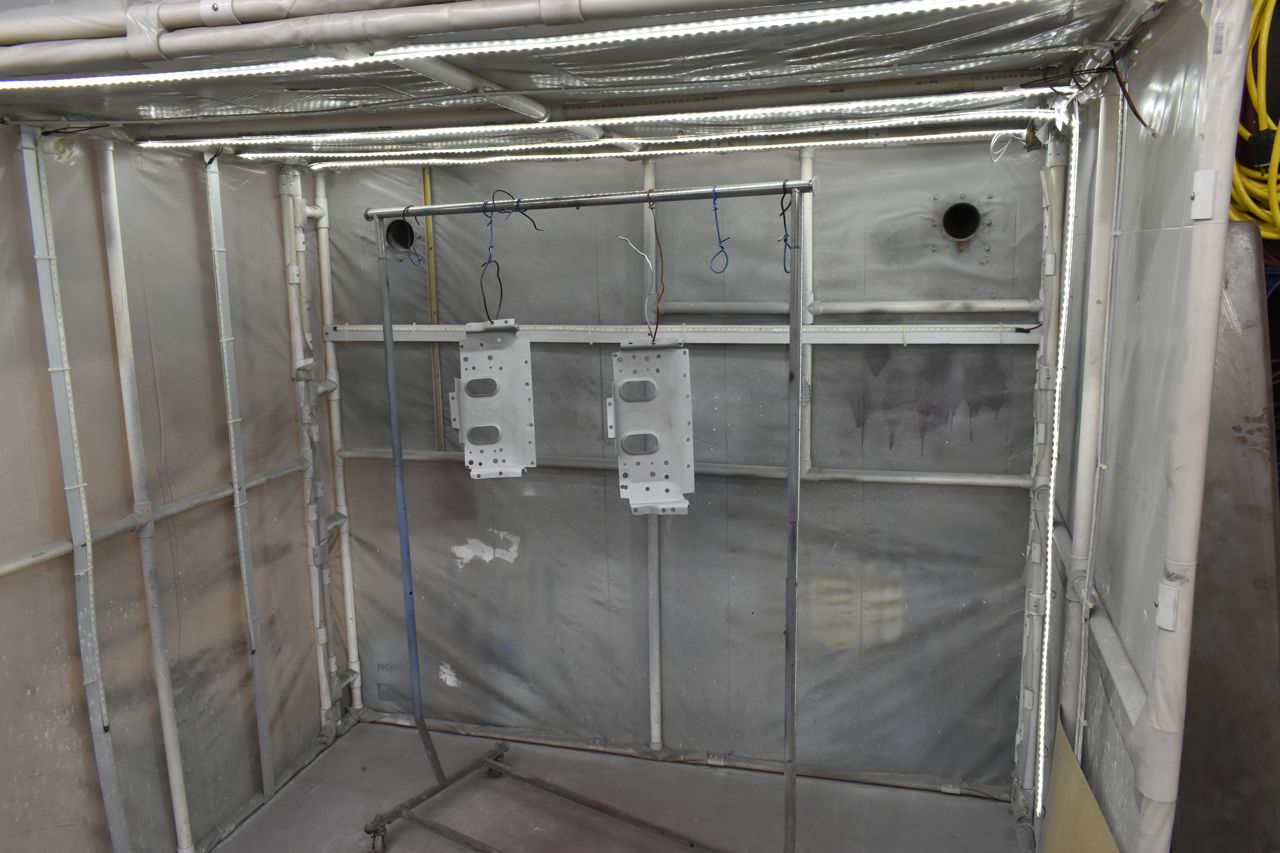
The end braces were easier as they fit in my regular sand blasting cabinet.

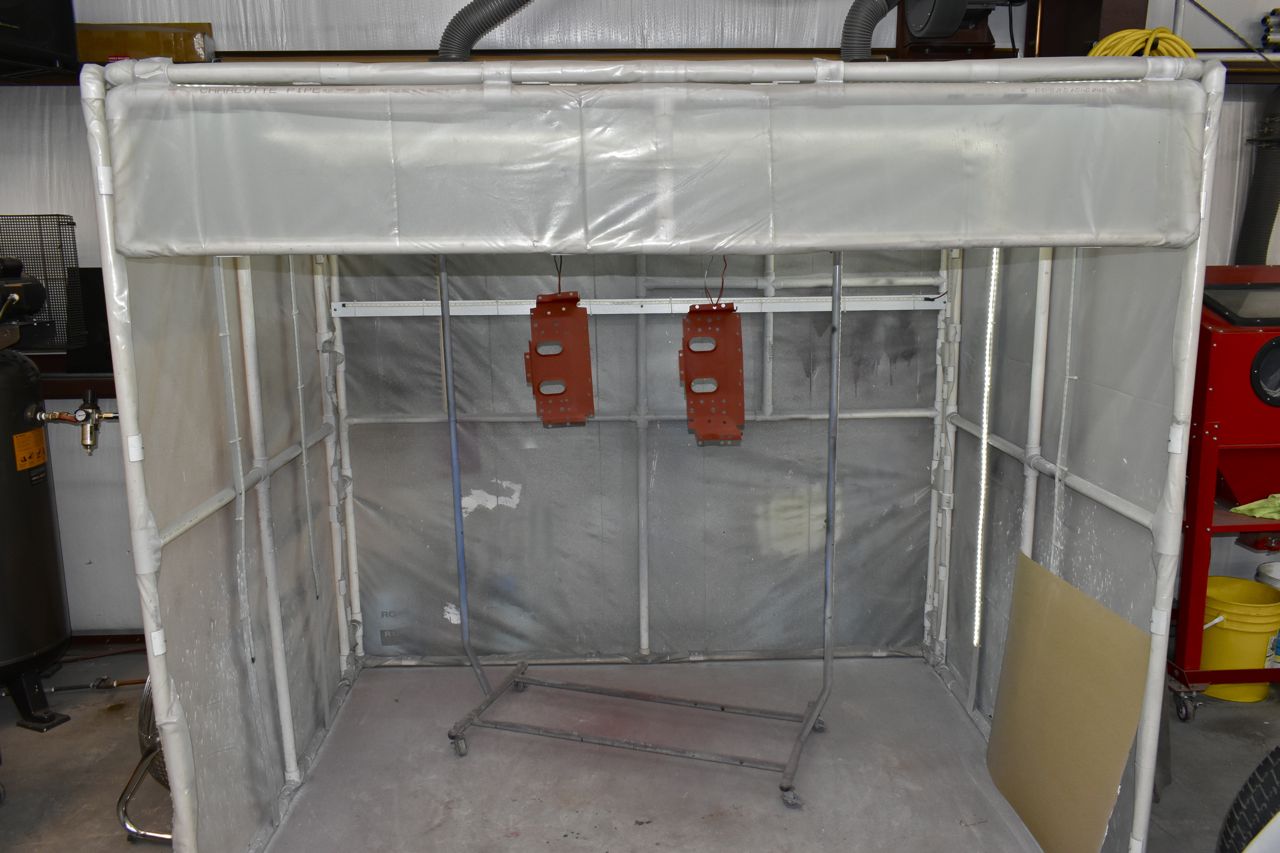
To locate the rear brace I used the bench seat holes which are 1/2" dia holes and 1/2" bolts are snug. They are tightened underneath.

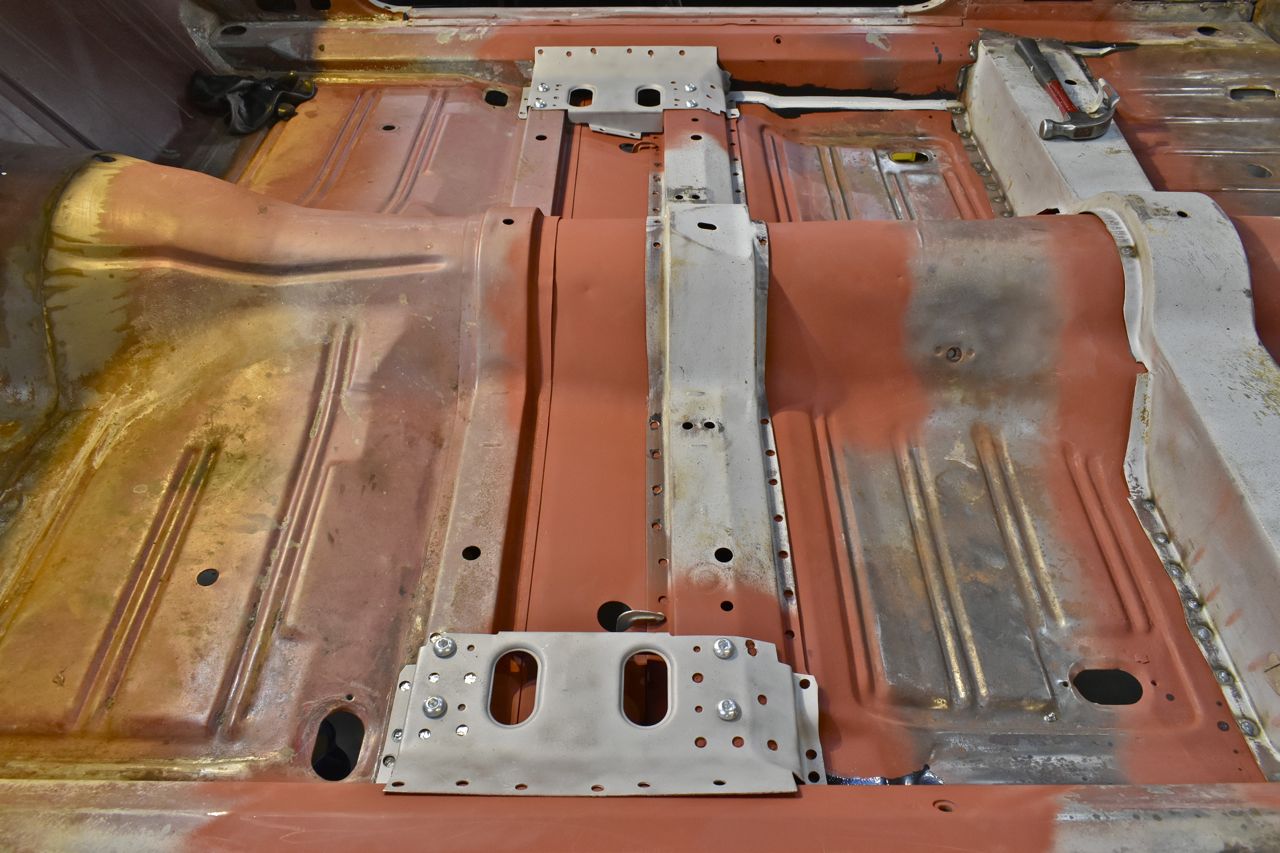
Using a floor jack with a with piece of wood propping the pan up under each plug weld I knelt on the brace from atop forcing the two metals tightly together for the weld. It took a while to move the jack and wood for each plug weld then climb back in. Once that brace was done the front one was removed and the process repeated.


That was a lot of bloody plug welding. This time my better half helped me as the one under the car moving the jack and wood prop whilst I was atop welding. Much faster with two people.
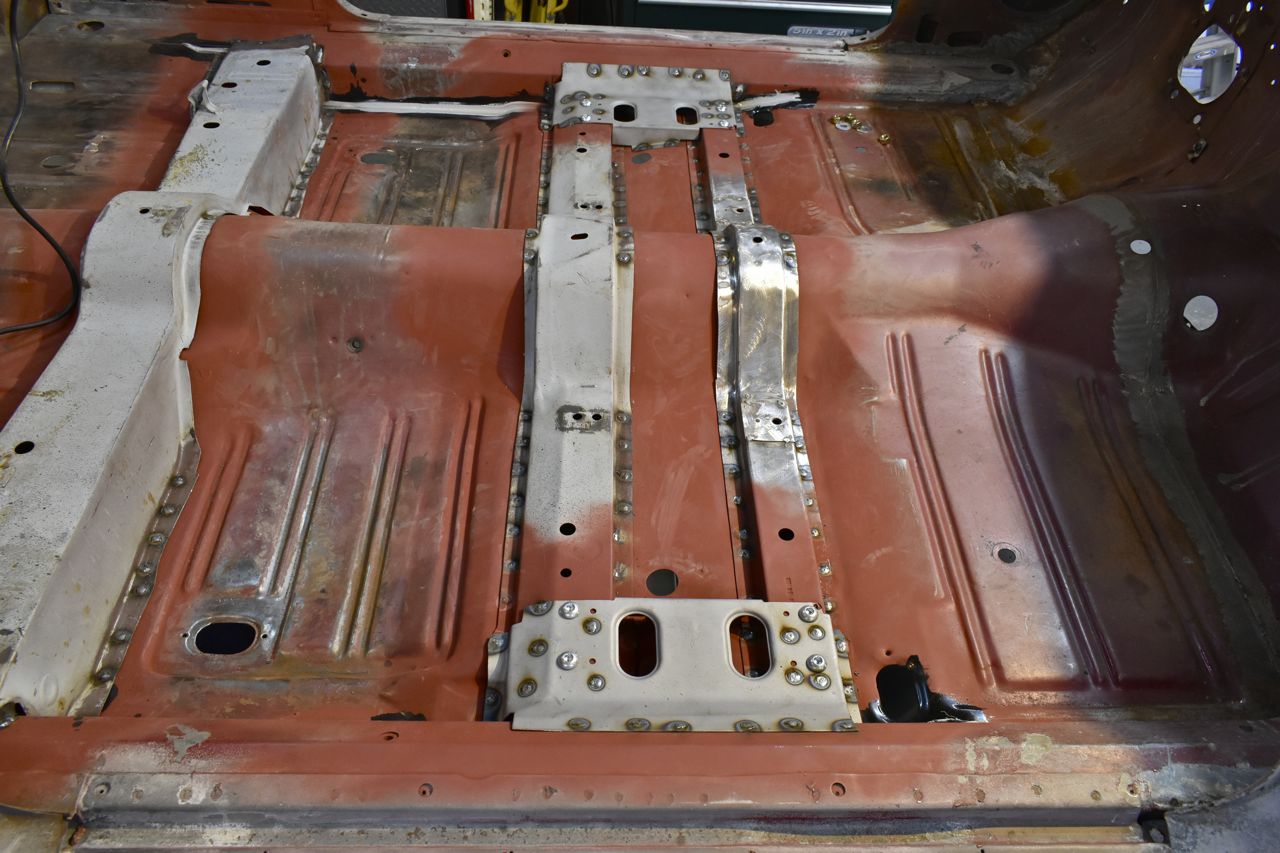
The complete bench seat bracing.

I still have to dress some of the welds on the tops of the end brackets but the pain in the butt part is done.

More to come.
Cheers
Click here to continue to part 61