1966 Ford Galaxie 500 XL Refurbishment : 071 Front Seat Assembly - Driver's Side
2023, November 14
1 - 2 - 3 - 4 - 5 - 6 - 7 - 8 - 9 - 10 - 11 - 12 - 13 - 14 - 15 - 16 - 17 - 18 - 19 - 20 - 21 - 22 - 23 - 24 - 25 - 26 - 27 - 28 - 29 - 30 - 31 - 32 - 33 - 34 - 35 - 36 - 37 - 38 - 39 - 40 - 41 - 42 - 43 - 44 - 45 - 46 - 47 - 48 - 49 - 50 - 51 - 52 - 53 - 54 - 55 - 56 - 57 - 58 - 59 - 60 - 61 - 62 - 63 - 64 - 65 - 66 - 67 - 68 - 69 - 70 - 71 - 72 - 73 - 74 - 75 - 76 - 77 - 78 - 79 - 80 - 81 - 82 - 83 - 84 - 85 - 86 - 87 - 88 - 89 - 90 - 91 - 92 - 93 - 94 - 95 - 96 - 97 - 98Front Seats Restoration Part 5
We finally finished the front seats. Turns out the drivers side had broken seat tracks that I didn't even catch because they were covered in nasty. Let's face it that whole car was just covered in nasty.
It's still smokey at times here because of the New Mexico fires, so some days it's best to work inside with the windows closed and air con on. Perfect for upholstery.
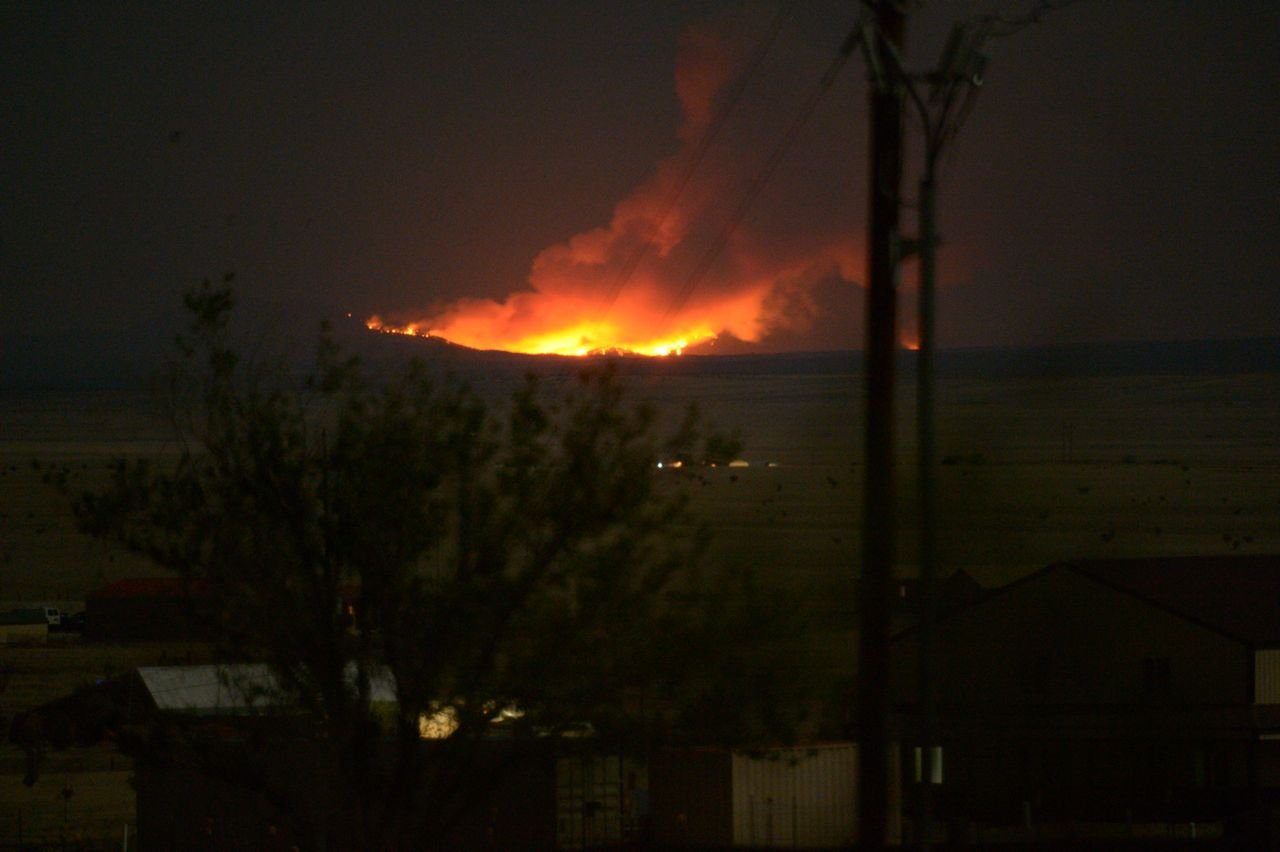
Just a quick side track, here's the fires from our front porch. Kind of cool photos.
That's a 200 mm telephoto.
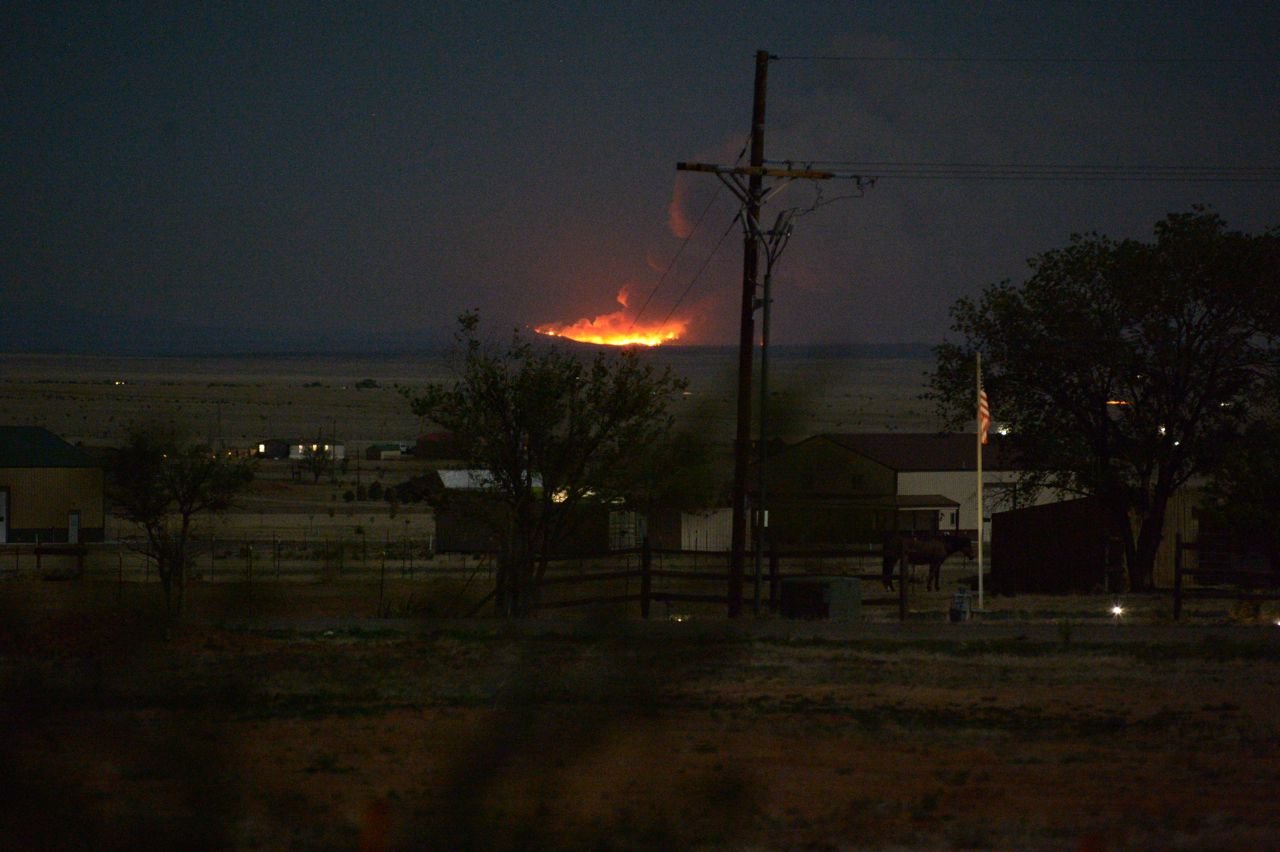
And a 500 mm telephoto. My better half is an avid photographer and took these shots. That fire was so hot they were reporting that trees 1/2 mile in front of the fire line were exploding from the quick boiling of water and sap. They stopped the aeronautical dropping of water on the main fire because a 2000 gal water drop never made it to the ground. Now that's hot!
Anyway back to the ol galaxie.
The drivers seat:
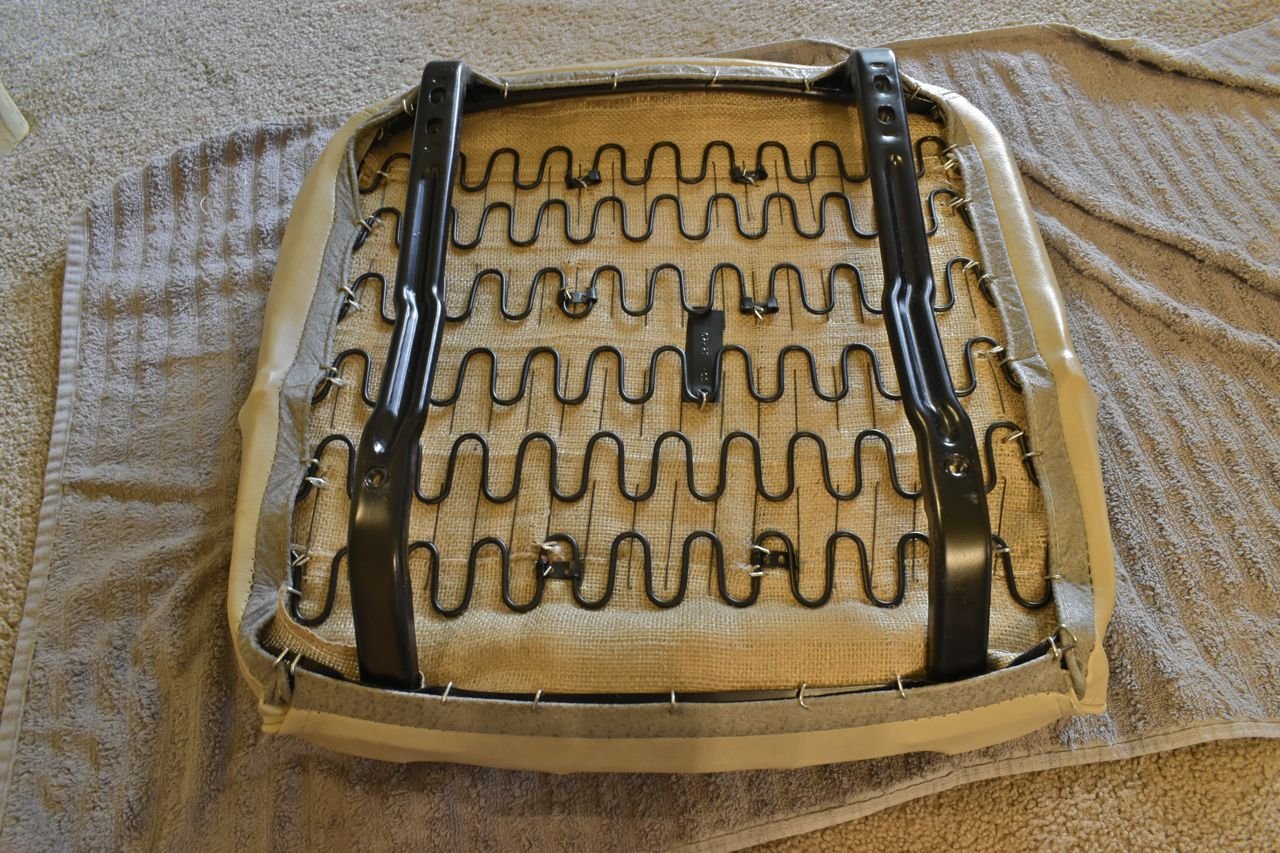
That's the main section of the seat bottom done, it sat and stretched whilst we worked on the top.

This is the old burlap with the rods.
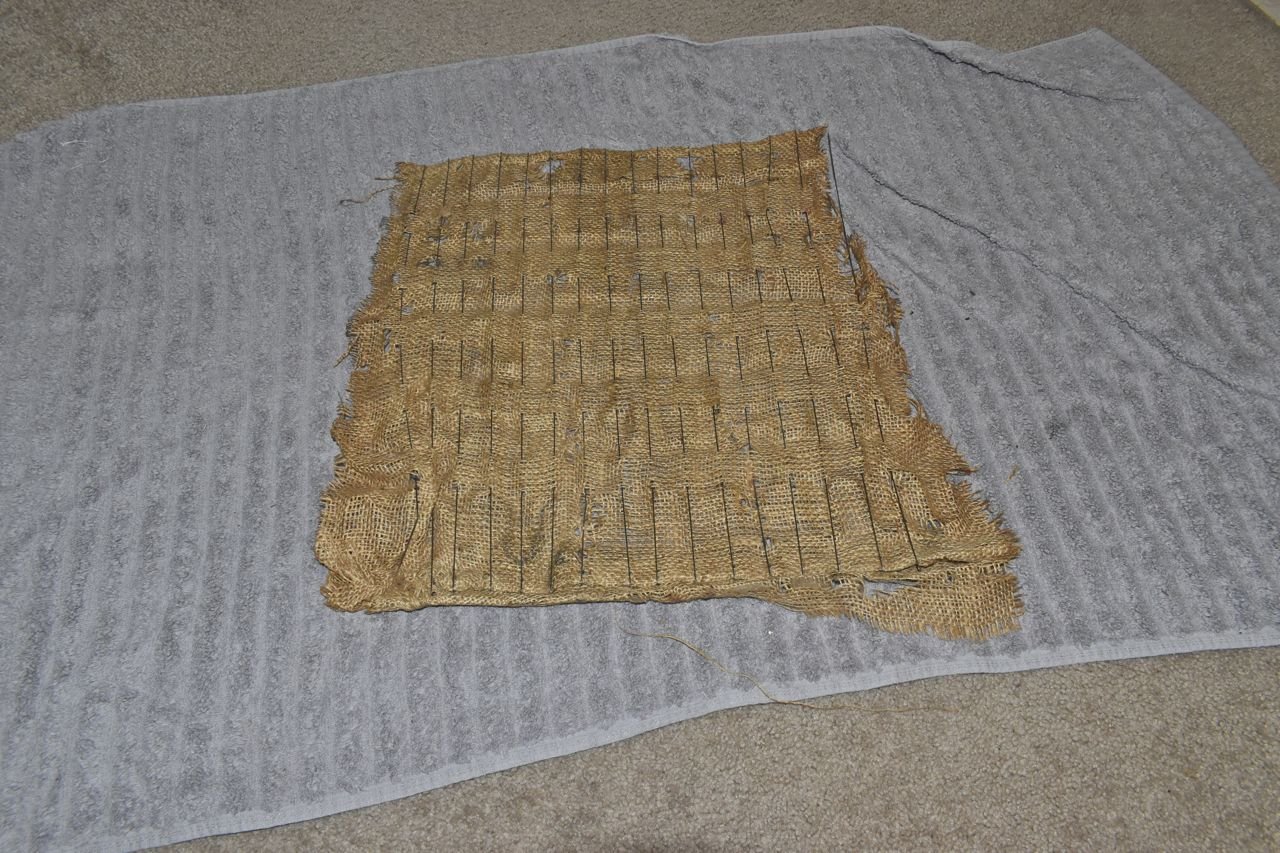
Old rods in new burlap.
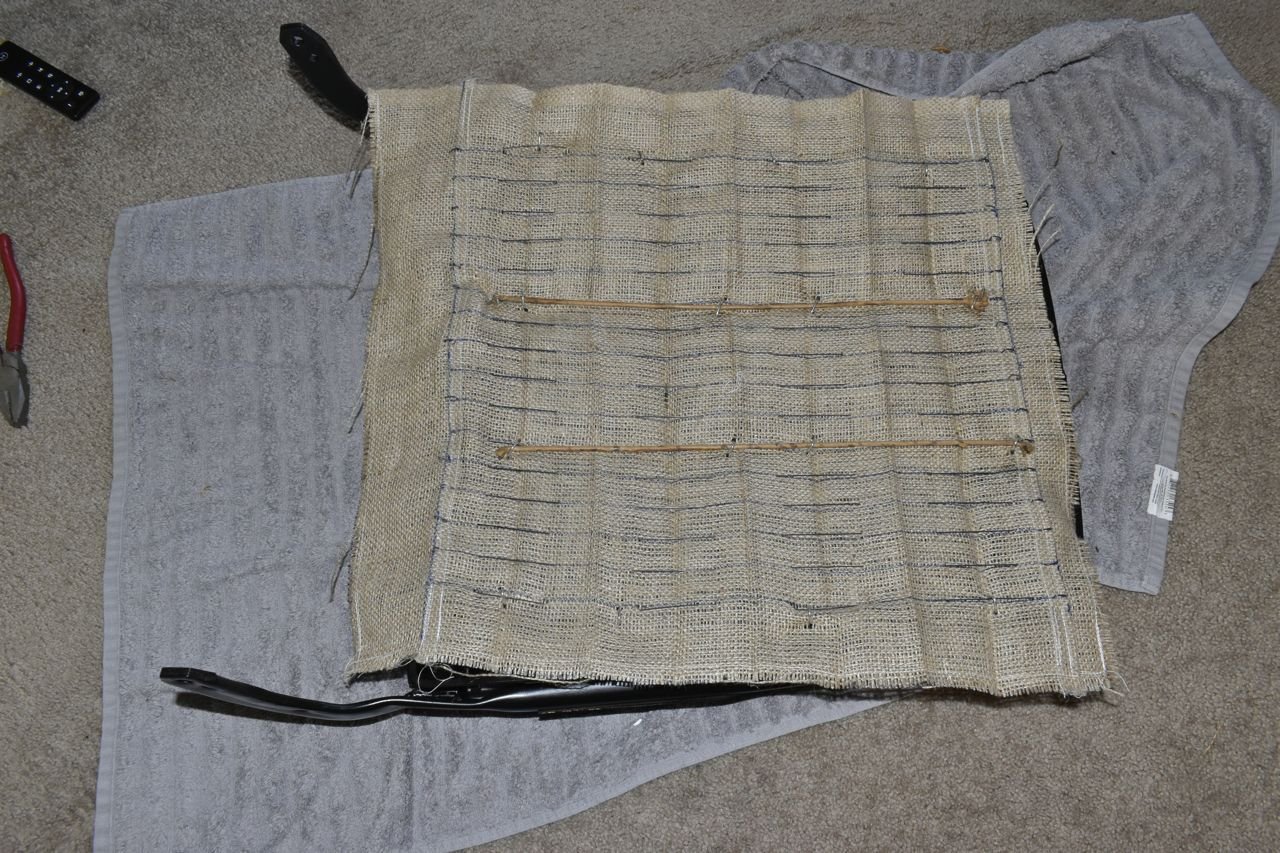
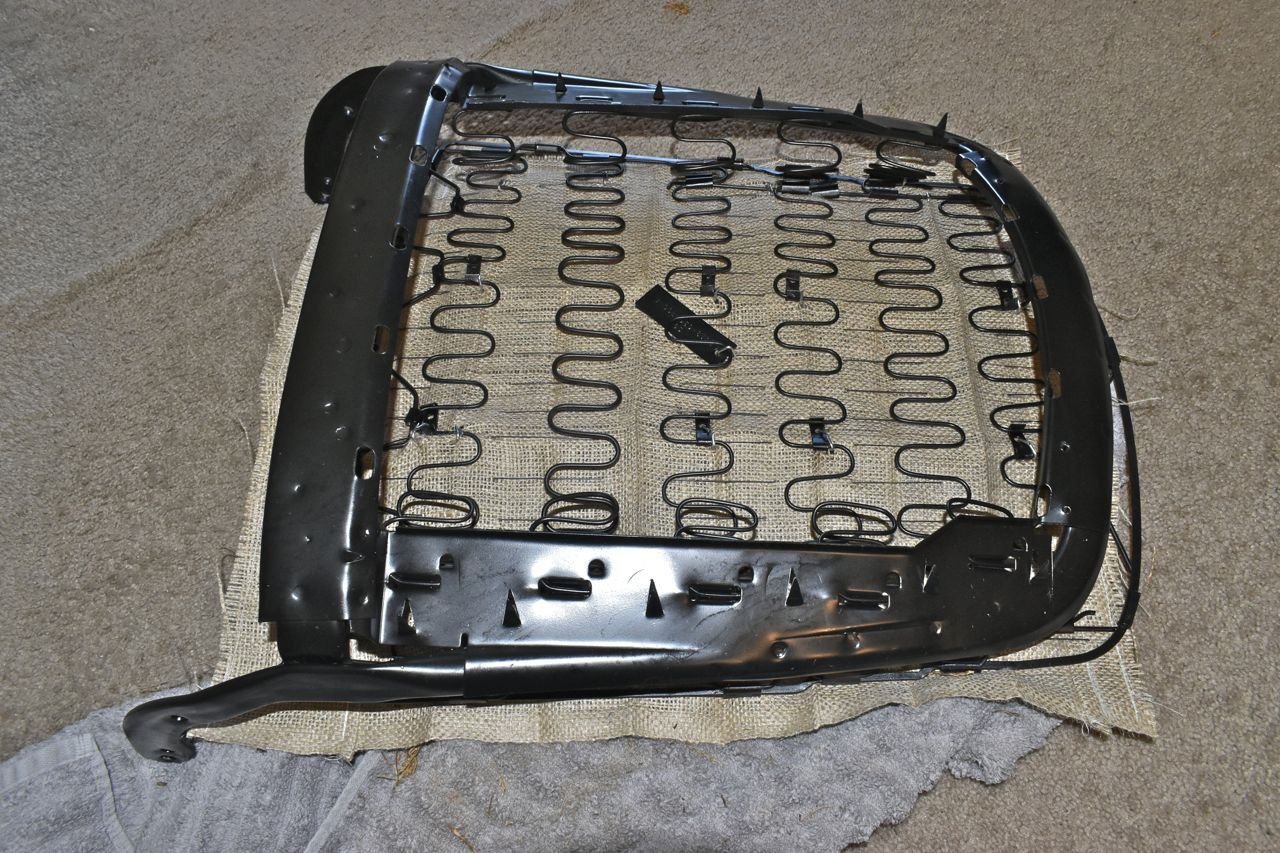
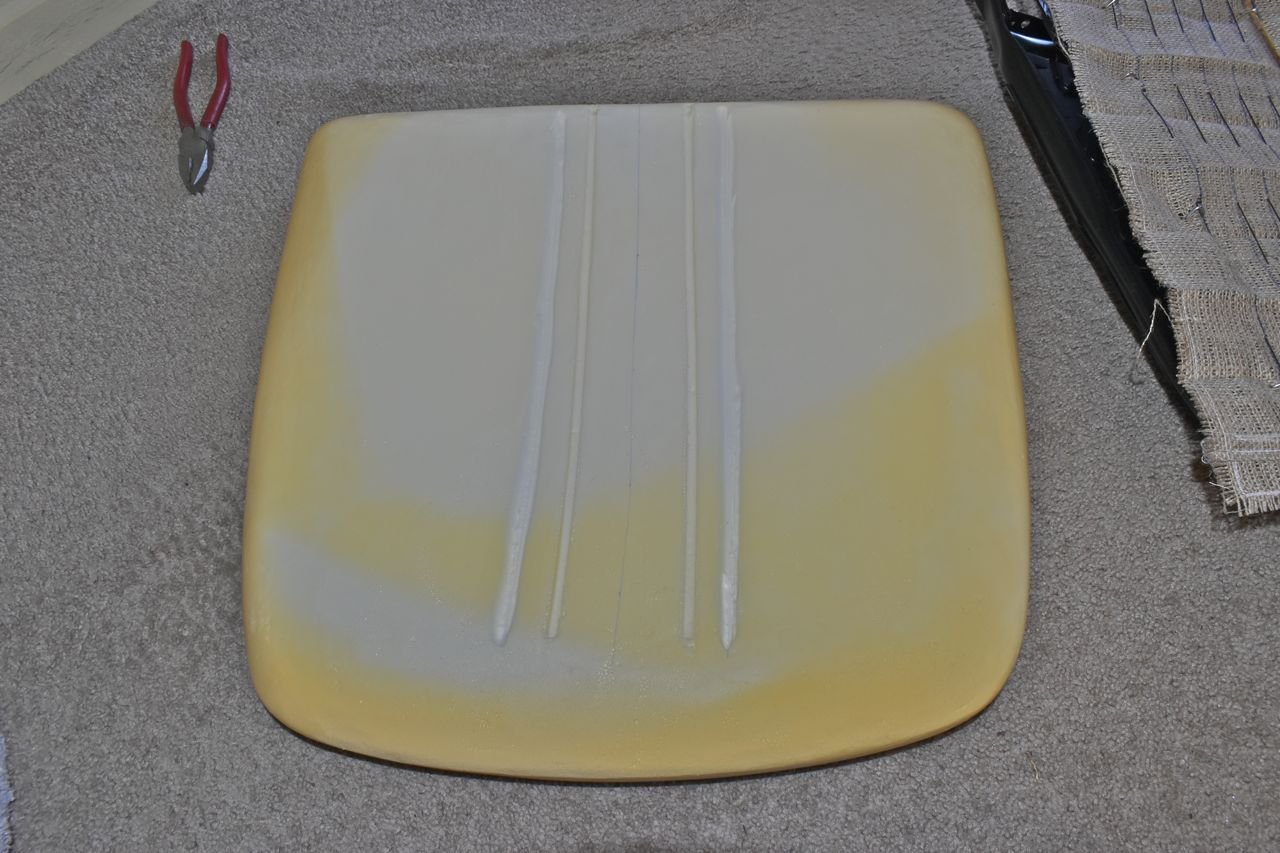
Slicing new channels in the 1965 foam for 1966 seat covers.
The seat cover with the rods in the seat cover tied back to the rods in the seat frame and the upper burlap area installed.
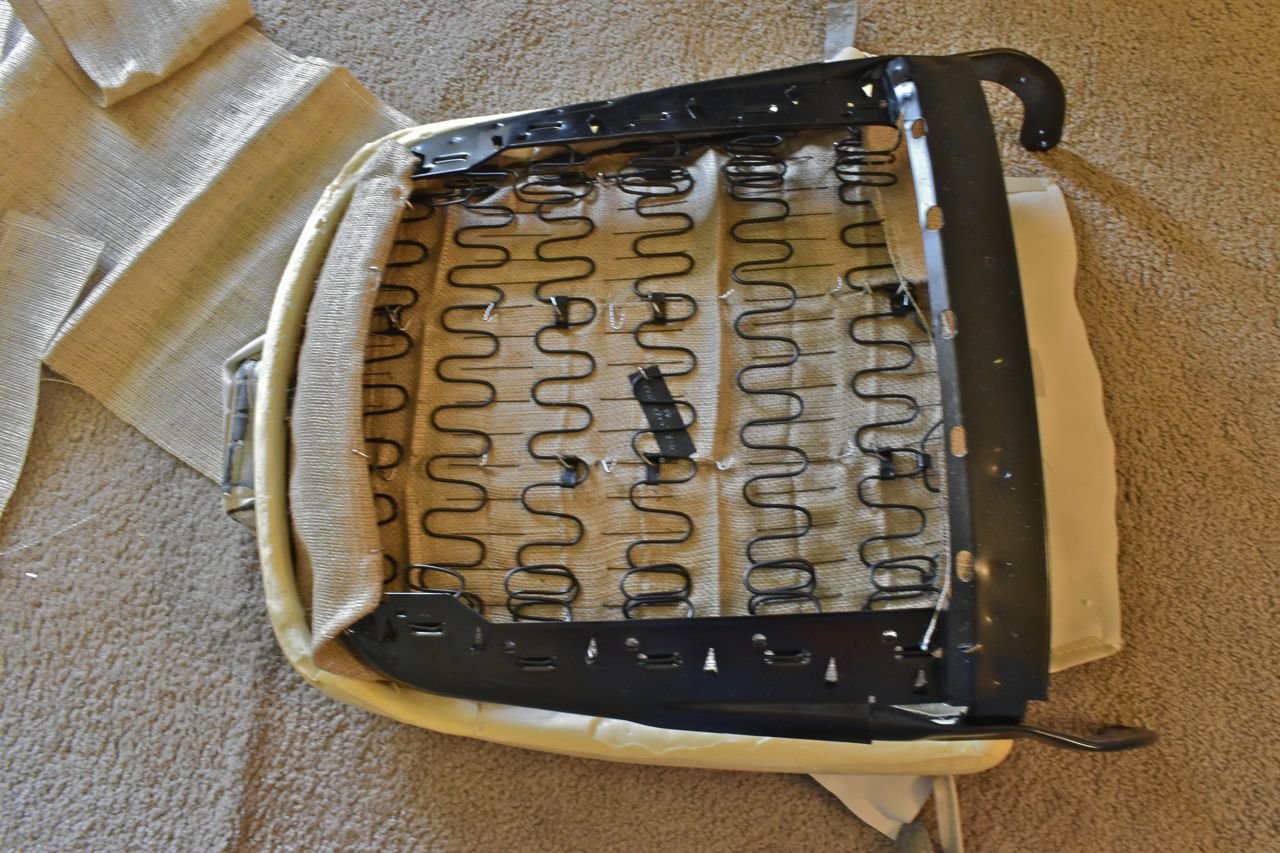
The top cover more or less on.
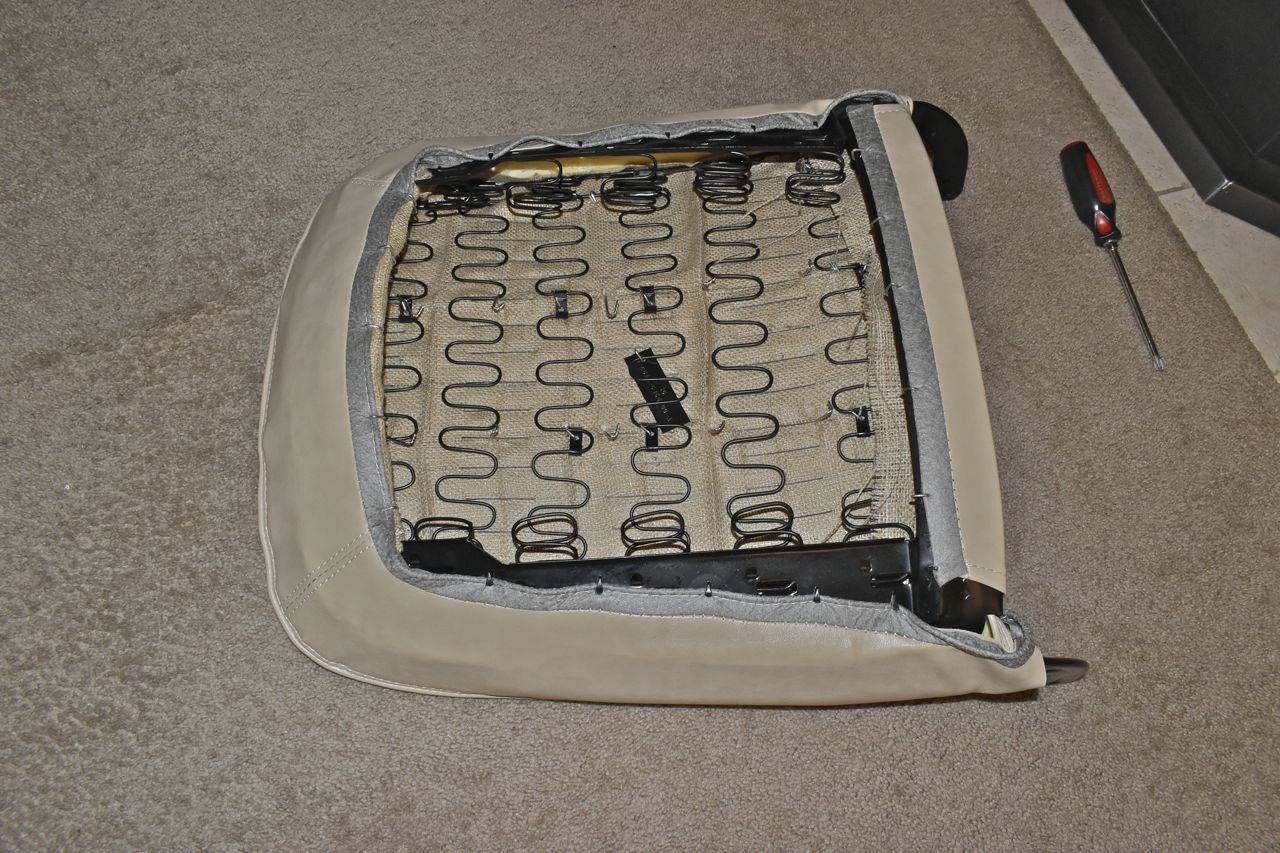
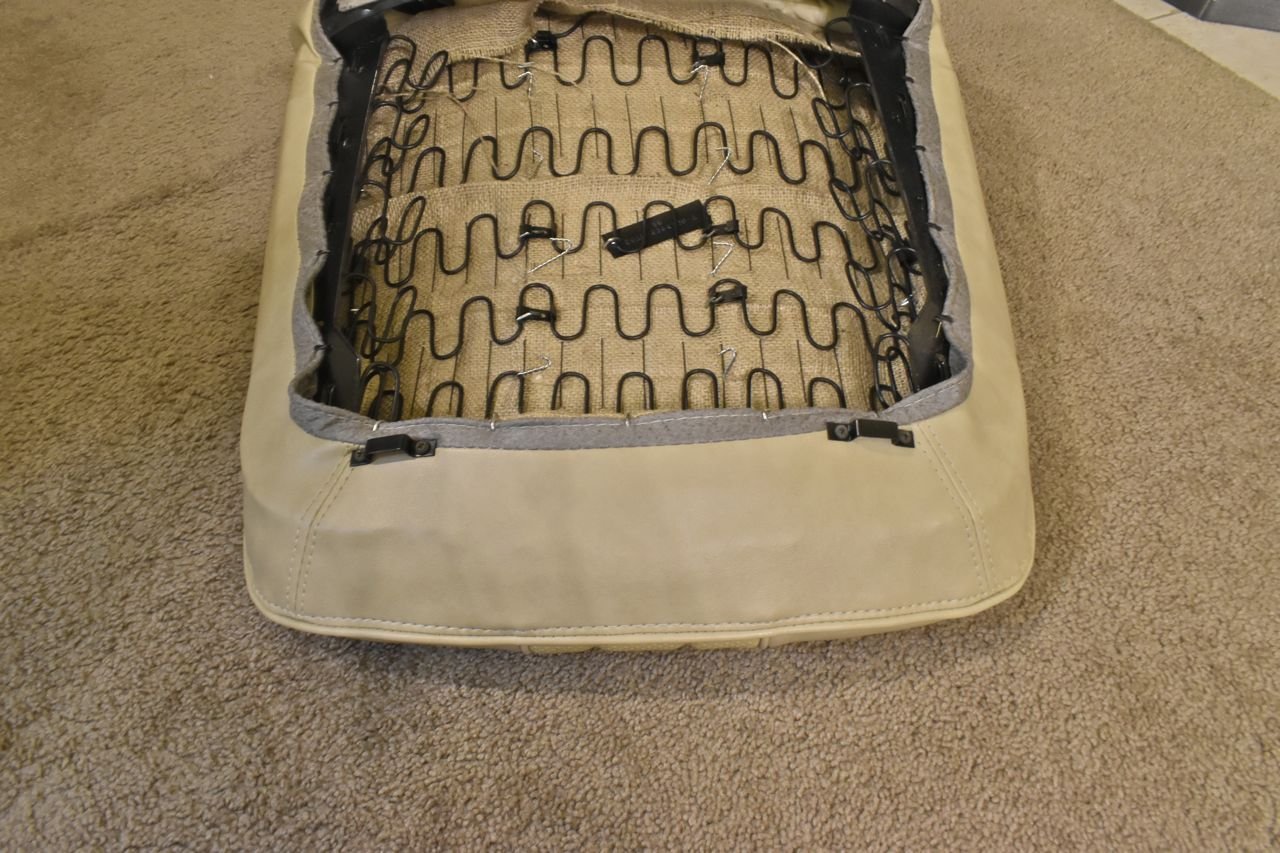
Exploring for the holes and poking new holes in new covers always adds a certain anxiety. But the top slide brackets are in.
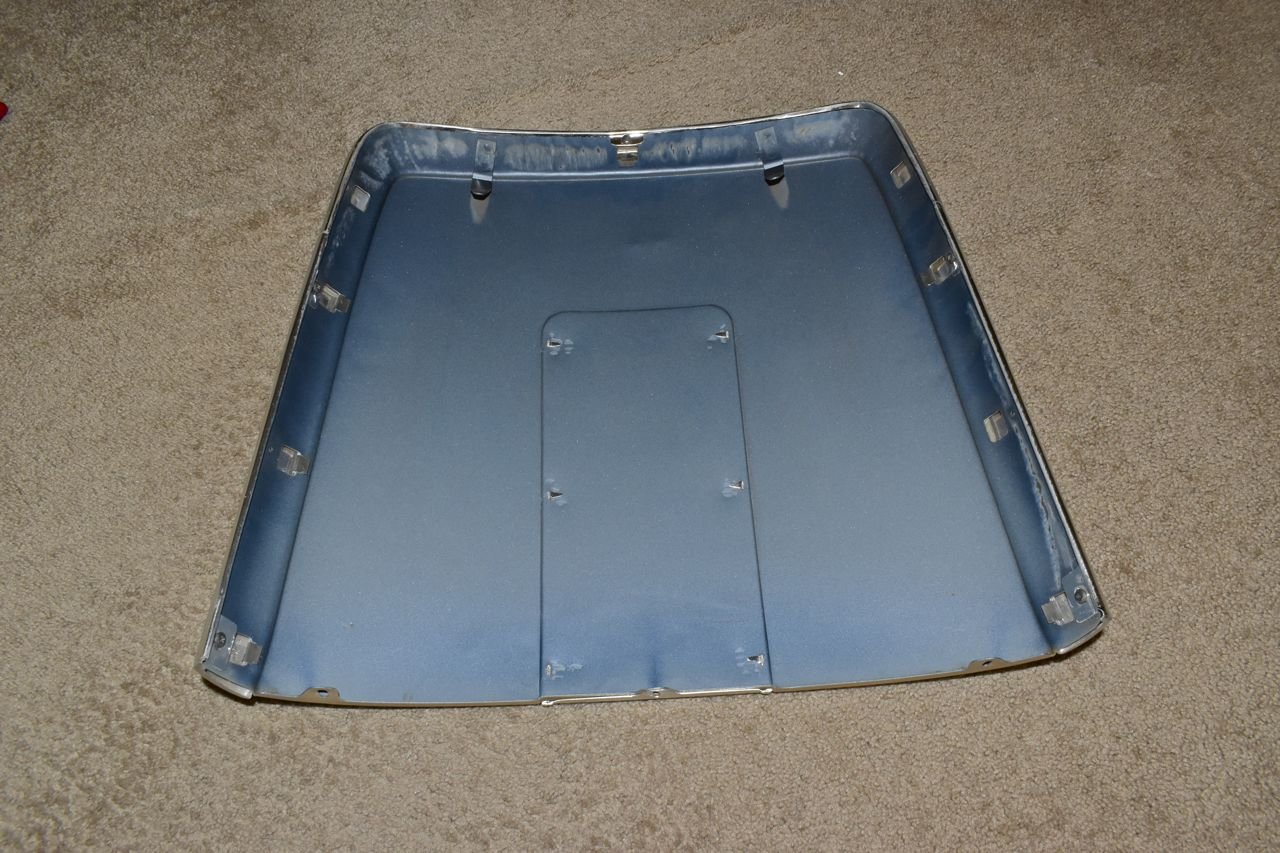
The back cover ready to go on. Just left it original blue for funzies on the inside.
The seat bottom prepped for the upper to attach.
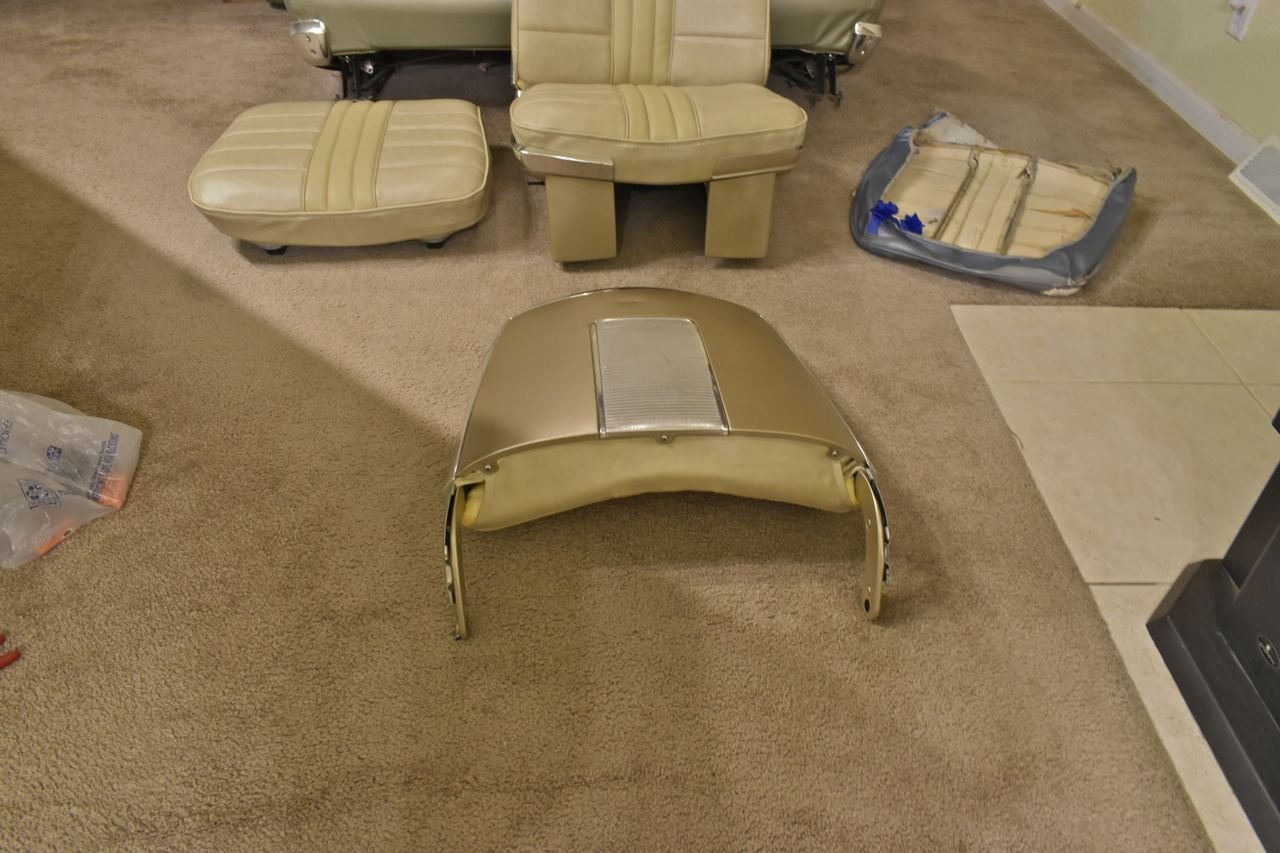
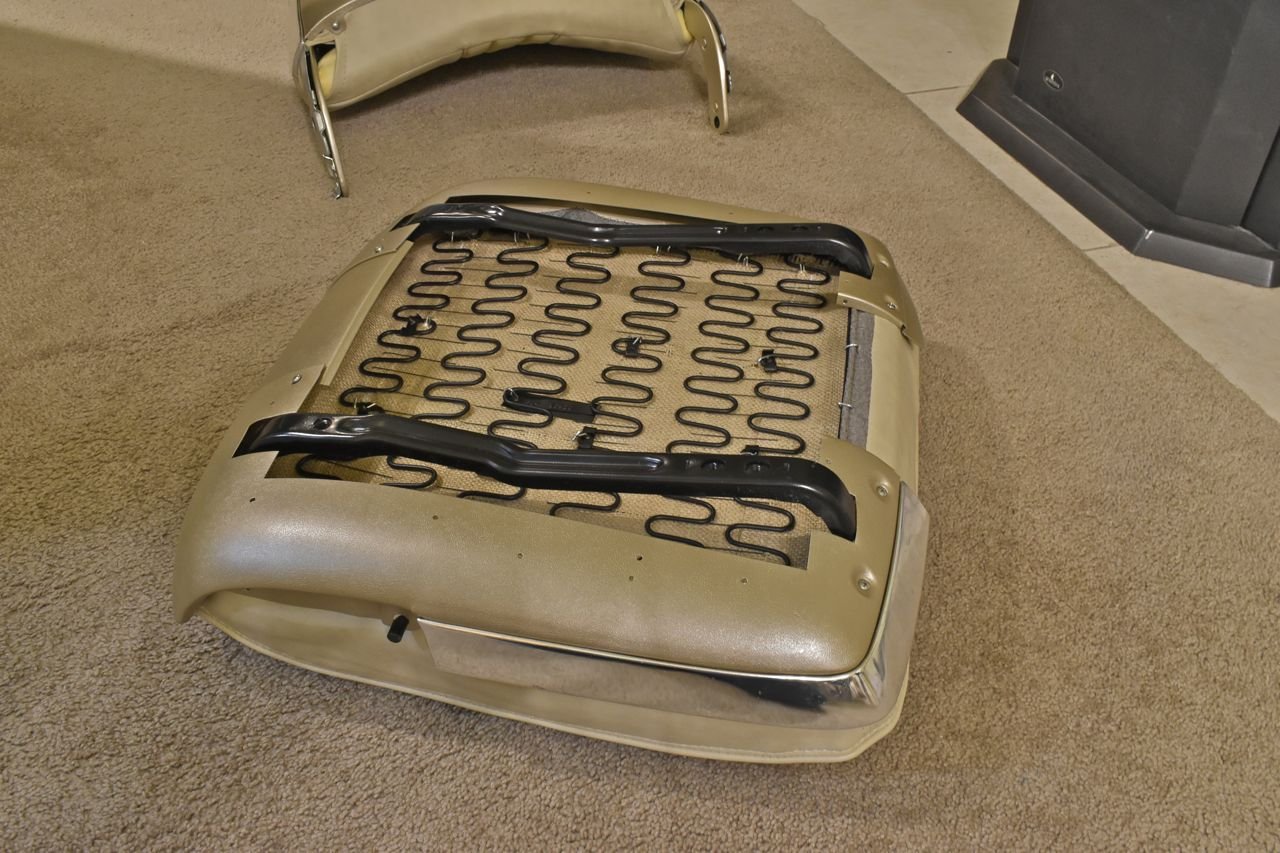
Geeze you need to eat your Wheaties to manually spread those pivot arms on the top to go over the fulcrum stubs.

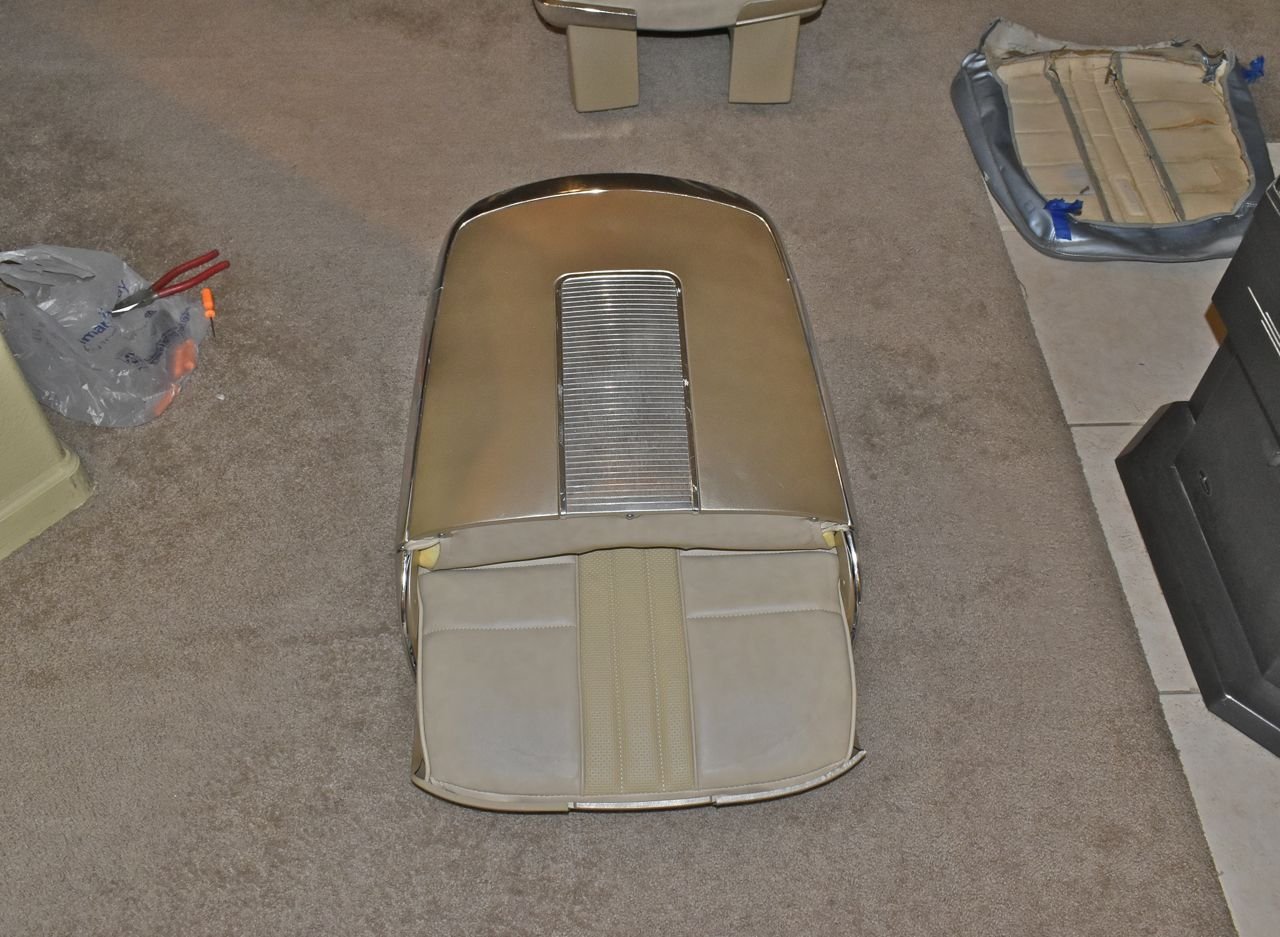
The seat back hardware is a bit different than the passenger side seat. Weird.
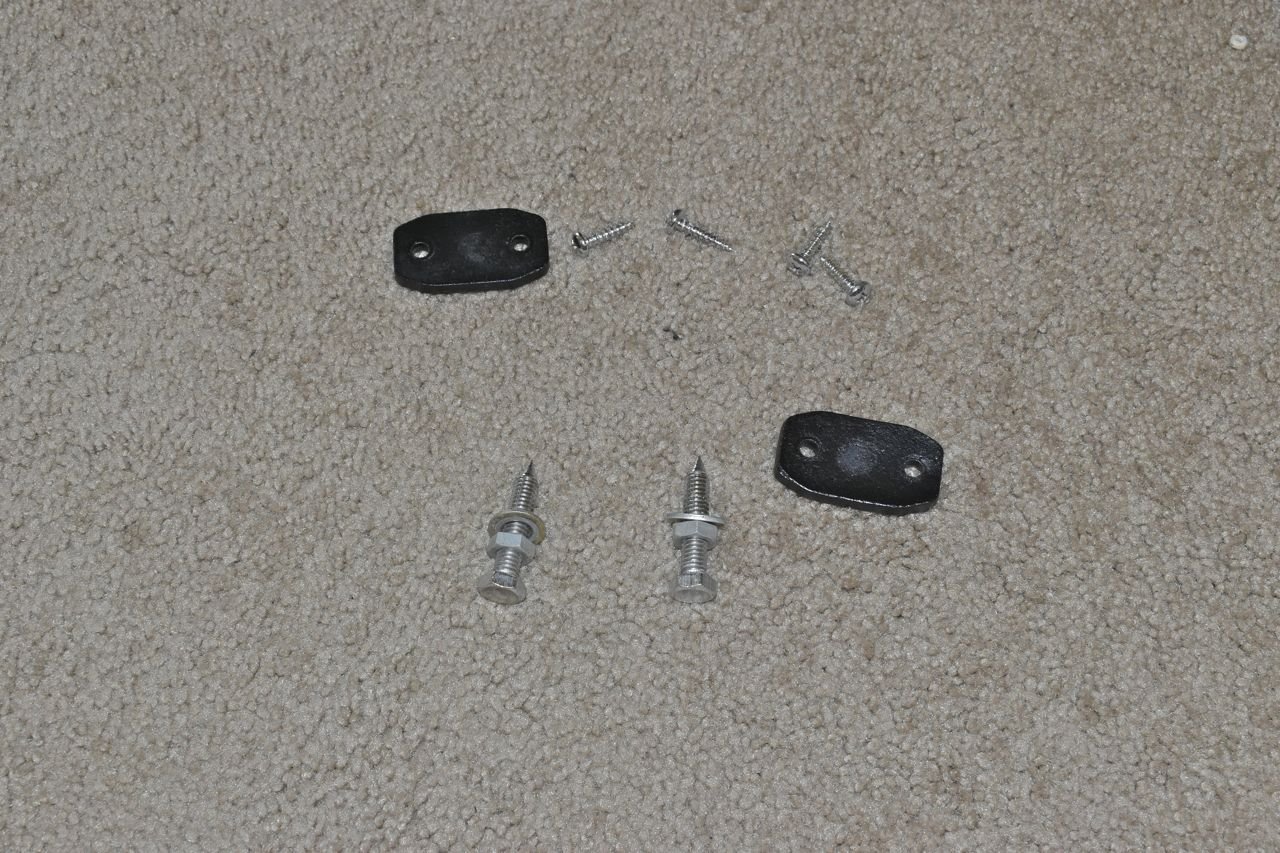
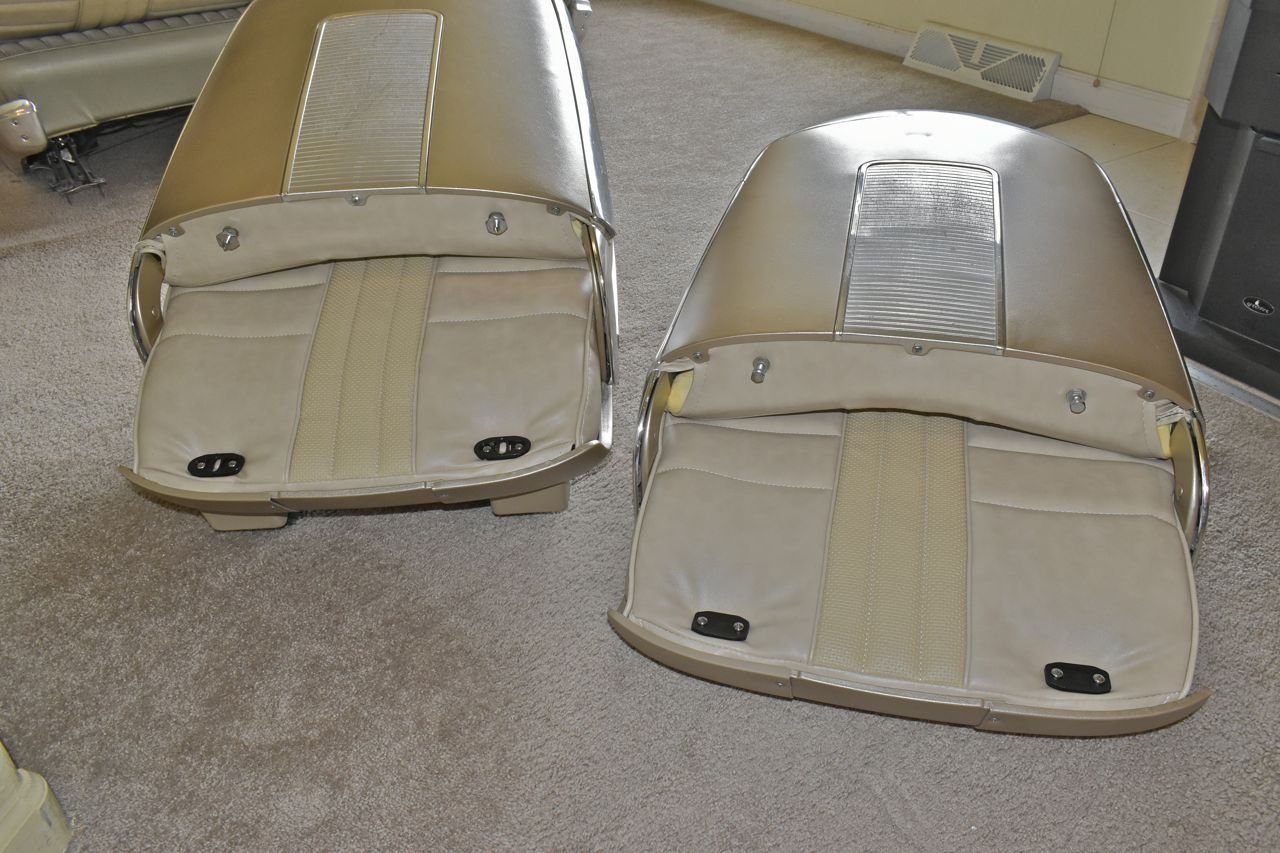
Both seat tracks were broken at one time probably from an overweight individual rocking in the seat and fractured metal on both sides, now someone had welded them, but good grief that's terrible.
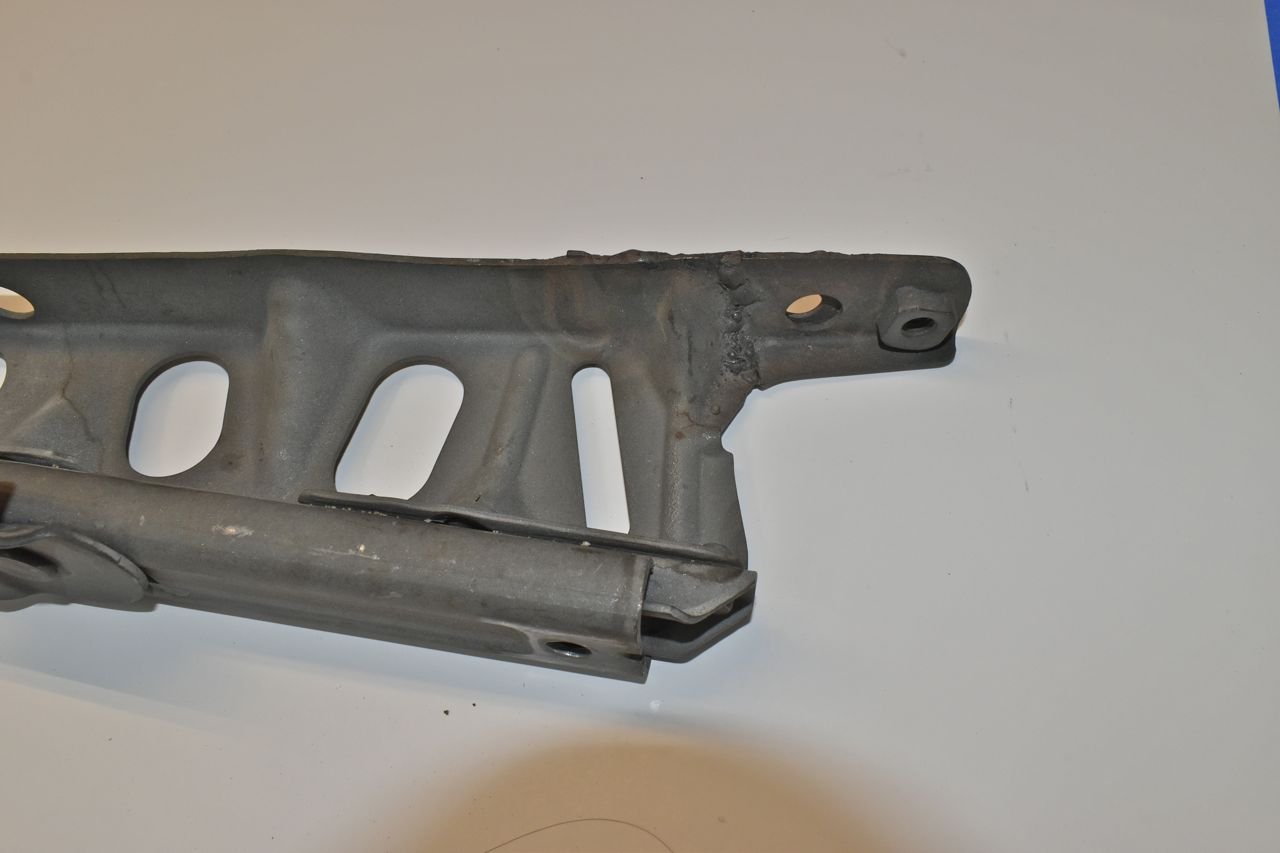
There's some plate they added and it doesn't sit flush at all with the floor. So I cut this back apart and removed that plate and used the floor as a jig.
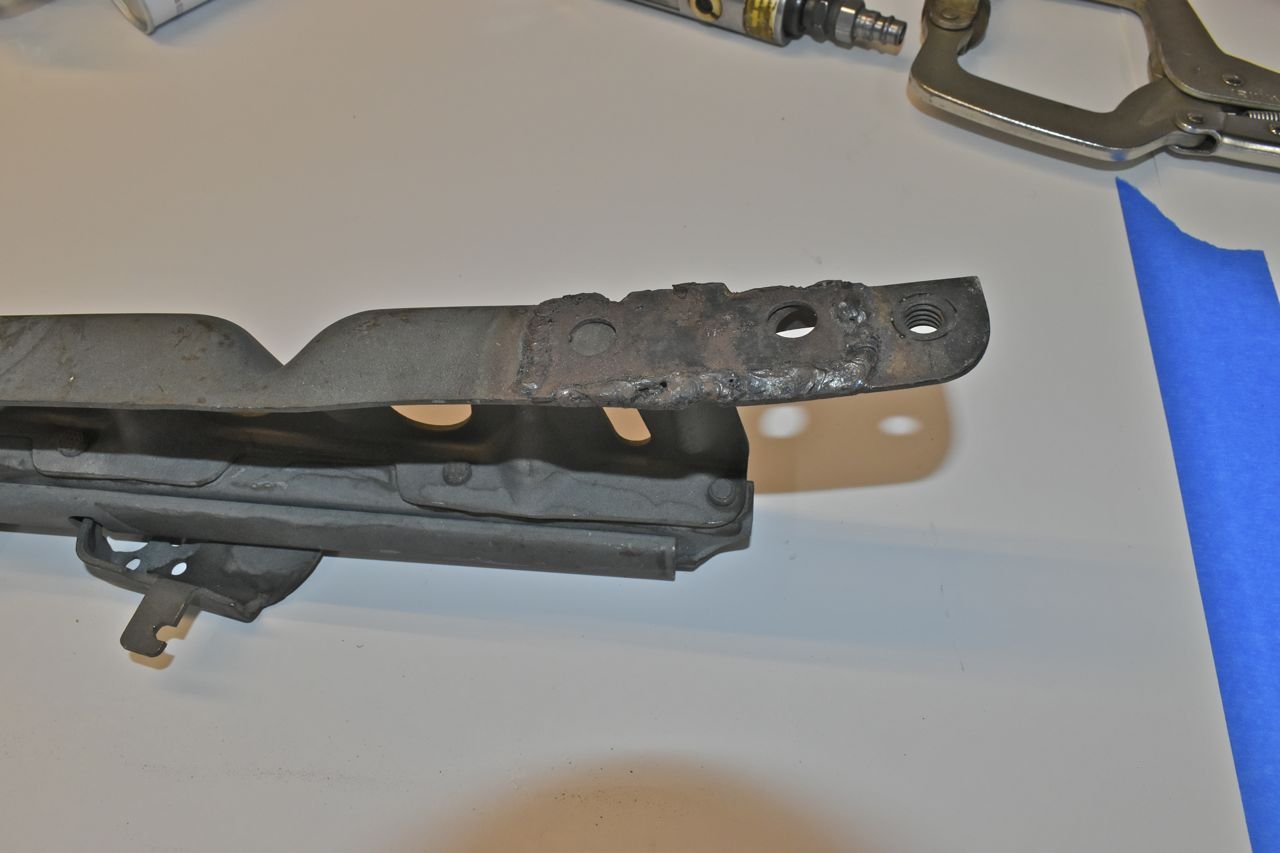
Continued in next post.
Click here to continue to part 72