1966 Ford Galaxie 500 XL Refurbishment : 066 Front Seat Trim & Assembly
2023, November 14
1 - 2 - 3 - 4 - 5 - 6 - 7 - 8 - 9 - 10 - 11 - 12 - 13 - 14 - 15 - 16 - 17 - 18 - 19 - 20 - 21 - 22 - 23 - 24 - 25 - 26 - 27 - 28 - 29 - 30 - 31 - 32 - 33 - 34 - 35 - 36 - 37 - 38 - 39 - 40 - 41 - 42 - 43 - 44 - 45 - 46 - 47 - 48 - 49 - 50 - 51 - 52 - 53 - 54 - 55 - 56 - 57 - 58 - 59 - 60 - 61 - 62 - 63 - 64 - 65 - 66 - 67 - 68 - 69 - 70 - 71 - 72 - 73 - 74 - 75 - 76 - 77 - 78 - 79 - 80 - 81 - 82 - 83 - 84 - 85 - 86 - 87 - 88 - 89 - 90 - 91 - 92 - 93 - 94 - 95 - 96 - 97 - 98Front Seats Restoration Part 4
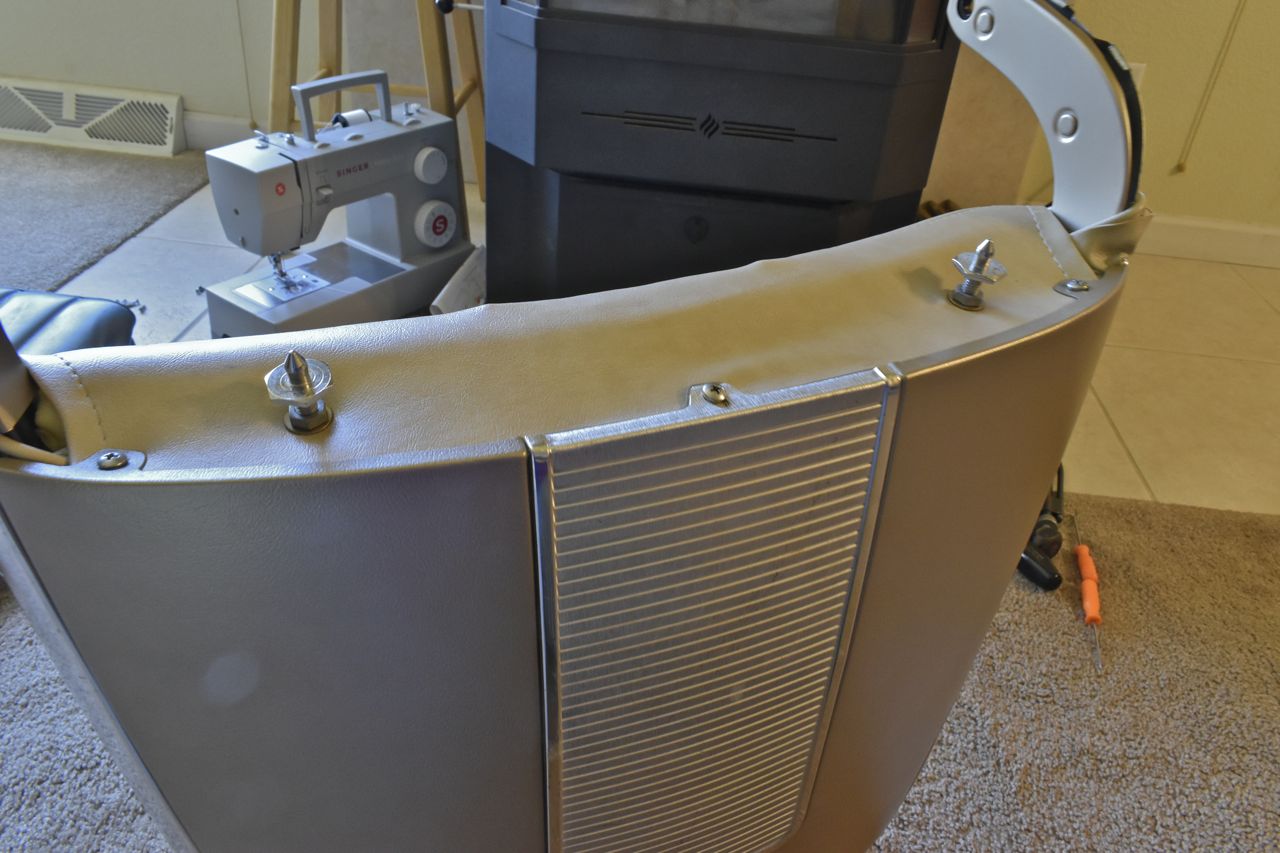
The seat back is ready for the back panel.

Next is to locate the screw holes for the retainer brackets.
Installed.
The top slides down the retainer clips and then lips over the bottom and is screwed in.
Finally coming together. That back panel is pretty taught against the seat material and frame for just hooks holding the top in.
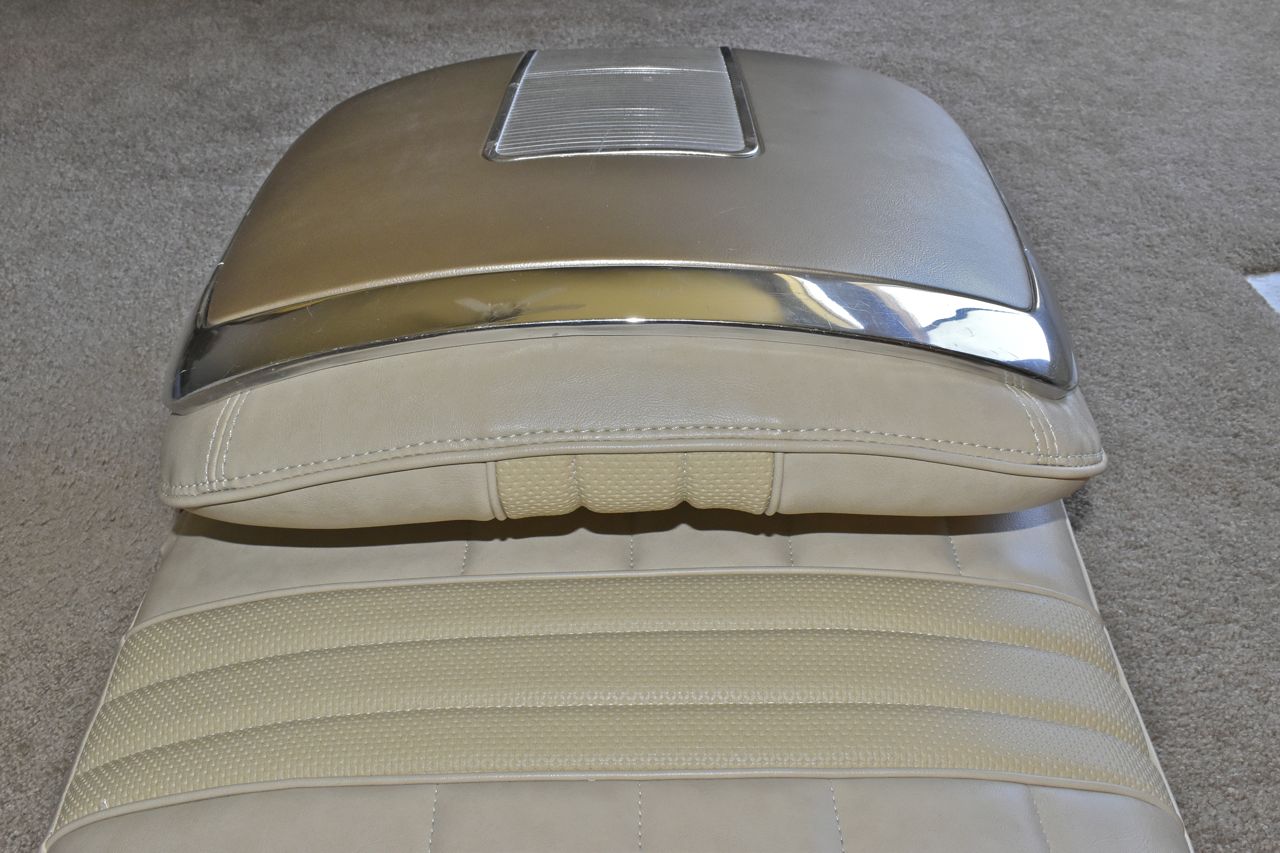
The lower trim pieces go on next.
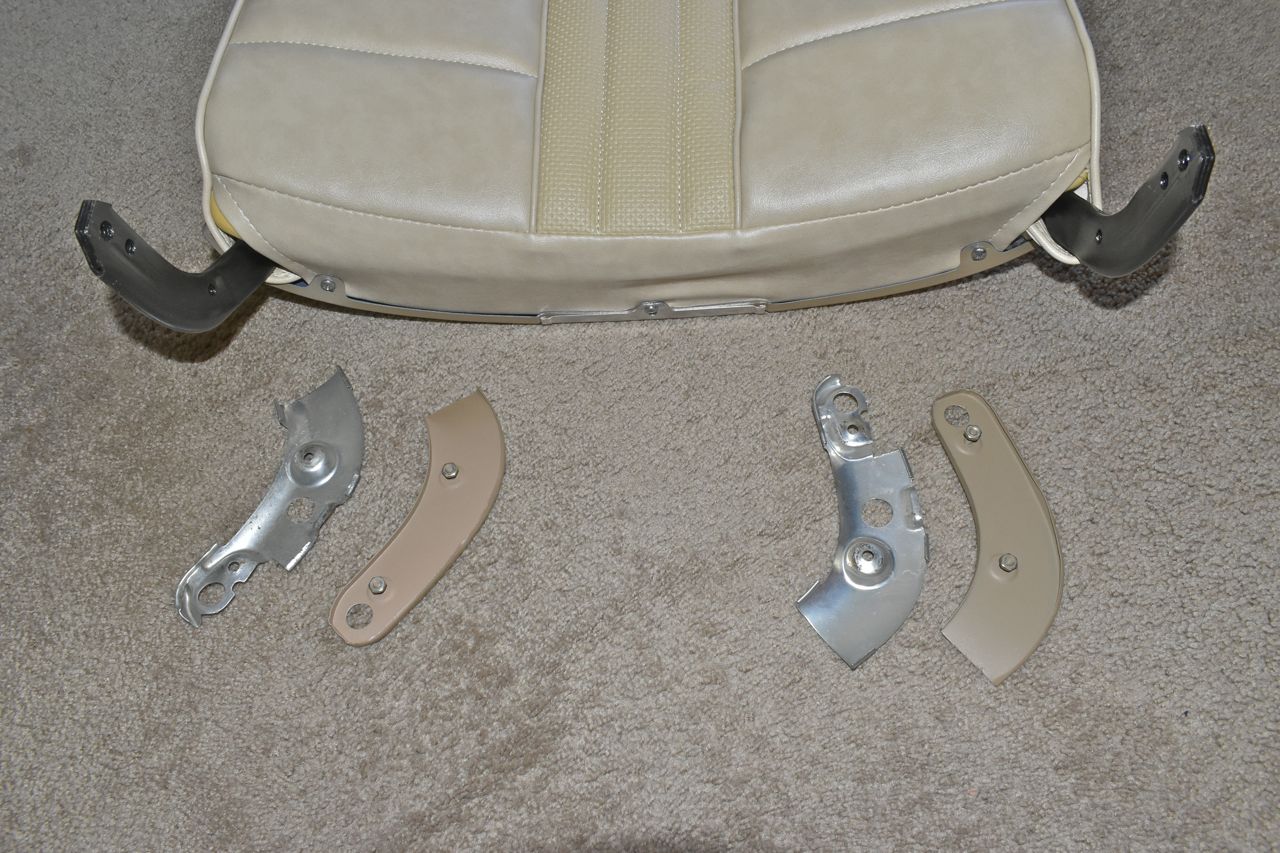
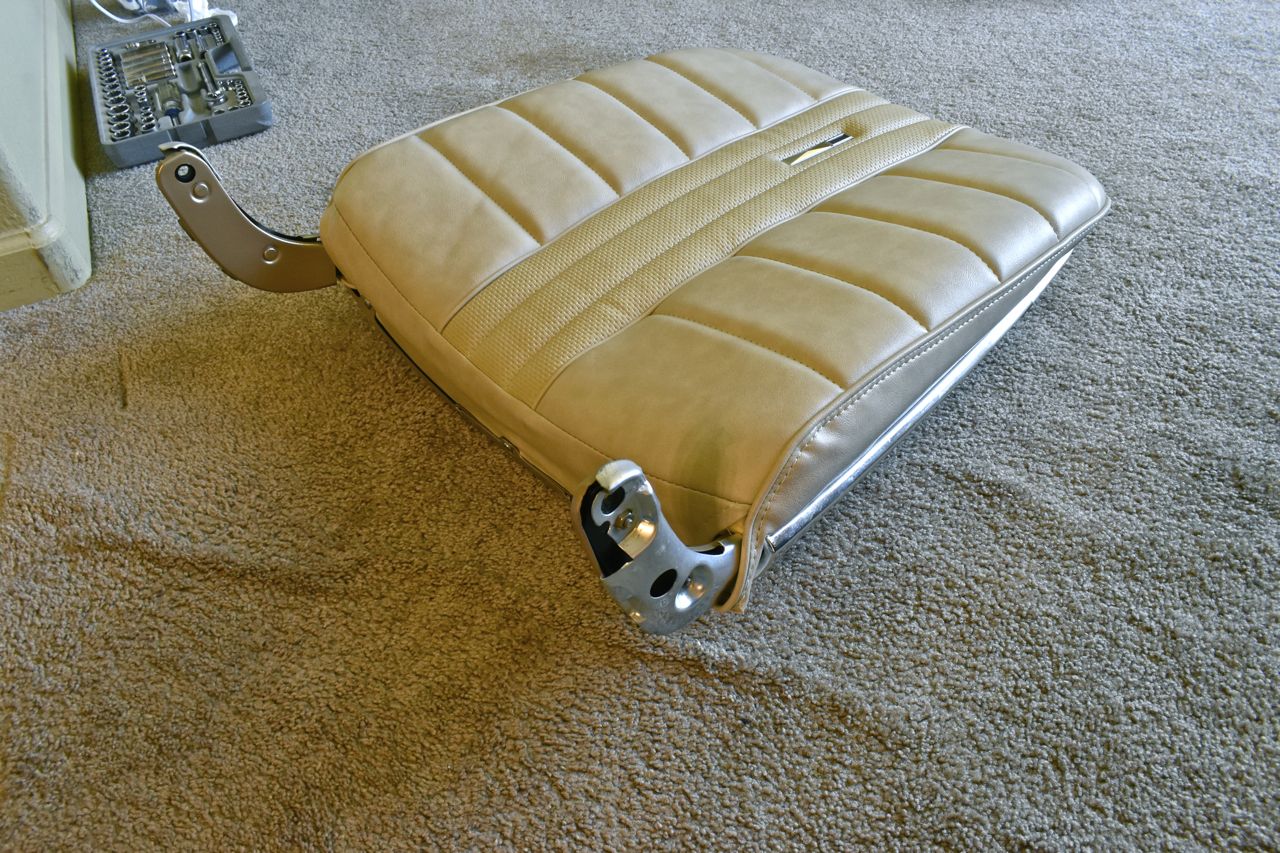
The colour temperature of the soft white bulbs in the house play havoc with the true colour so I intermix flash shots for a more realistic colour rendering index.
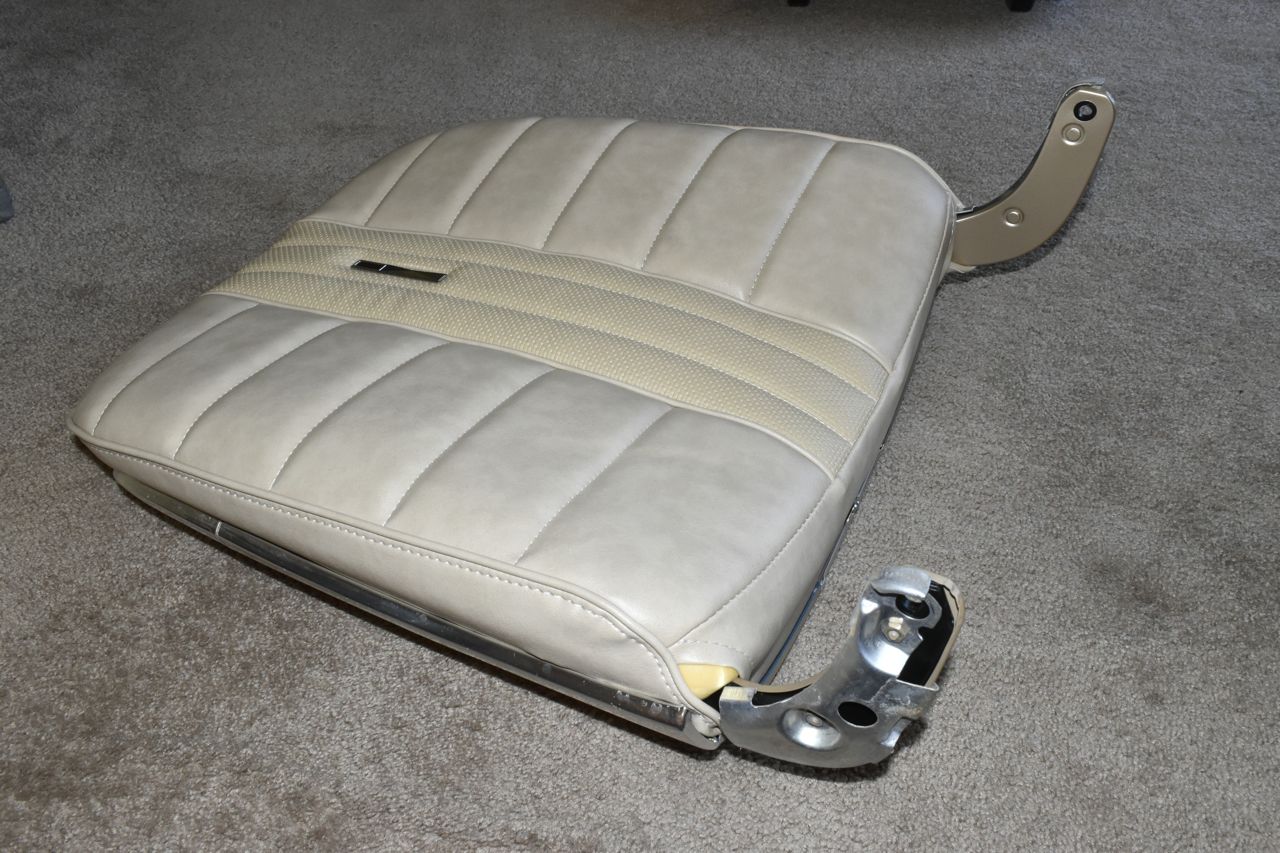
The back seat rest pegs are installed. The seat back is done for the moment.
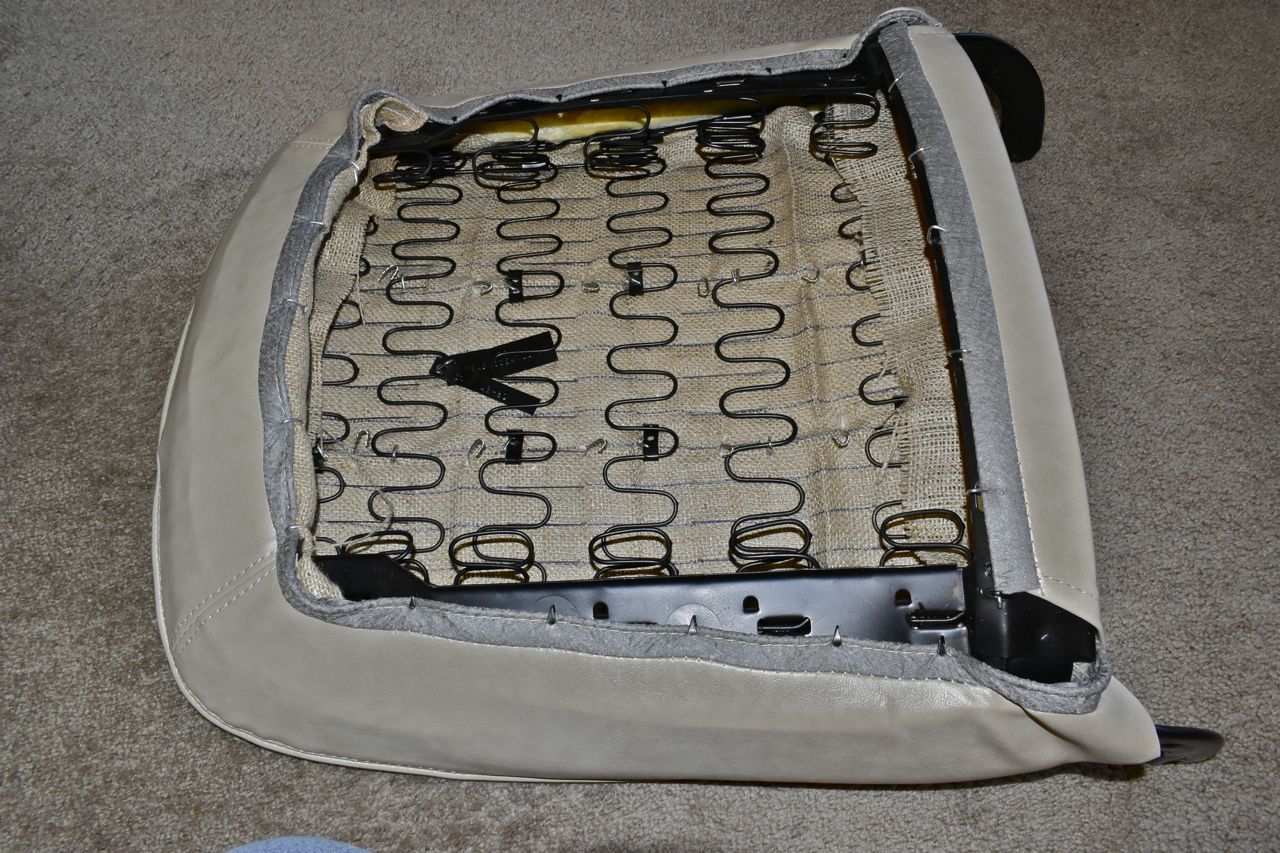
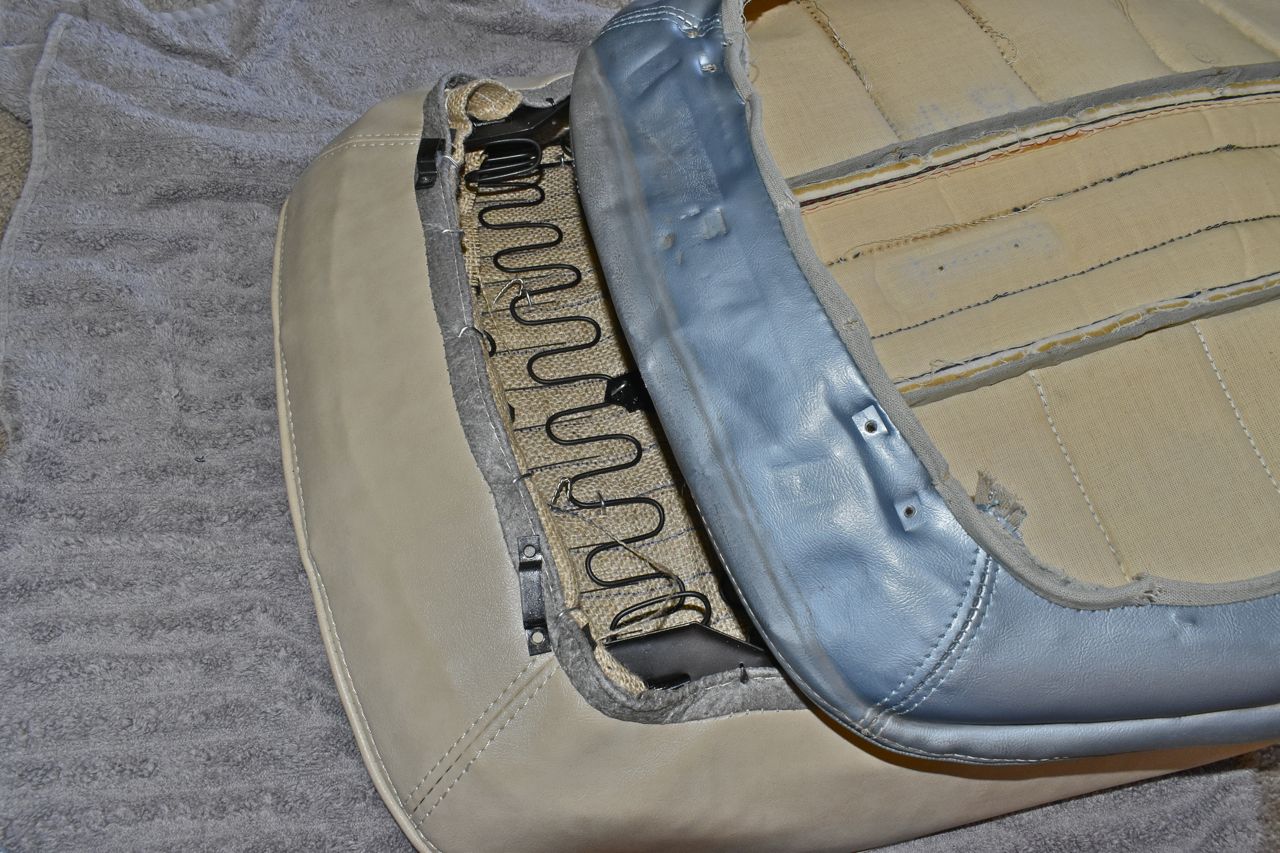
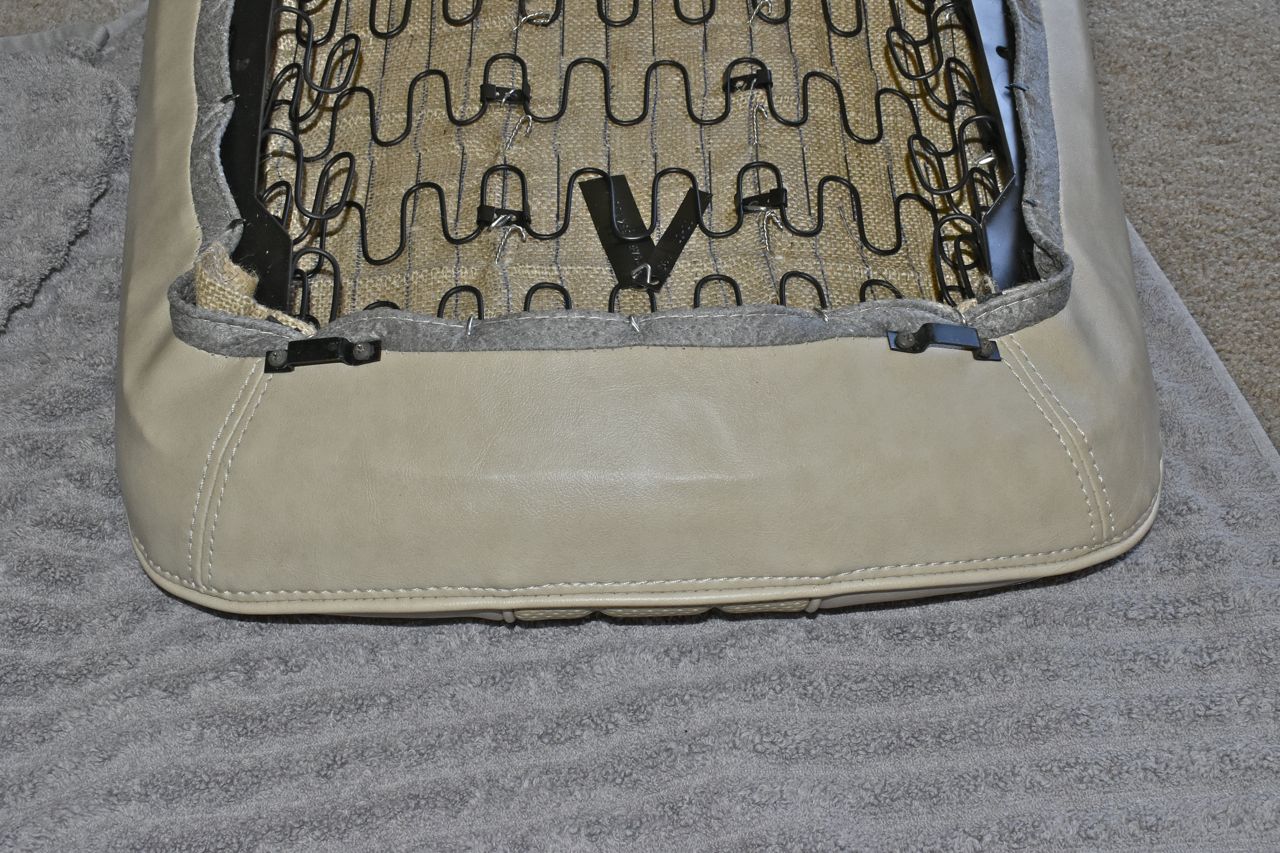
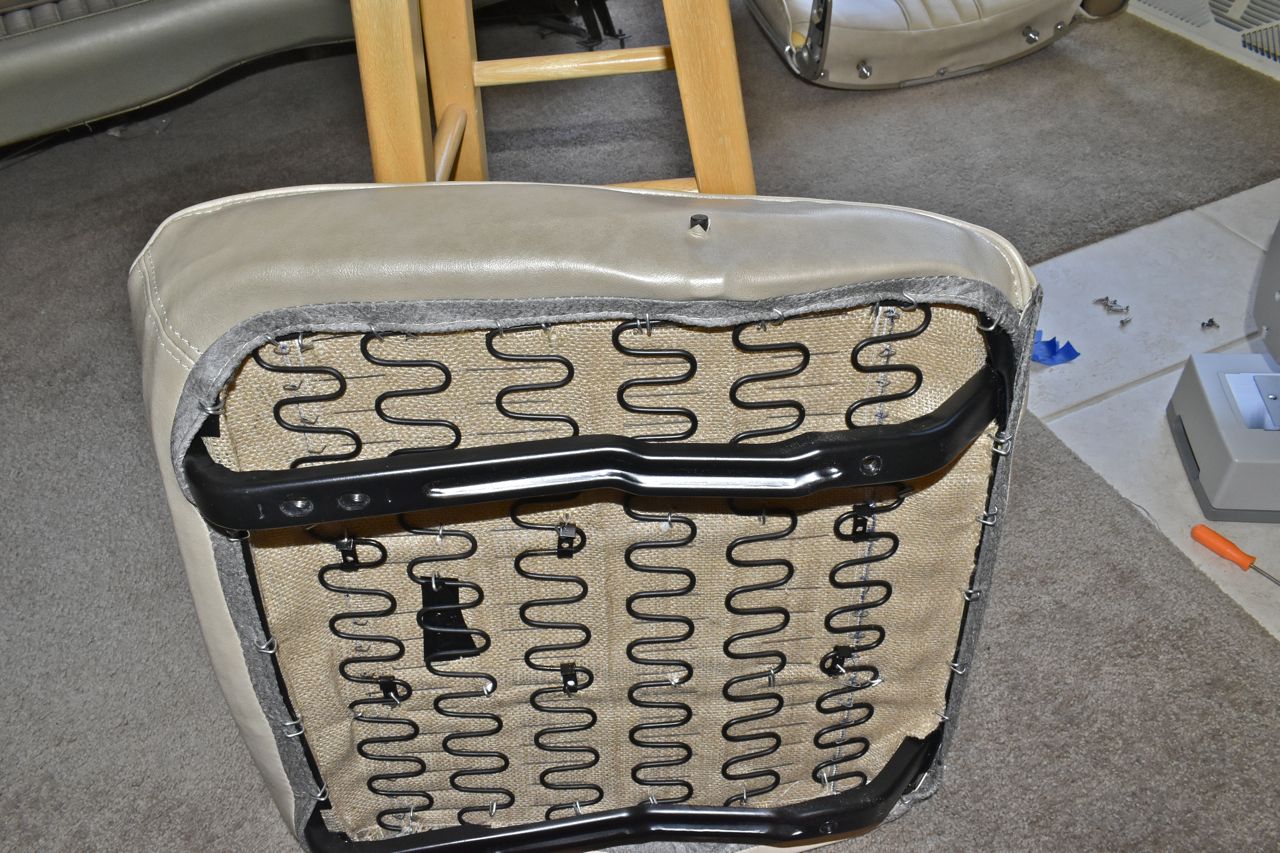
Focusing on the seat bottoms we cut the reliefs for the fulcrum rods protruding from the sides.
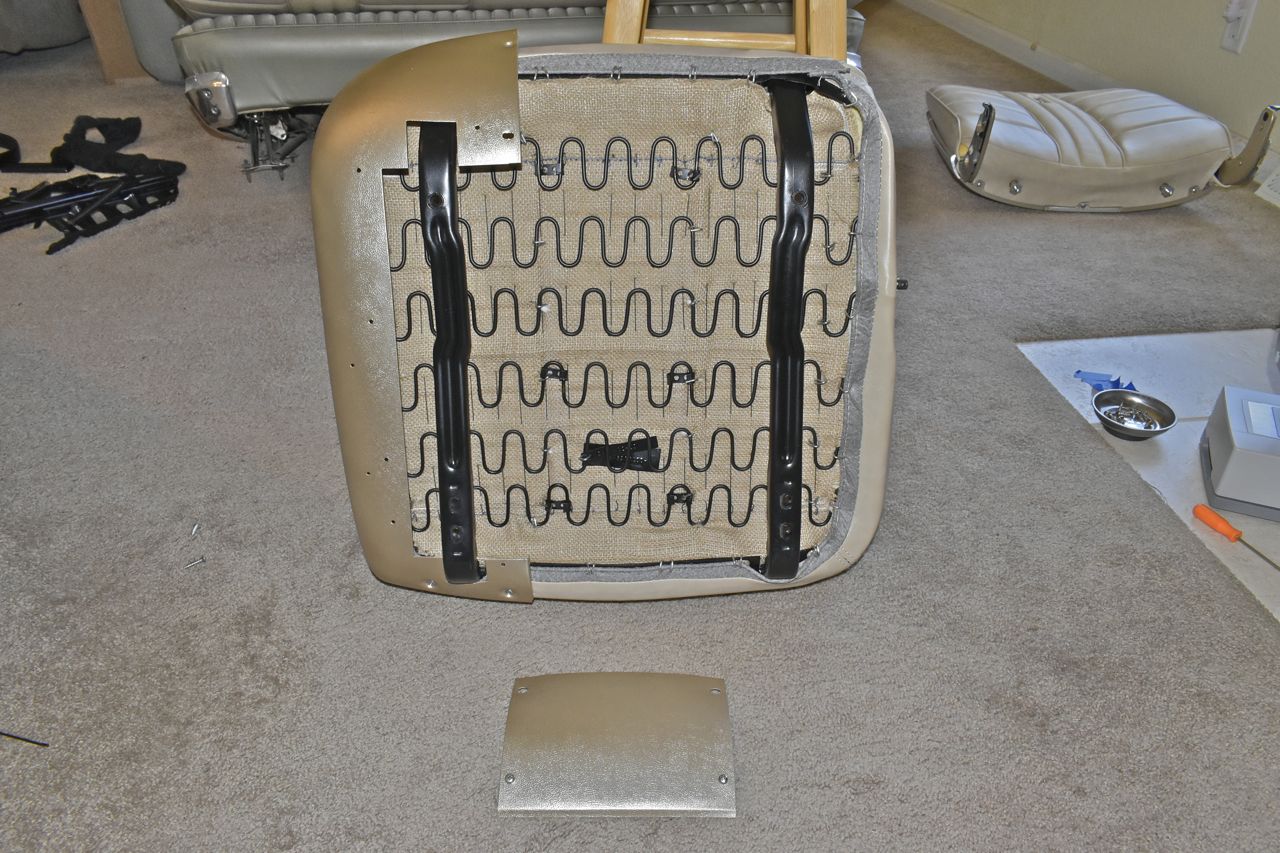
The piece of metal lower trim can go on next.
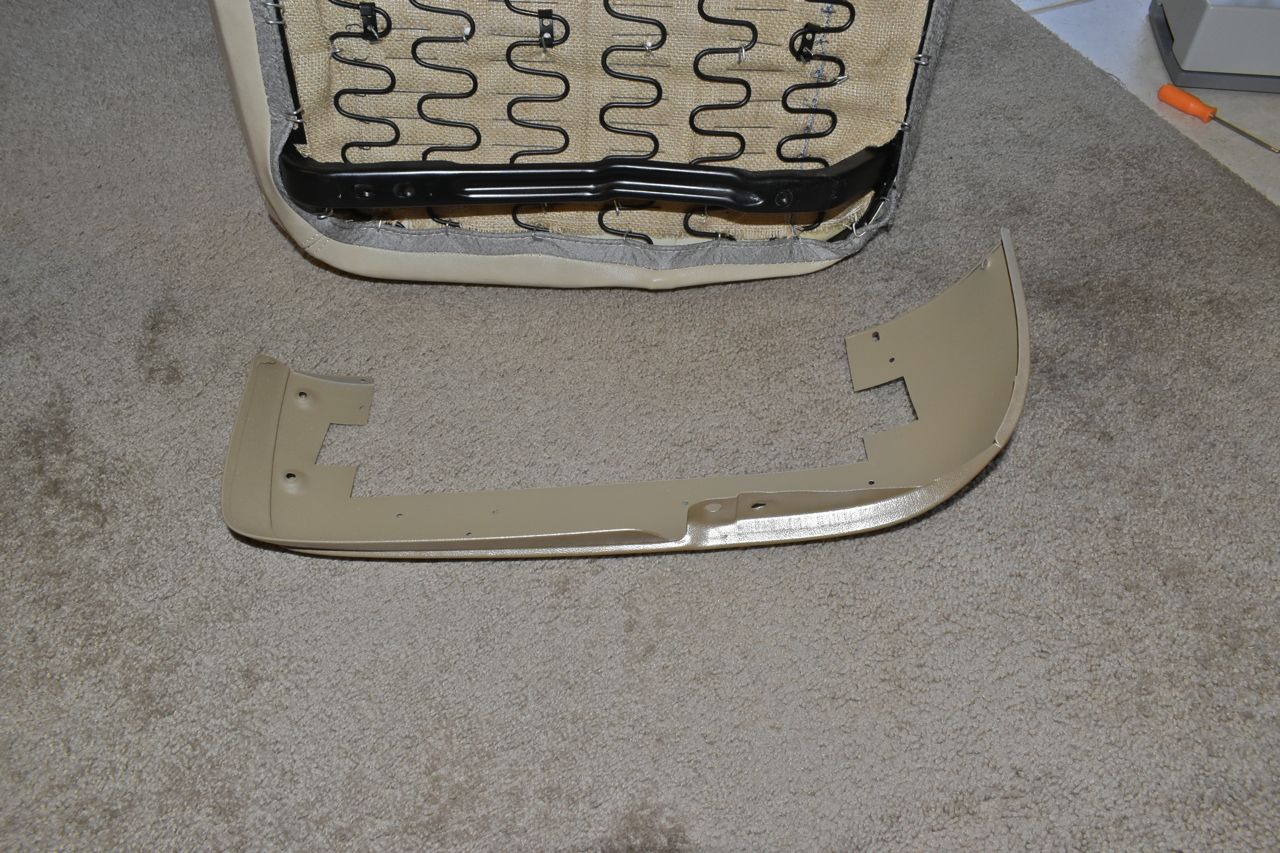
Next piece is the rear centre back trim.
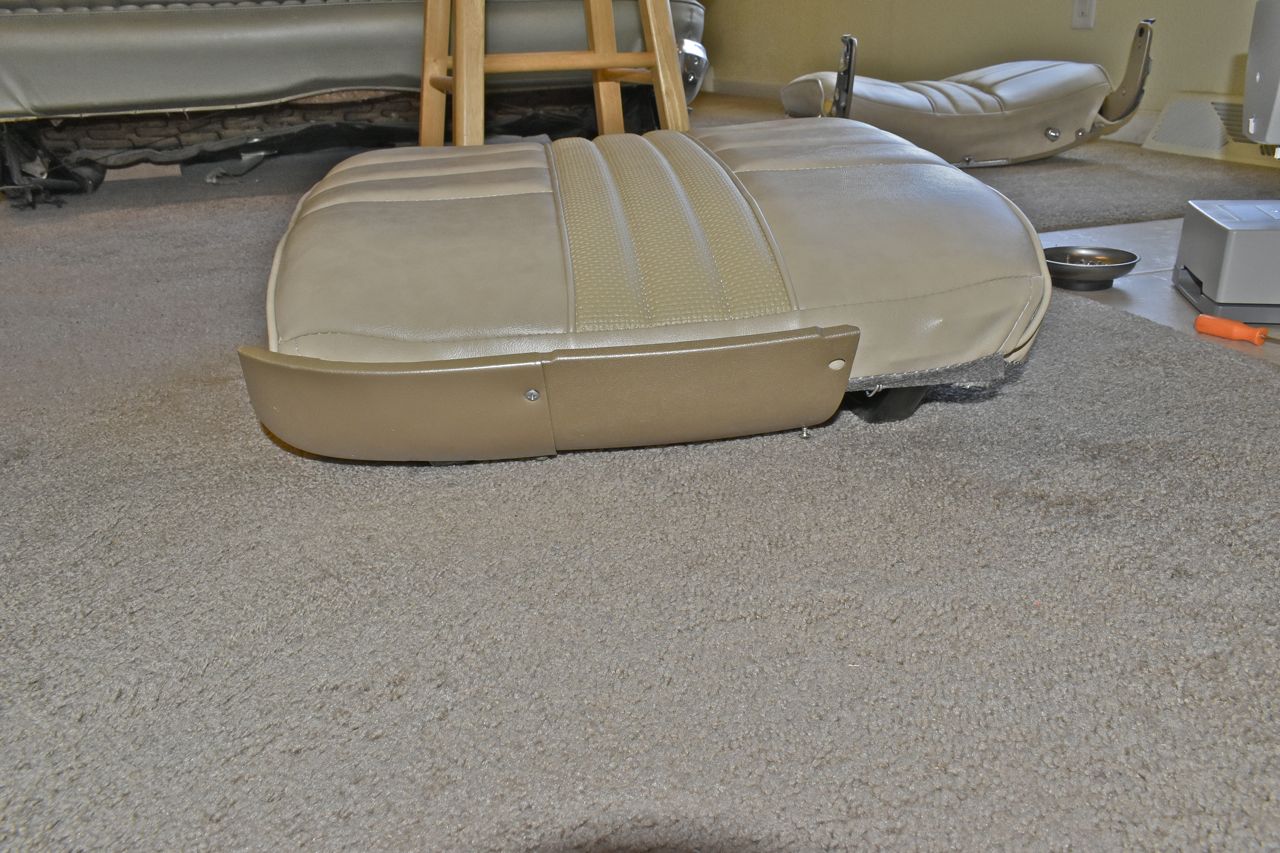
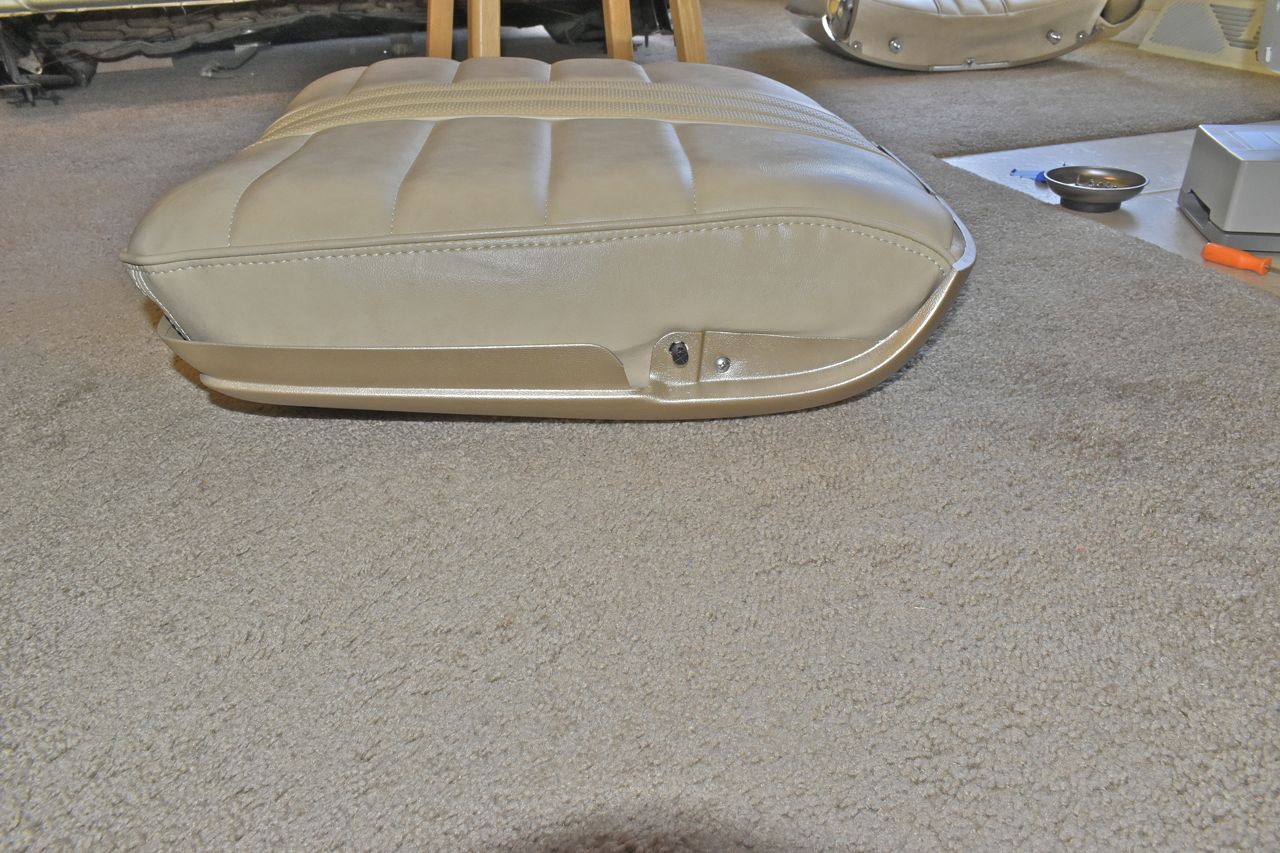
The other lower side trim panel gets the bright work attached to it. There is only bright work on one side because the side facing the centre floor console doesn't get any.
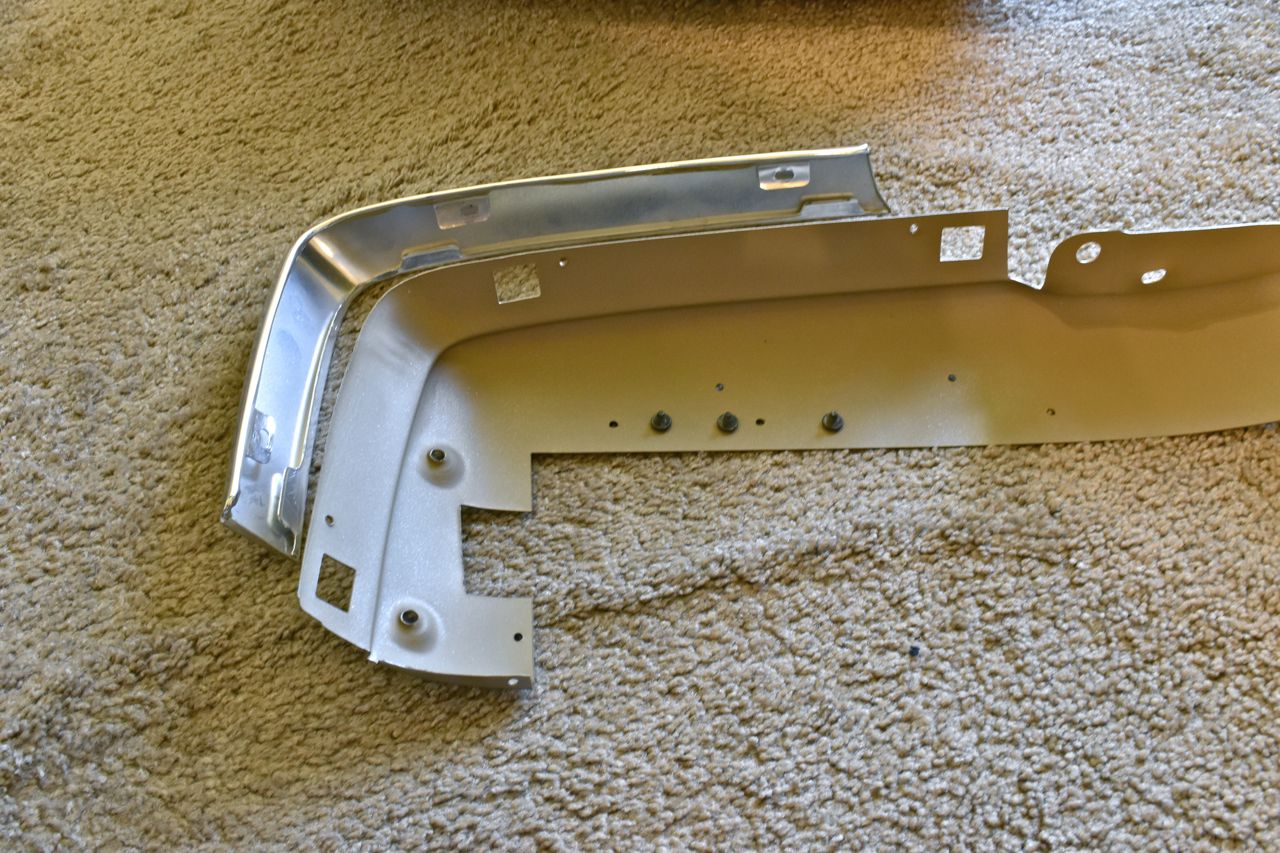
For some reason the bright work here didn't have any clips, just screws.
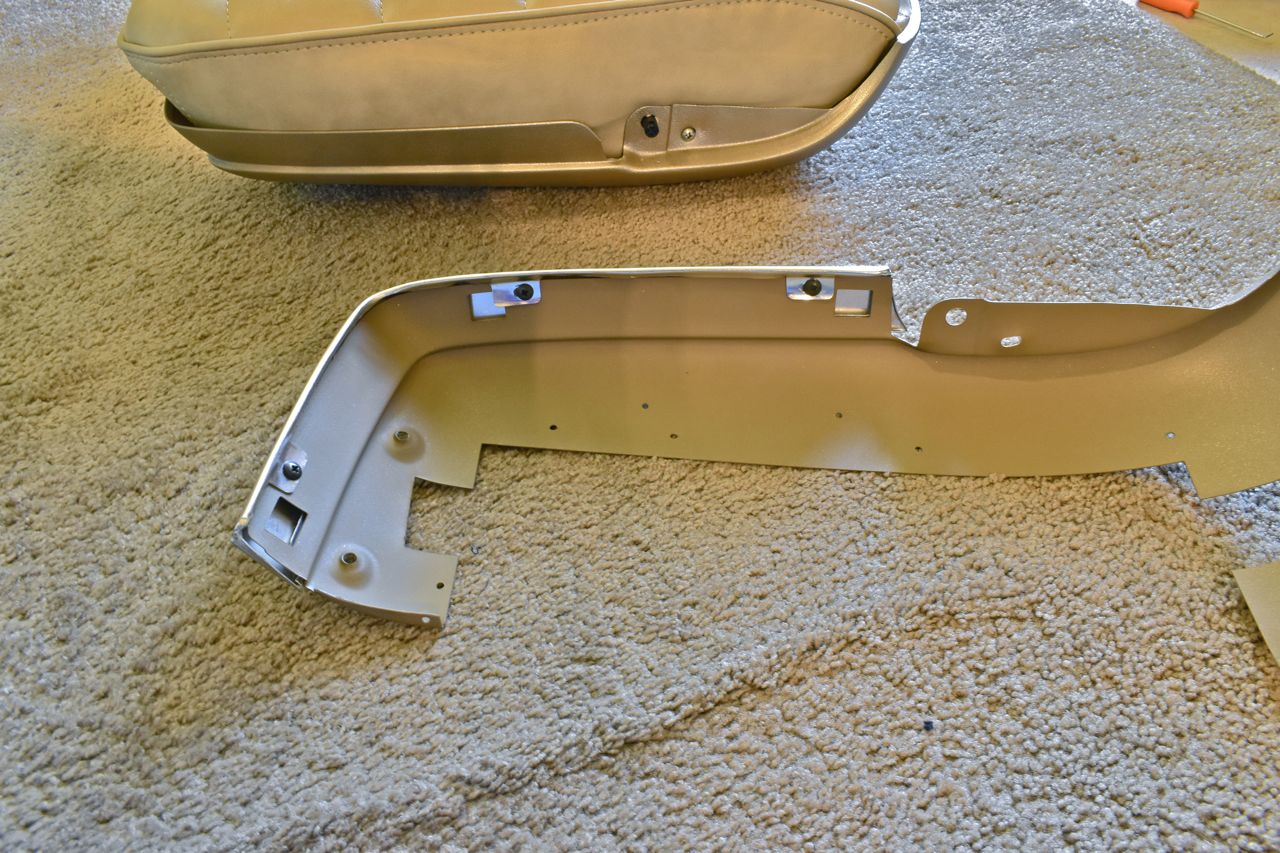
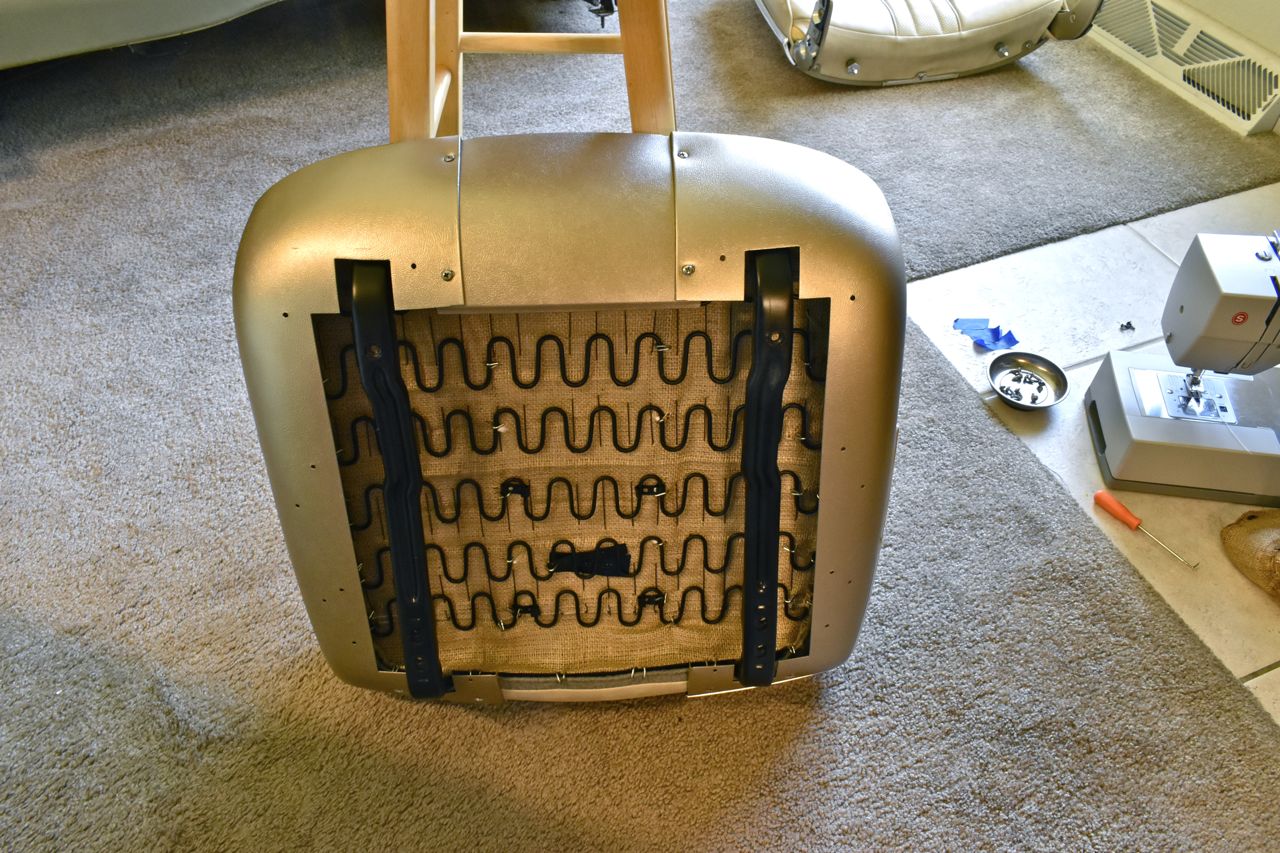
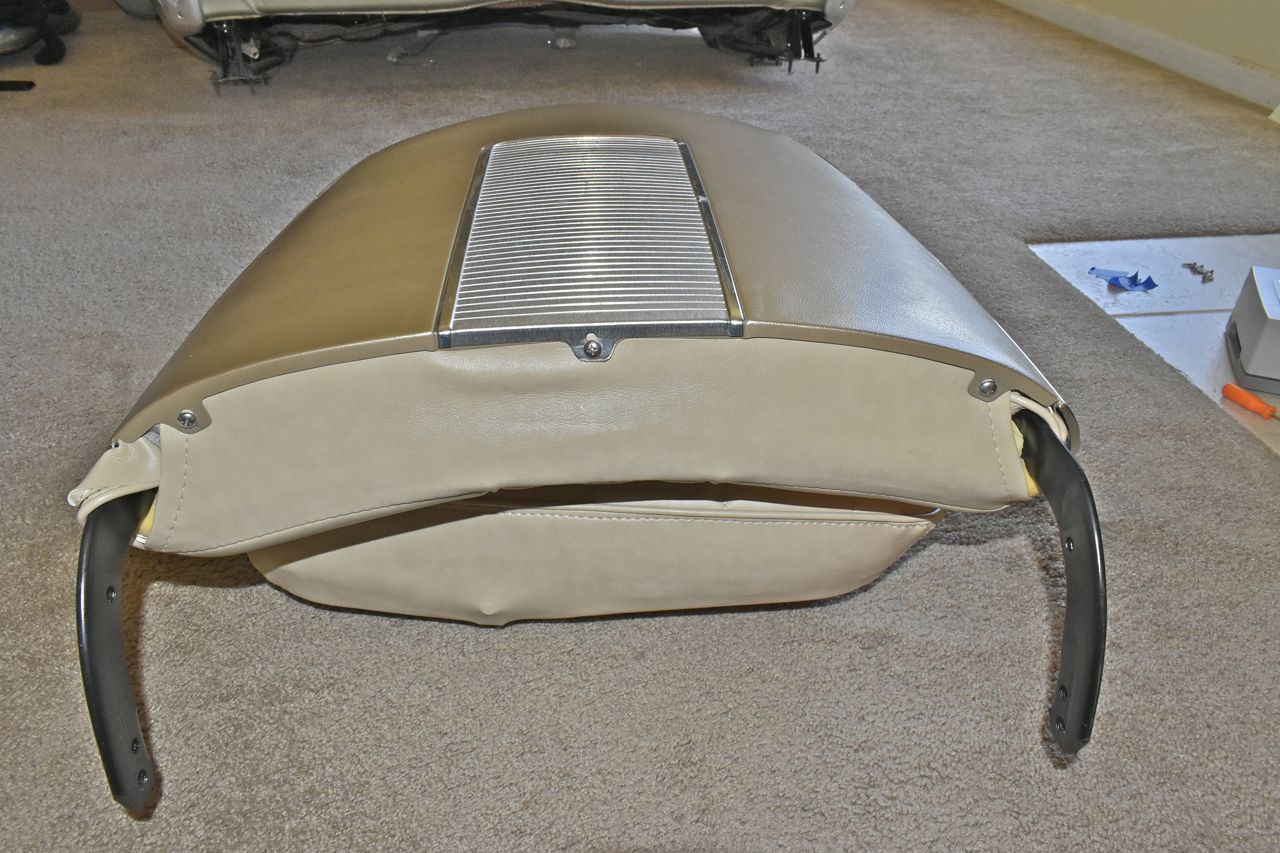
The bottom is ready to have the back attached.
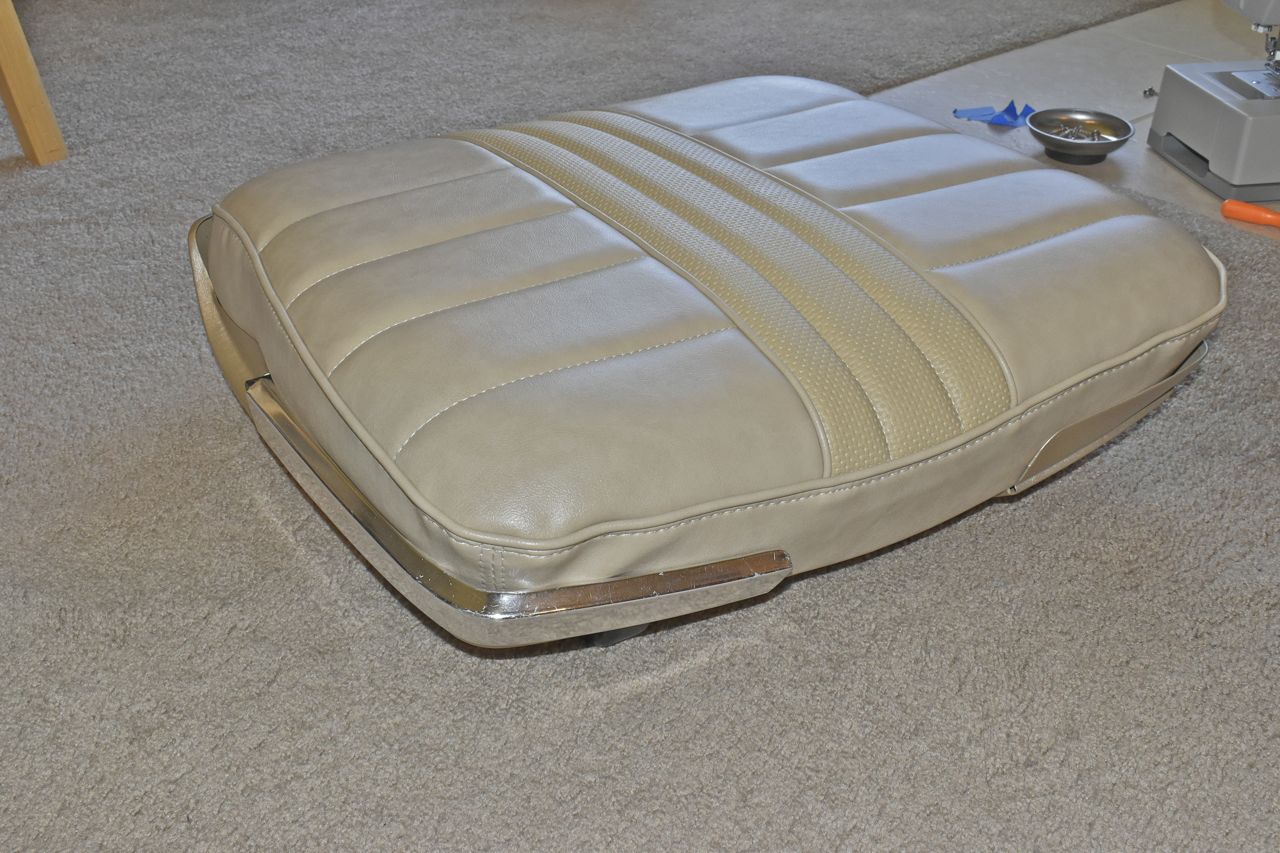
This takes two people. You have to pull the back lower arms apart to get it over the fulcrum rods. I'm surprised they did not use shoulder bolts for this.
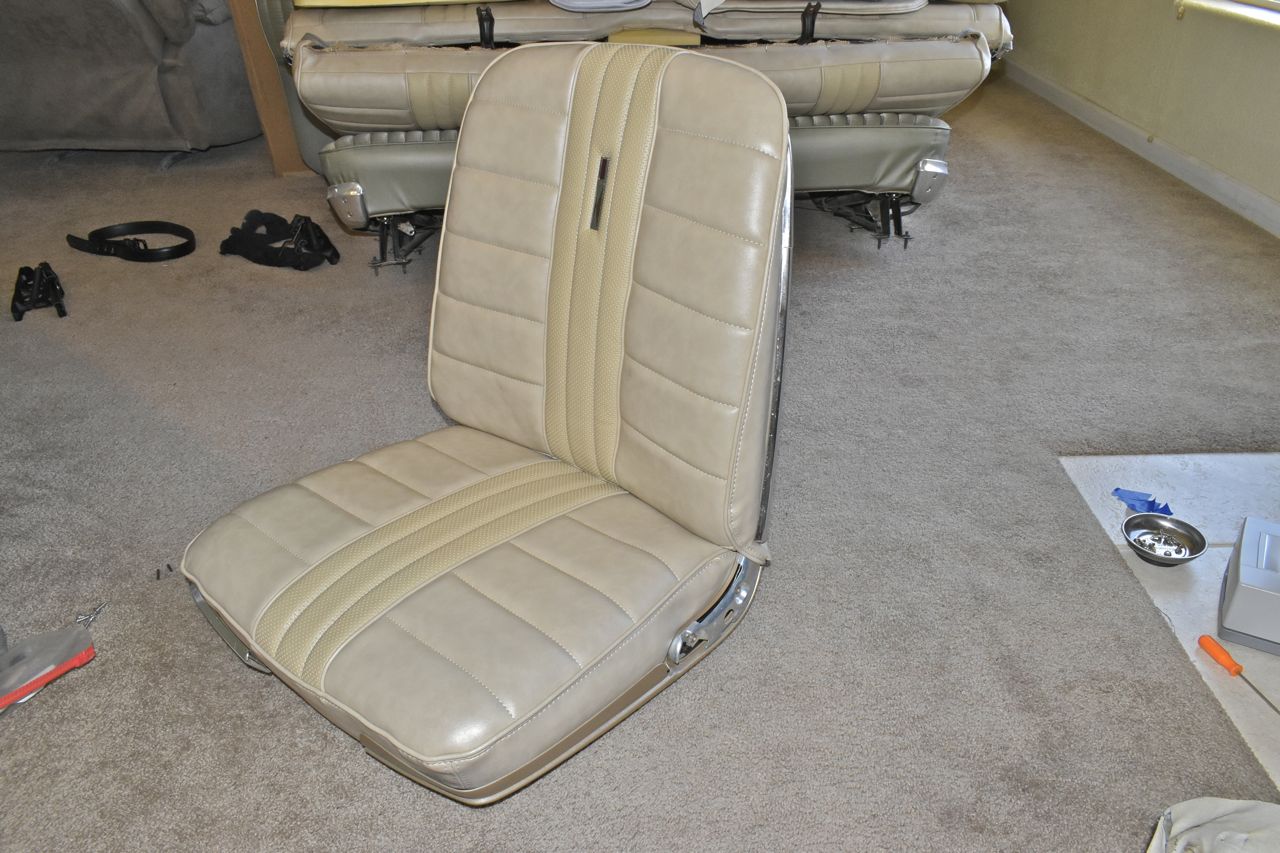
Continued in the next post.
Click here to continue to part 67