1966 Ford Galaxie 500 XL Refurbishment : 077 Evaporator & Blower Motor Plenum, pt 1
2023, November 14
1 - 2 - 3 - 4 - 5 - 6 - 7 - 8 - 9 - 10 - 11 - 12 - 13 - 14 - 15 - 16 - 17 - 18 - 19 - 20 - 21 - 22 - 23 - 24 - 25 - 26 - 27 - 28 - 29 - 30 - 31 - 32 - 33 - 34 - 35 - 36 - 37 - 38 - 39 - 40 - 41 - 42 - 43 - 44 - 45 - 46 - 47 - 48 - 49 - 50 - 51 - 52 - 53 - 54 - 55 - 56 - 57 - 58 - 59 - 60 - 61 - 62 - 63 - 64 - 65 - 66 - 67 - 68 - 69 - 70 - 71 - 72 - 73 - 74 - 75 - 76 - 77 - 78 - 79 - 80 - 81 - 82 - 83 - 84 - 85 - 86 - 87 - 88 - 89 - 90 - 91 - 92 - 93 - 94 - 95 - 96 - 97 - 98The Evaporator / Blower Motor Plenum Part 1
I know I saved the worst for last and holy cow was I correct about that. This part was a pain in the butt, it was almost as bad as the resurrection of the Flame - O - Matic C6 from the same car. In fact the flame - o - matic did cook some of this plenum when the flames obviously shot out the dipstick tube, so that didn't help this plenum any.
Here's the tale:
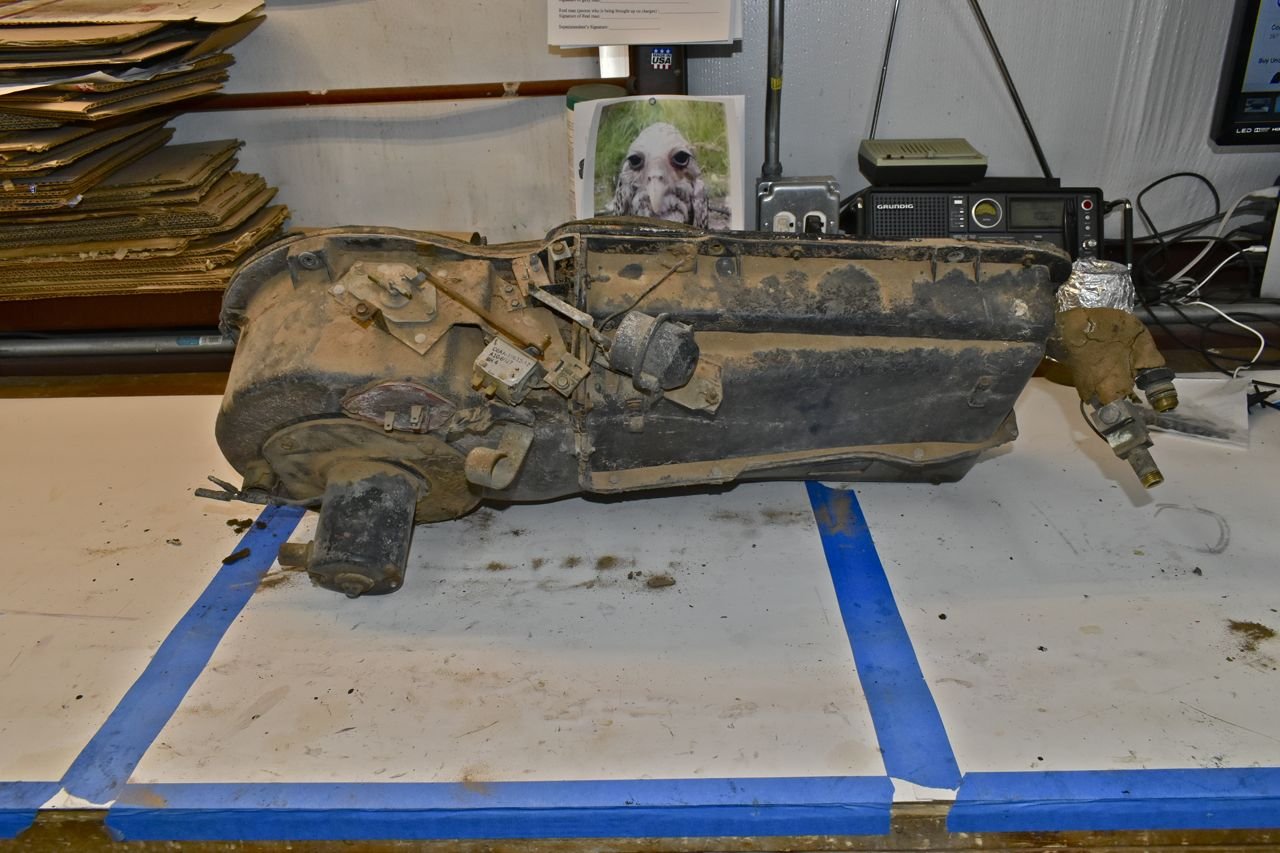
This is the original plenum from the original '66 gal 500 XL. You can see remnants of melted plastic HVAC cover and melted rubber on the blower. This plenum was flame broiled for your pleasure. Good grief this car was the worst in all areas sans corrosion.
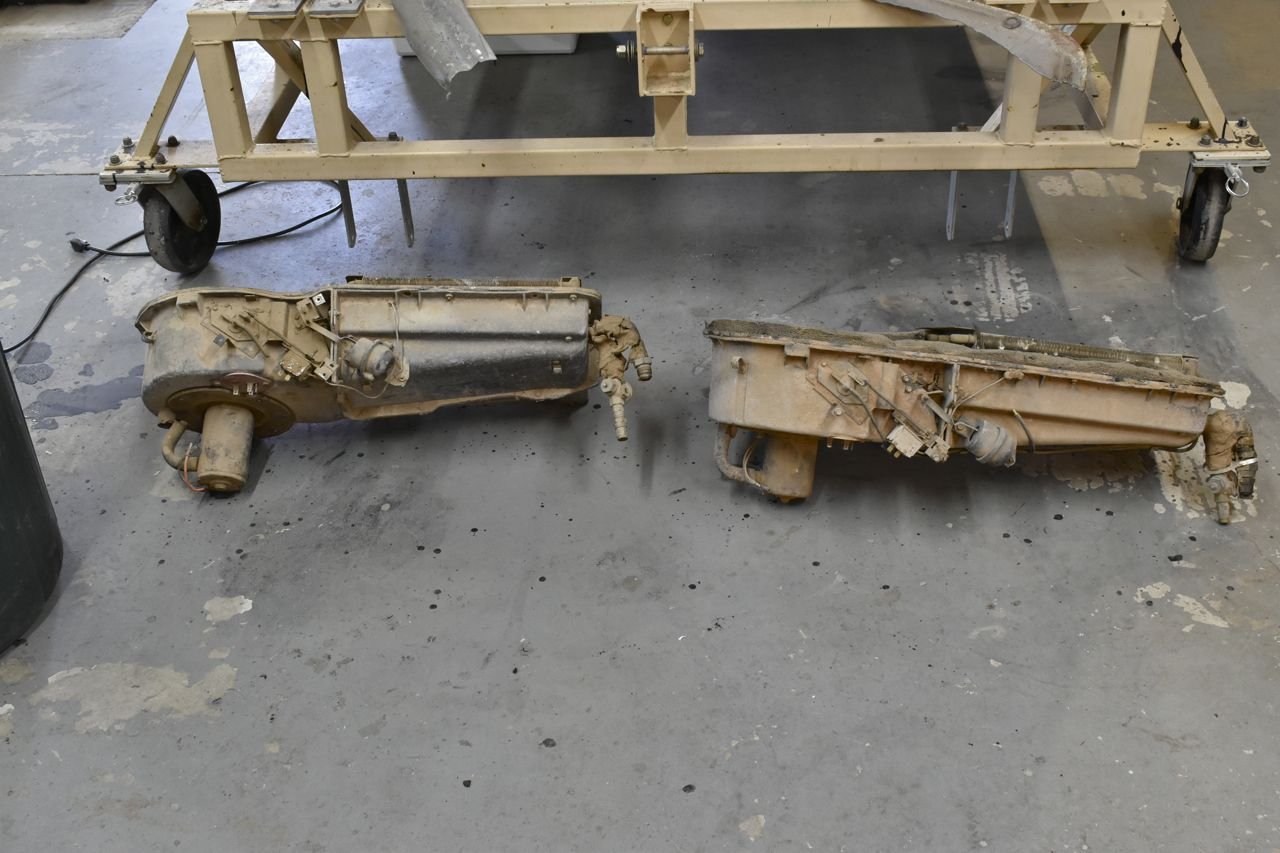
I have two others I can scrounge parts off of. The one on the left is a '65 but aside from a few minor differences all the parts are more or less interchangeable. I decided to stick with salvaging this crispy-fied plenum for a couple of reasons. All these plenums are from the southwest and all baked to a degree more or less. The plastic is dying on all of them so it really doesn't matter. Plus this is a worst case more or less resurrection. If I can do it, so can you. I hope to show if you have rare parts and can't get easy replacements not to give up. Just make a rationale plan and get into the thick of it.
And it's ok to complain once in awhile
The back side of the plenum doesn't look to bad.
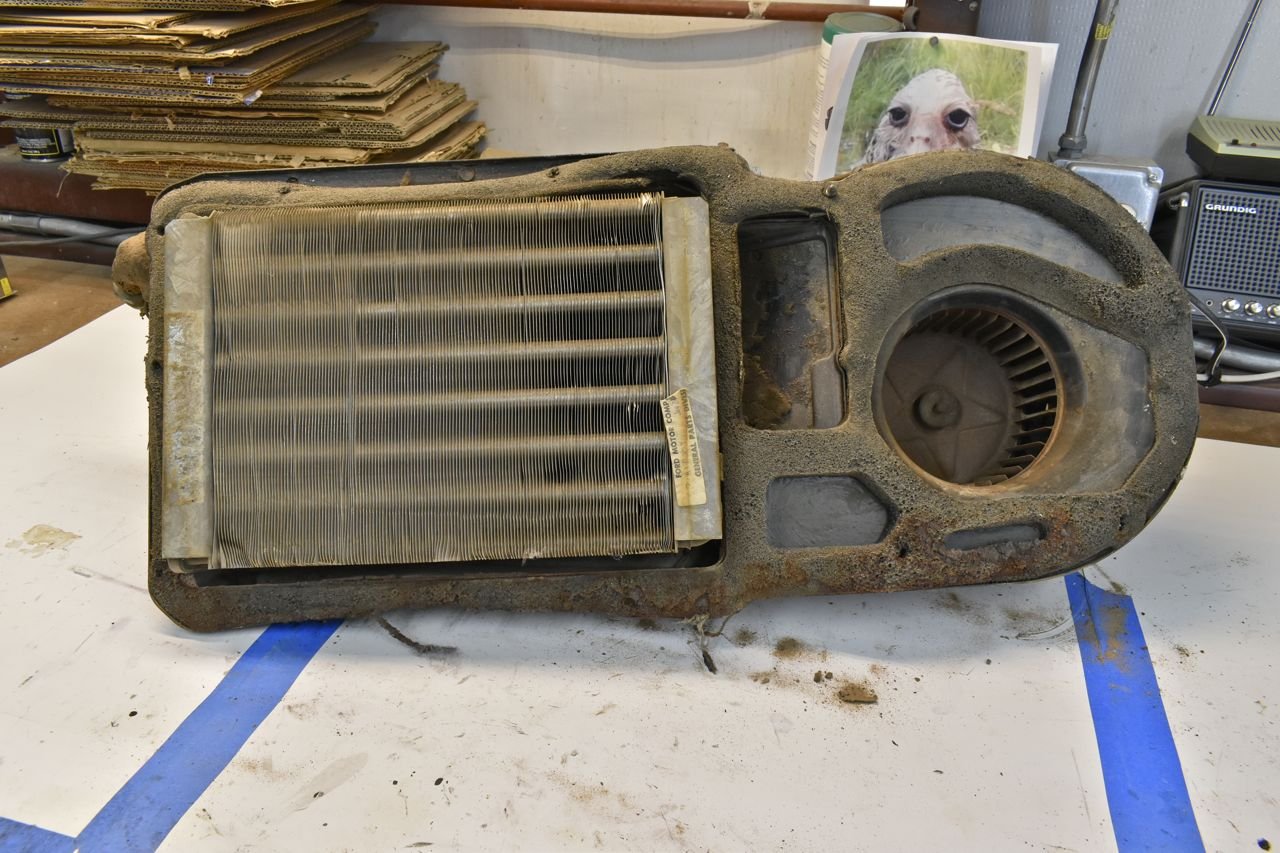
The front side is nasty though. There's just bits of creatures in there, dust, etc. It's quite disgusting.
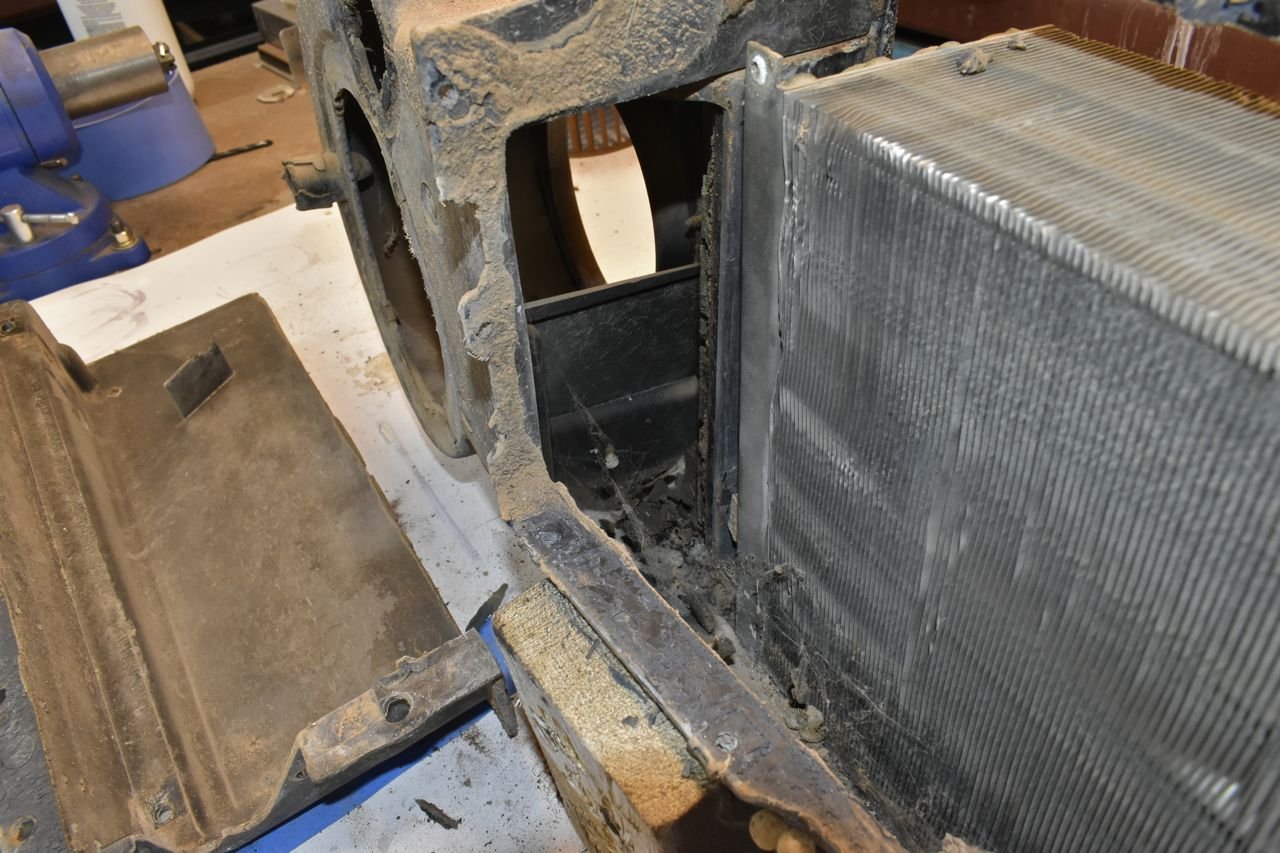
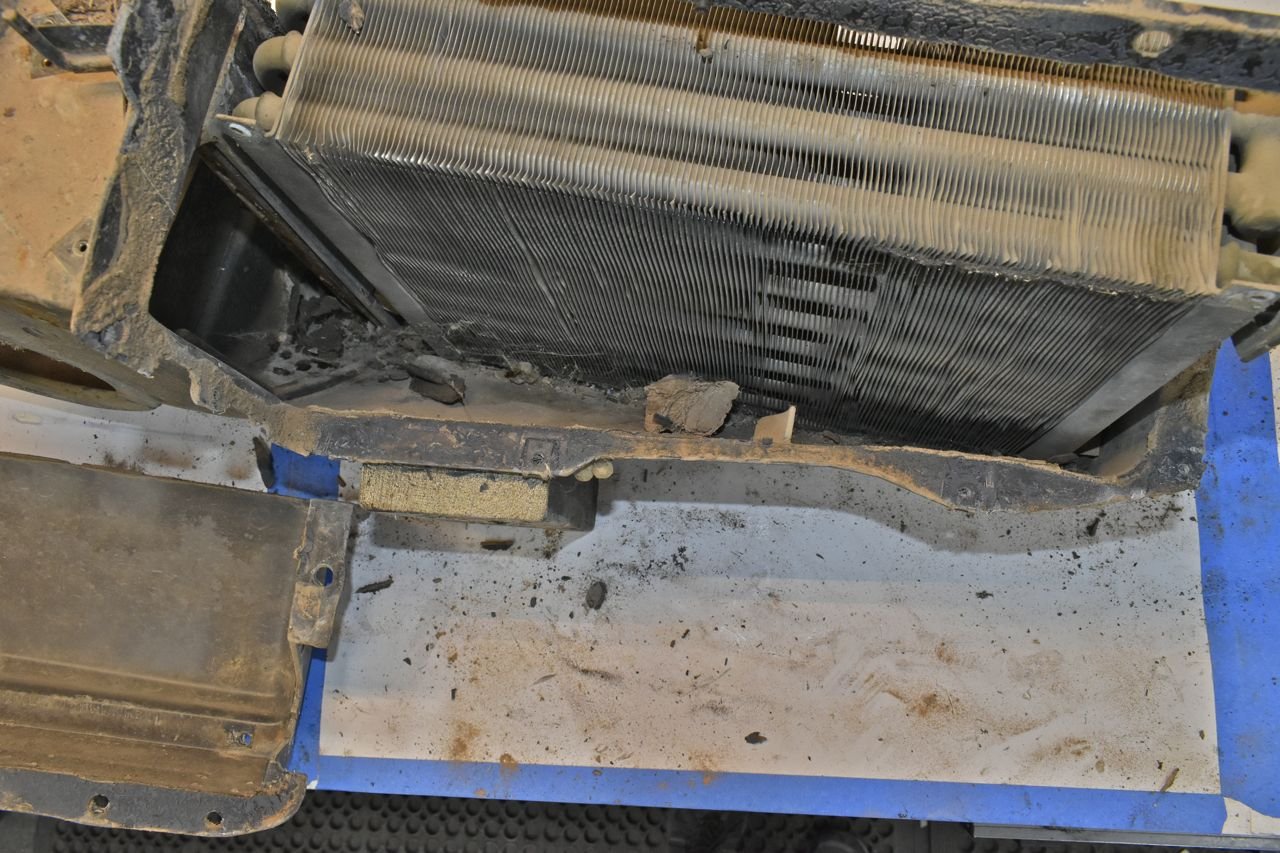
The tear down process begins.
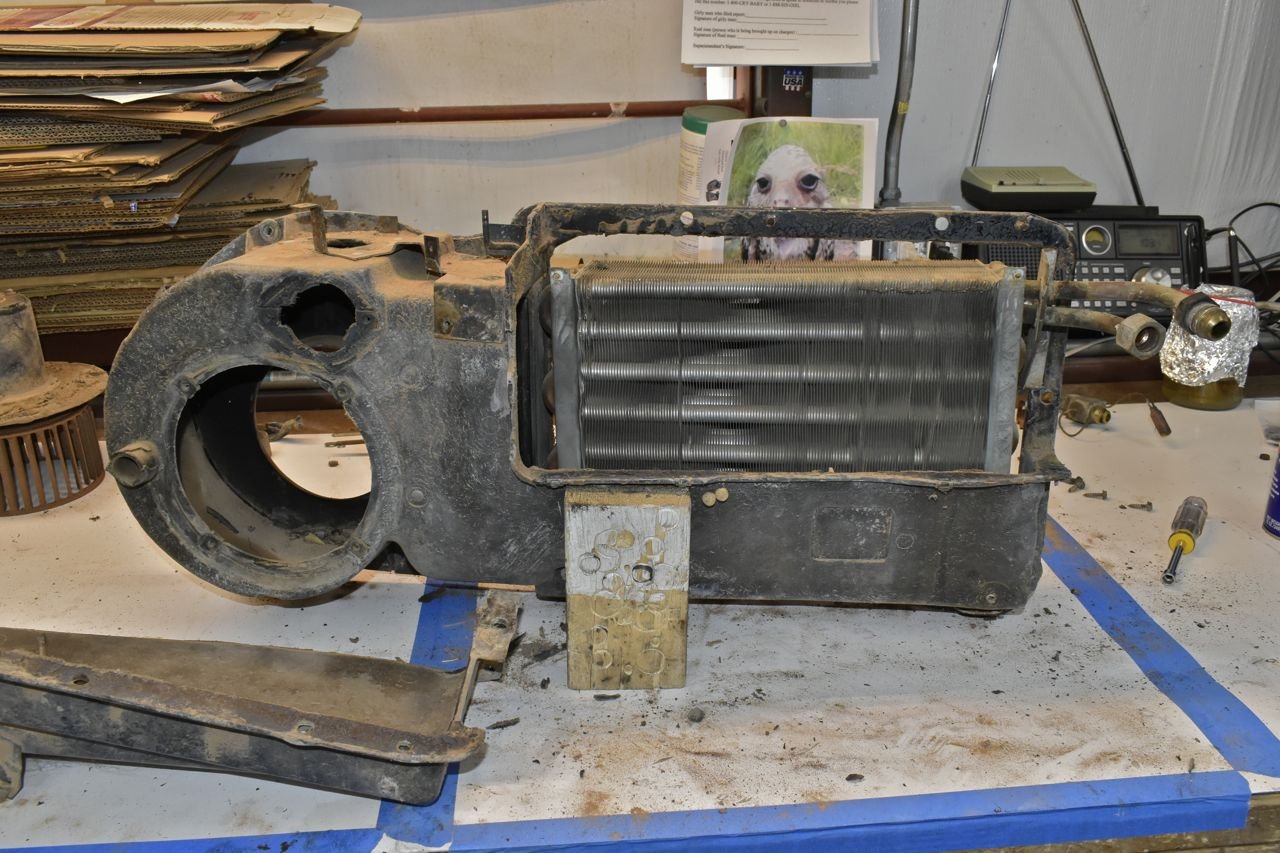
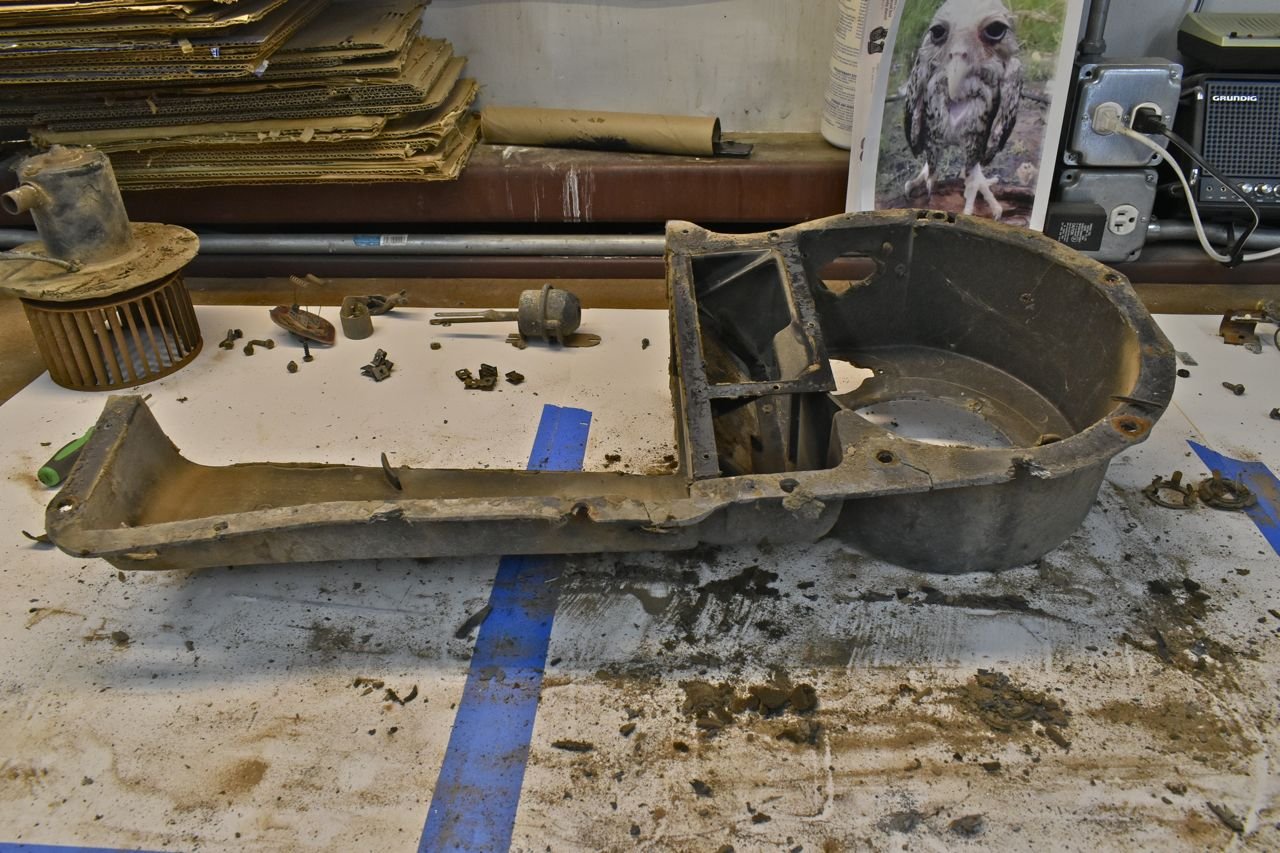
Once the metal back brace came off the rest just started failing apart. The plastic is just dead. But lets start piece by piece.
First the blower motor. Oh boy, for funzies I put 12 VDC to it and it spun. Now when I say spun I mean it would make a good turn table motor as it spun about the speed of an LP and did those leads get warm.
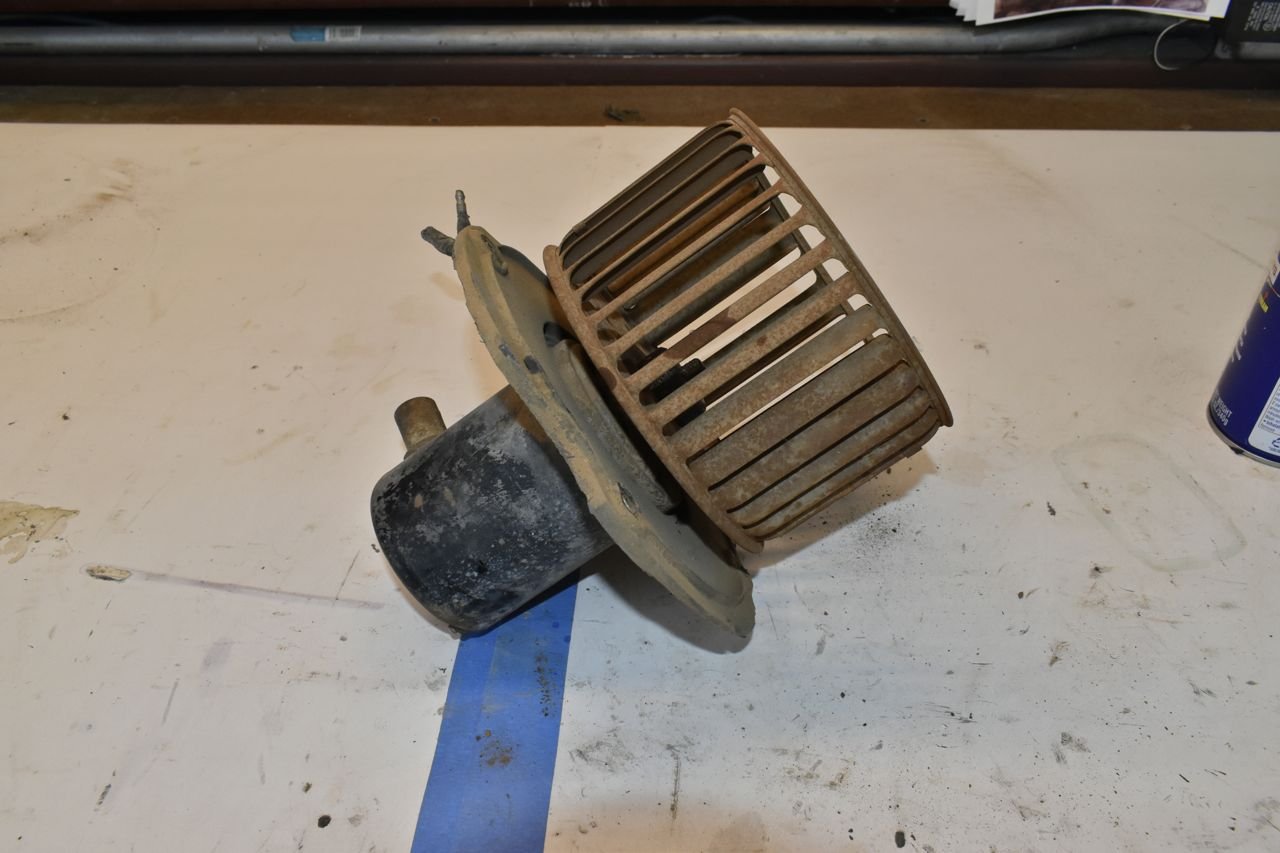
Not warm enough like being engulfed in flames though by the transmission dipstick.
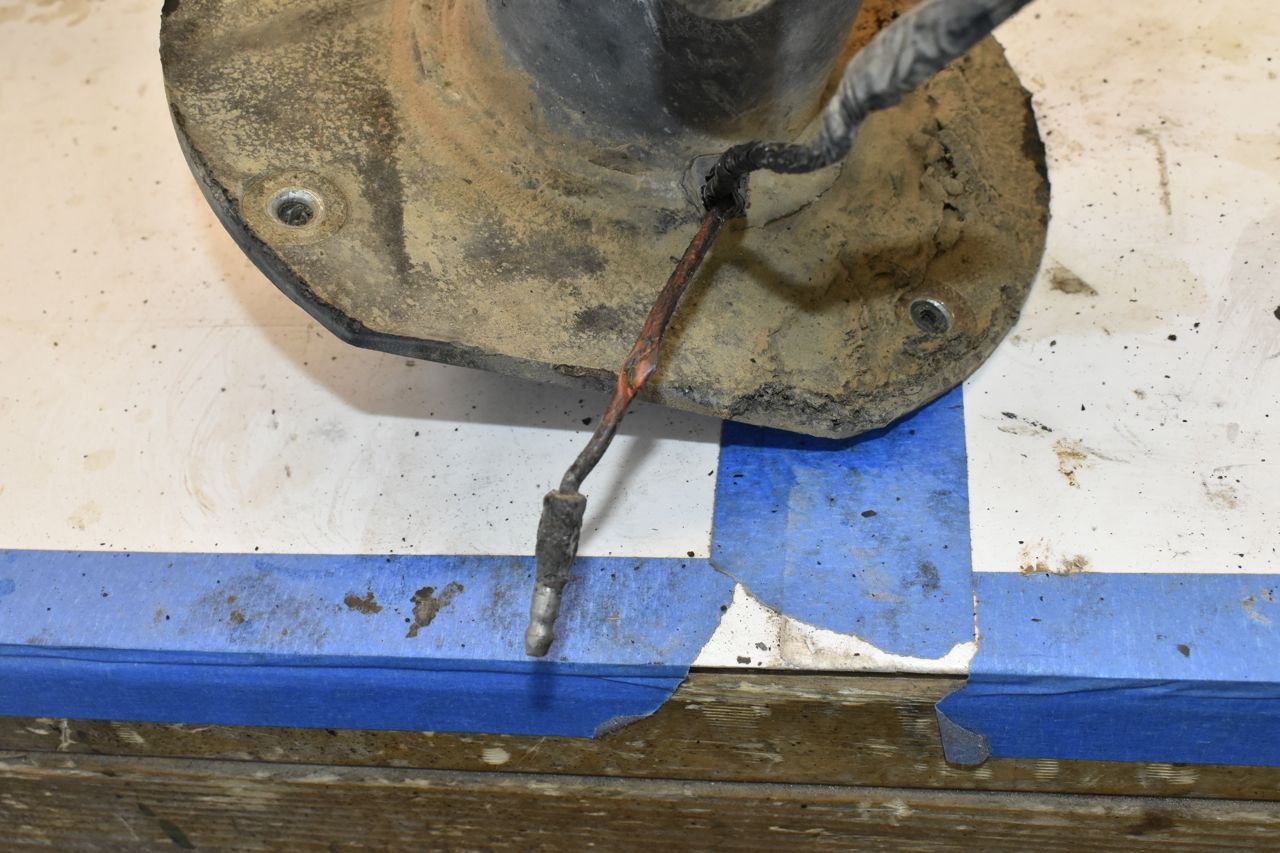
It does appear this is the original blower motor.
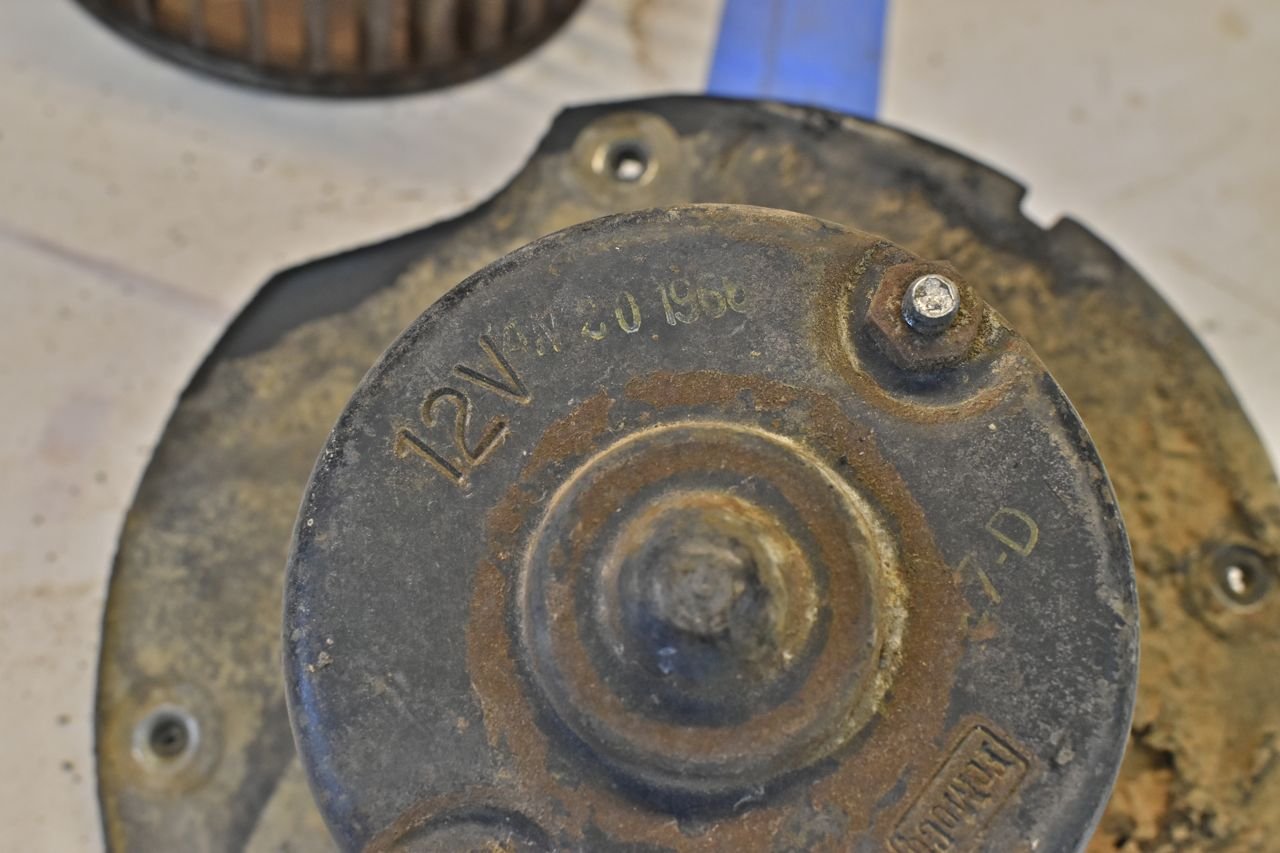
Since I cannot find anyone reproducing these factory HVAC motors (they do sell the heater only blower motor) I need to see if I can save this. My biggest concern is did the fire reduce the magnetic field in the permanent magnets and did it burn the varnish off the windings in the armature.
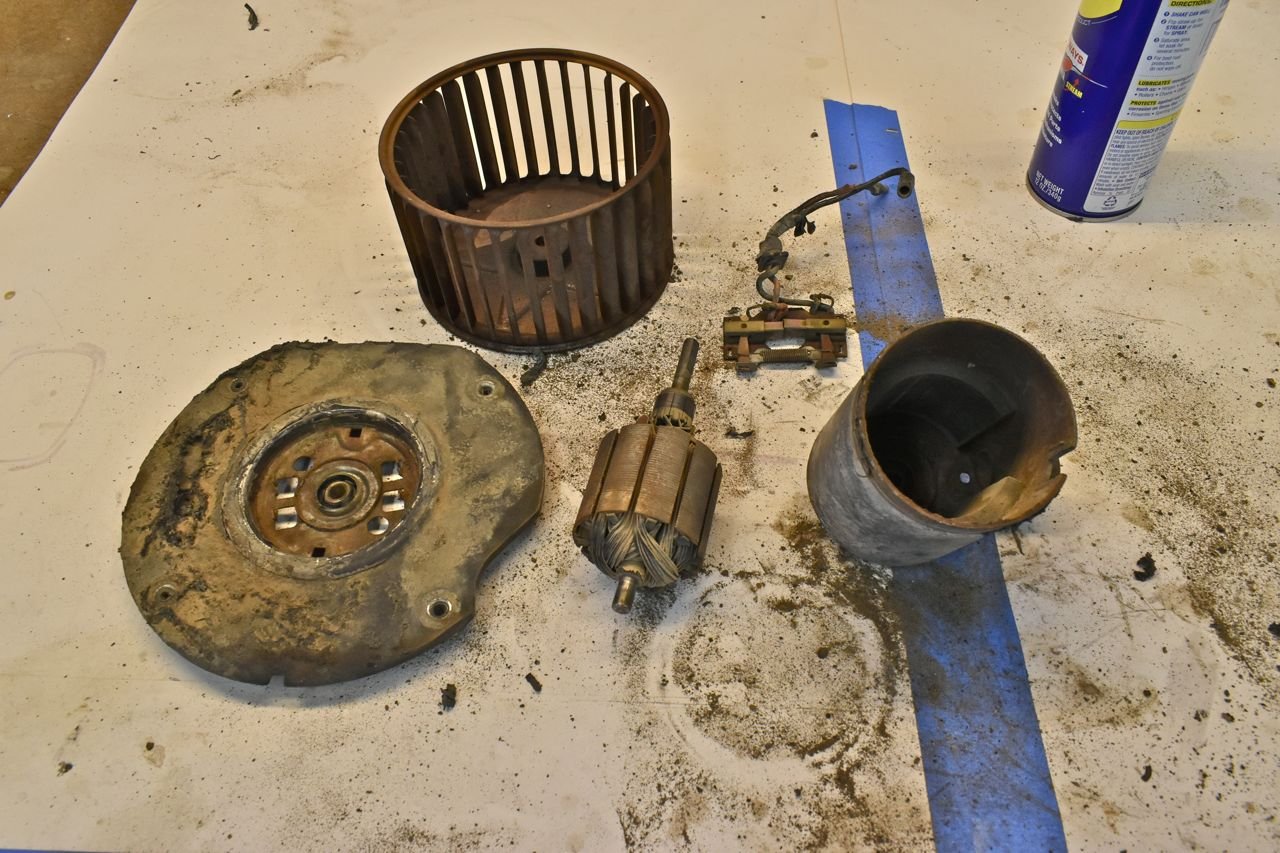
Those bushings are dry like the desert. The front bushing was spinning in the front frame, das ist nicht sehr gut.
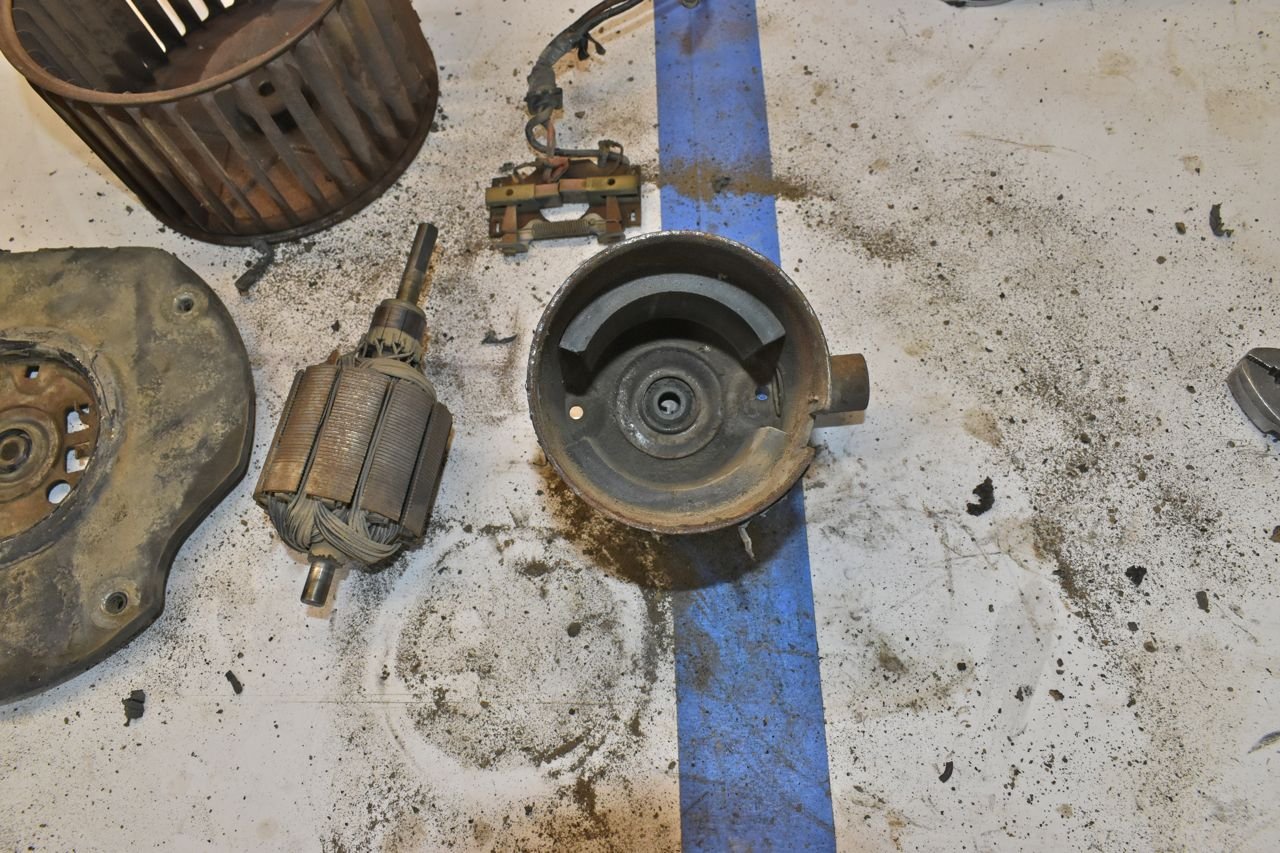
I decided to take the other '66 blower motor out of the other plenum and take it apart. Whilst not flame cooked, entropy didn't do it any favours either. Plus the front bushing just fell out. Great.... (sigh)
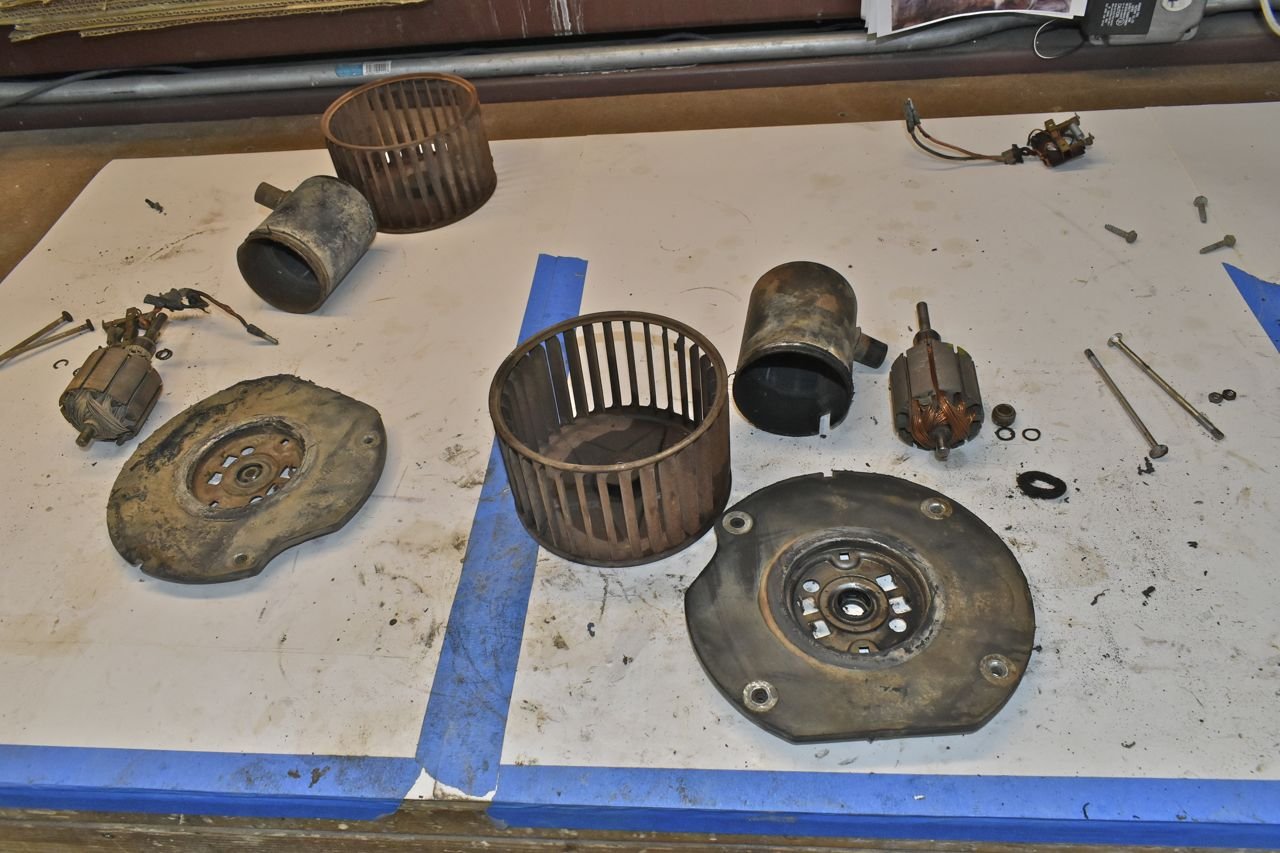
There's two avenues one can go down at this point and they both aren't pleasant. First you can spend possibly hundreds on trying to find a blower motor that's close enough to work and alter the front mounting plate to accept. The other option is to work with what you have and fix that. Anyone that knows me pretty much can guess the route I'll take.
Time to dig into these. I took apart the front plates and drilled out the bushing retaining plates in these. Gosh you can see where the flames were wrapping around the motor shell in the one by all the melted rubber. Too funny.
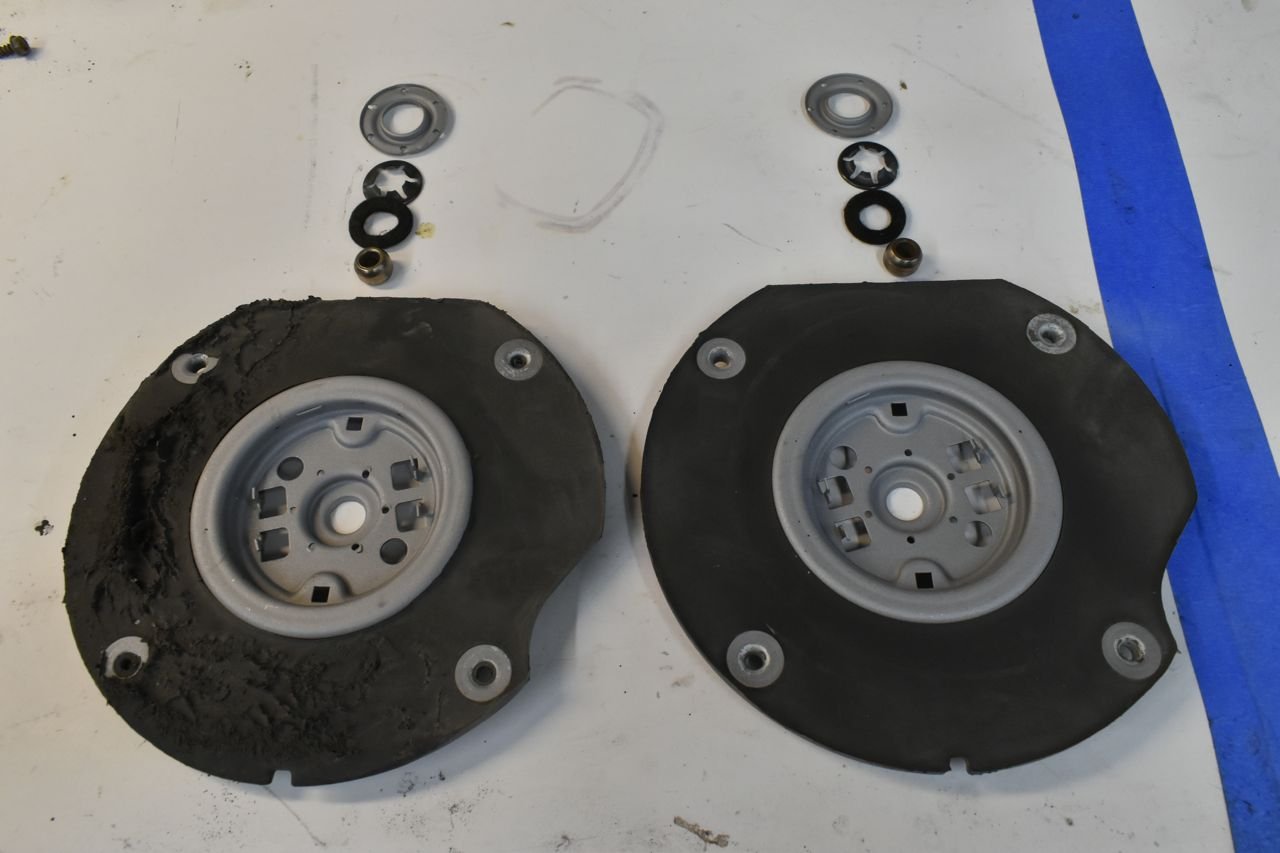
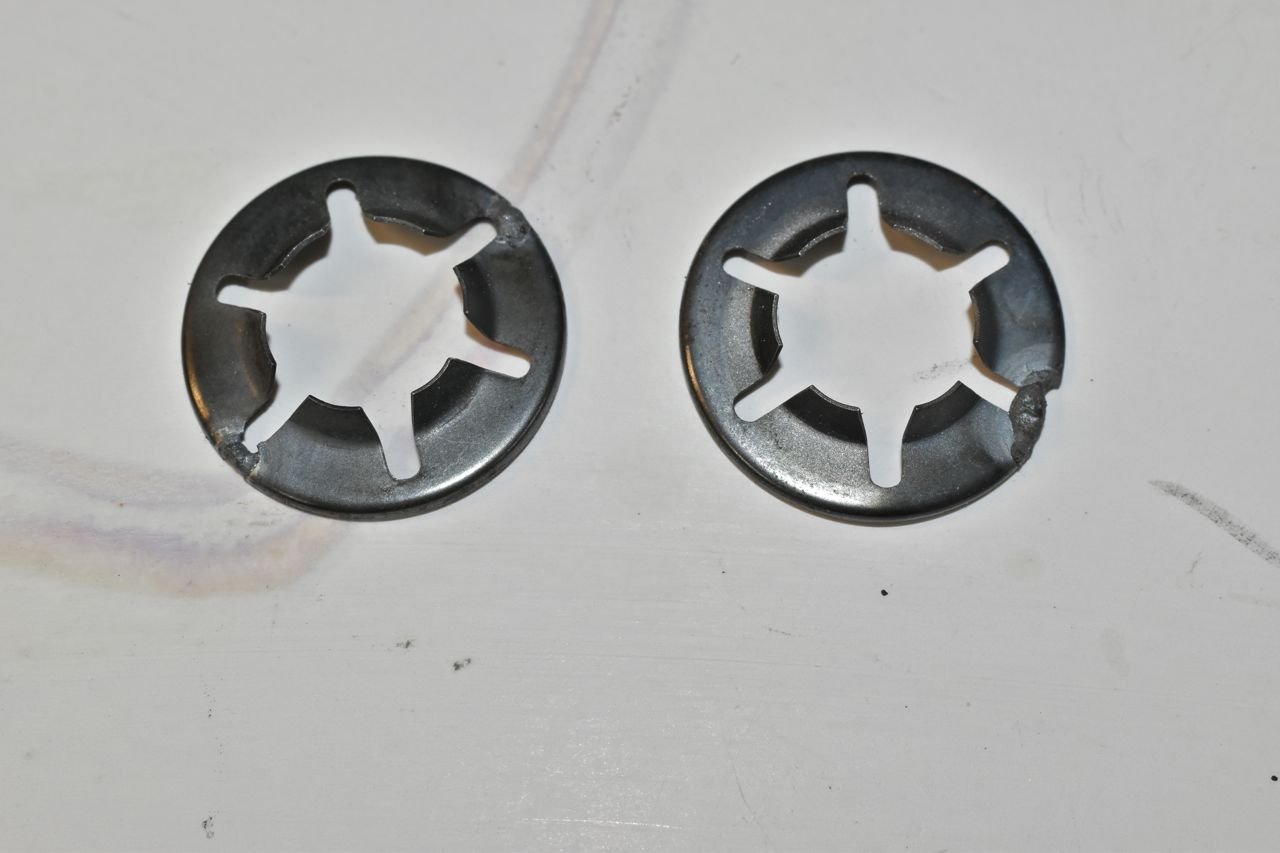
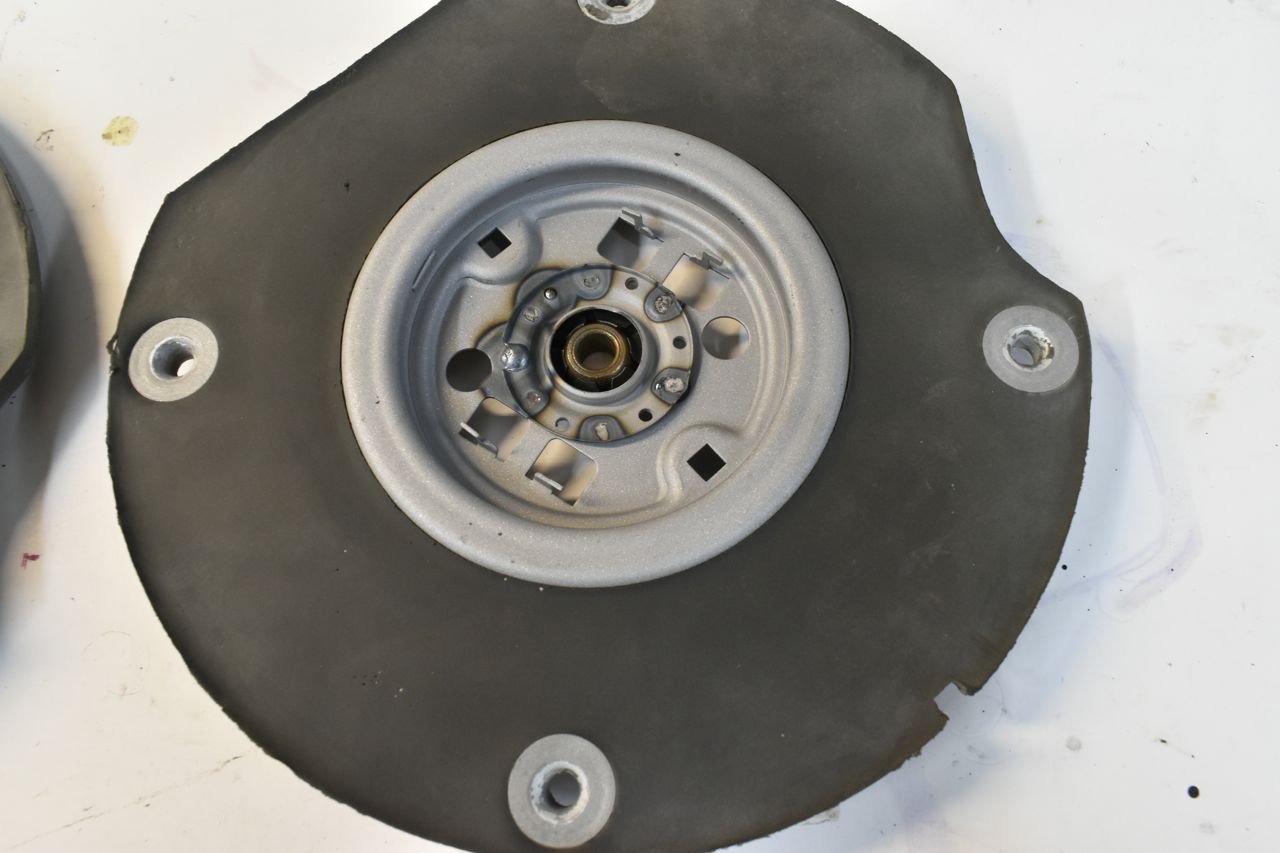
This is why the front bushings were spinning or just fell out. The spring retainer plate broke on both. One broke in two. By some miracle I was able to TIG weld this thin spring metal back with the current dialed down to 20 amps.
I'll just show one assembly as they both are the same. If there's something interesting I'll show the other one. The Oil-lite bushing goes in and is surrounded by the felt oiling pad, then the retaining spring then the cover.
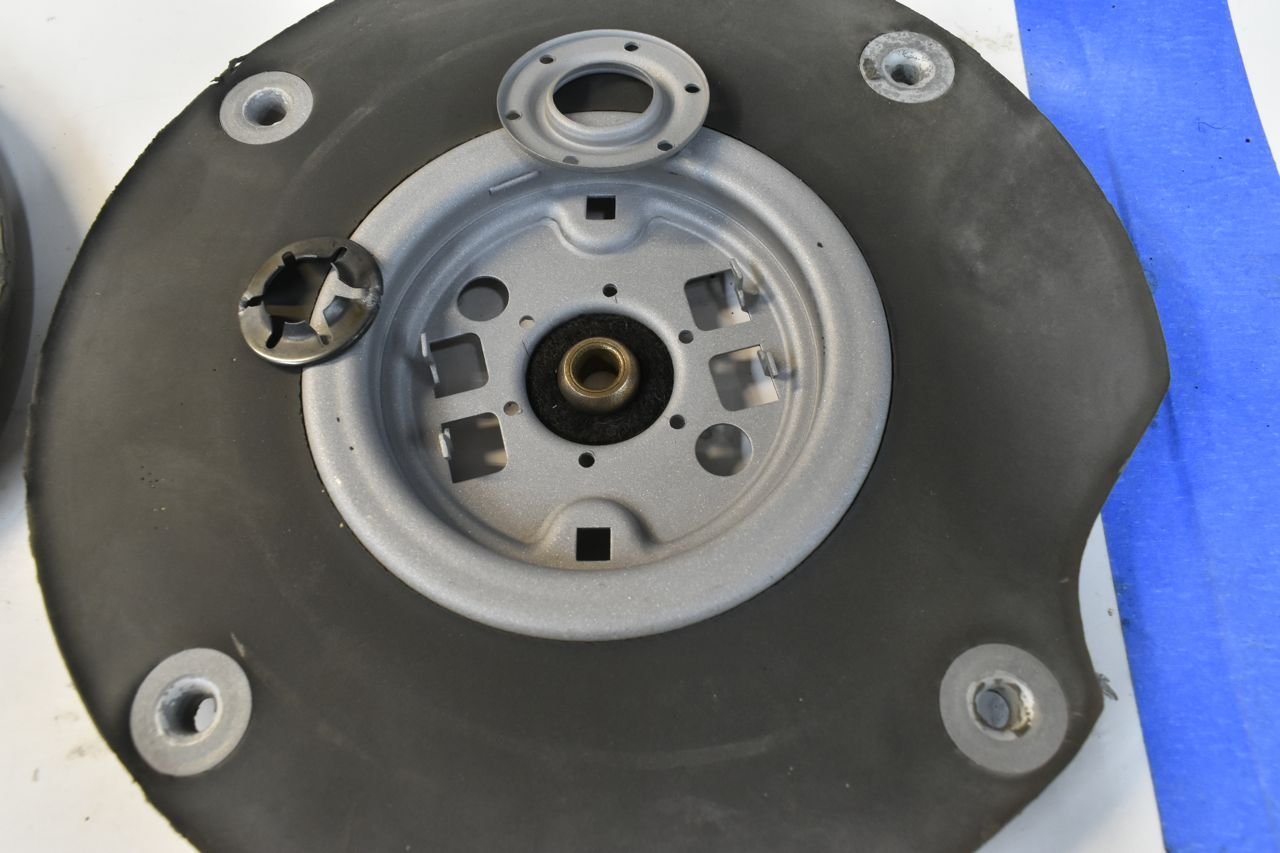
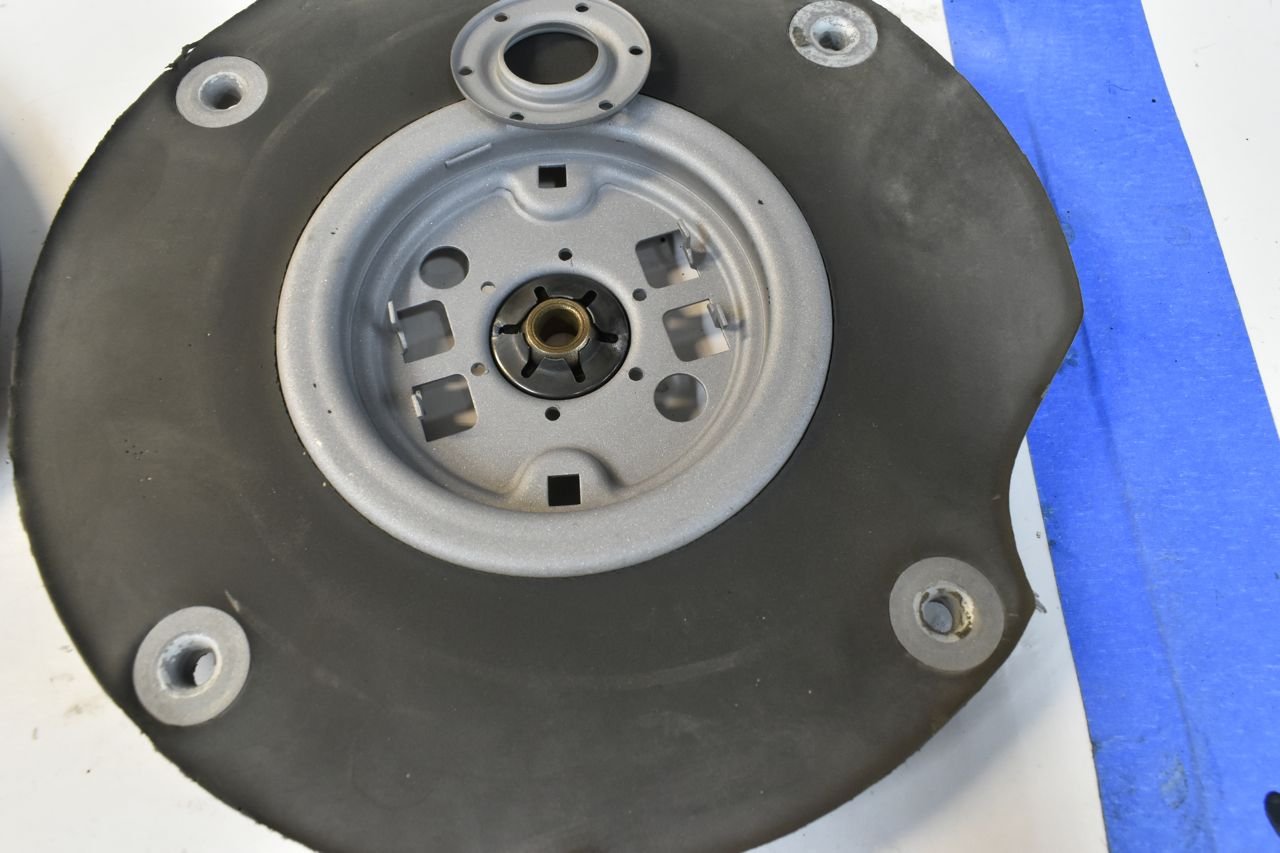
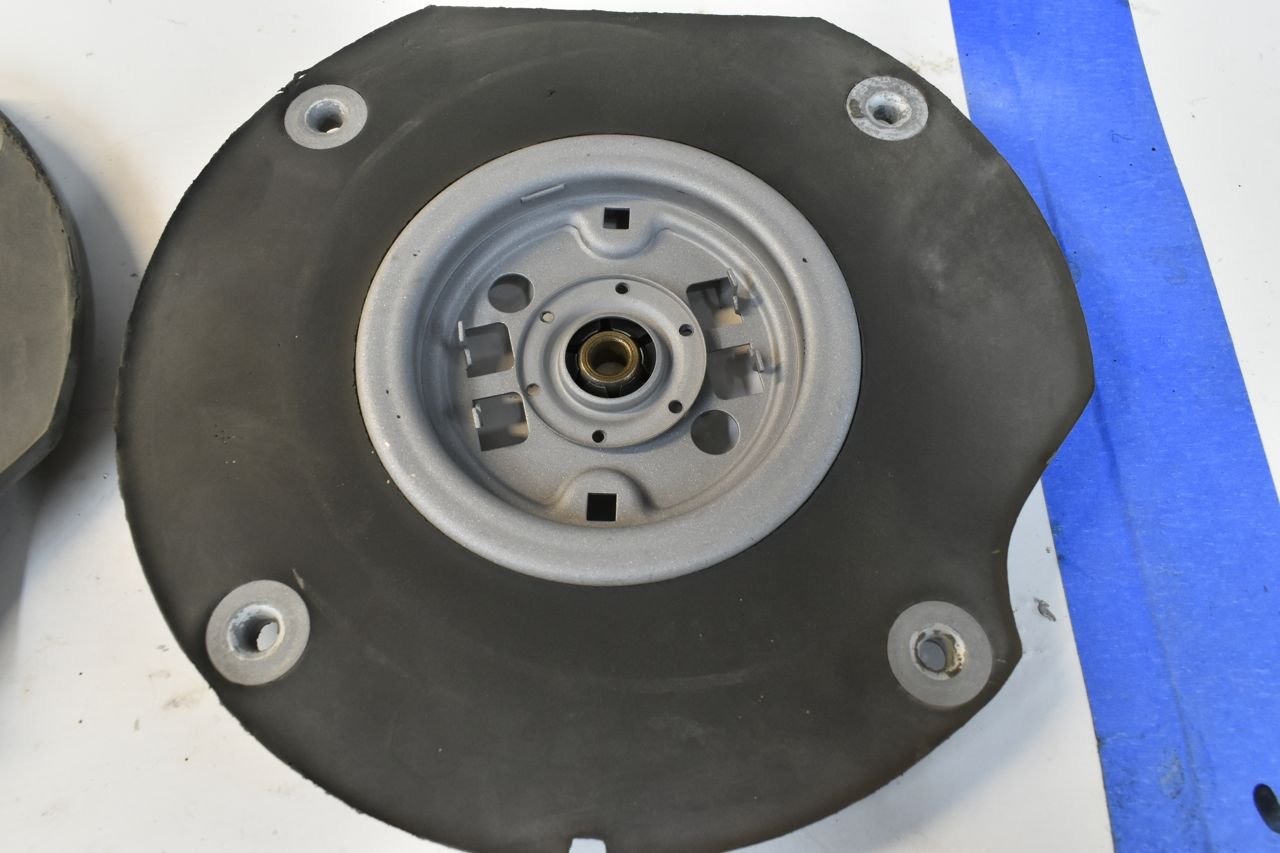
Against my better judgement I tried to TIG the cover back on but it was just too much heat to fuse to the thicker front frame. With that I reached for the cheapo Harbor Freight 240VAC spot welder and resistance welded the rest in.
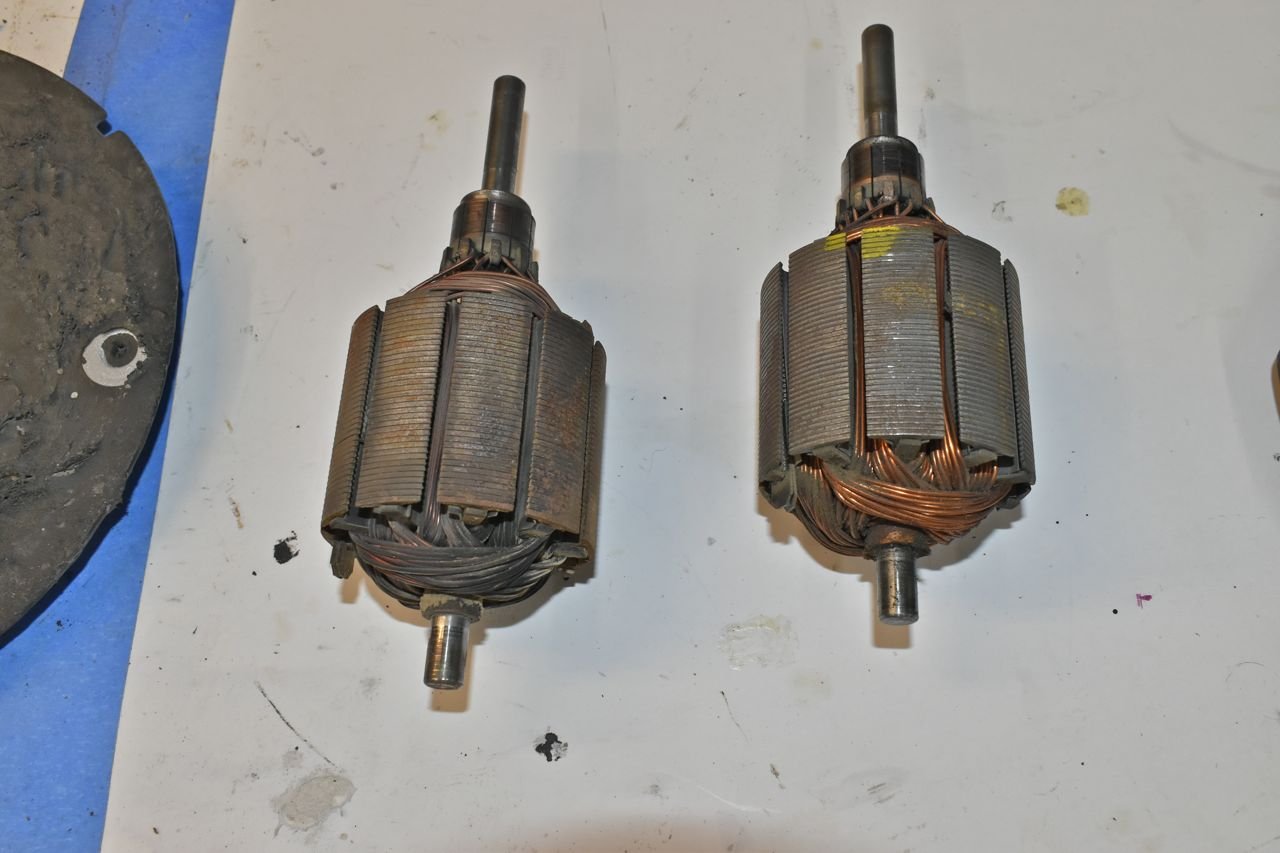
Onto the armatures. You can see the one had its little butt cooked.
continued in next post.
Click here to continue to part 78